Furniture
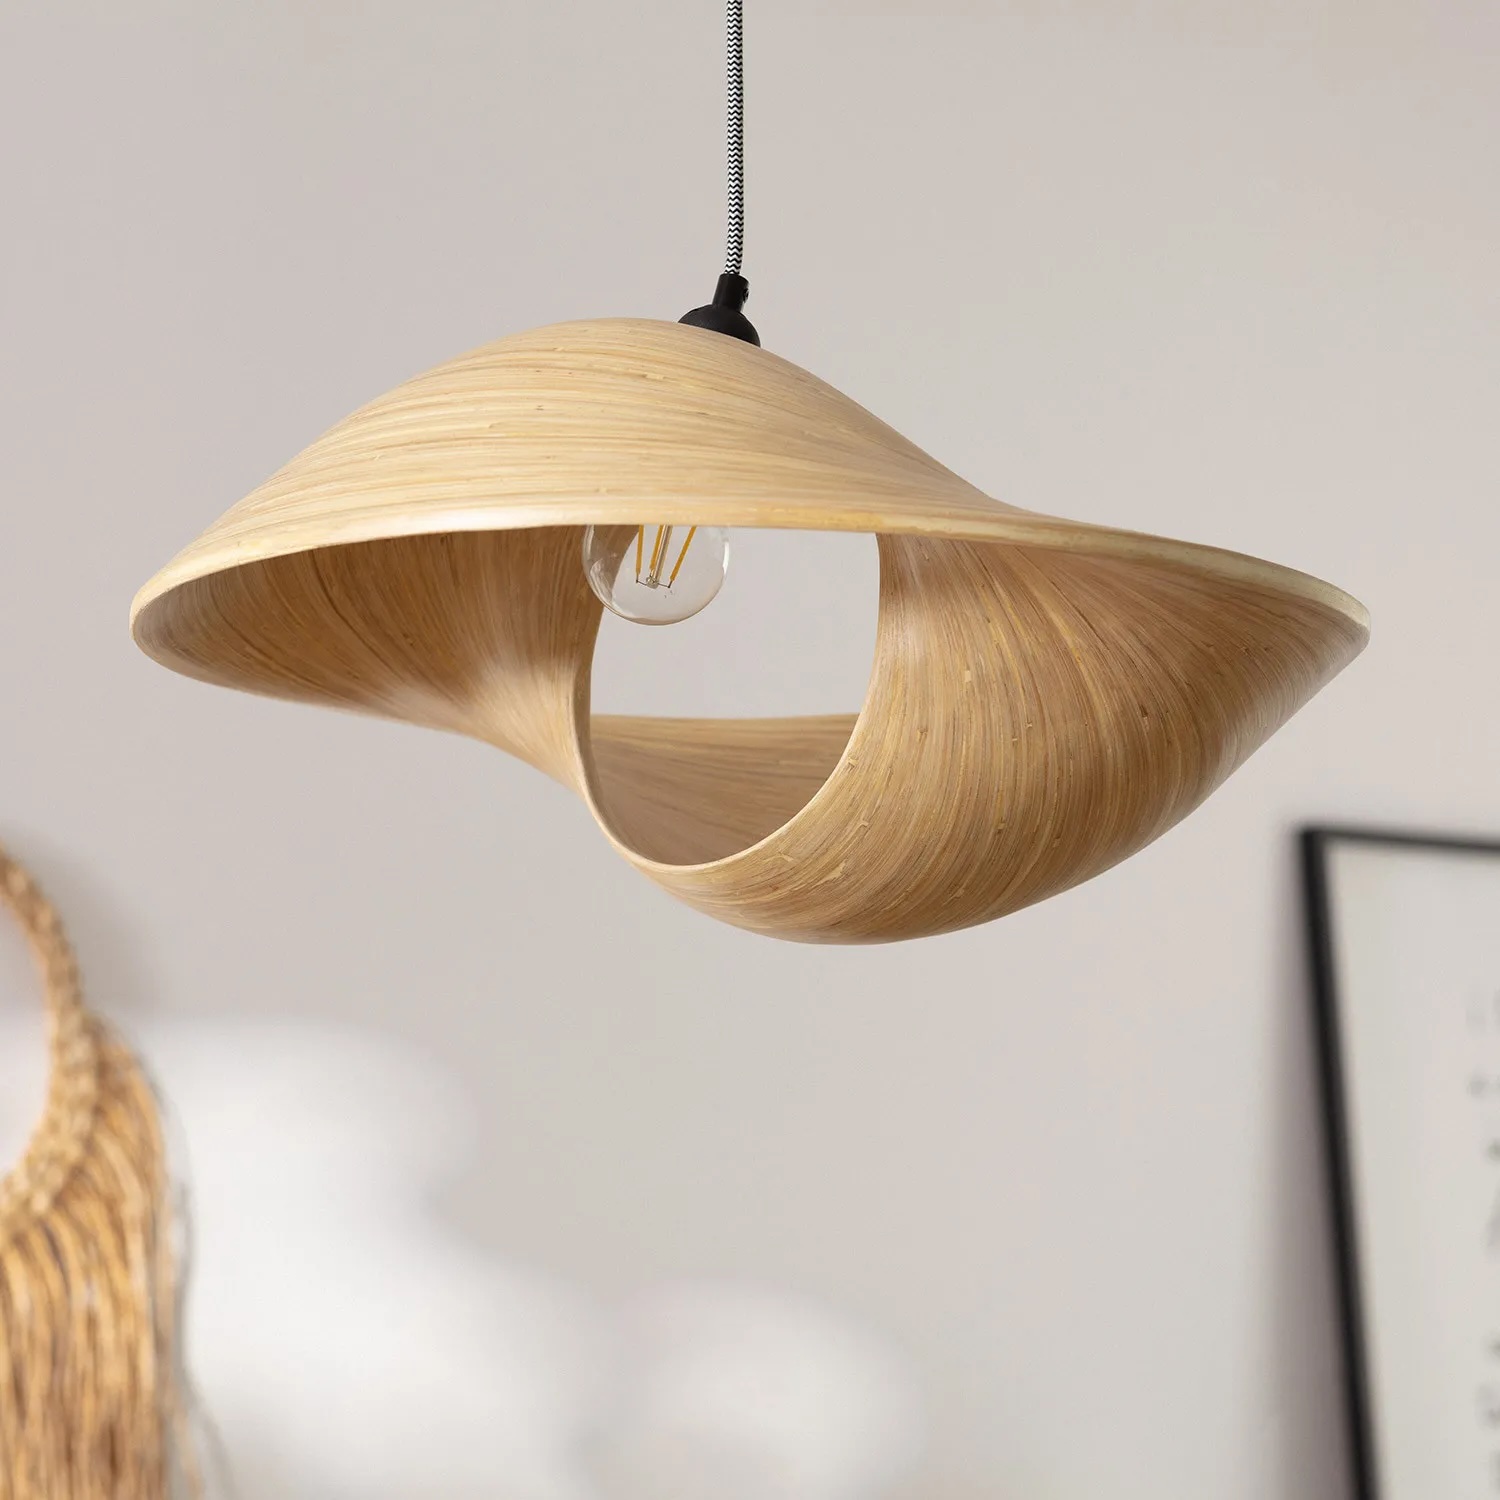
How To Make A Hanging Lamp
Modified: March 1, 2024
Learn how to make a stylish hanging lamp for your home with this easy DIY guide. Elevate your furniture with this functional and decorative lighting piece.
(Many of the links in this article redirect to a specific reviewed product. Your purchase of these products through affiliate links helps to generate commission for Storables.com, at no extra cost. Learn more)
Introduction
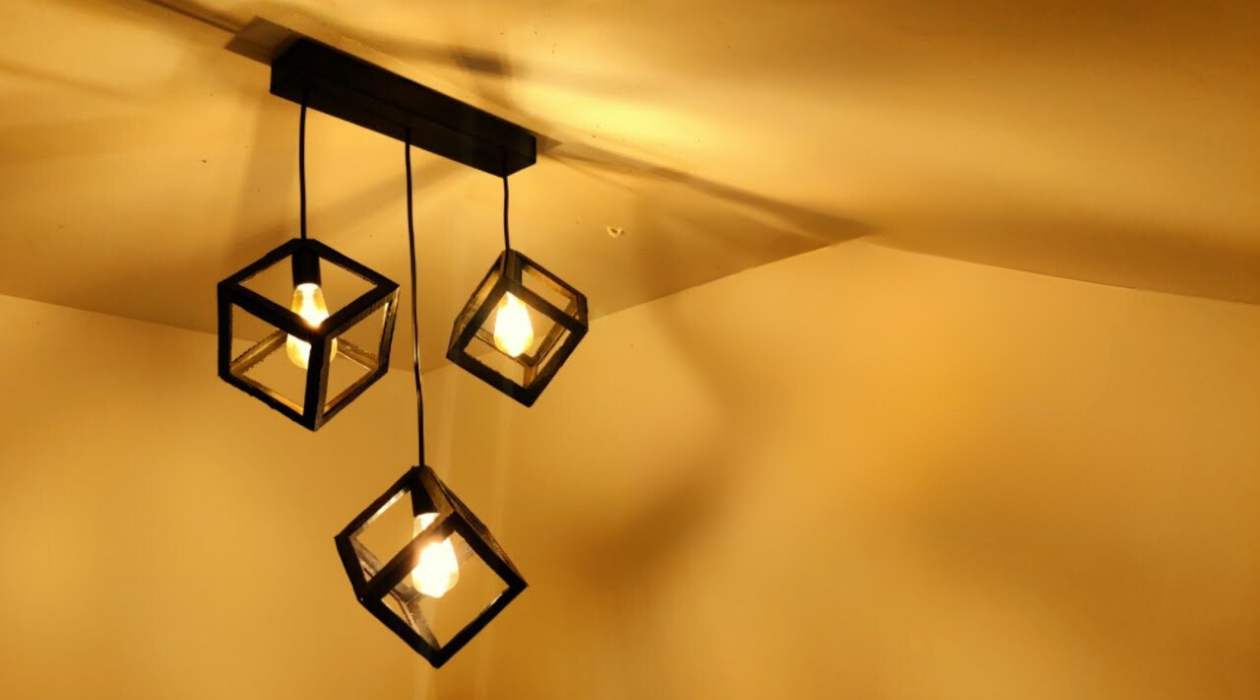
Welcome to an exciting do-it-yourself project that will add a touch of elegance and individuality to your home – making your very own hanging lamp! A hanging lamp not only provides functional lighting, but also serves as a statement piece that can transform the ambiance of any room. Whether you are a seasoned DIY enthusiast or a beginner looking to take on a new challenge, this article will guide you step-by-step on how to create your own unique hanging lamp.
Creating a hanging lamp allows you the freedom to customize the design to match your personal style and the decor of your home. Additionally, making the lamp yourself not only saves you money, but also gives you a sense of accomplishment and satisfaction when you see the finished product illuminating your space.
In this comprehensive guide, we will cover everything you need to know to create your own hanging lamp. We will start by gathering the materials you will need, followed by step-by-step instructions on preparing the lampshade, attaching the lighting fixture, installing the hanging mechanism, and finally hanging and adjusting the lamp. So, let’s get started on this exciting journey of creating your very own hanging lamp!
Key Takeaways:
- Create a personalized hanging lamp to add elegance and individuality to your home. Save money, express creativity, and enjoy the satisfaction of transforming basic materials into a stunning lighting fixture.
- Transform everyday materials into a statement piece that illuminates and enhances your space. Enjoy the process of DIY creativity and revel in the unique beauty of your homemade hanging lamp.
Read more: How To Hang A Heat Lamp
Step 1: Gather the materials
The first step in making your own hanging lamp is to gather all the necessary materials. Here is a list of items you will need:
- 1 Lampshade: Choose a lampshade that suits your style and complements the decor of your space. You can find a variety of lampshade options at your local home improvement stores or online.
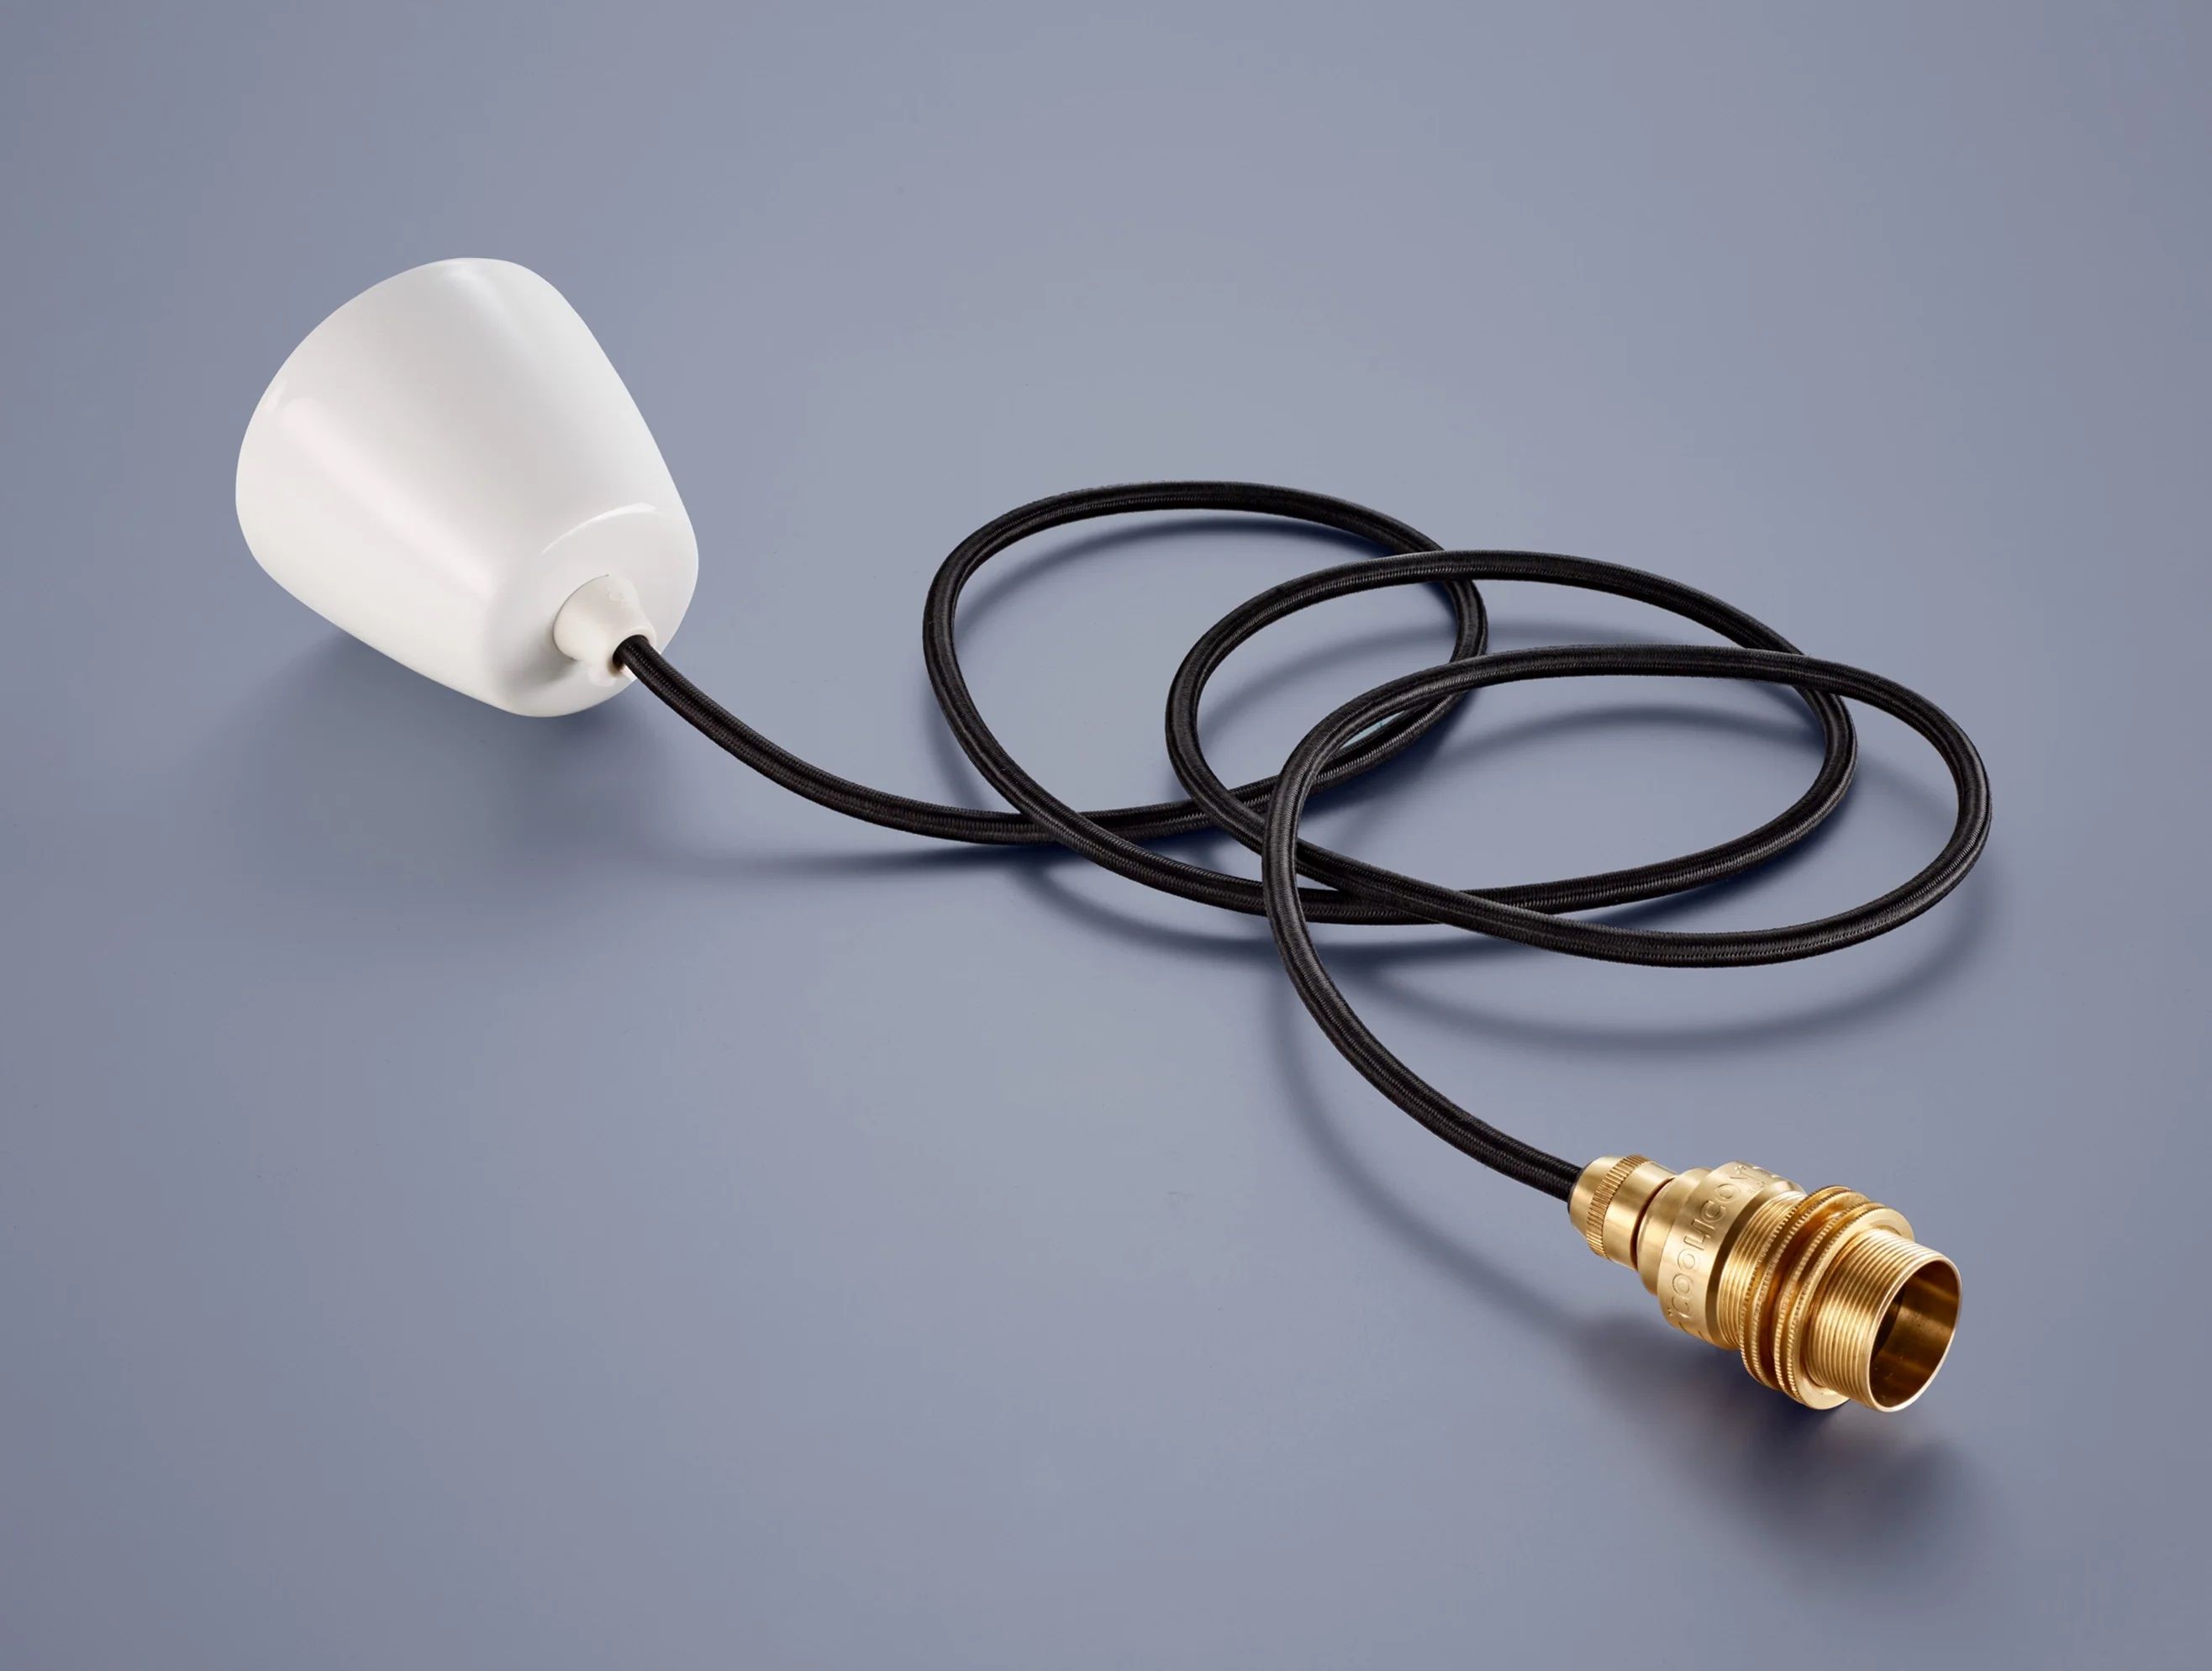
- 1 Lighting fixture: Select a lighting fixture that fits the size and style of your lampshade. Consider factors such as the type of bulb it requires (LED, incandescent, etc.), the wattage, and the lighting direction (uplight or downlight) to ensure it meets your lighting needs.
- 1 Hanging mechanism: This will be used to suspend the lamp from the ceiling. Options include a ceiling-mounted hook, a pendant light kit, or a chain and hooks combination.
- Bulb: Choose a bulb that fits the lighting fixture and provides the desired brightness and color temperature.
- Electrical wire: You will need electrical wire to connect the lighting fixture to the power source. Make sure to choose a wire that is suitable for your project and meets safety standards.
- Wire connectors: These are essential for securing the connections between the electrical wires. Make sure to select connectors that are appropriate for the wire gauge you are using.
- Wire strippers: These will help you strip the insulation from the electrical wires and make clean connections.
- Screwdriver: Depending on the type of lighting fixture and hanging mechanism you choose, you may need a screwdriver to secure the components.
- Optional accessories: You may also want to consider additional accessories such as decorative elements, lamp shades or diffusers, and chain covers to enhance the appearance of your hanging lamp.
Once you have gathered all the materials, you are ready to move on to the next step – preparing the lampshade.
Step 2: Prepare the lampshade
Now that you have assembled all the necessary materials, it’s time to prepare the lampshade for your hanging lamp. Follow these steps to ensure a seamless process:
- Start by removing any existing hardware or attachments from the lampshade. This includes screws, brackets, or clips that might be present.
- If your lampshade has a fabric cover, gently remove it by undoing the stitching or carefully peeling it away. This will expose the frame of the lampshade.
- Clean the lampshade frame and remove any dust or debris to ensure a smooth surface for further modifications.
- If you plan to paint or decorate the lampshade, now is the time to do so. Choose a paint color or decorative technique that matches your design vision. Ensure that the paint or decoration is suitable for the material of the lampshade frame and follow the manufacturer’s instructions for application.
- Allow the paint or decoration to dry completely before moving on to the next step.
- If desired, you can add additional decorative elements to the lampshade, such as trim, beads, or fabric accents, to further personalize your hanging lamp. Use adhesive or small screws to attach these elements securely to the lampshade.
- Once you have finished decorating the lampshade, ensure that all the materials used are securely attached and will not interfere with the functionality of the lamp. Trim any excess fabric or trim as needed.
With the lampshade prepared, you have completed the second step in creating your hanging lamp. Next, we will move on to attaching the lighting fixture.
Step 3: Attach the lighting fixture
With the lampshade prepared, it’s time to move on to attaching the lighting fixture. Follow these steps to ensure a safe and secure installation:
- First, carefully read the instructions provided with your lighting fixture. Familiarize yourself with the components and any specific guidelines or precautions.
- Next, locate the mounting bracket or plate that came with the lighting fixture. This bracket will be used to attach the fixture to the lampshade.
- Position the mounting bracket onto the top of the lampshade, aligning it with the center. Ensure that the bracket is securely attached to the lampshade’s frame.
- If necessary, use screws or other hardware provided with the lighting fixture to secure the mounting bracket in place. Refer to the instructions for the proper installation method.
- Once the mounting bracket is attached, carefully connect the electrical wires from the lighting fixture to the corresponding wires in the lampshade. Make sure to match the wire colors (usually black to black and white to white) and use wire connectors to secure the connections.
- If there is a ground wire, attach it to a grounding post or screw on the mounting bracket. This ensures proper grounding and safety.
- Once all connections are secure, carefully tuck the wires inside the lampshade, making sure they are not exposed and do not interfere with the functionality of the lamp.
- Before moving on to the next step, double-check that all connections are secure and the lighting fixture is properly attached to the lampshade.
With the lighting fixture now securely attached to the lampshade, you are one step closer to completing your hanging lamp. In the next step, we will discuss how to install the hanging mechanism.
When making a hanging lamp, be sure to use a strong and secure hanging mechanism to support the weight of the lamp. This will ensure safety and stability once the lamp is installed.
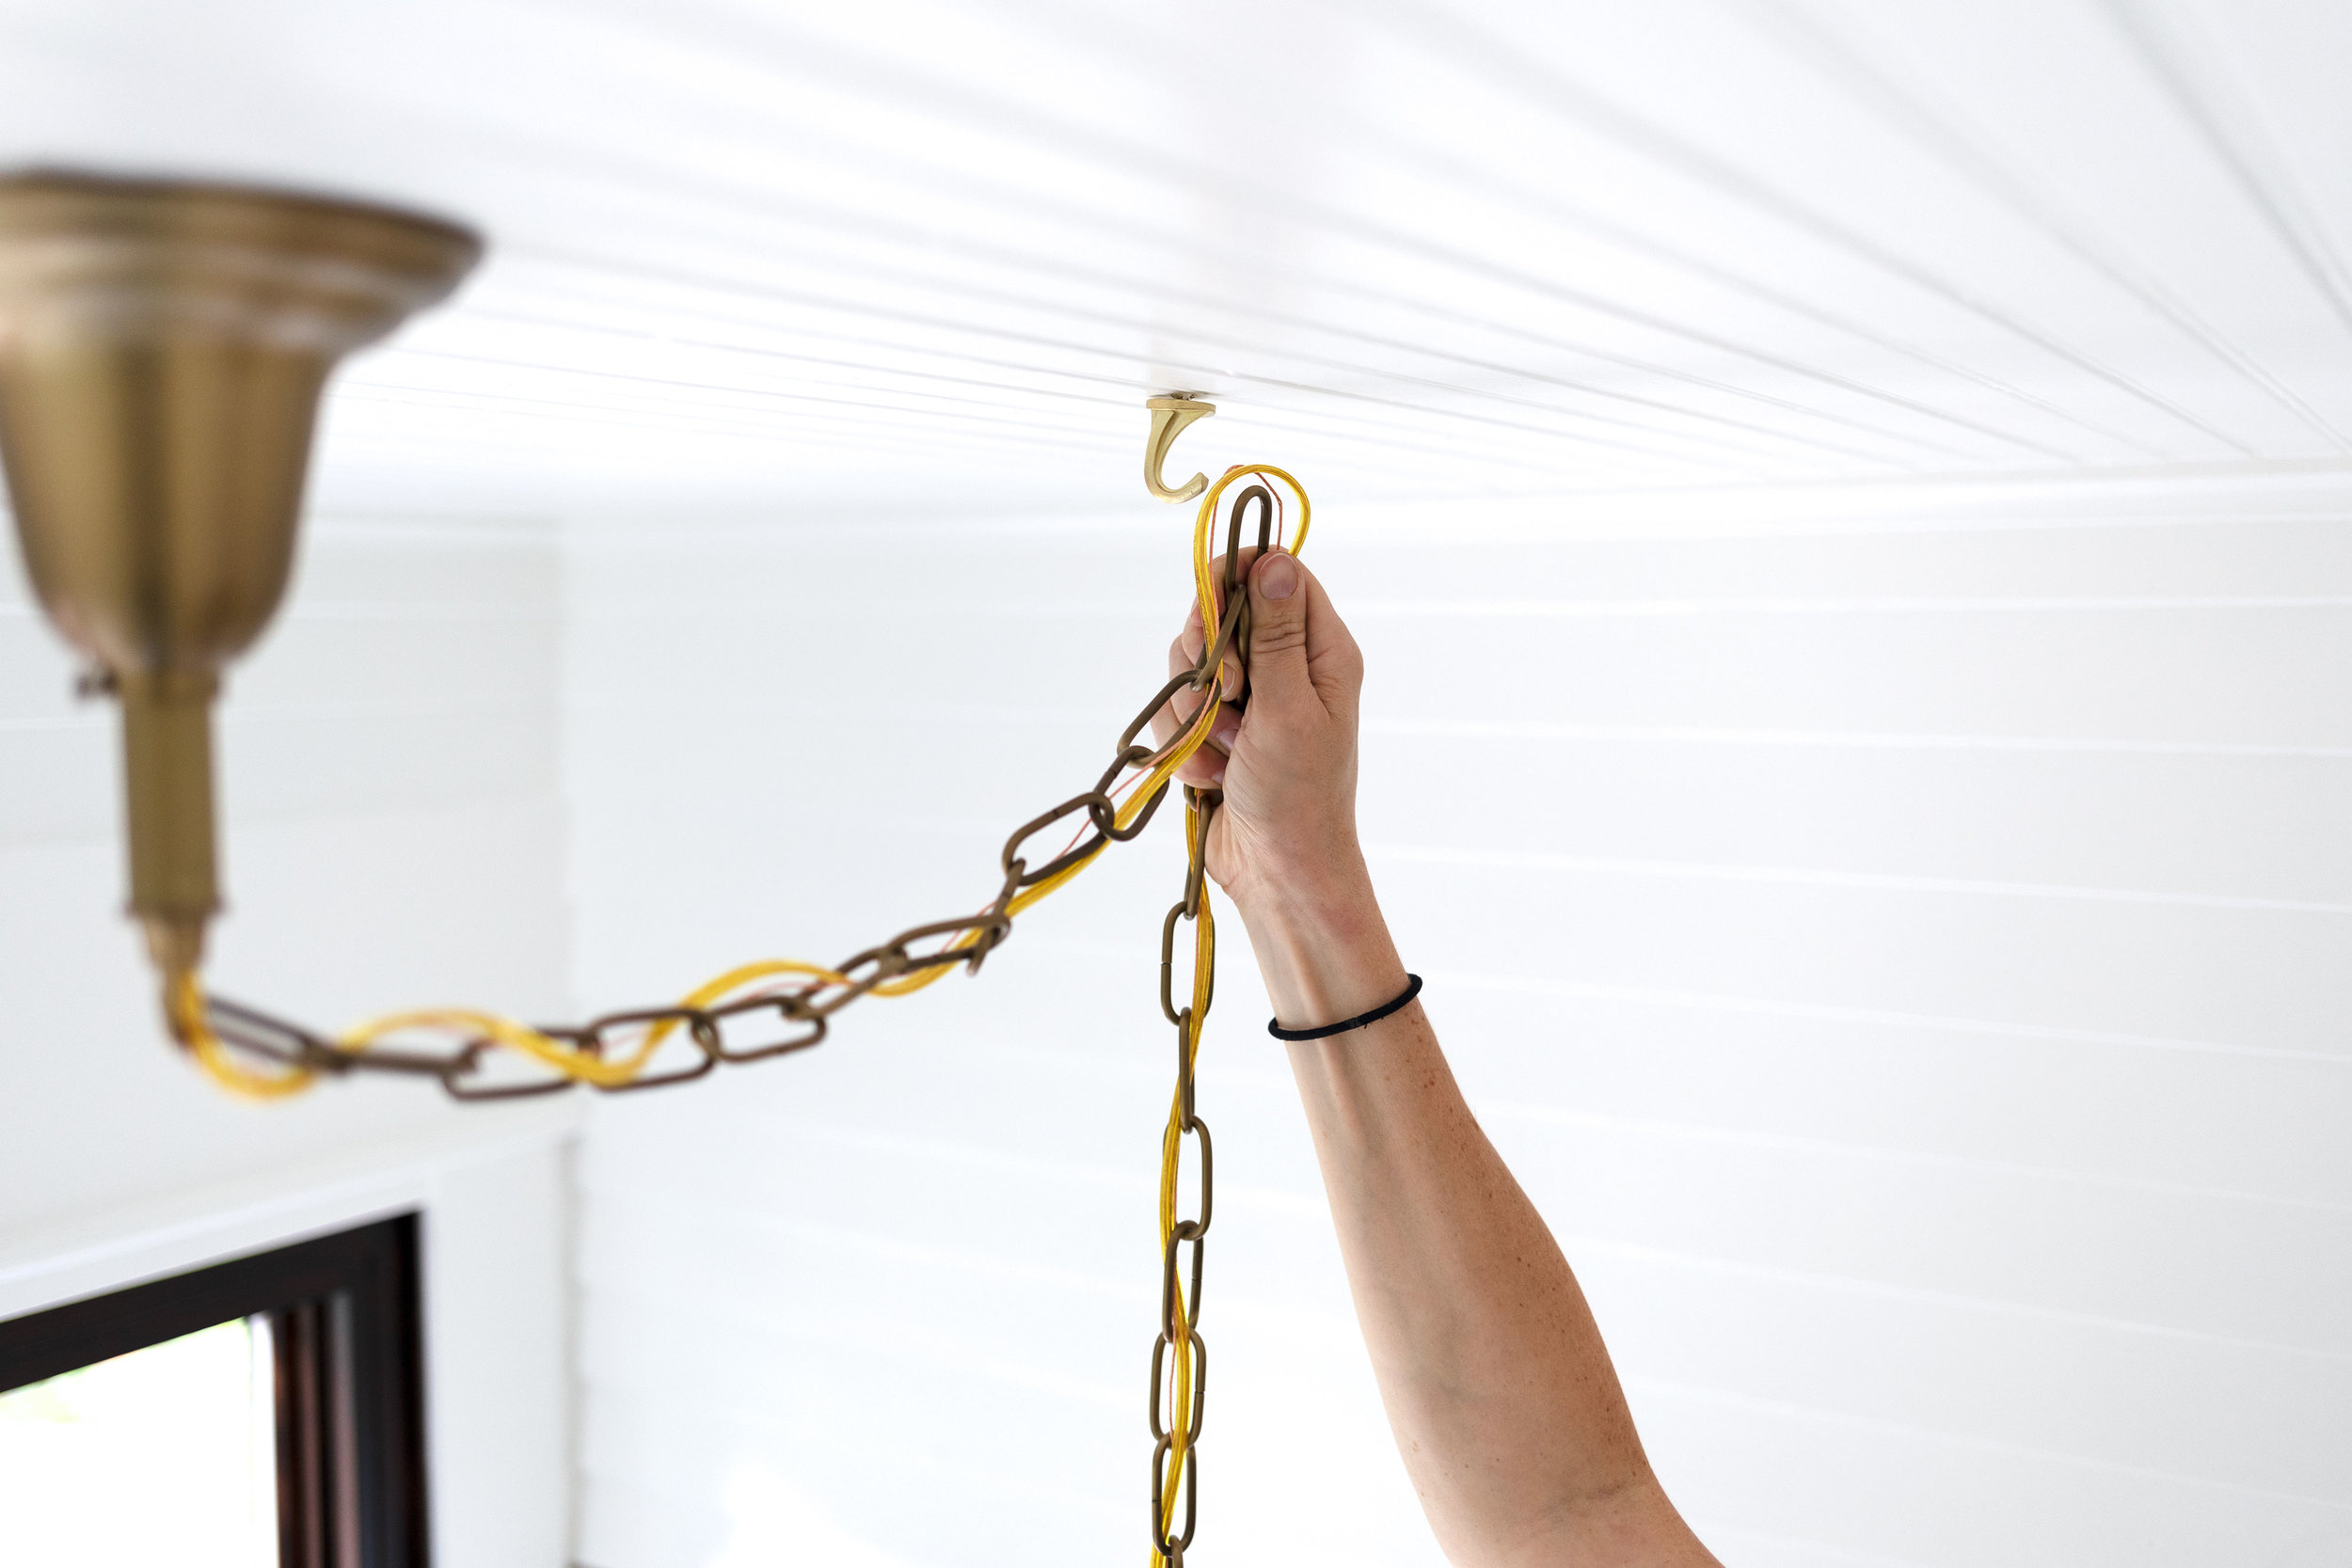
Step 4: Install the hanging mechanism
Now that the lighting fixture is securely attached to the lampshade, it’s time to install the hanging mechanism. Follow these steps to ensure a safe and stable installation:
- Start by determining the desired height at which you want your hanging lamp to be positioned. Measure the distance from the ceiling to this point to determine the length of the hanging mechanism.
- If you are using a ceiling-mounted hook, locate the ideal spot on the ceiling and mark it using a pencil. Ensure that the spot is secure and can support the weight of your hanging lamp.
- Using a drill or appropriate tools, install the ceiling-mounted hook according to the manufacturer’s instructions. Ensure that it is securely attached to the ceiling, taking into consideration the type of ceiling material (wood, drywall, etc.) and using appropriate anchors if necessary.
- If you are using a pendant light kit or a chain and hooks combination, follow the instructions provided to assemble the hanging mechanism. This may involve attaching hooks, chains, and other hardware.
- Once the hanging mechanism is ready, connect it to the mounting bracket on the lampshade. Use appropriate hardware and ensure a secure attachment.
- If you are using a chain, you may need to adjust its length by removing excess links. Use pliers or other tools to detach the desired length of chain.
- With the hanging mechanism properly installed on the lampshade, carefully lift the lamp and align it with the ceiling-mounted hook or the designated hanging spot.
- Gently hang the lamp onto the hook or suspend it from the hanging mechanism, ensuring that it is level and centered.
Take a step back and admire your progress as your hanging lamp now hangs gracefully from the ceiling. In the next step, we will discuss how to properly test and adjust the lighting.
Read more: How To Hang A Swag Lamp
Step 5: Hang the lamp
With the hanging mechanism securely installed, it’s time to hang your lamp in its designated spot. Follow these steps to ensure a safe and balanced hanging:
- Start by carefully lifting the lamp, making sure to support its weight and avoiding any sudden movements.
- Align the hanging mechanism with the ceiling-mounted hook or the designated hanging spot.
- If you are using a ceiling-mounted hook, carefully hook the hanging mechanism onto the hook. Ensure that it is securely attached and well-balanced.
- If you are using a pendant light kit or a chain and hooks combination, follow the instructions provided to properly hang the lamp. Adjust the height as necessary by lengthening or shortening the chain or adjusting the position of the hooks.
- Step back and assess the placement of your hanging lamp. Ensure that it is level and centered in the desired location.
- If needed, make any minor adjustments to the positioning or height of the lamp. This can be done by carefully manipulating the hanging mechanism or making slight changes to the chain or hooks.
- Once you are satisfied with the placement, ensure that all connections and attachments are secure. Double-check that the lamp is properly balanced and does not swing or tilt.
- Take a moment to appreciate your work as your hanging lamp now beautifully adorns your space.
With the lamp safely hung, we are now ready to move on to the final step – testing and adjusting the lighting to achieve the desired ambiance in your room.
Step 6: Test and adjust the lighting
Now that your hanging lamp is securely hung, it’s time to test and adjust the lighting to create the desired ambiance in your room. Follow these steps to ensure you achieve the perfect lighting:
- Turn on the power to the lighting fixture and ensure that the bulb illuminates. If the light does not turn on, double-check that all electrical connections are secure and that the power source is functioning correctly.
- Assess the brightness of the bulb and determine if it provides the desired level of lighting. If you prefer a softer glow, consider switching to a lower wattage bulb or using a dimmer switch if your lighting fixture allows for it.
- Observe the direction of the light. If you want the light to be directed upward, ensure that the lampshade and lighting fixture are positioned accordingly. If you prefer the light to be directed downward, make any necessary adjustments to achieve the desired lighting direction.
- Take a moment to evaluate the spread of light in the room. If the light is concentrated in a specific area, you may need to reposition the lamp or consider using diffusers or shades to create a more even distribution of light.
- Consider the color temperature of the bulb. If you prefer warm, cozy lighting, opt for bulbs with a lower color temperature (around 2700K). For a cooler, crisp lighting, choose bulbs with a higher color temperature (around 4000K or above).
- Once you have assessed the initial lighting, take some time to observe and adjust the lamp’s positioning if necessary. Move around the room and view the lamp from different angles to ensure that it provides the desired aesthetic and functionality.
- Make any necessary adjustments to the height, direction, or positioning of the lampshade or the hanging mechanism to achieve the desired lighting effect.
- Continue to experiment with different bulbs, shades, or accessories to further customize the lighting to your preference.
By testing and adjusting the lighting, you can create the perfect ambiance in your room, enhancing the overall atmosphere and mood. Take your time to ensure that the lighting aligns with your vision and enjoy the beauty and functionality of your homemade hanging lamp!
As we reach the end of this guide, we hope that you have found it informative and inspiring. Remember, creating your own hanging lamp allows you to express your creativity and add a personal touch to your space. Enjoy the process and revel in the satisfaction of having a unique piece that brightens up your home.
Conclusion
Congratulations on successfully creating your own hanging lamp! By following the step-by-step guide in this article, you have transformed a few basic materials into a stunning and personalized lighting fixture. Not only have you saved money, but you have also added a unique touch to your home decor.
Throughout this guide, we walked you through the process of gathering the materials, preparing the lampshade, attaching the lighting fixture, installing the hanging mechanism, hanging the lamp, and finally testing and adjusting the lighting. Each step was designed to ensure a safe and seamless process, allowing you to enjoy your beautiful new hanging lamp with confidence.
Creating a hanging lamp not only provides functional lighting but also adds aesthetic value to your space. You have the freedom to customize the design to match your personal style and the decor of your home. Whether you opted for a sleek and modern lampshade or a more ornate and traditional style, your hanging lamp will undoubtedly become a statement piece in any room.
Remember, as you enjoy the warm glow and admire the beauty of your new lamp, that you have accomplished something remarkable. The satisfaction and sense of achievement in creating an item with your own hands cannot be matched. You have become a DIY expert, capable of transforming everyday materials into something extraordinary.
So, bask in the glory of your creativity and enjoy the enchanting ambiance created by your homemade hanging lamp. Let it serve as a reminder that with a little bit of time, effort, and ingenuity, you can bring your design ideas to life and make your home truly unique.
Thank you for joining us on this journey of making a hanging lamp. We hope that this guide has inspired and empowered you to embark on more DIY projects in the future. Now, go and bask in the warm and inviting glow of your new hanging lamp!
Frequently Asked Questions about How To Make A Hanging Lamp
Was this page helpful?
At Storables.com, we guarantee accurate and reliable information. Our content, validated by Expert Board Contributors, is crafted following stringent Editorial Policies. We're committed to providing you with well-researched, expert-backed insights for all your informational needs.


0 thoughts on “How To Make A Hanging Lamp”