Home>Furniture>Kitchen Furniture>How To Take Knobs Off Of Gas Stove Burners
Kitchen Furniture
How To Take Knobs Off Of Gas Stove Burners
Modified: October 27, 2024
Learn effective techniques and tools to safely remove knobs from gas stove burners with our informative articles. Enhance your kitchen maintenance skills today!
(Many of the links in this article redirect to a specific reviewed product. Your purchase of these products through affiliate links helps to generate commission for Storables.com, at no extra cost. Learn more)
Introduction
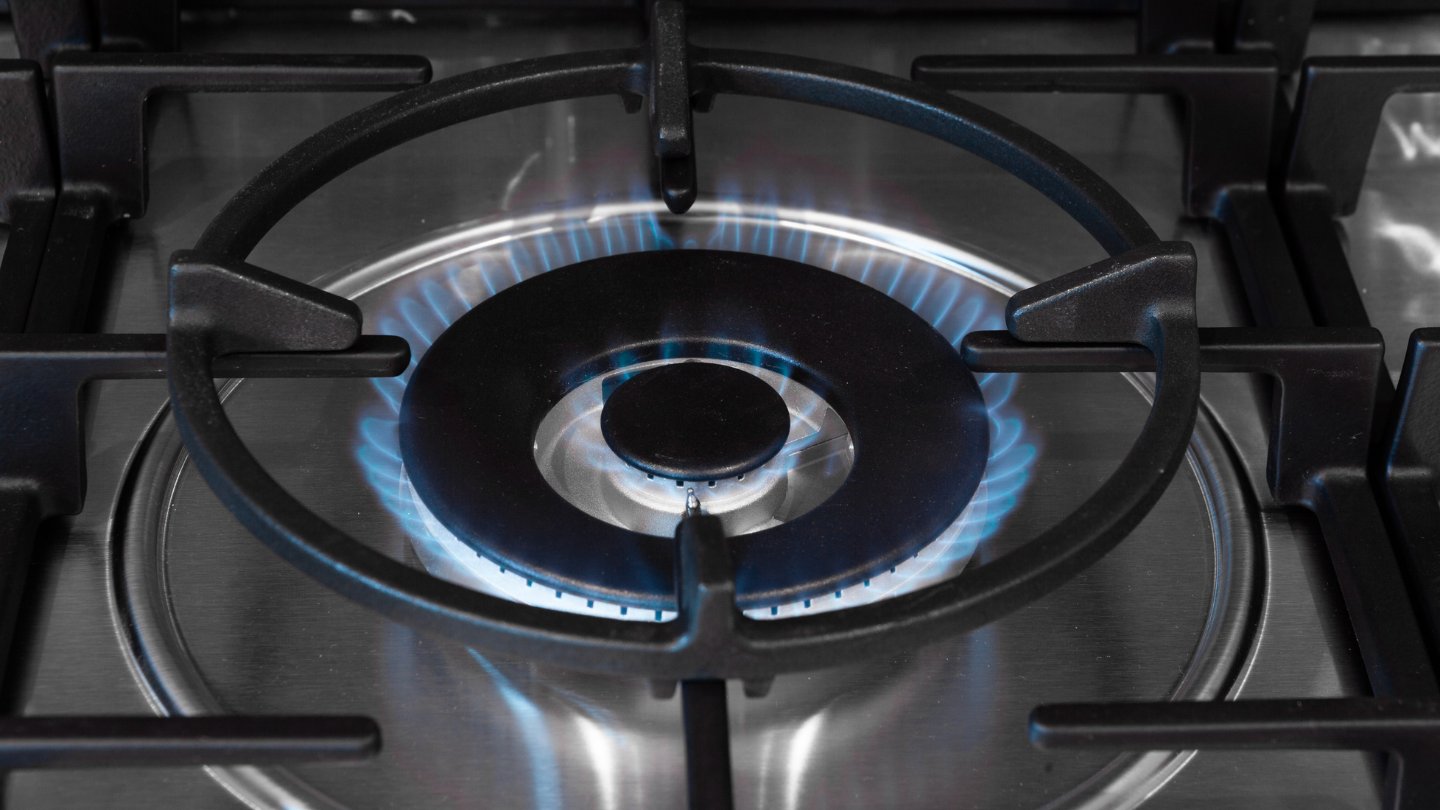
Gas stoves are a popular choice for many homes due to their precise temperature control and quick heating capabilities. However, one common issue that can arise with gas stoves is the knobs becoming stuck or difficult to turn. This can be frustrating and make it challenging to properly adjust the flame on your burners.
Fortunately, there are steps you can take to address this issue and regain control over your gas stove. In this article, we will guide you through the process of safely removing the knobs from your gas stove burners. By following these steps, you can prevent any damage to the knobs or the stove itself while restoring your ability to adjust the flame with ease.
Before we get started, it’s important to note that gas stoves can be potentially hazardous if not handled properly. Always prioritize safety and exercise caution when working with gas appliances. If you’re unsure about any part of the process, it’s best to consult a professional technician.
Now, let’s gather the necessary tools and materials to begin removing those troublesome knobs from your gas stove burners.
Key Takeaways:
- Easily remove and clean gas stove knobs using simple tools and materials, ensuring safe and efficient flame adjustment without damaging the stove.
- Prioritize safety, prepare the area, apply lubricant, and use gentle force to successfully remove and reassemble gas stove knobs for smooth operation.
Read more: How To Use Gas Stove Burners
Tools and Materials Needed
Before you begin the process of removing the knobs from your gas stove burners, it’s essential to have the right tools and materials on hand. Here’s what you’ll need:
- Wrench or pliers: These will help you get a firm grip on the knobs for removal.
- Lubricant: A lubricant such as WD-40 or silicone spray will be necessary to loosen any stuck knobs.
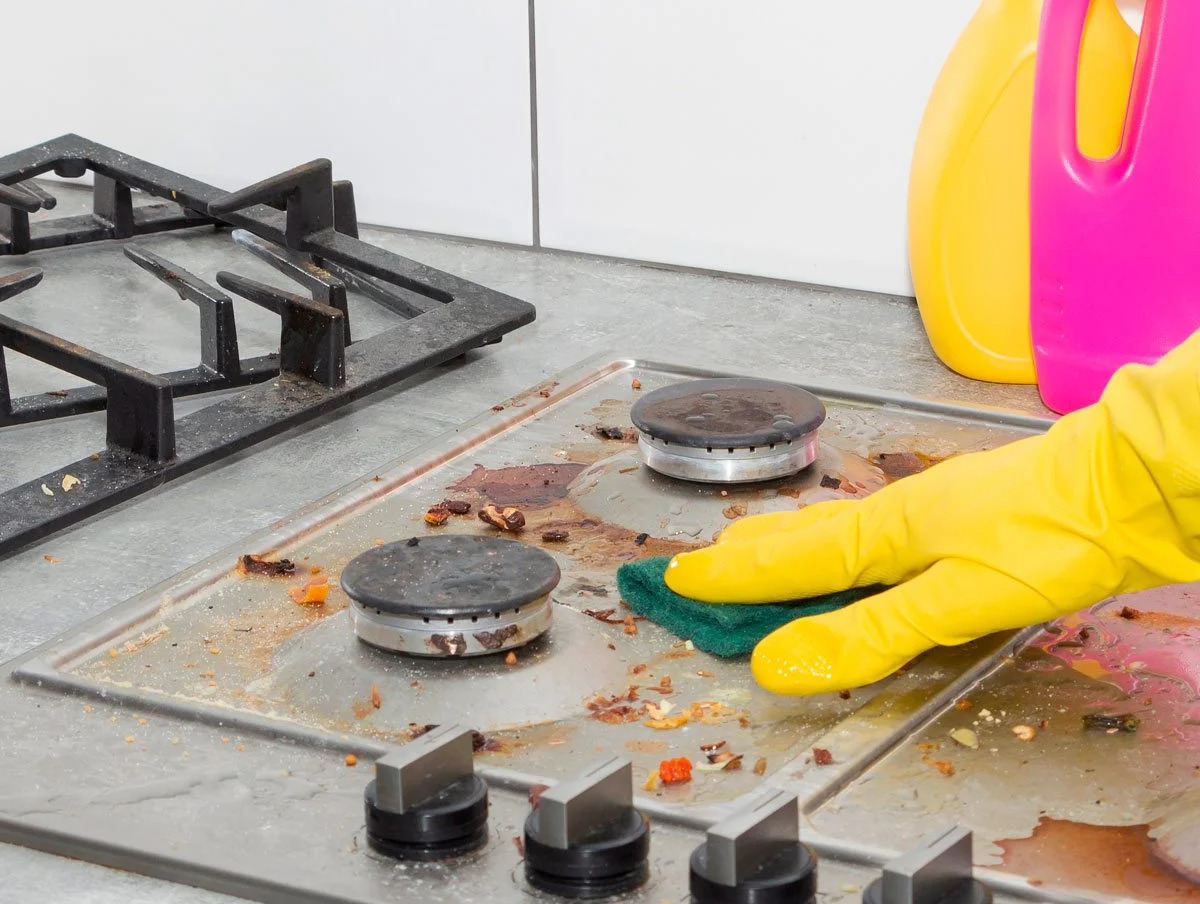
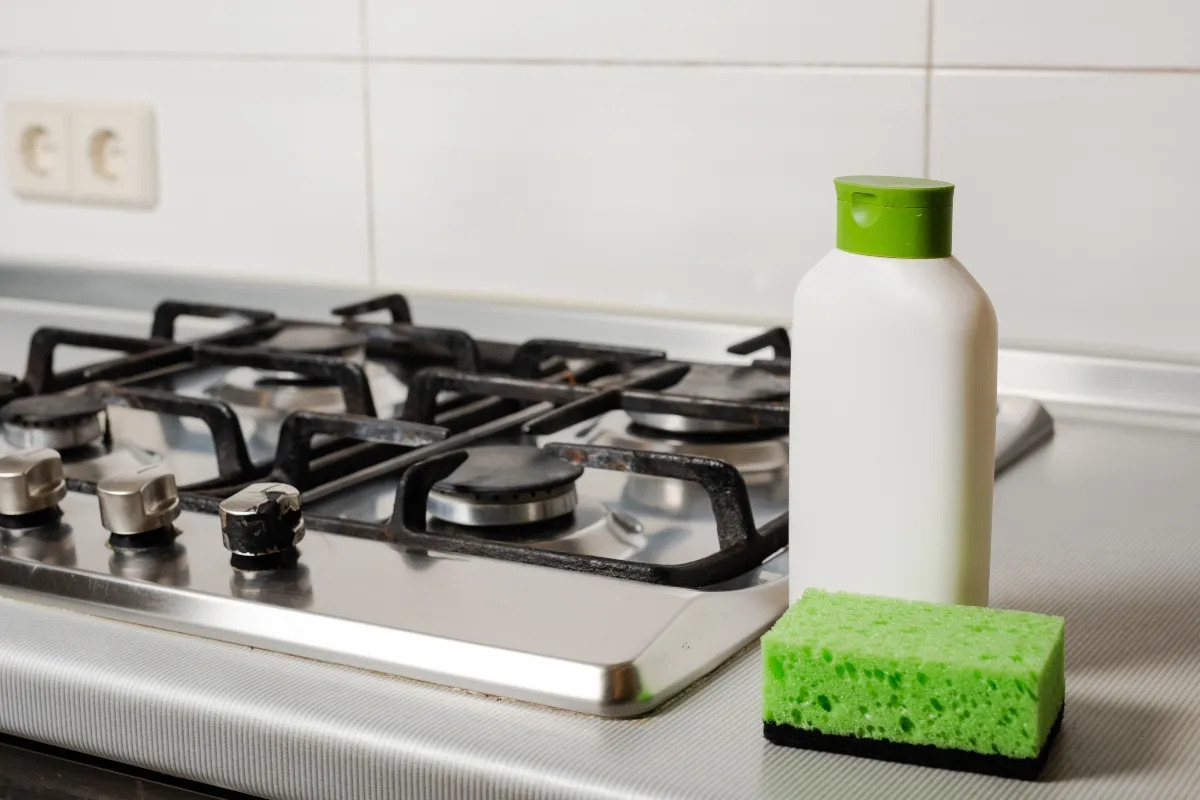
- Clean cloth or sponge: You’ll need this to clean the burner area before and after the knob removal process.
- Mild dish soap: This will be used to clean the parts of the knobs and burners.
- Bucket or basin: You’ll need a container to collect any debris or dirty water that may come off during the cleaning process.
- Paper towel or soft cloth: These will be used to dry the cleaned parts.
Ensure that you have all the tools and materials ready before you start the process. This will save you time and ensure a smooth removal process.
Step 1: Safety Precautions
Before you begin working on your gas stove, it’s important to prioritize safety. Gas appliances can be potentially hazardous, so taking the necessary precautions is crucial. Follow these safety steps:
- Turn off the gas supply: Locate the gas shut-off valve near your stove and turn it off. This will ensure that no gas is flowing while you work on removing the knobs.
- Allow the stove to cool down: Gas stoves can get hot during use, so it’s essential to let them cool down before attempting any maintenance. Wait for the burners to cool completely to avoid any accidental burns.
- Disconnect the power: If your gas stove has an electrical supply, make sure to unplug it from the power source. This will prevent any electrical shocks while working on the stove.
- Wear protective gloves: Put on a pair of protective gloves to prevent any injuries or accidental burns during the removal process.
- Work in a well-ventilated area: Ensure that you have proper ventilation in the kitchen, either by opening windows or turning on an exhaust fan. This will help dissipate any gas fumes that may be present.
By following these safety precautions, you can minimize any potential risks and work on your gas stove with confidence. Once you’ve completed these steps, you’re ready to move on to the next phase of removing the knobs from your gas stove burners.
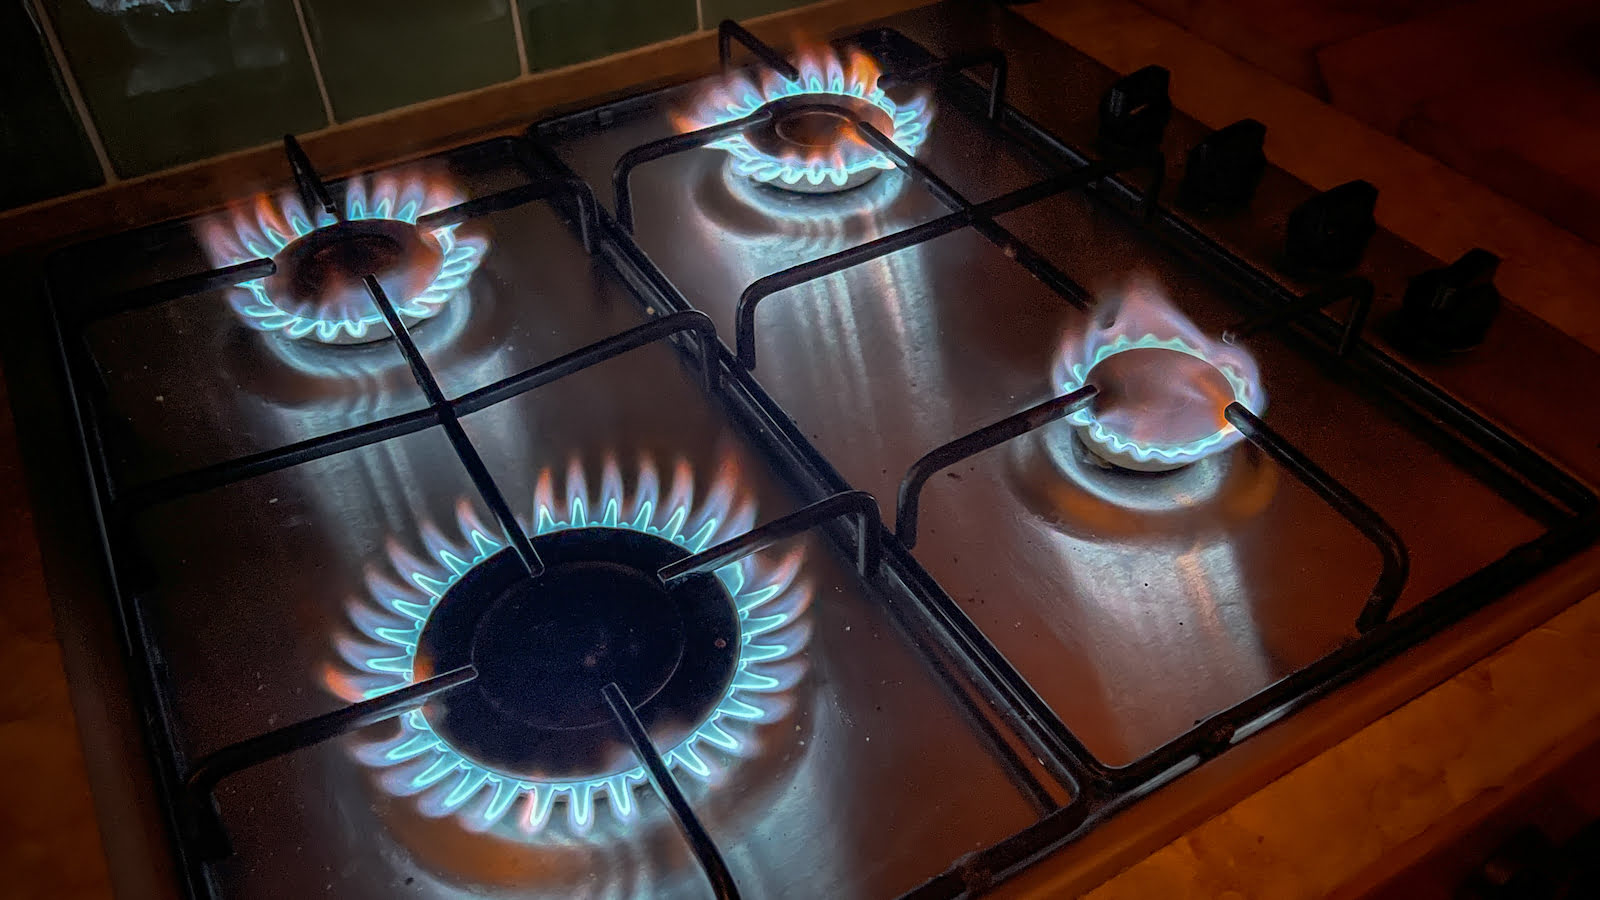
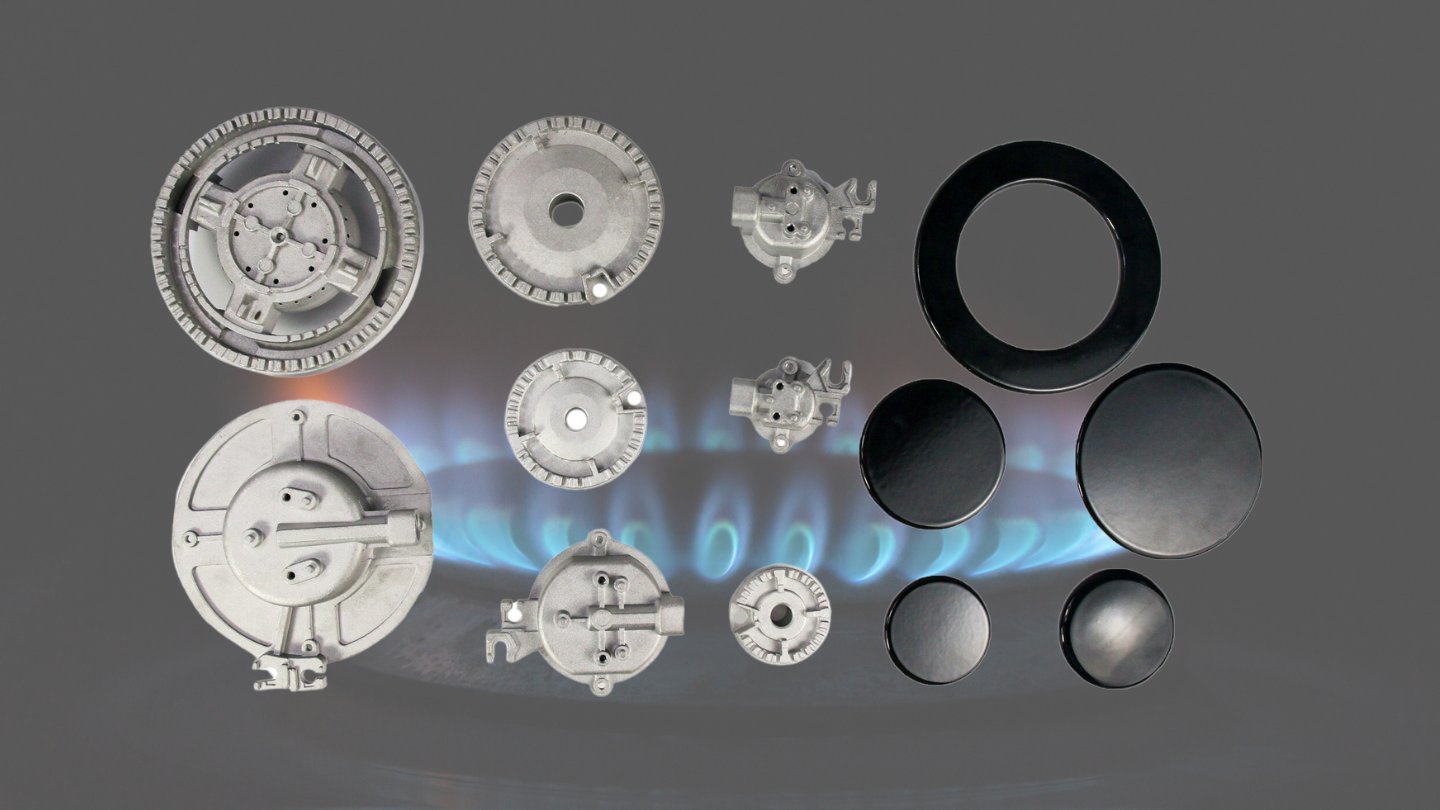
Step 2: Removing the Burner Grates
Before you can access the gas stove knobs, you’ll need to remove the burner grates. Follow these steps:
- Ensure the stove has cooled down: Make sure the burners are completely cool to the touch before proceeding.
- Remove any pots or pans from the stove: Clear the cooking area to ensure you have a safe and clutter-free workspace.
- Lift the burner grates: Carefully lift the burner grates off the stove. Most grates can simply be lifted straight up, while others may require a slight twist or lift-and-pull motion.
- Set the burner grates aside: Place the burner grates in a safe location to avoid any damage or accidental tripping hazards.
Once you’ve successfully removed the burner grates, you’ll have unobstructed access to the gas stove knobs. This allows you to move forward with the process of removing the knobs easily and safely.
Now that the burner grates have been removed, let’s move on to the next step: identifying and locating the knobs.
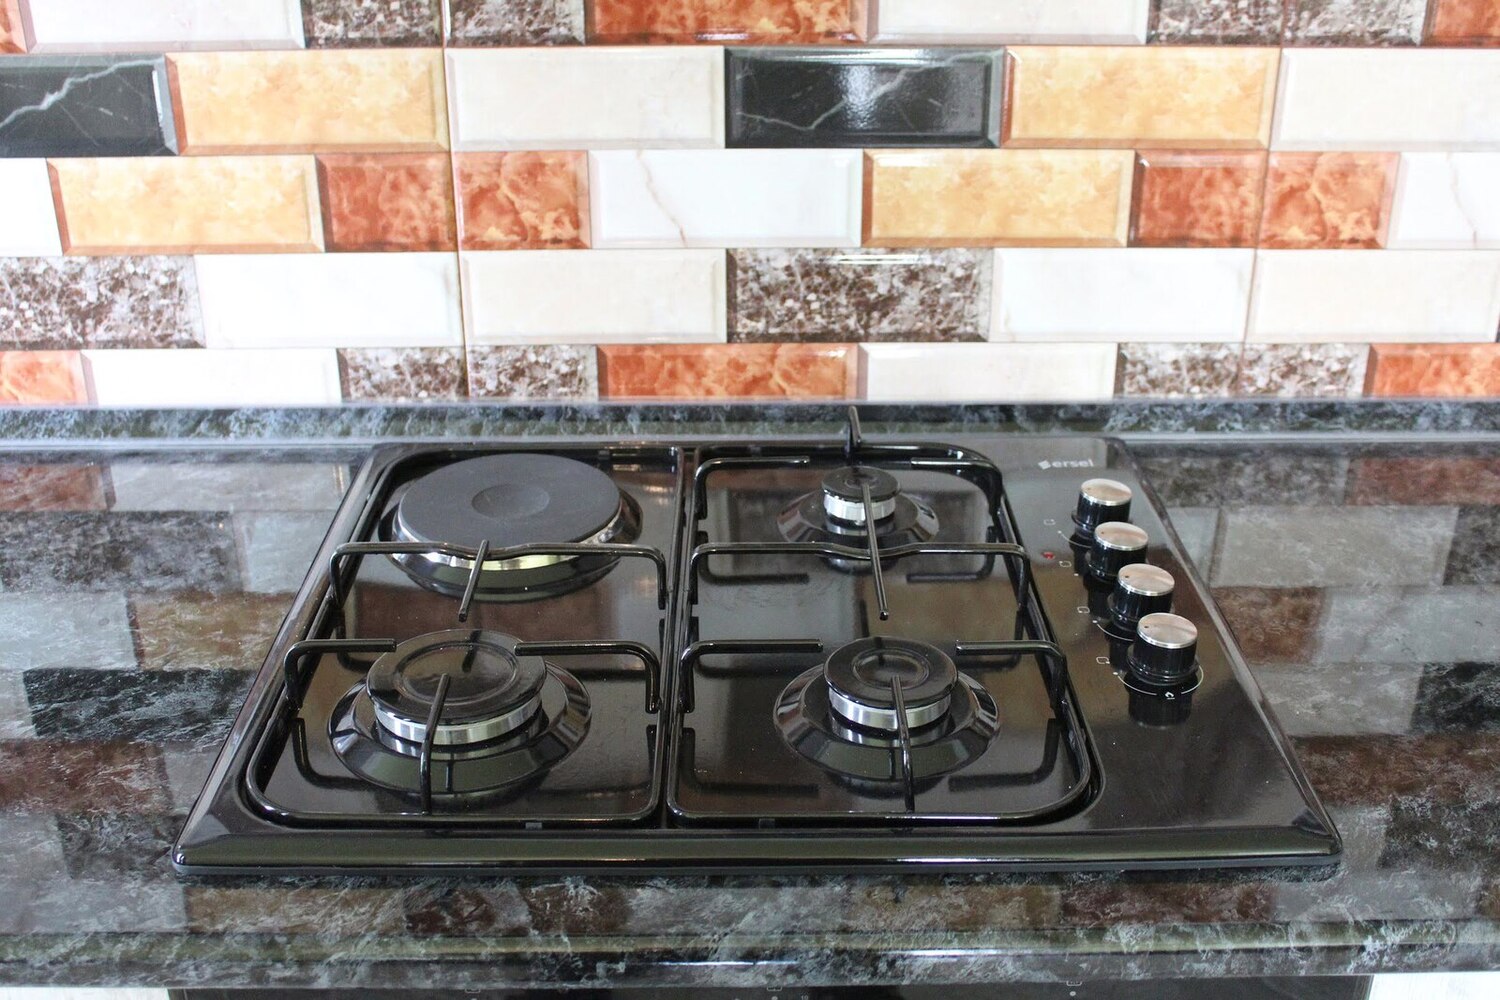
Step 3: Identifying and Locating the Knobs
Now that the burner grates have been removed, it’s time to identify and locate the knobs on your gas stove. Follow these steps:
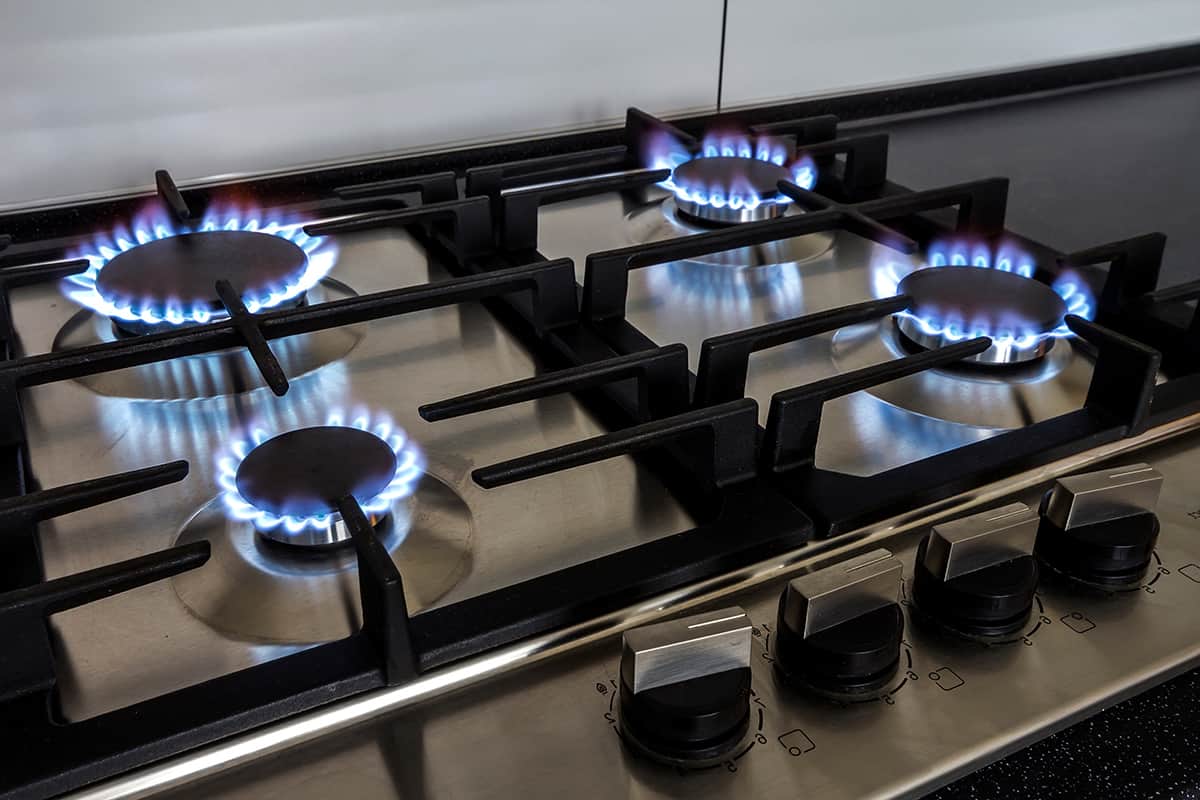
- Inspect the stove surface: Look for the individual burner areas on your stove. Each burner typically has its own knob.
- Identify the control panel: Depending on the type of gas stove you have, the knobs may be positioned on the front or top control panel. Take note of their location.
- Examine the knob design: Different gas stoves may have varying knob designs. Some may have removable knobs, while others might be fixed in place. Get familiar with the design of the knobs on your stove.
It’s important to correctly identify the knobs and their positions to ensure that you work on the correct ones. By doing this, you can remove the knobs without causing any unnecessary damage to your stove.
With the knobs identified and their locations known, you can move on to the next step: preparing the area for knob removal.
Read more: How To Adjust Gas Stove Burners
Step 4: Preparing the Area
Before you start removing the knobs from your gas stove, it’s important to prepare the area to avoid any mess or damage. Follow these steps:
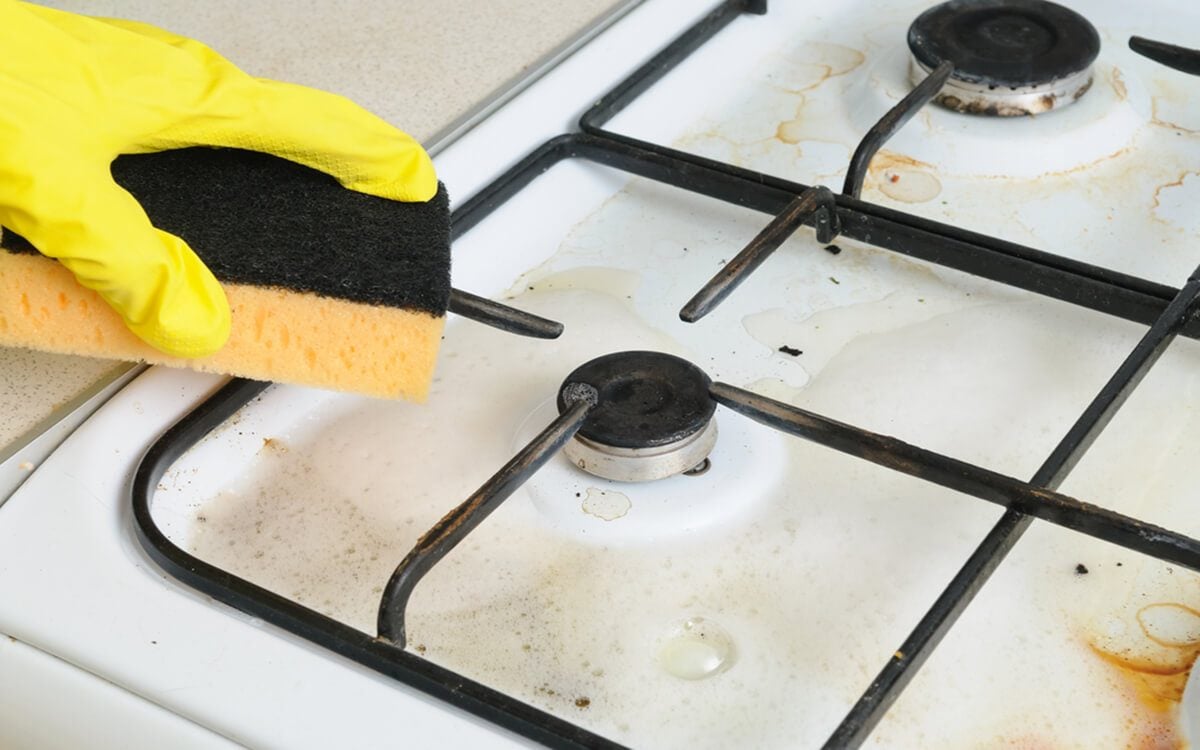
- Clean the surrounding area: Use a clean cloth or sponge to wipe down the burner area and remove any food debris or grease buildup. This will prevent any dirt or grime from falling into the stove during the knob removal process.
- Protect the stove surface: Place a protective covering such as a towel or paper towel on the stove surface to prevent any scratches or damage. This will provide a cushioned surface for you to work on.
- Have a bucket or basin ready: In case any liquid spills or debris falls off during the cleaning process, have a bucket or basin nearby to collect it. This will help to keep your workspace clean and prevent any mess.
Preparing the area properly ensures a clean and organized workspace, making it easier for you to work on removing the knobs. Now that the area is ready, you can proceed to the next step: applying lubricant to the knobs.
Use a flathead screwdriver to gently pry off the knobs from the gas stove burners. If they are stuck, try using a lubricant like WD-40 to loosen them.
Step 5: Applying Lubricant
When the knobs on your gas stove become stuck or difficult to turn, applying lubricant can help loosen them. Follow these steps to effectively apply lubricant to the knobs:
- Choose the right lubricant: Select a lubricant that is safe to use on metal components and is suitable for high temperatures. WD-40 or a silicone-based lubricant work well for this purpose.
- Read the instructions: Before applying the lubricant, read the instructions on the product label for any specific usage guidelines or precautions.
- Shake the lubricant: Give the lubricant container a good shake to ensure it is well mixed and ready for use.
- Apply the lubricant: Spray or apply a small amount of lubricant to the base of each knob. Aim to reach the area where the knob attaches to the stove.
- Allow the lubricant to penetrate: Give the lubricant some time to penetrate and work its way into the knob mechanism. This will help loosen any build-up or friction that may be causing the knobs to stick.
By applying lubricant to the knobs, you’re taking a proactive step towards resolving the sticking issue. Once the lubricant has had enough time to work, you can proceed to the next step: using a wrench or pliers to remove the knobs.
Step 6: Using a Wrench or Pliers
If the knobs on your gas stove are stubborn and won’t come off easily, you may need to use a wrench or pliers for extra grip and leverage. Follow these steps to safely remove the knobs using a wrench or pliers:
- Choose the right tool: Depending on the design of your stove knobs, select an adjustable wrench or a pair of pliers that will provide a firm and secure grip. Ensure that the size of the tool matches the size of the knob.
- Position the tool: Place the jaws of the wrench or pliers around the base of the knob. Make sure it is positioned securely to avoid slipping during the turning process.
- Apply even pressure: Gently apply steady pressure in a counterclockwise direction to loosen the knob. Avoid using excessive force to prevent damaging the knob or the stove.
- Turn the tool: Use the wrench or pliers to turn the knob in a counterclockwise direction. Keep a firm grip to ensure controlled movement.
- Continue turning until loose: Keep turning the tool until the knob becomes loose. Once it’s loose, you should be able to easily remove it by pulling it straight towards you.
Using a wrench or pliers can be a helpful technique for removing stubborn knobs. However, be cautious not to apply too much force, as this can cause damage. If you encounter any difficulties or resistance, stop and reassess the situation or seek professional assistance.
Once you’ve successfully removed the knobs from your gas stove, you can move on to the next step: cleaning and reassembling the burners.
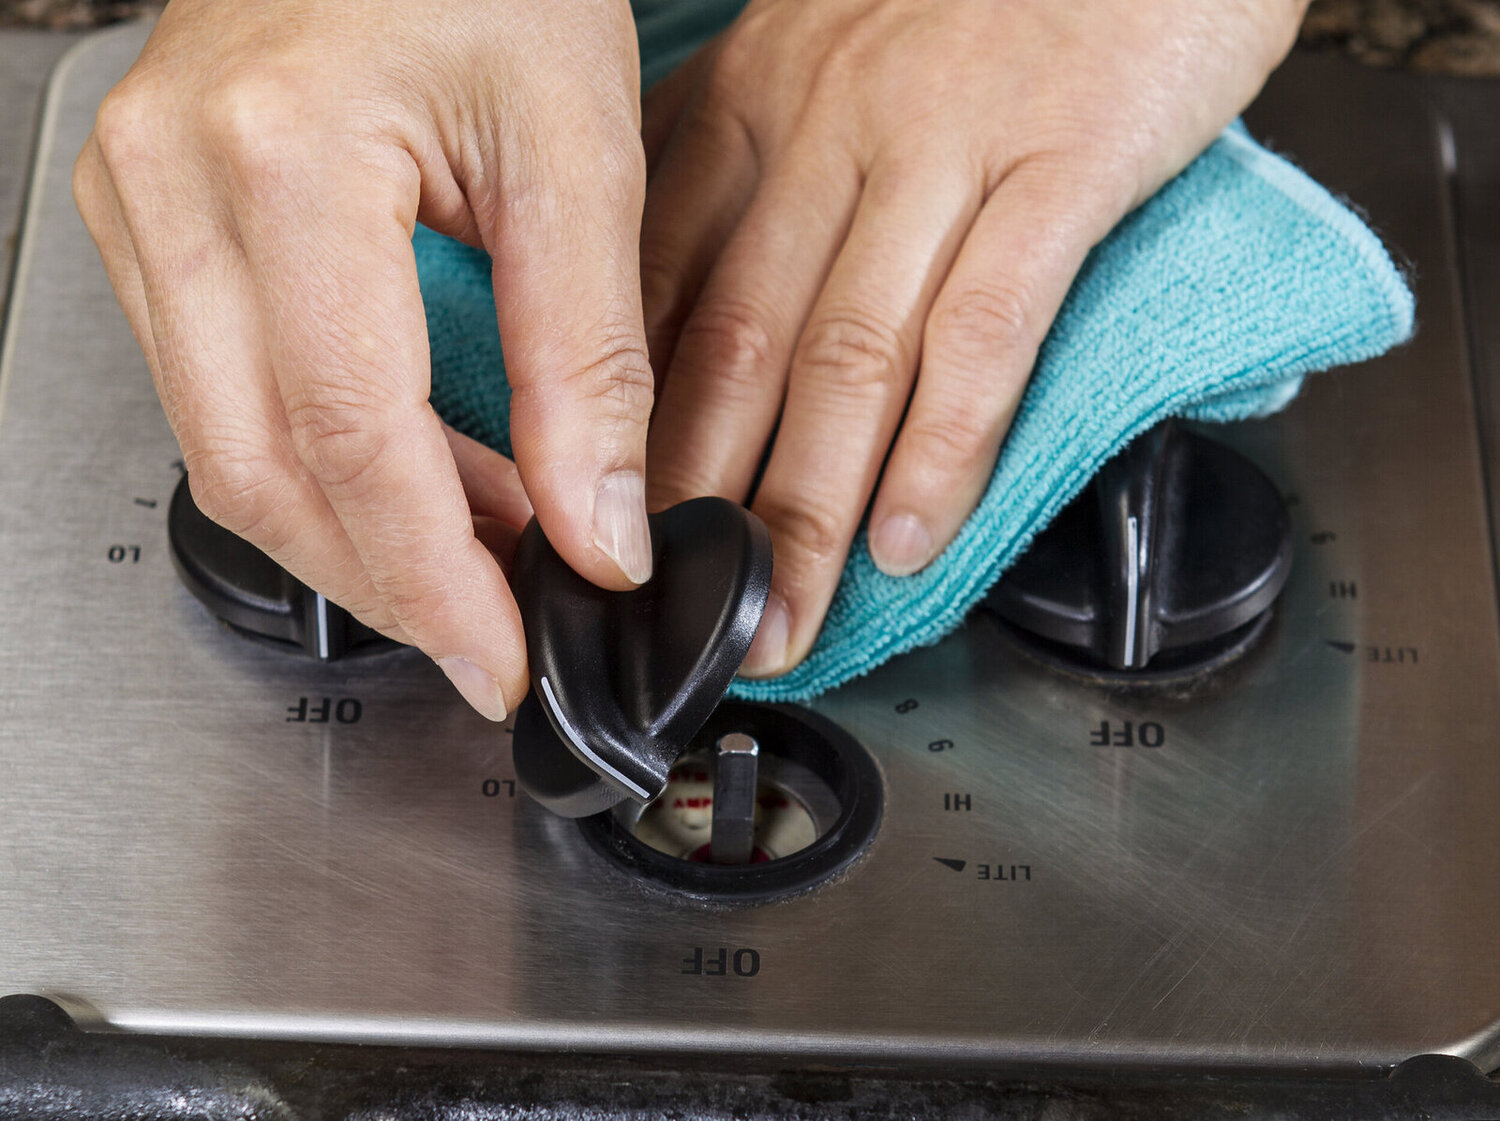
Step 7: Removing the Knobs
With the lubricant applied and the tools ready, it’s time to remove the knobs from your gas stove. Follow these steps to safely remove the knobs:
- Hold the knob securely: Place one hand firmly around the base of the knob to provide stability and prevent any unnecessary movement.
- Use the other hand or a tool: With your other hand, or using a wrench or pliers, grip the knob firmly at the base and turn it counterclockwise.
- Apply steady pressure: Rotate the knob smoothly and steadily, ensuring that the force is applied evenly. Avoid using excessive force, as this can damage the knob or the stove.
- Continue turning until loose: Keep turning the knob counterclockwise until it becomes loose and can be easily pulled straight towards you.
- Repeat for other knobs: Follow the same steps for each remaining knob, removing them one by one until all the knobs are detached.
By following these steps, you should be able to safely and successfully remove the knobs from your gas stove. Take your time and be mindful of avoiding any unnecessary force or jerking motions that could cause damage.
With the knobs removed, you can now proceed to the final step: cleaning and reassembling the burners.
Read more: How To Fix Gas Stove Burners
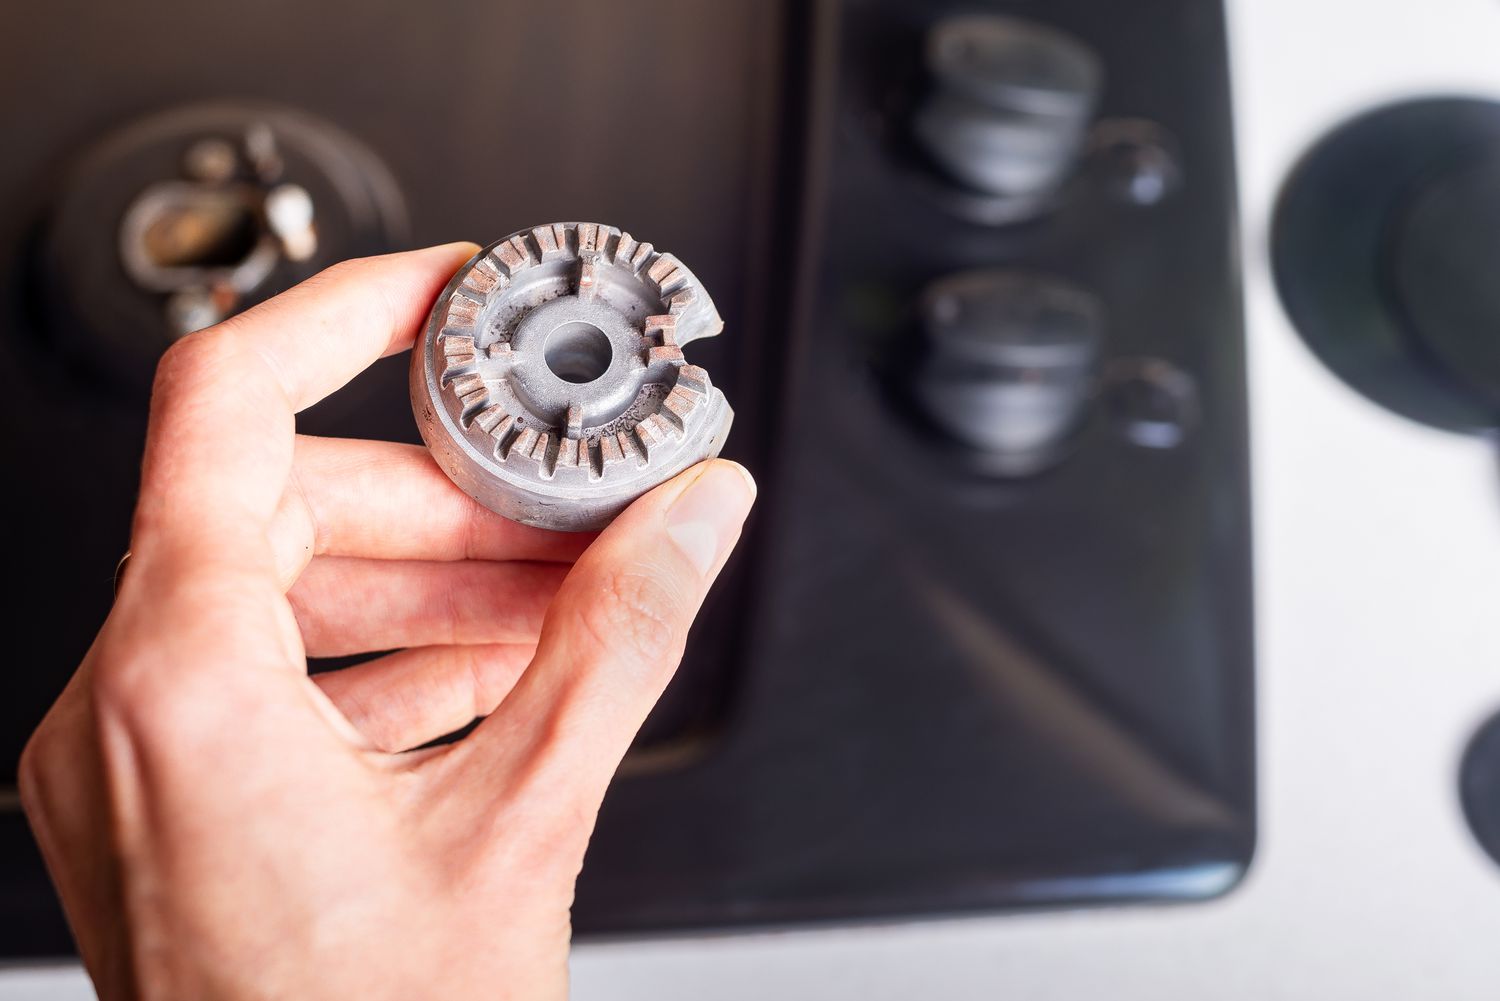
Step 8: Cleaning and Reassembling the Burners
Now that you have successfully removed the knobs from your gas stove, it’s time to clean and reassemble the burners. Follow these steps for a thorough cleaning and seamless reassembly:
- Clean the knobs: Use a mild dish soap and warm water to clean the knobs. Gently scrub away any grease or buildup and rinse them thoroughly. Dry the knobs with a paper towel or soft cloth before reassembling.
- Clean the burner grates: Take this opportunity to clean the burner grates using warm, soapy water. Remove any food debris or grease and scrub lightly. Rinse them well and allow them to air dry completely.
- Clean the burner area: Wipe down the burner area with a clean cloth or sponge. Pay attention to any dirt or residue that may have accumulated. Ensure that the area is clean and dry before reassembling.
- Place the burner grates back: Once the burner grates are dry, carefully place them back into their respective positions on the stove. Ensure that they are aligned properly and seated securely.
- Reattach the knobs: Take each knob and align it with its corresponding post on the stove. Push the knob firmly onto the post and twist it clockwise to tighten it. Ensure that each knob is secured tightly and doesn’t wobble.
By following these cleaning and reassembling steps, you’re not only maintaining the cleanliness of your gas stove but also ensuring that the knobs are securely attached. This will allow for smooth and reliable operation in the future.
With the knobs cleaned and reassembled, you have successfully completed the process of removing, cleaning, and reattaching the knobs on your gas stove. Now you can enjoy the convenience and ease of adjusting the flame on your burners without any hassle!
Conclusion
Removing the knobs from your gas stove burners may seem like a daunting task at first, but with the right tools, materials, and steps, it can be a relatively straightforward process. By following the steps outlined in this article, you can safely and effectively remove the knobs, address any sticking issues, and regain control over your gas stove’s flame adjustment.
Remember to always prioritize safety when working with gas appliances. Before beginning any maintenance work, ensure that the gas supply is turned off, the stove has cooled down, and the power is disconnected. Wearing protective gloves and working in a well-ventilated area are also essential during the process.
By preparing the area, applying lubricant, and utilizing tools such as a wrench or pliers, you can overcome any difficulty in removing the knobs. Cleaning the knobs and burner grates is crucial to maintain hygiene and prevent any residue build-up that could affect performance.
Once you have cleaned and reassembled the burners, you can enjoy the benefits of a fully functional gas stove with smooth knob adjustment. Remember to exercise caution, patience, and gentle force throughout the process to avoid any damage to the knobs or the stove itself.
If you’re ever unsure about any step or encounter any issues, it’s always wise to consult a professional technician who can provide expert guidance and assistance.
We hope this article has provided you with valuable insights on how to remove the knobs from your gas stove burners. By following these steps, you can maintain and restore the functionality of your gas stove, ensuring a delightful cooking experience for years to come.
Now that you've mastered removing knobs from gas stove burners, why not dive deeper into other home improvement skills? Check out our guide on DIY home improvement to tackle projects that transform your living space without breaking the bank. For those keen on maintaining cleanliness, our cleaning tips for refrigerators will ensure your appliance is spotless and odor-free. Keep your home in top shape with these essential skills and practical advice.
Frequently Asked Questions about How To Take Knobs Off Of Gas Stove Burners
Was this page helpful?
At Storables.com, we guarantee accurate and reliable information. Our content, validated by Expert Board Contributors, is crafted following stringent Editorial Policies. We're committed to providing you with well-researched, expert-backed insights for all your informational needs.

0 thoughts on “How To Take Knobs Off Of Gas Stove Burners”