Articles
How To Adjust Gas Stove Burners
Modified: October 27, 2024
Learn how to adjust gas stove burners with our informative articles. Find step-by-step instructions and troubleshooting tips to ensure your burners are working efficiently.
(Many of the links in this article redirect to a specific reviewed product. Your purchase of these products through affiliate links helps to generate commission for Storables.com, at no extra cost. Learn more)
Introduction
Gas stoves are a common fixture in many kitchens, providing a reliable and efficient means of cooking. However, over time, the burners on a gas stove may require adjustment to ensure optimal performance. Adjusting the burners not only improves the flame quality but also ensures even heating and prevents the formation of soot or carbon deposits.
In this article, we will guide you through the process of adjusting gas stove burners, step by step. But before we dive into the details, it’s important to highlight some safety precautions to follow. Working with gas appliances requires caution and awareness to prevent accidents and ensure your well-being.
So, grab your tools and let’s get started!
Key Takeaways:
- Prioritize safety by following crucial precautions such as proper ventilation, turning off the gas supply, and wearing protective gear when adjusting gas stove burners. Safety first, always!
- Enhance stove performance by adjusting burner flames and cleaning components regularly. This ensures even heating, efficient fuel consumption, and a reliable cooking experience. Keep those burners in top shape!
Read more: How To Use Gas Stove Burners
Safety Precautions
Before proceeding with any adjustments to your gas stove burners, it’s essential to prioritize your safety. Here are some important safety precautions to keep in mind:
- Ensure proper ventilation: Make sure your kitchen is well-ventilated. Open windows or turn on the exhaust fan to allow any gas fumes to dissipate.
- Turn off the gas supply: Before working on the burners, ensure that the gas supply is turned off. Locate the gas shut-off valve, typically found behind or beneath the appliance, and turn it to the “Off” position.
- Allow time for cooling: Give the stove enough time to cool down before starting any adjustments. This will prevent burn injuries.
- Wear protective gear: To protect yourself from any potential accidents, wear gloves and safety goggles. This will prevent burns and possible eye irritation.
- Keep flammable materials away: Make sure to remove any flammable items such as paper towels, kitchen towels, and cleaning products from the vicinity of the stove.
- Have a fire extinguisher nearby: As an extra precaution, keep a fire extinguisher nearby in case of emergencies. Ensure that it is functioning properly and that you are familiar with its operation.
By following these safety precautions, you can mitigate the risks associated with working on gas stoves and ensure a safe environment for yourself and others.
Step 1: Gather Necessary Tools
Before you start adjusting your gas stove burners, it is important to gather all the necessary tools. Having these tools on hand will make the process easier and more efficient. Here is a list of tools you will need:
- Adjustable wrench: This tool will help you loosen or tighten any nuts or bolts on the gas stove.
- Screwdriver: A screwdriver is essential for removing screws on the burner grates or caps.
- Needle-nose pliers: These pliers are useful for gripping and manipulating small components of the burners.
- Cloth or sponge: You will need a soft cloth or sponge to clean the burners and components.
- Mild detergent or cleaning solution: To remove any grease or grime from the burners, you will need a mild detergent or cleaning solution.
Make sure that you have all these tools handy before you start adjusting the burners. This will save you time and ensure a smooth process.
Step 2: Turn Off the Gas Supply
Before you begin any work on your gas stove, it is crucial to turn off the gas supply to ensure your safety. Here’s how to do it:
- Locate the gas shut-off valve: The gas shut-off valve is typically located behind the stove or beneath the appliance. It is usually a lever or a knob that can be turned.
- Turn the gas shut-off valve to the “Off” position: Rotate the lever or knob to the “Off” position. This will stop the flow of gas to the burners.
- Verify that the gas is turned off: To ensure that the gas supply is completely shut off, try turning on one of the burners. If no gas comes out, it means the gas supply has been successfully turned off.
By turning off the gas supply, you eliminate the risk of accidental gas leaks while working on the burners. Remember, safety should always be the top priority when dealing with gas appliances.
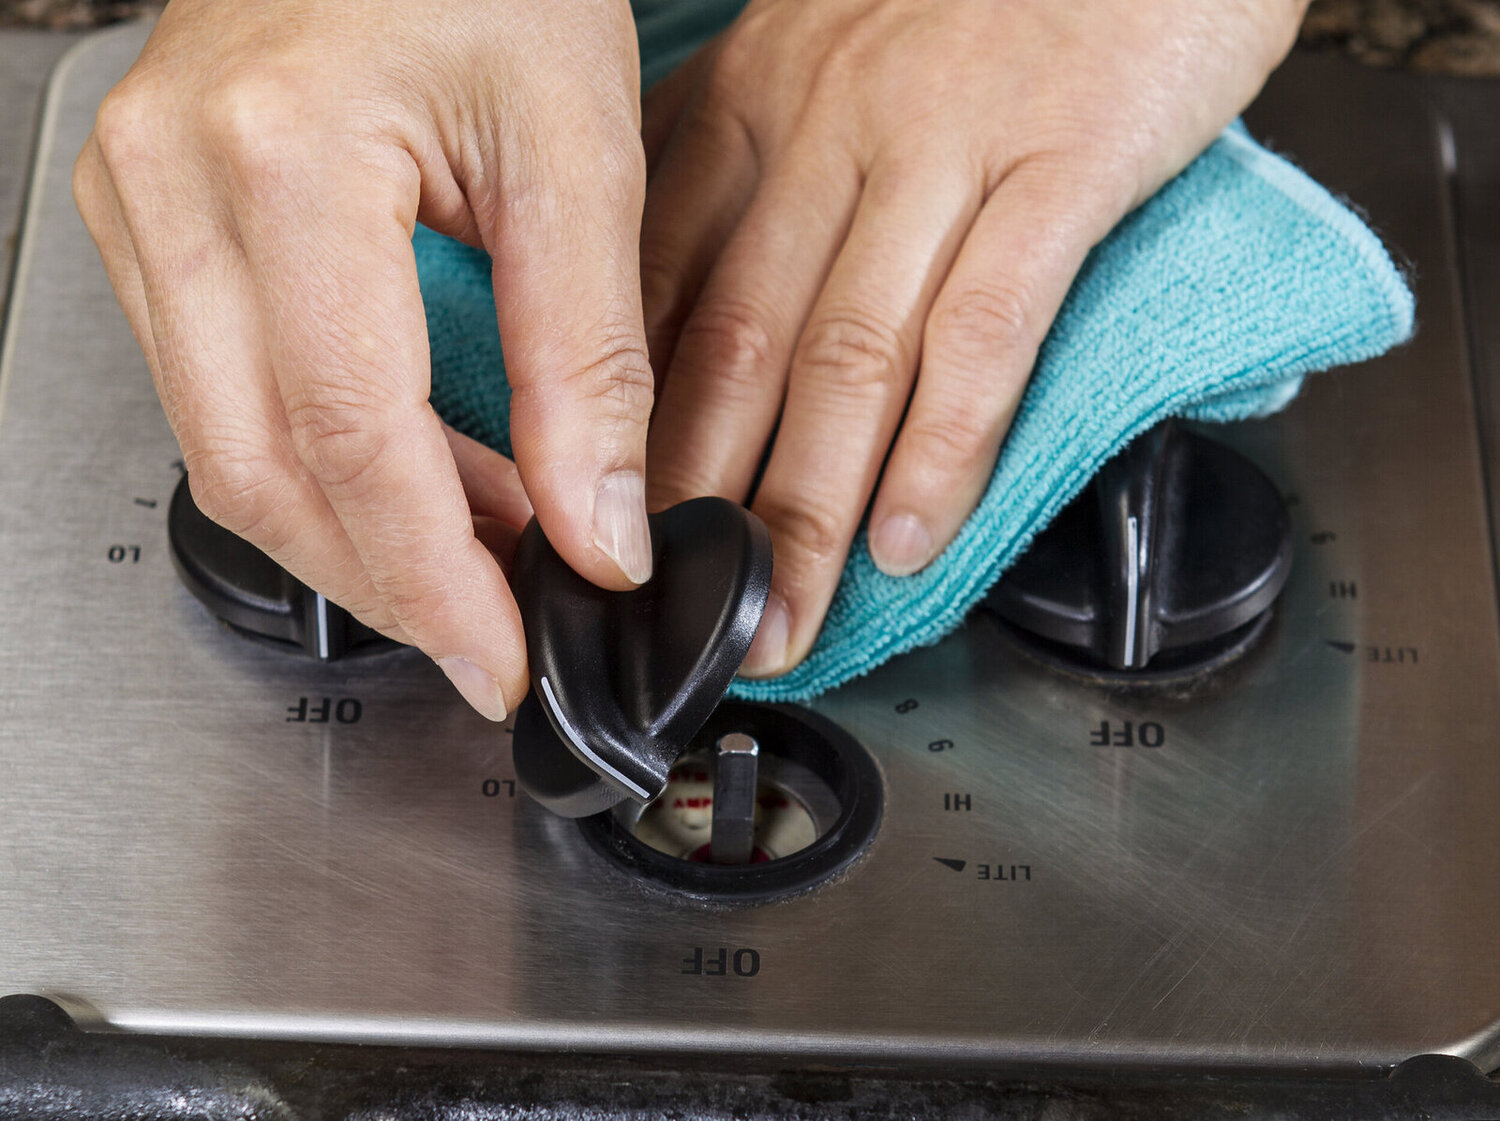
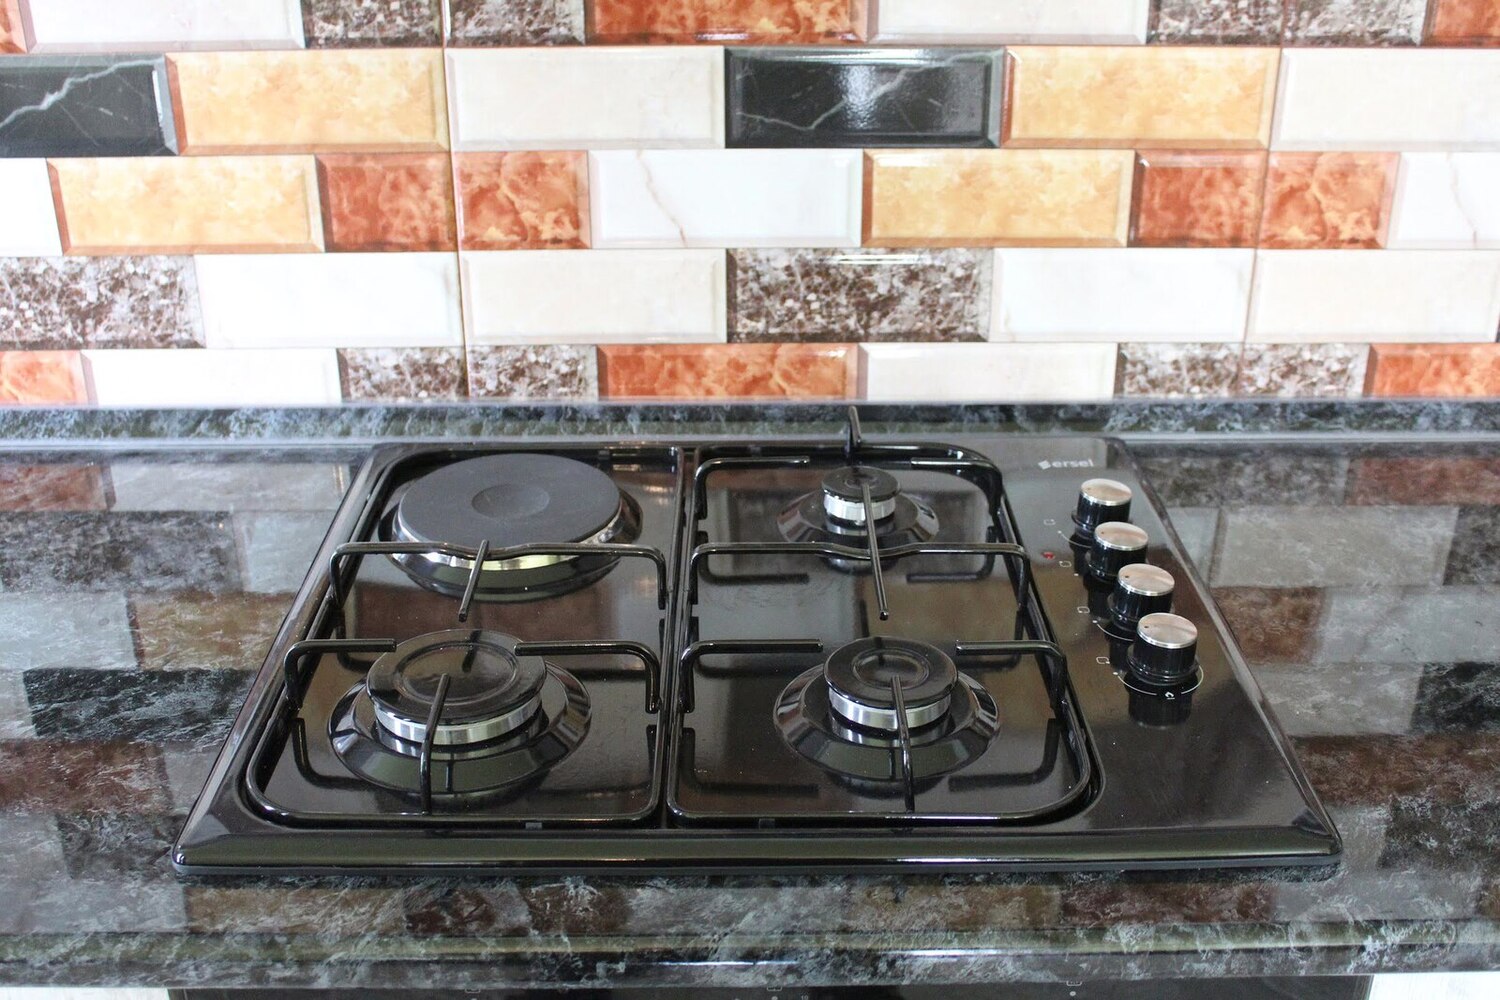
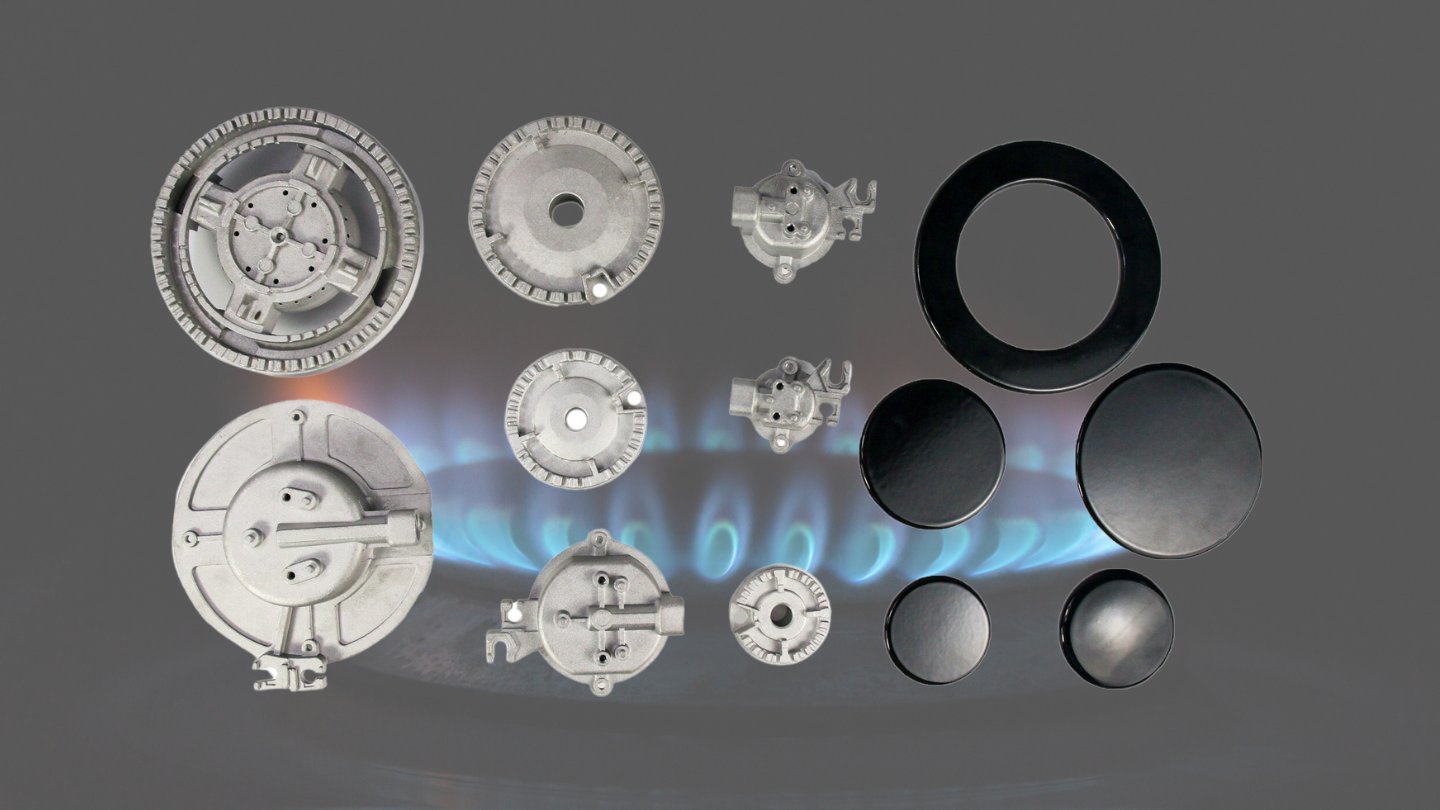
Step 3: Remove the Burner Grates and Caps
With the gas supply turned off and the necessary tools at hand, it’s time to move on to the next step: removing the burner grates and caps. Follow these instructions:
- Allow the stove to cool down: Make sure the stove is cool to the touch before proceeding with this step. This will prevent any risk of burns.
- Remove any cookware or debris: Clear the stove of any pots, pans, or debris to get clear access to the burners.
- Lift the burner grates: Gently lift and remove the burner grates from the stove surface. These grates typically cover the burners and provide support for the cookware.
- Take off the burner caps: After removing the grates, carefully lift off the burner caps. The burner cap is the removable component that sits on top of the burner base.
Some gas stoves may have individual burner caps and grates, while others may have a single unit covering multiple burners. However, the basic process of removing them remains the same.
By removing the burner grates and caps, you gain access to the burners themselves, making it easier to adjust the flame and clean the components thoroughly.
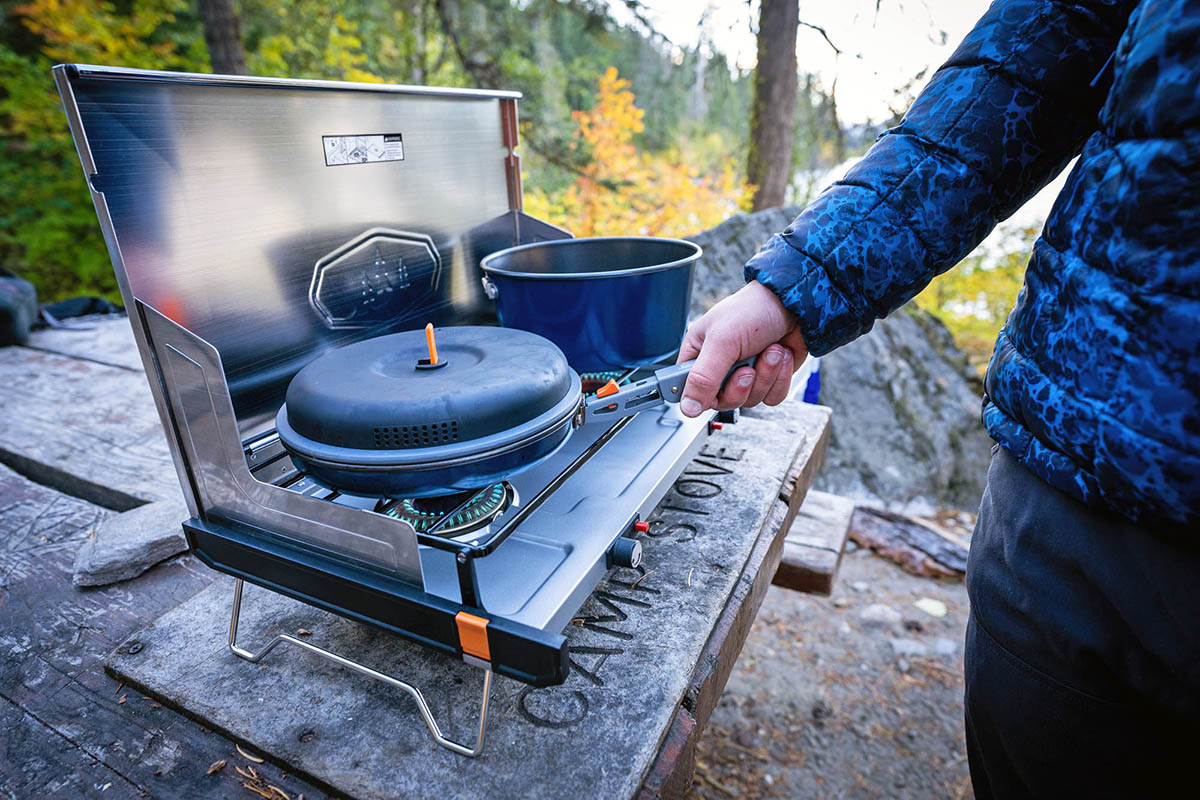
Use a screwdriver to adjust the flame on your gas stove burners. Turn the screw on the burner clockwise to increase the flame and counterclockwise to decrease it. Always make small adjustments and test the flame to ensure it’s at the desired level.
Read more: How To Fix Gas Stove Burners
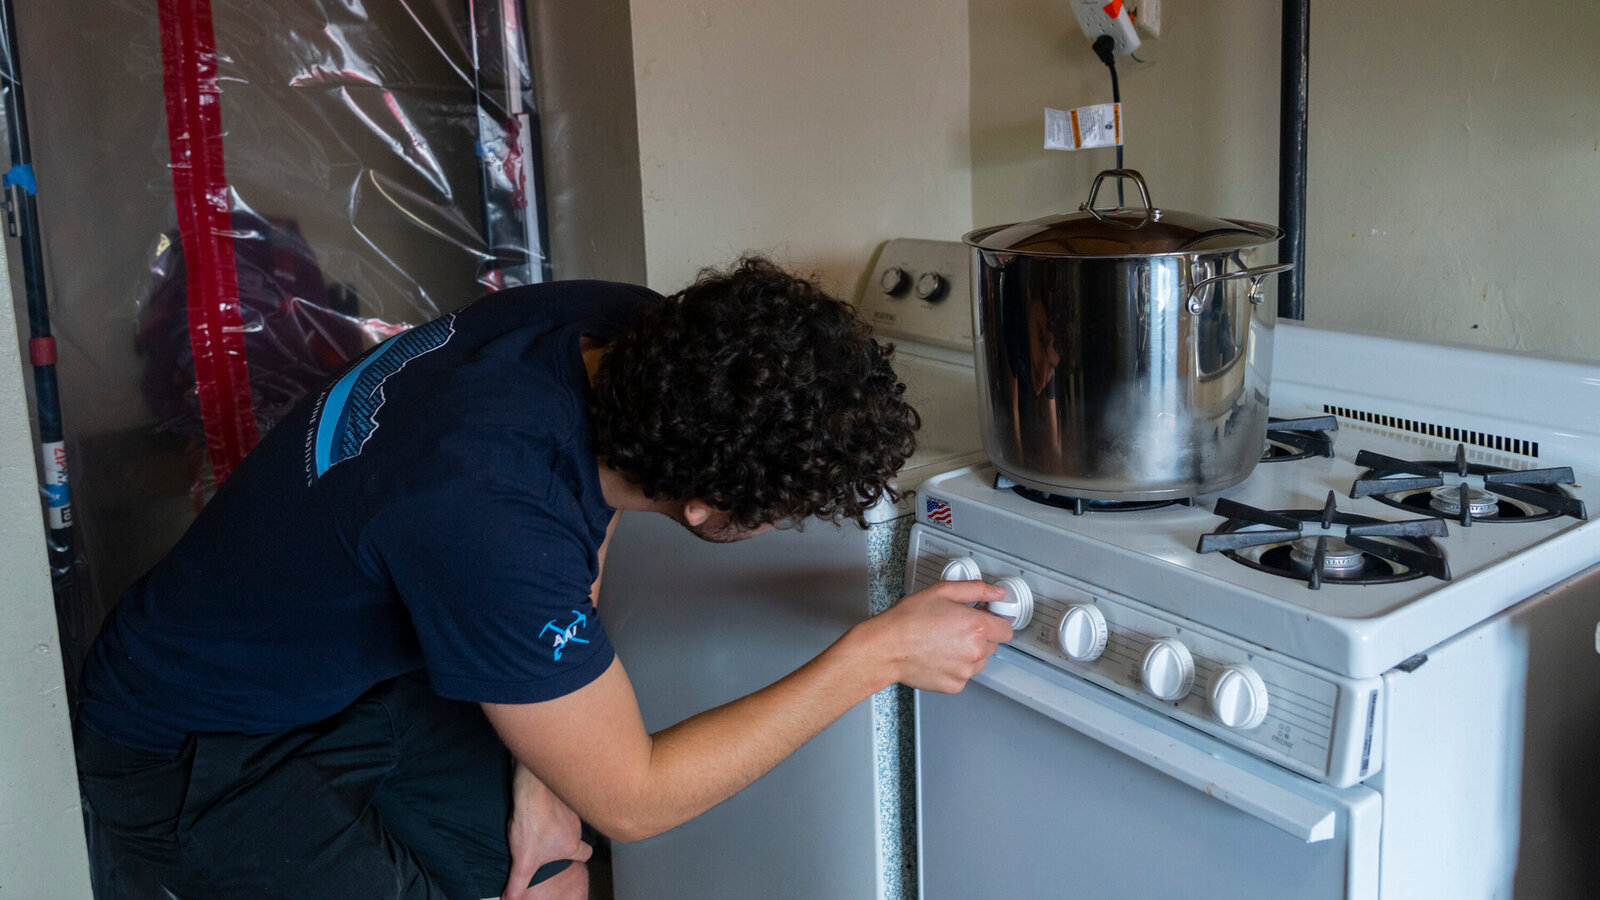
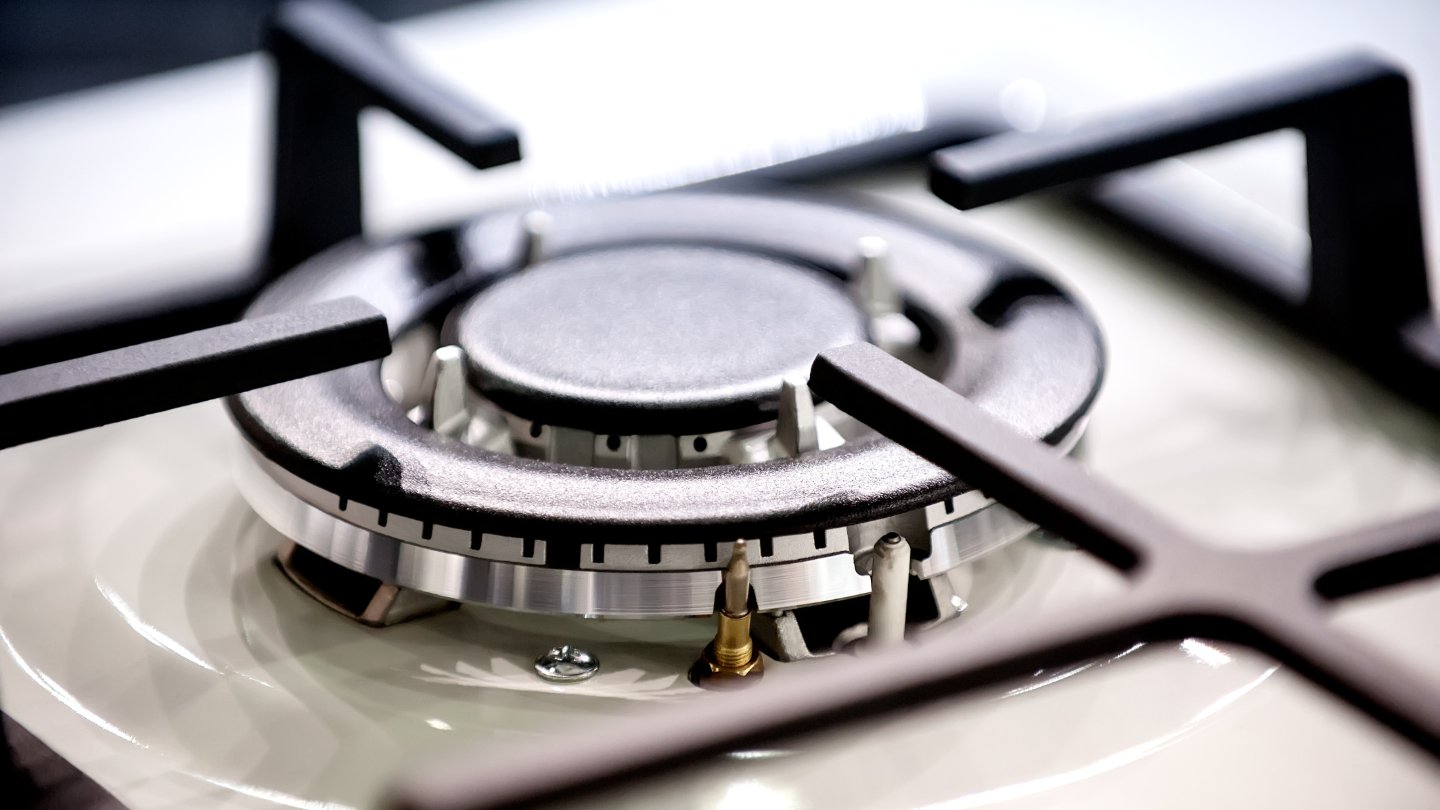
Step 4: Adjust the Burner Flame
Now that you have removed the burner grates and caps, it’s time to adjust the burner flame. Follow these steps to ensure an optimal flame:
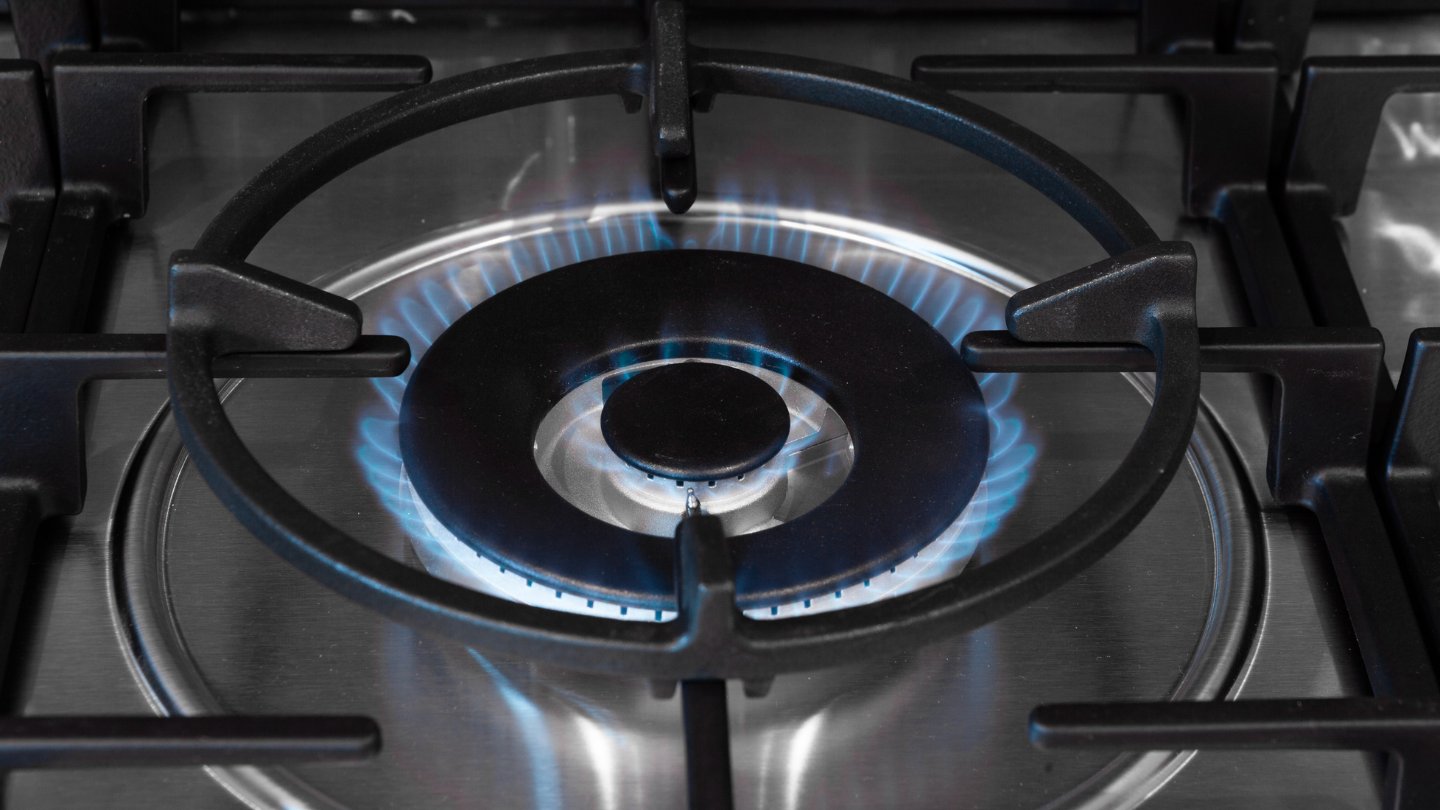
- Locate the burner valve: Each burner on your gas stove will have its own valve. The valve is usually located near the back of the burner.
- Identify the adjustment screw: Look for a small screw near the burner valve. This screw controls the air-to-gas ratio and, consequently, the size and quality of the flame.
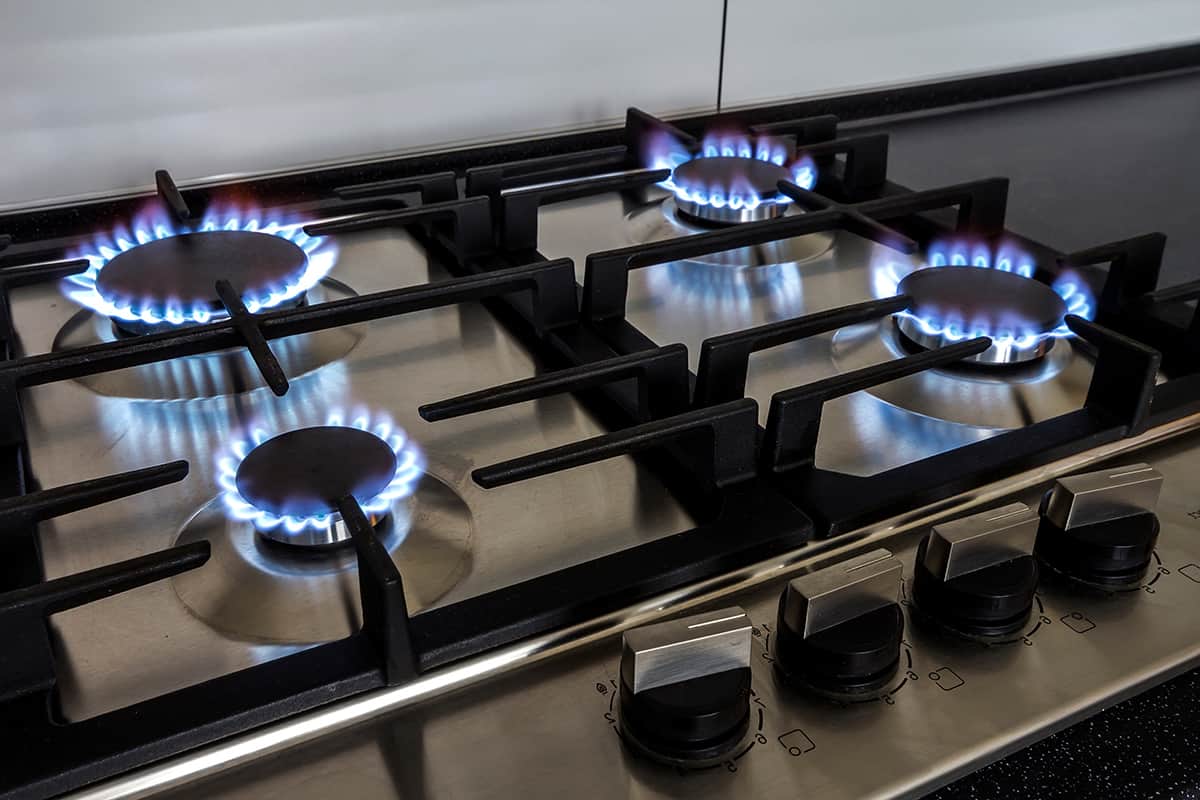
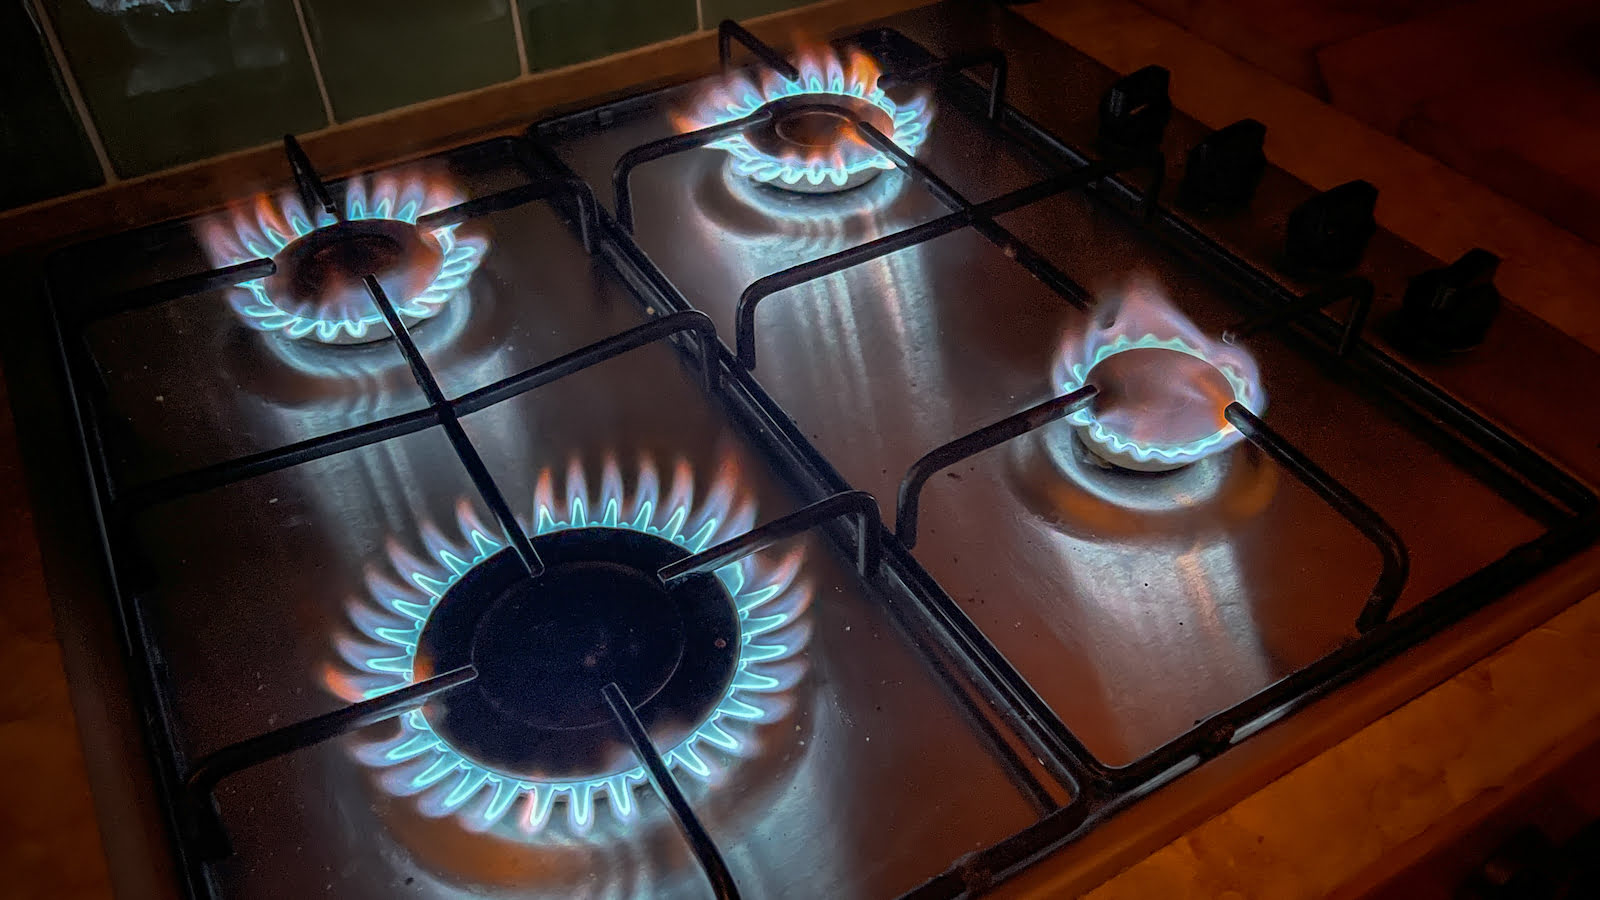
- Turn on the burner: Light the burner and observe the flame. Pay attention to its color, shape, and height. A properly adjusted flame should be blue and steady.
- Adjust the flame: Using a screwdriver, gently turn the adjustment screw clockwise or counterclockwise to increase or decrease the size of the flame. Make small adjustments and observe the changes in the flame.
- Check for a blue flame: As you adjust the flame, aim for a steady, blue flame. A yellow or flickering flame indicates an improper air-to-gas ratio and may require further adjustments.
Repeat the process for each burner on your stove, ensuring that the flame is properly adjusted for each one. It may take a few tries to achieve the desired flame quality.
By adjusting the burner flame, you can improve the efficiency of your gas stove, ensuring even heating and reducing the likelihood of soot or carbon deposits.
Step 5: Clean the Burner
In addition to adjusting the flame, it’s important to keep the burners clean to maintain optimal performance. Follow these steps to effectively clean your gas stove burners:
- Remove any visible debris: Use a cloth or sponge to wipe away any loose debris or food particles from the burner surface. This will make the cleaning process easier.
- Soak the burners: Fill a sink or basin with warm water and add a mild detergent or cleaning solution. Place the burners in the soapy water and let them soak for about 15-20 minutes. This will help loosen any built-up grease or residue.
- Scrub the burner surface: After soaking, use a brush or a scrubbing pad to gently scrub the burner surface. Pay attention to any stubborn stains or residue. For difficult-to-remove grime, you can use a paste made of baking soda and water.
- Clean the burner ports: Use a small brush or a straightened paperclip to clean the burner ports. These are the small openings that release the gas. Make sure to remove any blockages or debris to ensure a proper flame distribution.
- Rinse and dry the burners: Once cleaned, rinse the burners thoroughly under running water to remove any remaining soap residue. Allow them to dry completely before reassembling.
By regularly cleaning your burners, you prevent clogs that can impede the flow of gas and affect the flame quality. It also helps maintain the overall appearance of your stove.
Step 6: Reassemble the Burner Grates and Caps
After cleaning and adjusting the burners, it’s time to reassemble the burner grates and caps. Follow these steps to properly put everything back together:
- Ensure the burners are dry: Before reassembly, make sure the burners are completely dry. This will prevent any moisture from interfering with the flame or causing rust.
- Place the burner caps: Take each burner cap and align it with the corresponding burner base. Gently press down to secure it in place. Ensure that each burner cap is centered and level.
- Position the burner grates: Take the burner grates and carefully position them on top of the burner caps. Make sure they fit snugly and align with the stove surface. Depending on the design of your stove, there may be multiple grates or a single unit covering all the burners.
- Ensure proper alignment: Double-check that the burner grates and caps are aligned correctly and sit flush on the stove surface. This ensures stability and even heat distribution during cooking.
By reassembling the burner grates and caps properly, you ensure that they function as intended and provide a stable and efficient cooking surface.
Step 7: Test the Burner Adjustment
Now that you have completed all the necessary adjustments and reassembled the burners, it’s time to test the burner adjustment. Here’s what you need to do:
- Turn on the gas supply: Go back to the gas shut-off valve and turn it on to restore the gas supply to the stove.
- Light the burners: Light each burner, one at a time, using the stove’s ignition system or a long-reach lighter. Pay attention to the flame quality and characteristics.
- Observe the flame: Watch the flame closely. It should be a steady, blue flame without any yellow or flickering. The size of the flame should be consistent and appropriate for each burner.
- Make further adjustments if necessary: If you notice any issues with the flame, such as uneven heating or a yellow color, you may need to make further adjustments to the air-to-gas ratio. Repeat the adjustment process described in Step 4 until the desired flame quality is achieved.
Testing the burner adjustment ensures that you have successfully calibrated the flame to ensure optimal performance and safety. It allows you to identify any remaining issues and address them promptly.
Read more: How To Clean Clogged Gas Stove Burners
Conclusion
Adjusting gas stove burners is a simple yet essential maintenance task that can greatly improve the performance and efficiency of your stove. By following the steps outlined in this article, you can ensure a properly adjusted flame and a clean burner surface.
Remember to prioritize your safety throughout the process. Follow the necessary safety precautions, such as turning off the gas supply and wearing protective gear. It’s always better to be cautious when working with gas appliances.
Gathering the necessary tools, turning off the gas supply, removing the burner grates and caps, adjusting the burner flame, cleaning the burners, and reassembling the grates and caps are all crucial steps to achieve optimal burner performance.
Once you have completed the adjustments and reassembled the burners, don’t forget to test the burner adjustment. Inspect the flame quality and characteristics, making any necessary fine-tuning to achieve the best results.
Regularly maintaining and adjusting your gas stove burners can prevent issues such as uneven heating, soot accumulation, and inefficient fuel consumption. It ensures that your stove operates at its best, providing reliable cooking performance for years to come.
By following these steps and taking the time to properly adjust and clean your gas stove burners, you can enjoy enhanced cooking experiences and a more efficient kitchen appliance.
So, go ahead and give your gas stove burners the attention they deserve. Your cooking will thank you!
Frequently Asked Questions about How To Adjust Gas Stove Burners
Was this page helpful?
At Storables.com, we guarantee accurate and reliable information. Our content, validated by Expert Board Contributors, is crafted following stringent Editorial Policies. We're committed to providing you with well-researched, expert-backed insights for all your informational needs.

0 thoughts on “How To Adjust Gas Stove Burners”