Home>Furniture>Living Room Furniture>How To Clean A Bean Bag

Living Room Furniture
How To Clean A Bean Bag
Modified: March 16, 2024
Learn how to clean your bean bag and keep your living room furniture looking fresh and inviting. Discover the best tips and tricks to maintain the quality and longevity of your bean bag.
(Many of the links in this article redirect to a specific reviewed product. Your purchase of these products through affiliate links helps to generate commission for Storables.com, at no extra cost. Learn more)
Introduction
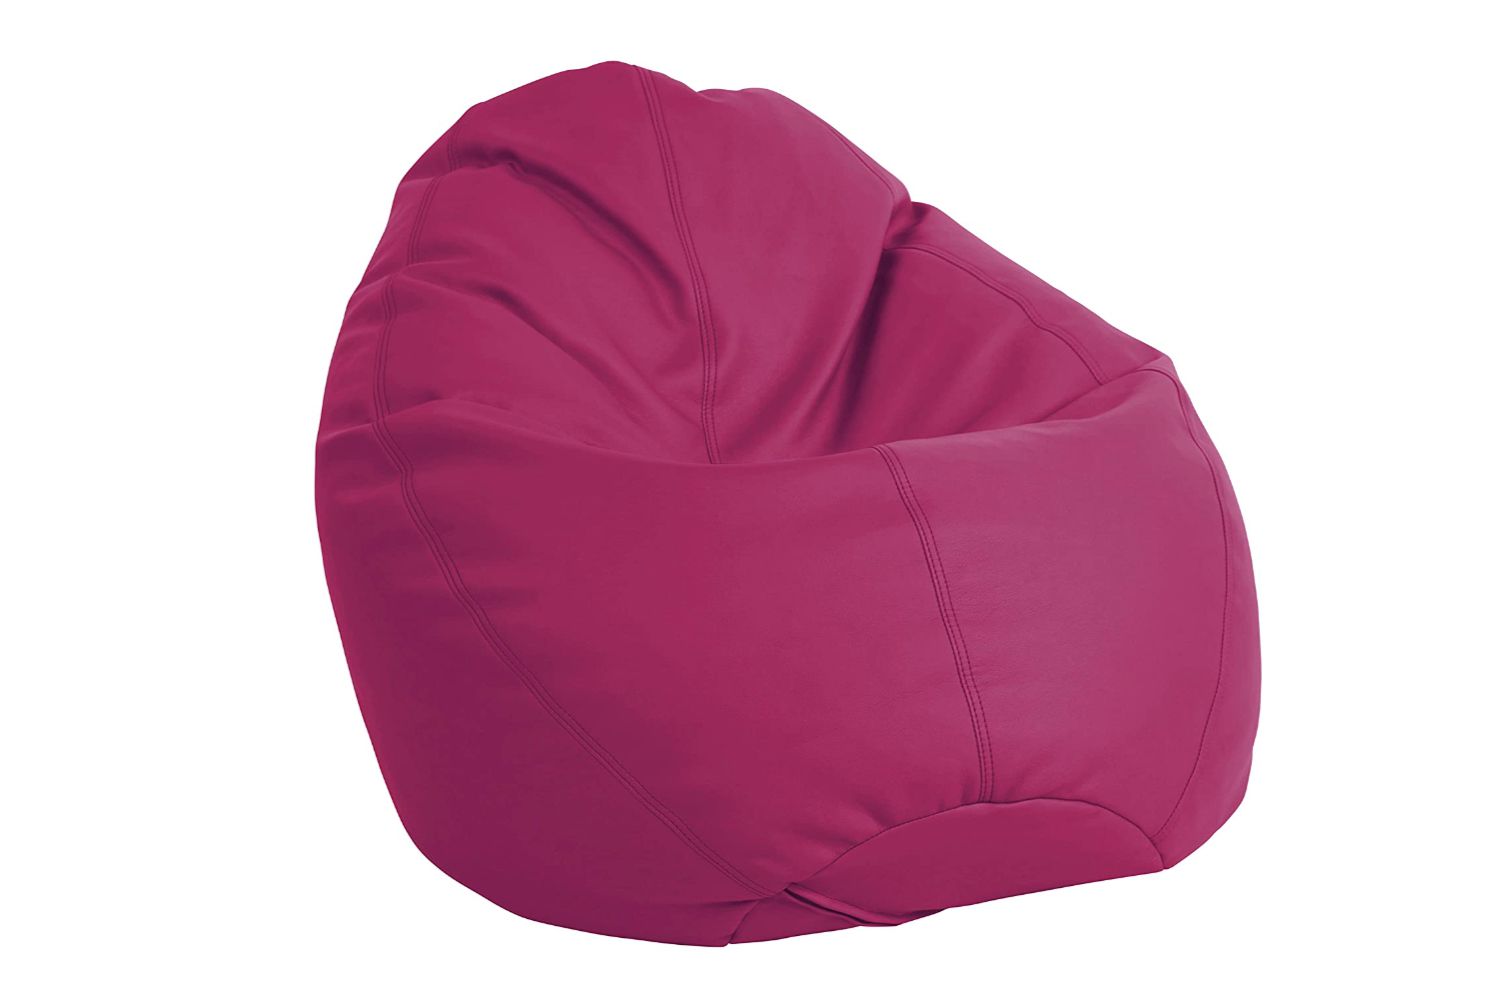
Welcome to our comprehensive guide on how to clean a bean bag! Bean bags are not only comfortable and stylish, but they can also easily accumulate dirt, stains, and unpleasant odors over time. Properly cleaning your bean bag will not only extend its lifespan but also ensure a fresh and hygienic seating experience for you and your family.
Cleaning a bean bag may seem like a daunting task, but with the right techniques and a little bit of effort, you can restore your bean bag to its original pristine condition. In this article, we will take you through a step-by-step process of cleaning your bean bag, from vacuuming and spot cleaning to washing the cover and refilling the beans. So, let’s dive in!
Key Takeaways:
- Regularly vacuuming your bean bag and spot cleaning stains promptly can keep it clean and fresh for a cozy seating experience.
- Refilling your bean bag with fresh beans when needed will restore its comfort and support, ensuring a cozy and inviting seating area.
Read more: How To Clean Cat Pee From A Bean Bag
Preparation
Before diving into the cleaning process, it’s important to gather all the necessary materials and prepare the space for cleaning your bean bag. Here’s what you’ll need:
- Mild detergent or fabric cleaner
- Stain remover for spot cleaning
- Soft-bristled brush or sponge
- Vacuum cleaner with upholstery attachment
- Bucket or basin for washing
- Clean towels or cloths
- Plastic wrap or garbage bags
- Dryer or clothesline for drying
- Bean bag beans for refilling (if needed)
Once you have all the necessary materials, find a clean and spacious area where you can work on cleaning your bean bag. It’s recommended to do this outdoors or in a well-ventilated room to allow for proper drying afterwards.
Before starting the cleaning process, always read the manufacturer’s instructions and care label for your bean bag. Some bean bags may have specific cleaning instructions or restrictions that you need to be aware of.
Now that you’re prepared and ready to go, let’s move on to the actual cleaning process!
Vacuuming the Bean Bag
The first step in cleaning your bean bag is to thoroughly vacuum it to remove any loose dirt, debris, or crumbs that may have accumulated over time. Here’s how to do it:
- Start by removing any removable covers or accessories from the bean bag, if applicable. These can be washed separately later.
- Attach the upholstery attachment to your vacuum cleaner.
- Gently run the vacuum cleaner over the entire surface of the bean bag, paying extra attention to the seams and crevices where dirt tends to accumulate. Use the upholstery attachment to ensure a gentle suction that won’t damage the fabric.
- If your bean bag has a removable interior liner, take it out and vacuum it separately to remove any hidden dirt or debris.
- Once you’ve vacuumed both the bean bag and the liner, give them a gentle shake while outside to remove any remaining dust or particles.
- Inspect the bean bag for any stains or spots that may require spot cleaning. If you notice any, move on to the next section for instructions on how to spot clean.
Vacuuming your bean bag regularly will minimize the build-up of dirt and help keep it clean for longer. Aim to vacuum your bean bag at least once every few weeks or as needed to maintain its cleanliness.
Spot Cleaning Stains
If you notice any stains or spills on your bean bag during the vacuuming process or during regular use, it’s important to address them promptly to prevent them from setting in. Here’s how to spot clean stains on your bean bag:
- Identify the type of stain you’re dealing with. Common stains on bean bags include food and beverage spills, ink marks, or dirt and mud.
- Refer to the manufacturer’s care instructions or the care label on your bean bag to determine the recommended cleaning method. This will help you choose the appropriate cleaning solution and technique.
- Prepare a cleaning solution by mixing a mild detergent or fabric cleaner with water. Be sure to follow the instructions on the product label for proper dilution ratios.
- Dip a soft-bristled brush or sponge into the cleaning solution and gently blot the stain. Avoid rubbing, as this can spread the stain and potentially damage the fabric.
- Continue blotting until the stain starts to fade. If the stain is stubborn, you may need to apply a bit more pressure, but always be cautious to avoid excessive rubbing.
- Once the stain has lightened, dampen a clean cloth with water and blot the area to rinse away any residue from the cleaning solution.
- Allow the spot to air dry completely. Avoid using heat sources such as hair dryers, as they can damage the fabric.
- If the stain persists after spot cleaning, it’s best to consult a professional cleaner or contact the manufacturer for further advice.
By addressing stains promptly and using the appropriate cleaning techniques, you can effectively remove most common stains from your bean bag and restore its appearance.
Removing Odors
Over time, bean bags can absorb odors from various sources such as food, pets, or general use. If your bean bag has developed an unpleasant smell, here are some methods you can use to remove odors:
- Begin by placing the bean bag in a well-ventilated area or outdoors. This will help to freshen up the fabric and allow any trapped odors to dissipate.
- If the odor is primarily coming from the bean bag cover, you can sprinkle baking soda liberally over the surface. Baking soda is a natural deodorizer that can help absorb and neutralize unpleasant smells. Allow the baking soda to sit for a few hours or overnight before vacuuming it off.
- For more stubborn odors, you can use a fabric deodorizing spray. Look for one that is specifically designed for upholstery or fabric. Spray the bean bag cover lightly and evenly, following the instructions on the product label.
- Another effective method to eliminate odors is using a mixture of vinegar and water. Fill a spray bottle with a 1:1 ratio of white vinegar and water. Lightly spray the bean bag cover with the solution, ensuring even coverage. Vinegar is known for its ability to neutralize odors. Allow the vinegar to dry completely before using the bean bag again.
- If the odor persists or is deeply embedded in the bean bag filling, you may need to remove and replace the beans. Empty the beans into a large plastic bag or bin, and then air out the bean bag cover to remove any lingering smells. Refill the bean bag with fresh beans to ensure a clean and fresh seating experience.
- Regularly airing out and allowing your bean bag to get some fresh air and sunlight can also help in keeping it free from odors.
By following these methods, you can effectively eliminate odors from your bean bag, leaving it smelling fresh and clean once again.
To clean a bean bag, first remove the cover and wash it according to the care instructions. Then, use a vacuum to remove any debris from the bean bag filling. Spot clean any stains with a mild detergent and water, then allow the bean bag to air dry completely before putting the cover back on.
Read more: What Is Bean Bag
Washing the Bean Bag Cover
After vacuuming, spot cleaning, and removing odors, it may be necessary to give your bean bag cover a thorough wash to refresh and sanitize it. Here’s how to wash your bean bag cover:
- First, check the care label on your bean bag cover for any specific instructions or restrictions regarding washing.
- If your bean bag cover is machine washable, remove any removable parts such as the liner or foam inserts if applicable.
- Turn the cover inside out to protect the outer surface and minimize any potential damage during washing.
- Place the cover in the washing machine, ensuring that it has enough space to move freely. It’s best to wash it separately or with similar-colored items to prevent color bleeding.
- Add a mild detergent to the washing machine, following the recommended dosage on the detergent label. Avoid using bleach or harsh chemicals, as they can damage the fabric.
- Select a gentle or delicate cycle with cold water to prevent any shrinkage or damage to the fabric.
- Once the washing cycle is complete, remove the bean bag cover from the machine and check for any remaining stains or spots. If needed, you can repeat the spot cleaning process mentioned earlier before proceeding to drying.
- Hang the cover to air dry in a well-ventilated area, away from direct sunlight or heat sources that could cause shrinkage or damage. Alternatively, you can lay it flat on a clean surface or a drying rack.
- Ensure that the cover is completely dry before putting it back on the bean bag. Damp or moist covers can attract mold or mildew.
- If your bean bag cover is not machine washable, you can spot clean it using a mild detergent or fabric cleaner and a soft-bristled brush or sponge. Always follow the manufacturer’s instructions for proper care.
Remember to double-check the care label and manufacturer’s instructions before washing your bean bag cover to avoid any damage or complications.
Now that you’ve successfully washed and dried your bean bag cover, you’re ready to move on to the final step of this cleaning process – refilling the bean bag.
Drying the Bean Bag Cover
After washing the bean bag cover, it’s crucial to ensure proper drying to prevent any mold or mildew growth. Here’s how to effectively dry your bean bag cover:
- If possible, squeeze out any excess water from the cover without wringing or twisting it, as this can damage the fabric.
- To remove even more moisture, roll the cover in a clean towel and gently press down to absorb any remaining water.
- Hang the cover to air dry in a well-ventilated area. Make sure to choose a space away from direct sunlight or heat sources, as excessive heat can cause shrinkage or damage to the fabric.
- If you are drying the cover indoors, open windows or use fans to improve air circulation and speed up drying.
- Periodically check the cover during the drying process to ensure that all areas are drying evenly. If you notice any areas that are damp, gently pat them with a dry cloth or towel to absorb the moisture.
- Allow the cover to dry completely before putting it back on the bean bag. Damp or moist covers can lead to musty odors or encourage the growth of mold and mildew.
- Once the cover is fully dry, inspect it for any wrinkles or creases. If needed, you can use a fabric steamer or iron with a low heat setting to carefully smooth out any wrinkles.
It’s important to note that some bean bag covers may not be suitable for machine washing or drying. In such cases, follow the manufacturer’s instructions for the recommended drying method.
Now that the bean bag cover is clean and dry, you’re ready to move on to the final step – refilling the bean bag to restore its comfortable and supportive shape.
Refilling the Bean Bag
Over time, the beans inside your bean bag may compress or lose their volume, resulting in a less supportive and comfortable seating experience. Refilling the bean bag is essential to restore its original shape and ensure optimal comfort. Here’s how to refill your bean bag:
- Begin by gathering fresh bean bag beans or polystyrene filling. You can find these at furniture or craft stores, or you can order them online.
- Place your bean bag in the desired location, making sure there is enough space to maneuver and access the zipper.
- If your bean bag has a liner, open the zipper and carefully pour the fresh beans into the liner. It’s best to do this outdoors or in a large, empty space to minimize mess and ensure easy bean distribution.
- Fill the bean bag liner gradually, periodically stopping to test the firmness and comfort level. How much filling you need will depend on personal preference and the size of your bean bag. Keep in mind that overfilling can impact the overall comfort and may put strain on the seams.
- If your bean bag does not have a liner, carefully open the zipper on the bean bag cover. Fill the cover with the fresh beans, being mindful not to overfill. Use your hands to distribute the beans evenly throughout the cover.
- Once the bean bag has been properly filled, close the zipper securely. Double-check that the zipper is fastened completely to prevent any bean spillage.
- Gently fluff and shake the bean bag to distribute the beans evenly and achieve the desired shape and comfort level.
- Allow the bean bag to settle for a few hours or overnight. During this time, the beans will adjust and conform to the shape of the bag, providing optimal support and comfort.
Regularly check the firmness of your bean bag and refill as needed to maintain its shape and comfort over time.
With the bean bag fully refilled and restored, it’s time to sit back, relax, and enjoy your refreshed and comfortable seating area!
Conclusion
Cleaning and maintaining your bean bag not only ensures its longevity but also keeps it fresh, hygienic, and comfortable for years to come. By following the steps outlined in this comprehensive guide, you can effectively clean your bean bag and keep it in pristine condition.
Start by preparing your materials and gathering the necessary tools for the cleaning process. Vacuum the bean bag to remove loose dirt and debris, and spot clean any stains that may be present. Eliminate odors using deodorizing sprays, baking soda, or vinegar solutions. Wash the bean bag cover following the manufacturer’s instructions, and ensure proper drying to prevent mold or mildew growth.
If your bean bag has lost its shape or support, don’t forget to refill it with fresh beans or polystyrene filling. This will restore its comfort and ensure a cozy seating experience.
Remember to always read and follow the care instructions provided by the manufacturer of your bean bag. Different materials and designs may require specific cleaning techniques or precautions.
With regular cleaning and maintenance, your bean bag will continue to provide you with a stylish and comfortable seating option for many years to come.
So, take the time to care for your bean bag and enjoy its cozy embrace as you relax, watch movies, or simply unwind after a long day.
Frequently Asked Questions about How To Clean A Bean Bag
Was this page helpful?
At Storables.com, we guarantee accurate and reliable information. Our content, validated by Expert Board Contributors, is crafted following stringent Editorial Policies. We're committed to providing you with well-researched, expert-backed insights for all your informational needs.


0 thoughts on “How To Clean A Bean Bag”