Home>Furniture>Living Room Furniture>How To Make A Bean Bag

Living Room Furniture
How To Make A Bean Bag
Modified: August 28, 2024
Looking for comfortable and stylish living room furniture? Learn how to make a bean bag that will be the perfect addition to your space.
(Many of the links in this article redirect to a specific reviewed product. Your purchase of these products through affiliate links helps to generate commission for Storables.com, at no extra cost. Learn more)
Introduction
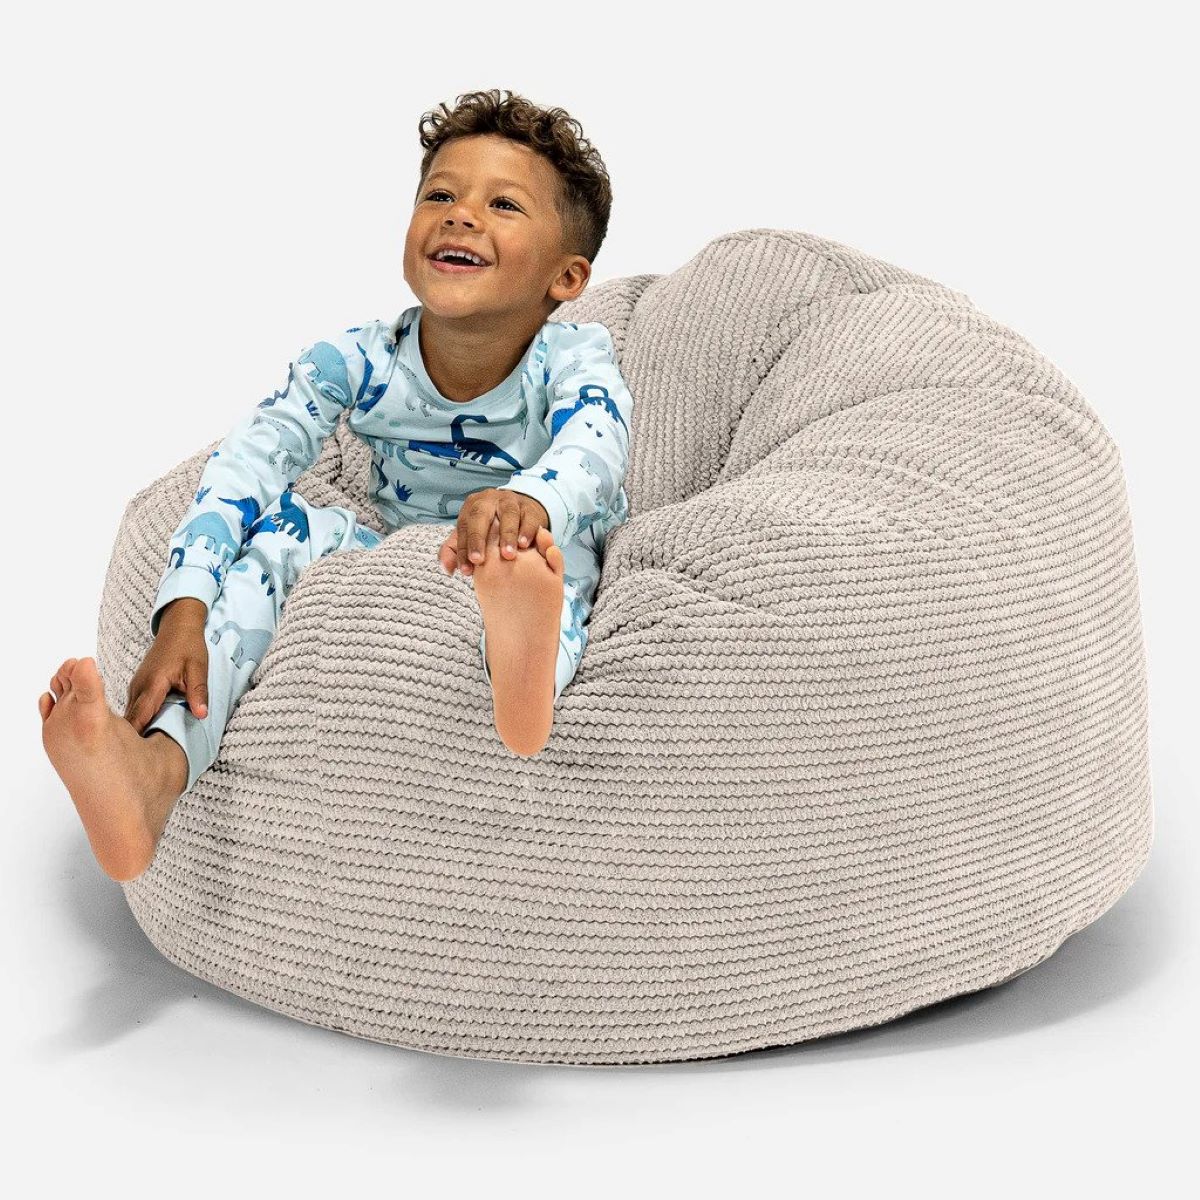
Bean bags have become a popular choice for comfortable and versatile seating in homes all across the world. These soft and cozy chairs have gained widespread recognition not only for their unique design but also for their ability to provide a relaxing experience. In this article, we will guide you on how to make your own bean bag from scratch, allowing you to customize it to your preferences and create a piece of furniture that perfectly suits your living space.
The purpose of this article is to provide you with detailed instructions and useful tips on crafting your own bean bag. Whether you are a DIY enthusiast looking for a fun project or simply want to save some money by making your own furniture, our guide will give you all the information you need to get started.
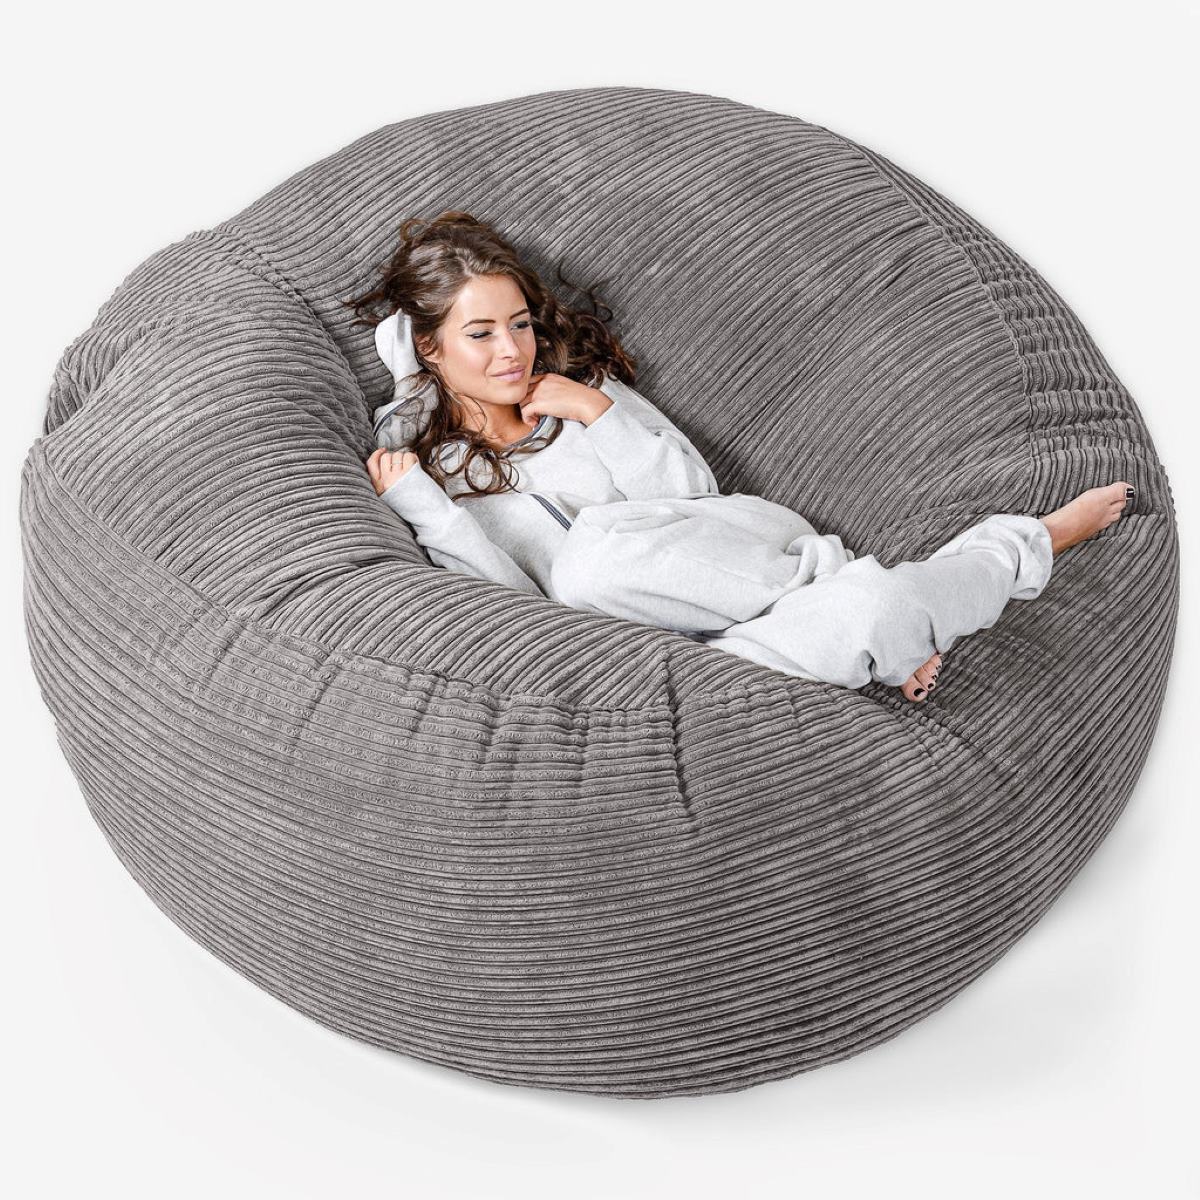
Bean bags have gained popularity due to their incredible comfort and versatility. They can be used in various settings, from living rooms and bedrooms to playrooms and lounges. Unlike traditional chairs, bean bags mold themselves to the shape of your body, providing excellent support and cushioning. This makes them perfect for relaxing, reading, watching movies, or simply enjoying some downtime at home.
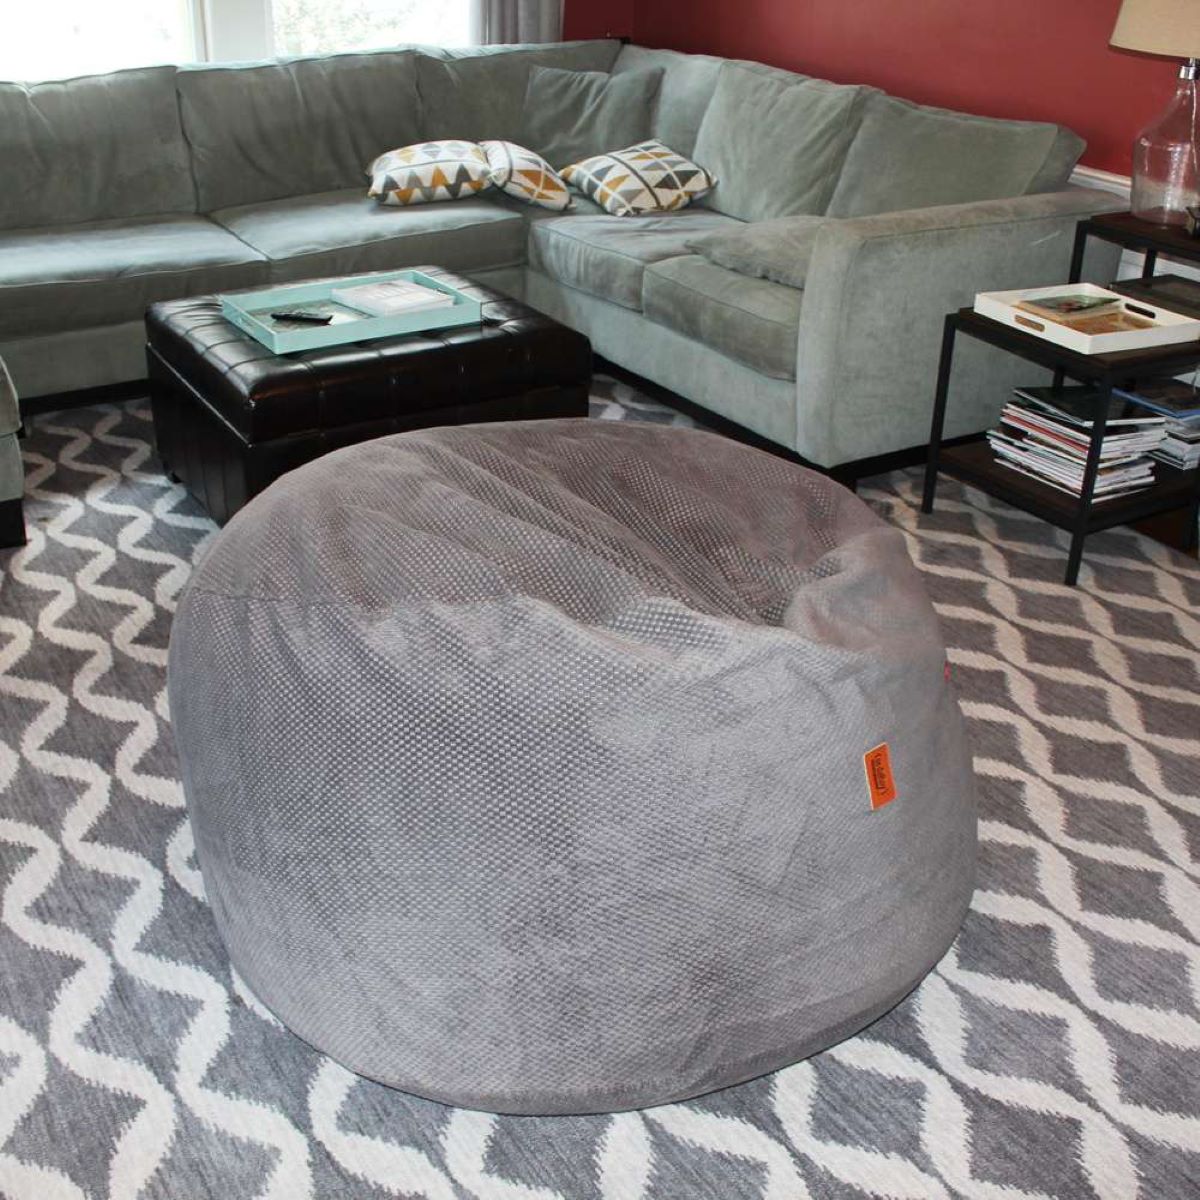
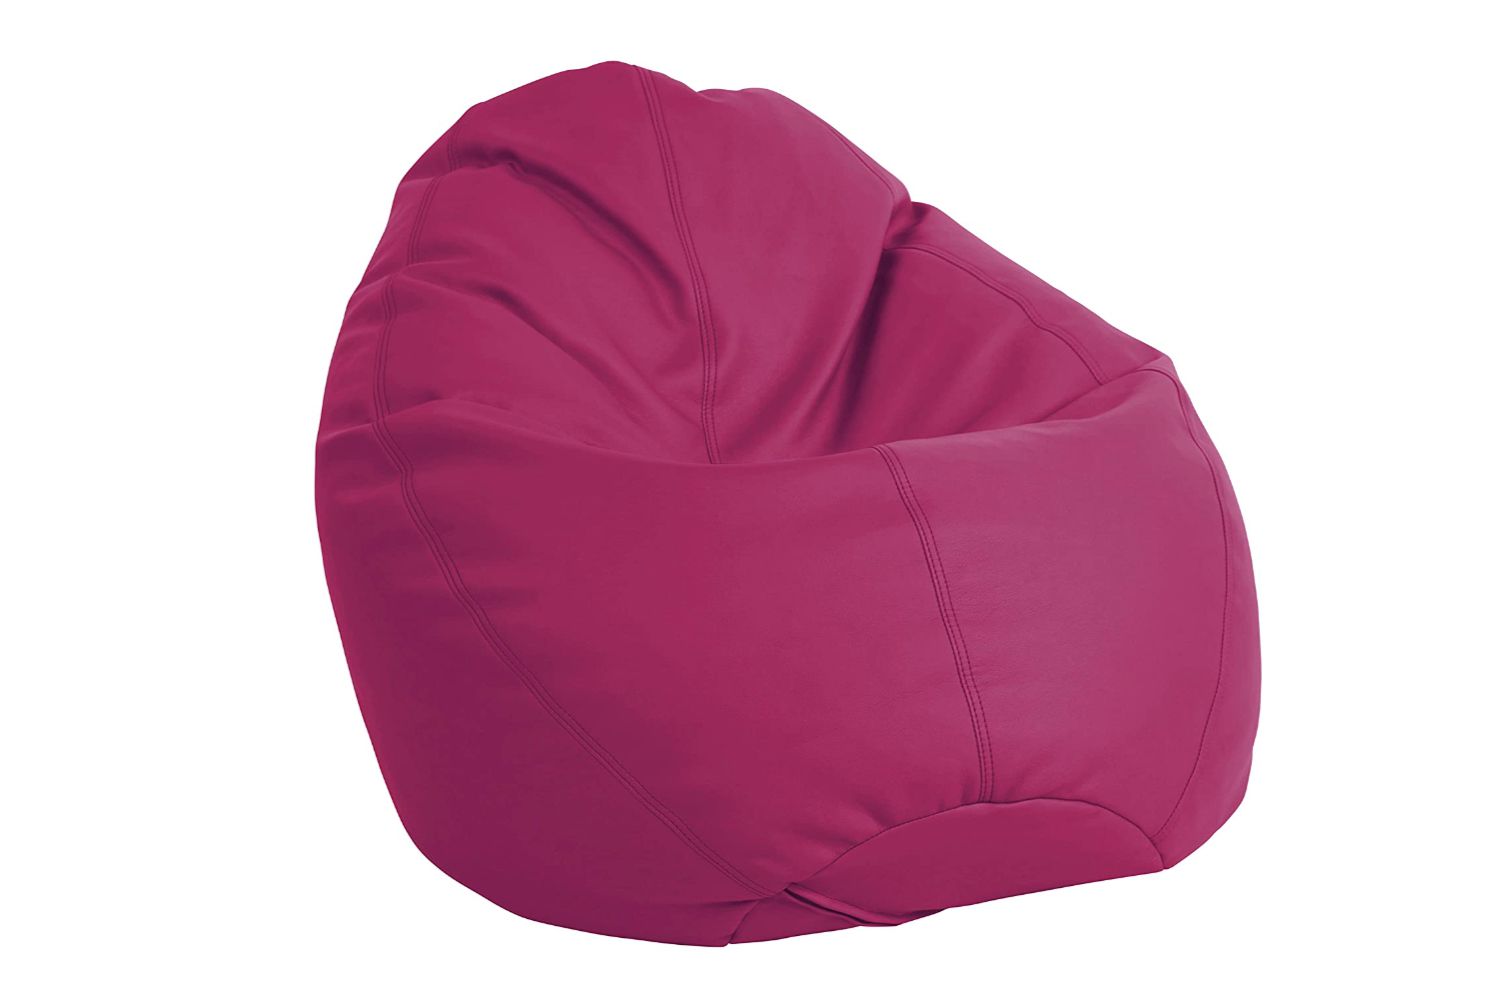
Furthermore, bean bags come in a wide range of sizes, shapes, and designs, allowing you to find the perfect fit for your needs and personal style. Whether you prefer a classic round bean bag, a spacious lounging sofa, or a compact chair for kids, there are endless possibilities to choose from. Additionally, with the option to select your own fabric and customize the design, you can create a bean bag that complements your existing home decor effortlessly.
By making your own bean bag, you not only have the freedom to tailor it to your preferences but also the satisfaction of creating something with your own hands. It can become a unique piece of furniture that adds a personal touch to your living space while providing the utmost comfort.
Now that we’ve established the purpose and popularity of bean bags, let’s dive into the steps involved in making your very own bean bag chair!
Key Takeaways:
- Making your own bean bag allows you to create a personalized piece of furniture that offers unmatched comfort and relaxation, while adding a touch of style and personality to your living space.
- Proper care and maintenance, such as regular vacuuming, spot cleaning, and fluffing, can help keep your bean bag in excellent condition, ensuring long-lasting comfort and enjoyment.
Read more: How To Make A Bean Bag Lap Tray
Step 1: Gathering Materials
Before you start making your bean bag, it’s important to gather all the necessary materials. Here’s a list of items you’ll need, along with a brief explanation of each material and its purpose:
- Fabric: Choose a durable and easy-to-clean fabric that can withstand regular use. Options like polyester, nylon, or cotton duck cloth work well for bean bags.
- Thread: Select a strong thread that matches the color of your fabric. Polyester or nylon thread is recommended for its durability.
- Zipper: You’ll need a zipper to fill the bean bag and also for easy access to add or remove filling if needed. Opt for a heavy-duty zipper that is at least 18 inches long.
- Filling: The filling is what gives the bean bag its soft and comfortable shape. Common filling options include polystyrene beads, shredded foam, or polyester fiberfill. Choose a filling that suits your comfort preferences.
- Scissors: A sharp pair of fabric scissors will be essential for cutting the fabric accurately.
- Sewing machine: While it’s possible to sew the bean bag by hand, a sewing machine will make the process much easier and ensure strong, consistent stitches.
- Pins: Sewing pins will help hold the fabric pieces together while you sew them, ensuring they stay aligned.
- Measuring tape: Use a measuring tape to measure and mark the fabric pieces accurately.
- Chalk or fabric marker: These tools will come in handy for marking the fabric before cutting and sewing.
- Iron: Ironing the fabric before sewing will help create crisp edges and smooth seams.
Each of these materials plays a vital role in the construction of your bean bag. The fabric provides the outer covering and determines the visual appeal and durability of the chair. The thread ensures that the seams stay intact and secure. The zipper enables easy access to the inside of the bean bag for filling or adjusting. The filling is what gives the bean bag its comfortable and supportive shape.
Now that you have a comprehensive list of materials, you can gather everything you need and move on to the next step of making your own bean bag.
Step 2: Choosing Fabric
When it comes to making a bean bag, selecting the right fabric is crucial for both aesthetics and functionality. Here are some useful tips to help you choose the perfect fabric for your bean bag:
1. Durability: Since bean bags are meant to be used regularly, opt for a fabric that is durable and can withstand everyday wear and tear. Fabrics like polyester, nylon, or cotton duck cloth are excellent choices as they are resistant to pilling and can hold up well over time.
2. Easy to Clean: Bean bags are often subjected to spills and stains, so it’s essential to choose a fabric that is easy to clean. Look for fabrics that are machine washable or can be spot cleaned with ease. This will ensure that your bean bag remains in good condition and is always ready for use.
3. Comfort: Consider the comfort factor when selecting your fabric. You want a material that is smooth against the skin and pleasant to sit on. Fabrics like cotton and microfiber are known for their softness and gentle touch. Test the fabric by touching and sitting on it to assess its comfort level.
4. Color and Pattern: The fabric you choose will contribute to the overall aesthetics of your bean bag. Consider the color scheme and style of your room when selecting the fabric. Solid colors are versatile and can blend seamlessly with any decor, while patterns can add a pop of personality and visual interest.
Now, let’s compare some common fabric options used for bean bags along with their pros and cons:
a. Polyester: Polyester fabric is a popular choice for bean bags due to its durability and resistance to fading. It is easy to clean, resistant to wrinkles, and comes in a wide range of colors and patterns. However, polyester may not be as breathable as other fabrics, so it may not be the best option if you tend to get hot easily.
b. Nylon: Nylon fabric is known for its strength and durability. It is highly resistant to abrasion and tearing, making it a great choice for frequently used bean bags. Nylon is also easy to clean and dries quickly, making it suitable for outdoor bean bags as well. However, like polyester, nylon may not be as breathable as natural fabrics.
c. Cotton Duck Cloth: Cotton duck cloth is a heavyweight and tightly woven fabric that is incredibly durable. It offers a natural and comfortable feel and is also breathable. Cotton duck cloth is available in various colors and patterns, allowing you to find the perfect style for your bean bag. However, it may require more maintenance and care compared to synthetic fabrics.
d. Microfiber: Microfiber fabric is known for its softness and luxurious feel. It is highly stain-resistant, which is a valuable trait for bean bags. Microfiber is also easy to clean and hypoallergenic, making it a suitable choice for those with sensitivities. However, it may not be as durable as other fabric options and can be prone to watermarks if not properly cared for.
Consider these tips and fabric options as you choose the fabric for your bean bag. Remember to prioritize durability, comfort, and easy maintenance to ensure that your bean bag stands the test of time and provides you with optimal comfort.
Step 3: Cutting the Fabric
The next step in making your bean bag is to accurately measure and cut the fabric pieces. Follow these detailed instructions to ensure precise cutting and avoid mistakes:
1. Measure the Pattern: Start by measuring the pattern or template for your bean bag. Use a measuring tape to measure the dimensions of each fabric piece required for your specific design. Take accurate measurements to ensure a proper fit.
2. Prepare the Fabric: Lay your fabric flat on a clean and spacious surface. Smooth out any wrinkles or creases using your hands or an iron. This will ensure that you have a smooth and accurate cutting surface.
3. Mark the Measurements: Using a chalk or fabric marker, mark the measurements directly onto the fabric. Be sure to mark all necessary lines, such as the dimensions of the front and back panels, as well as any additional pieces like armrests or side panels.
4. Cut along the Lines: Carefully cut along the marked lines using sharp fabric scissors. Take your time to ensure clean and straight cuts. It may be helpful to place pins along the lines to keep the fabric pieces in place while you cut.
5. Double-Check the Measurements: Once you have cut out all the fabric pieces, double-check the measurements to ensure accuracy. Lay the pieces together and align them to see if they fit correctly. Make any necessary adjustments if you find any discrepancies.
6. Label the Fabric Pieces: To avoid confusion during the sewing process, it’s a good idea to label each fabric piece. Use small fabric scraps or sticky notes to mark which piece is which, such as front panel, back panel, side panel, etc. This will make it easier to keep track of the fabric pieces as you sew them together.
7. Store the Fabric Pieces: Once you have finished cutting and labeling the fabric pieces, store them in a safe and organized manner. Keep them flat or neatly folded to prevent any wrinkles or damage before you begin the sewing process.
Tips for Accurate Cutting:
- Use sharp fabric scissors for clean and precise cuts.
- Take your time and cut slowly along the marked lines.
- Double-check the measurements before cutting to avoid any mistakes.
- Smooth out any wrinkles or creases in the fabric before cutting.
- Consider using a cutting mat and rotary cutter for more accurate cuts, especially for larger pieces.
By following these instructions and tips, you will be able to accurately measure and cut your fabric pieces for the bean bag, ensuring a smooth and successful sewing process.
Step 4: Sewing the Bean Bag
Now that you have your fabric pieces successfully cut, it’s time to sew them together to create the structure of your bean bag. Follow this step-by-step guide for sewing the fabric pieces together, and make sure to incorporate proper stitching techniques for a sturdy and professional finish:
1. Pin the Pieces: Start by pinning the fabric pieces together according to the pattern or design. Align the edges and corners of the pieces and use sewing pins to hold them in place. This will ensure that the seams stay straight and secure during the sewing process.
2. Set Up the Sewing Machine: Thread your sewing machine with a matching thread color and set it up for straight stitching. Adjust the stitch length and tension according to your machine’s specifications and the fabric you’re using.
3. Start Sewing: Begin sewing the fabric pieces together, starting from one end and following the pattern or design. Use a straight stitch, keeping it a quarter inch away from the edge of the fabric. Backstitch at the beginning and end of each seam to reinforce the stitches and prevent unraveling.
4. Seam Finishes: Consider using seam finishes like a zigzag stitch or overlocking to prevent fraying and add extra durability to the seams. This step is optional, but it can enhance the overall strength of your bean bag.
5. Reinforce Stress Points: Pay special attention to stress points, such as the corners and areas that will bear the most weight. Reinforce these areas by sewing over them multiple times or adding extra rows of stitching.
6. Topstitching: If desired, you can add topstitching for a decorative touch and added strength. This involves sewing a line of stitching on the top side of the fabric, generally a quarter inch away from the seam. It not only enhances the aesthetics but also helps the seams lay flat.
7. Finishing Touches: Once you have sewn all the necessary seams, trim any loose threads and carefully remove the pins. Check for any missed spots or loose stitches and reinforce them if needed. Take a final look to ensure that everything is secure and well-stitched.
Tips for Proper Stitching Techniques:
- Practice on scrap fabric before sewing the actual bean bag.
- Take your time and sew slowly for precision and accuracy.
- Match the thread color with the fabric for a seamless finish.
- Backstitch at the beginning and end of each seam to secure the stitches.
- Use the appropriate seam finish to prevent fraying and add strength.
- Reinforce stress points for enhanced durability.
- Consider adding topstitching for both aesthetics and reinforcement.
By following these steps and incorporating proper stitching techniques, you will be able to sew your fabric pieces together and create the structure of your bean bag. Remember to take your time and pay attention to detail for a professional-looking finish.
When making a bean bag, use durable fabric and double stitch the seams for extra strength. Fill the bag with high-quality beans or foam for comfort and longevity.
Read more: How To Make A Giant Bean Bag Chair
Step 5: Filling the Bean Bag
Now that your bean bag is sewn together, it’s time to fill it with the stuffing material of your choice. Follow these instructions to ensure a properly filled and comfortable bean bag, and consider the different filling options and their characteristics:
1. Choose your Filling: There are various filling options available for bean bags, each offering unique characteristics. Some popular choices include:
- Polystyrene Beads: These small, lightweight beads provide excellent comfort and support. They conform to your body shape and promote good posture. Be sure to choose high-quality beads that are fire-resistant and durable.
- Shredded Foam: Shredded foam provides a more solid and firm feel compared to beads. It offers good support and bounce-back properties. Opt for high-density foam for long-lasting durability.
- Polyester Fiberfill: Polyester fiberfill gives a plush and fluffy feel to the bean bag. It provides medium support and is hypoallergenic. This filling is easily available and can be adjusted to your desired level of firmness.
- Memory Foam: Memory foam molds to your body shape and offers excellent support and comfort. It is known for its pressure-relieving properties. However, memory foam can be expensive and may deteriorate over time.
2. Prepare the Filling: Follow the manufacturer’s instructions regarding the amount of filling needed for your bean bag. It’s a good idea to have extra filling on hand to add or adjust as necessary. Ensure that the filling is fluffed and well-distributed to prevent clumps or unevenness.
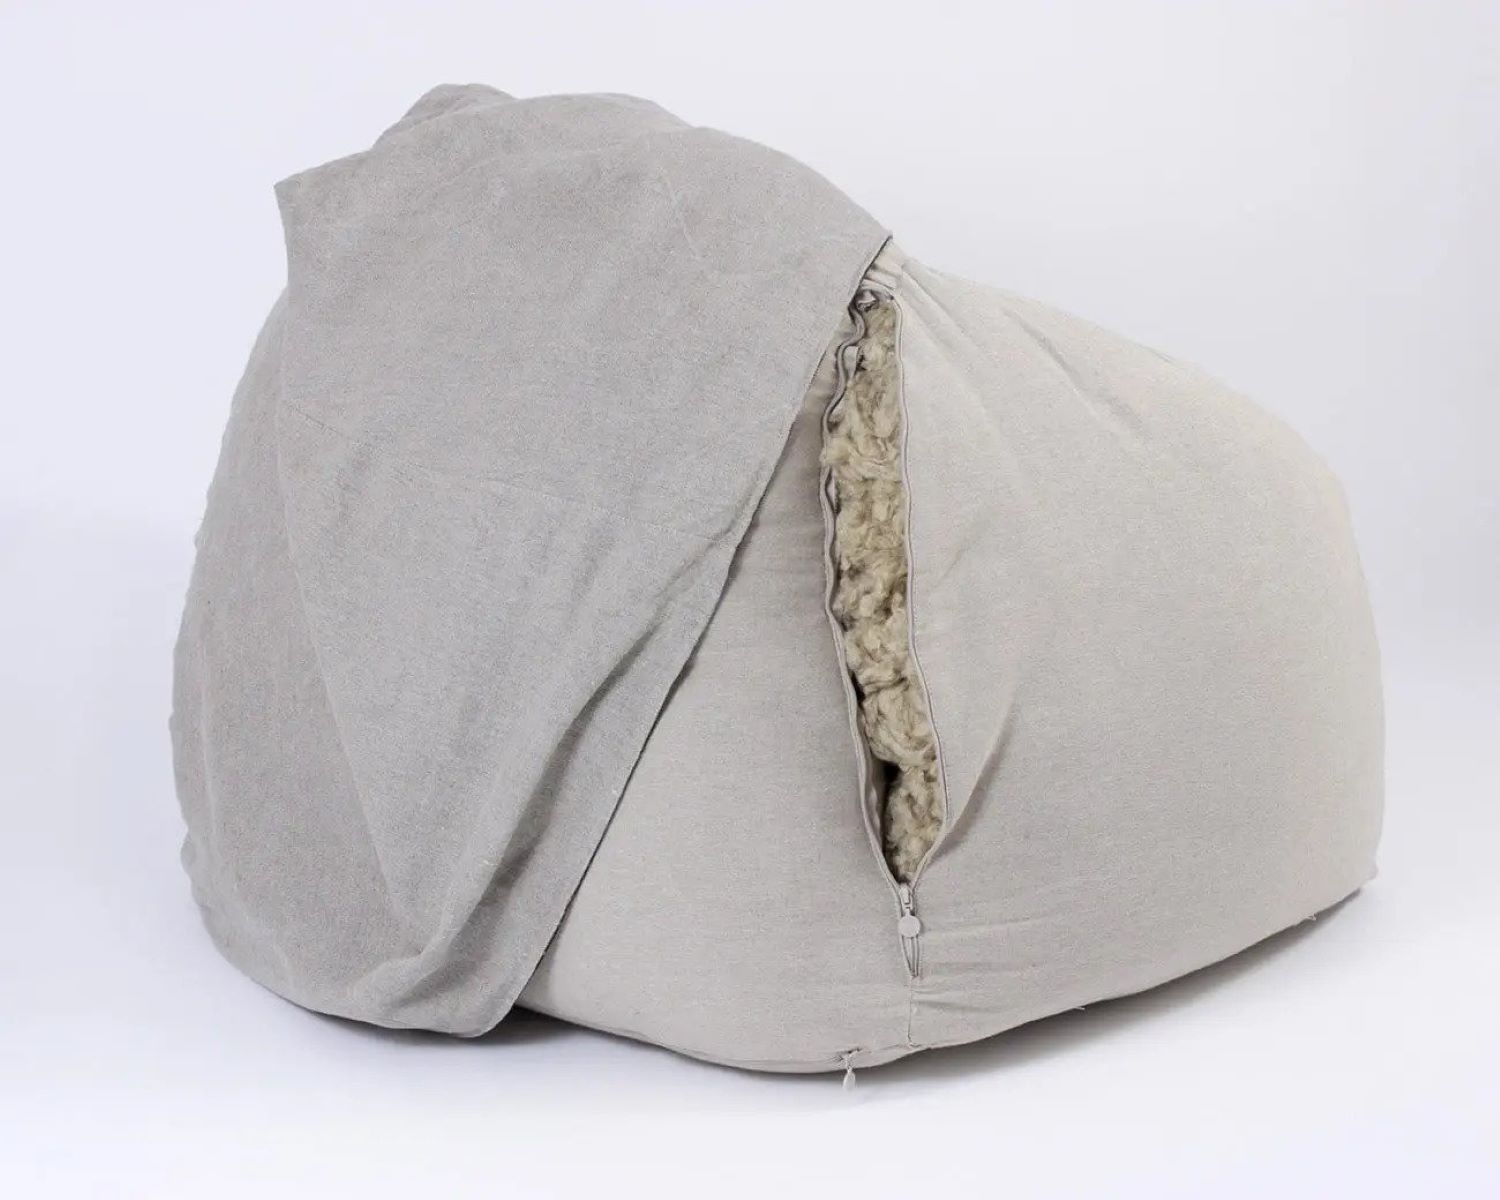
3. Access the Bean Bag: Locate the zipper or opening in your bean bag. This is where you’ll fill the bag with your chosen stuffing material. Ensure that the zipper is wide enough for easy access and has a secure closure. If needed, you can reinforce the zipper with a few stitches to prevent it from opening during use.
4. Fill the Bean Bag: Slowly and evenly pour the filling material into the bean bag. Start with a small amount and gradually add more, spreading it out as you go. Avoid overfilling, as it may affect the comfort and shape of the bean bag. Take breaks to fluff the filling and distribute it evenly throughout the bag.
5. Test the Comfort: Once you’ve filled the bean bag to your desired level, test its comfort by sitting and adjusting the filling as needed. The bean bag should provide ample support and mold to your body shape for a cozy and comfortable seating experience.
6. Zip up the Bean Bag: Once you’re satisfied with the filling, carefully zip up the bean bag, ensuring that the zipper is securely closed. Double-check that there are no gaps or loose threads around the opening. Give the bean bag a few gentle shakes or squeezes to evenly distribute the filling.
Remember, the filling material you choose will affect the comfort and feel of your bean bag. Consider your personal preferences, as well as the level of support and durability required.
By following these instructions and considering the different filling options available, you can fill your bean bag with the desired stuffing material and create a comfortable and inviting seating experience.
Step 6: Closing the Bean Bag
After filling your bean bag, it’s important to properly close it to ensure that the filling stays securely inside. Follow these methods for closing the bean bag effectively and techniques for creating a strong and durable closure:
1. Zipper Closure:
- Ensure that the zipper is in good working condition and the teeth are aligned properly.
- Place the two sides of the zipper together, ensuring that the fabric edges match up.
- Sew the sides of the zipper fabric together using a straight stitch, reinforcing the stitches at both ends for added strength.
- Backstitch at the beginning and end to secure the stitches.
- Test the zipper closure to ensure it opens and closes smoothly without any gaps.
2. Velcro Closure:
- Cut two fabric strips, one for each side of the closure, with enough length to overlap.
- Sew one strip onto one side of the opening, and the other strip onto the opposite side, aligning them properly.
- Consider reinforcing the stitches around the edges of the fabric strips for added durability.
- Test the closure by firmly pressing the fabric strips together to ensure a secure hold.
3. Sewn Closure:
- Cut the edges of the fabric pieces that need to be sewn together with a zigzag pattern to prevent fraying.
- Align the edges of the fabric pieces, ensuring they match up accurately.
- Sew the edges together using a sturdy and straight stitch, backstitching at both ends for reinforcement.
- Consider double-stitching or using a serger machine to strengthen the closure further.
When closing your bean bag, remember to consider the durability and strength of the closure. Reinforce the stitching where necessary and test the closure a few times to ensure that it can withstand the weight and movement associated with sitting and using the bean bag.
If you prefer, you can also consult sewing tutorials or patterns specifically designed for bean bags for additional guidance and techniques for closing the bean bag.
By following these methods and techniques, you can confidently close your bean bag, ensuring that the filling stays securely inside and enjoying your cozy and comfortable seating experience for years to come.
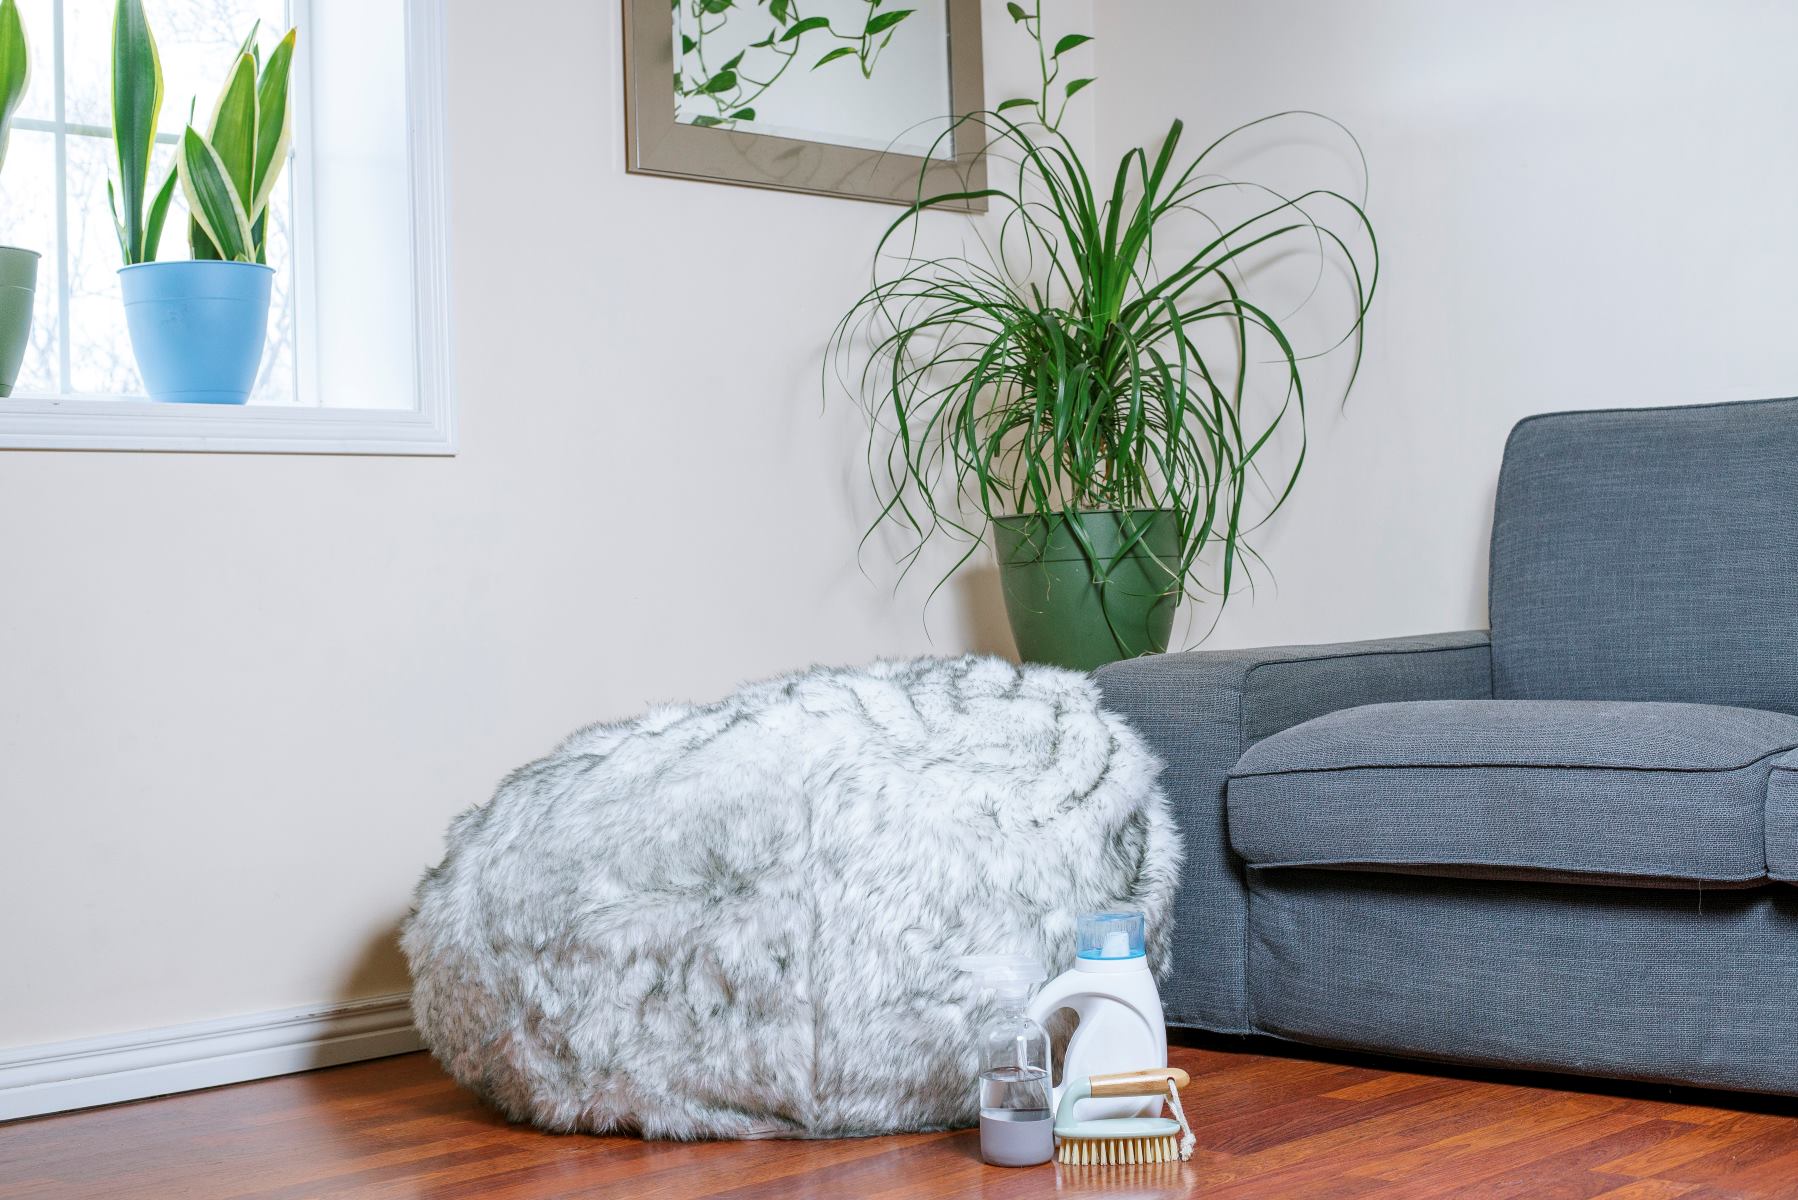
Step 7: Bean Bag Care and MaintenanceTo ensure that your bean bag remains in good condition and provides long-lasting use, it’s important to follow proper care and maintenance practices. Here are some essential tips on how to clean and maintain your bean bag:
1. Regular Vacuuming: Use a handheld vacuum or the upholstery attachment of your vacuum cleaner to remove dust, dirt, and debris from the surface of the bean bag. Regular vacuuming helps prevent dust buildup and keeps the fabric looking fresh.
2. Spot Cleaning: Attend to spills and stains immediately to prevent them from setting into the fabric. Blot the area gently with a clean cloth or paper towel, removing as much of the spill as possible. Avoid rubbing, as it can spread the stain. Use a mild detergent or stain remover specifically recommended for the fabric type and gently dab the stained area with a clean cloth. Always test any cleaning solution on a small, inconspicuous area of the fabric first to ensure it doesn’t cause any damage or discoloration.
3. Machine Washing: Check the manufacturer’s instructions before attempting to machine wash your bean bag. Some bean bags come with covers that are removable and machine washable. If your bean bag cover is machine washable, follow the recommended washing instructions. Use a gentle cycle, cold water, and a mild detergent. Avoid using bleach or harsh chemicals that may damage the fabric. After washing, let the cover air dry completely before putting it back on the bean bag.
4. Hand Washing: If your bean bag cover is not machine washable, you can hand wash it instead. Fill a basin or bathtub with cold water and a gentle detergent. Submerge the cover in the water and gently agitate it to clean the fabric. Rinse thoroughly to remove all soap residue. Squeeze out excess water and hang the cover to air dry. Avoid wringing or twisting the fabric, as it can damage the shape of the bean bag cover.
5. Sunning: If your bean bag filler allows, take the opportunity to sun your bean bag outdoors on a sunny day. The sunlight will help disinfect and freshen the fabric. However, excessive sun exposure can cause fading, so be mindful of the duration of sunning and rotate the bean bag periodically to ensure even exposure.
6. Plumping and Fluffing: Periodically fluff and rotate the bean bag to distribute the filling evenly and prevent it from becoming lumpy or compressed. This will help maintain the shape and comfort of the bean bag. Gently pat and plump the surface to restore its fullness.
7. Protect from Sun and Moisture: To prevent fading and damage, avoid placing your bean bag in direct sunlight for prolonged periods. Also, keep the bean bag away from areas prone to moisture, such as open windows, humid bathrooms, or damp basements. Moisture can affect the filling and promote the growth of mold and mildew.
8. Store properly: If you plan to store your bean bag for an extended period, make sure it is completely dry and free of any stains. Store it in a cool, dry place, away from direct sunlight and potential sources of dampness. Use a protective cover to shield the bean bag from dust and dirt.
By following these tips and guidelines for care and maintenance, you can keep your bean bag in excellent condition and enjoy its comfort and relaxation for years to come.
Conclusion
In conclusion, making your own bean bag is a rewarding and enjoyable process that allows you to create a customized piece of furniture that perfectly suits your style and comfort preferences. Let’s recap the steps involved in making a bean bag:
- Gather all the necessary materials, including fabric, thread, zipper, filling, scissors, sewing machine, pins, measuring tape, chalk or fabric marker, and an iron.
- Select the right fabric for your bean bag by considering factors such as durability, ease of cleaning, comfort, color, and pattern.
- Measure and cut the fabric pieces accurately, taking your time and ensuring straight and clean cuts.
- Sew the fabric pieces together, using proper stitching techniques and reinforcing stress points for a strong and durable bean bag.
- Fill the bean bag with the desired stuffing material, such as polystyrene beads, shredded foam, polyester fiberfill, or memory foam.
- Carefully close the bean bag using methods like a zipper closure, Velcro closure, or sewn closure, ensuring proper securement.
- Maintain the bean bag by regularly vacuuming, spot cleaning spills and stains, and following appropriate washing techniques for the cover. Remember to plump and fluff the bean bag periodically.
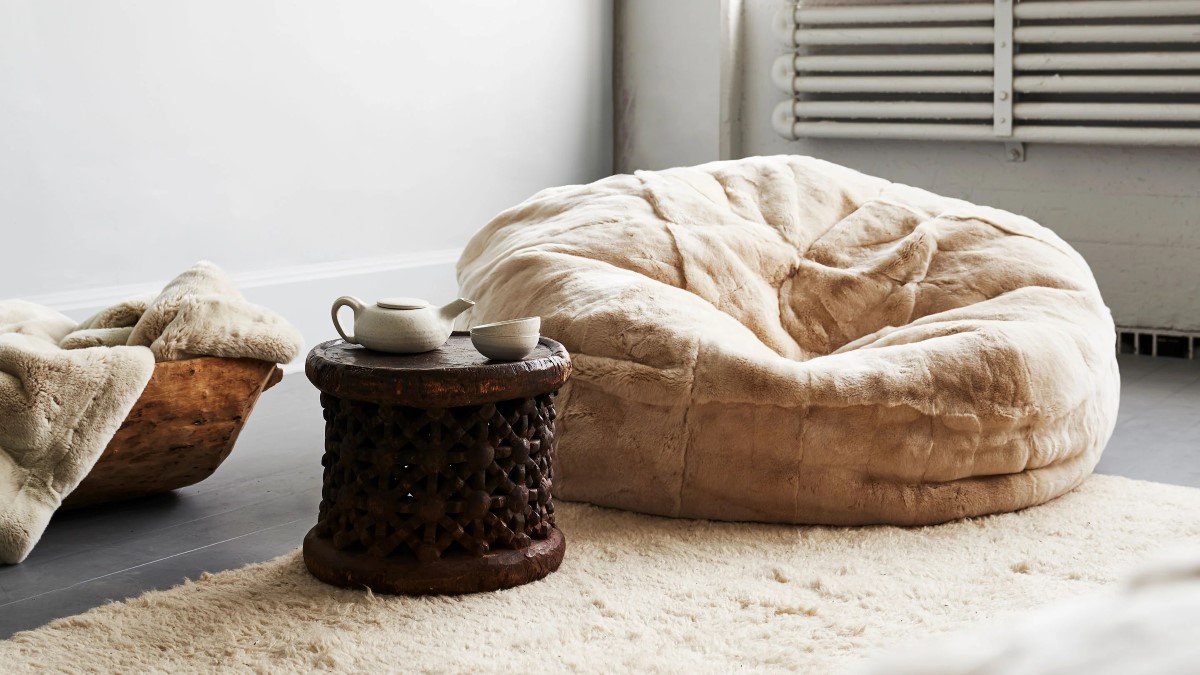
Bean bags are incredibly versatile and offer unmatched comfort in a variety of settings. Their unique design allows them to mold to your body shape, providing optimal support and relaxation. Whether in the living room, bedroom, playroom, or even outdoors, bean bags are a perfect seating option for reading, watching movies, gaming, or simply unwinding after a long day.
Not only do bean bags offer exceptional comfort, but they also add a touch of style and personalization to any space. With a wide range of fabric options, patterns, and sizes available, you can find or create a bean bag that complements your existing decor and reflects your unique taste and personality.
By following our comprehensive guide and incorporating your creativity and personal touch, you can craft a bean bag that meets your individual needs and preferences. Enjoy the satisfaction of making something with your own hands and the comfort of having a cozy and inviting seating option in your home.
So why wait? Start your bean bag project today and experience the joy of relaxation in a custom-made piece of furniture!
Frequently Asked Questions about How To Make A Bean Bag
Was this page helpful?
At Storables.com, we guarantee accurate and reliable information. Our content, validated by Expert Board Contributors, is crafted following stringent Editorial Policies. We're committed to providing you with well-researched, expert-backed insights for all your informational needs.


0 thoughts on “How To Make A Bean Bag”