Home>Furniture>Living Room Furniture>How To Clean Cat Pee From A Bean Bag
Living Room Furniture
How To Clean Cat Pee From A Bean Bag
Modified: August 29, 2024
Learn how to effectively clean cat urine from your bean bag furniture in the living room. Get rid of the odor and stains with easy-to-follow tips and tricks.
(Many of the links in this article redirect to a specific reviewed product. Your purchase of these products through affiliate links helps to generate commission for Storables.com, at no extra cost. Learn more)
Introduction
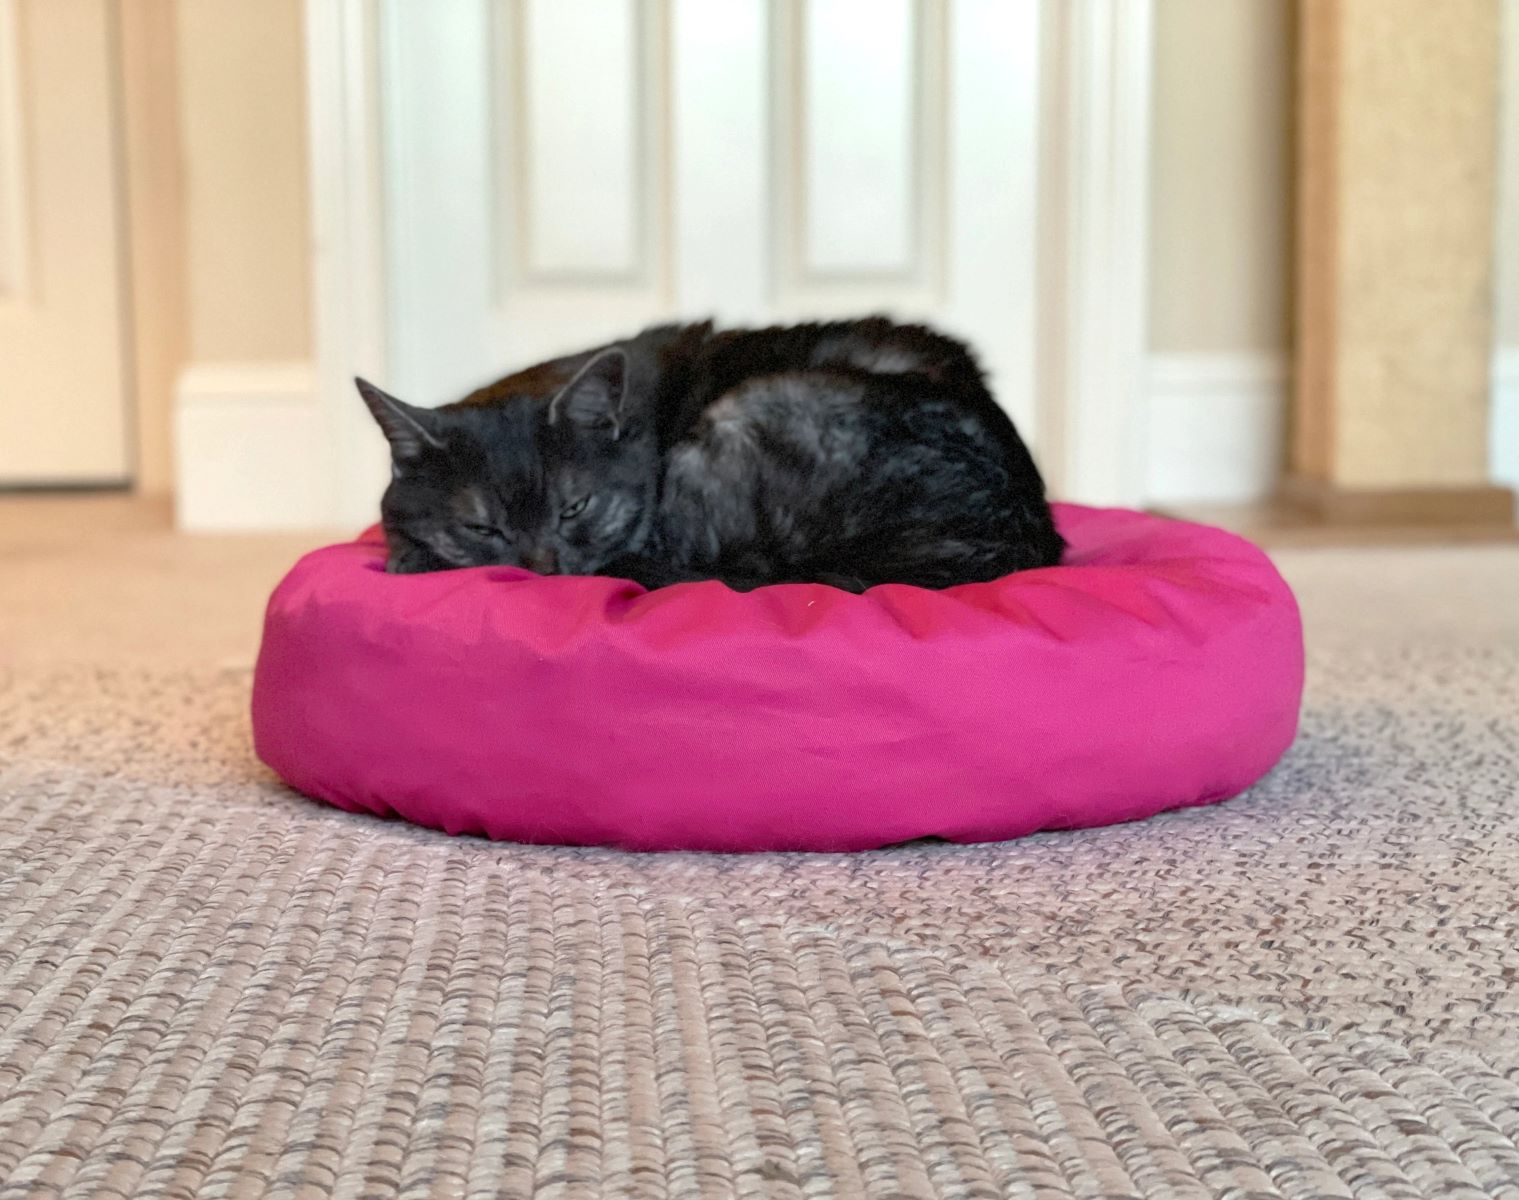
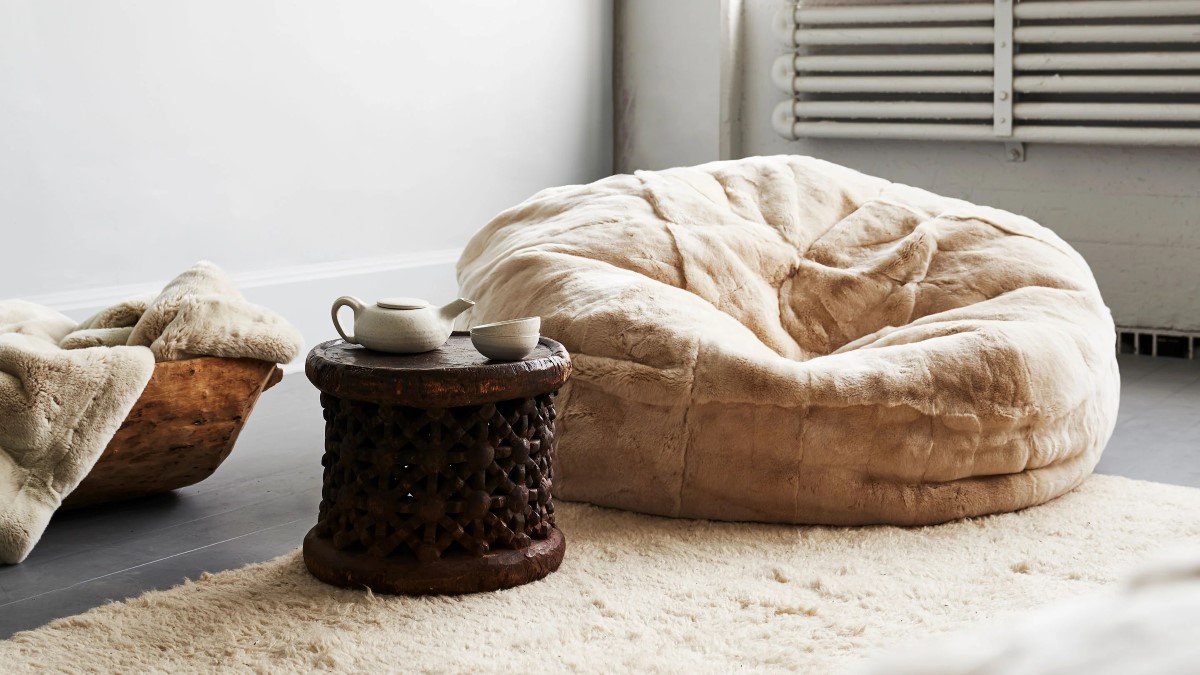
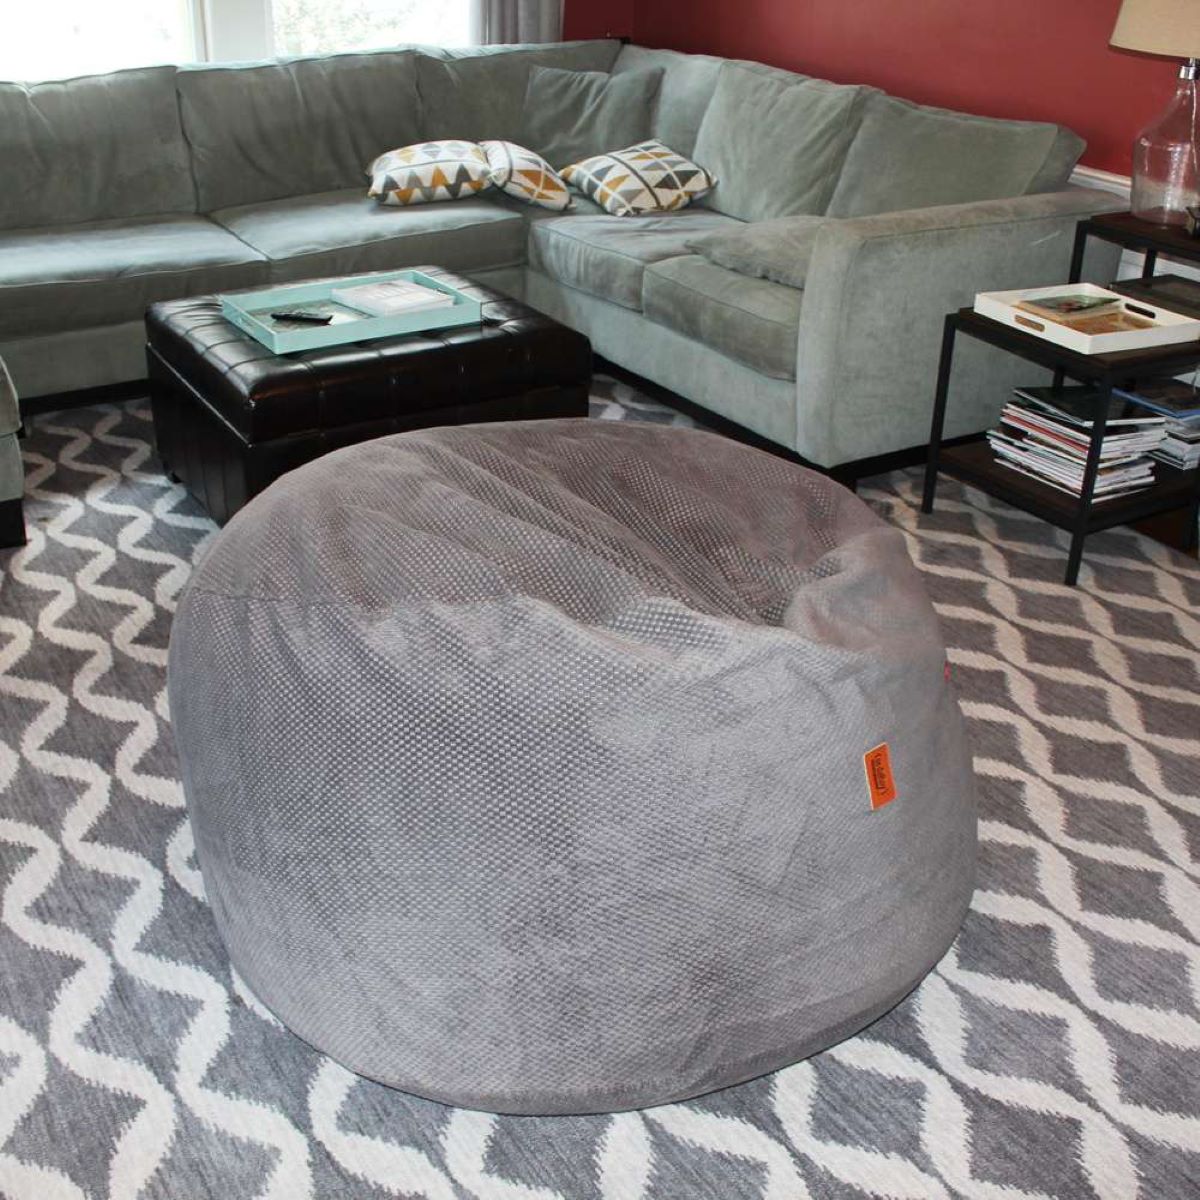
Welcome to the ultimate guide on how to clean cat pee from a bean bag! As cat owners, we know that accidents happen, and dealing with cat urine on our beloved furniture can be quite a challenge. Bean bags, with their soft and comfortable material, can sometimes become a target for our feline friends when they need to relieve themselves.
However, fear not! With the right approach and some effective cleaning techniques, you can restore your bean bag to its former glory and eliminate any lingering odor. In this article, we will walk you through step-by-step instructions on how to clean cat pee from a bean bag, leaving it fresh, odor-free, and ready to be enjoyed once again.
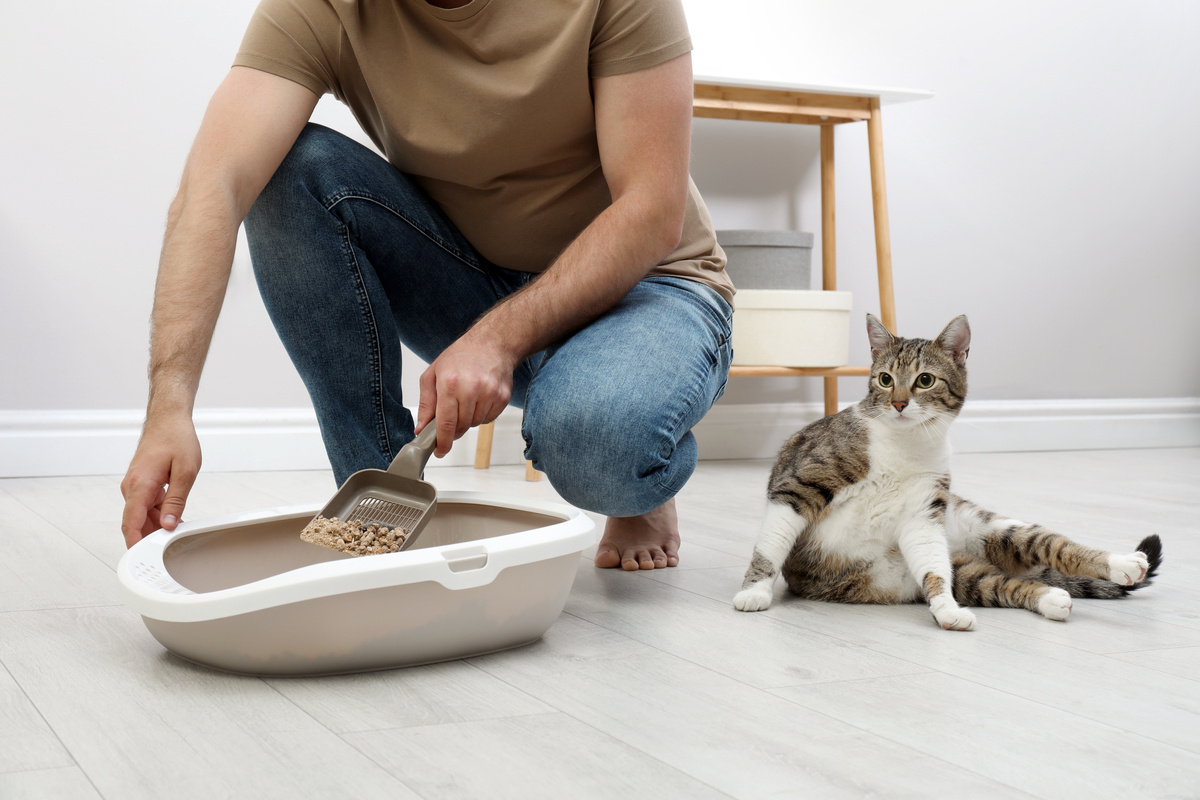
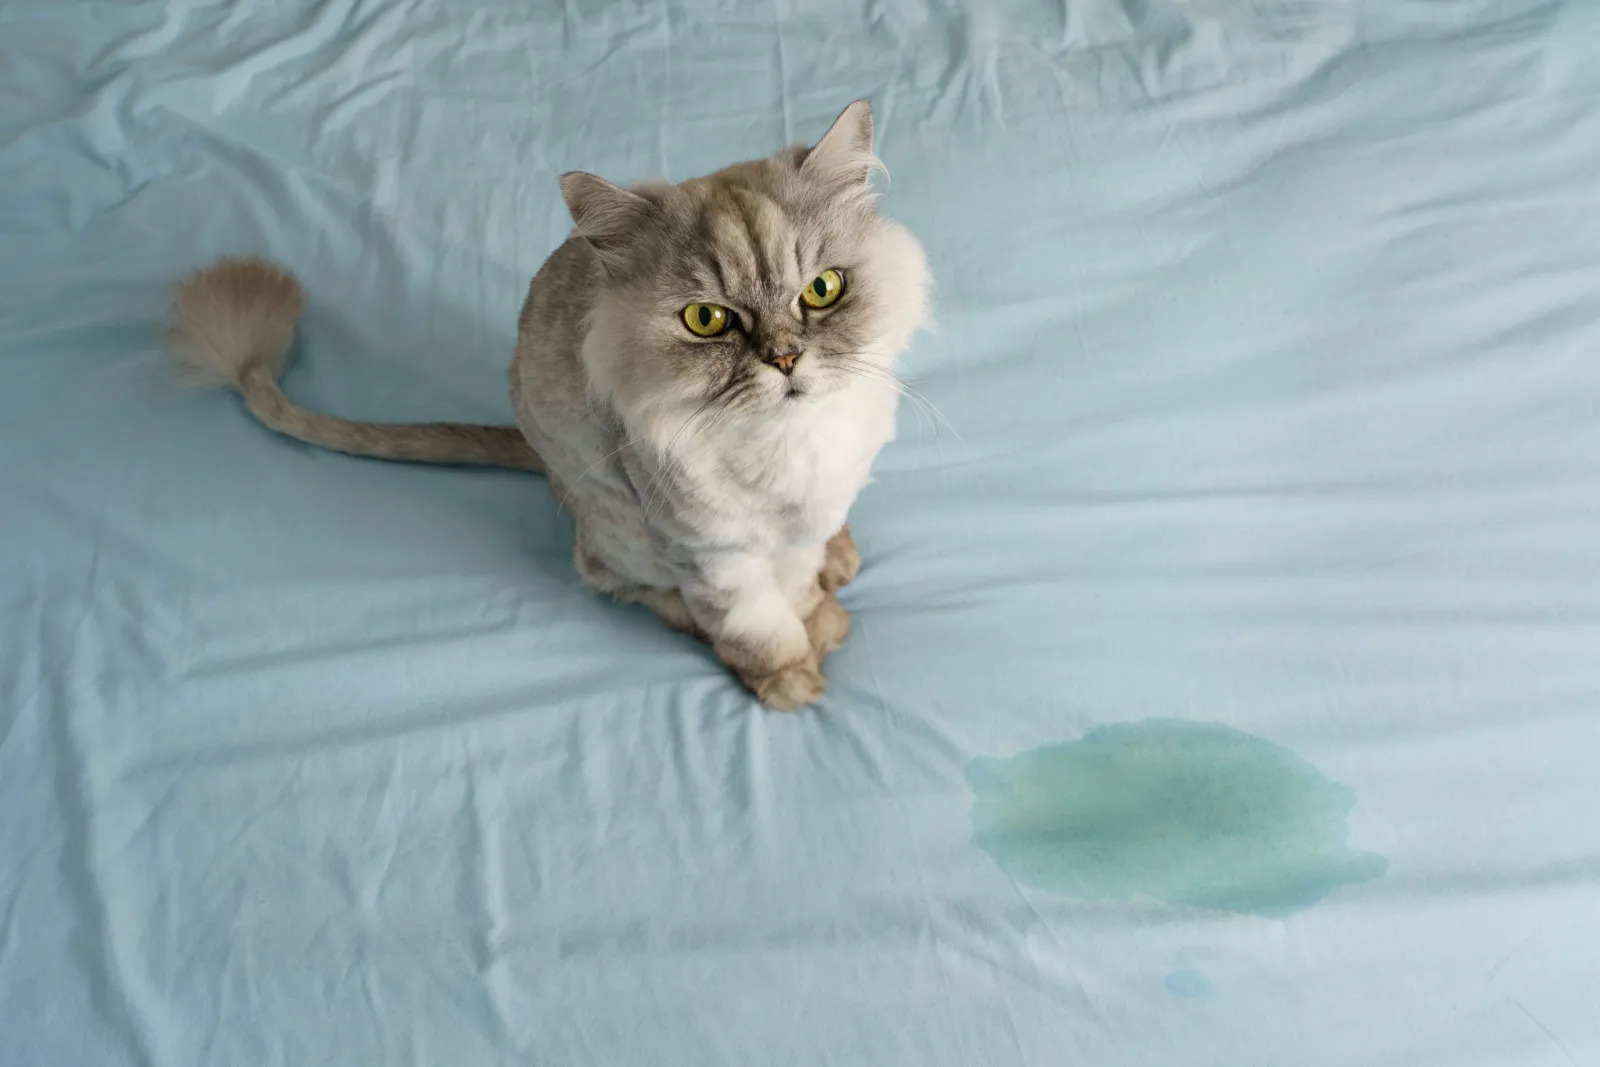
Before diving into the cleaning process, it’s important to understand why cats urinate on bean bags in the first place. Cats are naturally clean animals, and if they are not using their litter box, there is usually an underlying reason for their behavior. Stress, urinary tract infections, territorial marking, or changes in their environment can all contribute to a cat urinating outside of the litter box.
When it comes to bean bags, cats might be attracted to the soft and cozy material, mistaking it for a suitable place to relieve themselves. It’s essential to address the root cause of the issue, such as providing a comfortable and accessible litter box or addressing any changes in their environment, alongside the cleaning process.
Before we begin, let’s cover some precautions you should take before cleaning cat urine from a bean bag. Firstly, make sure to wear gloves to protect yourself from any potential bacteria. Secondly, it’s important to test any cleaning solution on a small, inconspicuous area of the bean bag to ensure that it doesn’t cause any discoloration or damage. Lastly, for bean bags with removable covers, check the manufacturer’s instructions for cleaning recommendations specific to the fabric.
Key Takeaways:
- Understanding why cats urinate on bean bags is crucial for preventing future accidents. Addressing stress, providing a suitable litter box, and seeking veterinary attention can help minimize this behavior.
- Taking precautions, such as wearing gloves and testing cleaning solutions, is essential before cleaning cat urine from a bean bag. Following the step-by-step process and manufacturer’s instructions ensures effective and safe cleaning.
Read more: How To Clean A Bean Bag
Understanding the issue: Why cats urinate on bean bags
As cat owners, it’s important to understand why our feline friends may be prone to urinating on bean bags. While it can be frustrating and inconvenient for us, we need to approach the situation with empathy and try to address the underlying reasons behind this behavior.
There are several factors that can contribute to cats urinating on bean bags:
- Stress: Cats are sensitive creatures, and any changes or disruptions to their environment can cause them stress. This stress might manifest as urinating outside of the litter box, including on bean bags. Stressors can include a new pet in the home, a change in routine, or even loud noises. Identify and alleviate any sources of stress to help resolve this behavior.
- Territorial marking: Cats have a natural instinct to mark their territory, and urinating is one way they do so. Bean bags can become a target for marking if they are in an area where cats feel a need to establish their territory. Neutering or spaying your cat can help reduce this territorial behavior.
- Medical issues: In some cases, urinating outside the litter box can be a sign of a urinary tract infection or other medical conditions. If your cat’s behavior suddenly changes, it’s essential to consult with a veterinarian to rule out any underlying health issues.
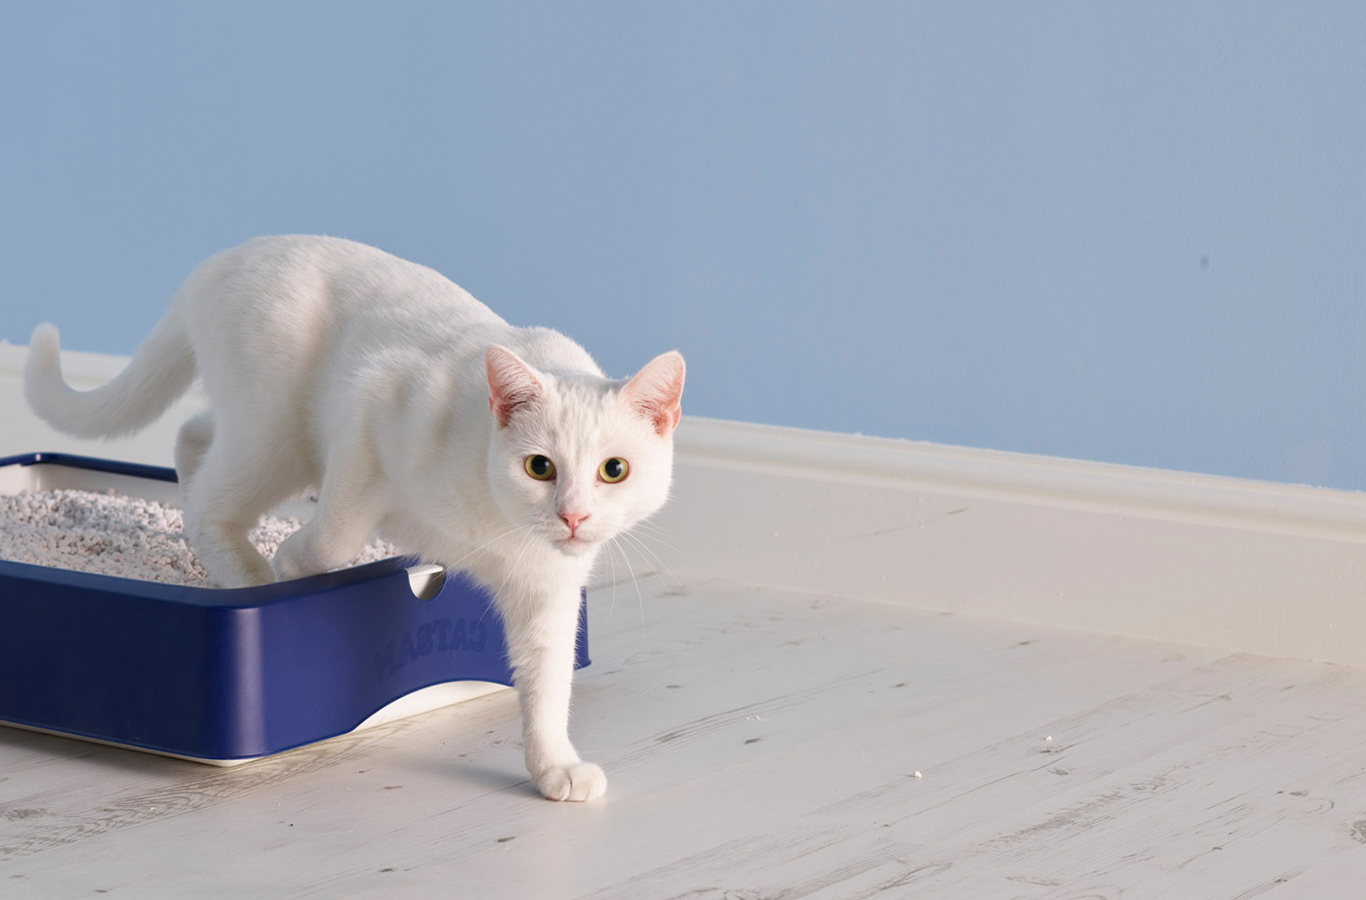
- Litter box aversion: Cats can be very particular about their litter box preferences. If the litter box is dirty, difficult to access, or the litter type is not to their liking, they might seek alternative places, such as bean bags, to relieve themselves. Ensure that the litter box is kept clean and easily accessible, and experiment with different litter types to find what your cat prefers.
- Scent marking: Cat urine contains pheromones that can act as a form of communication. Sometimes, cats may urinate on bean bags to mark them as their own, especially if they are not neutered or spayed. In these cases, addressing the scent marking behavior through behavioral modification techniques or consulting with a professional may be necessary.
Understanding the motivations behind why cats urinate on bean bags can help us take appropriate measures to prevent it from happening in the future. By addressing any stressors, providing a suitable litter box environment, and seeking medical attention if needed, we can encourage our cats to use the litter box consistently and preserve the cleanliness of our bean bags.
Precautions before cleaning
Before diving into the process of cleaning cat urine from your bean bag, it’s important to take some necessary precautions to ensure both your safety and the effectiveness of the cleaning methods. Here are a few key precautions to keep in mind:
- Wear gloves: When dealing with cat urine, it’s essential to protect yourself from potential bacteria or pathogens that may be present. Always wear disposable gloves while cleaning to avoid any direct contact with the urine.
- Test cleaning solutions: Before applying any cleaning solution to the bean bag, it’s important to test it on a small, inconspicuous area. This will help ensure that the solution doesn’t cause any discoloration or damage to the fabric. Wait for the tested area to dry completely before proceeding with the cleaning process.
- Remove excess urine: Before cleaning the stained area, use paper towels or a clean cloth to absorb as much of the fresh urine as possible. Gently blot the area without rubbing to prevent the urine from spreading further into the fabric.
- Consider the manufacturer’s instructions: If your bean bag has a removable cover, check the manufacturer’s instructions for specific cleaning recommendations. Different fabrics may require different cleaning methods, and following the manufacturer’s guidelines will help ensure that you don’t inadvertently damage the cover.
- Choose the right cleaning solution: There are various cleaning solutions that can be effective in removing cat urine stains and odors. Avoid using ammonia-based cleaners, as the smell of ammonia can resemble urine and may attract your cat to the same spot again. Opt for enzymatic cleaners or homemade solutions like vinegar and water, which help break down the urine and eliminate odors.
- Allow for proper ventilation: During and after the cleaning process, make sure to open windows or use fans to promote airflow and ventilation. This will help dissipate any residual odors and aid in the drying process.
- Pets and children: While cleaning, ensure that pets and children are kept away from the area to prevent them from coming into contact with the cleaning products or wet surfaces.
By taking these precautions, you can ensure a safe and effective cleaning process for your bean bag. Remember to always prioritize your safety and follow the instructions provided to address any specific concerns related to the type of bean bag you own. Now that you’re ready, let’s move on to the step-by-step cleaning process!
Step 1: Preparing for the cleaning process
Before diving into the task of cleaning cat urine from your bean bag, it’s important to prepare the necessary tools and create an ideal work environment. This will help streamline the cleaning process and ensure the best possible results. Follow these steps to get started:
- Gather the cleaning supplies: Collect all the necessary cleaning supplies before you begin. You will need disposable gloves, paper towels or clean cloth, an enzymatic cleaner or homemade solution (such as vinegar and water), a spray bottle, a soft-bristle brush, and baking soda. Ensure that these supplies are readily available to avoid any interruptions during the cleaning process.
- Clear the area: Move the bean bag to an open and well-ventilated area, preferably outdoors or in a space with good airflow. This will help prevent the odor from lingering in the room and aid in the drying process. Ensure that the bean bag is placed on a waterproof or easily washable surface, as the cleaning process may cause excess liquid to seep through.
- Remove any covers (if applicable): If your bean bag has a removable cover, carefully remove it according to the manufacturer’s instructions. Set aside the cover to clean separately later. By removing the cover, you can focus on treating the urine directly on the bean bag itself.
- Blot the affected area: Use paper towels or a clean cloth to blot any fresh urine from the bean bag. Gently press down on the stained area without rubbing, as rubbing can spread the urine further into the fabric. Continue blotting until no more moisture can be absorbed. This step will help remove as much urine as possible before proceeding with the cleaning process.
Once you have completed these preparations, you are now ready to move on to the next step: absorbing the fresh urine from the bean bag. By taking these preliminary steps, you are setting the stage for a thorough and effective cleaning process, ensuring that your bean bag will be restored to its former glory. Let’s move on to step two!
Step 2: Absorbing fresh urine from the bean bag
After preparing the bean bag and gathering the necessary cleaning supplies, it’s time to tackle the first step in the cleaning process: absorbing the fresh urine. This step is crucial for preventing the urine from further penetrating the fabric and spreading the odor. Follow these steps to effectively absorb the urine:
- Blot the area: Start by placing a layer of paper towels or a clean cloth over the urine-stained area of the bean bag. Gently press down and apply gentle pressure to maximize absorption. Avoid rubbing the area, as this can spread the urine and potentially damage the fabric.
- Apply weight: Place a heavy object, such as a stack of books or a weighted container, on top of the paper towels or cloth. This added weight will help the absorbent material draw out the urine from the fabric more effectively.
- Replace the absorbent material: Once the paper towels or cloth become saturated, replace them with fresh ones. Continue this process until the urine is no longer being absorbed.
- Inspect for lingering moisture: After absorbing the fresh urine, gently touch the affected area to check for any remaining moisture. If you feel any dampness, repeat the blotting process with fresh paper towels or cloth until the moisture is fully absorbed.
It’s essential to address the fresh urine as soon as possible to prevent it from seeping deeper into the bean bag. By thoroughly absorbing the fresh urine, you’ll be removing a significant portion of the urine and preparing the surface for the next step: treating the stained area.
Remember, patience is key during this process. Take your time and make sure to remove as much moisture as possible before moving on to the next step. With the fresh urine absorbed, we can now proceed to treat the stained area effectively. Let’s move on to step three!
Blot up as much urine as possible with paper towels. Mix equal parts water and white vinegar, then pour over the affected area. Blot with clean towels and let it air dry. Repeat if necessary.
Read more: How To Stop Cats From Peeing On The Carpet
Step 3: Treating the stained area
Now that you have successfully absorbed the fresh urine from the bean bag, it’s time to move on to treating the stained area. This step focuses on breaking down the urine residue, eliminating stains, and minimizing any remaining odor. Follow these steps to effectively treat the stained area:
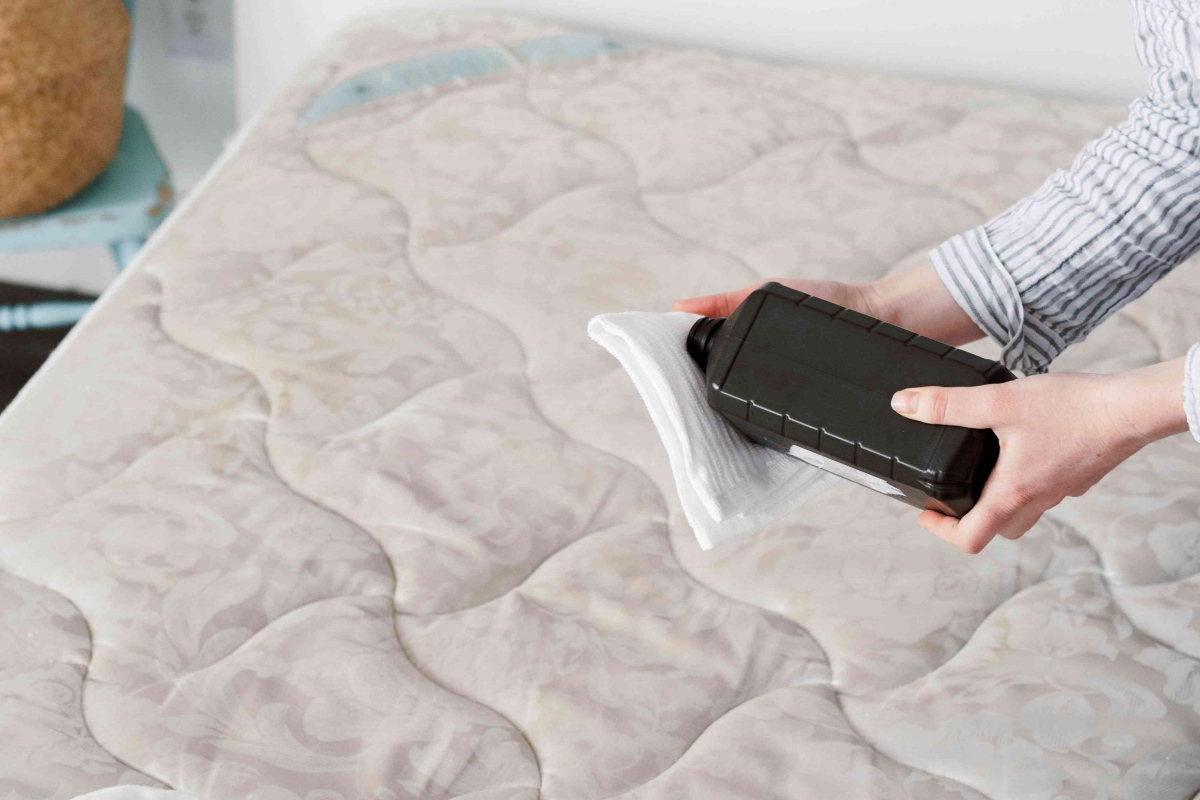
- Prepare the cleaning solution: Depending on your preference, you can use an enzymatic cleaner specifically designed for pet urine stains or create a homemade solution using equal parts white vinegar and water. Pour the desired cleaning solution into a spray bottle for easy application.
- Spray the stained area: Thoroughly saturate the stained area on the bean bag with the cleaning solution. Make sure to apply enough of the solution to fully cover the stain and reach the underlying layers of fabric.
- Gently scrub the area: Using a soft-bristle brush or a clean cloth, gently scrub the stained area in circular motions. This will help break down the urine residue and lift any remaining stains. Avoid using excessive force or aggressive scrubbing, as this can potentially damage the fabric.
- Allow the solution to sit: After scrubbing, allow the cleaning solution to sit on the stained area for the recommended time specified on the product label or for about 10-15 minutes if using the vinegar and water solution. This will allow the solution to penetrate the fabric and effectively neutralize the urine.
- Blot the area: After the designated time has passed, use paper towels or a clean cloth to blot the treated area. Gently press down to absorb the excess cleaning solution and remove any residual moisture. Repeat this blotting process until the area feels slightly damp but no longer saturated.
By following these steps, you’re effectively treating the stained area and breaking down the urine residue. The cleaning solution helps eliminate stains and neutralize any remaining odor. Effective scrubbing and allowing the solution to sit are key factors in ensuring a thorough cleaning process. With the stained area treated, it’s time to focus on removing any lingering odor from the bean bag. Proceed to step four to learn more!
Step 4: Removing odor from the bean bag
Now that you have treated the stained area on your bean bag, it’s time to focus on removing any lingering odor caused by the cat urine. Follow these steps to effectively eliminate the odor and freshen up your bean bag:
- Apply baking soda: Sprinkle a generous amount of baking soda over the entire surface of the bean bag, paying particular attention to the previously stained area. Baking soda is known for its odor-absorbing properties and will help neutralize any remaining smells.
- Gently rub in the baking soda: Use your hands or a clean cloth to gently rub the baking soda into the fabric. Make sure to work it in thoroughly, allowing it to reach the fibers of the bean bag. This will help the baking soda absorb any remaining odors.
- Let it sit overnight: After applying the baking soda, leave the bean bag undisturbed overnight. This will give the baking soda enough time to work its magic and absorb any remaining odors from the fabric.
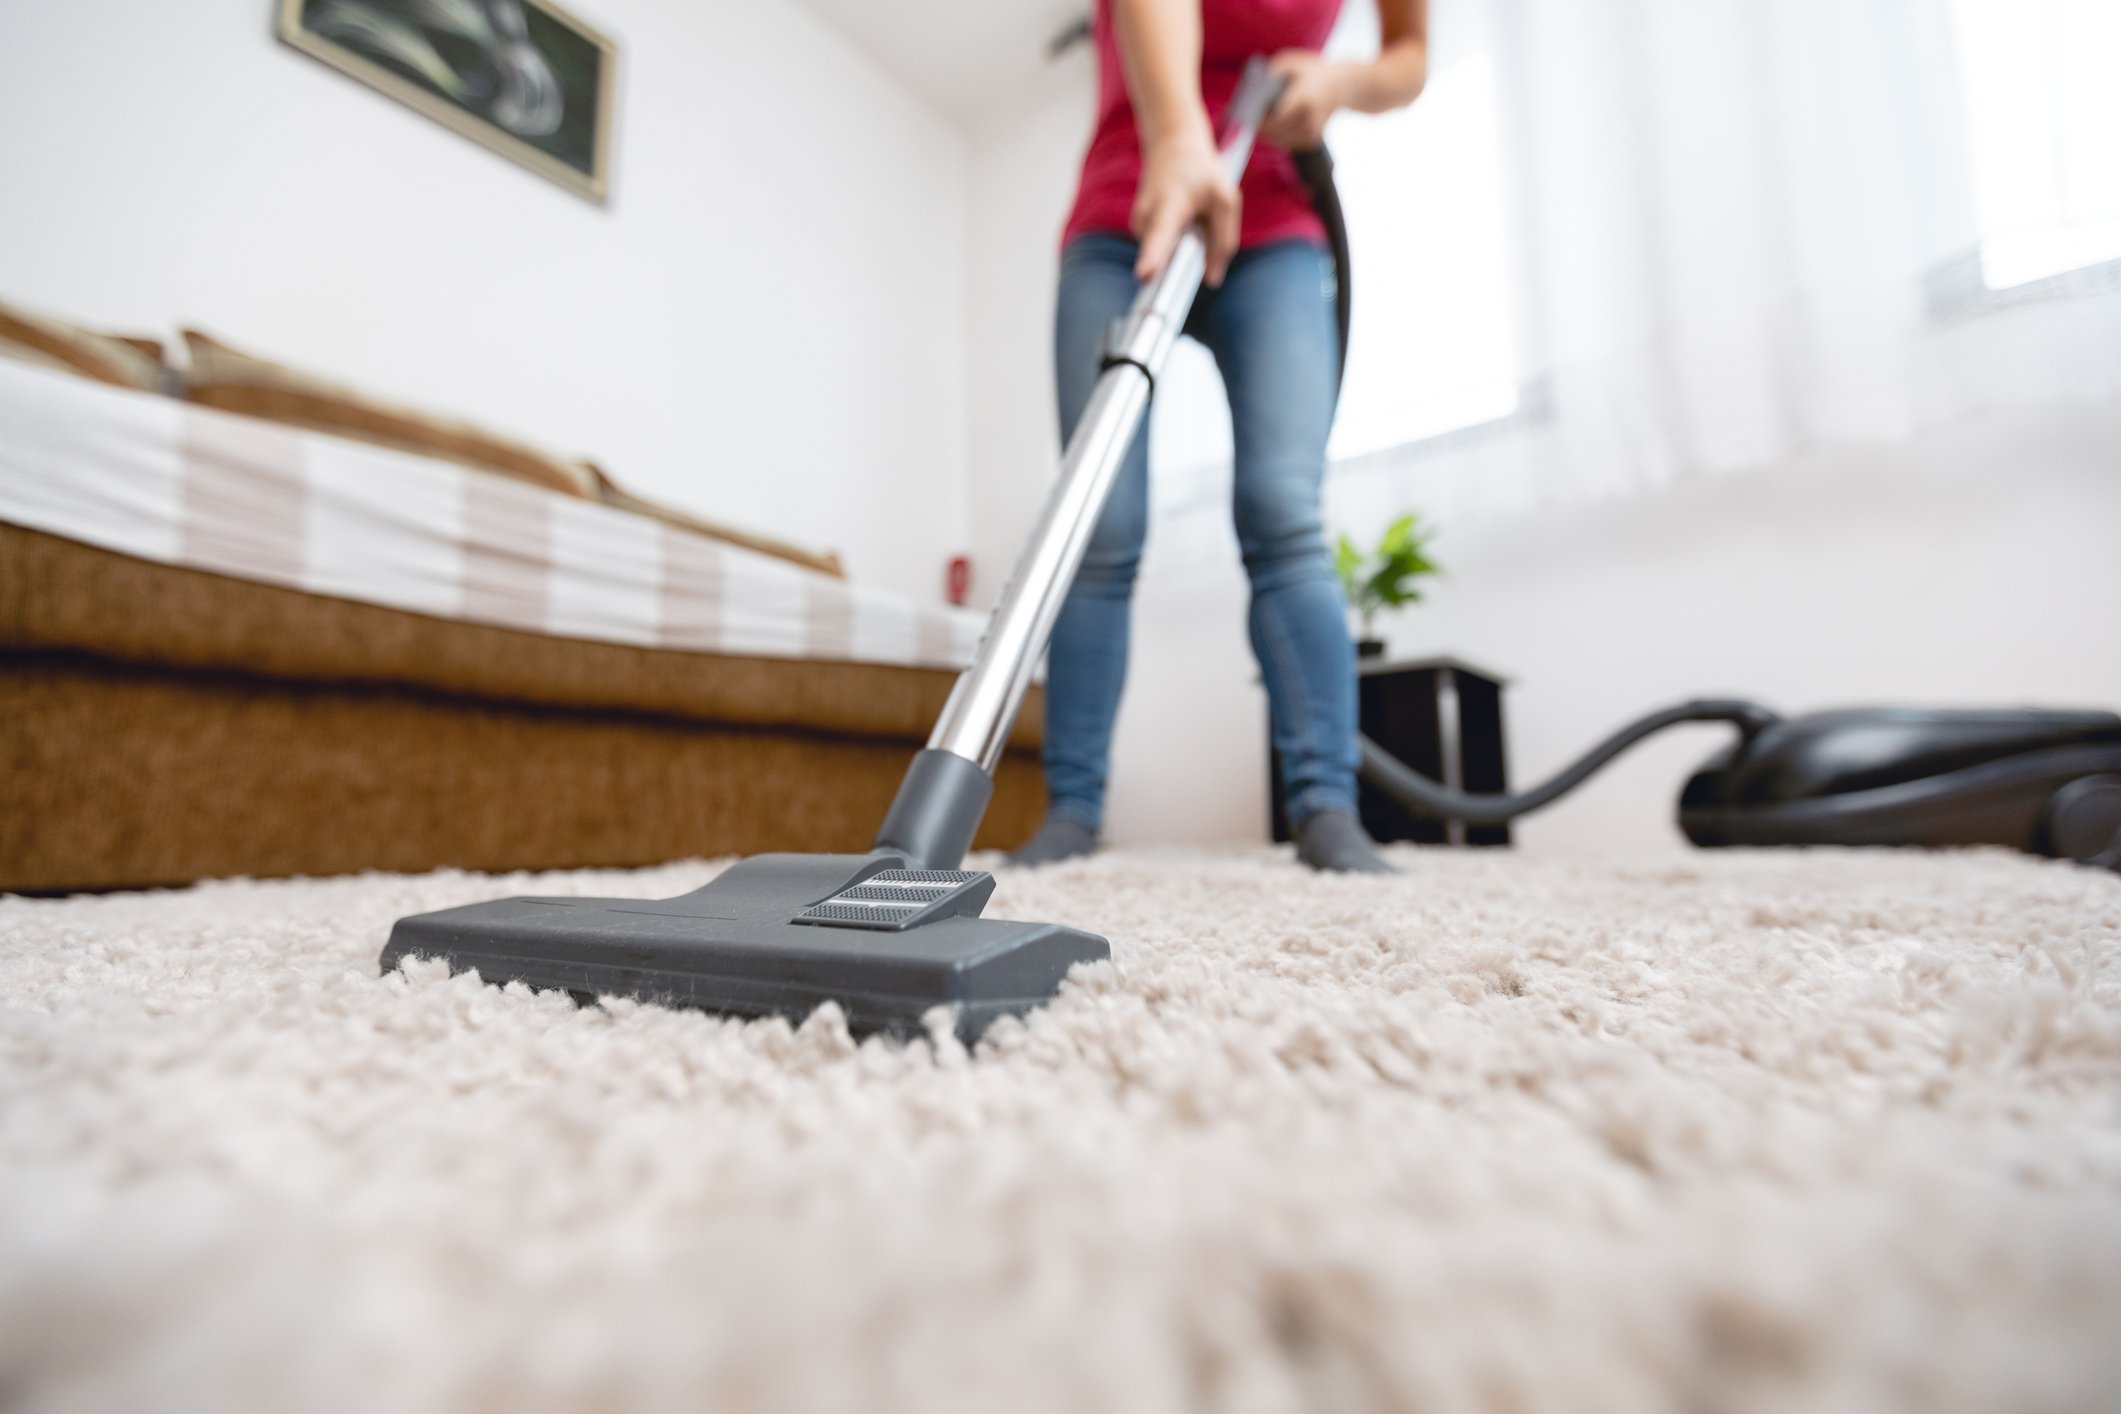
- Vacuum the baking soda: The next day, use a vacuum cleaner with an upholstery attachment to thoroughly remove the baking soda from the bean bag. Make sure to vacuum all sides of the bean bag, paying extra attention to the areas where the urine was present.
By following these steps, you can effectively eliminate any lingering odor from the cat urine on your bean bag. Baking soda acts as a natural deodorizer, absorbing unpleasant smells and leaving your bean bag fresh and odor-free.
It’s important to note that in some cases, especially if the urine has deeply penetrated into the bean bag, you may need to repeat this step or consider other odor-eliminating methods such as using an enzyme-based pet odor remover. Additionally, it’s advised to wait until the bean bag is completely dry before using it to ensure optimal freshness.
With the odor removed, it’s time to address the cleaning and drying of the bean bag cover (if applicable) in the next step. Read on to learn more about washing the cover in step five!
Step 5: Washing the bean bag cover (if applicable)
If your bean bag has a removable cover, it’s important to give it a thorough cleaning to ensure complete freshness. Follow these steps to wash the bean bag cover:
- Check the manufacturer’s instructions: Before washing the bean bag cover, refer to the manufacturer’s instructions for specific cleaning guidelines. Different fabrics may require specific care instructions, such as temperature limitations or specific detergents to use.
- Remove the cover: Carefully remove the bean bag cover according to the manufacturer’s instructions. Take note of any zippers or buttons that need to be undone to detach the cover completely.
- Spot treat if necessary: Inspect the cover for any visible stains or areas that require spot treatment. Treat these stains using an appropriate stain remover or a mixture of mild detergent and water. Gently rub the stained areas with a soft brush or cloth to help lift the stains.
- Wash according to instructions: Place the bean bag cover in the washing machine, following the recommended settings and using a mild detergent. Use a gentle or delicate cycle to prevent any damage to the fabric. If the cover is too large or delicate for your washing machine, consider hand washing instead.
- Drying the cover: After washing, follow the manufacturer’s instructions regarding drying. Some covers may be suitable for machine drying on a low heat setting, while others may need to be air-dried. Avoid high heat, as it can shrink or damage the fabric.
- Reattach the cover: Once the cover is completely dry, carefully reattach it to the bean bag, following the manufacturer’s instructions. Ensure that all fasteners are secured, and the cover is properly aligned on the bean bag.
By taking the time to wash the bean bag cover, you will ensure that every part of your bean bag is clean and fresh. Following the manufacturer’s instructions is crucial to prevent any damage to the fabric and maintain its quality.
With the cover cleaned and reattached (if applicable), it’s time to move on to the final step: drying and restoring the bean bag. Read on to learn how to complete the cleaning process and bring your bean bag back to life!
Step 6: Drying and restoring the bean bag
After successfully cleaning the stained area, removing the odor, and washing the bean bag cover (if applicable), it’s time to focus on the final step: drying and restoring the bean bag. Follow these steps to ensure proper drying and restore the comfort of your bean bag:
- Remove excess moisture: Using a clean towel or cloth, gently blot any remaining moisture from the bean bag. Press down on the surface to absorb as much dampness as possible. This step is crucial to prevent mildew or mold from developing during the drying process.
- Place the bean bag in a well-ventilated area: Choose a spot with good airflow where the bean bag can dry completely. You can place it outdoors on a sunny day or in a room with open windows and a fan turned on. Avoid placing the bean bag directly under sunlight, as this can cause fading or discoloration.
- Rotate and fluff the bean bag: Periodically rotate and fluff the bean bag during the drying process to ensure even drying and to help restore its original shape. This will prevent any lumps or clumps from forming and promote proper air circulation for faster drying.
- Use a fan or dehumidifier: If needed, you can use a fan or dehumidifier to expedite the drying process. Position a fan to blow gently across the surface of the bean bag, or use a dehumidifier to remove excess moisture from the air. This can be especially helpful in humid climates or if the bean bag is taking longer to dry.
- Ensure thorough drying: Allow the bean bag to dry completely before using it again. Depending on the size and fabric of the bean bag, this may take anywhere from a few hours to a couple of days. Check for any remaining dampness or moisture before using the bean bag.
- Fluff the bean bag after drying: Once the bean bag is fully dry, give it a good fluffing to restore its original shape and texture. This will help distribute the filling evenly and make the bean bag comfortable to sit or lounge on.
Properly drying and restoring the bean bag is vital to ensure its longevity and usability. By following these steps, you’ll have a clean and fresh bean bag ready to be enjoyed once again.
Remember, each bean bag may have its unique care requirements, so it’s always important to refer to the manufacturer’s instructions for specific guidelines. By doing so, you can ensure that you’re taking the necessary steps to maintain the quality and appearance of your beloved bean bag.
Congratulations! You have completed all the necessary steps to clean and restore your bean bag after a cat urine incident. With your bean bag fresh and odor-free, you can now relax and enjoy its comfort once again!
Remember, taking preventive measures to discourage your cat from urinating on the bean bag, such as providing a suitable litter box and addressing any stressors, will help minimize the chances of future accidents. Regularly maintaining and cleaning your bean bag will also help keep it in optimal condition.
Read more: How To Stop A Cat From Peeing On Rugs
Conclusion
Cleaning cat pee from a bean bag can be a challenging task, but with the right approach and techniques, you can restore your bean bag to its former glory. By following the step-by-step process outlined in this guide, you can effectively absorb the fresh urine, treat the stained area, remove any lingering odor, wash the bean bag cover (if applicable), and properly dry and restore the bean bag.
It’s important to remember that addressing the underlying reasons why your cat may be urinating on the bean bag is just as crucial as the cleaning process itself. By identifying and addressing stressors, providing a comfortable and accessible litter box, and seeking veterinary attention if needed, you can minimize the likelihood of future accidents and promote a healthier environment for both you and your cat.
Maintaining a clean and fresh bean bag contributes not only to the overall aesthetics of your living room but also to the comfort and enjoyment of your space. Regularly cleaning and caring for your bean bag will help extend its lifespan and ensure that it continues to provide a cozy spot for relaxation.
Remember to take proper precautions before cleaning, gather the necessary supplies, and follow the manufacturer’s instructions for cleaning the bean bag cover if it is removable. Be sure to choose appropriate cleaning solutions and test them in a small, inconspicuous area before applying to the entire bean bag.
With patience, perseverance, and the right strategies, you can successfully clean cat pee from your bean bag and eliminate any unpleasant odors. By implementing preventive measures and maintaining a clean environment, you can create a comfortable and welcoming space for both you and your feline companion.
So, go ahead and confidently tackle the task of cleaning cat pee from your bean bag, knowing that you have the knowledge and tips to get the job done effectively. Your bean bag will once again become a favorite spot for relaxation and lounging, free from any traces of cat urine.
Frequently Asked Questions about How To Clean Cat Pee From A Bean Bag
Was this page helpful?
At Storables.com, we guarantee accurate and reliable information. Our content, validated by Expert Board Contributors, is crafted following stringent Editorial Policies. We're committed to providing you with well-researched, expert-backed insights for all your informational needs.


0 thoughts on “How To Clean Cat Pee From A Bean Bag”