Home>Furniture>Living Room Furniture>How To Refill A Bean Bag

Living Room Furniture
How To Refill A Bean Bag
Modified: March 16, 2024
Learn how to easily refill your bean bag and make it feel brand new again. Perfect for updating your living room furniture.
(Many of the links in this article redirect to a specific reviewed product. Your purchase of these products through affiliate links helps to generate commission for Storables.com, at no extra cost. Learn more)
Introduction
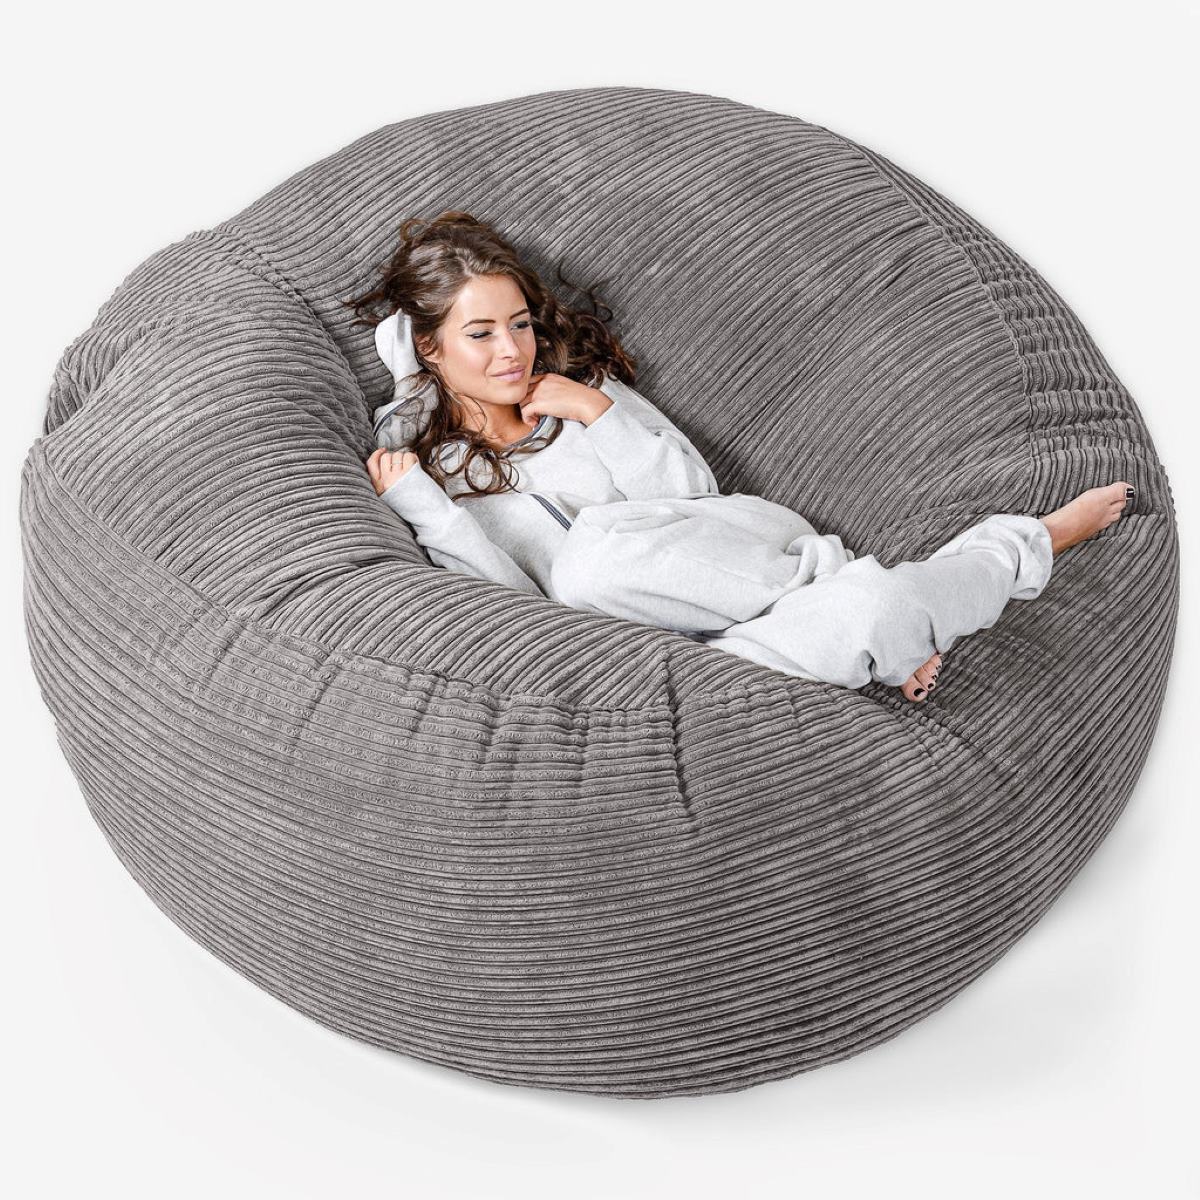
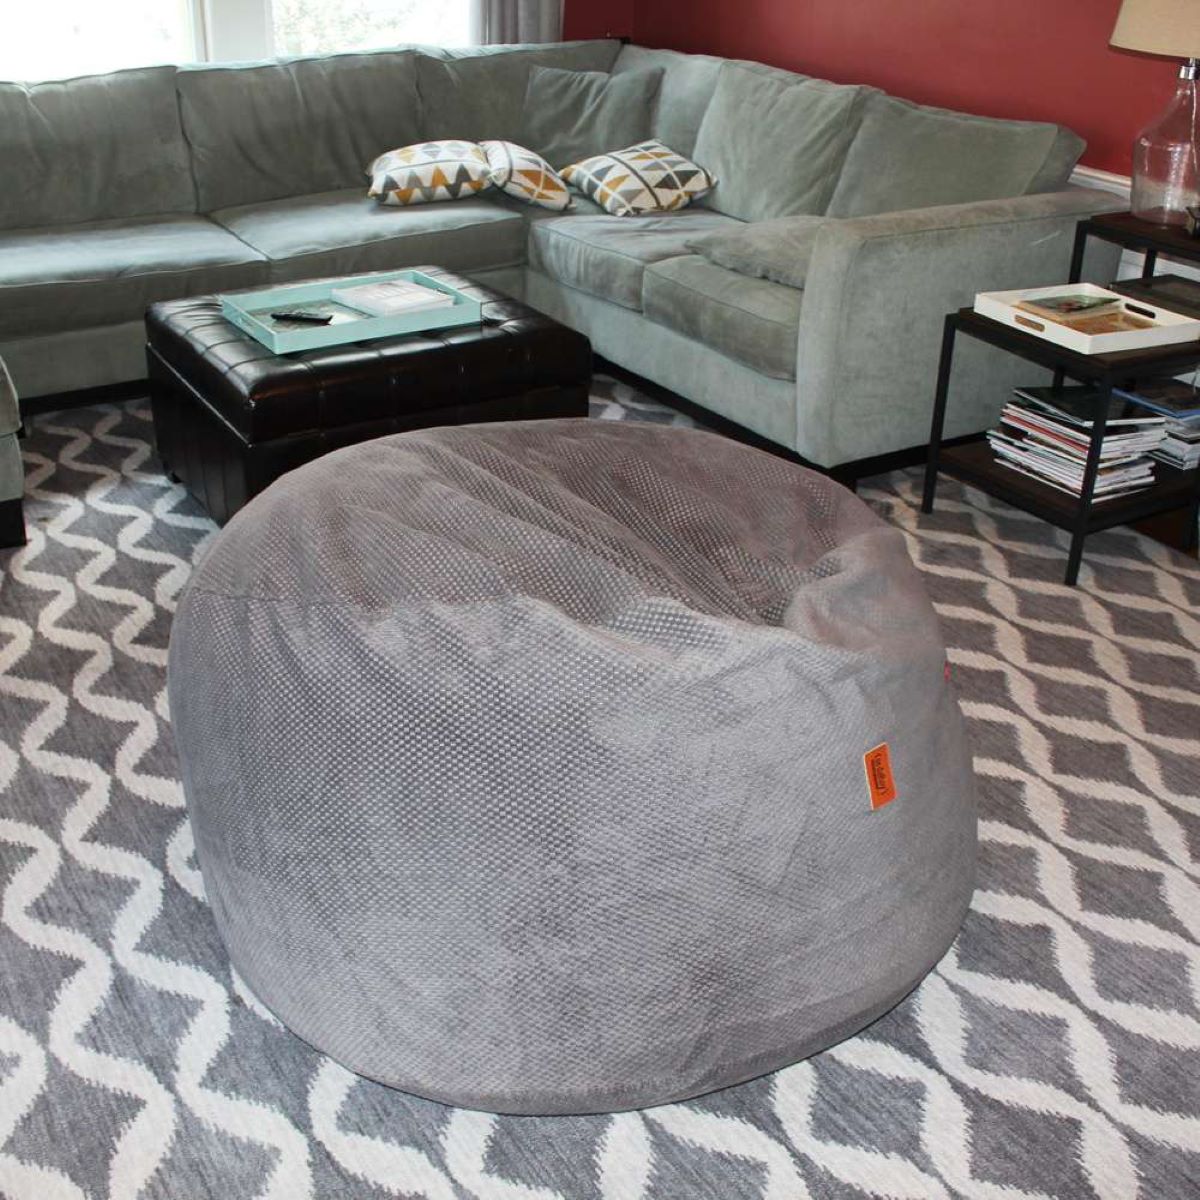
Welcome to our guide on how to refill a bean bag! Over time, bean bags tend to lose their shape and become flat, making them less comfortable to sit or lounge on. However, with a few simple steps, you can easily bring your bean bag back to life and restore its comfort and coziness.
Refilling a bean bag is a straightforward process that requires minimal effort and a few essential materials. It not only rejuvenates the bean bag but also extends its lifespan, saving you the cost of buying a new one. Whether you’re a DIY enthusiast or just looking to revitalize your beloved bean bag, you’ve come to the right place.
In this guide, we’ll walk you through each step of the process, ensuring that you have all the information and tips you need to successfully refill your bean bag. So, let’s get started!
Key Takeaways:
- Revive your bean bag’s comfort and coziness by following simple steps to refill it with fresh filling. Enjoy a cost-effective way to extend its lifespan and maintain optimal support.
- Gather essential materials, empty the old filling, carefully refill with fresh filling, and seal the bean bag securely to ensure lasting comfort and durability. Periodically check and adjust the filling to maintain its plushness.
Read more: How To Refill A Big Joe Bean Bag
Step 1: Gather the necessary materials
Before you begin refilling your bean bag, it’s important to gather all the materials you’ll need. Having everything ready will make the process smoother and more efficient. Here are the essential items you’ll need:
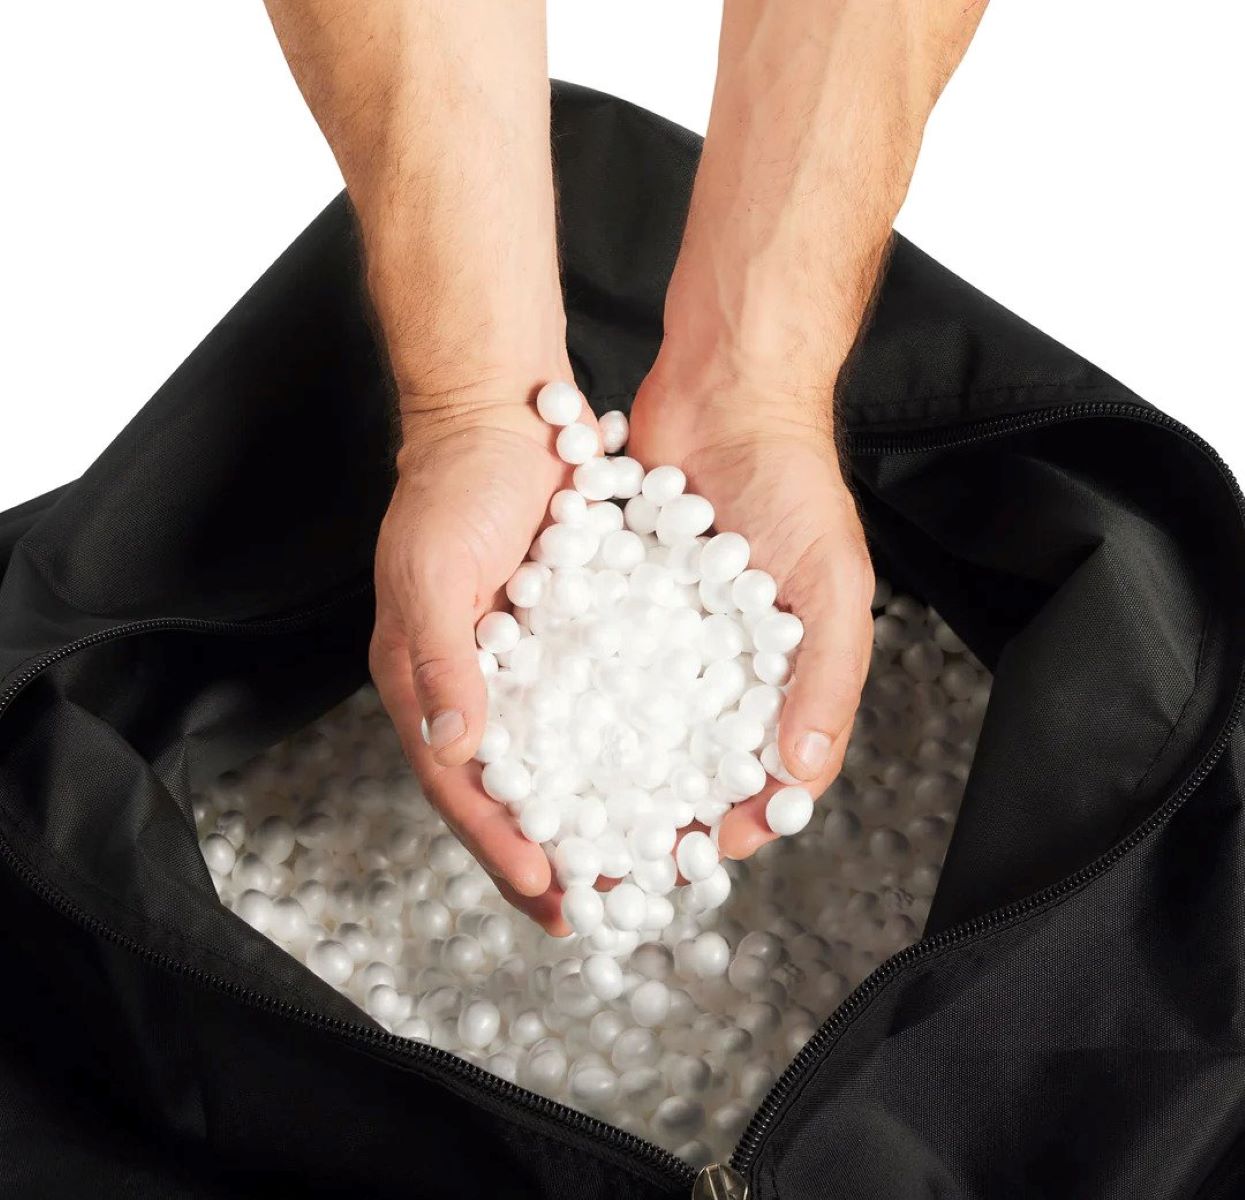
- Bean bag filling: This is the core material that will give your bean bag its shape and support. You can find bean bag filling in various forms, such as polystyrene beads or shredded memory foam. Choose the filling that suits your preferences and budget.
- Zipper or safety pins: Depending on the design of your bean bag, you’ll need either a zipper or safety pins to open and close the bean bag cover. Ensure that the zipper or safety pins are sturdy and in good working condition.
- Empty bag or container: To hold the bean bag filling before transferring it into the bean bag, you’ll need a large empty bag or container. This will make it easier to control the flow of filling and minimize mess.
- Scissors: You may need scissors to cut open the bean bag cover or to trim any excess fabric. Make sure you use sharp scissors that can easily cut through the material.
- Assistant: While not essential, having an extra pair of hands can be helpful during the refilling process. They can assist in holding the bag or container, handling the filling, or closing the bean bag cover.
Once you have gathered all the necessary materials, you’re ready to move on to the next step: emptying the bean bag.
Step 2: Empty the bean bag
Emptying the bean bag is an important step in the refilling process. It allows you to remove the old, flattened filling and prepare the bag for the fresh filling that will restore its shape and comfort. Here’s how to empty the bean bag:
- Find a suitable area: Choose a spacious area where you can easily maneuver the bean bag and minimize the risk of making a mess. It’s best to do this step outdoors or in a room with a hard, easy-to-clean surface.
- Prepare a container: Place a large container or bag near the bean bag to collect the old filling. This will prevent it from spilling all over the place and make it easier to dispose of later.
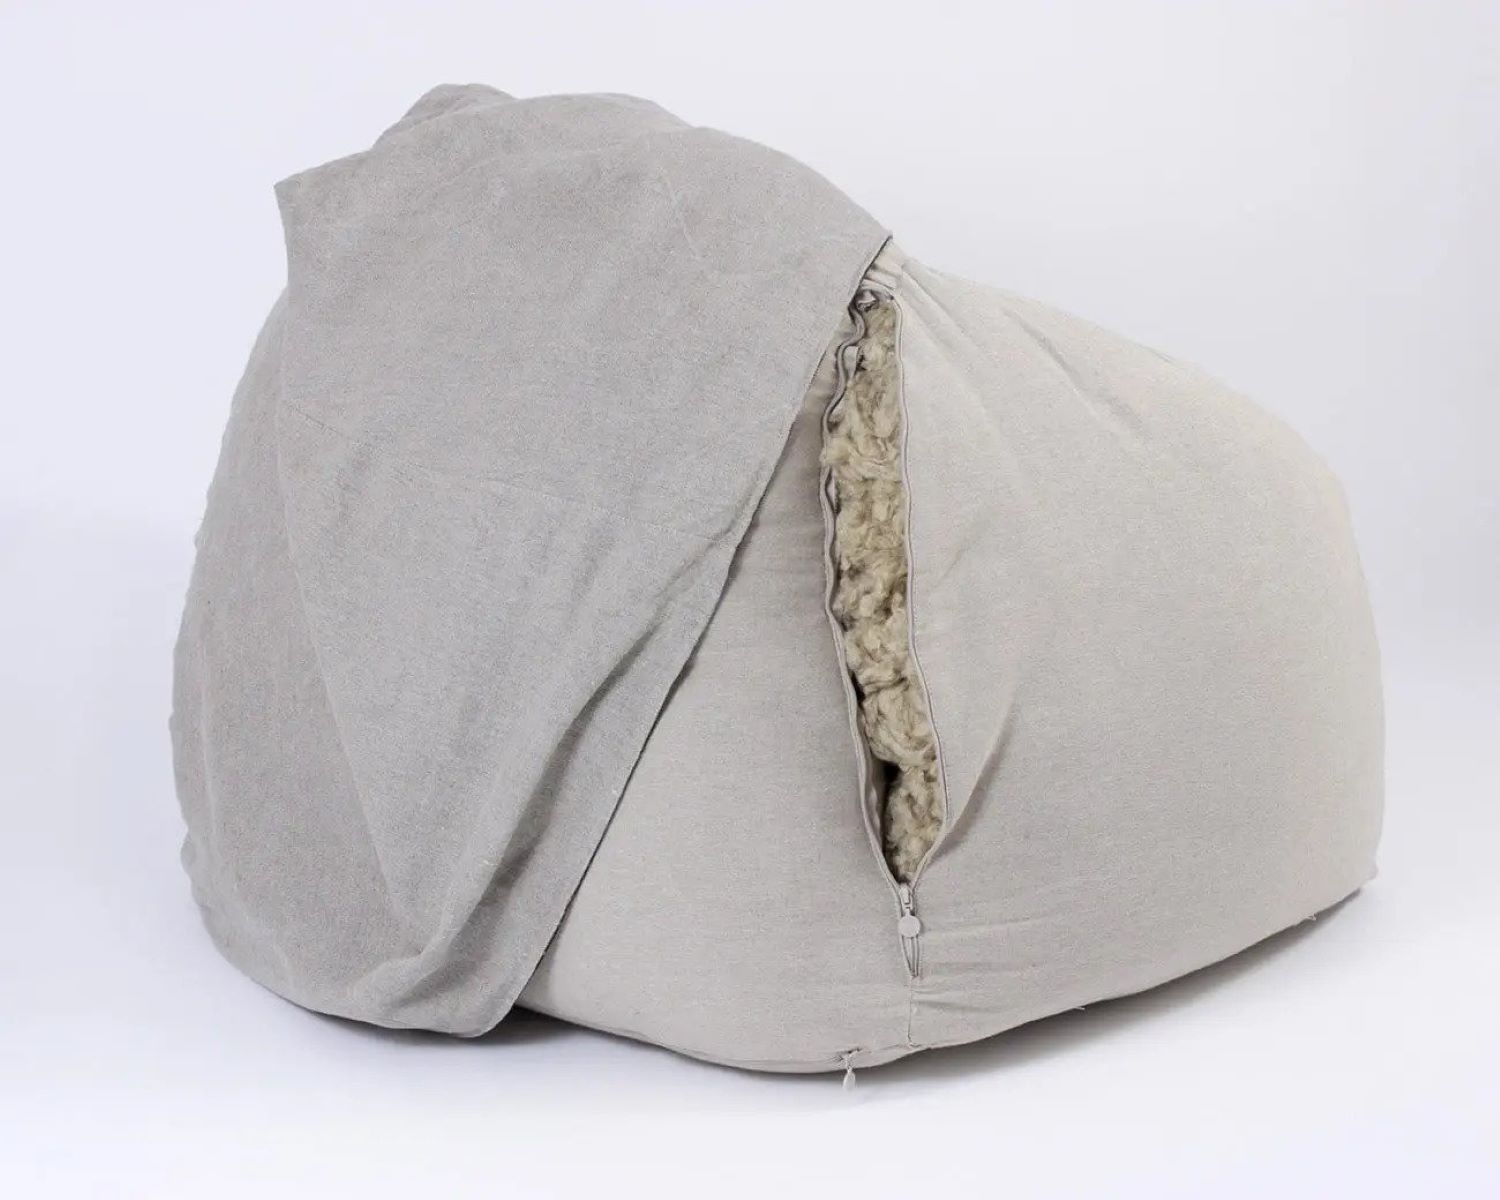
- Open the bean bag: Locate the zipper or safety pins that secure the bean bag cover. Carefully open them to reveal the inside of the bean bag. If using safety pins, remove and set them aside for later use.
- Slowly empty the filling: Gently tip the bean bag over and pour the old filling into the container. To make this process easier, you may need an assistant to hold the bag while you pour out the filling. Gradually tilt the bag to ensure that all the old filling is emptied.
- Inspect the bean bag cover: Take a moment to examine the bean bag cover for any damage or wear. If you notice any rips, tears, or loose seams, consider repairing them before proceeding with the refilling process. This will help ensure that the new filling stays contained and doesn’t leak out.
Once you have emptied the old filling, you’re ready to move on to the next step: refilling the bean bag with fresh filling.
Step 3: Refill the bean bag
Refilling the bean bag is the key step in restoring its shape and comfort. It’s where you introduce fresh filling to replace the old, flattened one. Follow these steps to ensure a successful refill:
- Prepare the new filling: If you’re using polystyrene beads, fluff them up by gently kneading the bag before opening it. For shredded memory foam, give it a few shakes to separate the pieces and make it easier to pour.
- Fill the bean bag: Open the bag or container containing the new filling. With the help of an assistant, carefully pour the filling into the bean bag. Start by adding a small amount and distribute it evenly. As you go, shake and massage the bean bag to help the filling settle and give it the desired shape. Repeat this process until you achieve the desired level of comfort and support.
- Avoid overfilling: It’s important not to overfill the bean bag, as it may put excess pressure on the seams and cause them to burst. Remember, bean bags are meant to be flexible and moldable, so leave some room for the filling to move and adjust with the user’s body.
- Zip up or secure the bean bag cover: Once you’re satisfied with the amount of filling, carefully zip up the bean bag cover or use safety pins to secure it. Ensure that the zipper is fully closed or the safety pins are tightly fastened to prevent any filling from spilling out.
- Reposition the bean bag: After refilling the bean bag, give it a gentle shake or fluff to redistribute the filling and ensure it’s evenly distributed. Place it in your desired spot and adjust it to your preferred shape and seating position.
With the bean bag successfully refilled, you’re ready to move on to the final step: sealing the bean bag.
When refilling a bean bag, use a funnel to easily pour the filling into the bag without making a mess. Make sure to use the right type of filling for your bean bag, such as foam beads or shredded foam.
Step 4: Seal the bean bag
Sealing the bean bag is an important step to ensure that the filling remains securely inside the bag. It helps prevent any leaks or spills, allowing you to enjoy your newly refilled bean bag without any worries. Here’s how to seal the bean bag:
- Inspect the closure: Check the zipper or safety pins to ensure they are in good working condition. If using a zipper, make sure it moves smoothly and closes properly. If using safety pins, ensure they are securely fastened and won’t come loose.
- Double-check the seams: Carefully inspect the seams of the bean bag cover to ensure there are no gaps or loose threads. If you notice any issues, use a needle and thread to reinforce the seams and make any necessary repairs. This will help prevent any filling from escaping through the seams.
- Zip up the cover: If your bean bag has a zipper closure, carefully zip it up until it’s fully closed. Ensure that there are no gaps or openings where the filling can escape. Test the zipper to make sure it stays securely closed.
- Secure with safety pins: If your bean bag uses safety pins for closure, carefully insert the pins through the fabric to secure the opening. Be sure to space the pins evenly and close enough together to prevent any filling from leaking out.
- Test for any leaks: Before using the bean bag, gently press on different areas to ensure there are no leaks or loose spots. If you notice any leaking filling, go back and double-check the closure and seams. Make any necessary adjustments or repairs to ensure a tight seal.
Once you have sealed the bean bag, you’re ready to move on to the final step: testing the bean bag to ensure its comfort and functionality.
Read more: What Is Bean Bag
Step 5: Test the bean bag
After going through the process of refilling and sealing your bean bag, it’s important to test it to ensure that it’s comfortable, supportive, and ready for use. Here’s how to test your newly refilled bean bag:
- Sit and adjust: Take a seat on the bean bag and adjust your body to find a comfortable position. Sink into the bean bag and feel how it conforms to your body shape. Wiggle around and shift your weight to see if the filling provides adequate support and cushioning.
- Check for even distribution: Pay attention to how the filling is distributed inside the bean bag. Ensure that it’s evenly spread and doesn’t gather or clump in certain areas. Gently press on different parts of the bean bag to feel for any lumps or unevenness. If you notice any issues, give the bean bag a gentle shake or massage to redistribute the filling.
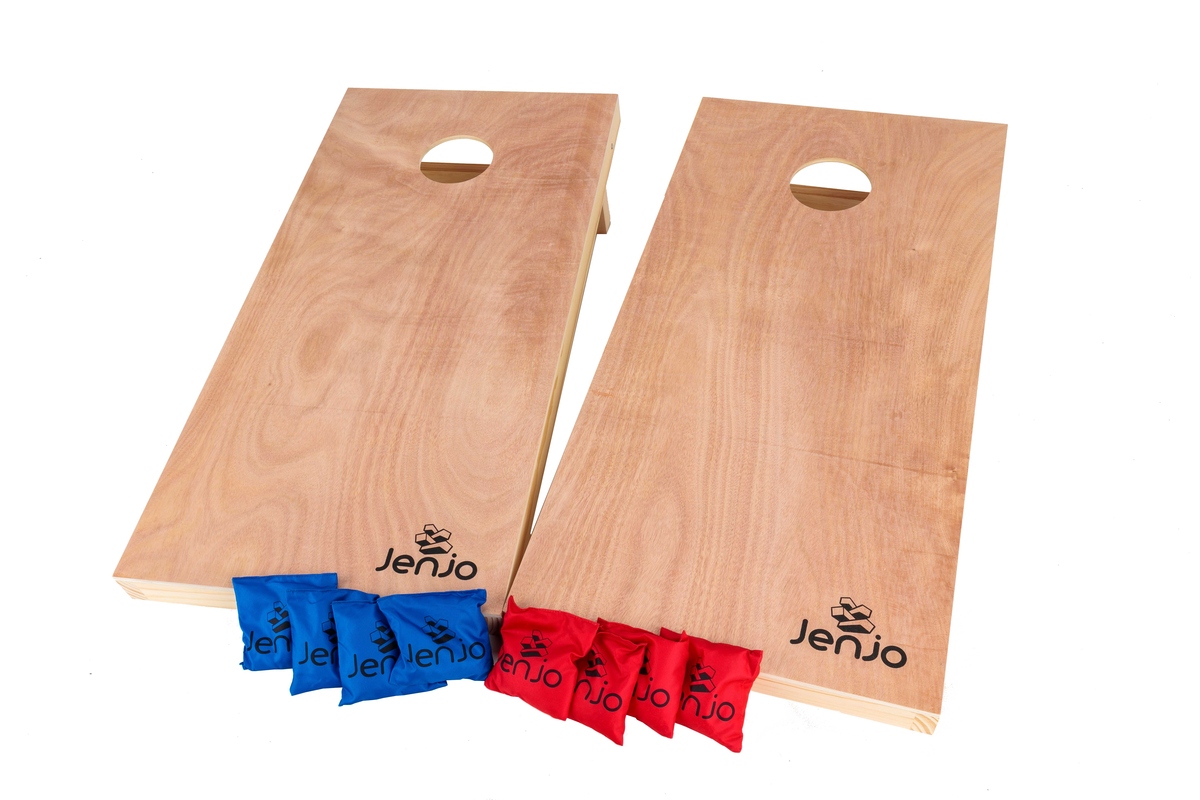
- Test for durability: Use the bean bag as you normally would, whether it’s for sitting, lounging, or even playing games. Experiment with different positions and movements to determine whether the filling holds up and maintains its shape over time. If you notice any excessive flattening or loss of support, you may need to add more filling or make adjustments.
- Enjoy the comfort: If the bean bag passes your test and provides the desired level of comfort, it’s time to sit back, relax, and enjoy your newly refilled bean bag. Whether you’re watching TV, reading a book, or simply taking a nap, you can now experience the cozy and supportive feel of your refreshed bean bag.
Congratulations! You’ve successfully refilled and tested your bean bag, bringing it back to life and ensuring its continued use for years to come.
Final Thoughts:
Refilling a bean bag is a simple and rewarding process that can breathe new life into your favorite piece of furniture. By following these steps and considering the tips provided, you’ll be able to achieve optimal comfort and enjoy your bean bag to the fullest. Remember to periodically check and adjust the filling as needed to maintain its shape and support. Happy lounging!
Conclusion
Refilling a bean bag is a cost-effective way to restore its comfort and extend its lifespan. With just a few simple steps and the right materials, you can revitalize your bean bag and enjoy its cozy embrace once again. By following our comprehensive guide, you’ll be able to successfully refill your bean bag and achieve optimal comfort.
Remember to gather all the necessary materials before starting, empty the old filling, carefully refill with fresh filling, seal the bean bag securely, and test it for comfort and durability. Taking the time to properly refill your bean bag will ensure that it provides the support and plushness you desire for years to come.
Don’t forget to periodically check and adjust the filling as needed. Over time, the filling may settle or compress, requiring you to add more to maintain the desired level of comfort. By staying proactive and attentive, you can keep your bean bag in prime condition.
Whether you use your bean bag for lounging, reading, gaming, or just relaxing, the process of refilling it will bring back the joy and comfort it once provided. Embrace the cozy and supportive feel of your newly refilled bean bag and enjoy countless moments of relaxation and leisure.
We hope this guide has been helpful in assisting you with the process of refilling your bean bag. Remember, with a little effort and attention, your bean bag can continue to be your favorite spot in your living room for years to come.
Frequently Asked Questions about How To Refill A Bean Bag
Was this page helpful?
At Storables.com, we guarantee accurate and reliable information. Our content, validated by Expert Board Contributors, is crafted following stringent Editorial Policies. We're committed to providing you with well-researched, expert-backed insights for all your informational needs.


0 thoughts on “How To Refill A Bean Bag”