Home>Furniture>Outdoor Furniture>How To Clean Patio Wood
Outdoor Furniture
How To Clean Patio Wood
Modified: March 7, 2024
Learn the best tips and techniques for cleaning your outdoor furniture made of wood with our step-by-step guide. Keep your patio looking fresh and pristine.
(Many of the links in this article redirect to a specific reviewed product. Your purchase of these products through affiliate links helps to generate commission for Storables.com, at no extra cost. Learn more)
Introduction
Welcome to our guide on how to clean patio wood! If you have a beautiful wooden patio that has become dull and dirty over time, don’t worry. With the right materials and techniques, you can easily restore its natural beauty and extend its lifespan. Cleaning your patio wood not only enhances its appearance but also helps to protect it from damage caused by dirt, grime, and weather conditions.
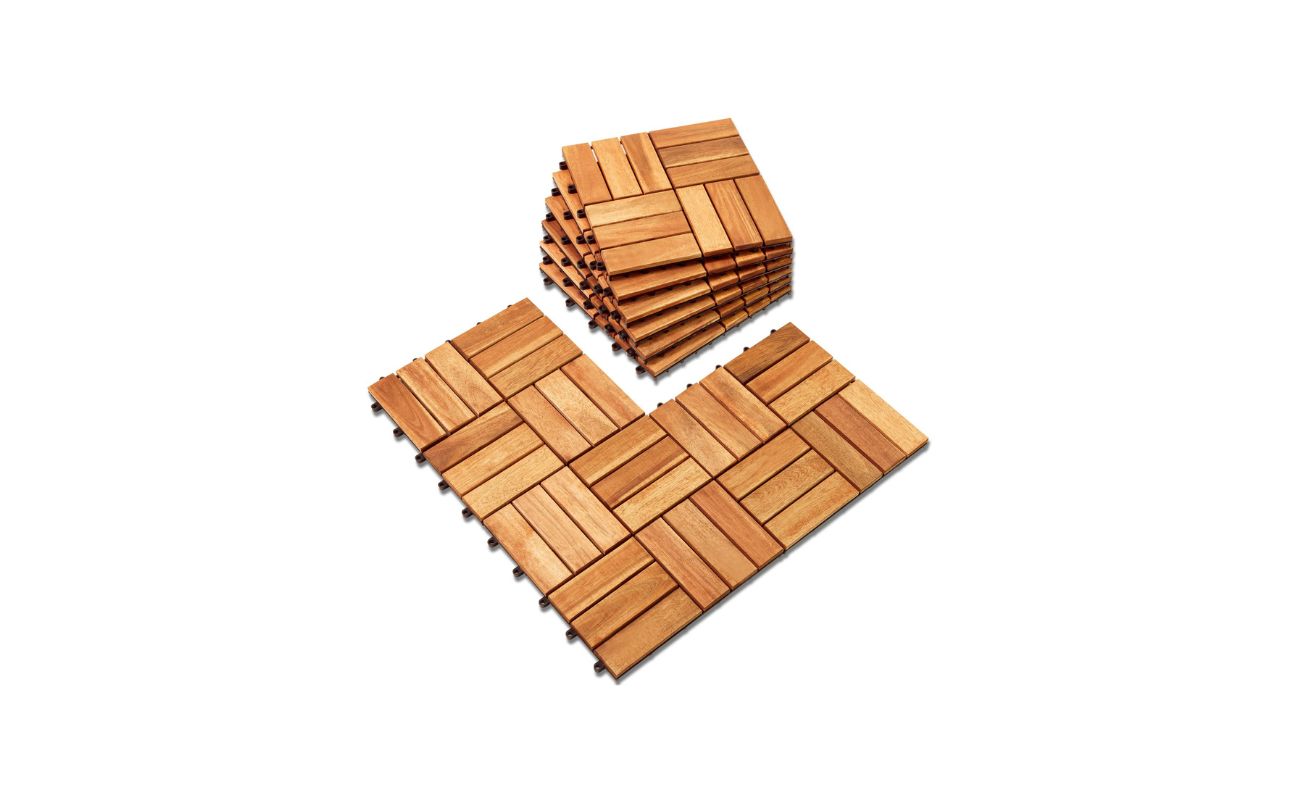
Before we begin, it is important to note that the cleaning methods may vary depending on the type of wood used for your patio. Hardwoods like teak, cedar, and mahogany are more resistant to weathering, while softwoods like pine and fir require extra care. Be sure to identify the type of wood and follow specific guidelines or recommendations provided by the manufacturer or supplier.
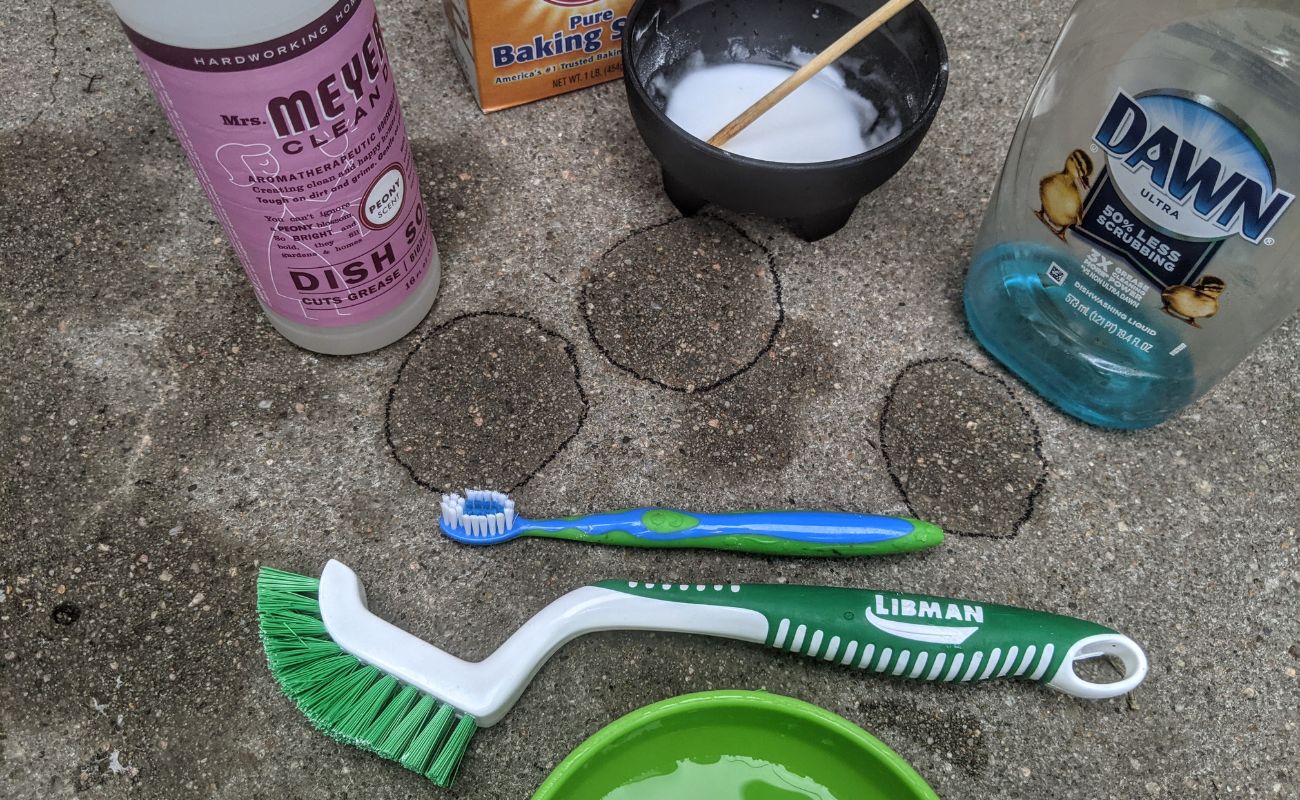
To clean your patio wood effectively, you will need a few key materials:
- Soft-bristle brush: Use a brush with soft bristles to avoid damaging the wood surface while scrubbing away contaminants.
- Gentle detergent or specialized wood cleaner: Choose a mild detergent that is safe for use on wood surfaces. Alternatively, you can opt for a specialized wood cleaner specifically designed for patio furniture.
- Bucket: A bucket will be useful for mixing cleaning solution and water.
- Water hose or pressure washer: A water hose or pressure washer can help rinse off the cleaning solution and remove dirt and debris effectively.
- Protective finish (optional): If your patio wood is in need of an extra layer of protection, you may consider applying a protective finish recommended for outdoor use. This step will help maintain the wood’s appearance and safeguard it against weathering.
- Protective equipment: To ensure your safety, consider wearing gloves, eye protection, and appropriate clothing when handling cleaning agents or using a pressure washer.
Now that you have gathered all the necessary materials let’s dive into the step-by-step process of cleaning your patio wood.
Key Takeaways:
- Keep your patio wood clean and beautiful by using a soft-bristle brush, gentle detergent, and water hose. Remember to identify the type of wood and apply a protective finish for extra durability.
- Regularly sweep and clean your patio wood to maintain its appearance and protect it from damage. Apply a protective finish for added defense against weathering and enjoy your beautiful outdoor space for years to come.
Read more: How To Clean The Patio
Materials Needed
To clean your patio wood effectively, you will need the following materials:
- Soft-bristle brush: Use a brush with soft bristles to avoid scratching or damaging the wood surface while scrubbing away dirt and grime. It is best to select a brush that is specifically designed for use on wood.
- Gentle detergent or specialized wood cleaner: Choose a mild detergent that is safe for use on wood surfaces. Avoid using harsh chemicals or abrasive cleaners, as they can strip away the wood’s natural oils and cause damage. Alternatively, you can opt for a specialized wood cleaner that is specifically formulated for patio furniture.
- Bucket: A bucket will be needed to mix the cleaning solution and water. Make sure the bucket is clean and free of any residue from previous use.
- Water hose or pressure washer: You will need a water hose or pressure washer to rinse off the cleaning solution and remove dirt and debris effectively. If using a pressure washer, be sure to adjust the pressure to a gentle setting to avoid damaging the wood.
- Protective finish (optional): If your patio wood requires an extra layer of protection, you may consider applying a protective finish recommended for outdoor use. This step will help maintain the wood’s color and protect it from weathering. Choose a finish that is suitable for the type of wood you have and follow the manufacturer’s instructions for application.
- Protective equipment: To ensure your safety, it is advisable to wear gloves, eye protection, and appropriate clothing when handling cleaning agents or using a pressure washer. This will minimize the risk of skin irritation or injury.
By having these materials ready, you will be fully equipped to clean your patio wood efficiently and effectively. Let’s move on to the step-by-step process of cleaning your patio wood.
Step 1: Remove Debris and Sweep
The first step in cleaning your patio wood is to remove any loose debris and give it a thorough sweep. Use a broom or a leaf blower to clear away leaves, twigs, dirt, and any other debris that may have accumulated on the surface of your patio wood.
Be sure to pay attention to the corners and crevices where dirt and debris tend to accumulate. Use a small brush or a handheld broom to get into these hard-to-reach areas and remove any leftover debris. Sweep in one direction to ensure all the dirt is pushed towards the edges and can be easily collected.
Removing debris before cleaning ensures that you won’t be scrubbing any loose particles into the wood surface, which can potentially cause scratches or damage. It also helps to create a clean surface for the cleaning solution to penetrate effectively.
Once the debris has been cleared away, take a moment to inspect the patio wood for any stubborn stains or spots that may require special attention. These areas may need additional treatment during the cleaning process.
By taking the time to thoroughly remove debris and sweep your patio wood, you are setting the foundation for a successful cleaning process. With a clean surface, the next steps of applying a cleaning solution and scrubbing will be much more effective in restoring the natural beauty of your patio wood.
Step 2: Prepare Cleaning Solution
Now that you have cleared away the debris from your patio wood, it’s time to prepare a cleaning solution to effectively remove dirt, grime, and stains. Depending on the type of wood and the level of dirt and stains, you can choose between a gentle detergent or a specialized wood cleaner.
If you decide to use a gentle detergent, dilute it in a bucket of warm water according to the manufacturer’s instructions. Avoid using strong chemicals or abrasive cleaners as they can harm the wood’s surface and finish. Stick to mild detergents that are safe for use on wood.
If you opt for a specialized wood cleaner, follow the instructions provided on the packaging. Typically, you will need to mix the cleaner with water in a bucket to create the appropriate cleaning solution. Be sure to use the recommended amount of cleaner to avoid any damage to the wood.
Once you have your cleaning solution ready, give it a gentle stir to ensure the detergent or cleaner is well-mixed with the water. This will ensure an even distribution of the cleaning agents and maximize the effectiveness of the solution.
It’s important to note that different types of wood may have specific cleaning requirements. Some woods may be more sensitive and require a milder cleaning solution, while others may be more resilient and can tolerate stronger cleaning agents. Refer to the manufacturer’s guidelines or recommendations for your specific type of wood to ensure you are using the appropriate cleaning solution.
Preparing the right cleaning solution is crucial for effectively cleaning your patio wood. It ensures that you are using a safe and suitable product that will help lift dirt and stains while protecting the integrity of the wood surface. With the cleaning solution ready, you’re now ready to move on to the next step: scrubbing the wood surface.
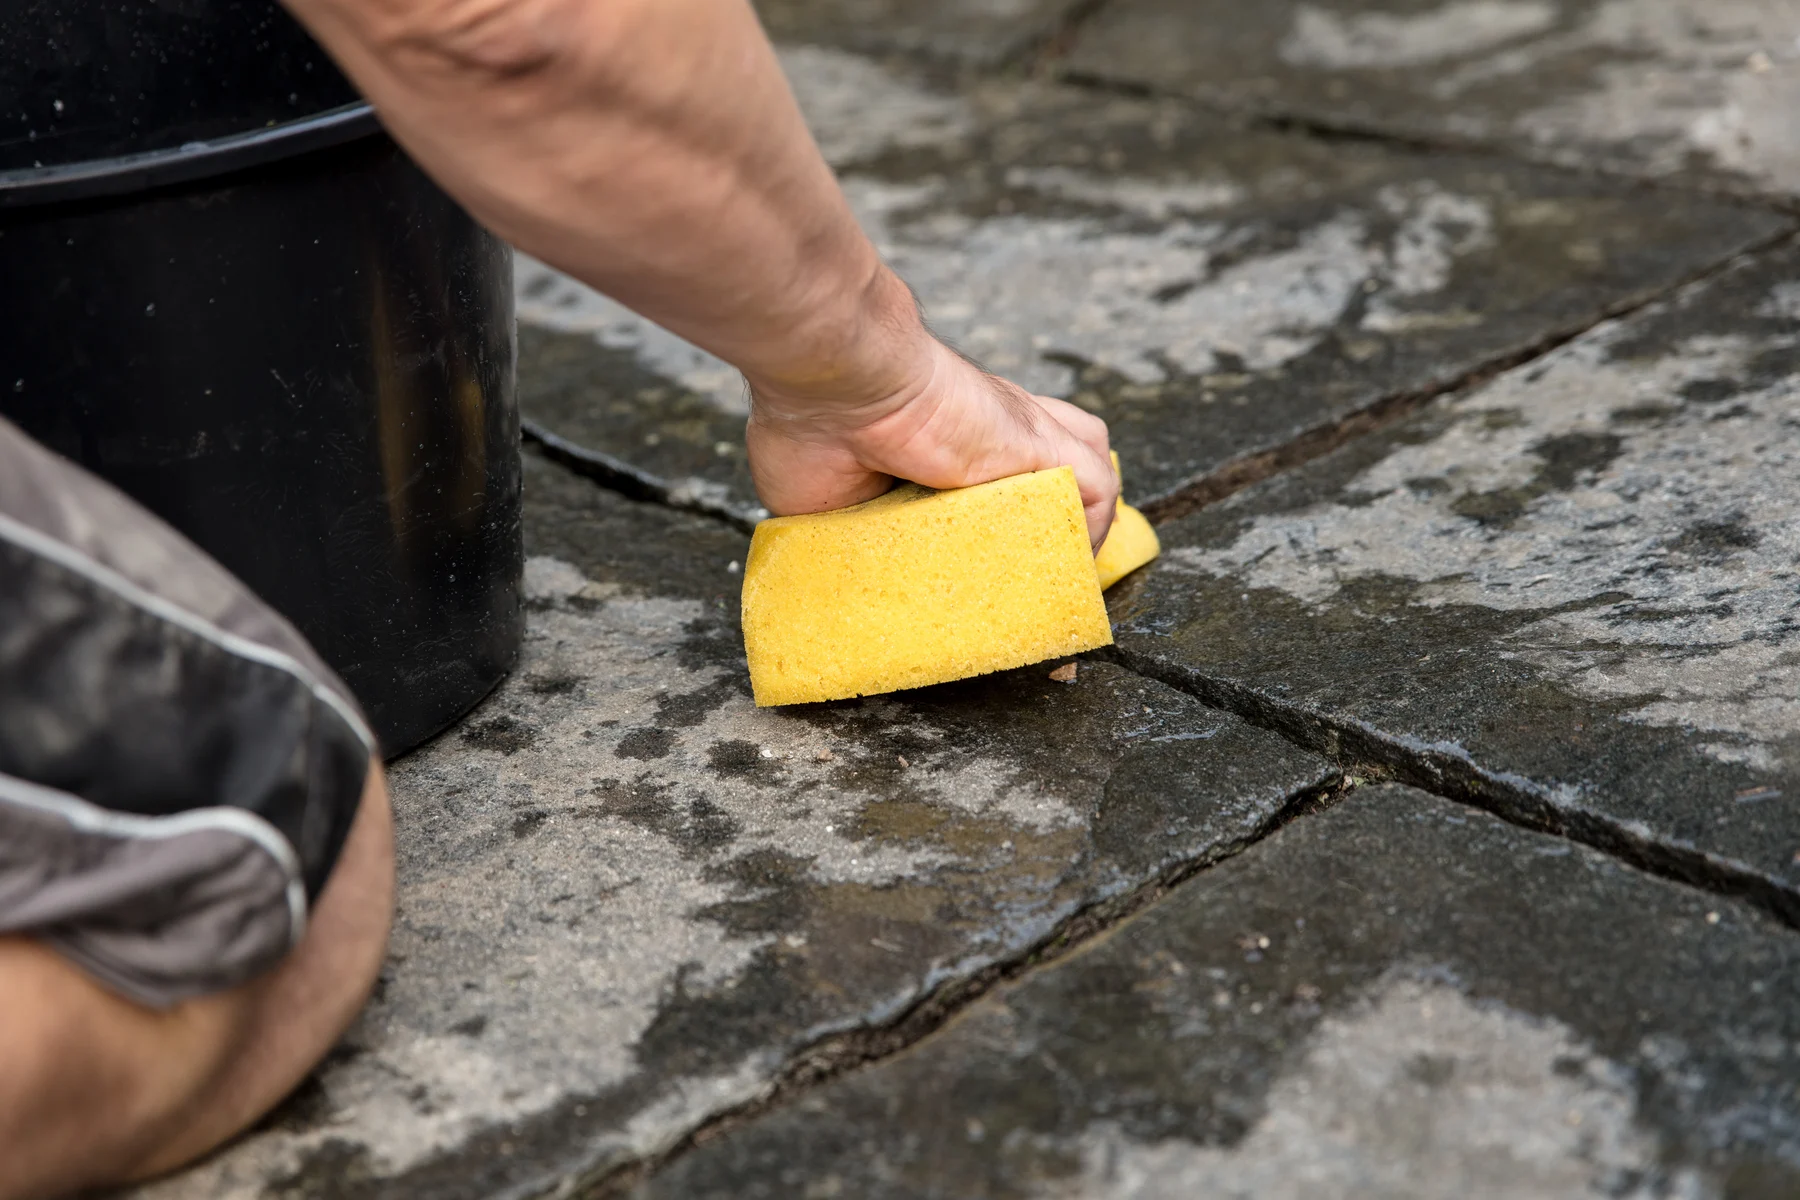
Step 3: Scrub the Wood Surface
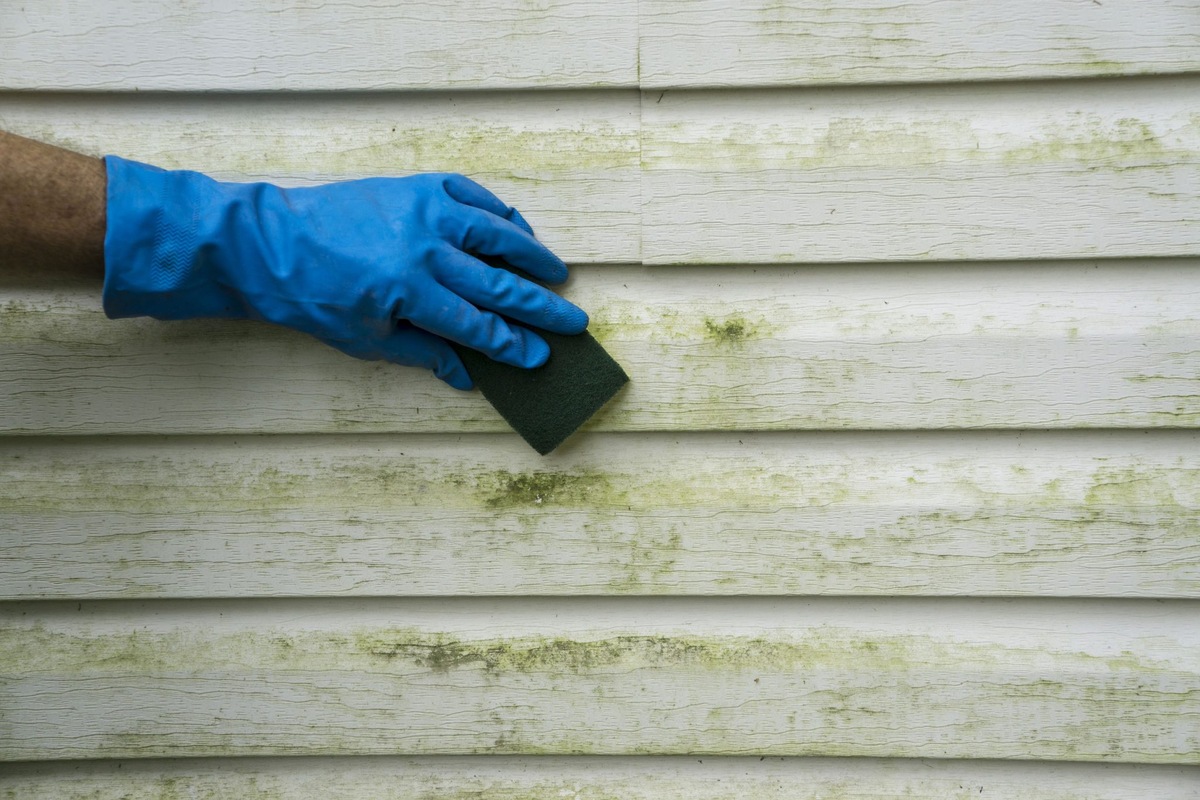
With your cleaning solution prepared, it’s time to start scrubbing the wood surface of your patio. Grab your soft-bristle brush and make sure it is clean and free of any debris before you begin.
Dip the brush into the cleaning solution and then gently scrub the wood surface in small circular motions. Pay particular attention to heavily soiled areas and any stains or spots that you identified during the inspection. Apply a bit of extra pressure to these areas to help loosen and lift the dirt and grime.
Work your way systematically across the entire patio wood, ensuring that you cover every inch of the surface. Be thorough but gentle to avoid scratching or damaging the wood. If you come across any stubborn stains or spots that are not easily removed, you can apply a bit of additional cleaning solution directly to the area and scrub it with increased pressure.
As you scrub, periodically dip the brush back into the cleaning solution to replenish it and ensure maximum effectiveness. This will help prevent the build-up of dirt and grime on the brush, ensuring that you are always using a clean tool.
Pay attention to the grooves, crevices, and corners of the patio wood, as these areas can often trap dirt and debris. Use a smaller brush or an old toothbrush to get into these hard-to-reach spots and scrub away any accumulated grime.
Remember to work in small sections, allowing the cleaning solution to remain on the wood surface for a short period of time before rinsing. This will help the solution penetrate and loosen the dirt, making it easier to remove.
Continue scrubbing until you have covered the entire surface of the patio wood and are satisfied with the cleanliness. It may take some time and effort, especially if the wood is heavily soiled, but the end result will be worth it.
Once you have finished scrubbing, move on to the next step: rinsing the patio wood to remove the cleaning solution and any remaining dirt.
To clean patio wood, mix warm water with mild soap and scrub the wood using a soft brush. Rinse with clean water and let it air dry. Avoid using harsh chemicals or pressure washers to prevent damage to the wood.
Read more: How To Build A Wood Patio Cover
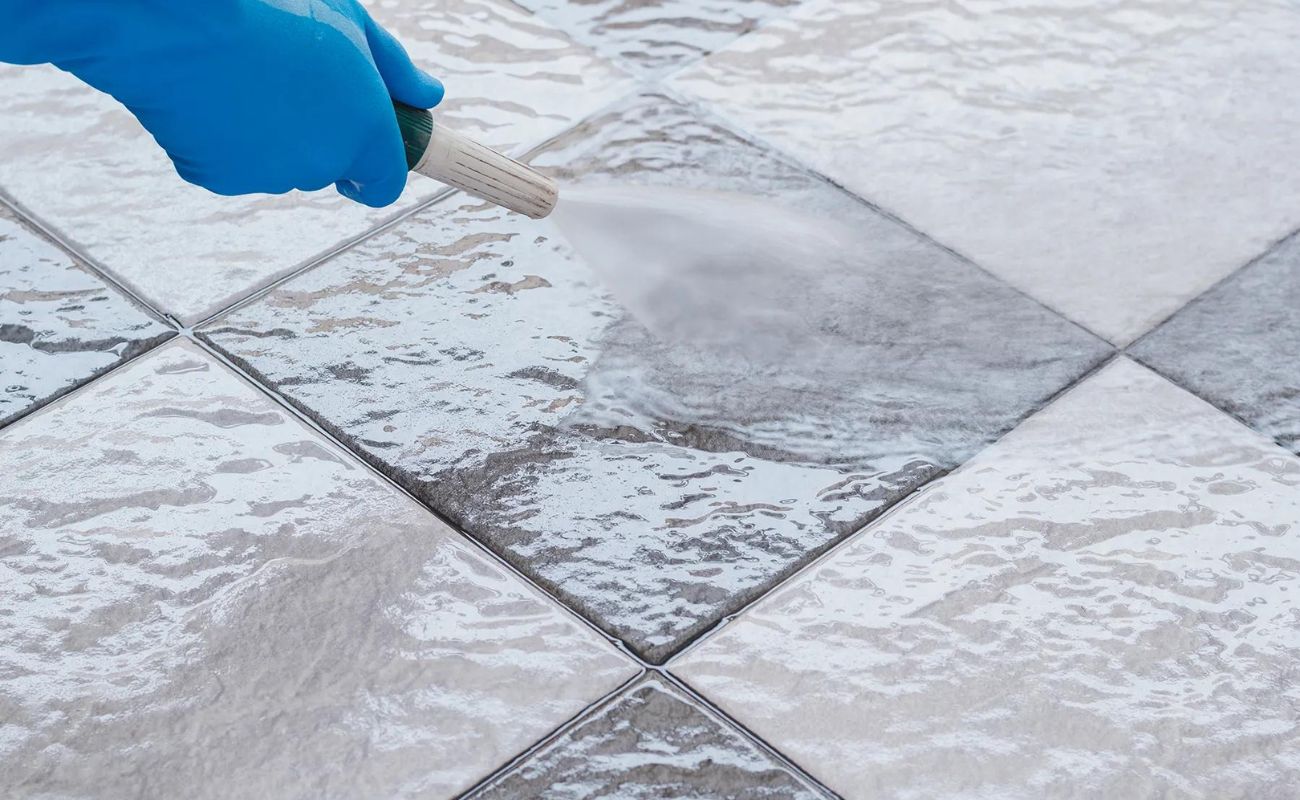
Step 4: Rinse the Patio Wood
After scrubbing the wood surface of your patio with the cleaning solution, it’s time to rinse off the solution and remove any remaining dirt or grime. Rinsing is an essential step to ensure that no residue from the cleaning solution remains on the wood, which could potentially cause damage or discoloration.
Start by using a water hose or a gentle spray setting on your pressure washer to thoroughly rinse the patio wood. Begin at one end and work your way systematically across the entire surface. Make sure to rinse both the top and bottom of any wooden furniture or accessories on the patio as well.
Hold the water hose or spray nozzle at a slight distance from the wood surface to avoid applying excessive pressure that could damage the wood. Move the water stream or spray in a sweeping motion to ensure even coverage and thorough rinsing.
Pay close attention to any grooves, crevices, or hard-to-reach areas where dirt and cleaning solution may have accumulated. Direct the water into these areas to flush out any remaining debris.
Continue rinsing until the water runs clear and there is no visible residue or suds from the cleaning solution. Take your time to ensure that you have removed all traces of the solution to avoid any potential damage.
If needed, you can gently scrub the wood surface with the brush again while rinsing to help dislodge any stubborn dirt or grime. However, be careful not to apply too much pressure, as this may cause scratches or damage.
Once you are satisfied that the patio wood is thoroughly rinsed, it’s time to move on to the next step: allowing the patio to dry completely.
Note: If you are using a pressure washer, be sure to adjust the pressure to a gentle setting to avoid damaging the wood. High-pressure settings can strip away the wood’s natural oils or cause splintering. Always follow the manufacturer’s guidelines and exercise caution when using a pressure washer.
Step 5: Allow the Patio to Dry
After rinsing the patio wood, it’s crucial to allow it to dry completely before proceeding with any further steps. Drying is an essential part of the cleaning process as it helps prevent moisture-related issues such as mold, mildew, and warping.
To facilitate the drying process, there are a few key points to keep in mind:
- Remove excess water: Use a squeegee or a soft absorbent cloth to remove any excess water from the wood surface. Start at one end of the patio and work your way towards the other, gently pushing the water off the wood. This will help speed up the drying process.
- Natural drying: If the weather permits, let nature take its course and allow the patio wood to air dry. Ensure that there is adequate airflow around the patio to encourage faster drying. Avoid covering the wood with any sort of cloth or tarp, as this can trap moisture and slow down the drying process.
- Patience is key: Depending on the weather conditions and the type of wood, drying times can vary. It is important to exercise patience and allow sufficient time for the patio to dry completely. Rushing the process can lead to moisture retention and potential damage to the wood.
During the drying phase, monitor the patio wood for any signs of remaining moisture. Be vigilant for areas where water may have accumulated, such as the corners or between slats. Use a dry cloth or paper towel to absorb any remaining moisture and ensure thorough drying.
It is best to avoid using the patio until it is completely dry, especially if you have applied a protective finish. Walking or placing objects on the wet wood can leave marks and potentially undo the hard work you put into cleaning.
Once the patio wood is totally dry, you can proceed to the final step, which is applying a protective finish (if desired) to maintain the wood’s appearance and protect it from weathering.
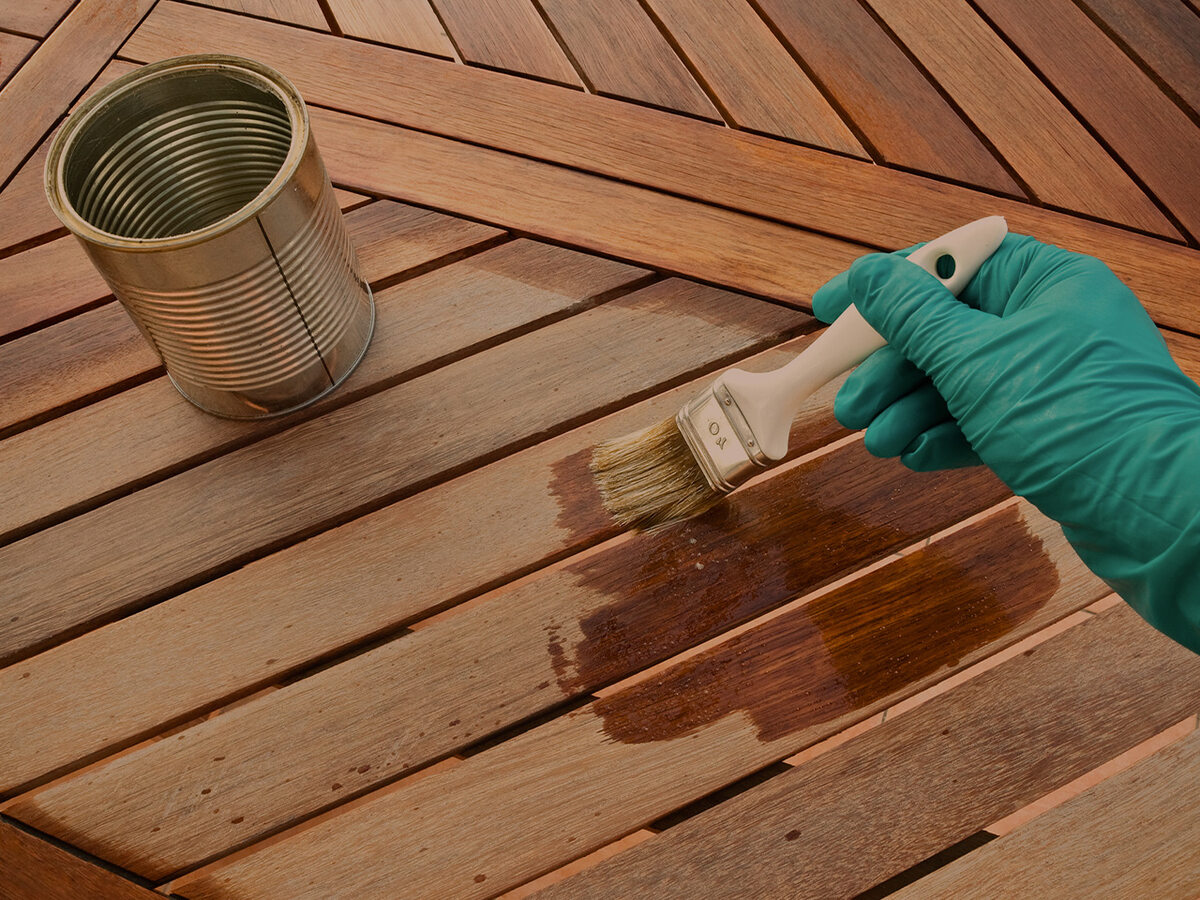
Step 6: Apply Protective Finish (Optional)
In this final step, you have the option to apply a protective finish to your patio wood. While not mandatory, applying a protective finish can help enhance the durability and longevity of the wood, as well as maintain its appearance over time.
Before applying any protective finish, it is important to consider the type of wood you have and the specific recommendations provided by the manufacturer or supplier. Different types of wood may require different types of finishes or may be better left untreated, depending on their natural resistance to weathering.
If you choose to go ahead with applying a protective finish, follow these steps:
- Select the right finish: Choose a finish that is suitable for outdoor use and compatible with your type of wood. Options include varnish, sealers, oils, or stains. Read the instructions and label carefully to ensure you have selected the appropriate product.
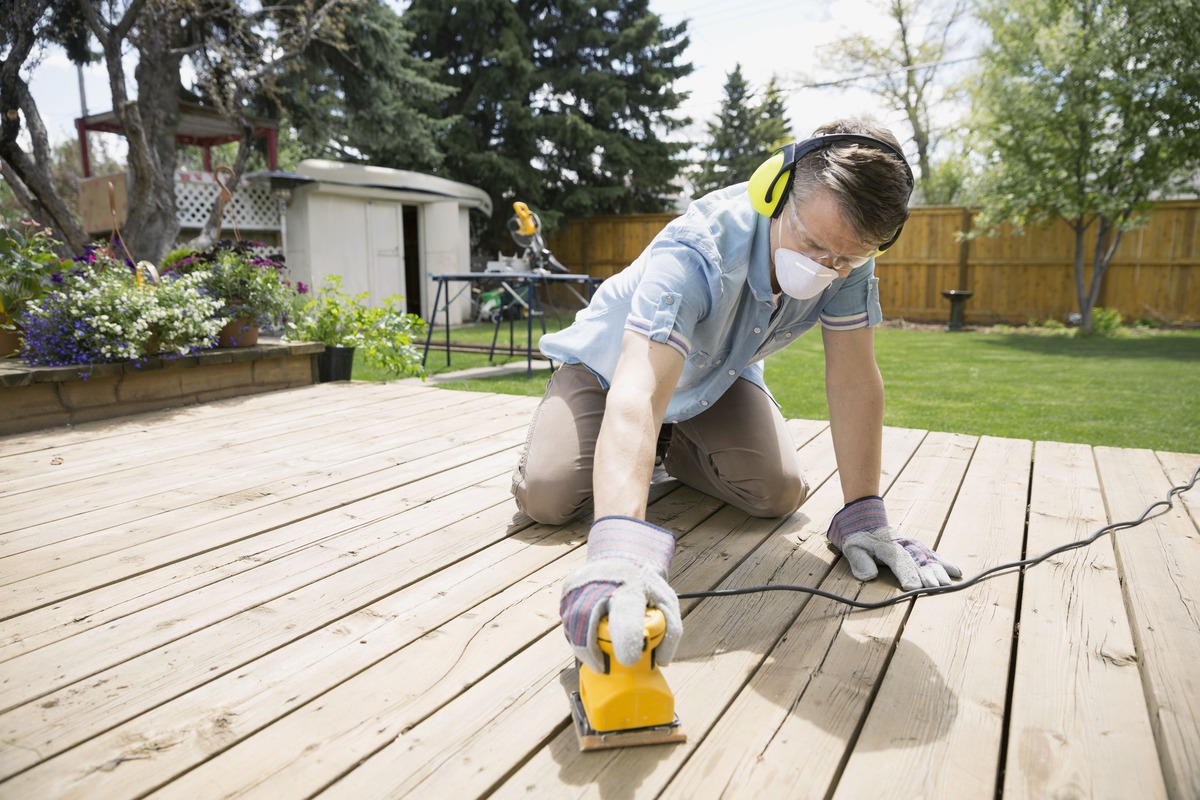
- Prepare the wood surface: Make sure the patio wood is clean, dry, and free of any dust or debris. Sand the surface lightly if needed, following the grain of the wood, to ensure a smooth finish. Remove any residue from the sanding process before applying the protective finish.
- Apply the finish: Follow the instructions provided by the manufacturer for applying the protective finish. Use a brush or a soft cloth to apply an even coat, working in the direction of the grain. Allow the first coat to dry completely before applying additional coats, if necessary. Be mindful of any drying times specified on the product label.
- Let it cure and dry: Once you have applied the protective finish, allow it to cure and dry according to the manufacturer’s instructions. This will ensure the best results and maximum protection for your patio wood.
It’s important to note that even with a protective finish, regular maintenance and cleaning are still essential to keep your patio wood in optimal condition. The protective finish will provide an added layer of defense against the elements, but it does not eliminate the need for regular care.
By following these steps and considering the specific needs of your patio wood, you can apply a protective finish that helps maintain the wood’s natural beauty and protect it from weathering, prolonging the lifespan of your patio furniture.
With the optional protective finish applied, your patio wood maintenance is complete. Enjoy your clean and beautiful patio, and continue to care for it regularly to keep it looking its best for years to come.
Conclusion
Congratulations! You have successfully learned how to clean patio wood and restore its natural beauty. By following the step-by-step process outlined in this guide, you have equipped yourself with the knowledge and techniques to effectively remove dirt, grime, and stains from your patio wood.
Remember, before you begin cleaning, understand the type of wood used for your patio and follow any specific guidelines or recommendations provided by the manufacturer or supplier. This will ensure you choose the appropriate cleaning solution and protective finish, if desired.
Throughout the cleaning process, use a soft-bristle brush, a gentle detergent or specialized wood cleaner, and rinse with a water hose or pressure washer, being careful not to use excessive pressure that could damage the wood. Allow the patio wood to dry completely before applying a protective finish, if desired.
Maintaining your patio wood’s cleanliness and appearance is an ongoing process. Regularly sweep away debris, remove stains promptly, and consider cleaning your patio wood at least once or twice a year to keep it in optimal condition. Avoid using abrasive cleaning agents or tools that can damage the wood’s surface.
By taking proper care of your patio wood, you can extend its lifespan and enjoy its beauty for many years to come. Additionally, the regular maintenance and cleaning will help protect your investment and prevent costly repairs or replacements in the future.
We hope this guide has been helpful in guiding you through the process of cleaning your patio wood. Enjoy your clean and inviting outdoor space, and make lasting memories with family and friends on your beautifully maintained patio furniture.
Happy cleaning!
Frequently Asked Questions about How To Clean Patio Wood
Was this page helpful?
At Storables.com, we guarantee accurate and reliable information. Our content, validated by Expert Board Contributors, is crafted following stringent Editorial Policies. We're committed to providing you with well-researched, expert-backed insights for all your informational needs.

0 thoughts on “How To Clean Patio Wood”