Furniture
How To Clean Wooden Dresser Drawers
Modified: January 3, 2024
Learn how to effectively clean your wooden dresser drawers and keep your furniture looking its best. Discover expert tips and techniques for maintaining the beauty of your furniture.
(Many of the links in this article redirect to a specific reviewed product. Your purchase of these products through affiliate links helps to generate commission for Storables.com, at no extra cost. Learn more)
Introduction
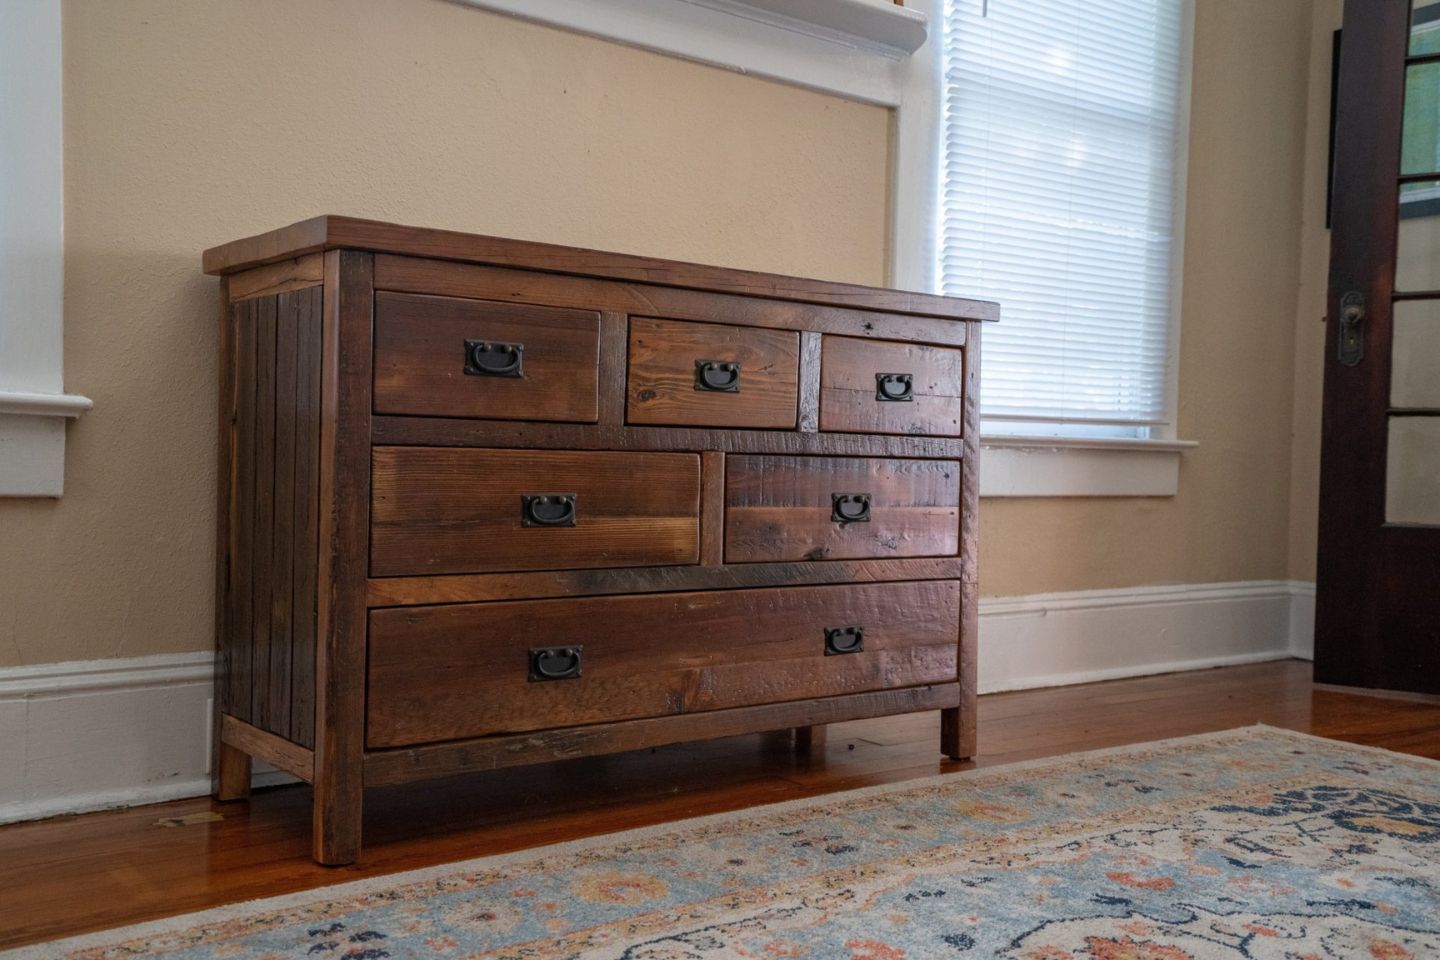
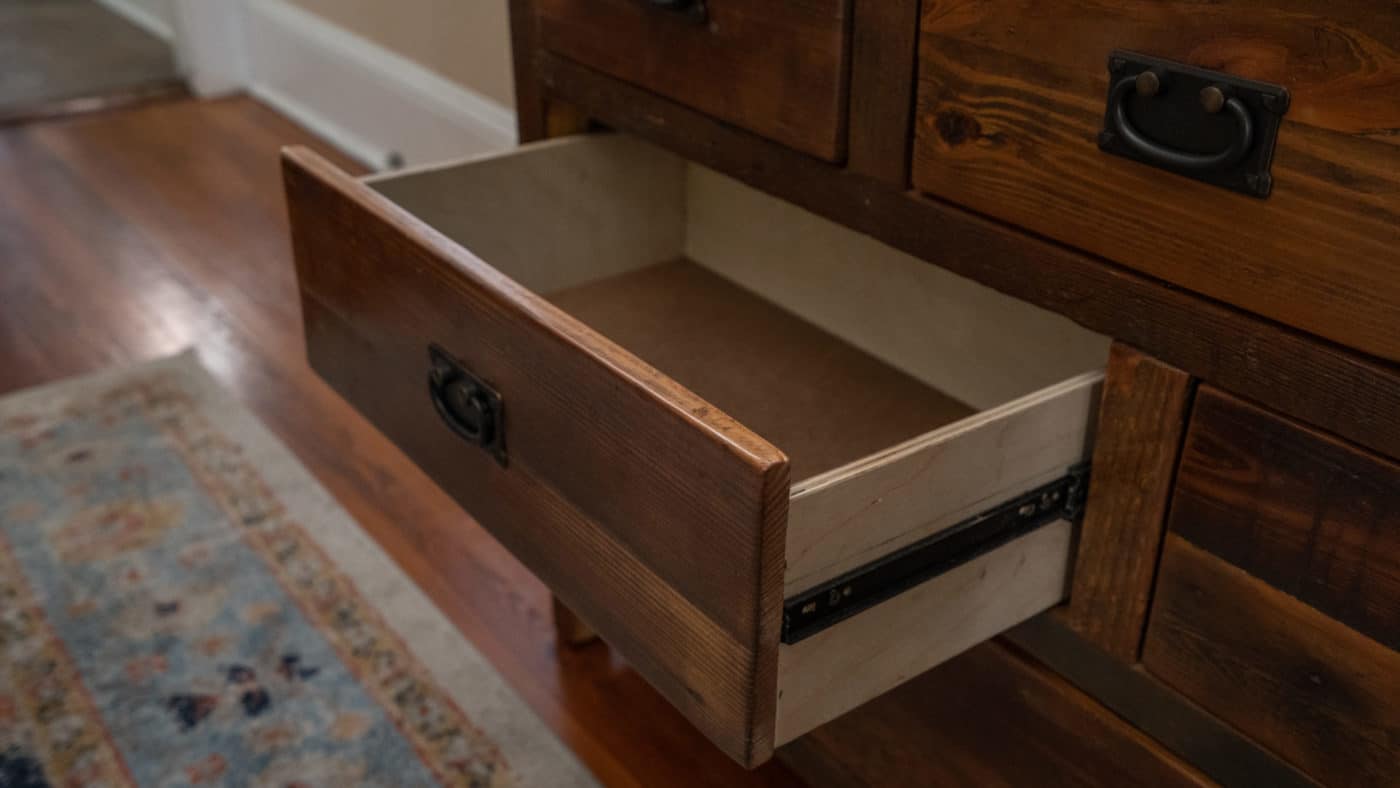
Maintaining the appearance and longevity of wooden dresser drawers is essential to the overall aesthetic and functionality of your furniture. Over time, these drawers can accumulate dust, dirt, and even stubborn stains. However, with the right cleaning techniques and products, you can easily restore the beauty of your wooden dresser drawers.
In this article, we will guide you through a step-by-step process on how to clean wooden dresser drawers effectively. From removing items and dusting off the surface to using homemade wood cleaner solutions and tackling stubborn stains, we’ve got you covered. So, let’s dive in and learn how to bring back the luster and charm to your wooden dresser drawers.
Key Takeaways:
- Keep your wooden dresser drawers clean and organized by removing items, dusting, using homemade wood cleaner, and tackling stubborn stains. Regular maintenance ensures longevity and aesthetic appeal.
- Utilize dividers and storage containers to neatly arrange items back into the drawers, maximizing space and maintaining a clutter-free and functional storage area. Regular cleaning and organization prolong the lifespan of your wooden dresser drawers.
Read more: How To Clean A Wooden Dresser
Step 1: Remove all items from the dresser drawers
Before you begin cleaning your wooden dresser drawers, it is important to remove all items from them. Take out clothing, accessories, and any other items stored inside the drawers. This will allow you to clean the drawers thoroughly without any obstructions. It will also prevent any items from getting damaged or stained during the cleaning process.
As you remove the items from the drawers, take the opportunity to declutter and organize them. Sort through your belongings and decide what you want to keep, donate, or discard. This will not only make the cleaning process easier but also help you create a more organized and functional dresser space.
Once you have emptied the drawers, place the items in a safe and clean area. You can use a temporary storage bin or a clean surface to keep them organized and easily accessible. Avoid placing them on the floor or near any cleaning supplies to prevent accidental damage or staining. Remember to handle delicate or fragile items with care.
If your dresser has multiple drawers, it can be helpful to label or take pictures of the contents before removing them. This will make it easier to arrange the items back into their respective drawers once the cleaning process is complete. Alternatively, you can also take this opportunity to rearrange the items and create a new organizational system that better suits your needs.
By emptying the dresser drawers and decluttering the items, you are setting the stage for a thorough and effective cleaning process. So, take the time to remove all items from your wooden dresser drawers and get ready to transform them into clean and pristine storage spaces.
Step 2: Dust off the surface of the drawers
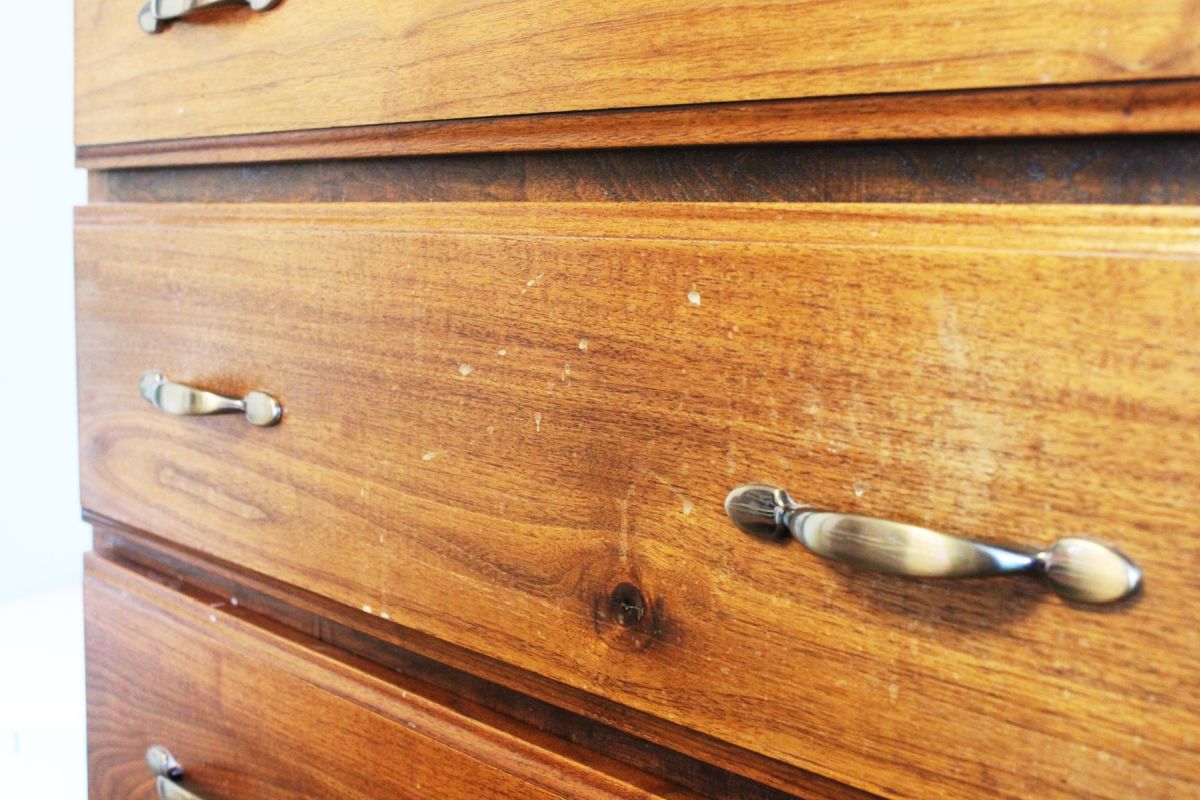
Once you have removed all items from your wooden dresser drawers, it’s time to tackle the accumulated dust and dirt. Dusting off the surface of the drawers is an essential step in the cleaning process, as it helps to remove loose particles before applying any cleaning solutions.
To dust off the surface, start by using a soft microfiber cloth or a feather duster. Gently wipe or dust the exterior and interior surfaces of the drawers, making sure to cover all corners and crevices. Avoid using abrasive materials or rough scrubbing motions, as these can potentially scratch or damage the wood finish.
If you notice any stubborn dust or dirt buildup in hard-to-reach areas, such as the drawer tracks or hinges, you can use a soft brush or a toothbrush to gently loosen and remove the particles. Be careful not to apply excessive pressure or force, as it can cause the wood to become damaged.
For particularly dirty or sticky areas, you can slightly dampen the cloth or brush with water. However, be cautious not to oversaturate the wood, as excess moisture can cause it to warp or swell. It’s always better to start with a dry cloth and gradually introduce moisture if needed.
Take your time to thoroughly dust off the surface of each drawer, paying attention to detail. Regular dusting not only improves the appearance of your wooden dresser drawers but also helps to maintain its overall condition. By removing dust and dirt, you are preventing these particles from scratching or damaging the finish of the wood.
Once you have completed this step, you are ready to move on to the next stage of the cleaning process. By dusting off the surface of the drawers, you are ensuring a clean canvas for the upcoming cleaning solutions. So, give your wooden dresser drawers a good dusting and prepare to bring back their natural shine and beauty.
Step 3: Create a homemade wood cleaner solution
Creating a homemade wood cleaner solution is a cost-effective and eco-friendly way to clean your wooden dresser drawers. By using simple ingredients that are readily available in most households, you can effectively remove dirt, grease, and grime without resorting to harsh chemicals.
One of the most popular homemade wood cleaner recipes involves combining equal parts of distilled white vinegar and water. Vinegar is a natural cleaning agent that helps to break down stubborn stains, remove odors, and eliminate bacteria. It is safe to use on most types of wood finishes, but it’s always recommended to test it on a small, inconspicuous area first.
To create the homemade wood cleaner solution, simply mix equal amounts of distilled white vinegar and water in a spray bottle. For example, you can use 1 cup of vinegar and 1 cup of water. Give the bottle a gentle shake to ensure the ingredients are well mixed.
Alternatively, you can also add a few drops of mild dish soap to the vinegar and water mixture. The dish soap will help to cut through grease and enhance the cleaning power of the solution. However, be cautious not to use too much soap, as it can leave a residue on the wood surface.
If you prefer a fresh scent, you can infuse the wood cleaner solution with a few drops of essential oils, such as lavender, lemon, or pine. This will leave a pleasant aroma behind after cleaning. However, it’s important to note that some essential oils can cause allergic reactions or leave stains on the wood, so it’s advisable to do a patch test first.
Creating a homemade wood cleaner solution allows you to have control over the ingredients used and ensures a safer cleaning process for your wooden dresser drawers. Plus, it’s a budget-friendly option that doesn’t compromise on cleaning power. So, grab a spray bottle and mix up your homemade wood cleaner solution before moving on to the next step.
Step 4: Clean the drawers using the wood cleaner solution
Now that you have prepared your homemade wood cleaner solution, it’s time to put it to good use and clean your wooden dresser drawers. This step will help to remove dirt, grime, and any remaining residue from the surface of the drawers, leaving them refreshed and revitalized.
Start by spraying the wood cleaner solution onto a clean, lint-free cloth. Make sure the cloth is damp but not dripping with the solution. Gently wipe the entire surface of each drawer, including the front, back, sides, and bottom. Pay extra attention to any areas that appear more stained or soiled.
When wiping the drawers, it’s important to work in the direction of the wood grain. This will help to prevent any potential scratching or damage to the wood finish. Use smooth and gentle strokes, applying even pressure across the surface of the drawer.
As you clean, you may notice that the cloth becomes dirty or discolored. If this happens, switch to a fresh cloth or rinse and wring out the existing cloth before continuing. This will ensure that you are not spreading dirt or grime back onto the wood surface.
For tougher stains or sticky residue, you can spray the wood cleaner solution directly onto the affected area and let it sit for a few minutes. This will allow the solution to penetrate and break down the stain or residue. Then, use the cloth to gently scrub the area in a circular motion until the stain is lifted.
Avoid using excessive force or abrasive scrubbing pads, as these can damage the wood finish. Remember, patience and gentle cleaning techniques are key when dealing with wooden furniture.
Once you have cleaned all of the drawers with the wood cleaner solution, take a step back and admire the transformation. Your wooden dresser drawers should now look much cleaner and fresher.
In the next step, we will tackle any stubborn stains that may still be present on the surface of the drawers. So, don’t worry if there are a few persistent marks. We’ll handle them in the following step and ensure that your wooden dresser drawers regain their original beauty.
Step 5: Remove stubborn stains with vinegar or baking soda
Even after cleaning the wooden dresser drawers with the wood cleaner solution, there may still be stubborn stains that require additional treatment. Luckily, there are two effective options to tackle these stains: vinegar and baking soda.
For tough stains, such as water rings, ink marks, or food stains, you can try using distilled white vinegar. Vinegar is a natural stain remover that is safe to use on most types of wood finishes. Simply dampen a clean cloth with vinegar and gently rub the stained area. Let the vinegar sit on the stain for a few minutes before wiping it away. Repeat this process as needed until the stain is no longer visible.
If the stain persists or is more stubborn, you can create a paste using baking soda and water. Baking soda is a gentle abrasive that can help lift and remove deep-seated stains. Mix a small amount of baking soda with water until it forms a paste-like consistency. Apply the paste to the stained area, let it sit for a few minutes, and then gently rub it with a clean cloth. Finally, wipe away the paste with a damp cloth and dry the area thoroughly.
When using either vinegar or baking soda, it’s important to always test the solution on a small, inconspicuous area of the wooden dresser drawers first. This will help ensure that the solution does not cause any discoloration or damage to the wood finish.
Remember to be patient when removing stubborn stains. It may require multiple attempts or a combination of vinegar and baking soda to completely eliminate the stain. Avoid using harsh chemicals or abrasive cleaners, as they can cause more harm than good and potentially damage the wood surface.
Once you have successfully removed any stubborn stains, take a moment to appreciate the restored beauty of your wooden dresser drawers. The next steps will focus on rinsing and drying the drawers, as well as applying a protective finish to keep them looking their best for years to come.
To clean wooden dresser drawers, start by removing all items and wiping down the interior with a damp cloth. Use a wood cleaner or a mixture of water and vinegar to gently clean the surfaces, and finish with a wood polish to restore shine and protect the wood.
Step 6: Rinse the drawers with clean water
After removing stubborn stains from your wooden dresser drawers, it’s important to rinse off any residue left behind by the cleaning solutions. This step ensures that no traces of vinegar or baking soda remain on the wood surface, promoting a clean and fresh finish.
To rinse the drawers, take a clean cloth or sponge and dampen it with clean water. Wring out any excess moisture to avoid oversaturating the wood. Gently wipe down the entire surface of each drawer, ensuring that all areas are thoroughly rinsed.
Pay special attention to textured or carved areas, as residue can easily collect in these spots. Use gentle circular motions to ensure complete coverage while avoiding excessive pressure that could damage the wood finish.
As you rinse, periodically rinse out the cloth or sponge to remove any dirt or residue that has accumulated. This will prevent cross-contamination and ensure effective rinsing of the drawers. If needed, you can use multiple cloths or sponges to avoid spreading dirt or grime back onto the wood surface.
Once you have completed rinsing all the drawers, it’s important to dry them thoroughly. Excess moisture left on the wood can cause it to warp or stain. In the next step, we’ll guide you through the process of drying your wooden dresser drawers to safeguard their condition and appearance.
By rinsing the drawers with clean water, you’re removing any remaining cleaning solution residue. This step is crucial in achieving a truly clean and refreshed look for your wooden dresser drawers. So, take the time to rinse each drawer carefully and prepare for the final stages of the cleaning process.
Step 7: Dry the drawers thoroughly
After rinsing your wooden dresser drawers with clean water, it’s crucial to ensure they are dried thoroughly. Excess moisture can cause the wood to warp or stain, compromising its appearance and durability. Follow these steps to effectively dry your drawers and minimize the risk of damage.
Start by using a clean, dry cloth to gently pat each drawer surface. This will help absorb any remaining water and speed up the drying process. Pay attention to corners, edges, and any crevices where moisture might be trapped.
Once you have patted down the drawers, it’s important to allow them to air dry completely. Set the drawers in a well-ventilated area, away from direct sunlight and heat sources. This will prevent any potential warping or discoloration caused by excessive heat or sun exposure.
To expedite the drying process, you can use a fan or open windows to enhance air circulation in the room. The airflow will help evaporate the moisture and aid in faster drying.
Keep in mind that drying time may vary depending on the humidity level in your environment. It’s better to be patient and allow the drawers to air dry completely rather than rushing and risking potential damage.
During the drying process, it’s important to avoid placing any items back into the drawers until they are completely dry. Moisture trapped between items and the wood surface can lead to mildew growth or staining. Ensure the drawers are thoroughly dried before organizing and returning your belongings to maintain a clean and fresh environment.
By following these steps to dry your wooden dresser drawers properly, you are safeguarding their condition and preserving their longevity. Ensure each drawer is completely dry before proceeding to the next step, which involves applying a wood polish or conditioner for added protection and shine.
Step 8: Apply wood polish or conditioner (optional)
Once your wooden dresser drawers are clean and dry, you have the option to further enhance their appearance and protection by applying a wood polish or conditioner. Although this step is optional, it can provide a beautiful sheen, nourish the wood, and help protect it from future damage.
There are various types of wood polish and conditioner available on the market, so choose one that is suitable for the type of wood finish you have. Make sure to carefully read and follow the instructions provided by the manufacturer for best results.
Before applying the wood polish or conditioner, perform a spot test on a small, hidden area of one drawer to ensure compatibility and avoid any potential damage or adverse reactions. If the test results are satisfactory, you can continue with the application process.
Start by pouring a small amount of the wood polish or conditioner onto a clean, soft cloth. Gently apply the product to the surface of each drawer in a circular motion, ensuring even coverage. Take care not to apply too much product, as it can leave a sticky or greasy residue.
Allow the wood polish or conditioner to sit on the surface for the recommended amount of time specified by the manufacturer. This will allow the product to penetrate and nourish the wood, providing added moisture and protection.
After the specified time has elapsed, use a clean cloth to buff the surface of the drawers. This gentle buffing action will help distribute the product evenly and create a smooth, polished finish. Continue buffing until the drawers have a desired level of shine and all excess product has been removed.
It’s important to note that over-application of wood polish or conditioner can lead to buildup and may require more frequent cleaning in the future. Follow the manufacturer’s recommendations and use the product sparingly to avoid this issue.
By applying a wood polish or conditioner to your wooden dresser drawers, you’re not only enhancing their appearance but also prolonging their lifespan. These products can help protect the wood from dryness, cracking, and moisture damage, ensuring the longevity of your furniture.
Once you have completed this step, your wooden dresser drawers will be looking their best. The final step involves organizing and neatly arranging your items back into the drawers, creating a clean and organized storage space.
Read more: How To Paint A Wooden Dresser
Step 9: Organize and neatly arrange items back into the drawers
Now that you have cleaned, dried, and potentially applied a wood polish or conditioner to your wooden dresser drawers, it’s time to organize and neatly arrange your items back into them. This final step will not only complete the cleaning process but also ensure that your drawers remain functional and clutter-free.
Start by categorizing your items and deciding how you want to arrange them within the drawers. This will help you determine the best organization system that suits your needs. Consider grouping similar items together, such as keeping socks in one drawer, t-shirts in another, and accessories in a separate compartment.
To keep your drawers organized, consider using dividers or small storage containers. These can help separate different types of items and prevent them from mixing together over time. Dividers and containers come in various sizes and styles, so choose ones that fit well within your drawers and complement your overall decor.
Fold or hang your clothing items before placing them back in the drawers. Folding items neatly will maximize space and make it easier to locate and access them when needed. You can also use storage solutions such as drawer organizers or fabric bins to compartmentalize smaller items, like socks or accessories, to keep them easily visible and readily accessible.
Utilize the vertical space within the drawers by using drawer organizers with multiple compartments or stackable storage solutions. This will help maximize storage capacity and keep your drawers tidy.
When placing items back into the drawers, consider the frequency of use. Arrange frequently used items towards the front of the drawers for easy access and less disruption to the organization. Less frequently used items can be stored towards the back or in deeper compartments.
Remember, maintaining an organized system will make it easier to keep your wooden dresser drawers clean in the future. Regularly decluttering and reorganizing your items will prevent a buildup of unnecessary items and maintain an aesthetically pleasing and functional storage space.
Take the time to arrange your items back into the drawers with care and attention to detail. A well-organized dresser not only enhances the overall appearance of the room but also makes your daily routine more efficient and enjoyable.
With this final step completed, you have successfully cleaned and organized your wooden dresser drawers. Admire your hard work and enjoy the refreshed, clutter-free environment that you have brought to your living space.
Conclusion
Cleaning and maintaining wooden dresser drawers is essential to preserve the beauty and functionality of your furniture. With the step-by-step guide provided in this article, you now have the knowledge and tools to effectively clean and restore your wooden dresser drawers to their former glory.
By following the outlined steps, you can remove dirt, dust, and stubborn stains from the surface of the drawers. From removing items and dusting off the surface to creating a homemade wood cleaner solution and applying it to the drawers, every step plays a crucial role in achieving a thorough clean.
Remember to rinse the drawers with clean water and dry them thoroughly to prevent any moisture-related issues. Applying a wood polish or conditioner is an optional step that can enhance the appearance and protection of the wood.
Finally, organize and neatly arrange your items back into the drawers, using dividers or storage containers to keep everything in its place. This will ensure a clutter-free and functional storage space.
Regular cleaning and maintenance of your wooden dresser drawers will not only keep them looking their best but also prolong their lifespan. So, make it a habit to dust them regularly, wipe away spills promptly, and follow these steps for a deep clean as needed.
By caring for your wooden dresser drawers, you are investing in the longevity and beauty of your furniture. Enjoy the clean, organized space that your newfound knowledge and efforts have created and continue to enjoy the functionality and aesthetic appeal of your wooden dresser for years to come.
Frequently Asked Questions about How To Clean Wooden Dresser Drawers
Was this page helpful?
At Storables.com, we guarantee accurate and reliable information. Our content, validated by Expert Board Contributors, is crafted following stringent Editorial Policies. We're committed to providing you with well-researched, expert-backed insights for all your informational needs.


0 thoughts on “How To Clean Wooden Dresser Drawers”