Furniture
How To Clean A Wooden Dresser
Modified: October 29, 2024
Learn how to effectively clean and maintain your wooden dresser with these easy furniture care tips. Keep your furniture looking beautiful and long-lasting!
(Many of the links in this article redirect to a specific reviewed product. Your purchase of these products through affiliate links helps to generate commission for Storables.com, at no extra cost. Learn more)
Introduction
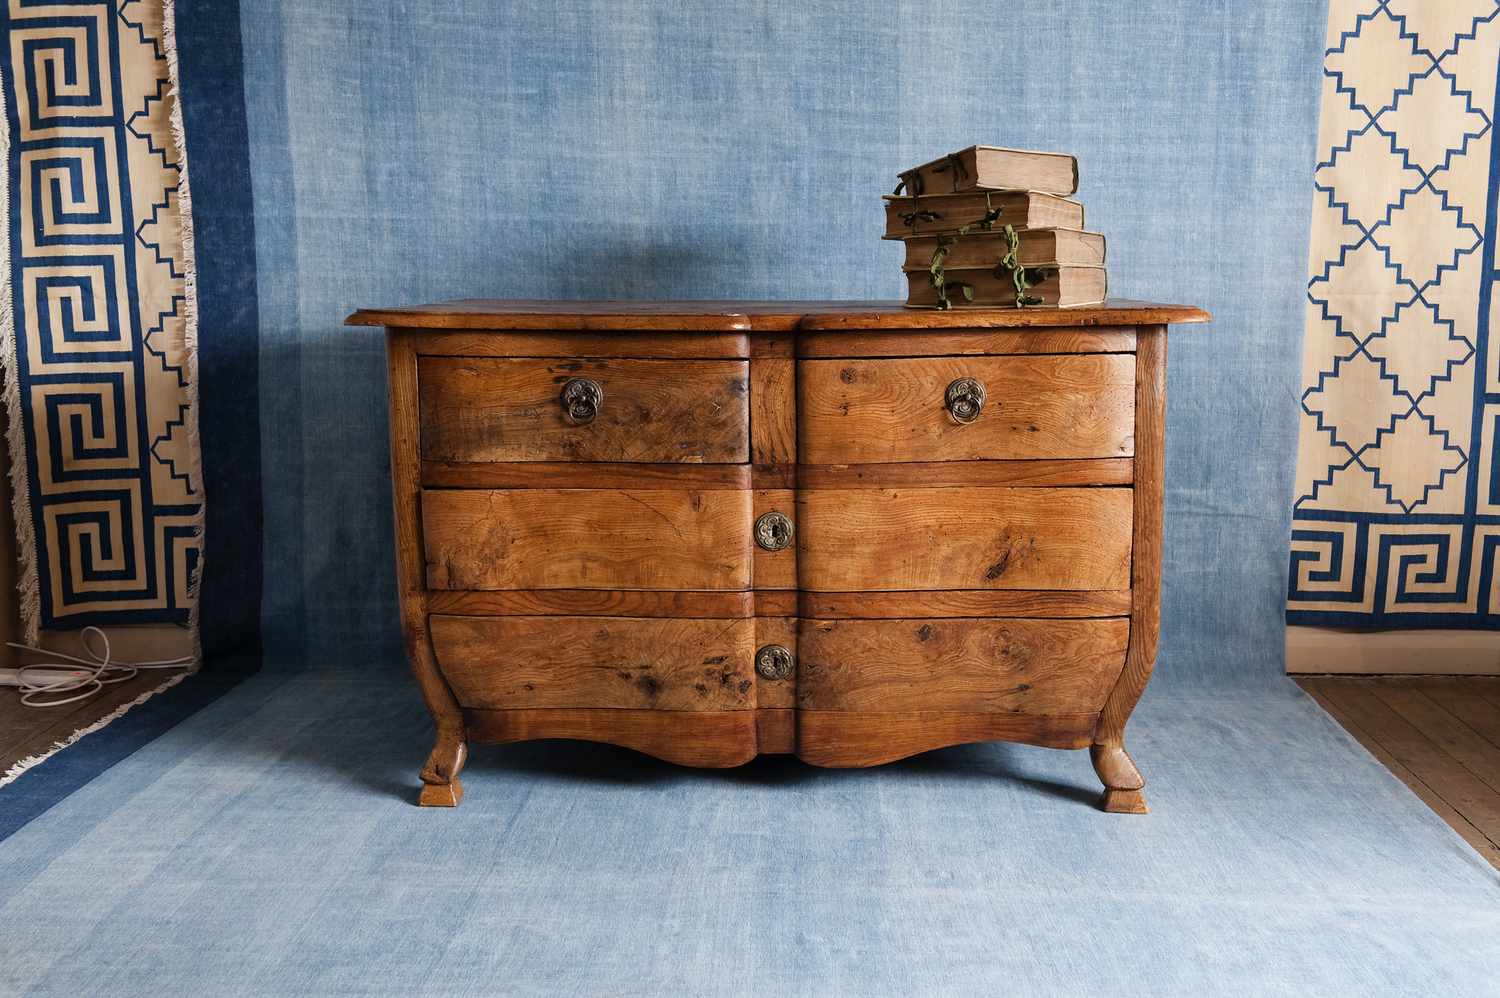
Welcome to the ultimate guide on how to clean a wooden dresser. Your dresser is not only a functional piece of furniture but also a focal point in your bedroom, providing both storage and style. Over time, dust, stains, and debris can accumulate on its surface, dulling its shine and compromising its beauty. Regular cleaning and maintenance are essential to keep your dresser looking its best, and in this article, we will take you through a step-by-step process to achieve just that.
Before we dive into the cleaning process, it’s important to note that different types of wood require different cleaning techniques. Whether your dresser is made of oak, mahogany, maple, or pine, make sure to check the manufacturer’s instructions or consult with a furniture expert to ensure you use the appropriate cleaning methods. Additionally, it’s recommended to test any cleaning products or solutions on a small, inconspicuous area of the dresser to check for any adverse reactions.
Now that we have these disclaimers out of the way, let’s get started with the first step: clearing the dresser.
Key Takeaways:
- Regular cleaning and maintenance are crucial to preserve the natural beauty and longevity of a wooden dresser. Following the step-by-step process outlined in this guide will help keep your dresser looking its best for years to come.
- From clearing the dresser to reassembling and organizing it, each step contributes to the overall cleanliness and aesthetic appeal of the wooden dresser. By investing time and effort into its care, you can ensure it remains a beautiful and functional piece of furniture in your home.
Read also: 9 Incredible Wooden Dresser for 2025
Step 1: Clearing the Dresser
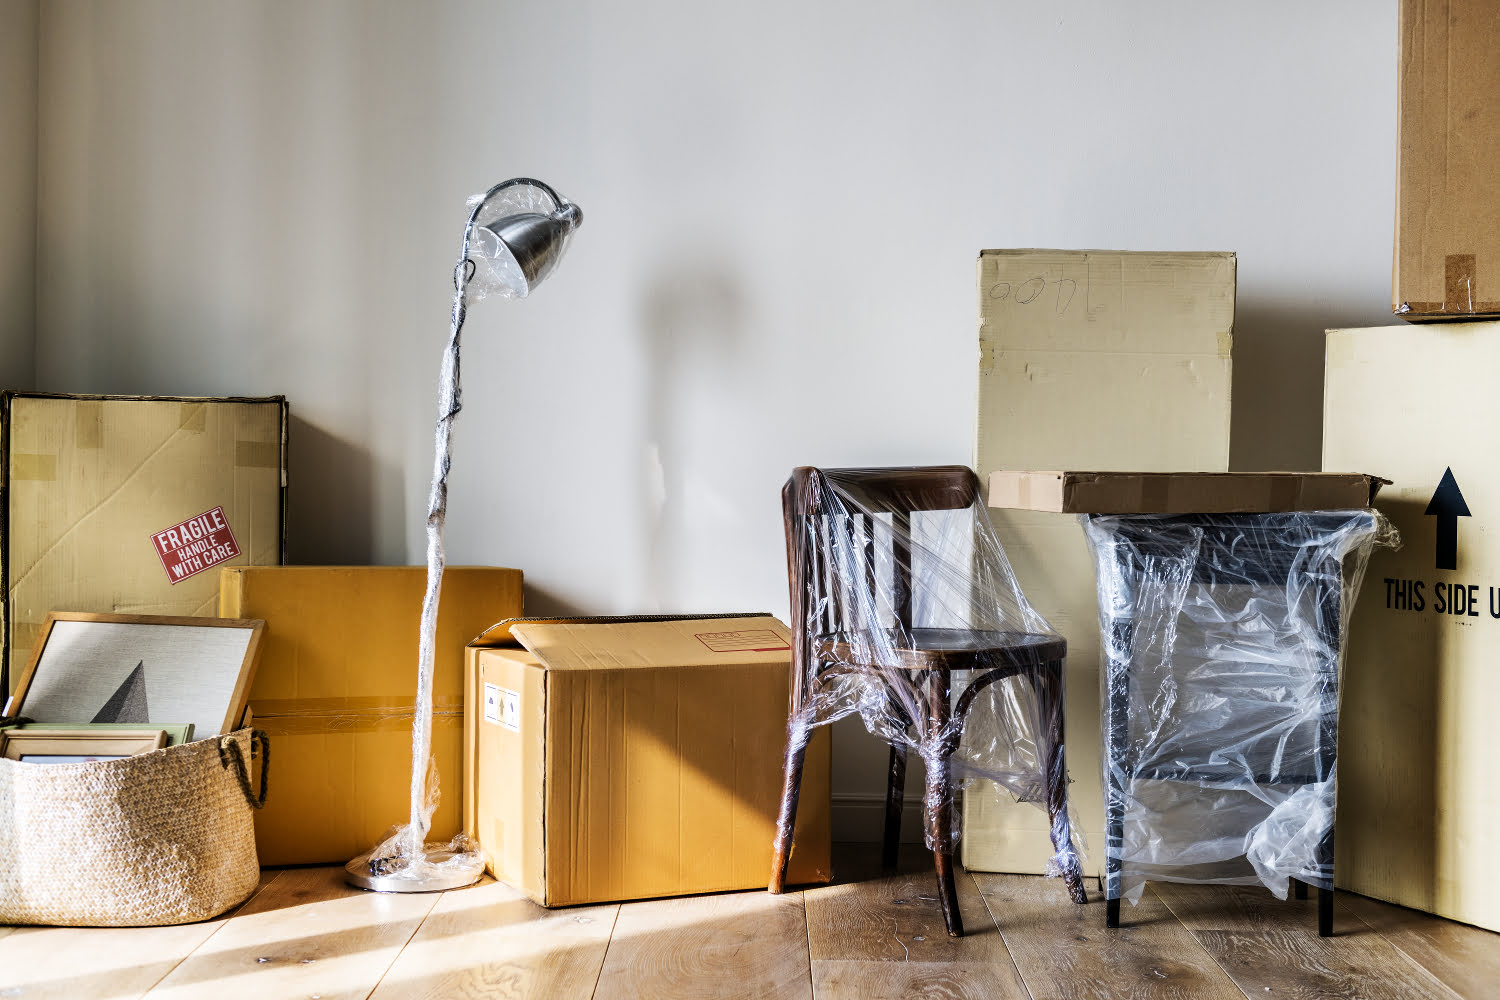
The first step in cleaning your wooden dresser is to clear it of any items or decorations on top. Remove any picture frames, jewelry boxes, lamps, or other objects that may be sitting on the dresser. Set these items aside in a safe place to prevent them from getting in the way during the cleaning process.
Once the top of the dresser is cleared, open each drawer and empty its contents. Take this opportunity to declutter and organize the items you have stored in the dresser. Remove any items that don’t belong and set them aside to be put away in their proper place later. Use this time to evaluate whether there are any items you no longer need or want and consider donating or disposing of them.
As you clear out the drawers, be mindful of any delicate or fragile items. Handle them with care and set them aside in a safe spot where they won’t get damaged during the cleaning process. If you come across any spills or stains inside the drawers, make a mental note of them as we will address them later in the cleaning process.
Once all the drawers are empty, take a soft brush or cloth and gently brush away any loose debris or dust from the interior of the dresser and drawers. This will help prepare the surface for a more thorough cleaning in the following steps. It’s important to be thorough in this step to ensure a clean and fresh start for the rest of the cleaning process.
With the dresser cleared and the drawers empty and prepped, we can now move on to step two: dusting the surface.
Step 2: Dusting the Surface
After clearing the dresser and emptying the drawers, it’s important to start the cleaning process by dusting the surface. Dust can accumulate quickly on the wooden surface, dulling its shine and making it look unattractive. Dusting not only improves the appearance of the dresser but also helps prevent scratching when deeper cleaning methods are used.
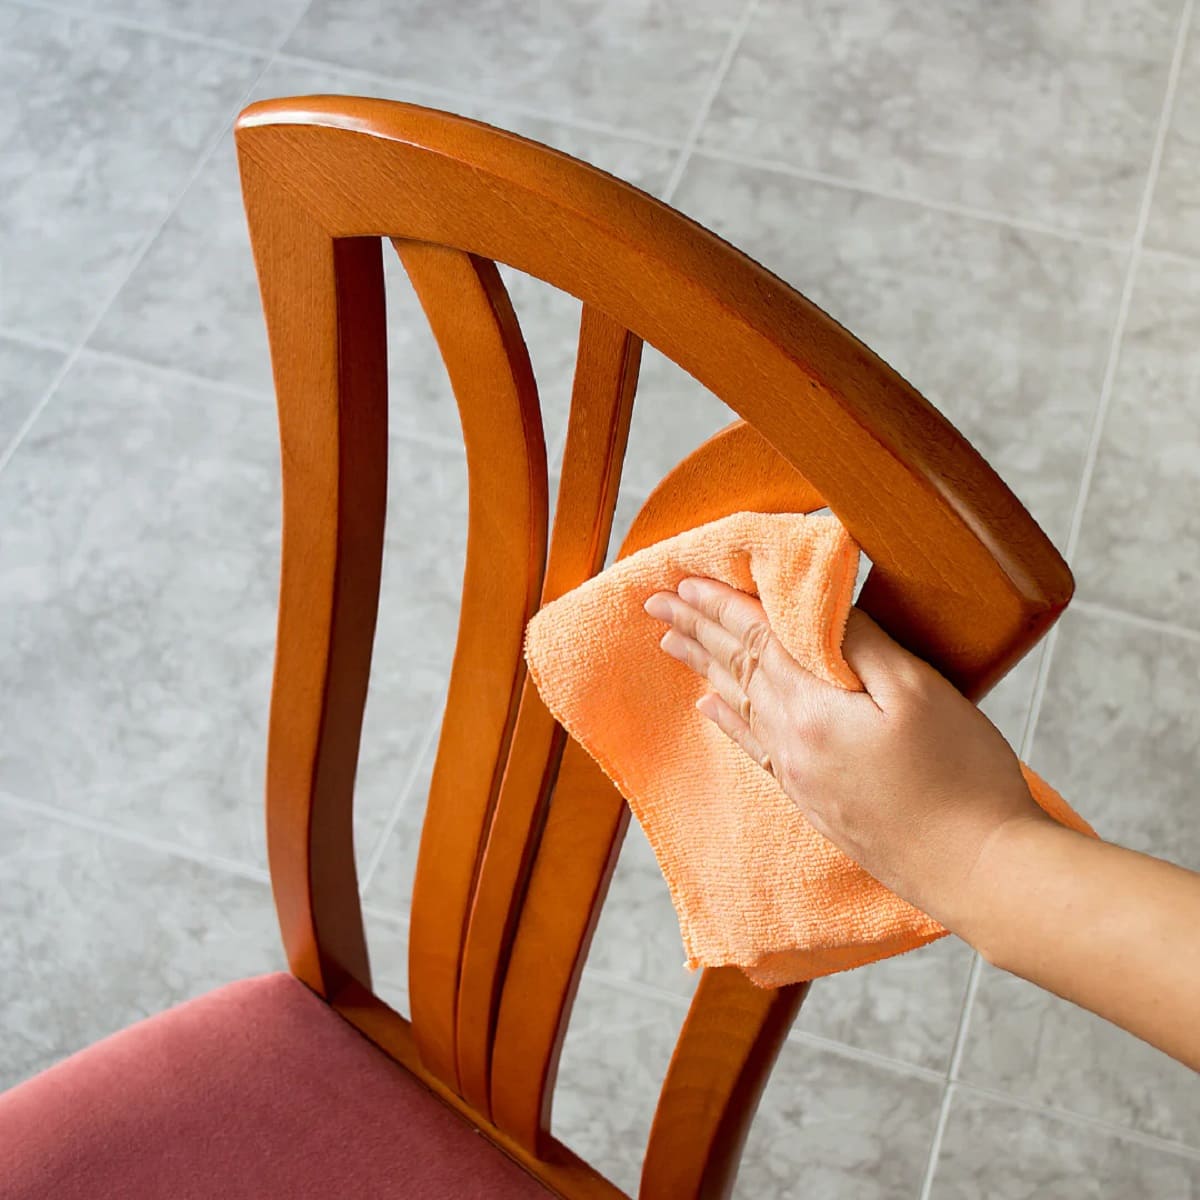
To begin, lightly dampen a microfiber cloth or a soft, lint-free cloth with water. Avoid saturating the cloth as excess moisture can damage the wood. Alternatively, you can use a dry microfiber cloth or a feather duster to remove the dust if the surface is not heavily soiled.
Starting from the top of the dresser, gently wipe down the surface using long, sweeping motions. Be sure to reach all corners and crevices, as dust tends to accumulate in these areas. As you go, fold the cloth or shake the duster to remove the collected dust and prevent it from being redistributed on the surface.
If you encounter stubborn dust or hard-to-reach areas, use a soft-bristled brush or a toothbrush to gently dislodge the debris. Be careful not to apply too much pressure that could potentially scratch or damage the wood surface. Continue dusting until the entire surface is free from dust and debris.
Once you have successfully dusted the surface, take a moment to appreciate how much of a difference a simple dusting can make. Not only will the dresser look cleaner and more appealing, but the act of dusting also helps maintain the longevity of the wood.
With step two complete, it’s time to move on to step three: removing stains and spots from the wooden dresser.
Step 3: Removing Stains and Spots
Over time, your wooden dresser may develop stains and spots that can detract from its beauty. Whether it’s water rings, ink stains, or food spills, it’s important to address these blemishes to restore the dresser’s pristine appearance. In this step, we will cover some techniques to tackle different types of stains and spots on your wooden dresser effectively.
If you notice water rings on your wooden dresser, caused by glasses or cups left on the surface, there are a few methods you can try to remove them. One popular method involves applying a mixture of equal parts vinegar and olive oil on the water ring. Gently rub the mixture onto the stain using a soft cloth, following the direction of the wood grain. Let the mixture sit for a few minutes before wiping it off with a clean cloth. This method should help fade or completely eliminate the water ring.
For ink stains or other stubborn spots, a magic eraser or a paste made from baking soda and water can work wonders. Dampen the magic eraser or apply the paste onto the stain and gently rub in a circular motion. Be mindful not to scrub too vigorously, as this can damage the wood finish. Once the stain has lightened or disappeared, wipe away any residue with a clean, damp cloth and dry the surface thoroughly.
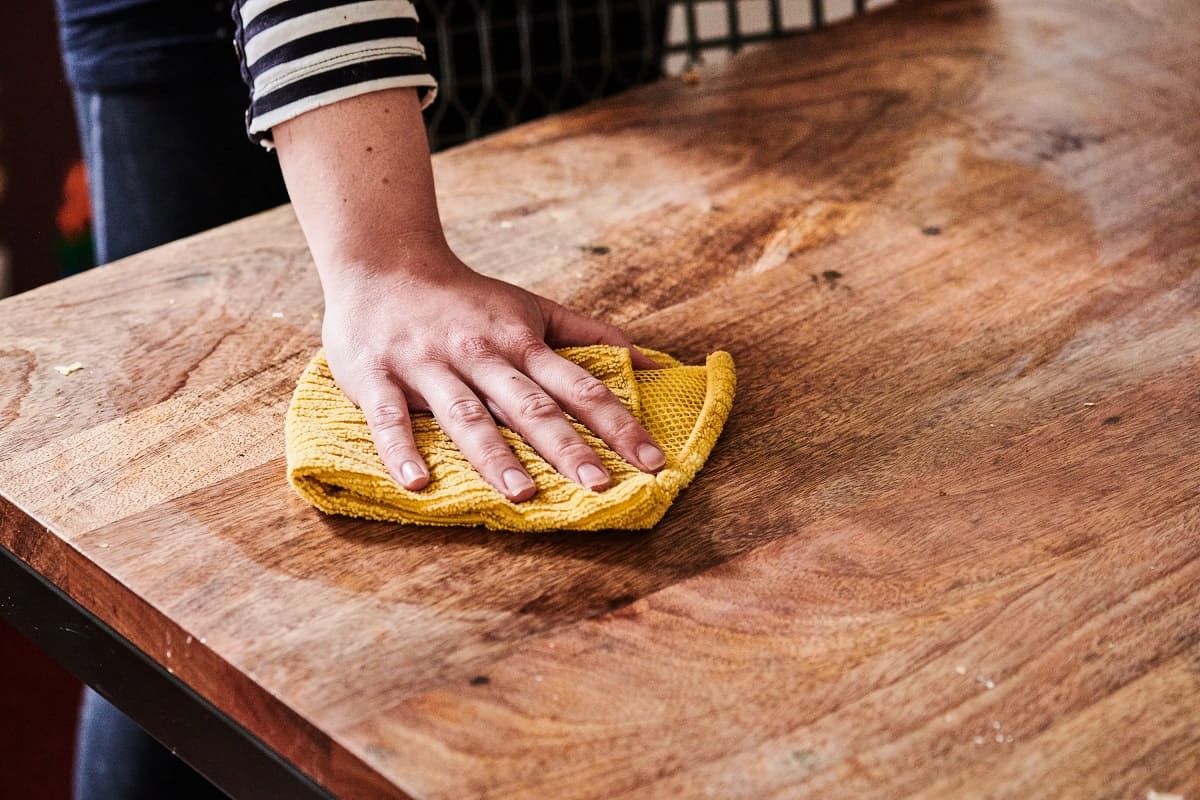
For food spills or oily residue on the dresser, a solution of warm water and mild dish soap can be used. Dip a clean cloth into the soapy water and wring out any excess moisture. Gently wipe the affected area, taking care not to saturate the wood. Once the spill or residue has been removed, rinse the cloth with clean water, wring it out, and use it to wipe away any soap residue. Finally, towel-dry the surface to prevent any moisture from penetrating the wood.
It’s important to note that for severe stains or spots that do not respond to these methods, it may be necessary to consult a professional or consider refinishing the dresser. However, for most common stains and spots, these techniques should help restore the beauty of your wooden dresser.
With step three complete, we can now move on to step four: deep cleaning the drawers of the dresser.
Step 4: Deep Cleaning the Drawers
Now that the surface of your wooden dresser is clean and any stains or spots have been addressed, it’s time to turn our attention to the drawers. Over time, dirt, dust, and debris can accumulate inside the drawers, making them look and feel unclean. Deep cleaning the drawers will not only improve their appearance but also ensure that your belongings are stored in a clean and hygienic environment.
To begin, remove any drawer liners or organizers that may be inside the drawers. These can be cleaned separately or replaced if necessary. Empty the drawers of their contents and set them aside in a safe place.
Next, vacuum the drawers using a brush attachment to remove any loose dirt or debris. Pay particular attention to the corners and crevices where dust tends to accumulate. If your vacuum has a soft brush attachment, use that to gently brush the interior surfaces of the drawers.
Once you have removed the loose dirt, it’s time to clean the drawers with a mild solution of warm water and dish soap. Dip a soft sponge or microfiber cloth into the soapy water and gently wipe the interior surfaces of the drawers, including the sides, bottom, and back. Avoid oversaturating the wood with water as this can cause damage. Rinse the sponge or cloth frequently and change the water if it becomes too dirty.
If you encounter any stubborn stains or residue, you can make a paste using baking soda and water. Apply the paste to the affected area and gently scrub with a soft brush or toothbrush. Rinse the drawer with clean water and wipe away any residue with a damp cloth. Ensure that the drawers are completely dry before placing any items back inside.
While the drawers are drying, take the opportunity to clean the drawer pulls or knobs. These can accumulate dirt and grime over time. Wipe them down with a damp cloth or use a mild cleaning solution if necessary. Dry them thoroughly before reattaching them to the drawers.
Once the drawers are completely dry, you can replace any drawer liners or organizers and begin organizing your belongings. It’s a good idea to declutter and reorganize as you put items back into the drawers to maintain a clean and organized space.
With step four complete, we can now move on to step five: polishing the wooden exterior of the dresser.
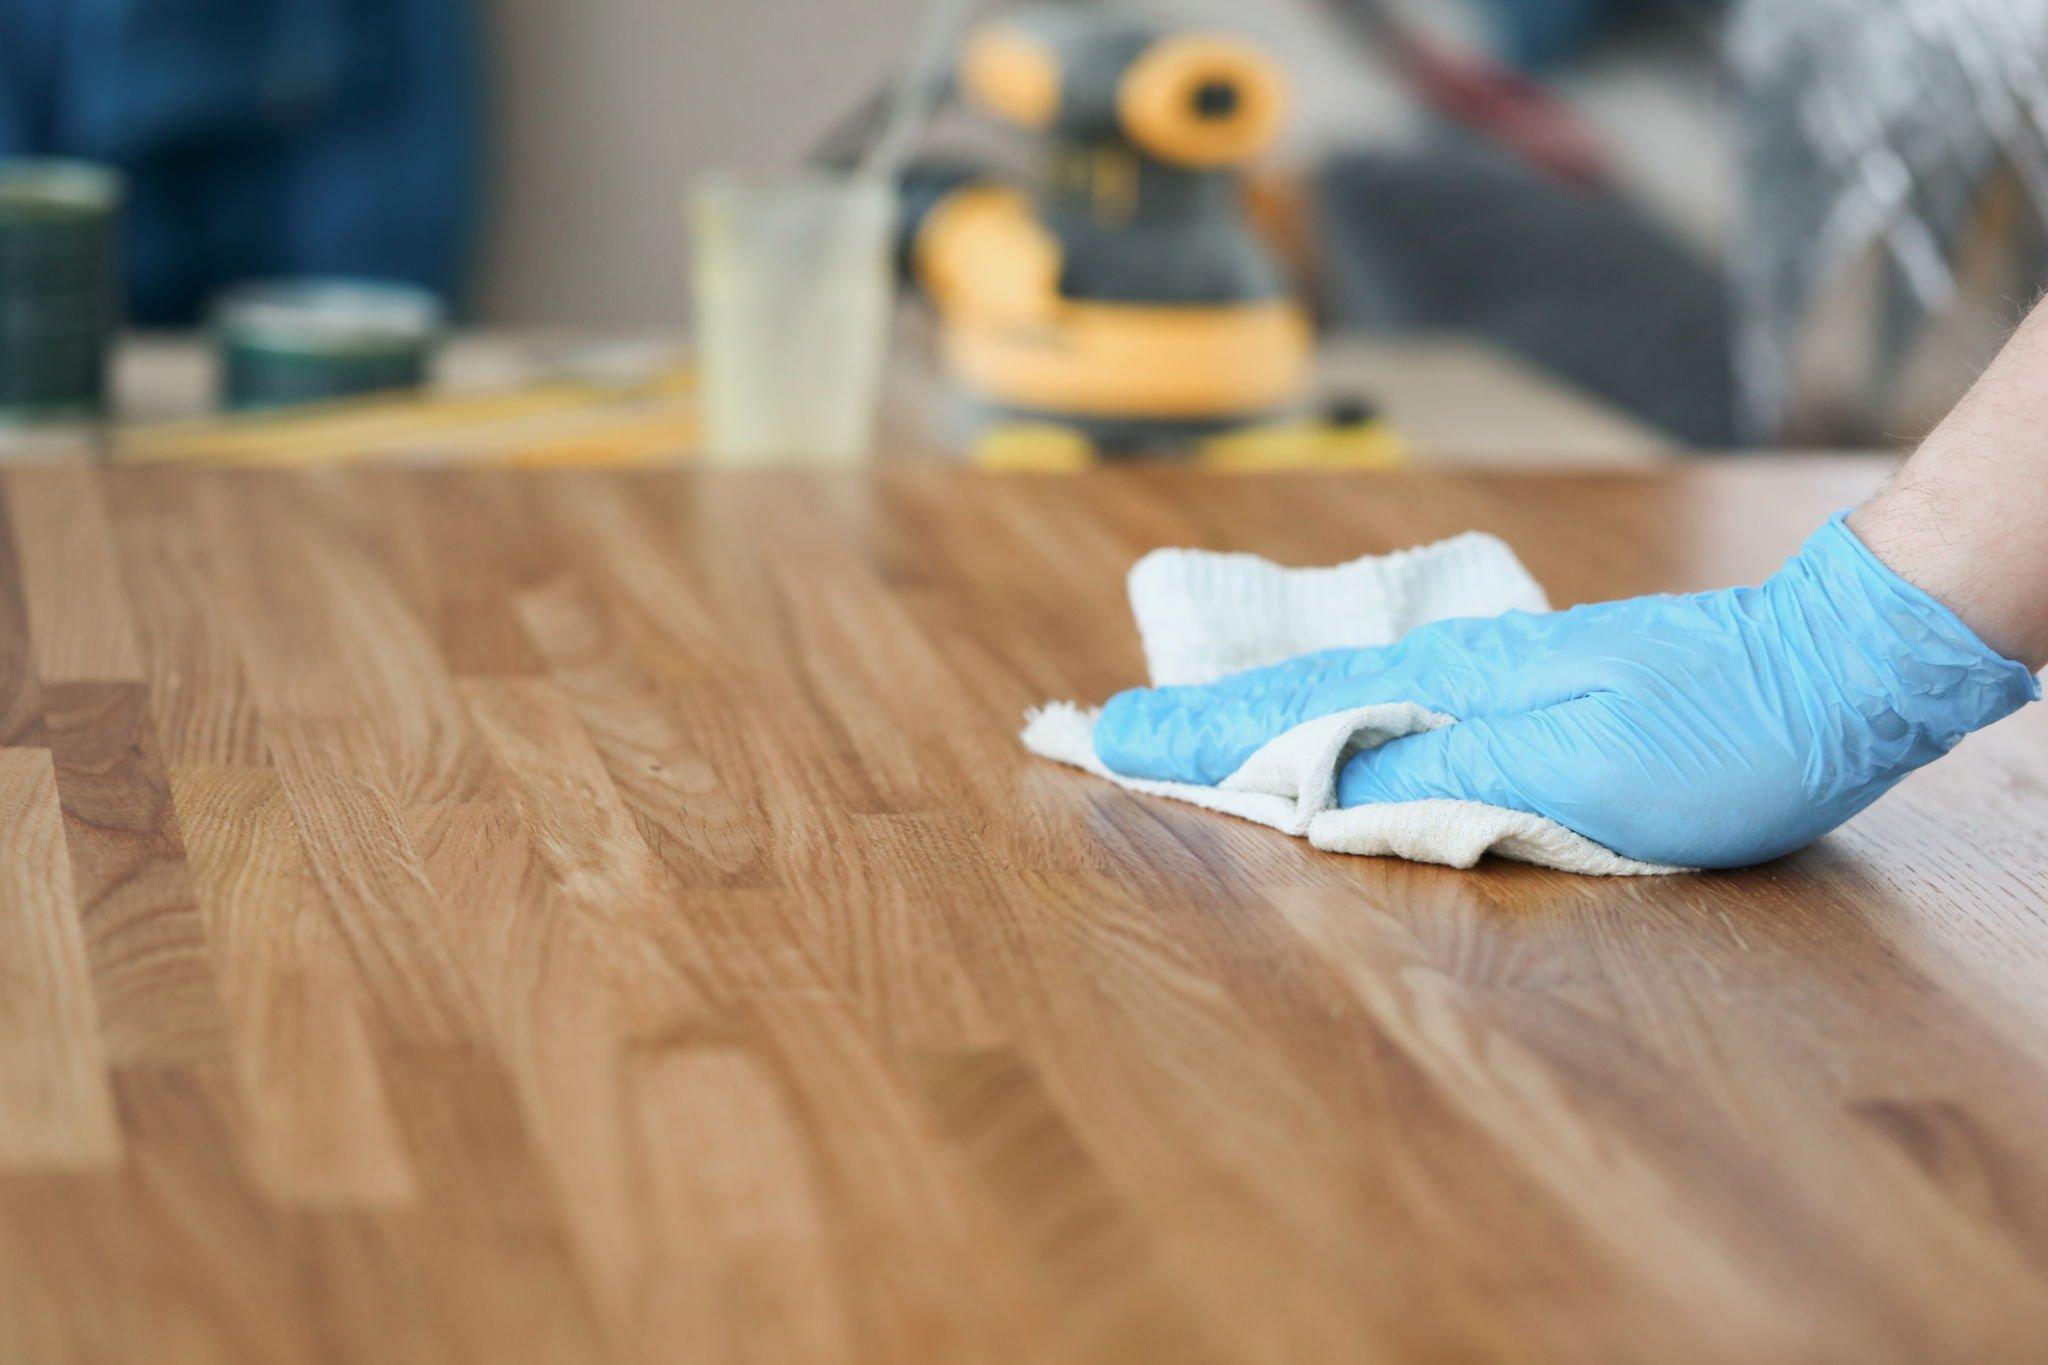
To clean a wooden dresser, use a mixture of mild soap and water to gently wipe down the surface. Avoid using harsh chemicals or abrasive materials to prevent damage to the wood. Dry the dresser thoroughly to prevent water damage.
Read more: How To Clean A Wooden Fence
Step 5: Polishing the Wooden Exterior
Now that the drawers are clean and organized, it’s time to give some attention to the wooden exterior of your dresser. Polishing the surface not only enhances its natural beauty but also provides added protection against scratches and wear over time. By following this step, your dresser will regain its lustrous shine and look as good as new.
Before you begin, ensure that the surface of the dresser is free from dust and debris. If needed, lightly dust the dresser using a soft cloth or microfiber cloth.
There are several options for polishing the wooden exterior, depending on the type of dresser finish. For oil-finished dressers, applying a small amount of furniture oil or lemon oil onto a soft cloth and rubbing it onto the surface can bring out the natural shine. Be sure to follow the manufacturer’s instructions and avoid applying too much oil, as excessive oil can leave a sticky residue.
If your dresser has a lacquer or varnish finish, you can use a quality furniture polish that is specifically formulated for wooden surfaces. Spray the polish onto a soft cloth and apply it to the dresser using gentle, circular motions. Be cautious not to overspray or apply excessive pressure as this can lead to streaks or damage the finish. Follow the instructions on the polish product for the best results.
For unfinished or raw wood dressers, you can use a beeswax polish to condition the wood and bring out its natural beauty. Apply a small amount of beeswax onto a soft cloth and rub it onto the surface in a circular motion. Allow the beeswax to sit for a few minutes, then buff it off with a clean, dry cloth. This will give the wood a soft sheen and protect it from moisture.
Whichever polishing method you choose, it’s important to always work with the wood grain to avoid causing any damage. Take your time and be gentle in your application to achieve the best results.
Once you have finished polishing the wooden exterior, take a step back and admire the renewed beauty of your dresser. The polished surface will not only look visually appealing but will also be more resistant to daily wear and tear.
With step five complete, we can now move on to step six: treating the wood for long-lasting protection.
Step 6: Treating the Wood
Treating the wood is an important step in maintaining the quality and longevity of your wooden dresser. Applying a protective coating or sealant helps to preserve the wood from moisture, sunlight, and everyday wear and tear. It also adds an extra layer of protection to keep your dresser looking beautiful for years to come.
Before treating the wood, ensure that the surface is clean and free from any dust or debris. If needed, give the dresser a gentle wipe-down using a damp cloth to remove any residual polish or dust.
The type of treatment you choose will depend on the finish and type of wood your dresser is made of. For example, if your dresser has an oil or wax finish, you may not need an additional treatment. However, if your dresser has a lacquer or varnish finish, or if it’s unfinished wood, applying a wood sealant or wax coating can provide added protection.
To apply a wood sealant, start by shaking the canister or stirring the product well to ensure it’s fully mixed. Using a soft brush or cloth, evenly apply the sealant to the dresser, following the wood grain. Allow the sealant to dry according to the manufacturer’s instructions, ensuring good ventilation in the room. Once dry, gently sand the surface with fine-grit sandpaper to smooth out any imperfections. Wipe away the sanding dust with a clean cloth before applying a second coat if desired. This will provide a durable protective layer to keep your wooden dresser looking its best.
If you prefer a wax coating, choose a quality furniture wax that is suitable for your dresser’s finish. Apply a small amount of wax onto a clean cloth and rub it onto the dresser using circular motions. Be sure to cover the entire surface, including any intricate details or carvings. Allow the wax to sit for a few minutes, then buff it off with a clean, dry cloth. This will create a beautiful soft sheen and provide protection for the wood.
Remember to follow the manufacturer’s instructions for the sealant or wax you choose and always test it on a small, inconspicuous area of the dresser before applying it to the entire surface. This will ensure that the treatment is compatible with your dresser’s wood and finish.
With step six complete, we can now move on to the final step: reassembling and organizing the dresser.
Step 7: Reassembling and Organizing the Dresser
Now that you have thoroughly cleaned, polished, and treated your wooden dresser, it’s time to put everything back together and organize your belongings. By reassembling and organizing the dresser thoughtfully, you can create a clutter-free and visually appealing space.
Begin by reattaching any drawer pulls or knobs that were removed during the cleaning process. Ensure that they are secure and properly aligned. This will not only improve the functionality of the dresser but also add to its aesthetic appeal.
Next, carefully place the drawers back into the dresser, making sure they fit snugly. Take this opportunity to declutter and organize your belongings. Consider using drawer organizers or dividers to separate different items, such as socks, underwear, or accessories. This will help keep the drawers neat and tidy, making it easier to find what you need.
As you put items back into the dresser, take the time to assess whether there are any items you no longer need or want. Consider donating or disposing of those items to further declutter and create more space in your dresser. Only keep items that you use regularly or that hold sentimental value.
For a visually pleasing and organized dresser, arrange your belongings in a way that makes sense to you. Group similar items together and place them in designated sections of the drawers. Fold clothing neatly and stack them in an organized manner, using dividers or separators if needed.
Lastly, take a step back and admire your freshly cleaned and organized dresser. Not only does it look beautiful, but it also provides a functional and clutter-free storage solution for your belongings.
Remember to regularly maintain and clean your wooden dresser to keep it in its best condition. Dust the surface and drawers regularly to prevent dirt and debris from accumulating. Address any new stains or spots promptly to avoid permanent damage to the wood. By following these cleaning and maintenance steps, your wooden dresser will continue to be a focal point in your bedroom for years to come.
With step seven complete, you have successfully completed the process of cleaning and organizing your wooden dresser. Enjoy your refreshed and beautiful piece of furniture!
Remember to validate the html code before publishing it on your website!
Conclusion
Cleaning and maintaining a wooden dresser can seem like a daunting task, but with the right techniques and a little bit of time and effort, you can restore its beauty and keep it looking its best for years to come. By following the step-by-step process outlined in this guide, you have learned how to clear the dresser, dust the surface, remove stains and spots, deep clean the drawers, polish the wooden exterior, treat the wood, and reassemble and organize the dresser. Each step contributes to the overall cleanliness, aesthetic appeal, and longevity of your wooden dresser.
Regular cleaning and maintenance are essential to preserve the natural beauty of the wood and protect it from wear and tear. Dusting the surface regularly prevents the build-up of dust and debris, while treating the wood and applying a protective coating helps to maintain its integrity and durability over time. Deep cleaning the drawers not only removes dirt and stains but also creates a clean and organized space for your belongings. Finally, reassembling and organizing the dresser allows for easy access to your items while keeping the space clutter-free.
Remember to always follow the manufacturer’s instructions and test any cleaning products or treatments on a small, inconspicuous area before applying them to the entire surface. Different types of wood and finishes may require specific care instructions, so consult with experts or refer to the manufacturer’s recommendations whenever in doubt.
With the knowledge gained from this comprehensive guide, you can confidently clean and maintain your wooden dresser, ensuring that it remains a beautiful and functional piece of furniture in your home. By investing a little time and effort into its care, your wooden dresser will continue to be a focal point, adding warmth and style to your living space.
So, go ahead and take the first step in cleaning and refreshing your wooden dresser. Your efforts will be rewarded with a piece of furniture that not only looks great but also stands the test of time.
Remember to validate the HTML code before publishing it on your website!
Frequently Asked Questions about How To Clean A Wooden Dresser
Was this page helpful?
At Storables.com, we guarantee accurate and reliable information. Our content, validated by Expert Board Contributors, is crafted following stringent Editorial Policies. We're committed to providing you with well-researched, expert-backed insights for all your informational needs.


0 thoughts on “How To Clean A Wooden Dresser”