Home>Furniture>Outdoor Furniture>How To Cover Outdoor Patio Cushions

Outdoor Furniture
How To Cover Outdoor Patio Cushions
Modified: August 16, 2024
Discover how to cover and protect your outdoor patio cushions with our helpful guide. Transform your outdoor furniture with ease.
(Many of the links in this article redirect to a specific reviewed product. Your purchase of these products through affiliate links helps to generate commission for Storables.com, at no extra cost. Learn more)
Introduction
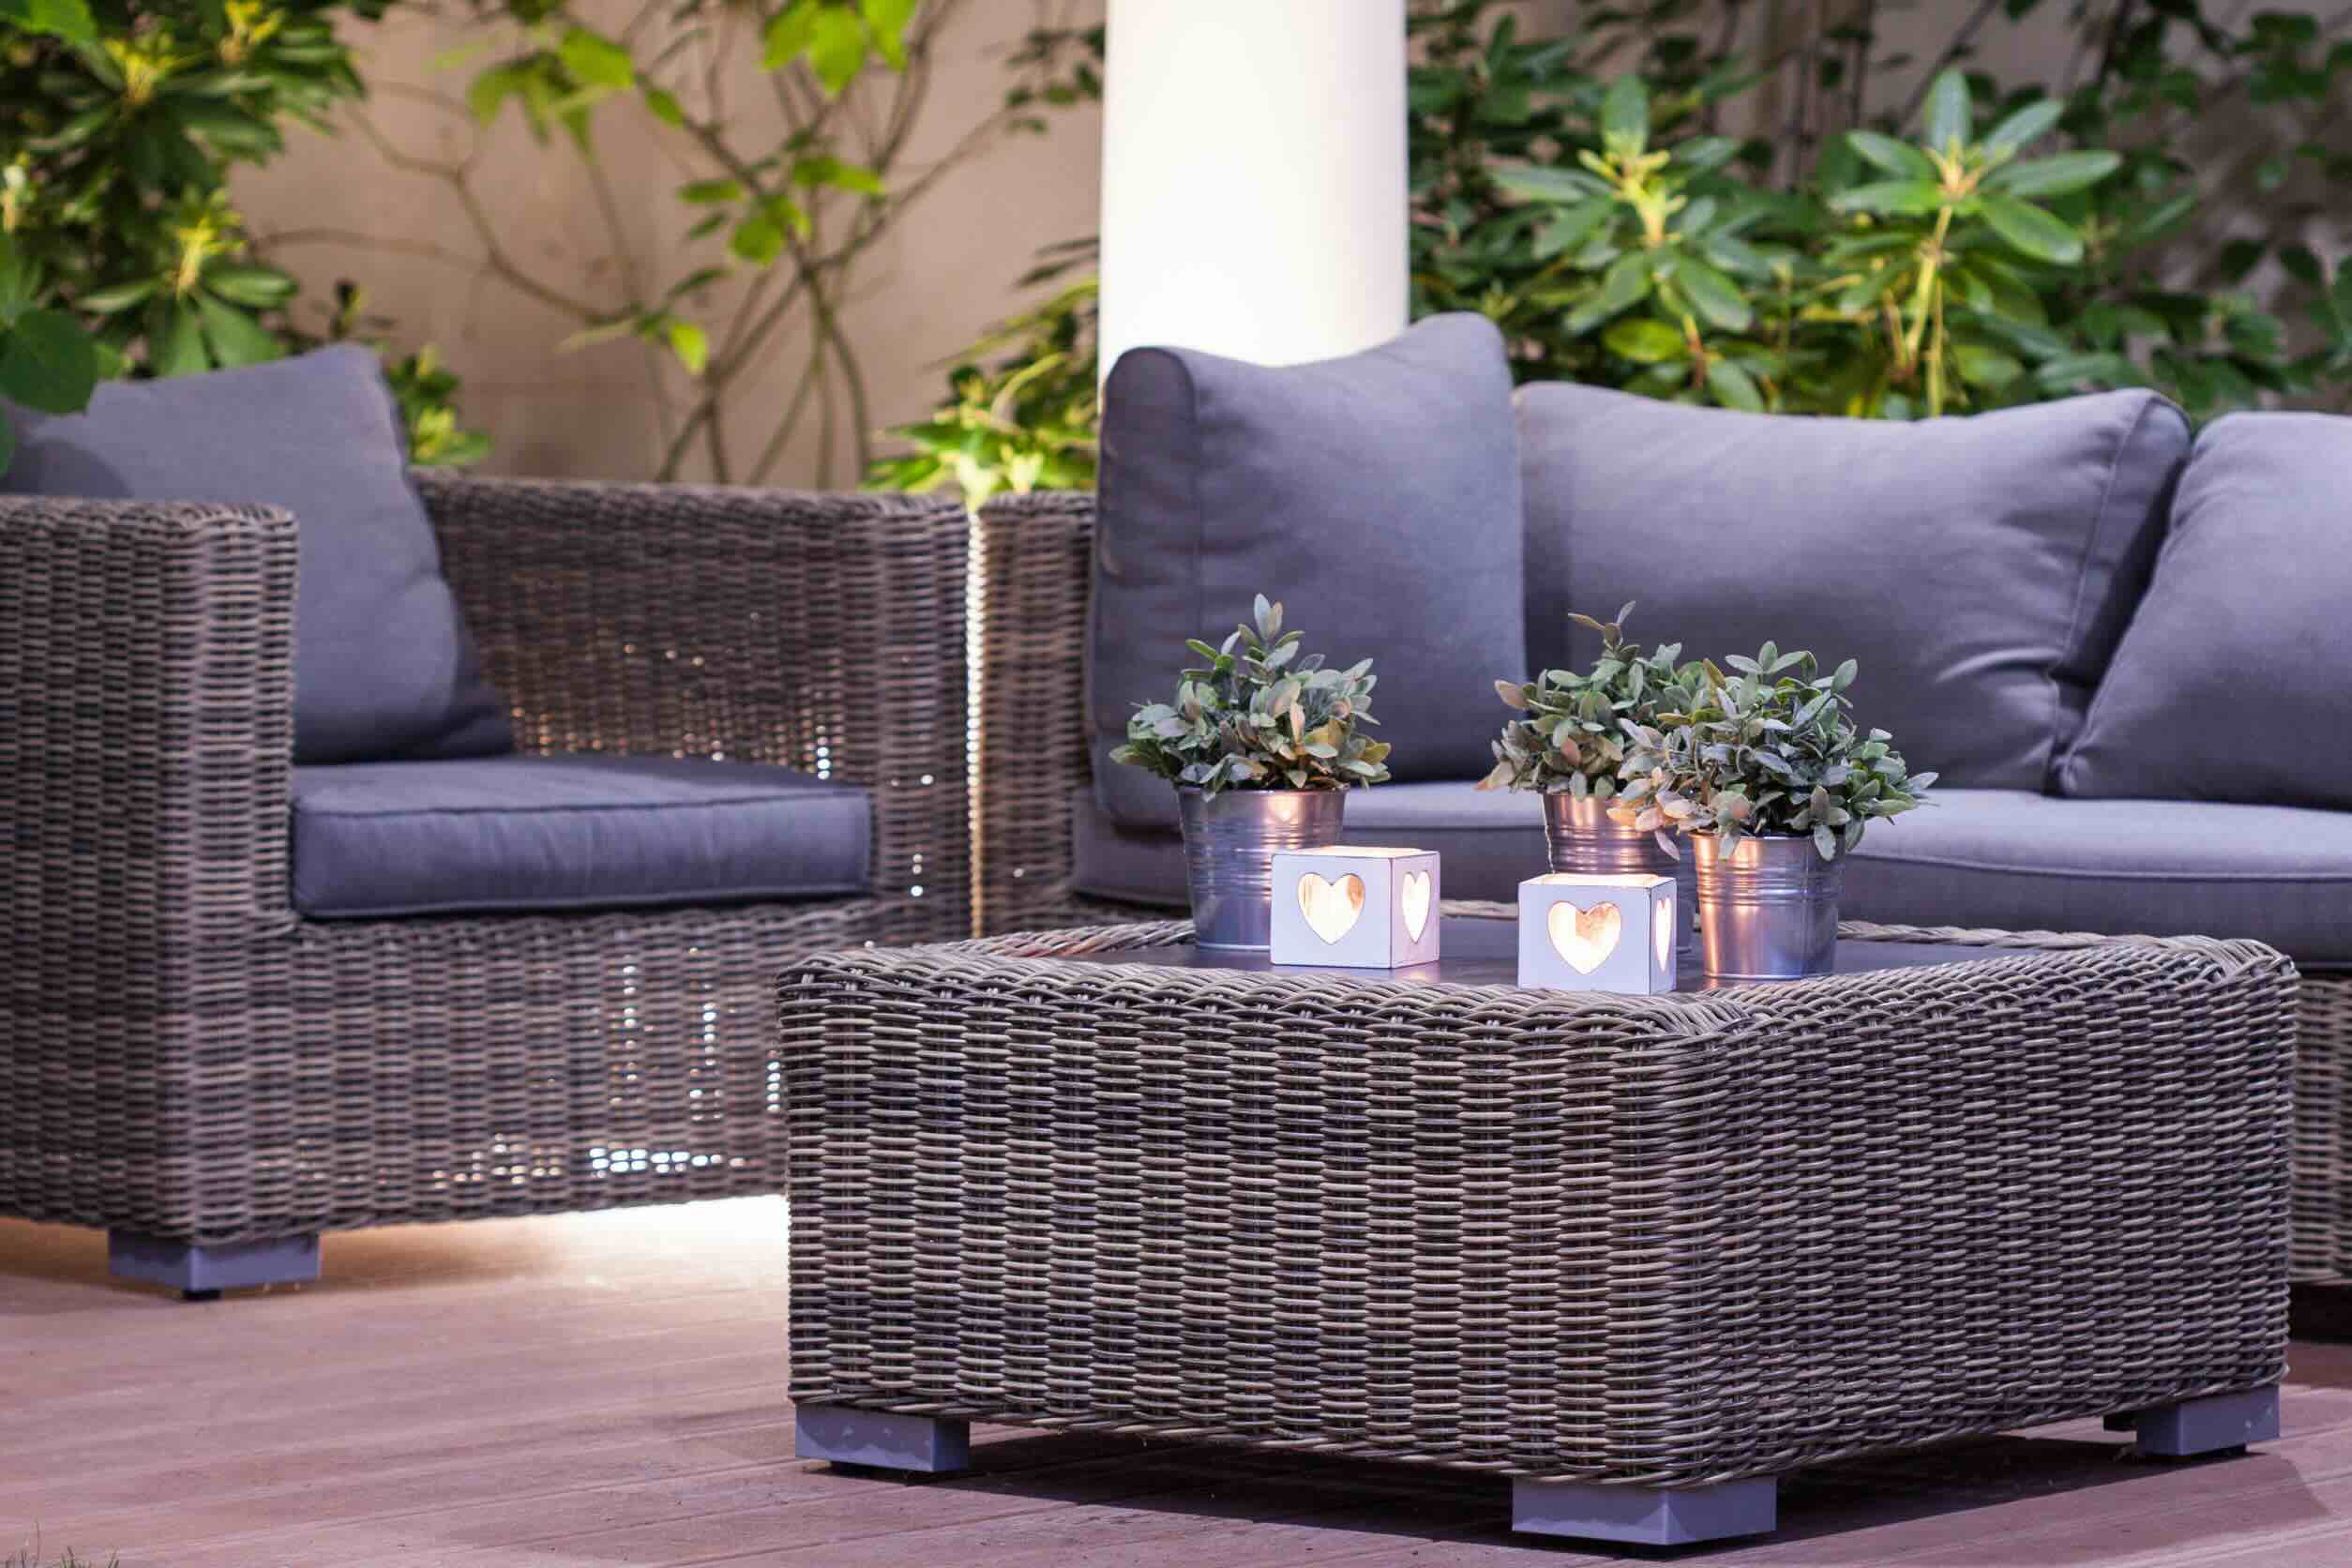
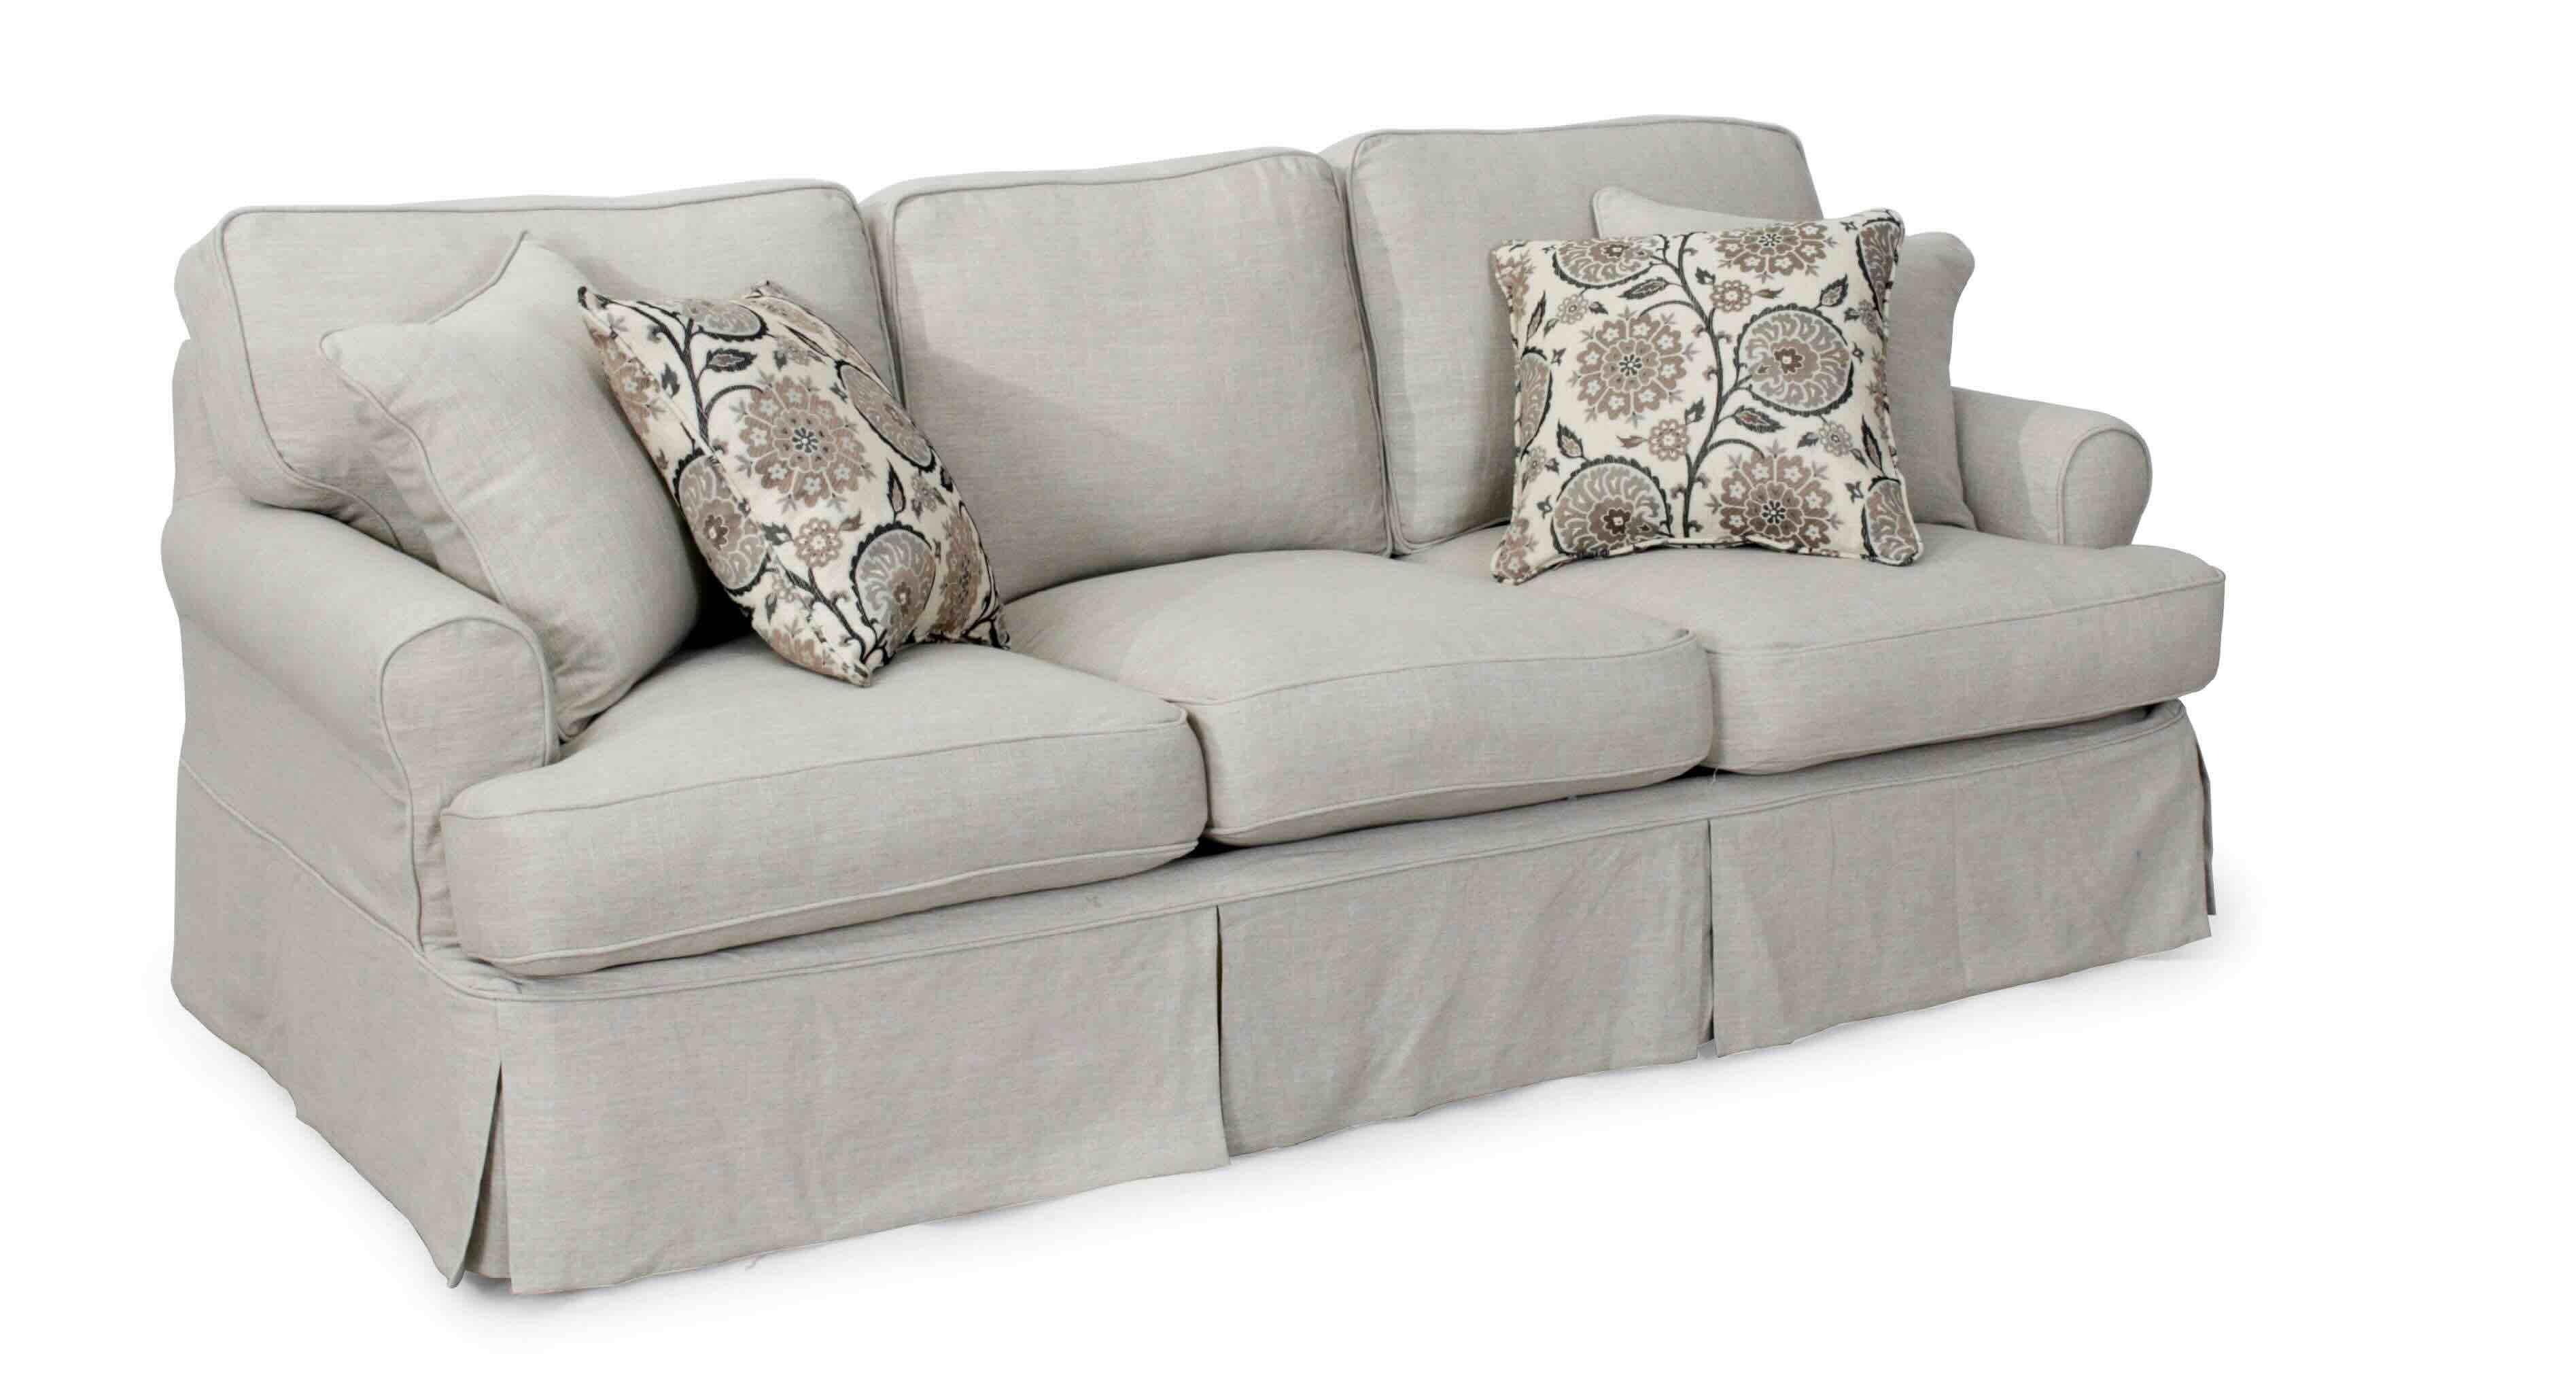
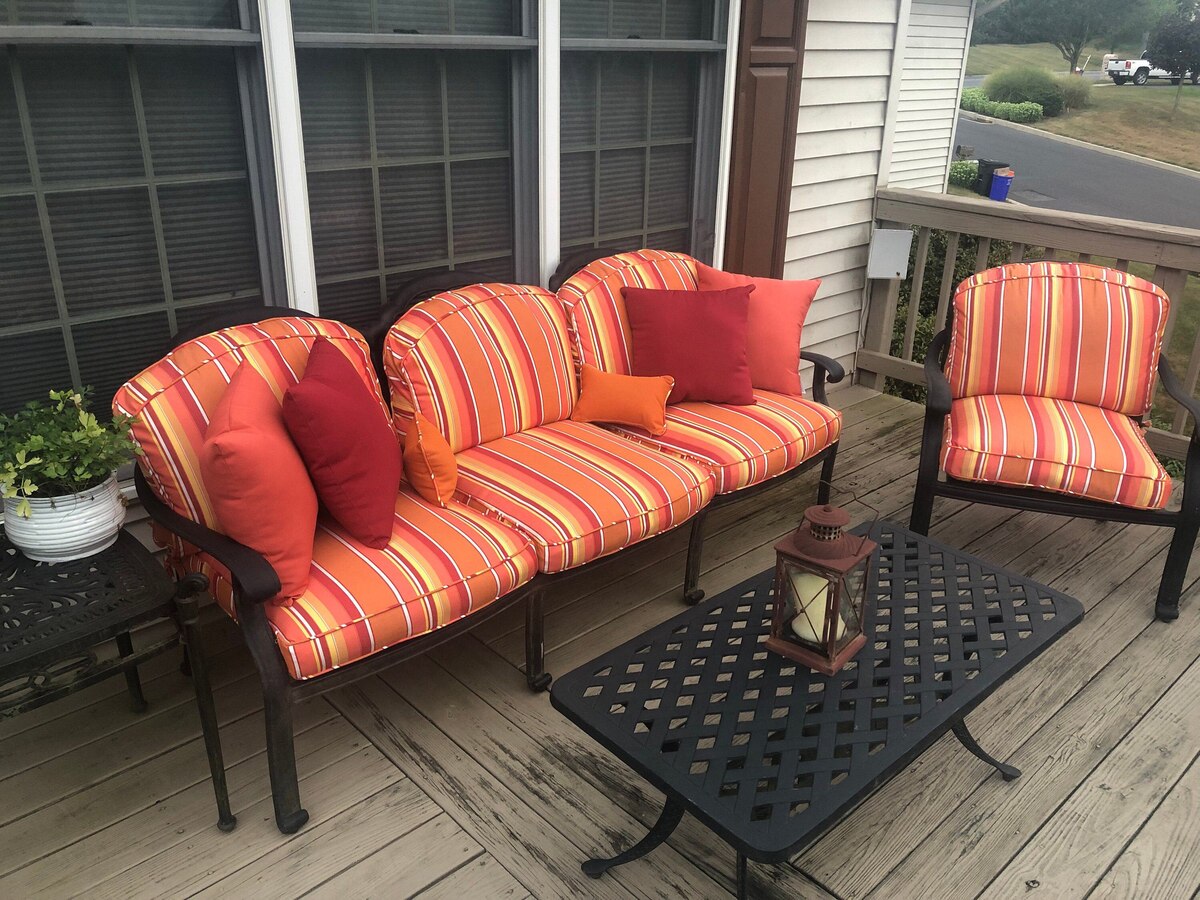
Welcome to our comprehensive guide on how to cover outdoor patio cushions! Whether you’re looking to spruce up your existing cushions or protect them from the elements, covering them with new fabric is a great solution. Not only will it give your patio furniture a fresh and updated look, but it will also prolong the lifespan of your cushions.
Outdoor patio cushions are exposed to various weather conditions, including rain, sun, and dirt. Over time, these elements can cause the fabric to fade, become stained, or even tear. By covering your cushions, you can shield them from these damaging effects and keep them looking brand new.
Additionally, covering your outdoor patio cushions allows you to change up the style and design of your furniture to match your outdoor decor. With a wide variety of fabrics available, you can easily find one that suits your taste and complements your outdoor space.
In this guide, we will take you through the step-by-step process of covering your outdoor patio cushions. From gathering materials to adding those finishing touches, we will provide you with all the information you need to successfully complete this DIY project.
So, if you’re ready to give your outdoor patio cushions a makeover and protect them from the elements, let’s get started on transforming your outdoor space!
Key Takeaways:
- Protect and refresh your outdoor patio cushions by covering them with durable, weatherproof fabric. This DIY project can give your outdoor space a stylish makeover while extending the lifespan of your cushions.
- From measuring and cutting fabric to adding decorative touches, covering outdoor patio cushions is a fun and creative way to personalize your outdoor space. Enjoy a refreshed and inviting outdoor seating area!
Read more: How To Sew Patio Cushion Covers
Step 1: Gather Materials
Before you begin covering your outdoor patio cushions, you’ll need to gather the necessary materials. Here’s a list of items you will need:
- Fabric: Choose a durable outdoor fabric that is fade-resistant and weatherproof. Look for fabrics made of materials such as polyester, acrylic, or Sunbrella, which are known for their durability and resistance to the elements.
- Scissors: Make sure you have a pair of sharp fabric scissors to cut the fabric easily and cleanly.
- Measuring tape: This will be essential for taking accurate measurements of your cushions.
- Sewing machine: If you have access to a sewing machine, it will make the process of sewing the fabric much quicker and easier. However, you can also sew the covers by hand if you don’t have a sewing machine available.
- Thread: Choose a thread that matches the color of your fabric or opt for a heavy-duty thread for added strength.
- Pins or clips: These will help you hold the fabric in place while you sew.
- Fasteners or zippers (optional): If you want to easily remove the covers for cleaning or want a snug fit, you can include fasteners or zippers in your cushions.
- Trim or decorative elements (optional): If you want to add a decorative touch to your cushion covers, consider including trims, buttons, or other embellishments.
Ensure that you have all the materials ready before you begin the project to avoid any unnecessary delays or interruptions. Once you have everything you need, you can move on to the next step – removing the old covers from your outdoor patio cushions.
Step 2: Remove Old Covers
Now that you have gathered all the necessary materials, it’s time to remove the old covers from your outdoor patio cushions. Follow these steps to ensure a smooth and easy removal process:
- Start by flipping the cushion over to access the underside. Look for any fasteners or zippers that are holding the current cover in place.
- If there are fasteners or zippers, undo them to release the old cover. Take note of how the cover is attached, as you will need to replicate this when attaching the new cover.
- If there are no visible fasteners or zippers, the cover might be sewn closed. In this case, carefully cut the stitches using scissors to open up the cover.
- Once the cover is removed, inspect the cushion for any signs of damage or wear. This is a good time to replace any worn-out foam or padding inside the cushion, if needed.
- Repeat this process for each cushion you are covering.
Removing the old covers will give you a clean slate to work with and ensure that the new covers fit properly. It’s important to take your time during this step to avoid damaging the cushions or the existing covers.
With the old covers removed, you’re now ready to move on to the next step – cleaning and drying the cushions before covering them with new fabric.
Step 3: Clean and Dry Cushions
After removing the old covers from your outdoor patio cushions, it’s time to give them a thorough cleaning to ensure they are fresh and ready for the new covers. Follow these steps to clean and dry your cushions:
- Start by brushing off any loose dirt or debris from the cushions using a stiff brush. This will help to remove surface dirt and make the cleaning process easier.
- Next, fill a bucket with warm water and add a mild detergent or fabric cleaner. Mix the solution well to create a soapy mixture.
- Dip a sponge or soft brush into the soapy water and gently scrub the cushions. Pay attention to any stained or soiled areas, and work the cleaning solution into the fabric.
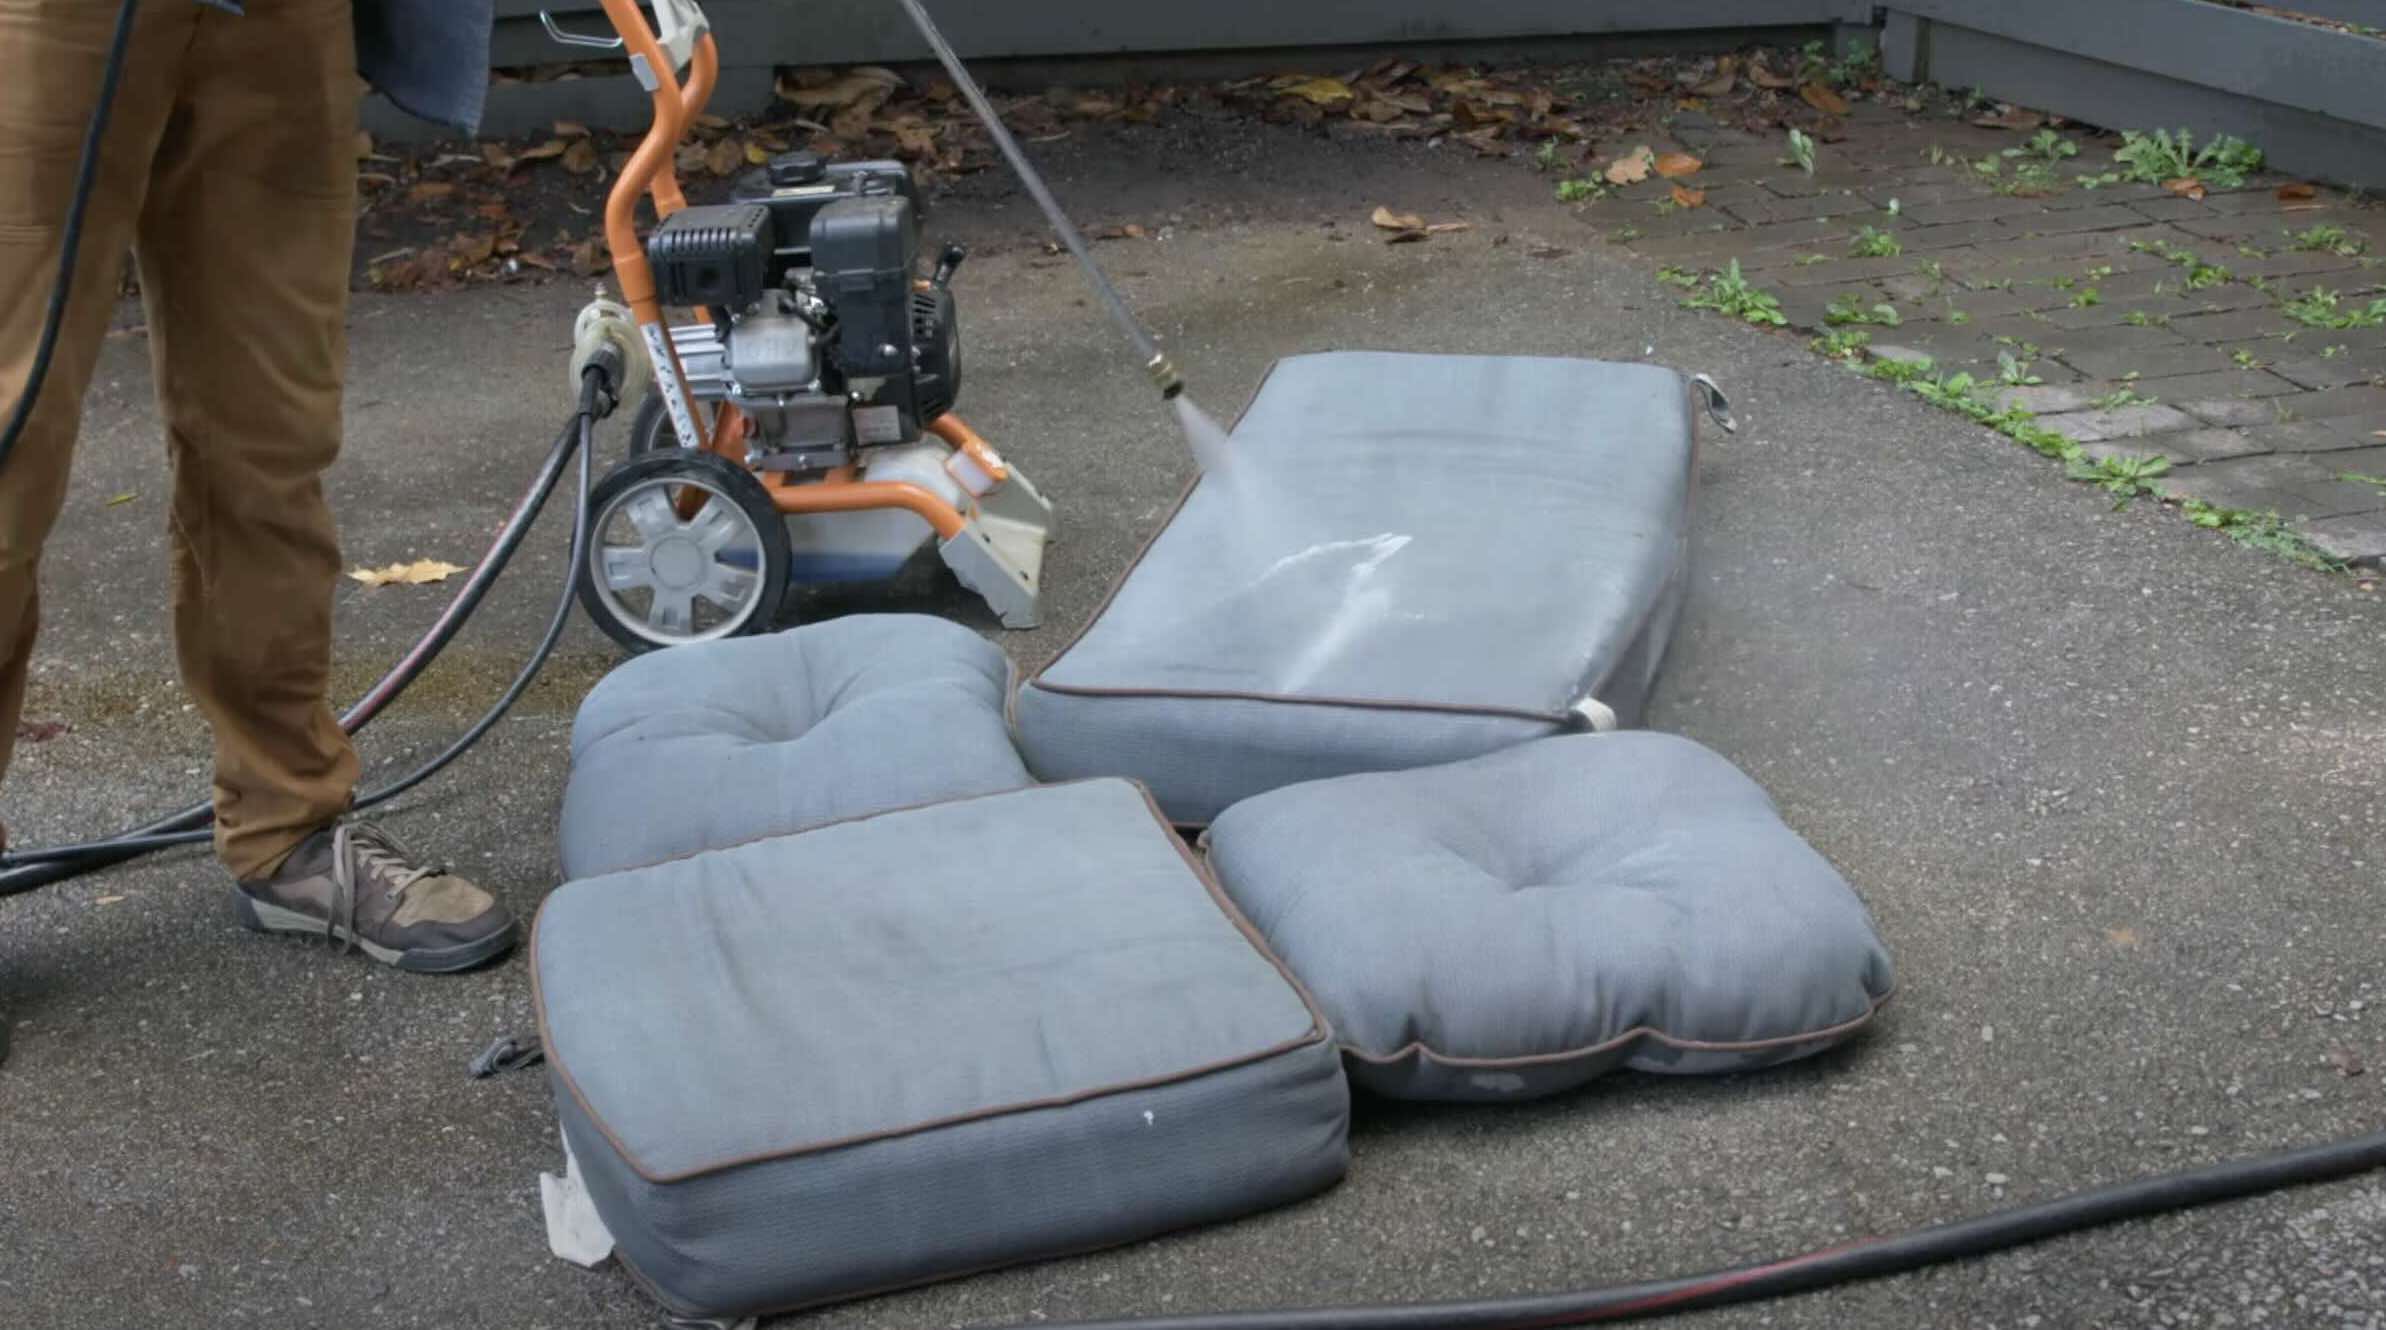
- Once you have cleaned the cushions thoroughly, rinse them with clean water to remove any soap residue. You can use a hose or a clean bucket of water for this step.
- Squeeze out excess water from the cushions after rinsing. Avoid wringing or twisting the cushions as this can distort their shape. Instead, gently press down on the cushions to remove as much water as possible.
- Place the cushions in a well-ventilated area or outdoors to air-dry completely. Make sure they are placed on a clean and dry surface.
- Depending on the weather conditions and the material of your cushions, drying may take several hours or even a full day. Avoid placing them in direct sunlight as this can fade the fabric.
It’s important to clean and dry the cushions thoroughly before covering them with new fabric to prevent any mold or mildew growth. Once the cushions are completely dry, you can move on to the next step – measuring and cutting the fabric for the new covers.
Step 4: Measure and Cut Fabric
With your cleaned and dry outdoor patio cushions ready, it’s time to measure and cut the fabric for the new covers. Follow these steps to ensure accurate measurements and a perfect fit:
- Place the cushion on a flat surface and measure the length, width, and height of the cushion using a measuring tape. Make sure to measure from seam to seam for accurate dimensions.
- Add extra inches to your measurements to allow for seam allowances and a snug fit. A general rule of thumb is to add 1 inch for seam allowance, but this can vary depending on your personal preference and the thickness of the cushion.
- Use the measurements to cut the fabric for the main part of the cover. Use fabric scissors to ensure clean and precise cuts.
- If your cushions have curved edges or corners, create a template by tracing the shape of the cushion onto paper or cardboard. Use this template to cut the fabric for the corners or any additional pieces needed.
- Label each fabric piece to make it easier to assemble the covers later on. You can use pins or small sticky notes to mark the pieces.
It’s important to take accurate measurements and cut the fabric carefully to ensure that the new covers fit snugly on the cushions. Double-check your measurements before cutting to avoid any mistakes.
Once you have cut the fabric pieces, you’re ready to move on to the next step – sewing the new covers for your outdoor patio cushions.
Read more: How To Make Patio Furniture Cushion Covers
Step 5: Sew New Covers
Now that you have measured and cut the fabric for your outdoor patio cushion covers, it’s time to sew them together. Follow these steps to sew the new covers:
- Place the fabric pieces together, with the right sides facing each other. Pin or clip the edges to hold them in place while sewing.
- Using a sewing machine or needle and thread, sew along the edges of the fabric, leaving one side open for inserting the cushion.
- If using a sewing machine, use a straight stitch or a zigzag stitch for added durability. If sewing by hand, use a strong and secure stitch such as a backstitch.
- Remove the pins or clips as you sew. Take your time to sew evenly and maintain a consistent seam allowance.
- If your cushion covers have curved edges, clip small notches or make small slits along the curved areas to help the fabric lie flat when turned right side out.
- After sewing around the edges, reinforce the corners and stress points by sewing a few extra stitches or adding a diagonal stitch.
Once you have completed sewing the covers, turn them right side out to ensure that the seams are on the inside. Give them a gentle shake or press with your hands to help them take shape.
It’s important to sew the covers with precision to ensure a neat and professional finish. Take your time and pay attention to detail to achieve the desired results.
With the covers sewn, you’re now ready to move on to the next step – attaching fasteners or zippers if desired.
To cover outdoor patio cushions, use weather-resistant fabric and sew a simple slipcover with a zipper for easy removal and washing. This will help protect the cushions from the elements and extend their lifespan.
Step 6: Attach Fasteners or Zippers
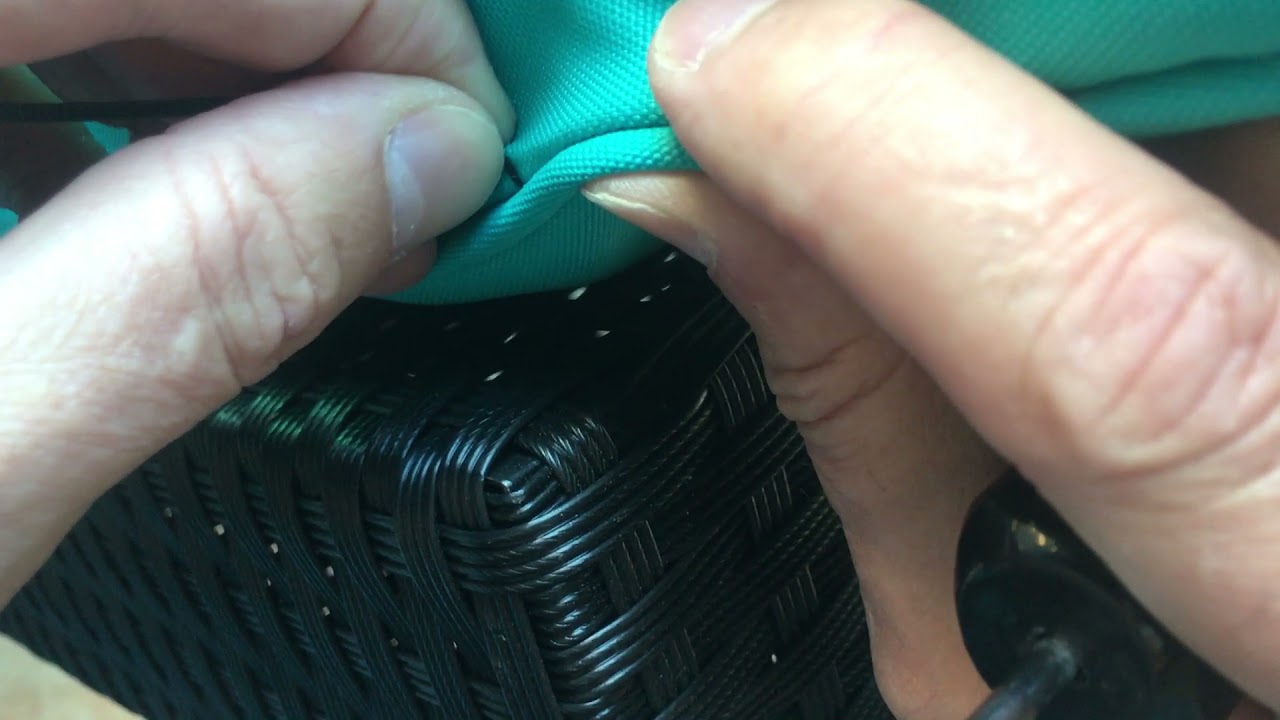
Attaching fasteners or zippers to your outdoor patio cushion covers can make it easier to remove and secure the covers in place. Follow these steps to attach fasteners or zippers:
- If you’re using fasteners, such as Velcro or snaps, decide where you want them to be placed on the cover. Typically, they are positioned on the back or underside of the cushion.
- Measure and mark the placement of the fasteners on the fabric. Ensure that they align when the cover is closed.
- Sew the fasteners onto the fabric at the marked positions, following the manufacturer’s instructions.
- If you prefer to use zippers, determine the length of the zipper needed for each cover.
- Measure and cut the zipper to the required length, ensuring that it is slightly shorter than the side you are attaching it to.
- Pin or clip the zipper to the fabric, making sure the teeth align with the edge of the fabric.
- Sew the zipper onto the fabric, using a zipper foot on your sewing machine for better control.
- Repeat the process for the other side of the zipper, ensuring that it aligns properly when closed.
- Test the fasteners or zippers to ensure they are securely attached and function properly.
Attaching fasteners or zippers can provide convenience and ease when it comes to removing and securing the cushion covers. It’s important to sew them carefully and securely to ensure they withstand regular use.
With the fasteners or zippers in place, you’re ready to move on to the next step – fitting the covers onto your outdoor patio cushions.
Step 7: Fit the Covers onto Cushions
Now that your outdoor patio cushion covers are ready, it’s time to fit them onto your cushions. Follow these steps to ensure a smooth and proper fit:
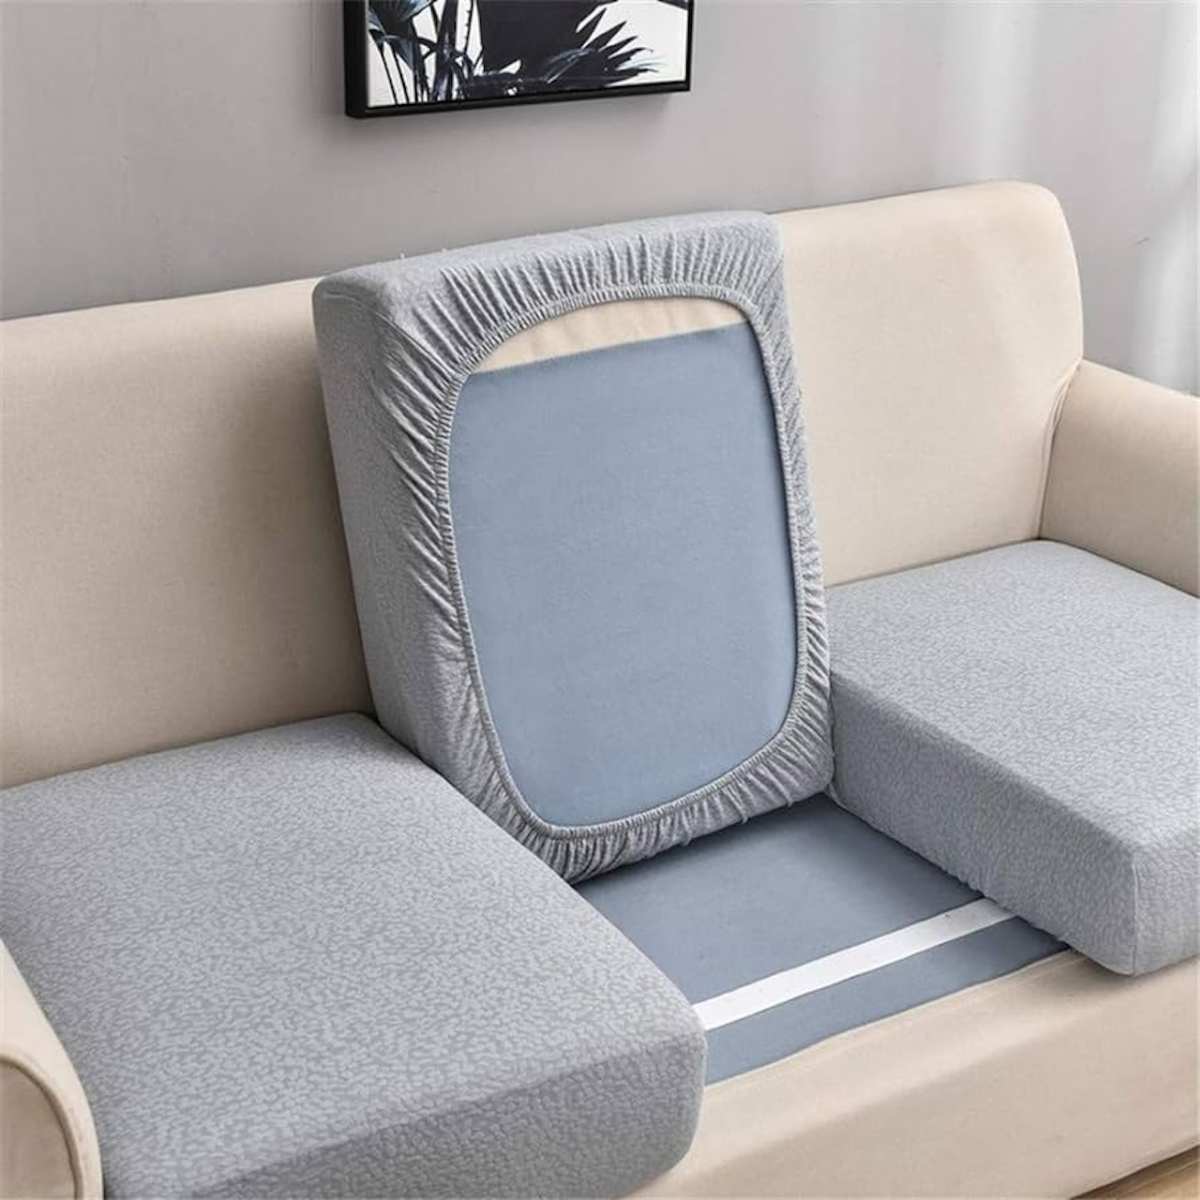
- Ensure that your cushions are clean and dry before inserting them into the covers.
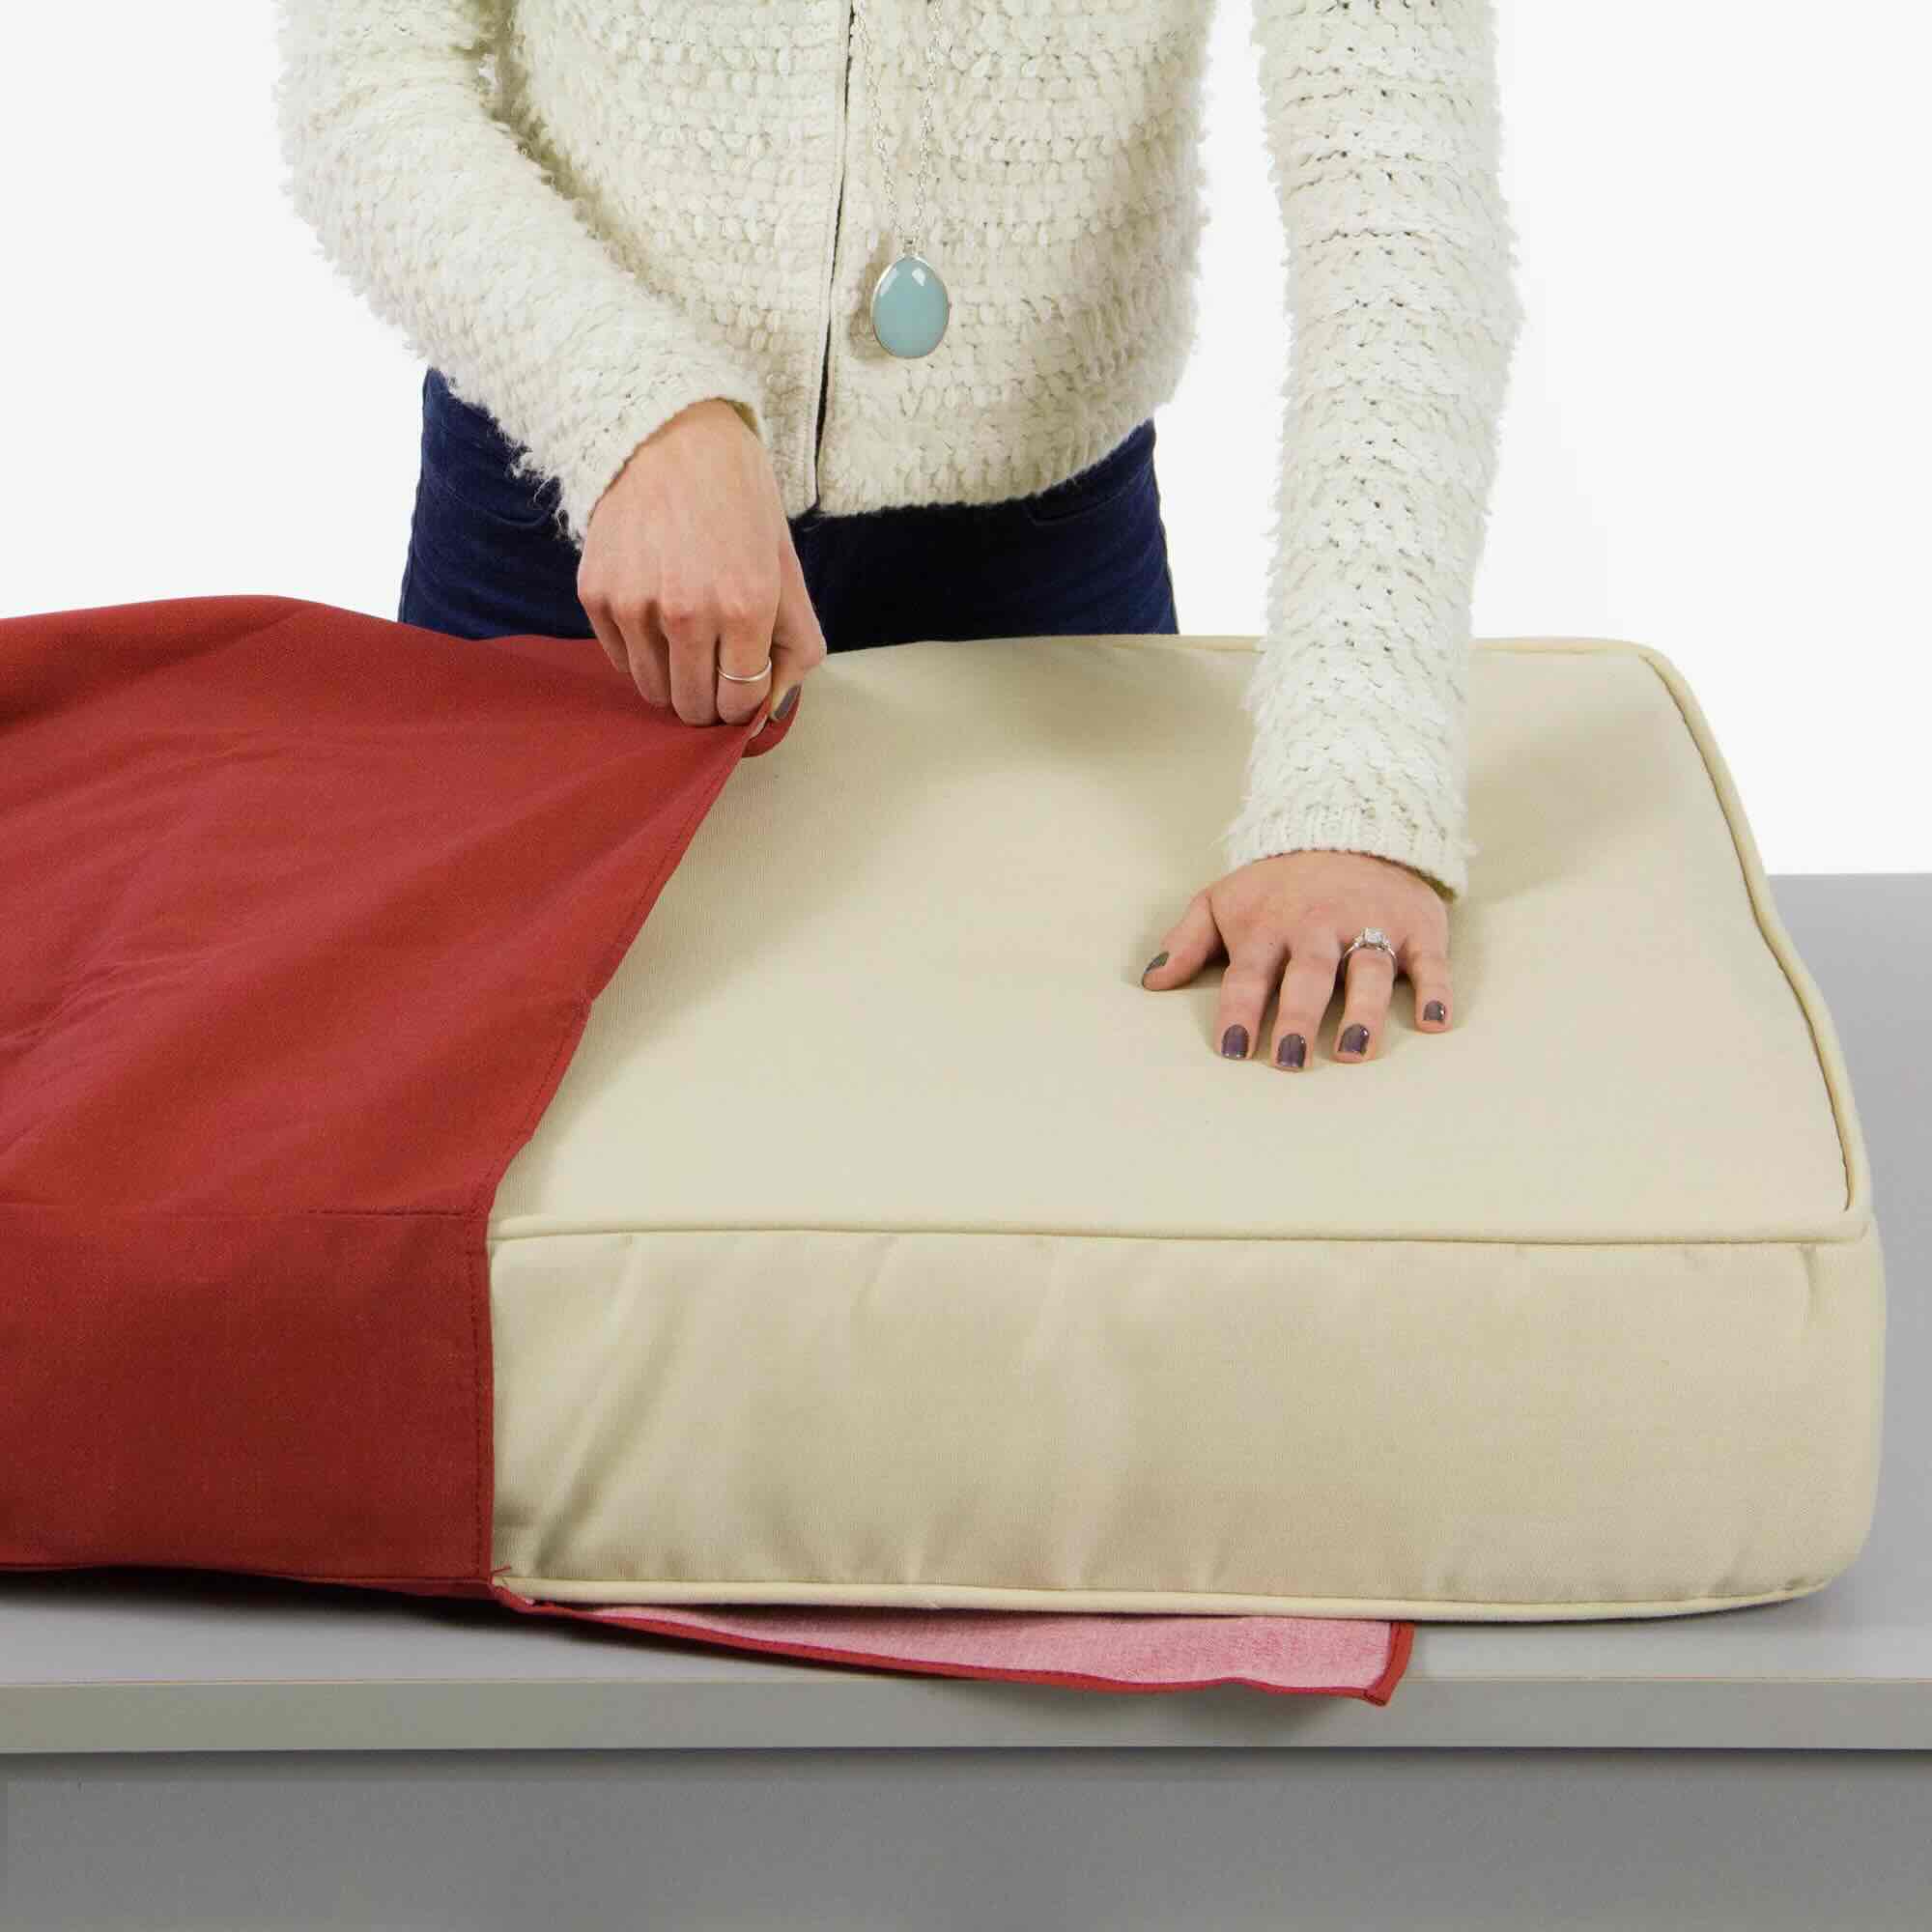
- Hold the cover open and slide the cushion inside, making sure to align the corners and edges of the cushion with the corresponding corners and edges of the cover.
- Gently maneuver the cushion to fit it completely inside the cover. Take your time to ensure it is centered and snugly fit within the cover.
- If you have attached fasteners or zippers, close them to secure the cover in place. Ensure that they are fastened properly, allowing for a tight and secure fit.
- Smooth out any wrinkles or creases in the fabric by gently adjusting and tucking it around the cushion.
It’s important to take your time and be gentle when fitting the covers onto the cushions to avoid any tearing or stretching of the fabric. Ensure that the cover is centered and properly aligned with the cushion for a polished and professional look.
With the covers fitted onto the cushions, you’re ready to move on to the next step – securing the covers in place.
Step 8: Secure the Covers in Place
Once you have fitted the covers onto your outdoor patio cushions, it’s important to secure them in place to ensure they stay put even during windy conditions. Here are a few methods you can use to secure the covers:
- Elastic straps: Measure and cut elastic straps long enough to fit around the cushions. Attach one end of each strap to the back of the cover and the other end to the corresponding side. This will help keep the cover in place and prevent it from slipping off the cushion.
- Ties or drawstrings: Sew fabric ties or add drawstrings to the back or sides of the covers. This will allow you to tighten and secure the covers tightly around the cushions.
- Hook-and-loop fasteners: If you have attached fasteners, such as Velcro, to the cover, make sure they are securely fastened together to keep the cover in place.
- Weighted objects: Consider placing weighted objects, such as rocks or sandbags, on the corners or edges of the cushions to prevent the covers from shifting or blowing away in strong winds.
Choose the method or combination of methods that works best for your cushions and outdoor environment. Ensuring that the covers are securely fastened will help keep them in place and maintain a neat and tidy appearance.
With the covers secured, you’re almost done! Just a few more steps to add those finishing touches.
Step 9: Add Finishing Touches
Now that you have covered and secured your outdoor patio cushions, it’s time to add those final touches to enhance their appearance and functionality. Here are a few ideas to consider:
- Trim or piping: Add a decorative touch to your cushion covers by sewing trim or piping along the edges. This can create a polished and finished look and also help to reinforce the seams.
- Buttons or tufting: If you want to add a touch of elegance, consider adding buttons or tufting to the cushions. This not only adds visual interest but also helps to keep the fabric in place and prevent shifting.
- Embroidery or appliques: Personalize your cushions by adding embroidery or appliques. This can be a fun and creative way to showcase your unique style and add a custom touch to your outdoor space.
- Weatherproofing spray: To further protect your cushion covers, consider applying a weatherproofing spray. This can help repel water and make the covers more resistant to stains and fading.
Choose the finishing touches that align with your personal style and the overall aesthetic of your outdoor space. These small details can make a big difference in the appearance and longevity of your cushion covers.
Congratulations! You have successfully covered your outdoor patio cushions and added those final touches. Step back and admire the transformation of your outdoor furniture. Now, it’s time to kick back, relax, and enjoy your refreshed and comfortable outdoor seating area.
We hope this step-by-step guide has been helpful in your DIY project. Remember, with a little time and effort, you can give your outdoor patio cushions a new lease on life and create an inviting and stylish outdoor space.
Happy cushion covering!
Conclusion
Covering your outdoor patio cushions is a fantastic way to refresh the look of your outdoor furniture and protect it from the elements. By following the step-by-step guide provided in this article, you can easily transform your worn-out cushions into stylish and durable seating options for your outdoor space.
From gathering the materials to adding those finishing touches, each step plays a crucial role in ensuring a successful cushion covering project. Taking accurate measurements, choosing the right fabric, and sewing the covers with precision are key to achieving a professional and personalized result.
Additionally, securing the covers in place and adding decorative elements allow you to customize the final look of your cushions and make them uniquely yours. Whether you opt for elastic straps, ties, or weight objects, these final touches help to ensure that your cushions stay in place and withstand outdoor conditions.
Remember to clean and dry your cushions before covering them and consider using weatherproofing spray to enhance their durability. This will not only protect them from moisture and stains but also extend their lifespan.
By following these steps and adding your own creative flair, you can transform your outdoor patio cushions and create a comfortable and stylish outdoor seating area that you can enjoy for years to come.
We hope this comprehensive guide has provided you with the information and inspiration you need to successfully cover your outdoor patio cushions. So, grab your materials, get creative, and embark on this DIY project to create a cozy and inviting outdoor space that reflects your personal style.
Happy cushion covering and enjoy your newly refreshed outdoor furniture!
Frequently Asked Questions about How To Cover Outdoor Patio Cushions
Was this page helpful?
At Storables.com, we guarantee accurate and reliable information. Our content, validated by Expert Board Contributors, is crafted following stringent Editorial Policies. We're committed to providing you with well-researched, expert-backed insights for all your informational needs.


0 thoughts on “How To Cover Outdoor Patio Cushions”