Home>Furniture>Outdoor Furniture>How To Paint Trex Decking
Outdoor Furniture
How To Paint Trex Decking
Modified: August 25, 2024
Learn how to paint your Trex decking and give it a fresh look with our step-by-step guide. Enhance your outdoor furniture with a durable and long-lasting finish.
(Many of the links in this article redirect to a specific reviewed product. Your purchase of these products through affiliate links helps to generate commission for Storables.com, at no extra cost. Learn more)
Introduction
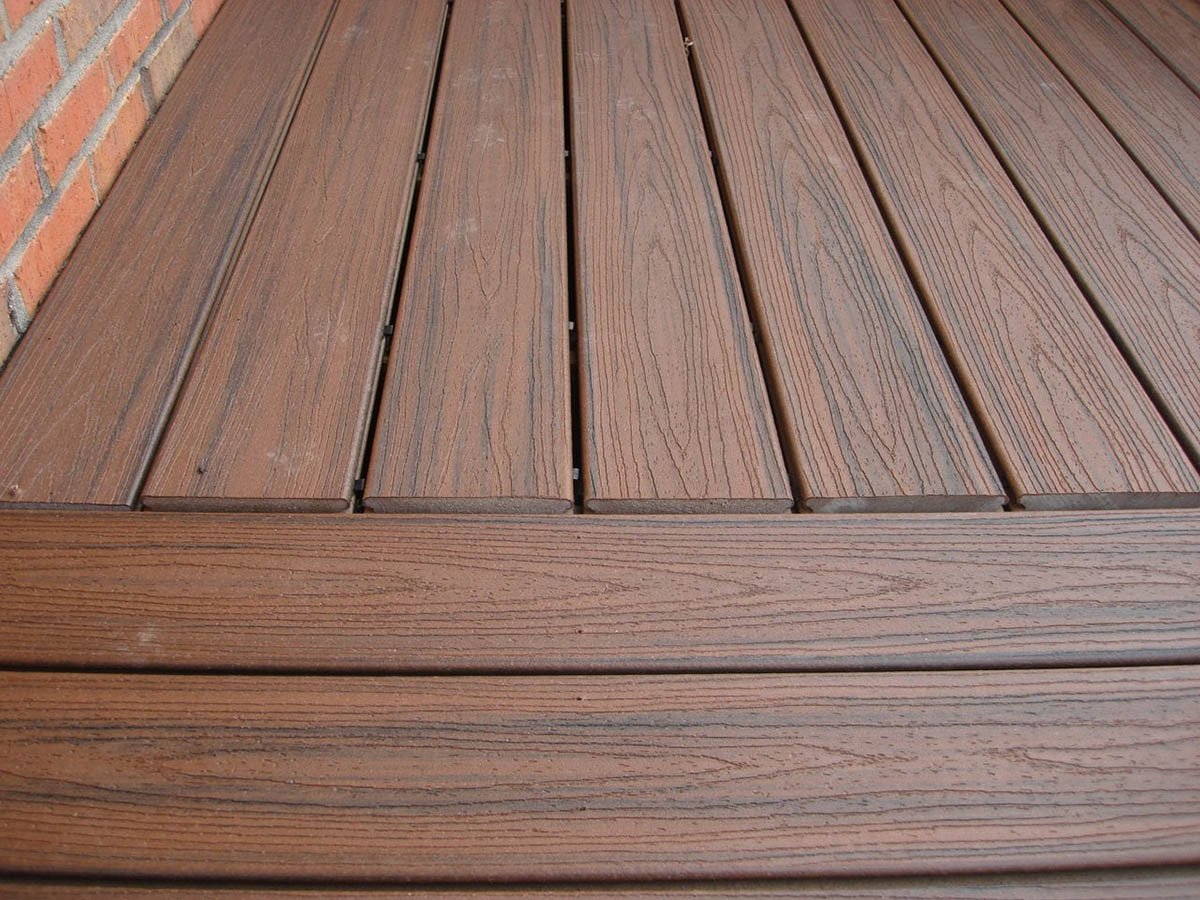
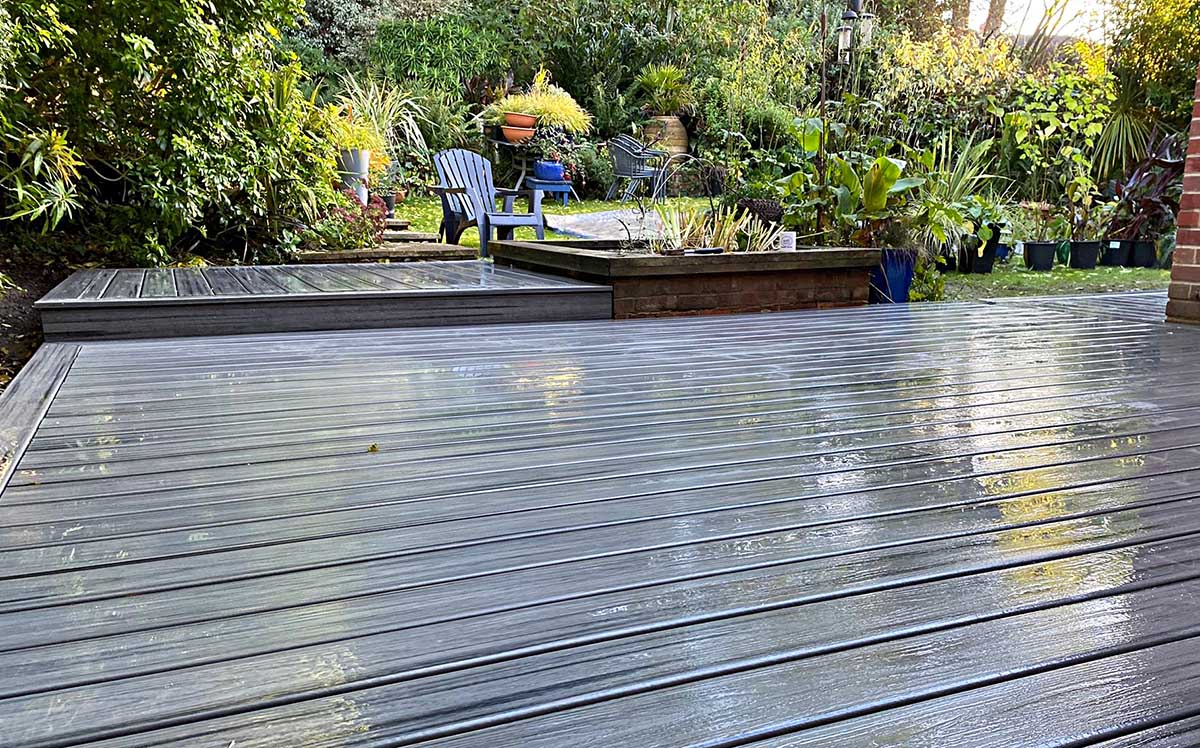
Welcome to the ultimate guide on how to paint Trex decking. If you’re looking to enhance the aesthetic appeal of your outdoor space or give your worn-out Trex decking a fresh look, painting can be a great solution. Trex decking, known for its durability and low maintenance, can benefit from a fresh coat of paint to revitalize its appearance and provide added protection against the elements.
Before we dive into the painting process, it’s important to note that Trex decking is a composite material made from a blend of wood and recycled plastic fibers. While it’s designed to be long-lasting and resistant to fading, painting can provide an extra layer of protection and introduce new colors to match your desired style.
In this guide, we’ll walk you through the step-by-step process of painting your Trex decking, from preparation to finishing touches. We’ll cover the materials you’ll need, cleaning and sanding the decking, choosing the right paint, and how to properly apply it. By following these instructions, you’ll be well on your way to transforming your outdoor space.
So, let’s roll up our sleeves and get started on giving your Trex decking a fresh and vibrant new look that you can enjoy for years to come!
Key Takeaways:
- Transform your outdoor space by painting your Trex decking with the right materials and techniques. Enjoy a vibrant and long-lasting finish that enhances your outdoor oasis.
- Maintain the beauty of your painted Trex decking with regular cleaning, prompt touch-ups, and protective measures. Preserve its vibrant appearance for years to come.
Read more: How To Get Paint Off Trex Decking
Materials Needed
Before you begin painting your Trex decking, it’s important to gather all the necessary materials to ensure a smooth and successful project. Here’s a list of the materials you’ll need:
- Paint primer specifically designed for composite decking
- Exterior paint suitable for composite materials
- Paintbrushes (both medium-sized and small detail brushes)
- Roller with a medium-nap cover
- Roller tray
- Drop cloths or plastic sheets to protect surrounding areas
- Sandpaper (medium-grit and fine-grit)
- Soft-bristle brush for cleaning
- Mild detergent or composite decking cleaner
- Water hose or pressure washer (if available)
- Tape or plastic sheeting to mask off any areas you don’t want to paint
- Painter’s tape
- Safety equipment: gloves, safety goggles, and a dust mask
Having all these materials at hand will ensure that you have everything you need to complete the painting process efficiently and effectively. Additionally, always read and follow the manufacturer’s instructions on the products you use for your safety and to achieve the best results.
Preparation
Preparation is key to achieving a successful paint job on your Trex decking. Before you start applying paint, take the time to properly prepare the surface. Here’s what you need to do:
- Clear the area: Remove any furniture, plants, or other objects from the decking. This will allow you to have a clear and unobstructed workspace.
- Protect surrounding areas: Lay down drop cloths or plastic sheets to protect any areas you don’t want to paint, such as neighboring plants or furniture.
- Check the weather: Plan your painting project on a dry, non-windy day. Avoid painting if rain or humidity is in the forecast, as it can affect the paint’s adhesion and drying process.
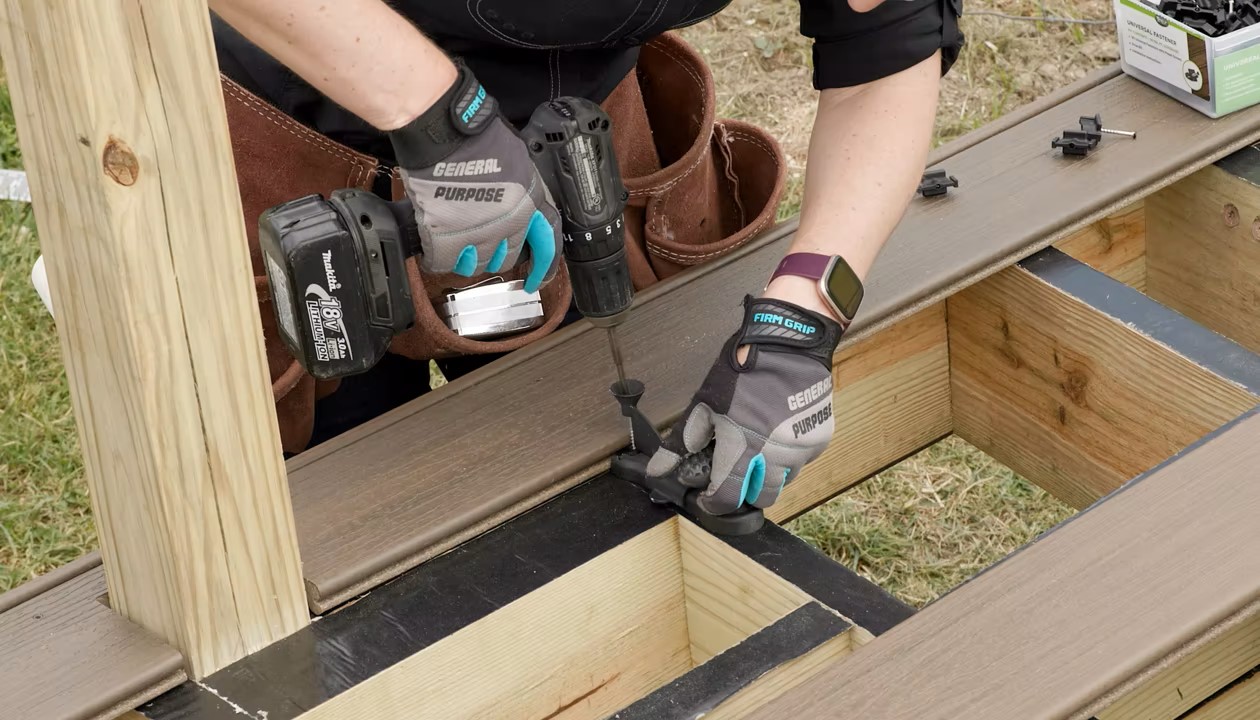
- Inspect the decking: Look for any loose boards, splintered areas, or damaged sections. Repair or replace these as needed to ensure a smooth surface for painting.
- Mask off areas: Use painter’s tape or plastic sheeting to mask off any areas you don’t want to paint, such as railings, posts, or steps. This will create clean and crisp paint lines.
By taking the time to prepare the area and protect surrounding surfaces, you’ll create a suitable environment for painting and minimize the risk of accidental spills or damage.
Next, it’s important to clean and sand the decking to remove any dirt, grime, or loose fibers that could interfere with the paint’s adherence. Cleaning the decking thoroughly will also help the paint to bond properly and last longer. Let’s dive into the cleaning process in the next section.
Cleaning the Decking
Before you can begin painting your Trex decking, it’s crucial to thoroughly clean the surface to ensure proper adhesion of the paint. Here’s a step-by-step guide on how to clean your Trex decking:
- Remove debris: Start by clearing off any loose dirt, leaves, or other debris from the decking surface. You can use a soft-bristle brush or a broom for this task.
- Mix cleaning solution: Prepare a cleaning solution by mixing mild detergent or composite decking cleaner with warm water according to the manufacturer’s instructions.
- Apply the cleaning solution: Using a sponge or a soft-bristle brush, apply the cleaning solution to the decking surface. Work in small sections at a time to ensure thorough coverage.
- Scrub the surface: With the cleaning solution applied, gently scrub the decking surface using a circular motion. Pay extra attention to any heavily soiled areas or stains.
- Rinse off the cleaning solution: After scrubbing, thoroughly rinse off the cleaning solution from the decking using a water hose or pressure washer on a low setting. Ensure that all traces of the cleaning solution are removed.
- Allow the decking to dry: Give the decking ample time to dry completely before proceeding to the next step. The drying time may vary depending on weather conditions.
By cleaning your Trex decking, you’re removing dirt, mold, and other contaminants that could interfere with the paint’s adherence. This step is essential for achieving a long-lasting and professional-looking paint finish.
Once the decking is clean and dry, the next preparation step is sanding. Sanding the surface will help to promote better paint adhesion and create a smoother finish. Let’s explore the sanding process in the next section.
Sanding the Decking
After cleaning your Trex decking, the next step in the preparation process is sanding. Sanding not only helps to create a smooth surface but also promotes better adhesion of the paint. Here’s a guide on how to properly sand your Trex decking:
- Choose the right sandpaper: Select a medium-grit sandpaper (around 80-100 grit) for the initial sanding. This will help remove any rough or uneven areas on the decking surface.
- Sand in the direction of the grain: When sanding, always follow the natural grain of the decking boards. This helps to avoid damaging the surface and ensures a consistent finish.
- Start sanding: Using a sanding block or sander, begin sanding the decking boards. Apply even pressure and move the sandpaper in smooth, long strokes along the grain.
- Check your progress: Periodically stop and check the surface to ensure that you’re achieving a smooth and even texture. Make sure to sand all areas, including the edges and corners of the decking.
- Switch to fine-grit sandpaper: Once you’ve completed the initial sanding, switch to a fine-grit sandpaper (around 120-150 grit). This finer sandpaper helps to further smooth the surface and prepares it for painting.
- Inspect the surface: After sanding with the fine-grit sandpaper, carefully inspect the decking surface. It should feel smooth to the touch and free from any rough patches or imperfections.
- Clean the decking: Once you’re satisfied with the sanding, remove any dust or debris from the surface. You can use a soft brush or a vacuum to thoroughly clean the decking.
Sanding your Trex decking not only improves the surface for paint adhesion but also helps to remove any loose fibers or splinters. With a properly sanded surface, you’re now ready to move on to the next step: applying the primer.
Read more: What Is Trex Decking
Applying Primer
Before you start painting your Trex decking, it’s essential to apply a primer specifically designed for composite materials. This step helps to seal the surface, enhance adhesion, and create a stable base for the paint. Here’s a step-by-step guide on how to apply primer to your Trex decking:
- Choose the right primer: Look for a high-quality primer that is formulated for composite surfaces. Check the manufacturer’s instructions to ensure compatibility with your Trex decking.
- Prepare the primer: Stir the primer thoroughly to ensure an even consistency. Follow the manufacturer’s instructions for any specific mixing recommendations.
- Apply the primer: Using a medium-sized paintbrush, start by cutting in or painting the edges and corners of the decking. Ensure that the primer is applied evenly and covers the entire surface.
- Use a roller for larger areas: After cutting in, use a roller with a medium-nap cover to apply the primer to the rest of the decking. Work in small sections, moving in the direction of the wood grain for a consistent finish.
- Allow the primer to dry: Check the manufacturer’s instructions for the recommended drying time. Typically, it can take anywhere from a few hours to overnight for the primer to dry thoroughly.
- Inspect the primed surface: Once the primer is completely dry, inspect the decking surface for any missed spots or uneven coverage. Touch up any areas as needed.
Applying a primer to your Trex decking is an important step in the painting process. It helps to ensure better adhesion and can contribute to a longer-lasting and more professional-looking paint job. With the primer applied and dried, it’s time to move on to the exciting part: choosing the paint color!
When painting Trex decking, make sure to use a high-quality acrylic latex paint that is specifically designed for outdoor use. Clean the surface thoroughly and apply the paint in thin, even coats for the best results.
Choosing the Paint
When it comes to choosing the right paint for your Trex decking, there are a few factors to consider. You’ll want a paint that is specifically formulated for composite materials and can withstand outdoor conditions. Here are some tips to help you select the perfect paint for your project:
- Opt for exterior-grade paint: Look for paint labeled as “exterior” or “outdoor” to ensure durability and fade resistance. These paints are designed to withstand the elements and hold up well on outdoor surfaces.
- Check for composite compatibility: Make sure that the paint you choose is suitable for composite materials like Trex decking. Check the manufacturer’s guidelines or consult with a paint professional to ensure compatibility.
- Consider the color: Think about the color scheme you want for your outdoor space. Lighter colors tend to reflect heat and are less likely to fade, while darker shades may absorb more heat. Choose a color that complements your home’s exterior and suits your personal style.
- Look for UV protection: UV rays can cause fading and damage to the paint. Consider selecting a paint that offers UV protection, which will help maintain the color and vibrancy of your decking over time.
- Check for mildew resistance: Outdoor surfaces are prone to mildew growth, especially in humid climates. Look for a paint that offers mildew resistance to help keep your decking looking clean and fresh.
Before making a final decision, consider getting color swatches or paint samples to test on a small area of your decking. This will give you a better idea of how the color will look in your outdoor space.
Once you’ve chosen the perfect paint, it’s time to move on to the next step: applying the paint to your Trex decking. We’ll cover the application process in detail in the following section.
Applying the Paint
Now comes the exciting part: applying the paint to your Trex decking. With proper preparation and the right materials, this step can bring a whole new look to your outdoor space. Here’s a step-by-step guide on how to apply the paint:
- Prepare the paint: Stir the paint thoroughly to ensure an even consistency. If necessary, follow the manufacturer’s instructions for any specific mixing recommendations.
- Cut in the edges: Use a smaller brush to paint the edges and corners of the decking, known as cutting in. This helps create clean lines and makes it easier to paint the larger areas later on.
- Start painting: Using a roller with a medium-nap cover, begin applying the paint to the decking boards. Work in small sections, moving in the direction of the wood grain for a consistent finish.
- Apply multiple coats: Depending on the manufacturer’s instructions and the desired level of coverage, you may need to apply multiple coats. Allow each coat to dry completely before applying the next one. This will ensure a more durable and long-lasting paint finish.
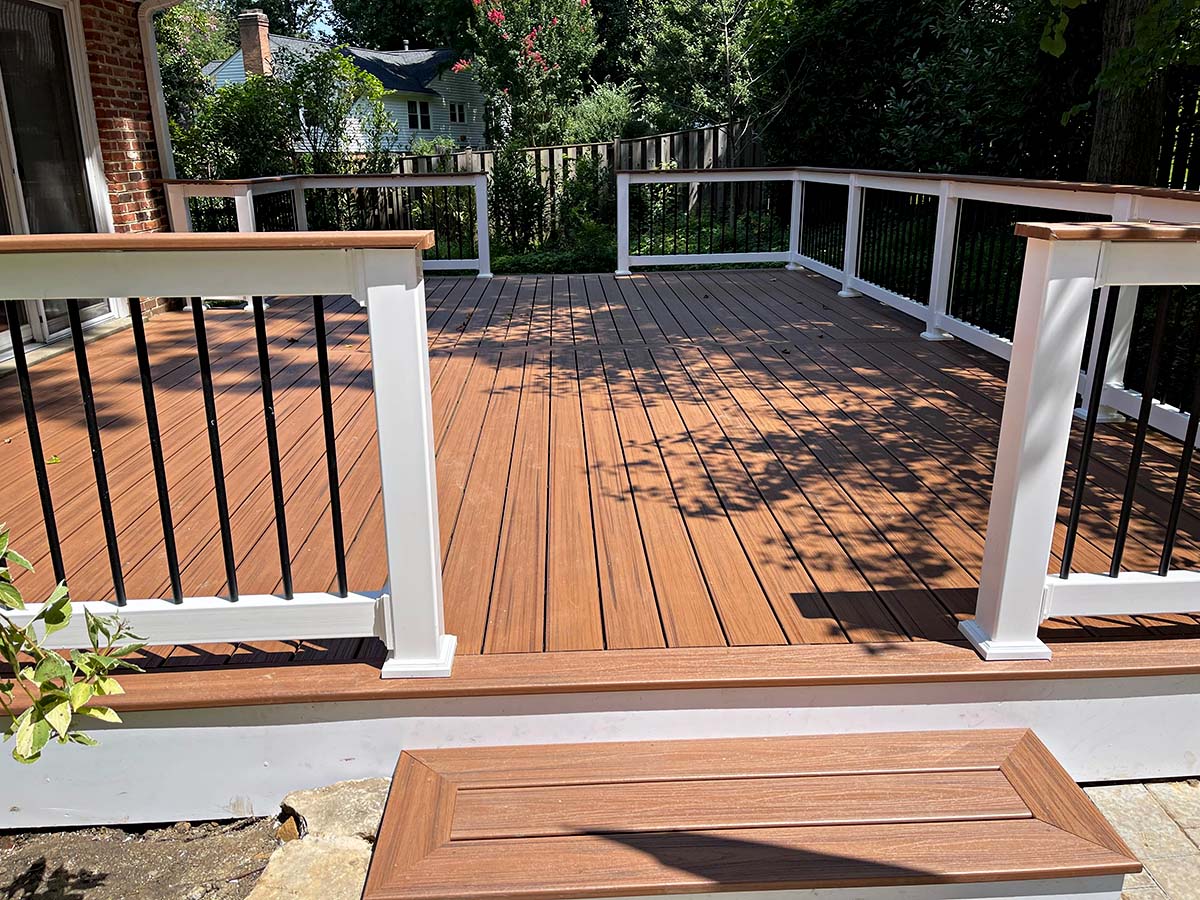
- Paint the railings and other features: If your Trex decking has railings or other features, don’t forget to paint them as well. Take your time to ensure even coverage and a seamless appearance.
- Allow the paint to dry: After applying the final coat, allow the paint to dry thoroughly. Follow the manufacturer’s instructions for the recommended drying time before you start using your decking again.
As you paint, keep an eye out for any drips or uneven areas. Smooth them out with a brush or roller before they dry to achieve a professional-looking finish. Remember to work in manageable sections and take breaks as needed to maintain a neat and consistent paint job.
Once the paint has dried completely, you’re almost there! The final step is adding some finishing touches to ensure that your newly painted Trex decking looks its best.
Finishing Touches
With your Trex decking beautifully painted, it’s time to add some finishing touches that will take your outdoor space to the next level. These final touches will help protect the paint and ensure a polished look. Here are some ideas to consider:
- Apply a clear sealant: To enhance the longevity of your paint job, consider applying a clear sealant over the painted surface. The sealant will provide an additional layer of protection against UV rays and moisture, helping to maintain the color and integrity of the paint.
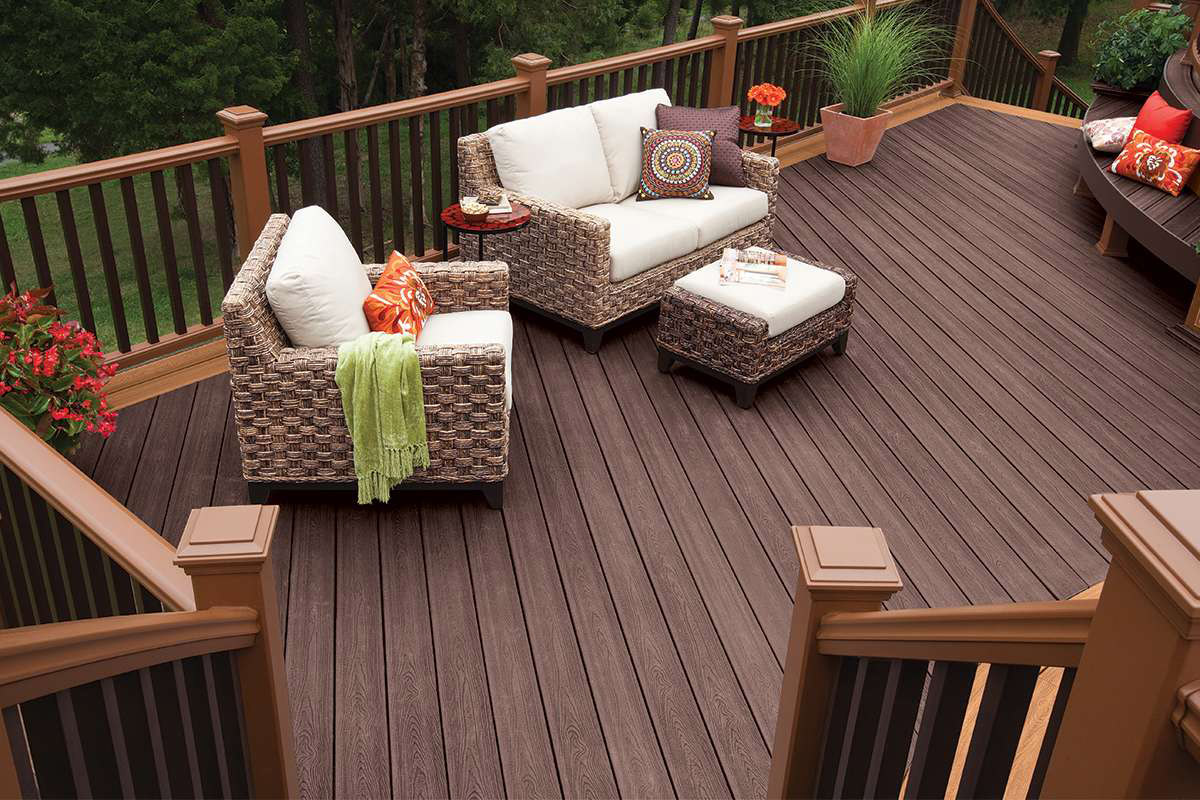
- Add decorative elements: Incorporate decorative elements such as potted plants, outdoor rugs, or furniture to further enhance the visual appeal of your painted Trex decking. Choose items that complement the color of your decking and create a cohesive outdoor haven.
- Regularly clean and maintain: Keep your newly painted Trex decking looking its best by regularly cleaning it with a mild detergent or composite decking cleaner. Sweep away debris and spot clean any stains promptly to prevent them from setting in.
- Monitor for maintenance needs: As time goes by, keep an eye out for any signs of wear or damage. Touch up any chipped or faded areas with a fresh coat of paint to keep your decking looking pristine.
- Enjoy your transformed outdoor space: Sit back, relax, and enjoy the fruits of your labor! Your painted Trex decking has breathed new life into your outdoor space, providing a beautiful and inviting area for relaxation, gatherings, and creating memories.
By paying attention to these finishing touches, you’ll not only enhance the appearance of your painted Trex decking but also prolong its lifespan and maintain its beauty for years to come.
Remember, proper maintenance and care are essential to ensure that your painted Trex decking continues to impress season after season. Now it’s time to step back and admire your outdoor masterpiece!
Read more: How To Straighten Trex Decking
Maintenance Tips
To keep your newly painted Trex decking looking fresh and vibrant, regular maintenance is key. By following these maintenance tips, you can ensure that your paint job stays in optimal condition for years to come:
- Clean regularly: Regularly sweep or gently wash your decking to remove dirt, debris, and stains. Avoid using abrasive cleaners or harsh chemicals that can damage the paint.
- Address spills promptly: Accidental spills happen, so be sure to address them right away. Wipe away any liquid and clean the area with a mild detergent or composite decking cleaner to prevent staining or discoloration.
- Inspect and touch up: Perform regular inspections of your painted Trex decking to spot any signs of wear or damage. Touch up any chipped or faded areas with a fresh coat of paint to maintain a seamless and vibrant appearance.
- Protect from furniture and objects: Use furniture pads or mats under heavy furniture to prevent scratching or wear on the painted surface. Be cautious when moving objects to avoid scraping or damaging the paint.
- Avoid excessive heat exposure: While Trex decking is resistant to heat, prolonged exposure to intense heat sources like grills or fire pits can potentially damage the paint. Place protective mats or pads in these areas to mitigate the risk.
- Keep vegetation in check: Trim any nearby plants or vines to prevent them from coming into contact with the painted surface. Over time, foliage can cause discoloration or damage to the paint.
- Monitor for mold or mildew: In humid or damp environments, mold or mildew may develop on your decking. Regularly inspect for signs of mold or mildew and address them promptly using a mildew remover suitable for composite materials.
By following these maintenance tips, you can extend the life of your painted Trex decking and keep it looking its best. Remember, proper care and attention will help preserve the beauty and durability of your outdoor space.
Now that you’re equipped with the knowledge of how to maintain your painted Trex decking, you can continue to enjoy its vibrant appearance and transform your outdoor area into a picturesque retreat.
Conclusion
Congratulations on completing the ultimate guide on how to paint your Trex decking! By following the step-by-step process, you have transformed your outdoor space and given new life to your Trex decking.
We began by emphasizing the importance of preparation and gathering the necessary materials. From there, we discussed the crucial steps of cleaning and sanding the decking to create a smooth surface ready for painting. Applying a high-quality primer and choosing the right paint were essential to ensure optimal adhesion and durability.
Throughout the process, we highlighted the importance of taking your time, working in manageable sections, and paying attention to detail. These factors contribute to achieving a professional-looking paint job that will withstand the test of time and weather.
Furthermore, we explored the significance of finishing touches, such as applying a clear sealant, adding decorative elements to enhance your outdoor space, and implementing a maintenance routine to keep your painted Trex decking looking its best for years to come.
Remember, maintaining the painted decking is crucial for its longevity. Regular cleaning, prompt stain removal, occasional touch-ups, and taking preventive measures against scratches and heat exposure will preserve the beauty and integrity of your outdoor oasis.
By following this comprehensive guide and incorporating your personal style and creativity, you have successfully transformed your Trex decking into a stunning centerpiece of your outdoor area.
Now it’s time to sit back, relax, and enjoy your newly painted Trex decking. Whether you’re hosting gatherings, enjoying solitary moments in nature, or simply appreciating the beauty of your outdoor space, your painted Trex decking will bring you joy and admiration for years to come.
Frequently Asked Questions about How To Paint Trex Decking
Was this page helpful?
At Storables.com, we guarantee accurate and reliable information. Our content, validated by Expert Board Contributors, is crafted following stringent Editorial Policies. We're committed to providing you with well-researched, expert-backed insights for all your informational needs.


0 thoughts on “How To Paint Trex Decking”