Home>Furniture>Outdoor Furniture>How To Restore Trex Decking
Outdoor Furniture
How To Restore Trex Decking
Modified: August 27, 2024
Learn how to restore your Trex decking and make it look brand new with our expert tips and techniques. Perfect for outdoor furniture maintenance.
(Many of the links in this article redirect to a specific reviewed product. Your purchase of these products through affiliate links helps to generate commission for Storables.com, at no extra cost. Learn more)
Introduction
Welcome to the world of outdoor furniture! Whether you have a beautiful garden, a cozy patio, or a spacious deck, having the right outdoor furniture can transform your outdoor space into a relaxing and inviting retreat. One popular choice among homeowners is Trex decking, known for its durability and low-maintenance qualities. However, over time, even the most well-built decks can start showing signs of wear and tear.
In this article, we will explore the process of restoring Trex decking, ensuring that your investment lasts for many years to come. We will cover everything from assessing damages to cleaning, replacing damaged boards, resurfacing, restoring the color, and applying a protective finish. By following these steps and implementing regular maintenance, you can enjoy a rejuvenated and beautiful Trex deck.
But before we dive into the restoration process, let’s take a closer look at what exactly Trex decking is and why it’s a popular choice for outdoor furniture.
Key Takeaways:
- Restoring Trex decking involves assessing damages, cleaning, replacing boards, resurfacing, restoring color, and applying a protective finish. Regular maintenance is crucial for longevity and beauty.
- Trex decking, made of wood fibers and recycled plastic, is durable and low-maintenance. Restoring it involves simple steps like cleaning, replacing damaged boards, and applying a protective finish.
Read more: What Is Trex Decking
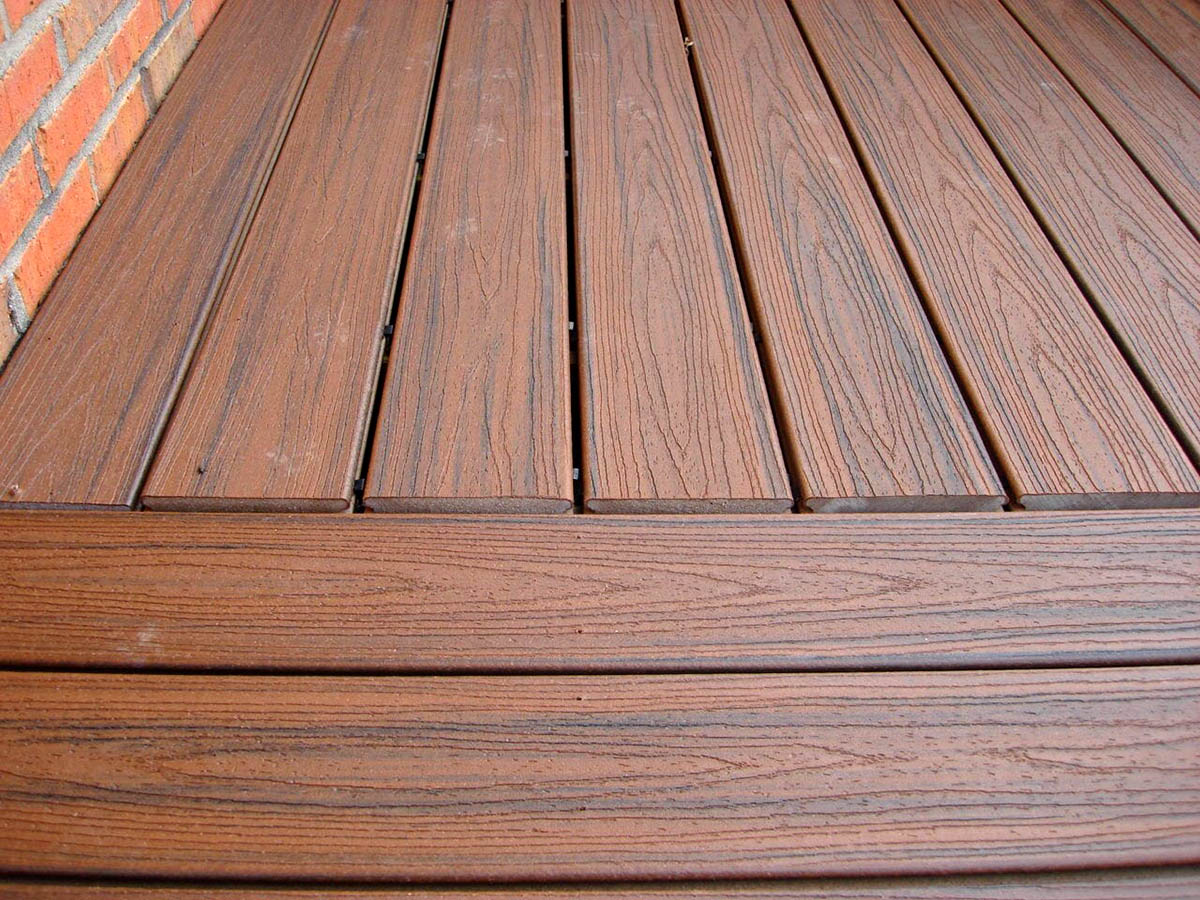
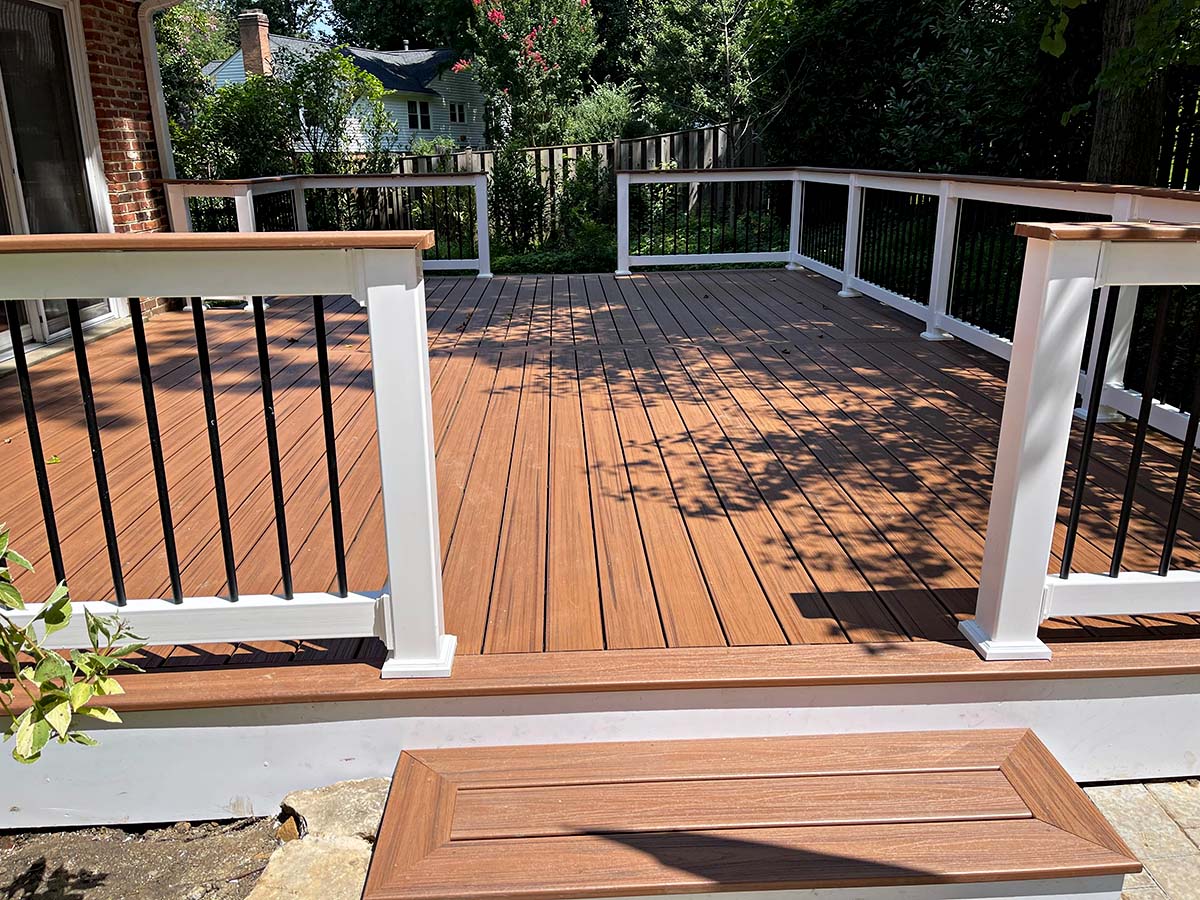
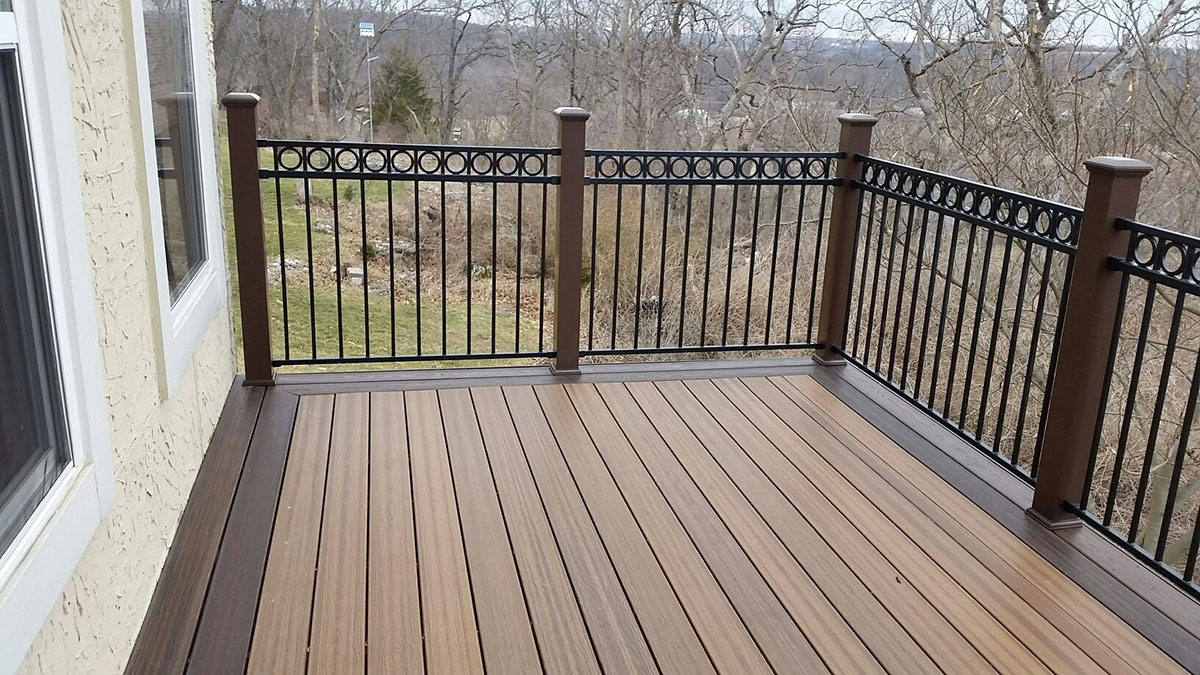
Understanding Trex Decking
Trex decking is a composite material widely used for outdoor furniture, including decks, fences, and other outdoor structures. It is made from a combination of wood fibers and recycled plastic, making it a sustainable and eco-friendly option for homeowners. The material is known for its strength, durability, and resistance to rot, mold, and insect damage.
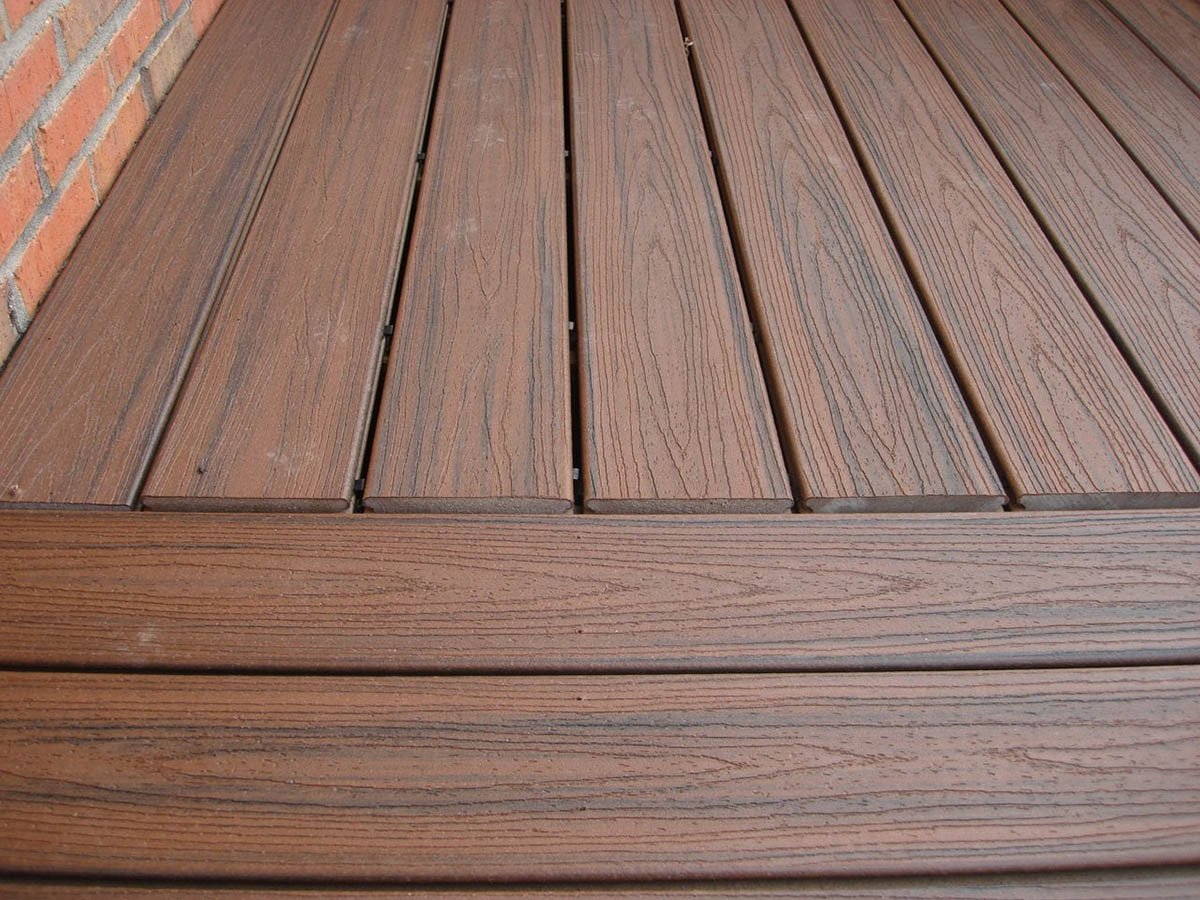
One of the main advantages of Trex decking is its low-maintenance nature. Unlike traditional wood decking, Trex decking does not require staining, sealing, or painting. It is resistant to fading, staining, and scratching, making it an ideal choice for areas with high foot traffic and exposure to the elements.
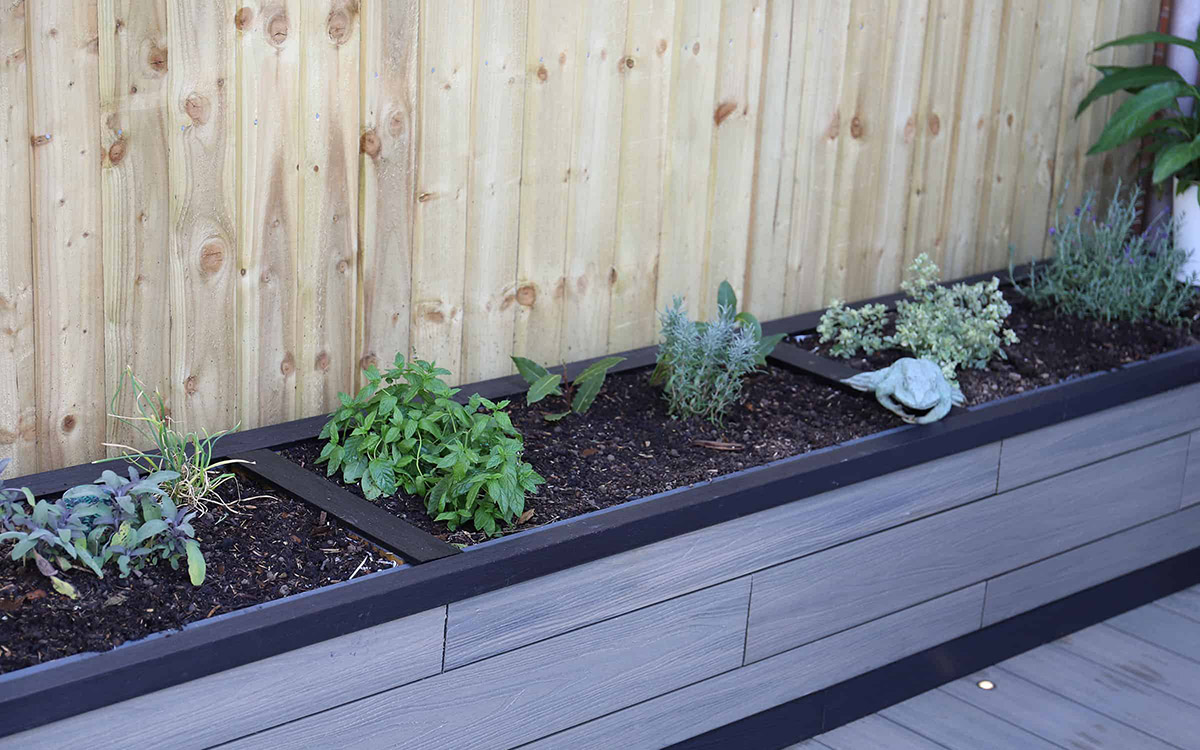
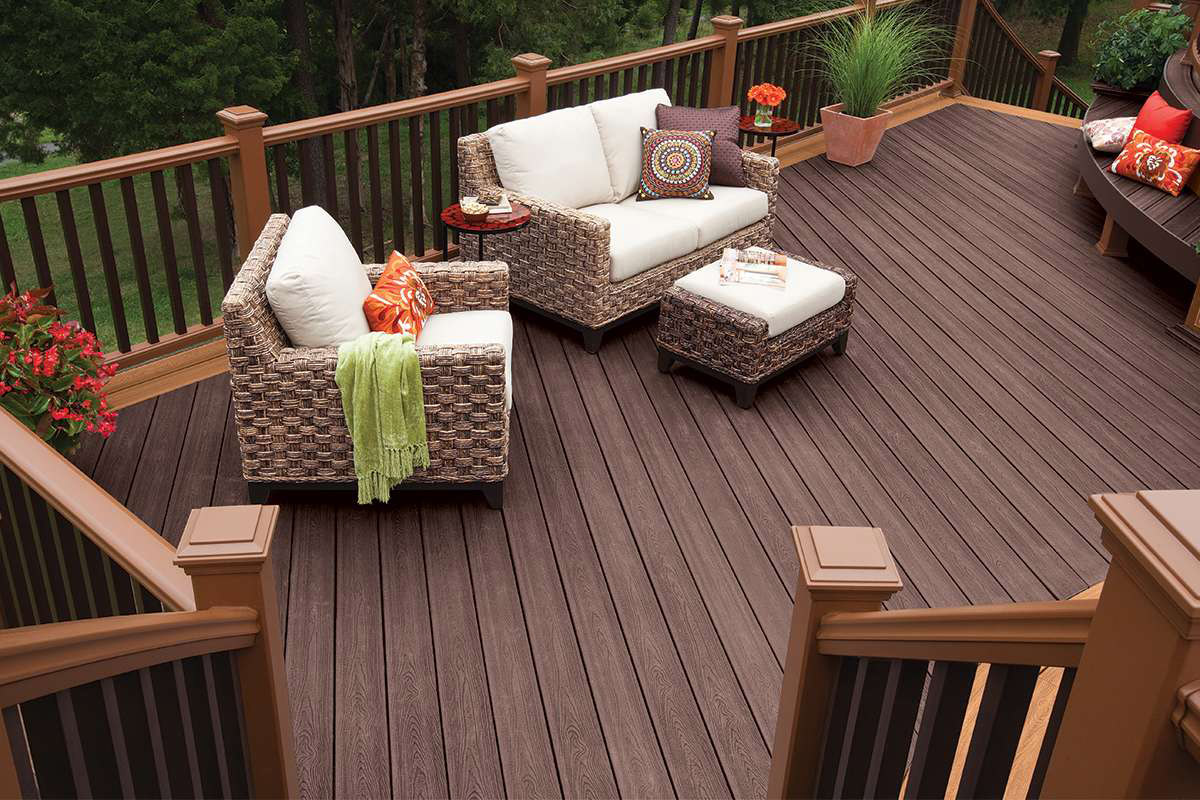
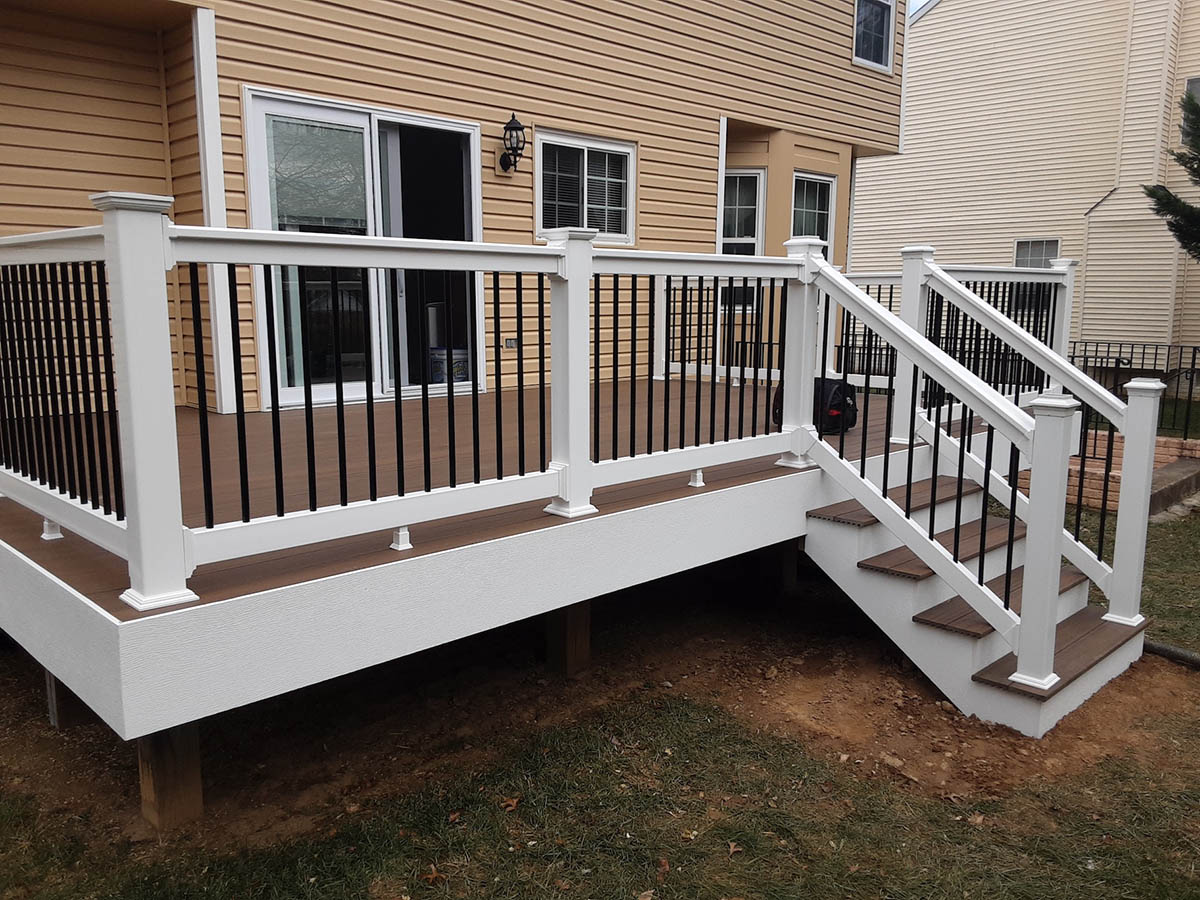
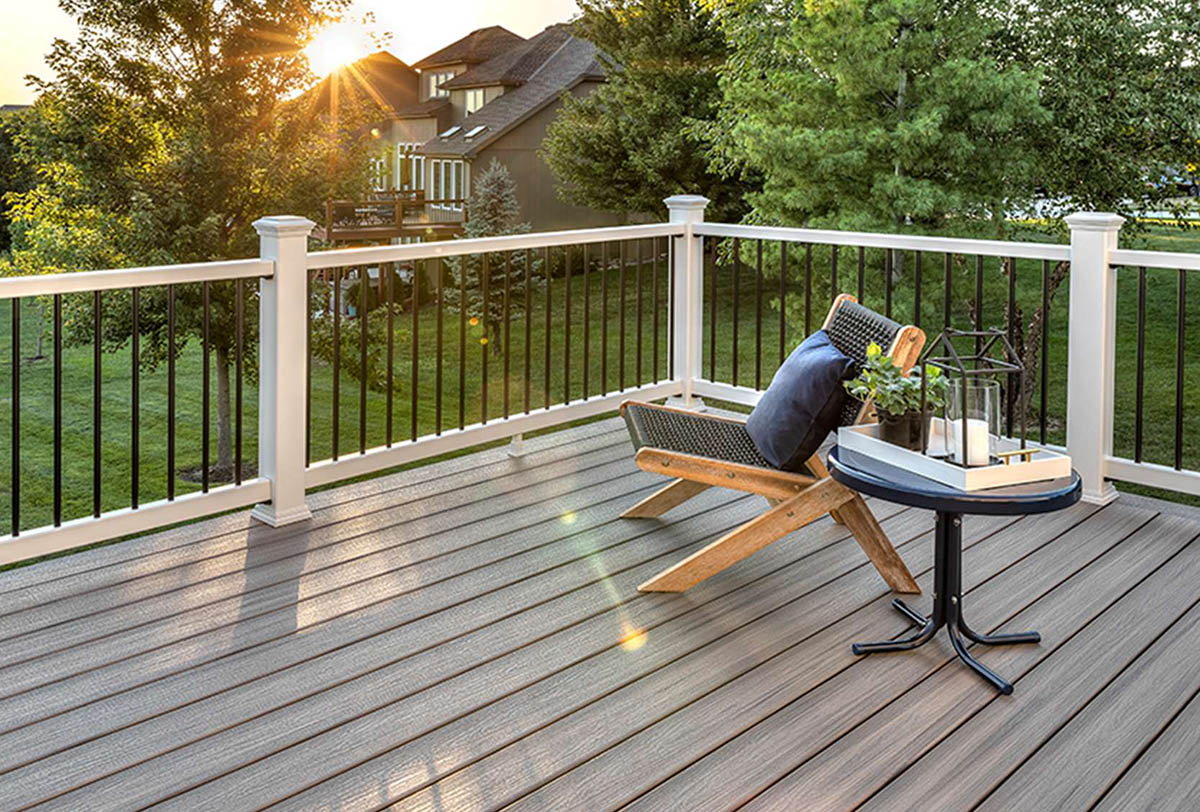
Trex decking is available in a wide range of colors and finishes, allowing homeowners to customize their outdoor space to match their personal style and preferences. From classic wood-like finishes to modern and contemporary designs, there is a Trex decking option for every taste.
Another key feature of Trex decking is its longevity. With proper care and maintenance, Trex decking can last for decades, retaining its beauty and functionality for years to come. Compared to traditional wood decking, which requires regular sanding, staining, and sealing, Trex decking offers a hassle-free alternative that saves both time and money in the long run.
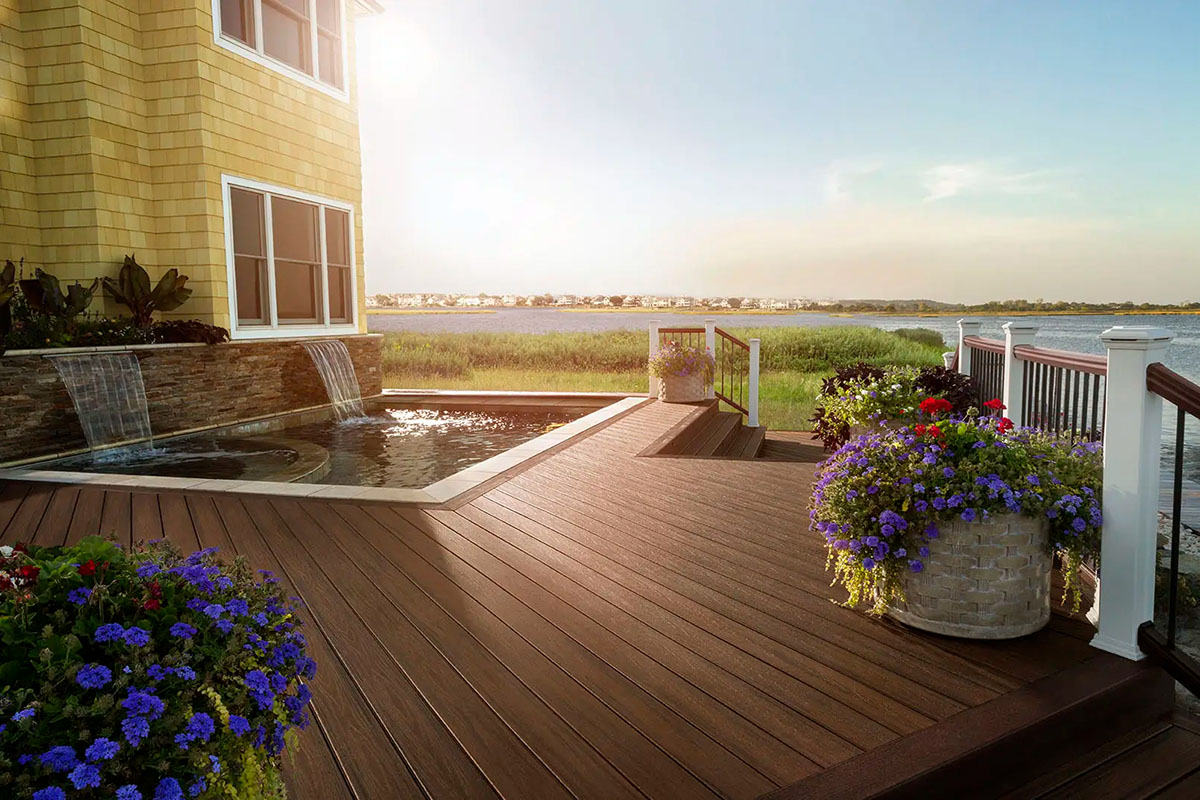
Overall, Trex decking offers a superior outdoor furniture solution that combines aesthetics, durability, and sustainability. However, like any outdoor material, it is not entirely immune to wear and tear. Over time, exposure to the elements, heavy foot traffic, and accidental damage can take a toll on the appearance and structural integrity of your Trex deck. Fortunately, with proper restoration techniques, you can bring your deck back to life and enjoy its benefits for many more years.
Assessing the Damages
Before diving into the restoration process, it’s important to assess the damages on your Trex decking. By thoroughly examining the deck, you can identify areas that need repair or replacement. Here are some key steps to assess the damages:
- Inspect the deck surface: Start by visually inspecting the entire deck surface. Look for signs of cracks, splintering, warping, or any other visible damage. Take note of the areas that require attention.
- Check for loose boards: Walk across the deck and check for any loose boards. Squeaking or shifting boards indicate loose fasteners or damaged support structures.
- Scan for mold or mildew: Look for any signs of mold or mildew on the deck surface. These can appear as dark spots or discoloration. Mold and mildew can weaken the structure of the deck and should be treated promptly.
- Assess the railings and stairs: Inspect the railings and stairs for any loose or damaged components. Ensure that they are sturdy and in good condition.
- Take note of any structural issues: Look for any signs of structural issues, such as sagging or uneven deck surfaces. These issues may require professional assessment and repair.
After completing the assessment, make a list of the damages and prioritize them based on severity. This will help you plan the restoration process and ensure that all issues are addressed adequately.
Keep in mind that Trex decking is designed to withstand everyday wear and tear, but it is not indestructible. Extreme weather conditions, heavy objects, or accidents can cause significant damage to the deck. It’s always better to address any damages as soon as possible to prevent further deterioration and ensure the safety of anyone using the space.
Cleaning and Preparing the Deck
Once you have assessed the damages on your Trex decking, the next step is to thoroughly clean and prepare the deck for restoration. Cleaning the deck will remove dirt, grime, mold, and any other surface contaminants, ensuring a clean and fresh surface for subsequent restoration steps. Here’s a guide on how to clean and prepare your Trex deck:
- Sweep the deck: Start by sweeping the entire deck surface to remove any loose dirt, leaves, or debris. Use a broom or a leaf blower to clear the area.
- Remove stains or spills: If there are any stubborn stains or spills on the deck, use a mild detergent mixed with water to gently scrub away the stains. Avoid using harsh chemicals or abrasive cleaners as they can damage the deck’s surface.
- Wash the deck: Use a power washer or a garden hose with a deck cleaning solution to wash the entire deck surface. Follow the manufacturer’s instructions for dilution and application. Start from one end of the deck and work your way towards the other end, ensuring that every area is thoroughly cleaned.
- Scrub tough stains: For any remaining tough stains or areas with mold or mildew, use a soft-bristle brush or a deck cleaner specifically designed for composite decking. Scrub gently to avoid damaging the surface.
- Rinse the deck: After scrubbing, rinse the entire deck with clean water using a garden hose or power washer. Make sure to remove all traces of cleaning solution or detergent.
- Allow the deck to dry: Give the deck ample time to dry completely before moving on to the next restoration steps. Depending on the weather conditions, it may take a few hours to fully dry.
By thoroughly cleaning and preparing the deck, you ensure that the restoration process is carried out on a clean and well-prepared surface. This will allow any subsequent repairs, resurfacing, or color restoration to adhere properly and provide long-lasting results.
Replacing Damaged Boards
One common issue with Trex decking is the occurrence of damaged boards over time. Whether it’s due to heavy foot traffic, accidental impacts, or exposure to the elements, damaged boards can compromise the safety and appearance of your deck. Fortunately, replacing damaged boards is a straightforward process. Here’s what you need to do:
- Identify the damaged boards: Start by identifying the boards that need to be replaced. Look for any boards that are cracked, warped, or structurally damaged. It’s important to replace only the boards that are beyond repair and pose a risk.
- Measure and purchase replacement boards: Take accurate measurements of the damaged boards to ensure you purchase the correct size replacements. Contact your local supplier or retailer to get the matching Trex decking boards.
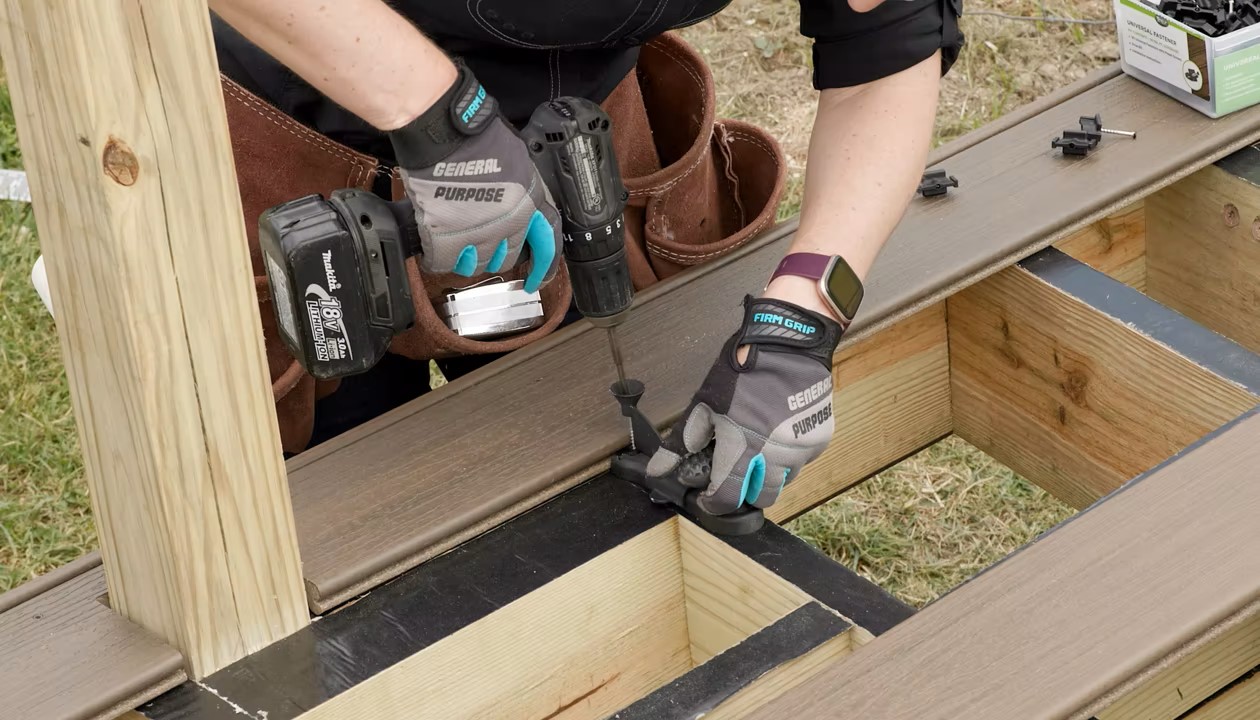
- Remove the damaged boards: Use a screwdriver or a drill to remove the screws or fasteners holding the damaged boards in place. Lift the boards carefully, avoiding any damage to adjacent boards or railing systems.
- Clean the area: Once the damaged boards are removed, clean the area thoroughly. Sweep away any debris or dirt and ensure that the substructure is in good condition.
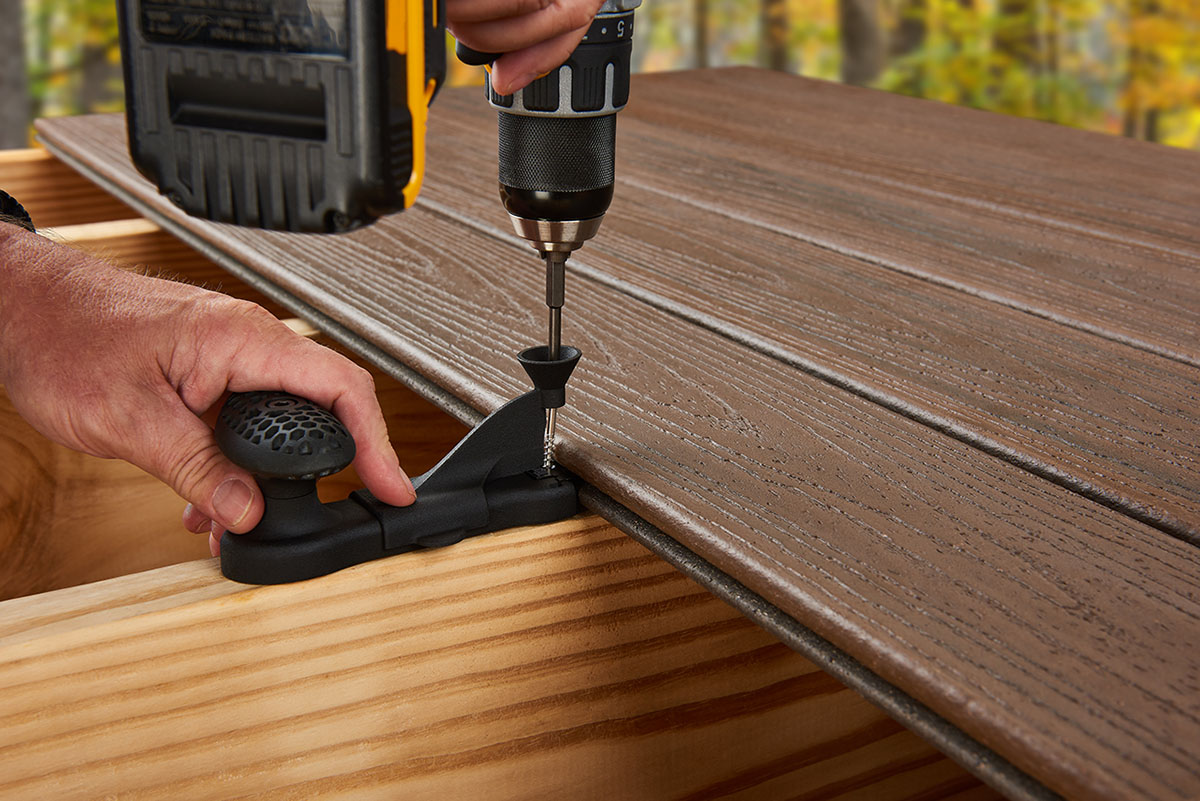
- Install the new boards: Place the new Trex decking boards in the empty spaces, aligning them with the surrounding boards. Use new screws or fasteners to secure the boards to the substructure. Make sure the boards are level and properly spaced.
- Tighten the screws: Use a screwdriver or a drill to tighten the screws, ensuring that the boards are securely fastened to the substructure. Take care not to overtighten the screws, which can cause damage to the boards.
- Check for stability: After replacing the damaged boards, walk across the deck to check for any loose or uneven areas. If needed, make adjustments and tighten any loose fasteners.
Replacing damaged boards not only restores the structural integrity of your Trex deck but also improves its visual appeal. By addressing damaged areas promptly, you can prevent further issues and ensure the longevity of your outdoor furniture.
To restore Trex decking, start by cleaning the surface with a mild soap and water solution. Use a soft bristle brush to remove any dirt or debris. For tougher stains, consider using a composite deck cleaner. Always follow the manufacturer’s instructions for best results.
Read more: How To Straighten Trex Decking
Resurfacing the Deck
Resurfacing your Trex deck is a crucial step in the restoration process, as it helps restore the smooth and pristine appearance of the deck surface. Over time, the deck’s surface can become worn, scratched, or faded due to regular use and exposure to the elements. Resurfacing involves applying a new layer to the deck, hiding imperfections and giving it a fresh look. Here’s how to resurface your deck:
- Clean the deck: Before resurfacing, make sure the deck is clean and free from any dirt, debris, or loose material. Sweep or power wash the deck to create a clean and dry working surface.
- Apply a deck resurfacer: Use a deck resurfacer specifically designed for Trex decking. Follow the manufacturer’s instructions for application. Typically, you will need a paint roller or a deck sprayer to apply an even and thin layer across the entire deck surface.
- Spread the resurfacer: Once you have applied the deck resurfacer, use a long-handled push broom to spread the material evenly. This will help fill any cracks, gaps, or imperfections and ensure a smooth and consistent surface.
- Allow the resurfacer to dry: Give the deck resurfacer ample time to dry completely. This may take several hours or even a full day, depending on the product and weather conditions. Avoid walking on the deck during the drying process.
- Apply a second coat (optional): If desired, you can apply a second coat of deck resurfacer to further enhance the appearance and durability of your Trex deck. Follow the same application and drying process as before.
- Inspect for any touch-ups: Once the resurfacer has dried, inspect the deck surface for any touch-ups or areas that may need additional attention. Use a brush or roller to apply the resurfacer to these areas, ensuring a seamless finish.
- Allow the deck to cure: After completing the resurfacing process, it’s important to allow the deck to cure before placing any furniture or heavy items on it. Follow the manufacturer’s recommended curing time to ensure the best results.
Resurfacing your Trex deck not only restores its appearance but also provides added protection against stains, fading, and general wear and tear. It’s a cost-effective way to give your deck a fresh new look without the need for a complete replacement.
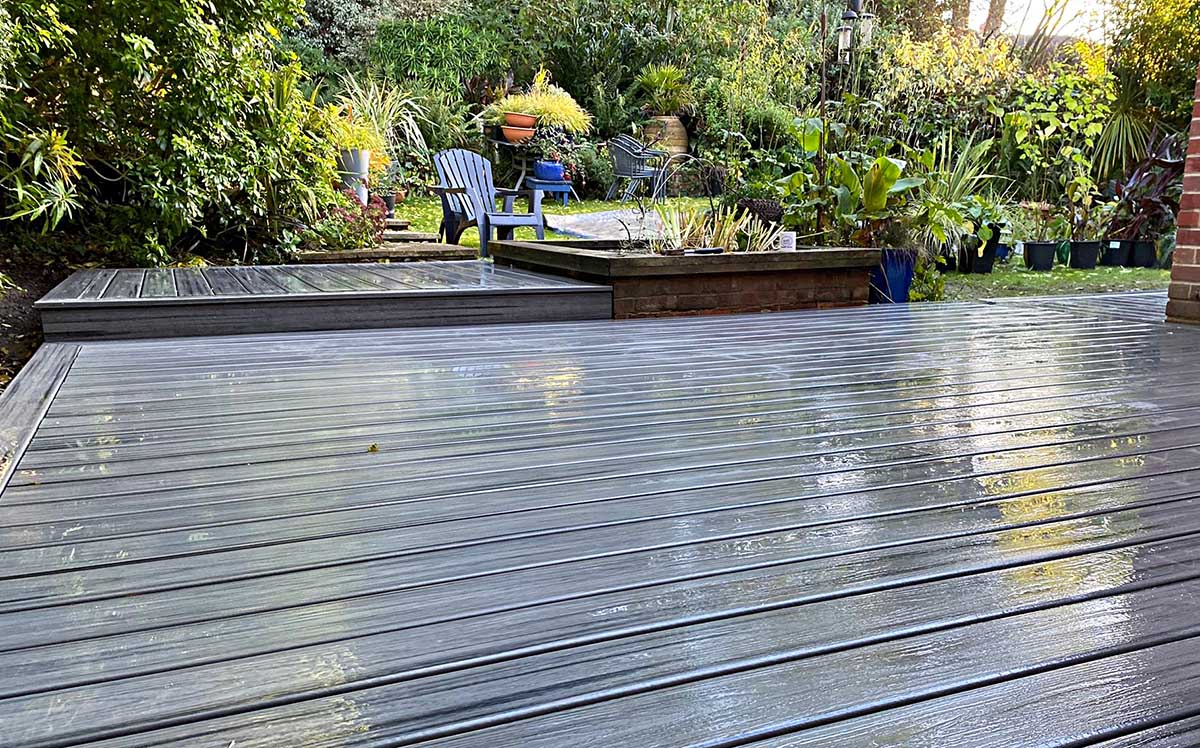
Restoring the Color
Over time, the color of your Trex decking may fade due to exposure to sunlight, weather elements, and general use. Restoring the color of your deck can breathe new life into it and enhance its overall aesthetic appeal. Here’s how you can restore the color of your Trex decking:
- Clean the deck: Before restoring the color, make sure the deck is clean and free from any dirt, debris, or residue. Use a deck cleaner specifically designed for composite decking to remove any stains or discoloration. Rinse the deck thoroughly and allow it to dry.
- Choose a decking stain or colorant: Look for a quality decking stain or colorant that is specifically formulated for use on composite decks like Trex. Choose a color that closely matches the original hue of your deck or opt for a new color to give it a fresh look.
- Apply the colorant: Follow the manufacturer’s instructions for applying the colorant. Typically, you will need a paintbrush, roller, or sprayer to apply an even coat to the deck surface. Start from one end and work your way to the other, ensuring complete coverage.
- Allow the colorant to dry: Give the colorant ample drying time as specified by the manufacturer. This will typically take a few hours, but it may vary depending on weather conditions and the product used. Avoid walking on the deck during the drying process.
- Assess the color: Once the colorant has dried, assess the deck to see if the color restoration is satisfactory. If needed, you can apply a second coat to achieve a deeper or more vibrant color. Follow the same application and drying process as before.
- Protect the color: To maintain the restored color of your Trex decking, it’s important to implement regular maintenance practices. This includes cleaning the deck regularly, removing any dirt or stains promptly, and applying a protective finish or sealer if recommended by the manufacturer.
Restoring the color of your Trex decking can help revitalize its appearance and make it look like new again. By following proper cleaning and staining techniques, you can enjoy a vibrant and long-lasting color that enhances the overall beauty of your outdoor space.
Applying a Protective Finish
Applying a protective finish to your Trex decking is an essential step in the restoration process. A protective finish helps to shield the deck from the damaging effects of UV rays, moisture, and general wear and tear. It also adds a layer of extra protection against fading, staining, and scratching. Here’s how you can apply a protective finish to your Trex decking:
- Clean the deck: Before applying a protective finish, ensure that the deck is clean and free from any dirt, debris, or residue. Use a deck cleaner specifically formulated for composite decking to remove any stains or discoloration. Rinse the deck thoroughly and allow it to dry completely.
- Choose the right finish: Select a quality protective finish that is specifically designed for composite decks like Trex. Look for a product that provides UV protection and is resistant to water, stains, and fading. Choose a finish that suits your desired level of sheen.
- Apply the finish: Follow the manufacturer’s instructions for applying the protective finish. Use a brush, roller, or sprayer to evenly apply the finish to the entire deck surface. Start from one end and work your way to the other, ensuring complete coverage.
- Allow the finish to dry: Give the protective finish ample drying time as indicated by the manufacturer. This will typically take a few hours, but it may vary depending on weather conditions and the product used. Avoid walking on the deck during the drying process.
- Assess the finish: Once the protective finish has dried, assess the deck to ensure that the finish has been applied evenly and provides the desired level of protection and sheen. If needed, you can apply a second coat to enhance the durability and appearance of the finish.
- Maintain the protective finish: To ensure the longevity of the protective finish, implement regular maintenance practices. This includes cleaning the deck regularly, removing any dirt or stains promptly, and reapplying the protective finish as recommended by the manufacturer.
Applying a protective finish to your Trex decking helps to prolong its lifespan and maintain its beauty. It acts as a barrier against the elements, preventing damage and preserving the integrity of the deck surface. By following proper application and maintenance techniques, you can enjoy a well-protected and visually appealing deck for years to come.
Regular Maintenance Tips
Regular maintenance is key to keeping your Trex decking looking its best and ensuring its longevity. By following these maintenance tips, you can preserve the beauty and functionality of your deck:
- Clean regularly: Sweep or use a leaf blower to remove debris, leaves, and dirt from the deck surface on a regular basis. This prevents buildup and reduces the risk of stains or discoloration.
- Address spills and stains promptly: Clean up any spills, food stains, or other messes as soon as they occur. Use a mild detergent mixed with water and a soft brush to gently scrub away the stains. Rinse thoroughly and allow the deck to dry.
- Avoid abrasive cleaning tools: When cleaning your deck, avoid using abrasive materials such as steel wool or hard brushes, as they can cause scratches on the surface. Opt for soft-bristle brushes or non-abrasive cleaning pads instead.
- Protect the deck from furniture: Place felt pads or furniture glides under the legs of your outdoor furniture to prevent scratches and wear on the deck surface. Avoid dragging heavy furniture across the deck.
- Trim nearby vegetation: Trim any overhanging branches or shrubs near your deck to prevent debris from falling onto the surface and to ensure proper airflow and sunlight exposure.
- Avoid using harsh chemicals: Refrain from using harsh chemicals, bleach, or solvents on your Trex decking, as they can damage the surface. Stick to mild detergents or specialized deck cleaners designated for composite decking.
- Prevent mold and mildew: Keep your deck dry and well-ventilated to minimize the growth of mold and mildew. Regularly trim nearby vegetation and address any water accumulation on the deck surface promptly.
- Apply a protective finish: Consider applying a protective finish to your Trex decking every few years to enhance its durability and resistance to fading, staining, and scratching. Follow the manufacturer’s instructions for application.
- Regularly inspect for damages: Periodically inspect your deck for any signs of damage, such as loose boards, cracks, or structural issues. Address any repairs promptly to prevent further damage.
- Follow manufacturer guidelines: Always refer to the manufacturer’s guidelines and recommendations for the specific care and maintenance of your Trex decking. They may provide additional tips and instructions tailored to their product.
By implementing these regular maintenance tips, you can ensure that your Trex decking remains in excellent condition for years to come. A little bit of care and attention goes a long way in preserving the beauty and functionality of your outdoor furniture.
Read more: How To Bend Trex Decking
Conclusion
Restoring and maintaining your Trex decking is essential to ensure its longevity and keep it looking beautiful for years to come. By following the steps outlined in this article, you can successfully restore your deck and address any damages that may have occurred over time.
Understanding the nature of Trex decking and assessing the damages are the first crucial steps. By identifying the areas that require repair or replacement, you can focus your efforts on restoring the deck effectively. Cleaning the deck thoroughly and preparing it for restoration sets the stage for the subsequent steps.
Replacing damaged boards and resurfacing the deck help to restore the structural integrity and visual appeal of your Trex decking. Restoring the color of your deck brings back its vibrancy and enhances the overall aesthetic of your outdoor space.
Applying a protective finish adds an extra layer of defense against the elements and helps to prolong the lifespan of your deck. Regular maintenance, including cleaning, addressing spills promptly, and protecting the deck from furniture, is essential to maintain its beauty and functionality.
In conclusion, by following the proper restoration techniques and implementing regular maintenance, you can enjoy a rejuvenated and long-lasting Trex deck. Take pride in your outdoor furniture investment and create a beautiful and inviting space for relaxation and entertainment.
Remember to always refer to the manufacturer’s guidelines and recommendations for the specific care and maintenance of your Trex decking, as they may provide additional insights and product-specific instructions.
Frequently Asked Questions about How To Restore Trex Decking
Was this page helpful?
At Storables.com, we guarantee accurate and reliable information. Our content, validated by Expert Board Contributors, is crafted following stringent Editorial Policies. We're committed to providing you with well-researched, expert-backed insights for all your informational needs.

0 thoughts on “How To Restore Trex Decking”