Home>Furniture>Outdoor Furniture>How To Bend Trex Decking
Outdoor Furniture
How To Bend Trex Decking
Modified: August 27, 2024
Learn how to bend Trex decking for your outdoor furniture projects. Create stunning and unique designs with our step-by-step guide to bending Trex decking materials.
(Many of the links in this article redirect to a specific reviewed product. Your purchase of these products through affiliate links helps to generate commission for Storables.com, at no extra cost. Learn more)
Introduction
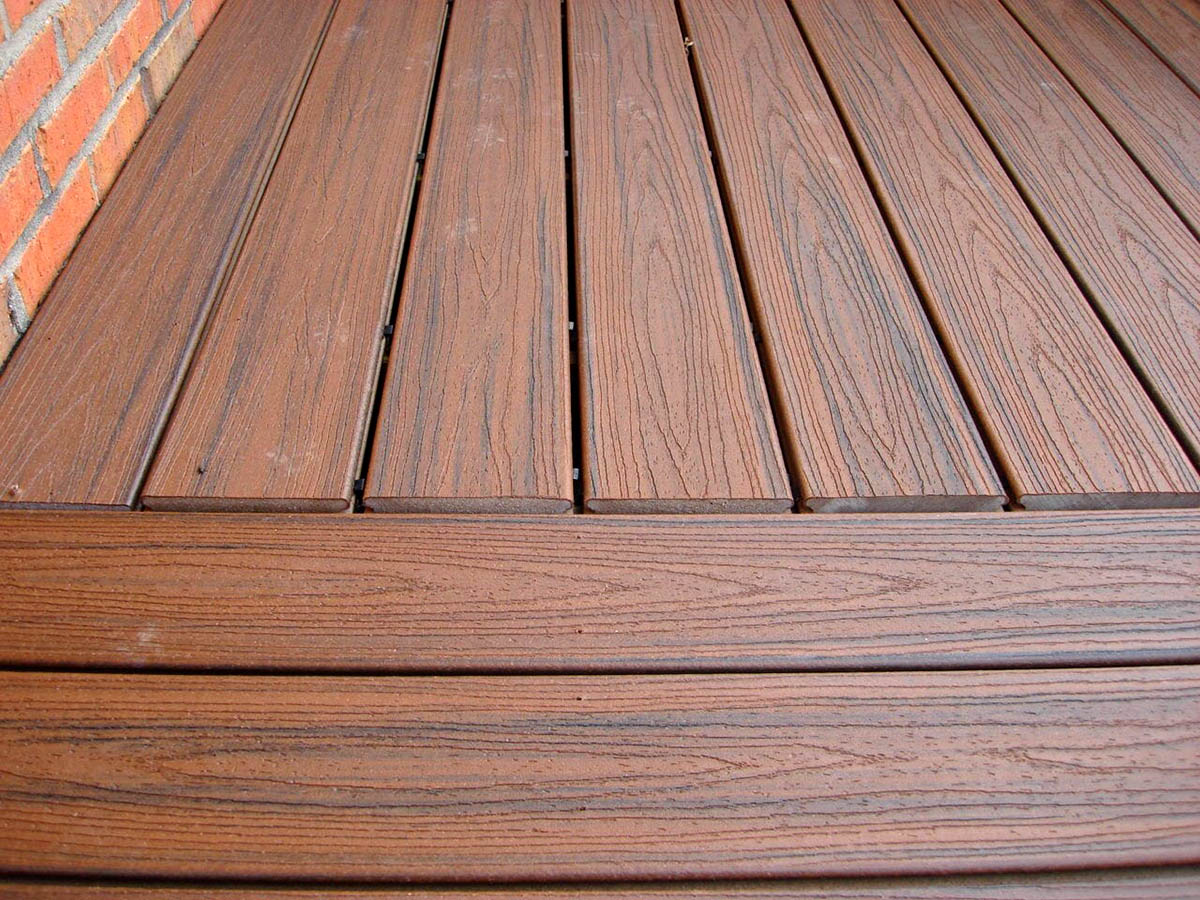
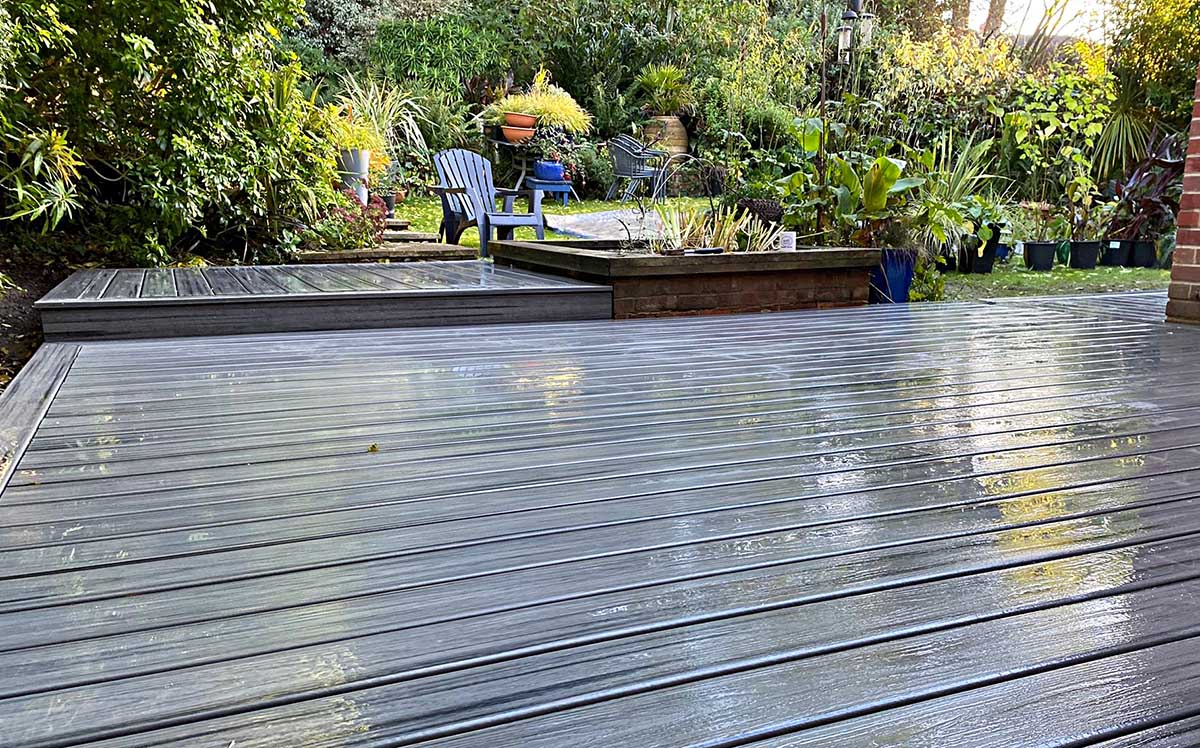
When it comes to creating a stunning outdoor space, Trex decking is a popular and durable choice. Not only does it offer the beauty of natural wood, but it also comes with the added benefit of being weather-resistant and low maintenance. However, what if you want to take your decking design to the next level? That’s where bending Trex decking comes in.
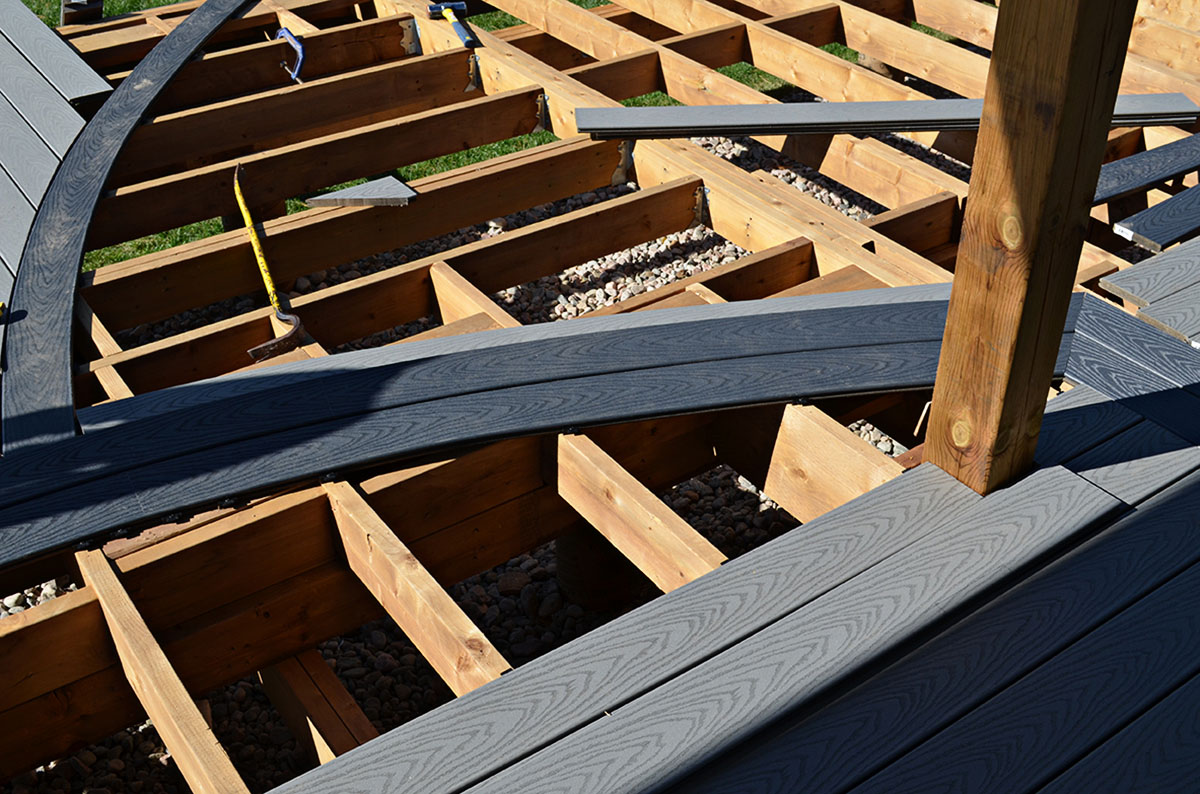
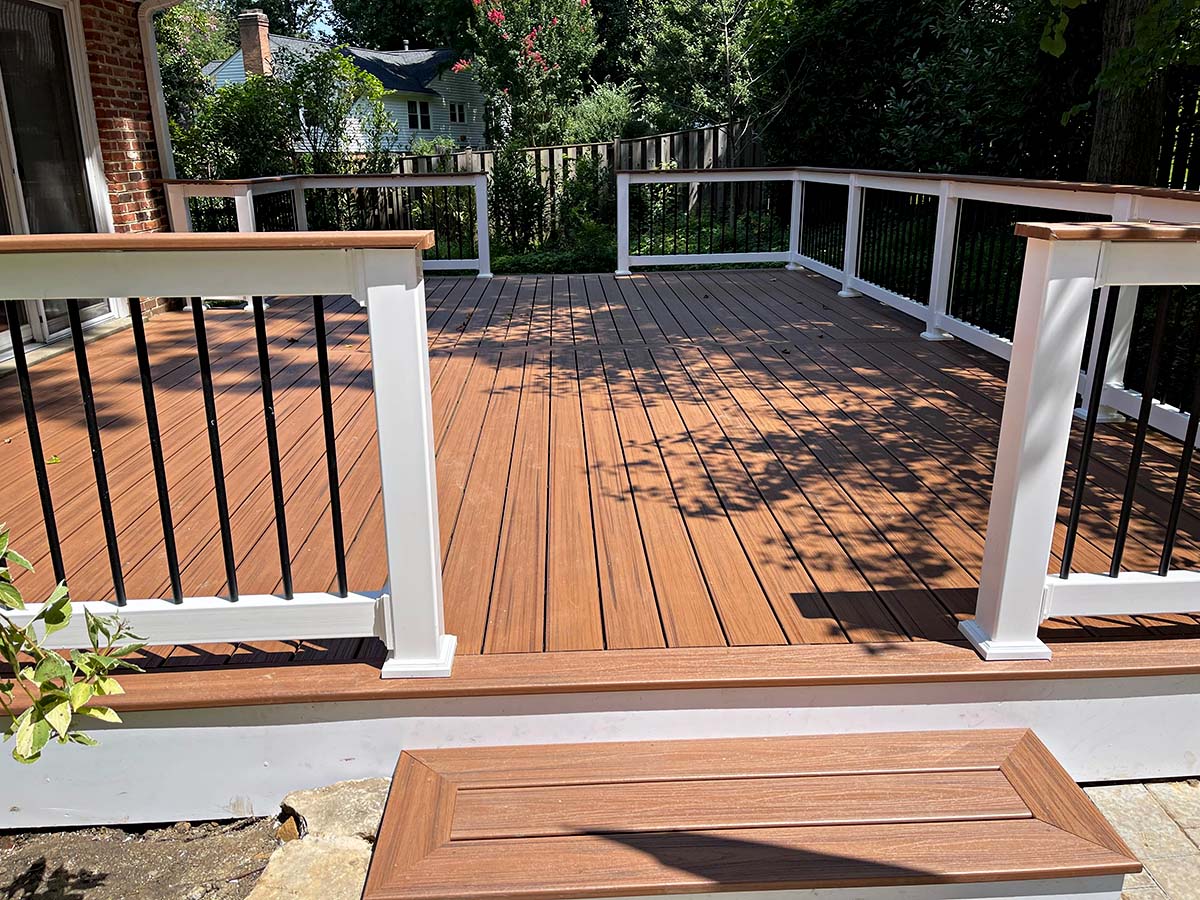
Bending Trex decking allows you to create unique and eye-catching shapes and curves that can elevate the aesthetics of your outdoor living area. Whether you want to add a graceful arch, a subtle curve, or a bold spiral, the possibilities are endless.
In this article, we will guide you through the process of bending Trex decking, from preparing the materials and tools, to measuring and marking for bending, creating a bending jig, and ultimately installing and maintaining the bended decking. So, let’s dive in and discover how you can transform your outdoor space with curved Trex decking!
Key Takeaways:
- Transform your outdoor space with curved Trex decking to create stunning and unique shapes, elevating the aesthetics of your deck or patio with the right materials, tools, and techniques.
- Prioritize safety, accuracy, and detail when bending Trex decking to achieve visually striking and inviting outdoor spaces, embracing the beauty of curves and endless design possibilities.
Read more: How To Bend Composite Decking
Preparing Materials and Tools
Before you begin the process of bending Trex decking, it’s essential to gather all the necessary materials and tools. Here’s a list of what you’ll need:
- Trex Decking: Choose the type and color of Trex decking that suits your design preferences. Keep in mind that not all Trex products are suitable for bending, so make sure to select a decking material specifically designed for bending.
- Bending Jig Materials: You’ll need plywood, wooden stakes, and screws to construct the bending jig. The size and quantity of the materials will depend on the desired radius of your bends.
- Safety Equipment: It’s crucial to protect yourself during the bending process. Make sure to have gloves, safety glasses, and a face mask to shield against any potential hazards.
- Heat Source: To bend Trex decking, you’ll need a heat source capable of reaching high temperatures. A heat gun or a high-powered propane torch are common options.
- Measuring and Marking Tools: Accurate measurements are key to achieving precise bends. Gather a tape measure, pencil, and a square or level to mark the areas for bending.
- Screws and Fasteners: You’ll need screws and fasteners to secure the bended decking in place during installation. Choose appropriate ones that are designed for outdoor use.
- Finishing Materials: Depending on your project, you may need sandpaper, paint, or stain to finish the bended decking, ensuring a seamless integration with the rest of your outdoor space.
Once you have all the necessary materials and tools, you can proceed to the next steps of measuring and marking for bending Trex decking.
Measuring and Marking for Bending
Accurate measurement and marking are crucial in achieving the desired bends in your Trex decking. Here’s how you can measure and mark for bending:
- Start by determining the radius of the desired curve. This will determine the width and length of the bending jig.
- Using a tape measure, mark the center point of the curve on the decking board.
- Measure and mark the distance from the center point to the outermost edge of the bend. This will be half of the desired radius.
- Repeat the above step on the other side of the center point.
- Connect the marks on each side of the board to create a symmetrical curve. You can use a pencil or a straight edge to draw the curved line.
- Double-check your measurements and markings to ensure accuracy before proceeding to the next step.
Keep in mind that the number of bends you want to create will determine the number of measurements and markings needed. Take your time to ensure precision, as any inaccuracies can affect the final outcome of the bends.
Once you have finished measuring and marking, you’re ready to move on to constructing the bending jig, which will serve as the foundation for bending the Trex decking.
Creating a Bending Jig
Now that you have measured and marked the desired bends on your Trex decking, it’s time to create a bending jig. The bending jig will act as a mold that supports the decking while it is being heated and bent into shape. Here is a step-by-step guide to creating a bending jig:
- Start by cutting a piece of plywood to the width and length determined by your measurements and markings.
- Place the plywood on a flat surface and secure it in place with wooden stakes on the edges. Make sure the stakes are tall enough to accommodate the desired height of the bend.
- Use screws to attach the stakes firmly to the plywood, ensuring stability and preventing any movement during the bending process.
- If you are creating multiple bends, repeat the above steps to construct additional bending jigs for each bend.
It’s important to note that the bending jig should match the shape and dimensions of the desired bend. By constructing the bending jig to the correct specifications, you will help ensure an accurate and consistent bend in the Trex decking.
With the bending jig in place, you are now ready to heat the Trex decking and begin the bending process. Safety should be a top priority during this stage, so make sure to take the necessary precautions and use appropriate safety equipment.
Heating the Trex Decking
Heating the Trex decking is a critical step in the bending process. The heat softens the decking material, making it more malleable and easier to bend. Here’s how you can heat the Trex decking:
- Ensure that you are working in a well-ventilated area, as the heating process can produce fumes.
- Start by positioning the bending jig on a stable surface.
- Place the Trex decking on top of the bending jig, aligning it with the marked curve.
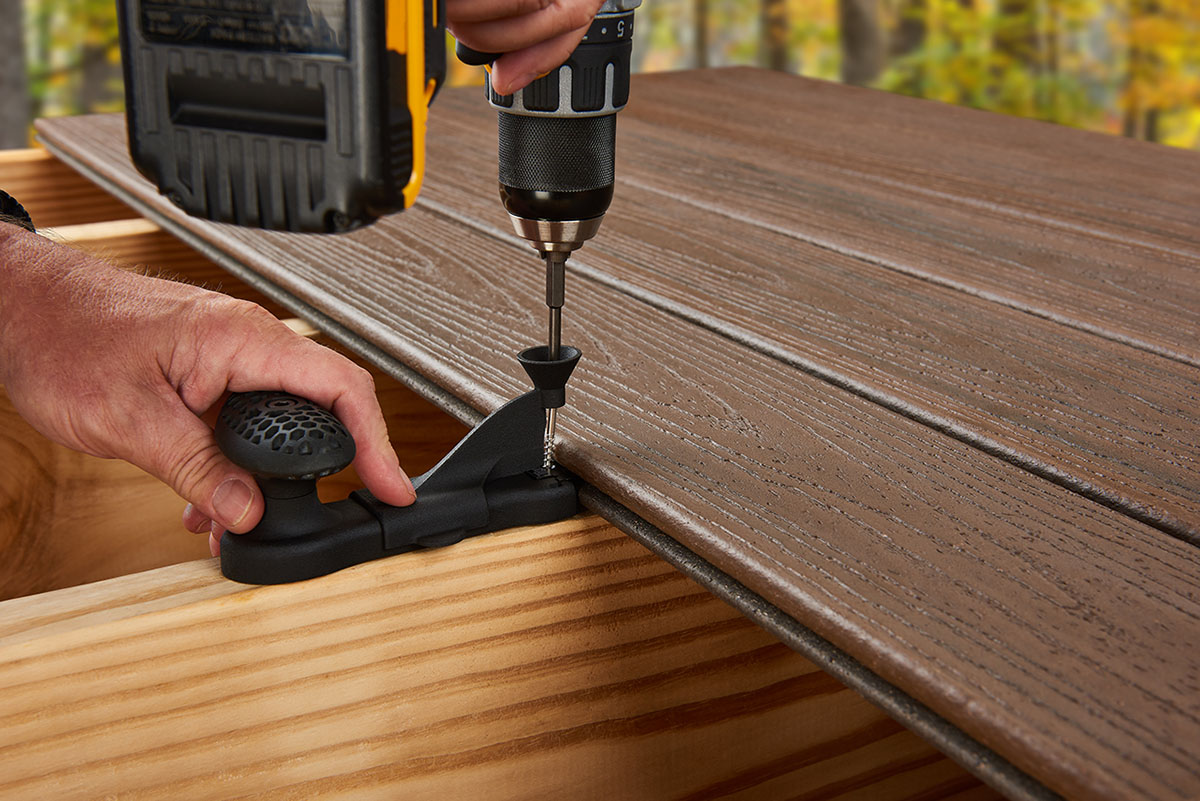
- Using a heat gun or a high-powered propane torch, apply heat evenly to the decking material. Keep the heat source moving to prevent scorching or burning the decking.
- Continue applying heat to the decking until it becomes pliable. You will notice a slight change in color or texture, indicating that the material is ready for bending.
- Be cautious not to overheat the decking, as it can cause damage or deform the material.
It’s important to follow the manufacturer’s guidelines and recommendations for heating Trex decking, as the specific temperature and duration may vary depending on the product. Always prioritize safety and use protective equipment such as gloves and safety glasses while heating the decking.
Once the Trex decking is sufficiently heated and pliable, it’s time to move on to the next step: bending the decking to the desired shape.
To bend Trex decking, use a heat gun to warm the area you want to bend, then gently bend it to the desired shape. Hold it in place until it cools and sets.
Read more: What Is Trex Decking
Bending the Trex Decking
With the Trex decking properly heated and pliable, it’s time to begin the bending process. Here are the steps to follow to achieve the desired bend:
- Position yourself at one end of the decking, ready to exert controlled pressure for the bend.
- Gradually and smoothly apply pressure to the decking, bending it along the marked curve on the bending jig. Use steady and even pressure to achieve a smooth and uniform bend.
- Take your time during the bending process and make adjustments as needed to achieve the desired shape. Avoid applying excessive force, as it can cause the decking to crack or break.
- Use clamps or other devices to secure the decking in place while it cools down. This will help maintain the shape of the bend and prevent it from springing back.
- Repeat the bending process for each section of the Trex decking that requires a bend, following the same steps.
It’s important to note that the time required for the decking to cool and set will vary depending on the ambient temperature and the specific Trex product. Allow ample time for the decking to cool and harden before removing it from the bending jig.
By following these steps and exercising care and precision, you can successfully bend your Trex decking into the desired shape and bring your outdoor design vision to life.
Once the bended decking has cooled and hardened, it’s time to proceed with the next steps: cooling and finishing the bends.
Cooling and Finishing the Bends
After successfully bending the Trex decking to the desired shape, it’s important to let it cool and harden before proceeding with the finishing touches. Here’s what you need to do:
- Allow the bended decking to cool naturally in the bending jig. This will ensure that the decking retains its shape and stability.
- While the decking is cooling, take this time to prepare any finishing materials you may need. This can include sandpaper, paint, or stain, depending on your design preferences.
- Once the decking has cooled and hardened, carefully remove it from the bending jig.
- Inspect the bends for any imperfections or rough edges. If necessary, use sandpaper to smooth out the surface of the bends, ensuring a clean and polished finish.
- If you plan to paint or stain the decking, now is the time to apply your chosen finish. Follow the manufacturer’s instructions for the specific paint or stain you are using, and allow sufficient drying time.
- Ensure that all finished bends are thoroughly dry and cured before proceeding with the installation process. This will help prevent any damage or smudging of the finish.
Remember, the finishing touches on the bended Trex decking are essential for achieving a seamless integration with the rest of your outdoor space. Take your time with these steps to ensure a professional and visually appealing result.
Now that you have completed the cooling and finishing processes, it’s time to move on to the final step: installing the bended Trex decking.
Installing the Bended Trex Decking
Now that you have successfully bent and finished your Trex decking, it’s time to install it in your outdoor space. Follow these steps to ensure a smooth installation:
- Prepare the area where you will be installing the bended decking. Make sure the surface is clean, level, and free from any debris or obstacles.
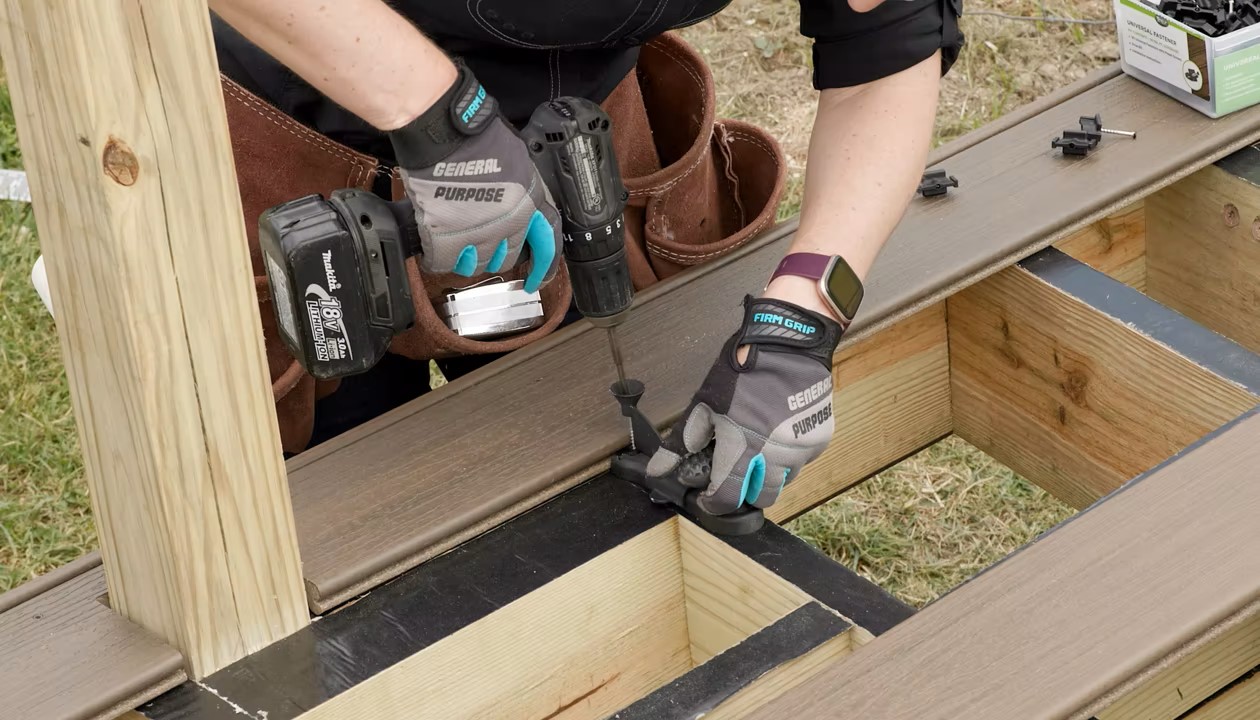
- Start at one end of the area and place the first piece of bended decking along the desired path or curve. Use screws or fasteners designed for outdoor use to secure the decking to the underlying structure.
- Continue to install the bended decking, ensuring that each piece aligns properly with the previous one and fits snugly in place. Use a level to ensure the decking is straight and even.
- Make any necessary adjustments to ensure a tight and secure fit between each piece of decking. Trim or cut the decking if needed to achieve the desired shape and size.
- Once the bended decking is securely installed, double-check the entire area for any loose screws or fasteners. Tighten any that may need it to ensure a solid and stable deck.
It’s important to note that the installation process for bent decking may require some additional planning and precision. Take your time and refer to the manufacturer’s guidelines for installing Trex decking to ensure a successful and long-lasting installation.
Now that the bended Trex decking is installed, it’s time to move on to the final steps: maintaining and caring for your newly transformed outdoor space.
Maintaining and Caring for Bended Trex Decking
Proper maintenance and care are essential for keeping your bended Trex decking looking beautiful and ensuring its longevity. Here are some key tips to help you maintain and care for your decking:
- Regular Cleaning: Regularly clean your bended Trex decking to remove dirt, debris, and any stains. Use a mild soap or a composite deck cleaner and a soft-bristle brush or sponge to gently scrub the surface. Rinse thoroughly with water.
- Avoid Harsh Cleaners and Tools: Avoid using harsh cleaning chemicals, abrasive cleaners, or power washers, as they can damage the decking surface. Stick to gentle cleaning methods to preserve the integrity and appearance of the deck.
- Preventative Measures: Place mats or rugs in high-traffic areas and under furniture to minimize wear and tear on the decking. Use protective pads or feet on furniture to avoid scratching or denting the surface.
- Avoid Heat Buildup: Trex decking can become hot under direct sunlight. To minimize heat buildup, consider placing shade structures or opt for lighter-colored decking materials that absorb less heat.
- Regular Inspection: Inspect your bended decking regularly for any signs of damage, such as cracks, splinters, or loose screws. Repair or replace any damaged sections promptly to prevent further issues.
- Seasonal Maintenance: Depending on your climate, you may need to perform additional maintenance tasks seasonally. This can include removing snow or debris in winter and applying a protective sealant during colder months.
By following these maintenance practices, you can ensure that your bended Trex decking remains in top condition and continues to enhance the beauty of your outdoor space for years to come.
Remember to refer to the manufacturer’s guidelines for specific maintenance recommendations and warranties pertaining to your Trex decking product.
Read more: How To Straighten Trex Decking
Conclusion
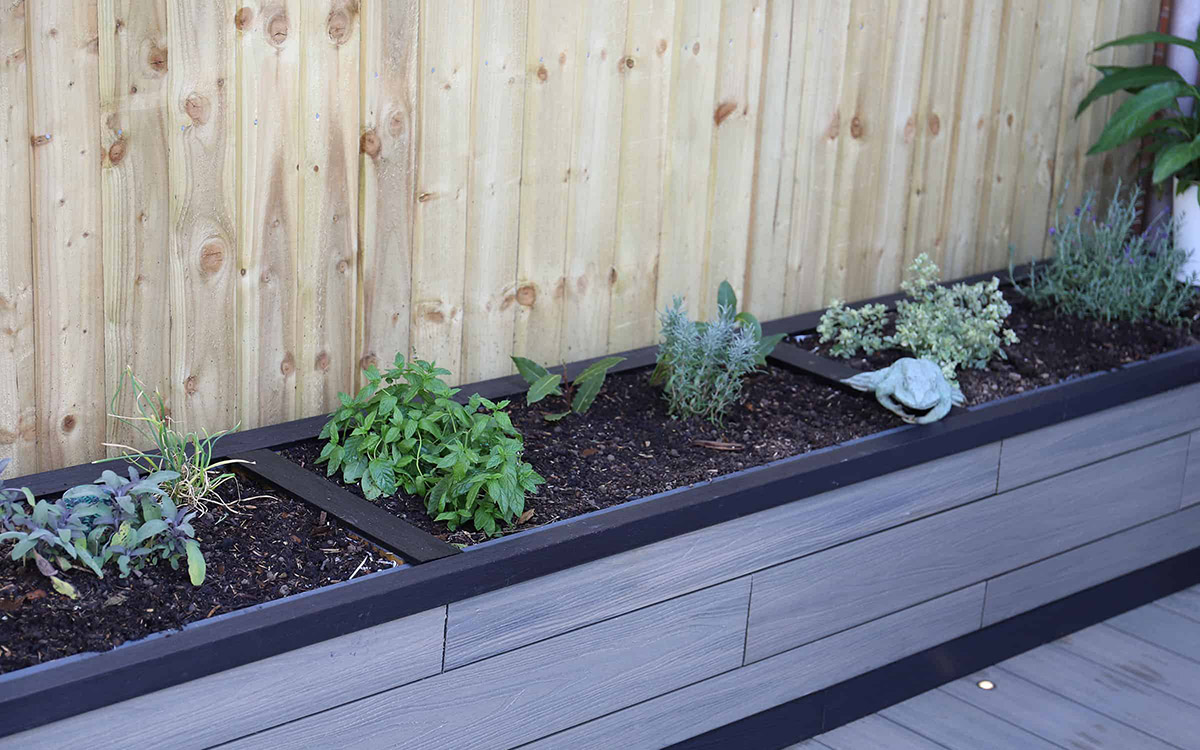
Bending Trex decking opens up a world of design possibilities for your outdoor space, allowing you to create stunning curves and shapes that elevate the aesthetics of your deck or patio. With the right materials, tools, and techniques, you can transform a simple deck into a unique and captivating focal point.
In this article, we have covered the various steps involved in bending Trex decking. From preparing the materials and tools, measuring and marking for bending, creating a bending jig, and heating the decking, to actually bending and cooling the decking into shape. We also touched on the importance of finishing and maintaining your bended decking to ensure its longevity and continued beauty.
Remember to prioritize safety throughout the bending process, using safety equipment and following the manufacturer’s guidelines for heating and bending Trex decking. Take your time, measure accurately, and pay attention to detail for the best results.
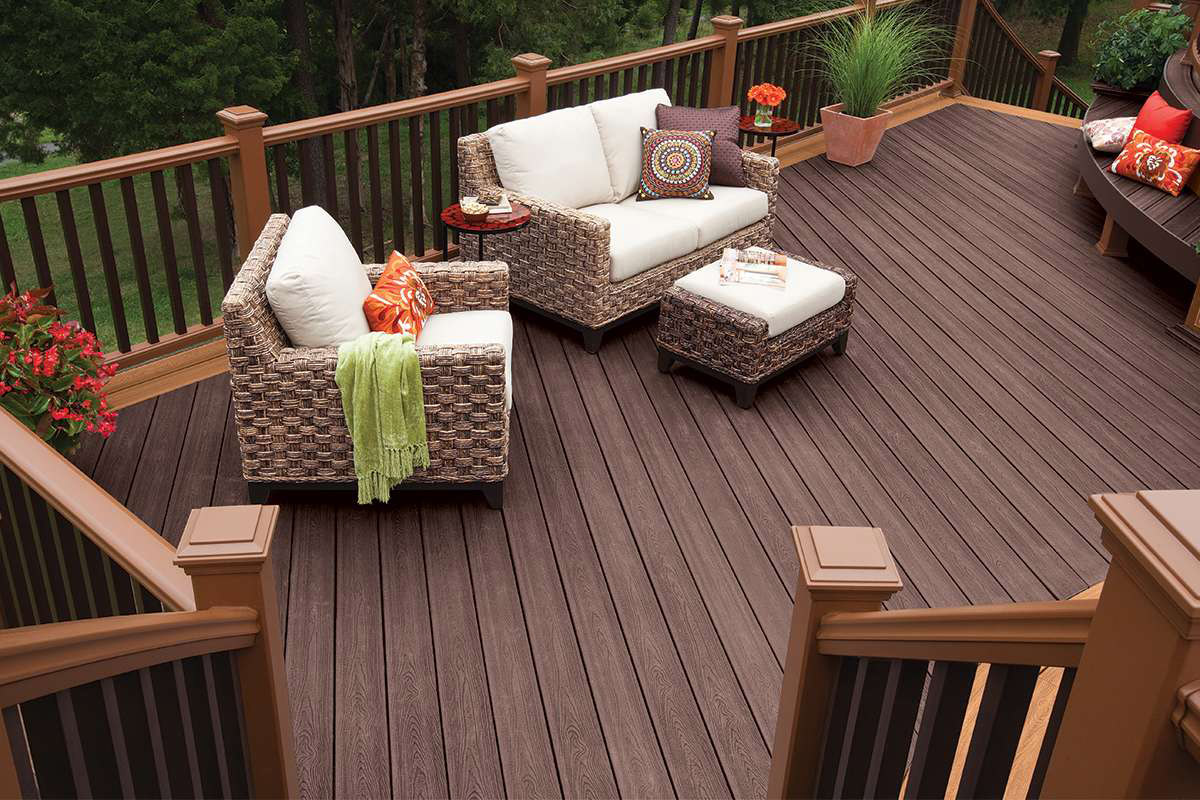
With the ability to create unique and eye-catching designs, bended Trex decking is a fantastic option for those looking to add a touch of elegance and creativity to their outdoor space. Whether you choose to incorporate gentle curves or bold arcs, the end result will be a visually striking and inviting area where you can relax and entertain.
So, why settle for a standard, straight deck when you can elevate your outdoor living experience with bended Trex decking? Embrace the beauty of curves and explore the endless possibilities for transforming your outdoor space into a true oasis.
Ready to spruce up your space? Whether you're decking out your backyard or ensuring your home remains at the forefront of sustainability, we've got more insights that'll keep your projects fresh and exciting. Dive into our guide on vibrant decor and practical enhancements for Outdoor Living, making any deck the heart of enjoyment. For those leaning towards sustainable construction, don't miss our comprehensive rundown on Eco-Friendly Building Materials. And if your green thumb is itching for a new project, check out our creative collection of Landscaping ideas with the 40 best garden fence designs.
Frequently Asked Questions about How To Bend Trex Decking
Was this page helpful?
At Storables.com, we guarantee accurate and reliable information. Our content, validated by Expert Board Contributors, is crafted following stringent Editorial Policies. We're committed to providing you with well-researched, expert-backed insights for all your informational needs.


0 thoughts on “How To Bend Trex Decking”