Home>Furniture>Outdoor Furniture>How To Remove Sap From Outdoor Cushions
Outdoor Furniture
How To Remove Sap From Outdoor Cushions
Modified: March 16, 2024
Learn how to easily remove sap from outdoor cushions and keep your outdoor furniture looking clean and fresh. Say goodbye to sticky residue with our helpful tips and tricks.
(Many of the links in this article redirect to a specific reviewed product. Your purchase of these products through affiliate links helps to generate commission for Storables.com, at no extra cost. Learn more)
Introduction
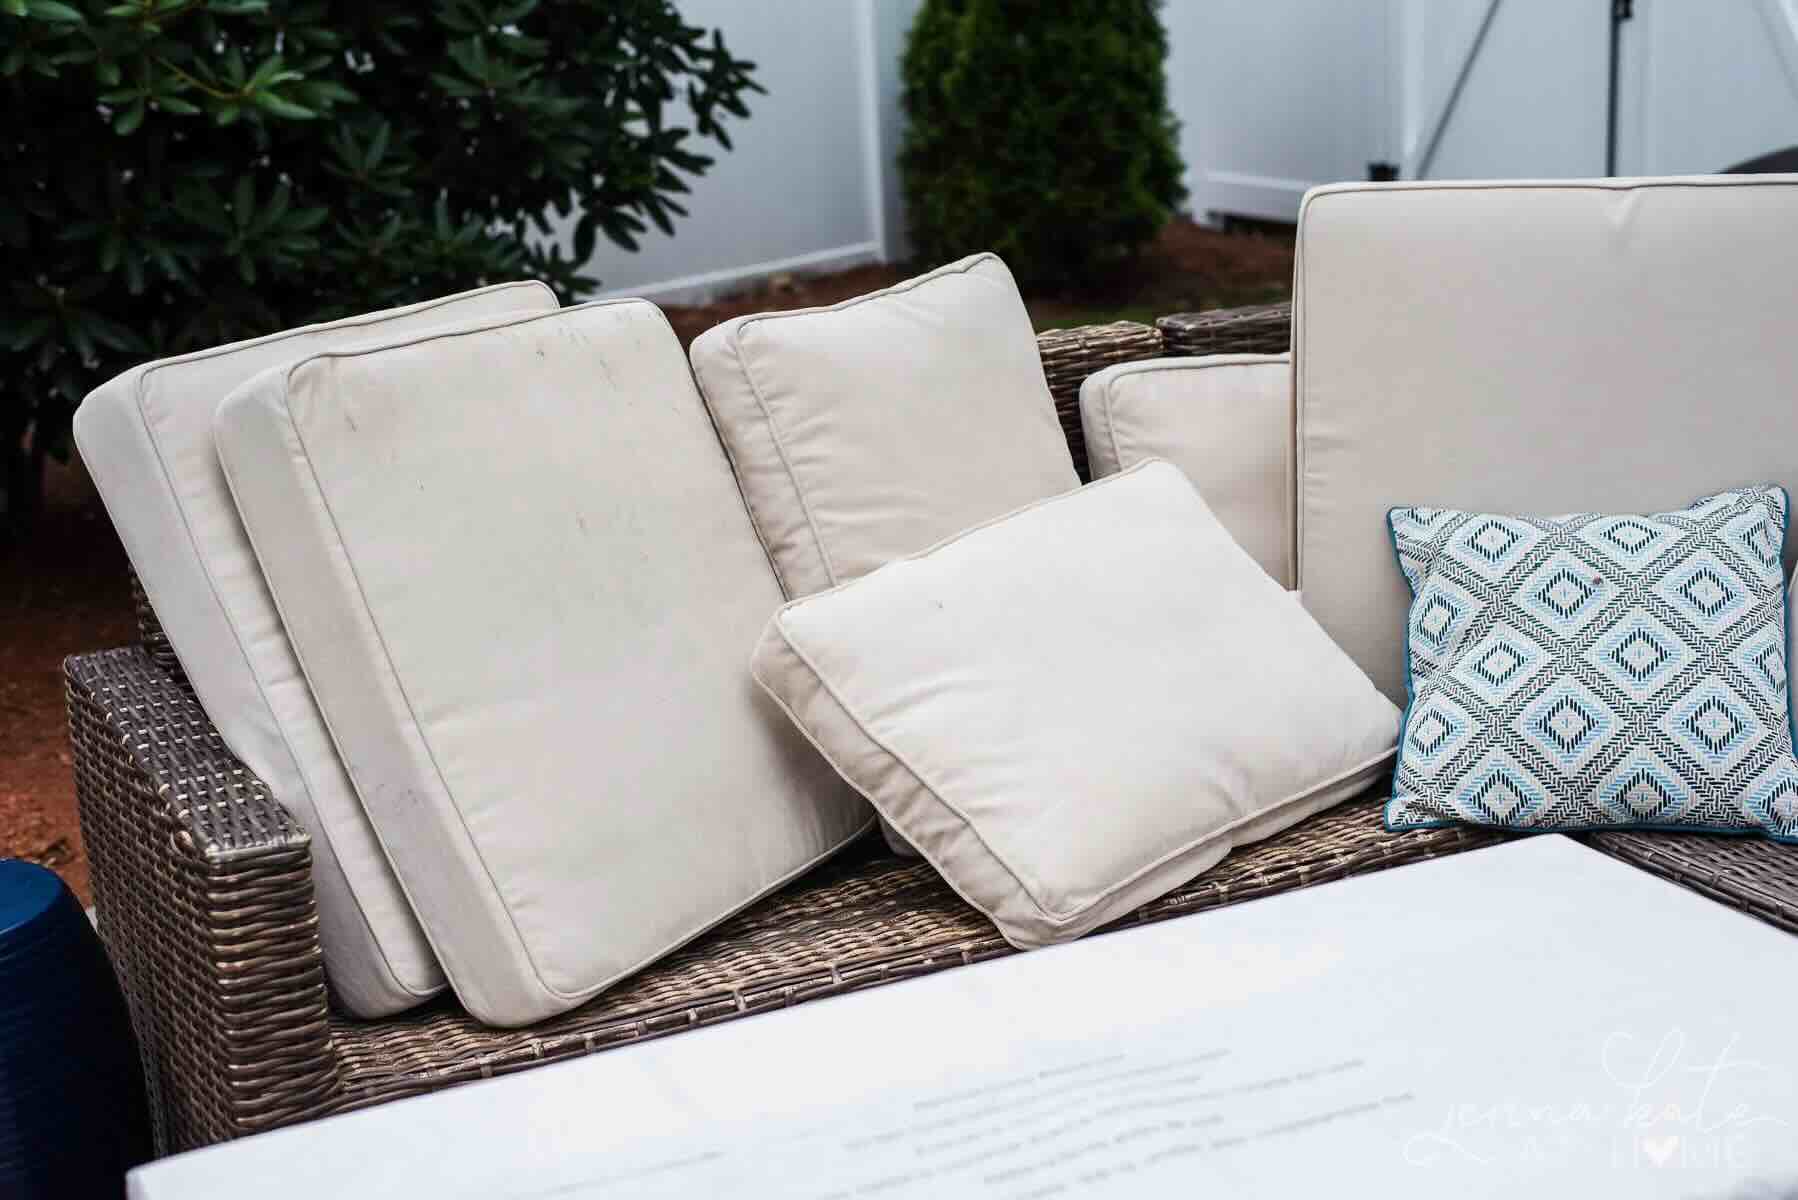
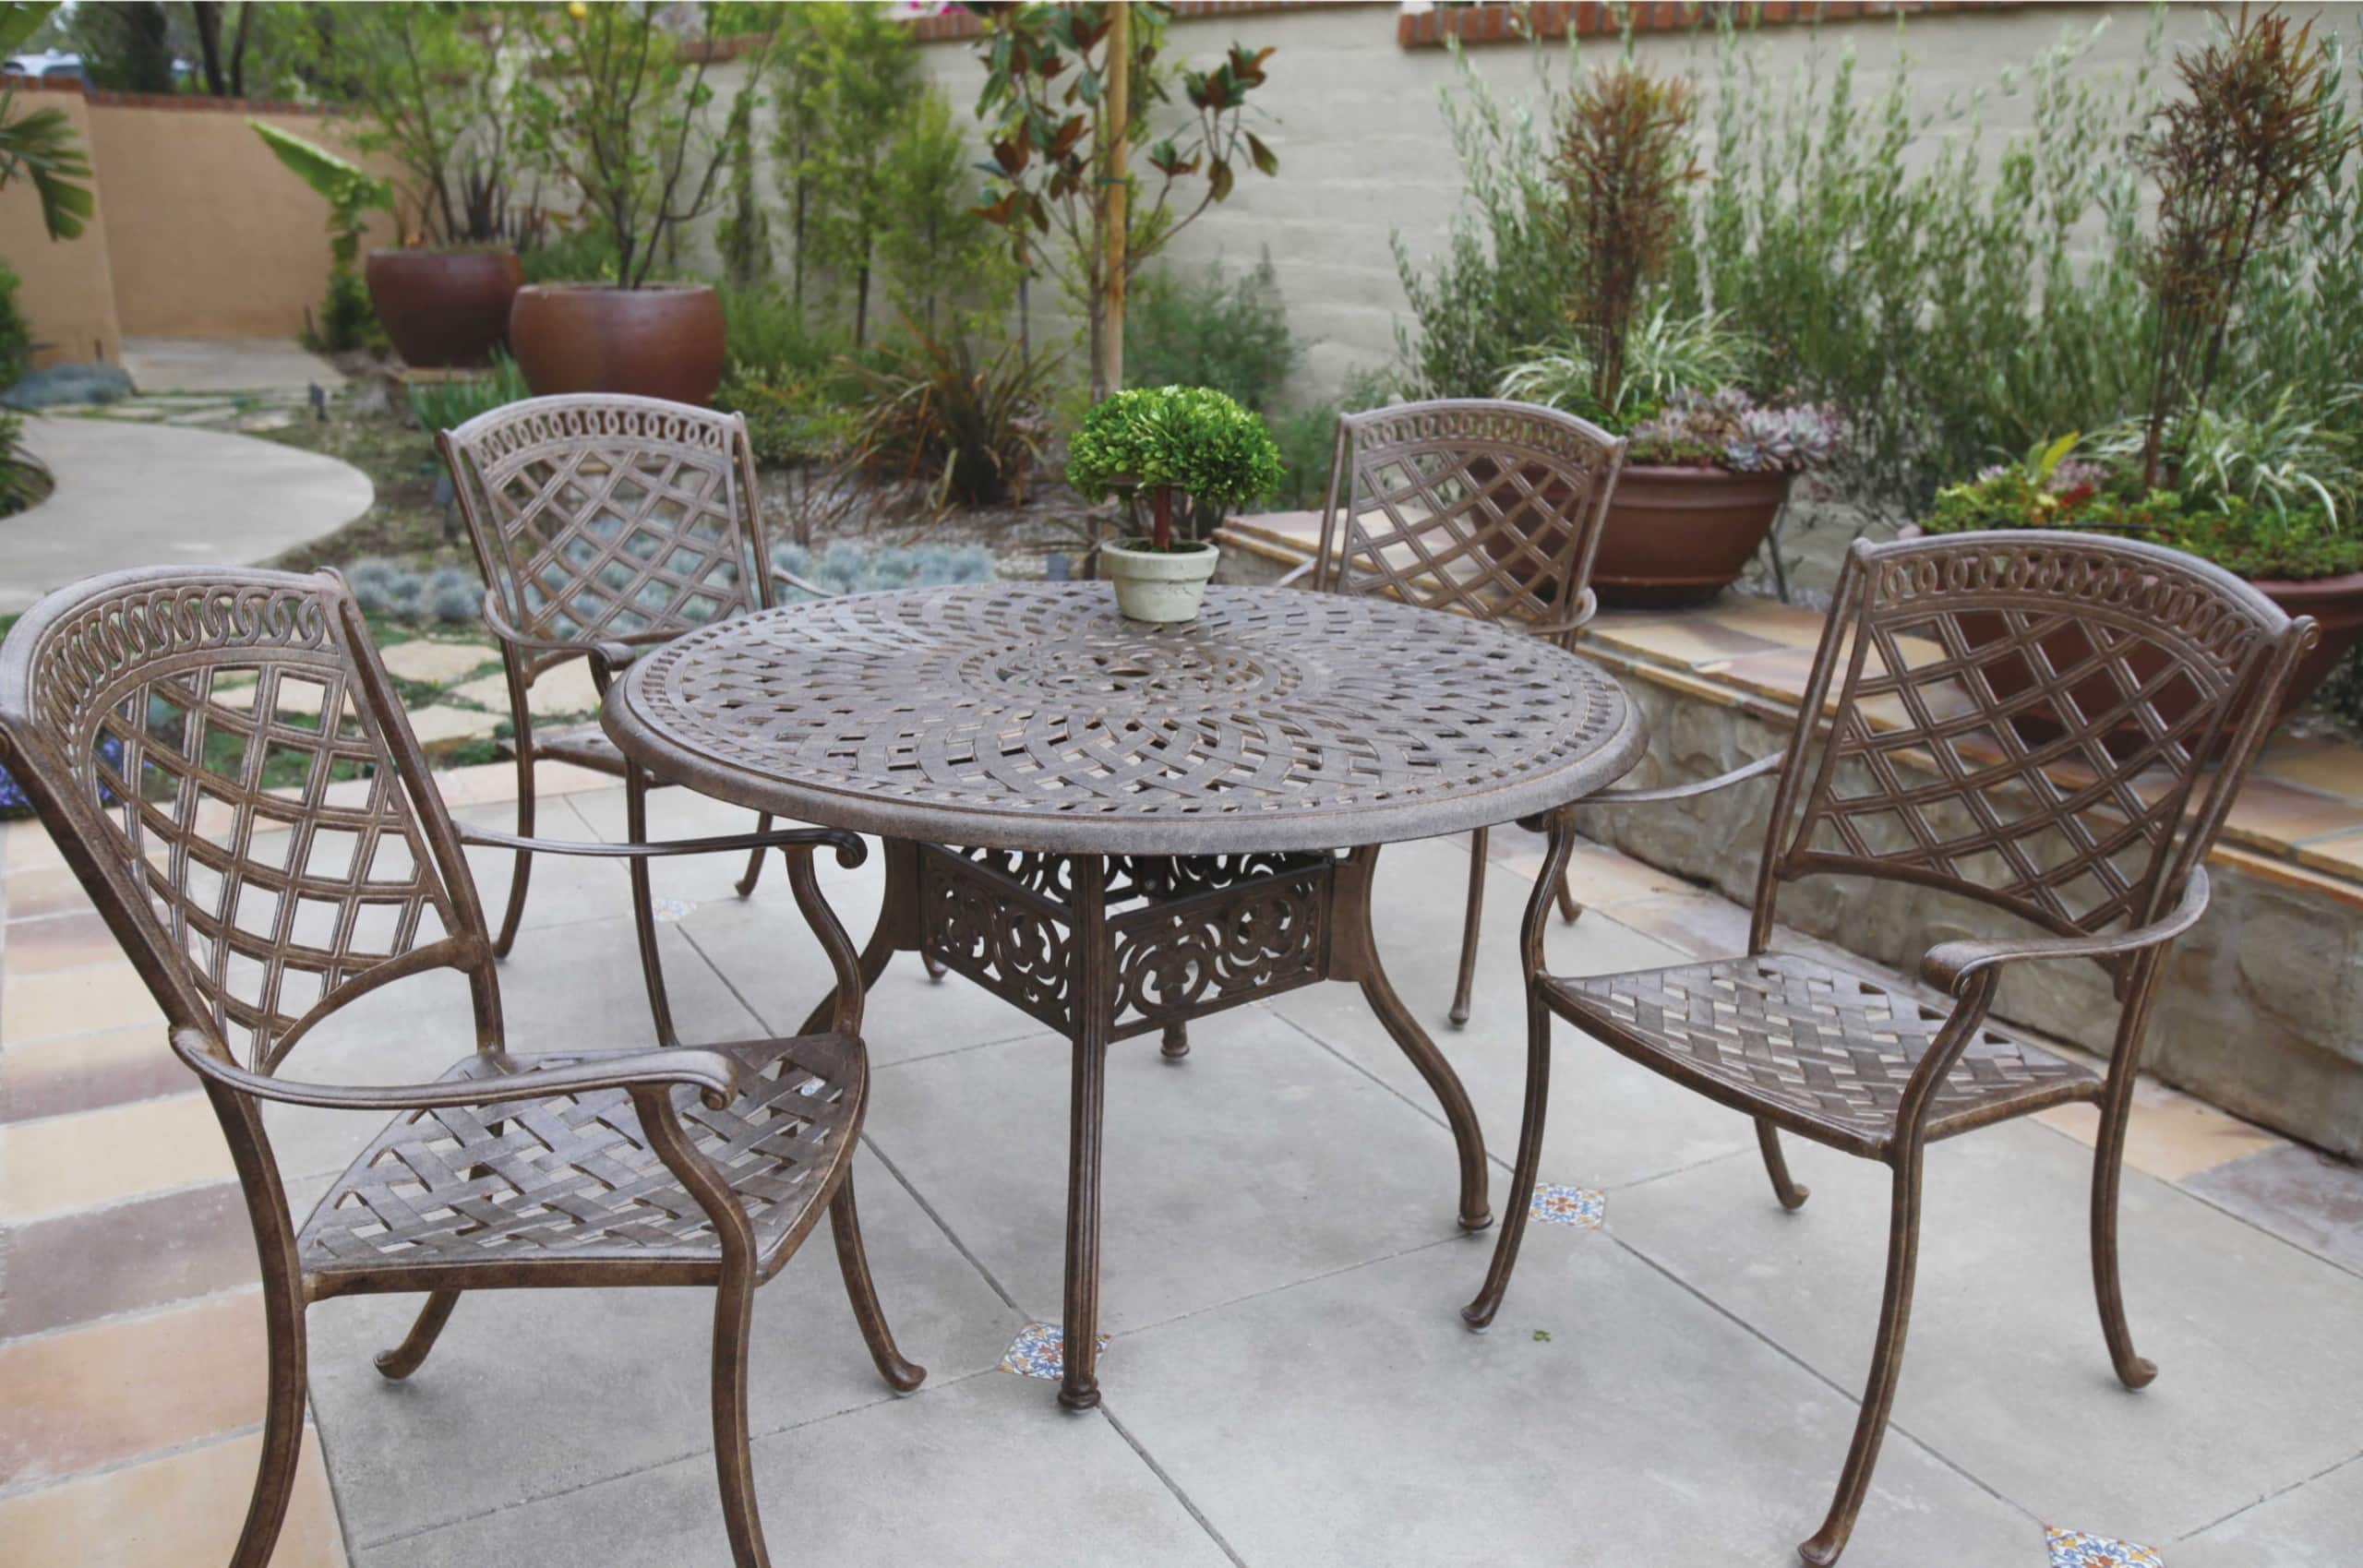
Welcome to our guide on how to remove sap from outdoor cushions. Outdoor furniture is a wonderful addition to any patio or backyard space, providing a comfortable and stylish place to relax and enjoy the outdoors. However, these cushions can be susceptible to various stains and spills, including the sticky and persistent sap.
Sap, often derived from trees, can end up on outdoor cushions due to overhanging branches or accidental contact with tree resin. It can be a challenge to remove, but with the right techniques and supplies, you can effectively eliminate sap stains and restore the pristine appearance of your outdoor cushions.
In this article, we will walk you through a step-by-step process that will help you remove sap from your outdoor cushions. From gathering the necessary supplies to thoroughly cleaning and drying your cushions, we will provide you with expert tips and techniques to make the process as seamless as possible.
Before we dive into the steps, it’s important to note that different types of outdoor cushion materials may require slightly varied approaches. We will outline general methods that can be applied to most outdoor cushion materials, but make sure to check the care instructions for your specific cushions and adapt the process accordingly.
Now, let’s gather the supplies needed to tackle those stubborn sap stains on your outdoor cushions!
Key Takeaways:
- Say goodbye to sap stains on outdoor cushions by following our step-by-step guide using simple supplies like rubbing alcohol and dish soap mixture.
- Don’t let sap ruin your outdoor relaxation. With patience and thoroughness, you can effectively remove sap stains and restore your outdoor cushions to their pristine condition.
Step 1: Gather the necessary supplies
Before you begin the process of removing sap from your outdoor cushions, it’s important to gather all the necessary supplies. Having everything on hand will ensure a smoother and more efficient cleaning process. Here’s a list of items you’ll need:
- Scraping tool: A plastic scraper or credit card can be used to gently remove the excess sap from the surface of the cushion without damaging the fabric.
- Rubbing alcohol: Isopropyl rubbing alcohol is a powerful solvent that can effectively break down and dissolve the sap stains.
- Clean cloth: Use a soft and clean cloth, such as a microfiber cloth or old rag, for blotting and applying the rubbing alcohol.
- Dish soap mixture: Create a solution of warm water and a mild dish soap. This will be used to remove any remaining residue and restore the cleanliness of the cushion.
- Soft brush or sponge: A soft-bristled brush or sponge will help with gentle scrubbing of the affected area without causing any damage to the cushion fabric.
- Water source: You’ll need access to a water source, such as a garden hose or bucket, for rinsing the cushion during the cleaning process.
- Outdoor space or drying area: Find a suitable outdoor space or designated drying area where the cushions can air dry completely.
Once you have gathered all of these supplies, you’ll be well-prepared to tackle the task of removing sap from your outdoor cushions. Let’s move on to the next step: scraping off the excess sap!
Step 2: Scrape off excess sap
Now that you have all the necessary supplies ready, it’s time to tackle the first step in removing sap from your outdoor cushions: scraping off the excess sap. This will help to loosen and remove as much of the sticky residue as possible before moving on to the cleaning process.
Here’s how to effectively scrape off the excess sap:
- Identify the areas on your outdoor cushions where sap has dripped or hardened. It may appear as small spots or larger sticky patches.
- Take your scraping tool, such as a plastic scraper or credit card, and gently apply pressure to the affected areas.
- Using a scraping motion, carefully scrape away the excess sap from the surface of the cushion. Be cautious not to press too hard or use a tool with sharp edges, as this may damage the fabric.
- Continue scraping until you have removed as much sap as possible. If any residue remains, don’t worry – we will address this in the following steps.
Remember to be patient and take your time during this process to avoid causing any unnecessary damage to the cushion fabric. Once you have successfully scraped off the excess sap, it’s time to move on to the next step: applying rubbing alcohol to dissolve the remaining stains.
Step 3: Apply rubbing alcohol
With the excess sap scraped off, it’s time to tackle the next step in removing sap from your outdoor cushions: applying rubbing alcohol. Rubbing alcohol is an effective solvent that can break down and dissolve the remaining sap stains.
Follow these steps to apply rubbing alcohol to the affected areas:
- Grab a clean cloth and dampen it with rubbing alcohol. Make sure the cloth is not dripping, but adequately saturated.
- Gently blot the cloth onto the sap stains on the cushion. Apply moderate pressure to transfer the rubbing alcohol onto the stain.
- Continue blotting and rubbing the affected areas with the alcohol-soaked cloth. You should start to see the sap stains breaking down and dissolving.
- If the cloth becomes saturated or dirty, replace it with a fresh one to ensure maximum effectiveness.
- Keep rubbing and blotting until you have treated all the sap stains on the cushion. Be thorough in your application, ensuring all areas with sap residue are covered.
Rubbing alcohol works by breaking down the sticky sap and loosening it from the fabric fibers. This makes it easier to remove in the next steps. However, be aware that rubbing alcohol can be strong, so it’s important to test it on a small and inconspicuous area of your cushion first to make sure it doesn’t cause any damage or discoloration.
Once you have applied the rubbing alcohol, you can move on to the next step: blotting with a clean cloth to lift away the dissolved sap.
Step 4: Blot with a clean cloth
After applying rubbing alcohol to dissolve the sap stains, it’s time to move on to the next step: blotting with a clean cloth. This step is crucial for lifting away the dissolved sap and preventing it from reattaching to the cushion fabric.
Follow these steps to effectively blot the cushion with a clean cloth:
- Take a fresh and clean cloth, such as a microfiber cloth or old rag. Make sure it is free from any dirt or debris.
- Gently press the cloth onto the affected areas where you applied the rubbing alcohol. Use a blotting motion to absorb the dissolved sap and lift it away from the fabric.
- Continue blotting with the clean cloth, rotating it or folding it to expose a clean area as needed. This will ensure that you are not spreading the sap around or reapplying it to the cushion.
- Inspect the cloth periodically to check for sap residue. If it becomes saturated or dirty, switch to a new clean cloth.
- Repeat the blotting process until you have removed as much dissolved sap as possible. Be thorough and pay attention to all areas of the cushion that were affected by the sap stains.
Blotting with a clean cloth helps to lift away the dissolved sap from the fabric, preventing it from reattaching or staining the cushion further. By removing as much sap as possible in this step, you’re preparing the cushion for the next steps of the cleaning process.
After completing the blotting process, it’s time to move on to the next step: rinsing the cushion with water to further remove any remaining sap residue.
Read more: How To Remove Stains From Couch Cushions
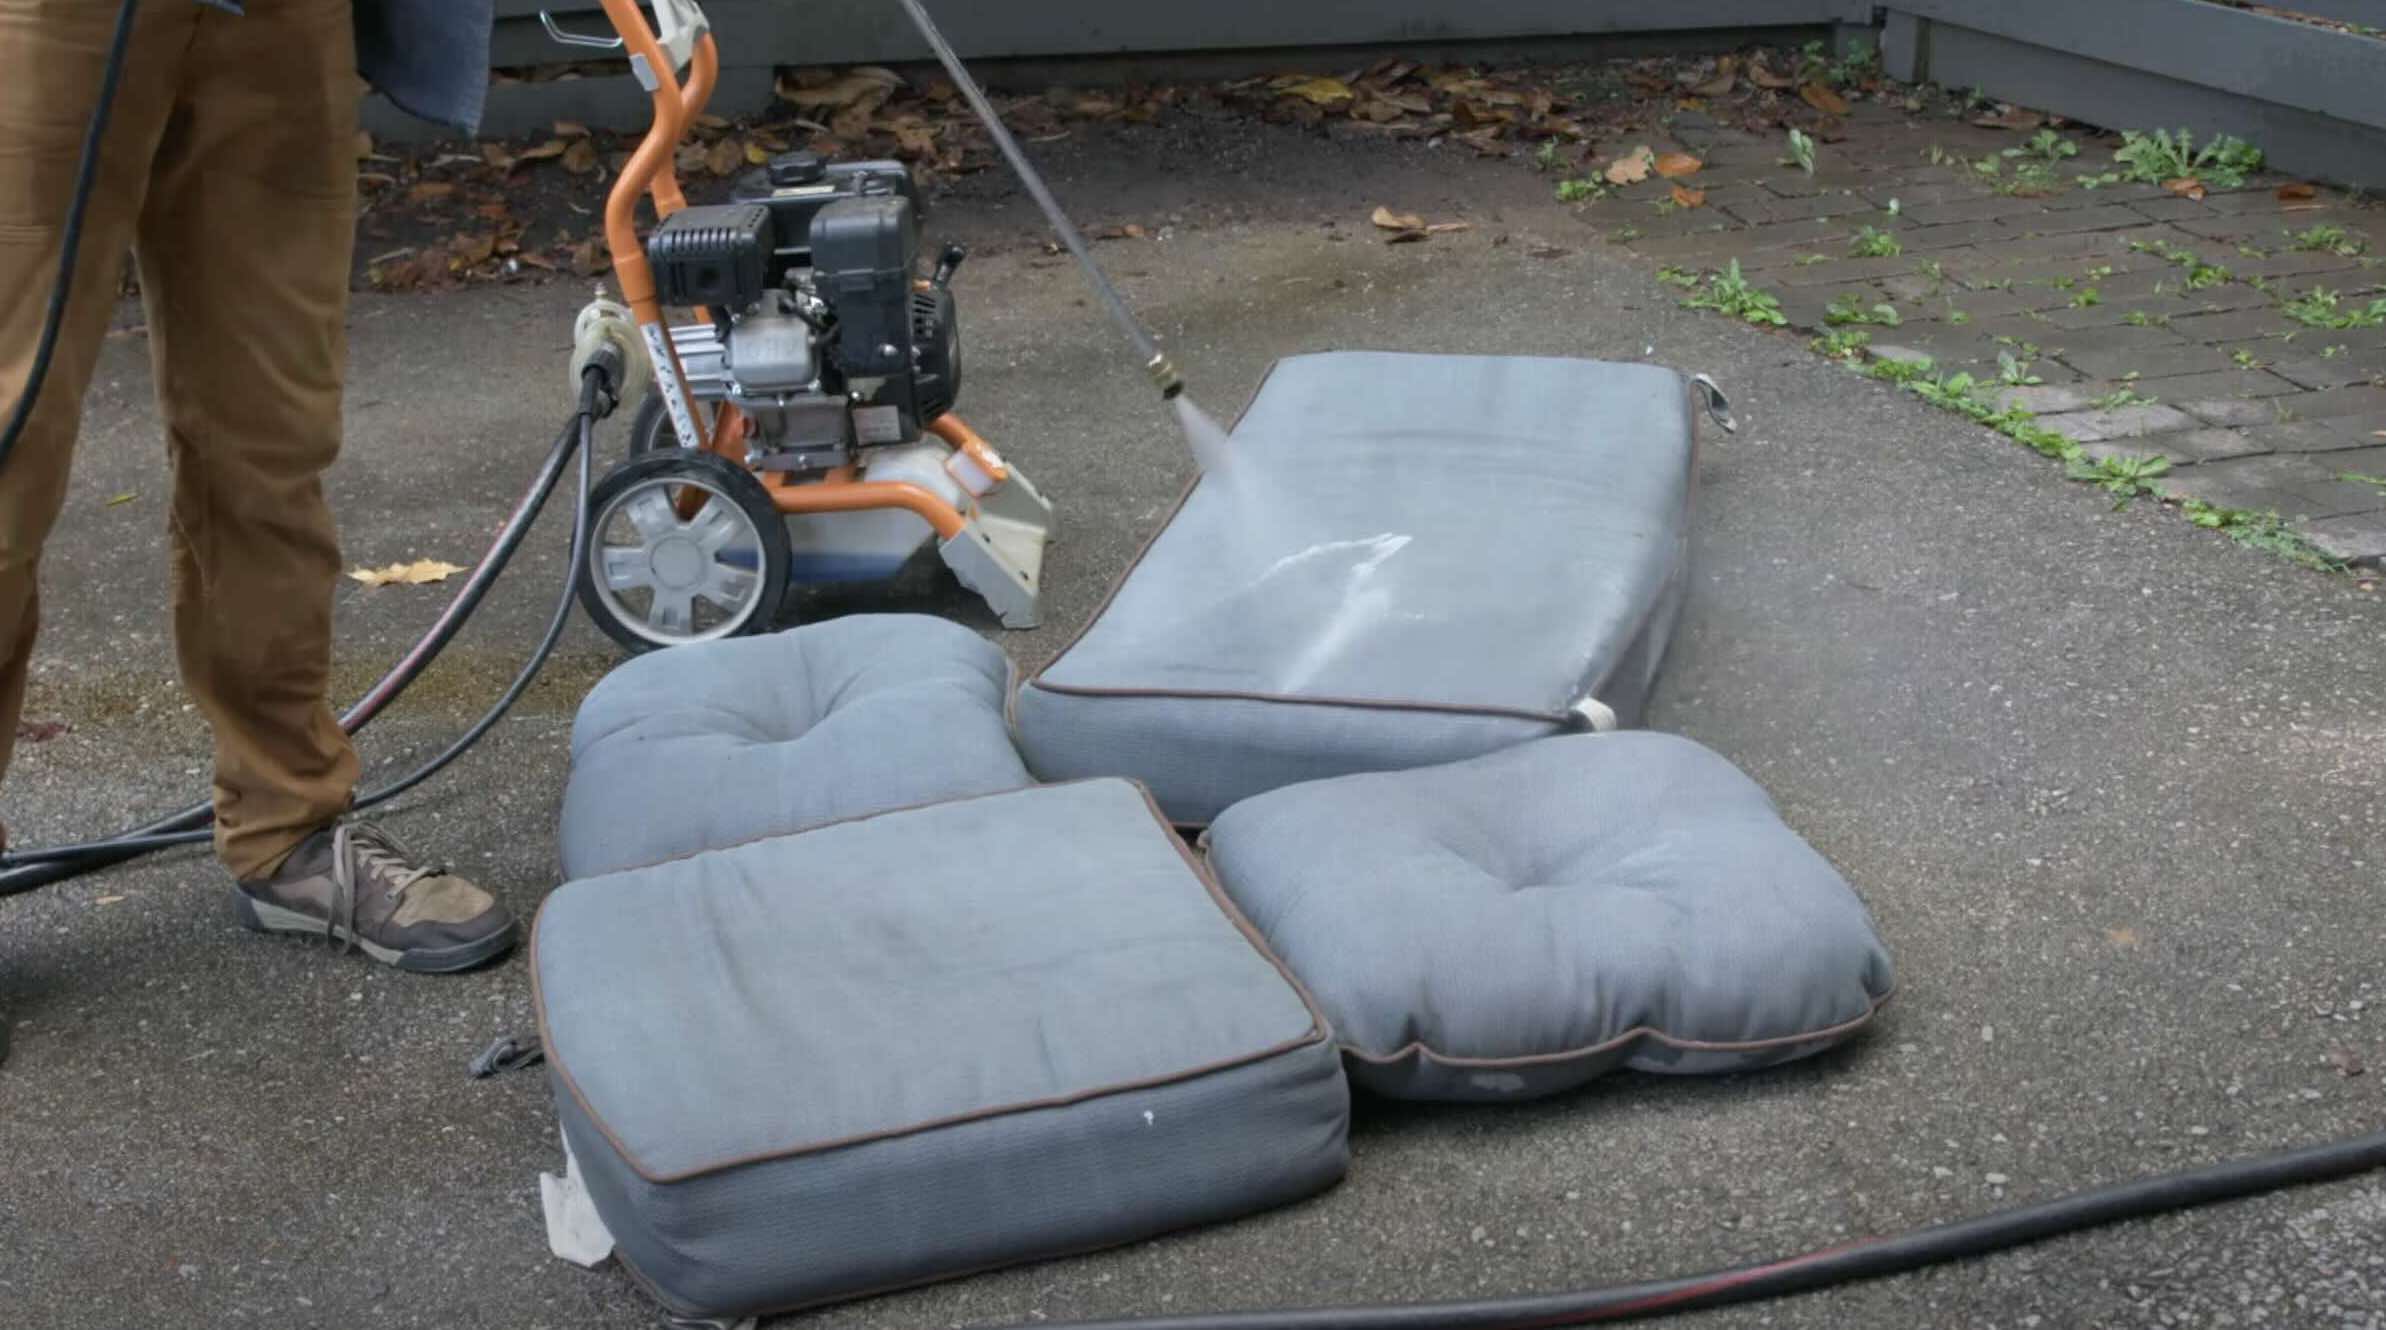
Step 5: Rinse with water
Once you have successfully blotted the cushion to remove the dissolved sap, it’s time to move on to the next step: rinsing with water. Rinsing helps to further eliminate any remaining sap residue and ensures a clean and fresh surface for your outdoor cushion.
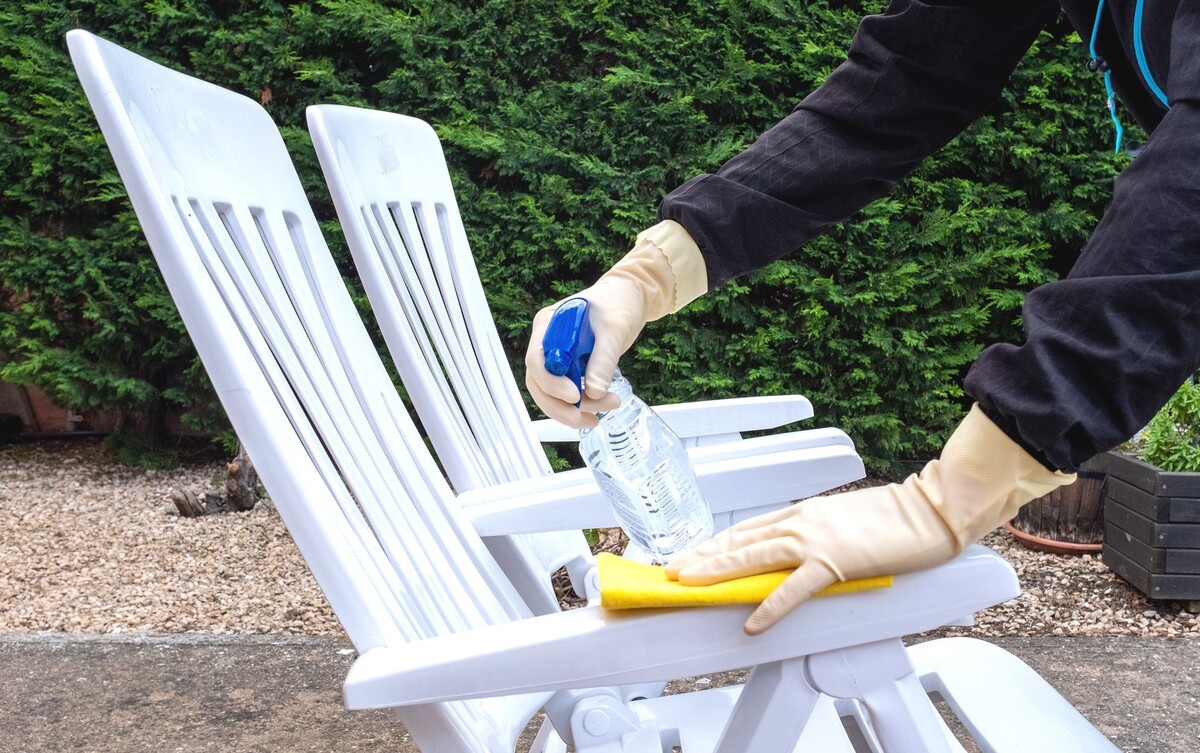
Follow these steps to effectively rinse the cushion with water:
- Take your garden hose or a bucket of water and wet the entire cushion. Make sure to saturate the fabric thoroughly.
- Using a gentle water stream or a bucket of clean water, rinse the areas of the cushion that were affected by the sap stains.
- Ensure that you thoroughly rinse all the spots where you applied the rubbing alcohol and blotted with the clean cloth.
- While rinsing, use your fingers or a soft brush to gently agitate the fabric and help loosen any remaining sap residue.
- Continue rinsing until the water runs clear, indicating that the cushion is free from all sap residue.
By rinsing the cushion with water, you are not only removing any lingering sap residue but also refreshing the fabric and restoring its cleanliness. This step is essential to prepare the cushion for the next cleaning phase: applying a dish soap mixture to remove any remaining stains and restore its original appearance.
Once you have thoroughly rinsed the cushion, it’s time to move on to the next step: applying a dish soap mixture to tackle stubborn sap stains.
To remove sap from outdoor cushions, try using rubbing alcohol or a mixture of dish soap and warm water. Gently scrub the affected area and rinse with clean water. Repeat if necessary.
Step 6: Apply dish soap mixture
After rinsing the cushion to remove any remaining sap residue, it’s time to move on to the next step: applying a dish soap mixture. This mixture will help to break down and remove any stubborn sap stains that may still be lingering on the cushion.
Follow these steps to effectively apply the dish soap mixture:
- Create a dish soap mixture by combining warm water and a few drops of mild dish soap in a bucket or container. Mix it gently to create suds.
- Dip a soft brush or sponge into the dish soap mixture, ensuring it is thoroughly saturated with the soapy solution.
- Gently scrub the areas of the cushion that still have sap stains. Use circular motions and apply moderate pressure to work the dish soap mixture into the fabric.
- Continue scrubbing until you see the sap stains gradually lifting or disappearing. Be patient and thorough during this step.
- Pay extra attention to any stubborn or heavily stained areas. Apply a bit more pressure and spend a little more time on those spots.
The dish soap mixture acts as a gentle yet effective cleaner, helping to break down and remove sap stains from the fabric. It’s important to use a mild dish soap to avoid causing damage to the cushion’s material.
Once you have thoroughly scrubbed the cushion, it’s time to move on to the next step: rinsing it again to remove the dish soap residue and any remaining sap stains.
Step 7: Scrub the affected area
After applying the dish soap mixture to tackle stubborn sap stains, it’s time to move on to the next step: scrubbing the affected area. This step will help to further break down and remove any remaining residue and ensure a thorough cleaning of your outdoor cushion.
Follow these steps to effectively scrub the affected area:
- Dampen a soft brush or sponge with clean water. Make sure it is not too wet, as excessive moisture can prolong the drying time of the cushion.
- Start scrubbing the areas of the cushion that still have sap stains. Use gentle circular motions and apply moderate pressure to work the water into the fabric.
- Focus on the areas where sap stains are more prominent or persistent. Spend a little more time and effort on those spots to ensure they are thoroughly cleaned.
- Continue scrubbing until you are satisfied with the results and all visible sap stains have been removed. Be patient and persistent during this step.
Scrubbing the affected area helps to agitate the fabric and dislodge any remaining residue or stubborn sap stains. The gentle abrasion from the brush or sponge aids in lifting away the stains and ensures a more thorough cleaning.
Once you have finished scrubbing the affected area, it’s time to move on to the next step: rinsing the cushion thoroughly to remove any soap residue and leftover debris.
Step 8: Rinse thoroughly
After scrubbing the affected area to remove any remaining sap stains, it’s important to thoroughly rinse the cushion to ensure all soap residue and debris are completely removed. This step helps to restore the cushion’s cleanliness and prepares it for the drying process.
Follow these steps to effectively rinse the cushion:
- Use a hose or clean water source to thoroughly wet the entire cushion. Make sure to saturate it evenly.
- Rinse the cushion from top to bottom, ensuring that all areas, including the scrubbed spots, are thoroughly rinsed.
- Pay close attention to the crevices and corners of the cushion, as they may have accumulated soap residue.
- Continue rinsing until the water runs clear, indicating that all soap residue and debris have been removed.
Thoroughly rinsing the cushion is crucial to ensure that no soap residue or debris is left behind, as they can contribute to staining and may attract dirt or dust. Taking the time to rinse the cushion properly will result in a clean and refreshed outdoor furniture piece.
Once you have completed the thorough rinsing, it’s time to move on to the next step: allowing the cushion to dry completely.
Step 9: Allow cushions to dry
After rinsing the cushion thoroughly, it’s essential to allow it to dry completely before using or storing it. Drying the cushion properly will help prevent any mold or mildew growth and ensure its longevity.
Follow these steps to effectively dry your outdoor cushions:
- Place the cushion in a well-ventilated and shaded outdoor area. Avoid direct sunlight as it can fade the fabric.
- If possible, prop the cushion upright or on its side to promote air circulation and quicker drying.
- Allow the cushion to air dry naturally. This process may take several hours or even overnight, depending on the material and humidity levels.
- Periodically check the cushion’s dryness by touching it. It should feel completely dry to the touch before proceeding.
- Once the cushion is fully dry, give it a gentle shake or fluff to restore its shape and remove any remaining moisture.
It’s important to refrain from using any heat sources or mechanical dryers as they can damage the fabric or cause shrinking. Allowing the cushion to air dry naturally ensures a safe and effective drying process.
Once the cushion is completely dry, it’s time to move on to the final step: assessing the results and repeating the process if necessary.
Step 10: Repeat if necessary
After completing the previous steps of the sap removal process, it’s time to assess the results. In some cases, particularly with stubborn or deeply embedded sap stains, it may be necessary to repeat the cleaning process to achieve the desired outcome.
Here’s what you should keep in mind when deciding whether to repeat the process:
- Inspect the cushion: Take a close look at the cleaned areas and check for any remaining sap stains or residue. If you still notice stains or a sticky feeling, it indicates that further cleaning is necessary.
- Determine the extent of the stains: If the sap stains are extensive or stubborn, a second round of cleaning may be required. This may be especially true for older or neglected outdoor cushions.
- Consider time constraints: If you have the time and resources, it’s worth repeating the cleaning process to achieve the best possible results. However, if you’re limited on time, you may choose to accept the current level of cleanliness and move forward.
If you decide to repeat the cleaning process, simply start from the beginning and follow each step outlined in this guide. Be patient and meticulous in your approach, ensuring that you thoroughly address all areas affected by sap stains.
Remember, each cushion is unique, and the effectiveness of the cleaning process can vary depending on the material and the severity of the stains. With diligence and persistence, you can successfully remove sap from your outdoor cushions and restore their original look.
Once you’re satisfied with the results, it’s time to enjoy your clean and sap-free outdoor cushions!
Conclusion
Removing sap from outdoor cushions can be a challenging task, but with the right techniques and supplies, it is definitely achievable. By following the step-by-step process outlined in this guide, you can effectively tackle sap stains and restore the pristine appearance of your outdoor furniture.
We began by gathering the necessary supplies, including a scraping tool, rubbing alcohol, a clean cloth, a dish soap mixture, a soft brush or sponge, water, and an outdoor drying space. These supplies are essential for successfully removing sap stains from your outdoor cushions.
We then went through each step of the cleaning process, starting with scraping off excess sap, applying rubbing alcohol, blotting with a clean cloth, rinsing with water, and applying a dish soap mixture. Scrubbing the affected area and thoroughly rinsing the cushion were important steps to ensure a deep clean and eliminate any remaining sap residue.
Lastly, we emphasized the importance of allowing the cushions to dry completely before using or storing them. This helps prevent mold or mildew growth and ensures the longevity of your outdoor cushions.
If necessary, repeating the cleaning process can be done to achieve the desired results, especially for stubborn or deeply embedded sap stains. Assessing the cushions’ cleanliness and deciding whether to repeat the process depends on the extent of the stains and the time constraints you may have.
By following these steps and being patient and thorough throughout the process, you can successfully remove sap from your outdoor cushions and enjoy a fresh and beautiful outdoor seating area.
Remember to always refer to the care instructions provided with your outdoor cushions and adjust the cleaning process accordingly to ensure the best results without causing any damage to the fabric.
With your newly cleaned outdoor cushions, you can now relax and enjoy your outdoor space without the unsightly presence of sap stains. Happy lounging!
Frequently Asked Questions about How To Remove Sap From Outdoor Cushions
Was this page helpful?
At Storables.com, we guarantee accurate and reliable information. Our content, validated by Expert Board Contributors, is crafted following stringent Editorial Policies. We're committed to providing you with well-researched, expert-backed insights for all your informational needs.

0 thoughts on “How To Remove Sap From Outdoor Cushions”