Home>Furniture & Design>Interior Design Trends>How To Remove Glass From Outdoor Light Fixture
Interior Design Trends
How To Remove Glass From Outdoor Light Fixture
Modified: August 20, 2024
Learn how to safely remove glass from your outdoor light fixture and stay up-to-date with the latest interior design trends. Discover expert tips and tricks for a stylish home.
(Many of the links in this article redirect to a specific reviewed product. Your purchase of these products through affiliate links helps to generate commission for Storables.com, at no extra cost. Learn more)
Introduction
Removing glass from an outdoor light fixture may seem like a daunting task, but with the right tools and a systematic approach, it can be accomplished safely and efficiently. Whether you're replacing a broken or outdated glass panel or simply cleaning the fixture, this step-by-step guide will walk you through the process, ensuring that you can complete the task with confidence.
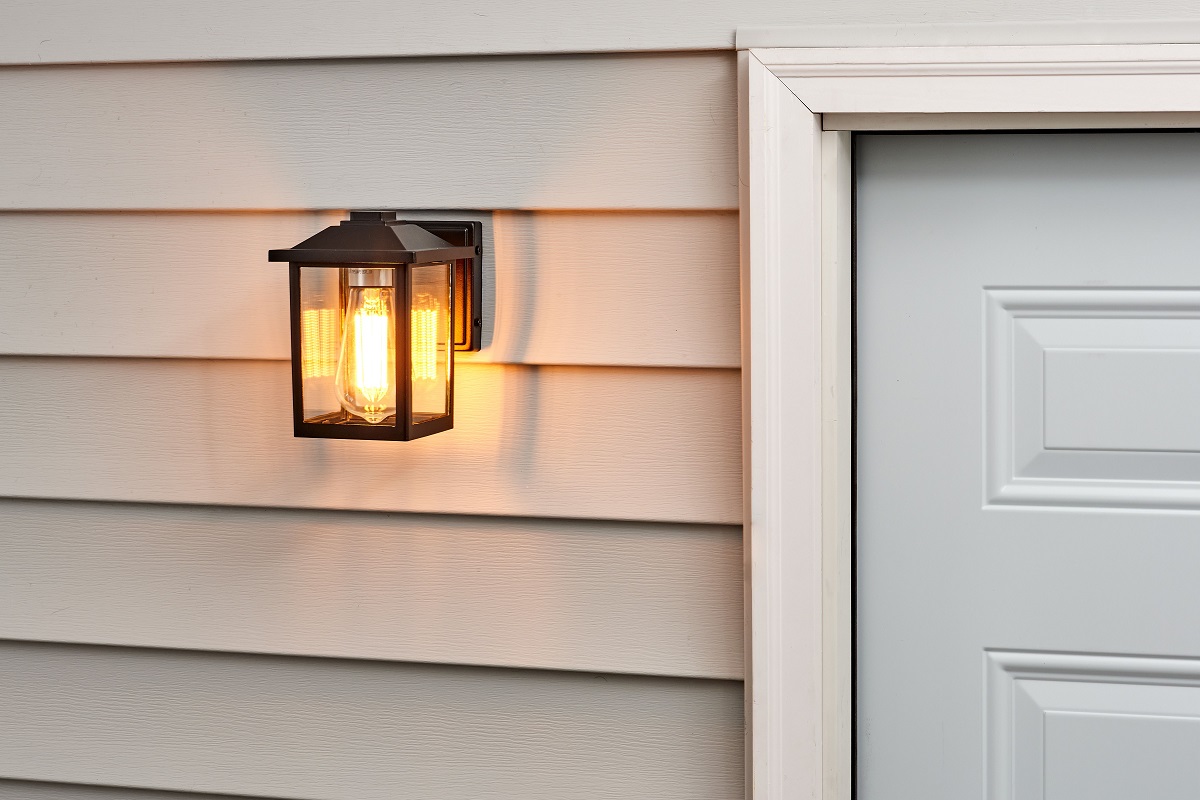
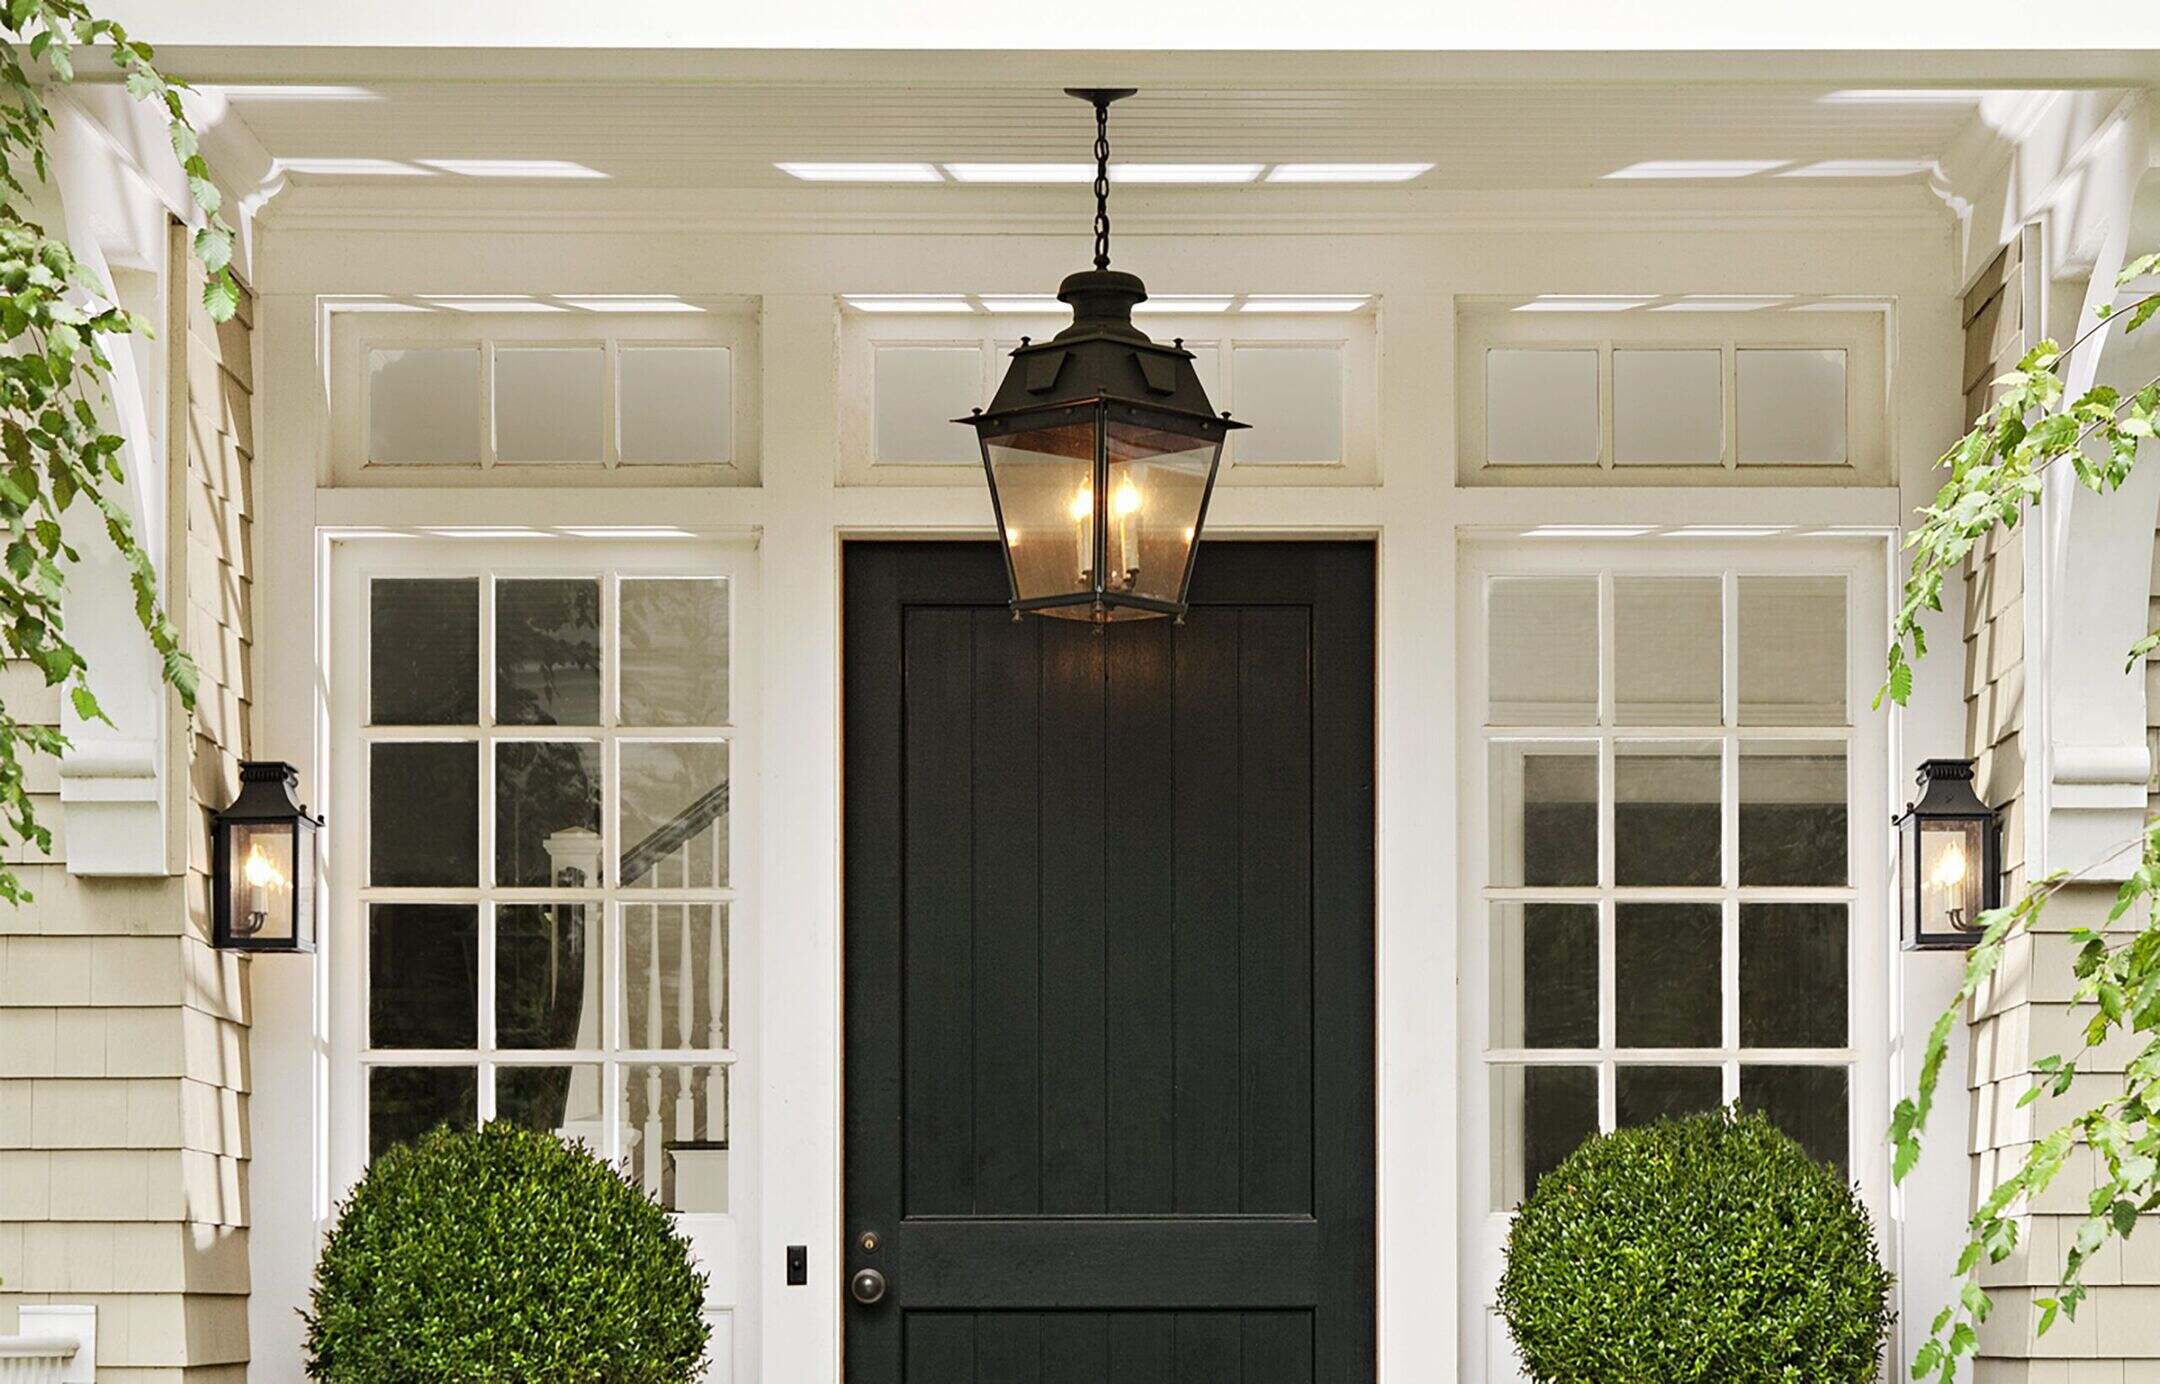
Outdoor light fixtures not only illuminate your outdoor space but also contribute to the overall aesthetic appeal of your home's exterior. Over time, exposure to the elements can cause dirt, grime, and even damage to accumulate on the glass panels of these fixtures. Additionally, if a light fixture is not properly maintained, it can detract from the beauty of your outdoor space and compromise the functionality of the lighting.
By learning how to remove the glass from your outdoor light fixture, you can take proactive steps to maintain and enhance the appearance and functionality of your outdoor lighting. Whether you're a seasoned DIY enthusiast or a homeowner looking to tackle a simple maintenance task, this guide will equip you with the knowledge and confidence to complete the process effectively.
From gathering the necessary tools to safely disconnecting the power supply and carefully removing the glass, each step is crucial to ensure a smooth and successful glass removal process. By following these steps, you can maintain the safety of both yourself and the fixture while achieving the desired outcome.
So, let's embark on this journey to rejuvenate your outdoor light fixture by learning the essential steps to remove the glass, clean the fixture, and potentially replace the glass to restore its original charm and functionality. With the right approach and attention to detail, you can transform your outdoor lighting from dull and dirty to radiant and inviting.
Key Takeaways:
- Rejuvenate outdoor lighting by safely removing glass from fixtures, cleaning, and potentially replacing it. Prioritize safety, gather tools, turn off power, remove glass, clean fixture, and consider replacement.
- Maintain and enhance outdoor lighting by learning to safely remove glass from fixtures. Gather tools, turn off power, remove glass, clean fixture, and potentially replace for a refreshed look.
Read more: How To Remove Glass Globe From Light Fixture
Step 1: Gather necessary tools
Before embarking on the task of removing the glass from your outdoor light fixture, it's essential to gather the necessary tools to ensure a smooth and safe process. Having the right tools at your disposal will not only streamline the task but also contribute to the overall efficiency and success of the project.
Here are the essential tools you will need:
-
Screwdriver: A screwdriver is a fundamental tool for most household projects, and it's particularly crucial for removing the screws that secure the glass panels in place. Depending on the type of screws used in your fixture, you may require a flathead or Phillips head screwdriver.
-
Work Gloves: It's important to prioritize safety when working with outdoor light fixtures. Wearing work gloves will protect your hands from sharp edges, potential debris, and any residual dirt or grime that may have accumulated on the fixture.
-
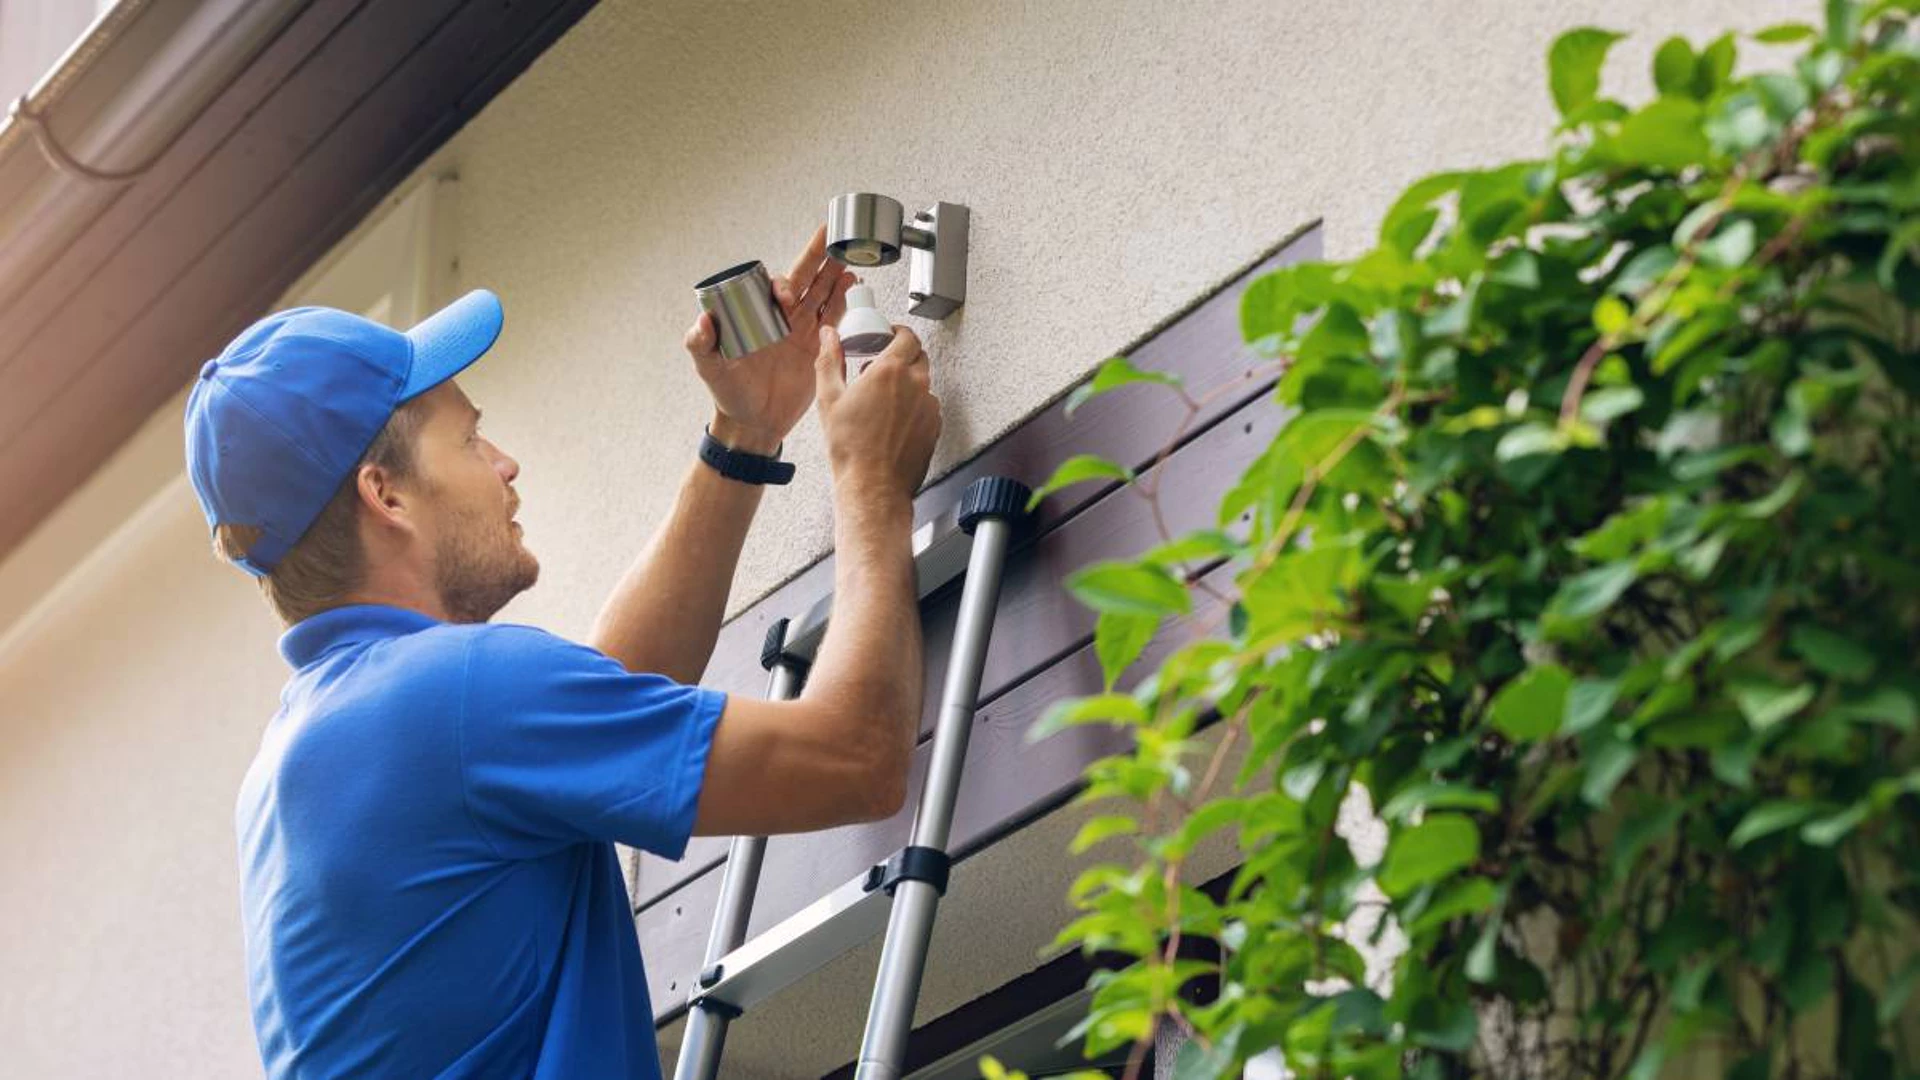
Ladder or Step Stool: Since outdoor light fixtures are typically mounted at a height, a stable ladder or step stool will provide safe and convenient access to the fixture. Ensure that the ladder is positioned on a flat and stable surface before ascending.
-
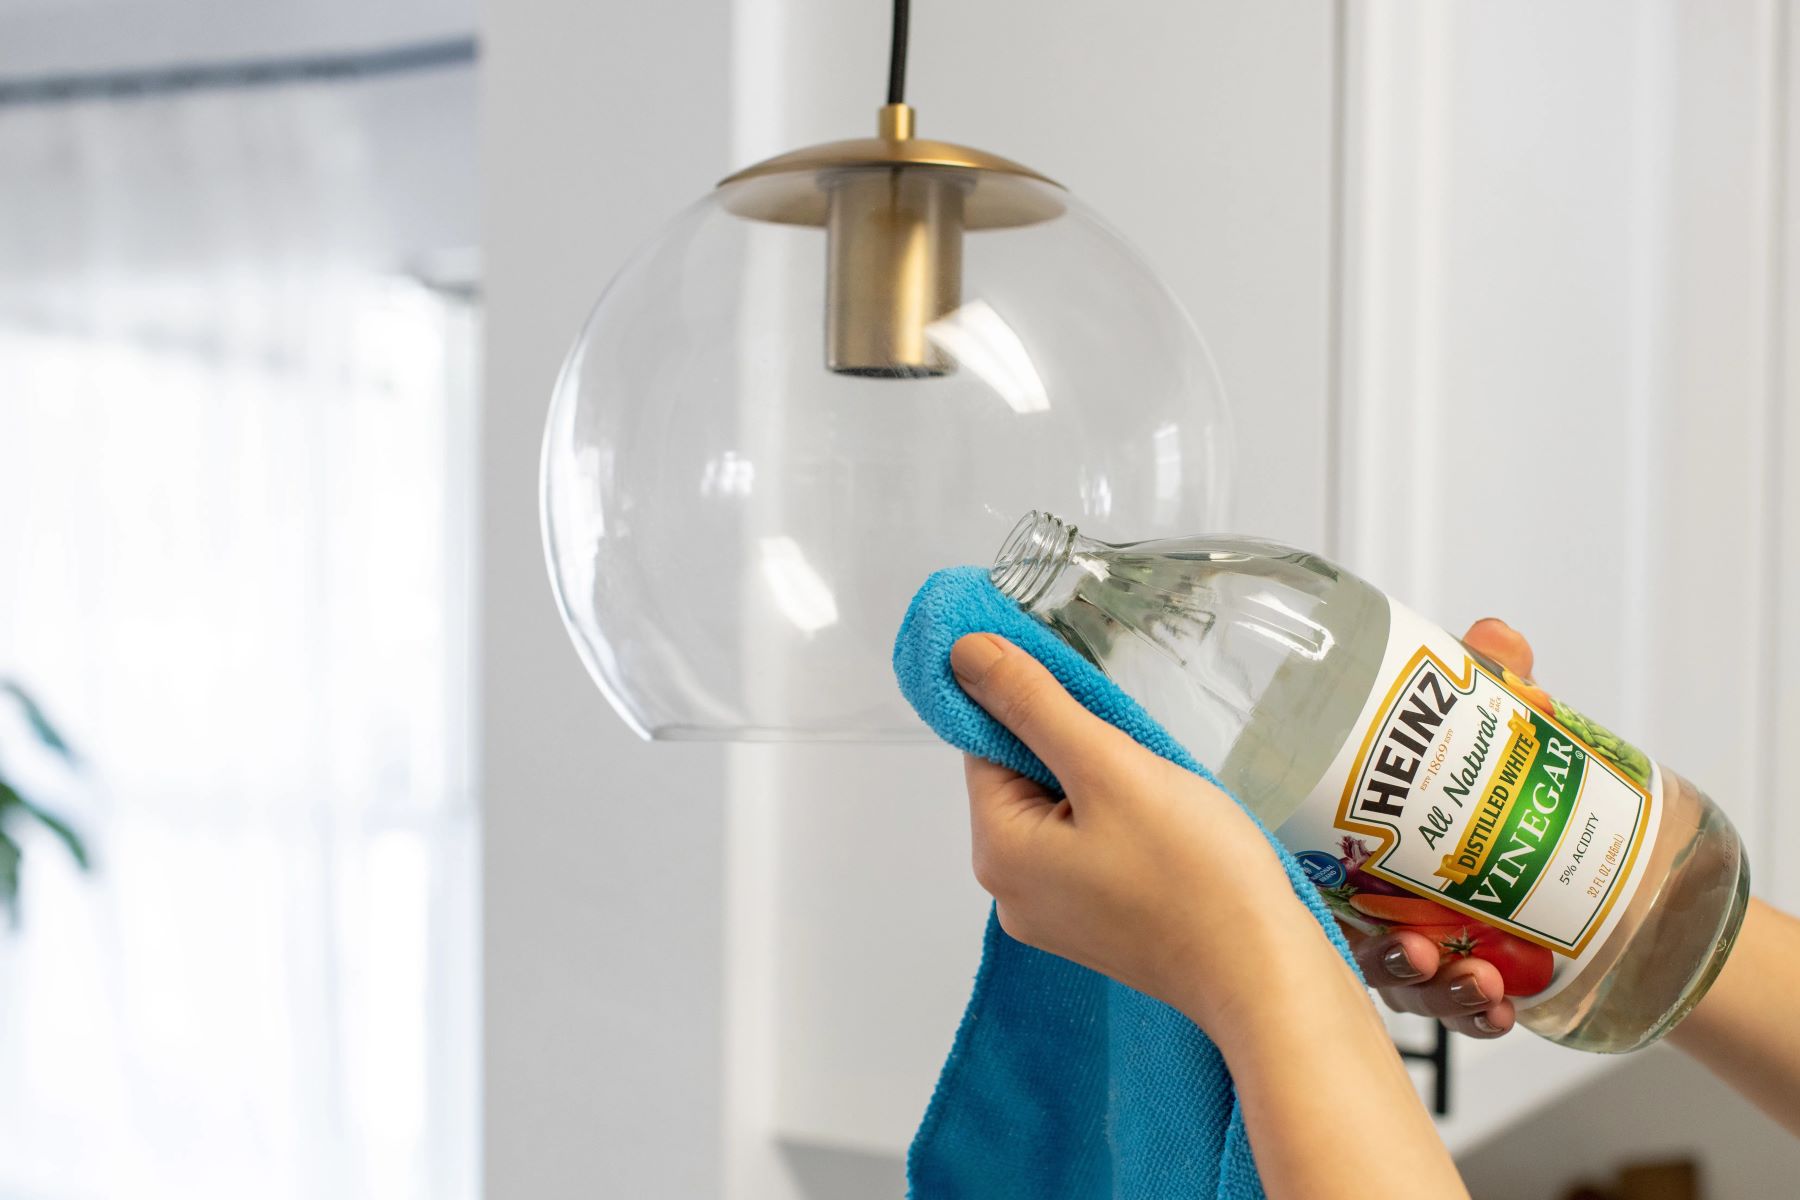
Cleaning Supplies: Depending on the condition of the fixture and the glass panels, you may need cleaning supplies such as glass cleaner, a soft cloth, or a gentle cleaning solution to remove any dirt, grime, or residue from the glass and the fixture itself.
-
Replacement Glass (Optional): If your goal is to replace the glass panels, it's advisable to have the replacement glass on hand before beginning the removal process. This will allow for a seamless transition from removing the old glass to installing the new panels.
By gathering these essential tools, you will be well-prepared to tackle the task of removing the glass from your outdoor light fixture. With the right tools at your disposal, you can approach the project with confidence, knowing that you have everything you need to complete the task efficiently and safely.
Step 2: Turn off the power
Before proceeding with the glass removal process, it is imperative to prioritize safety by disconnecting the power supply to the outdoor light fixture. This crucial step will mitigate the risk of electrical shock and ensure a secure working environment throughout the glass removal procedure.
To safely turn off the power to the outdoor light fixture, follow these steps:
-
Locate the Circuit Breaker: Begin by identifying the circuit breaker that controls the power supply to the outdoor light fixture. The circuit breaker panel is typically located in the basement, garage, or utility room of the house. Once you have located the panel, open the door to reveal the circuit breakers.
-
Identify the Correct Breaker: Carefully scan the circuit breakers to identify the one that corresponds to the outdoor light fixture. In some cases, the breakers may be labeled to indicate their respective functions. If the breakers are not labeled, you may need assistance from a family member or friend to help identify the correct one while you test the fixture.
-
Switch Off the Breaker: Once you have identified the correct circuit breaker, switch it to the "off" position. This action will cut off the power supply to the outdoor light fixture, ensuring that there is no electricity flowing to the fixture during the glass removal process.
-
Verify the Power Supply: After switching off the circuit breaker, it is essential to verify that the power supply to the outdoor light fixture has been successfully disconnected. You can do this by attempting to turn on the light switch associated with the fixture. If the power has been effectively turned off, the light should not illuminate when the switch is flipped.
By diligently following these steps to turn off the power supply, you can create a safe working environment for the subsequent stages of the glass removal process. Prioritizing safety by disconnecting the power ensures that you can proceed with the task confidently and without the risk of electrical hazards.
Once the power supply has been safely turned off, you can proceed to the next step of removing the screws or clips that secure the glass panels in place, knowing that you have taken the necessary precautions to ensure a secure working environment.
Step 3: Remove the screws or clips
With the power supply safely turned off, you can now focus on the next crucial step in the glass removal process: removing the screws or clips that secure the glass panels in place. This step requires precision and attention to detail to ensure that the glass can be safely detached from the fixture without causing any damage.
-
Identify the Fasteners: Inspect the perimeter of the outdoor light fixture to locate the screws or clips that hold the glass panels in position. Depending on the design of the fixture, these fasteners may be situated along the edges of the frame or in specific corners. Take note of the number of fasteners and their locations to prepare for their removal.
-
Use the Appropriate Tool: Depending on the type of fasteners used, select the appropriate tool, such as a screwdriver or a suitable wrench, to loosen and remove the screws or clips. Ensure that the tool fits securely onto the fasteners to prevent slippage and potential damage to the fixture or the glass panels.
-
Carefully Loosen the Fasteners: With the selected tool, gently loosen each screw or clip in a consistent and controlled manner. Avoid applying excessive force, as this may lead to the fasteners becoming stripped or damaged. Take your time to carefully release each fastener, maintaining a firm grip on the tool to prevent any accidental drops.
-
Secure the Fasteners: As you remove each screw or clip, place them in a designated container or secure them in a safe location. Keeping track of the fasteners will facilitate a smooth reassembly process once the glass has been cleaned or replaced. Additionally, this practice helps prevent misplacement and ensures that all components are accounted for.
-
Handle the Glass with Care: As the last fastener is removed, exercise caution when handling the glass panels. Gently support the glass to prevent it from falling or shifting unexpectedly. If the glass is secured within a frame, carefully maneuver it to disengage it from any remaining retention points, ensuring that it can be safely lifted away from the fixture.
By meticulously following these steps to remove the screws or clips, you can effectively detach the glass panels from the outdoor light fixture without causing any damage or compromising your safety. With the glass now ready to be carefully lifted away from the fixture, you are one step closer to rejuvenating your outdoor lighting and achieving a clean and polished appearance.
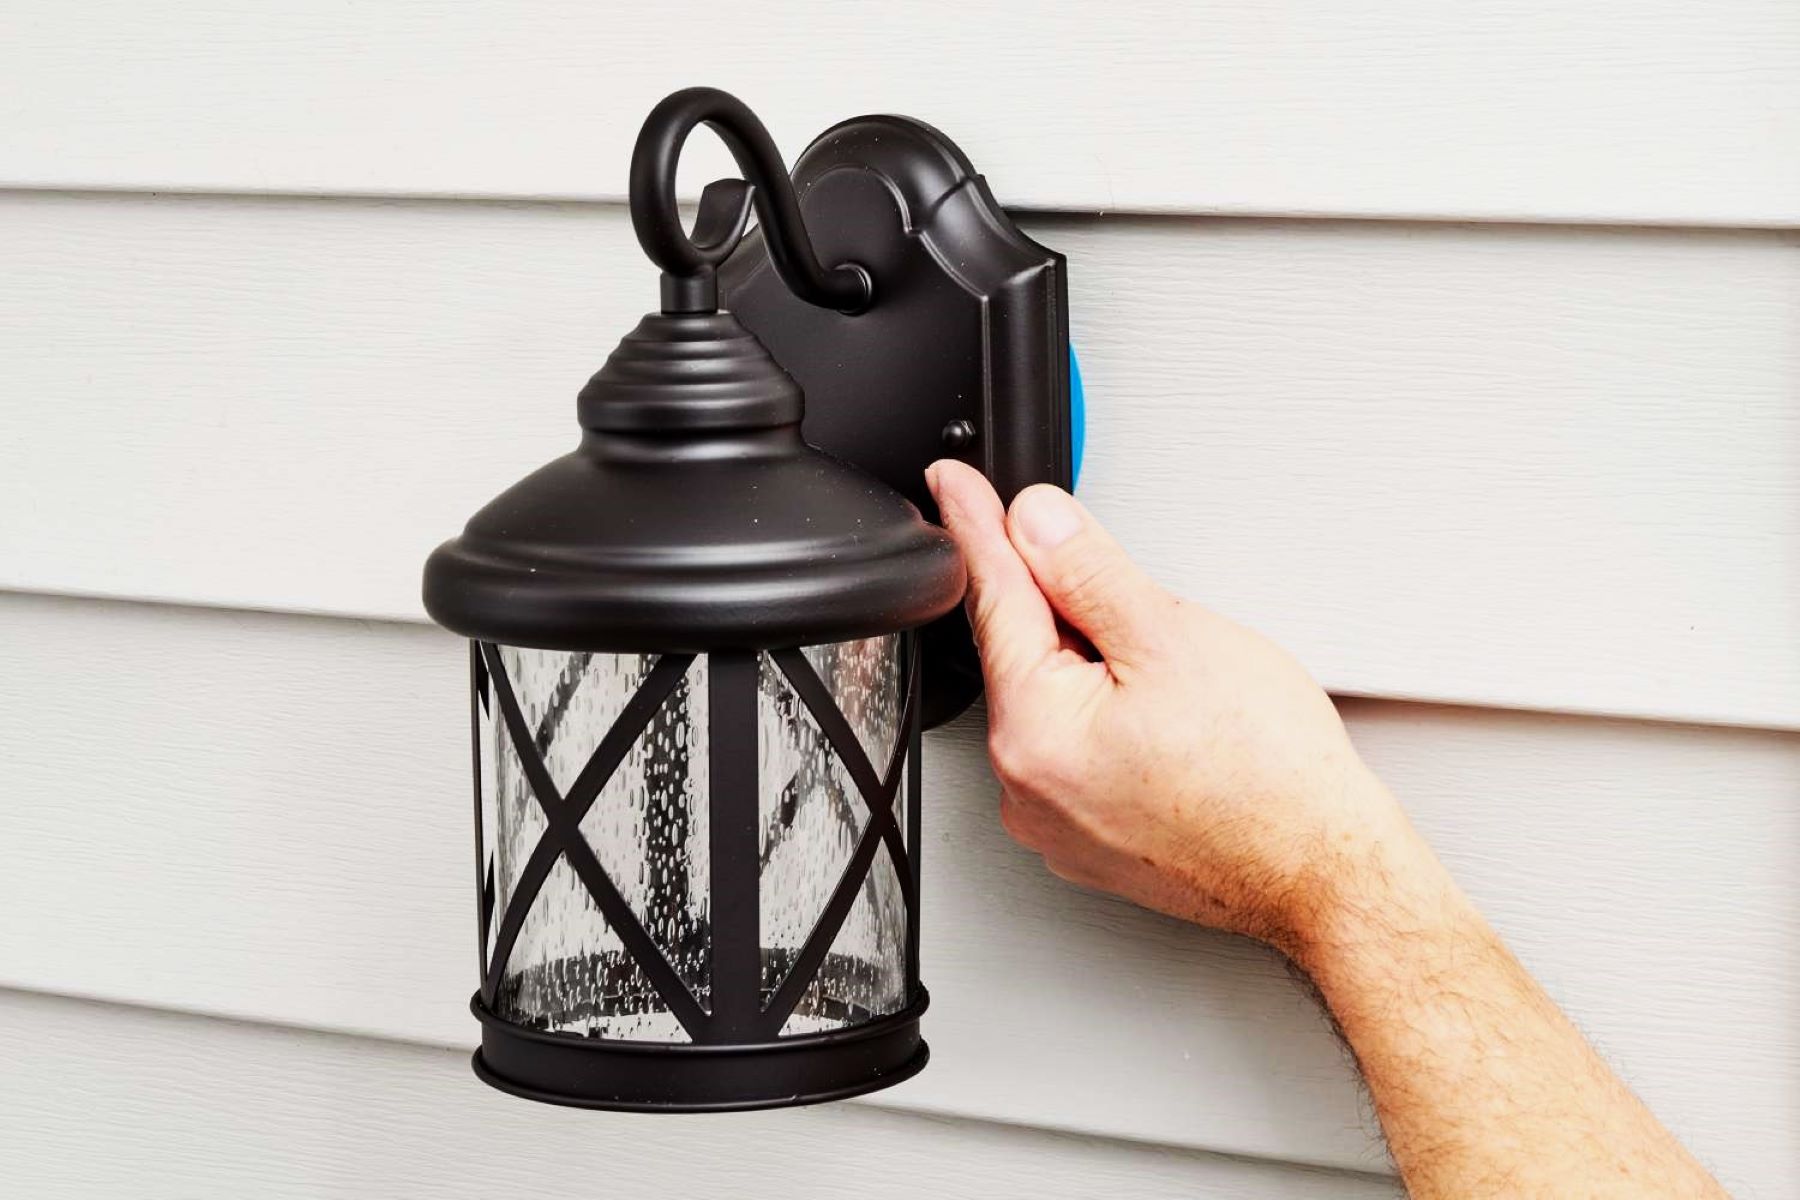
Step 4: Carefully remove the glass
With the screws or clips successfully removed, the next critical step in the glass removal process is to carefully detach the glass from the outdoor light fixture. This step requires precision, attentiveness, and a focus on safety to ensure that the glass can be removed without any damage or mishaps.
-
Assess the Glass Placement: Before attempting to lift the glass panels, take a moment to assess how they are positioned within the fixture. Determine whether the glass is held in place by any additional retention points or if it simply rests within the frame. Understanding the configuration will guide your approach to safely removing the glass.
-
Support the Glass: If the glass panels are sizable or heavy, it is advisable to have a second person assist you in safely lifting and supporting the glass. Working together can help distribute the weight evenly and reduce the risk of accidental drops or breakage. If you are working alone, ensure that you have a secure grip on the glass before attempting to lift it.
-
Lift with Caution: With a firm and steady grip on the glass, lift it away from the fixture in a controlled and deliberate manner. Be mindful of any protruding edges or corners that may pose a risk of injury. If the glass is secured within a frame, gently maneuver it to disengage it from any remaining retention points, ensuring a smooth and safe removal.
-
Place the Glass Securely: Once the glass has been successfully lifted away from the fixture, place it on a stable and flat surface, taking care to avoid any sudden movements or impacts. If the glass is being replaced, set it aside in a secure location to prevent any accidental damage. If the goal is to clean the glass, ensure that it is positioned in a safe area where it can be accessed for cleaning.
-
Inspect the Fixture: After the glass has been removed, take a moment to inspect the interior of the fixture. This is an opportune time to assess the condition of the fixture, identify any accumulated dirt or debris, and prepare for the cleaning process. Additionally, inspect the frame and sealing components to ensure that they are in good condition and free from damage.
By meticulously following these steps to carefully remove the glass from the outdoor light fixture, you can ensure that the glass is safely detached without any incidents or damage. With the glass now removed, you are poised to proceed with the cleaning and maintenance of the fixture, or potentially replace the glass with a fresh and pristine panel.
Before attempting to remove the glass from an outdoor light fixture, make sure to turn off the power to the fixture to avoid any electrical hazards. Then, carefully unscrew or unclip the glass cover and handle it gently to avoid breakage.
Step 5: Clean the fixture and replace the glass
With the glass successfully removed from the outdoor light fixture, the next pivotal step involves cleaning the fixture and potentially replacing the glass to restore its pristine appearance and functionality. This phase of the process is essential for revitalizing the fixture's aesthetic appeal and ensuring optimal light transmission through the glass panels.
Cleaning the Fixture
-
Inspect the Interior: Begin by carefully examining the interior of the fixture to identify any accumulated dirt, debris, or residue. Use a flashlight to illuminate the interior, allowing you to thoroughly assess the condition of the fixture and pinpoint areas that require cleaning.
-
Dust and Debris Removal: Utilize a soft-bristled brush or a microfiber cloth to gently remove any dust, cobwebs, or loose debris from the interior surfaces of the fixture. Pay close attention to crevices, corners, and intricate details to ensure comprehensive cleaning.
-
Cleaning Solution Application: If the fixture exhibits stubborn dirt or grime, prepare a mild cleaning solution by mixing water with a gentle detergent or glass cleaner. Dampen a soft cloth with the solution and carefully wipe the interior surfaces of the fixture, ensuring thorough coverage while avoiding excessive moisture.
-
Rinse and Dry: After cleaning, use a separate clean cloth dampened with water to rinse the surfaces, removing any residual cleaning solution. Once rinsed, thoroughly dry the interior of the fixture with a dry cloth to prevent water spots or streaks.
Replacing the Glass
-
Assess the Replacement Glass: If the goal is to replace the glass panels, carefully inspect the new glass to ensure that it is free from defects, scratches, or blemishes. Verify that the dimensions of the replacement glass align with the specifications of the fixture to guarantee a proper fit.
-
Positioning the Glass: With the fixture cleaned and prepared, carefully position the replacement glass within the frame, ensuring that it aligns securely with any retention points or fastening mechanisms. Exercise caution to prevent accidental slippage or damage to the new glass panel.
-
Secure the Fasteners: If the glass panels are secured with screws or clips, reattach them to the fixture in the designated locations. Use the appropriate tool to tighten the fasteners, ensuring that the glass is firmly and evenly secured within the frame.
-
Final Inspection: Once the glass is in place, conduct a final inspection of the fixture to verify that the replacement glass is securely installed and free from any defects. Ensure that the glass is clean and free from smudges or marks, enhancing its visual clarity and light transmission capabilities.
By meticulously following these steps to clean the fixture and potentially replace the glass, you can rejuvenate your outdoor light fixture, restoring its visual appeal and ensuring optimal functionality. Whether you opt to clean the existing glass or install a replacement, this process will contribute to the overall enhancement of your outdoor lighting, creating a welcoming and well-maintained exterior ambiance.
Conclusion
In conclusion, the process of removing glass from an outdoor light fixture encompasses essential steps that prioritize safety, precision, and attention to detail. By following the systematic approach outlined in this guide, homeowners and DIY enthusiasts can confidently undertake the task, rejuvenating their outdoor lighting and maintaining the aesthetic appeal of their exterior spaces.
The journey begins with gathering the necessary tools, emphasizing the importance of being well-prepared for the task at hand. Equipped with a screwdriver, work gloves, a stable ladder or step stool, cleaning supplies, and potentially replacement glass, individuals can approach the glass removal process with confidence and readiness.
Prioritizing safety, the guide emphasizes the crucial step of turning off the power supply to the outdoor light fixture. By carefully identifying the correct circuit breaker and switching it off, homeowners can create a secure working environment, mitigating the risk of electrical hazards throughout the glass removal process.
The subsequent steps focus on the meticulous removal of screws or clips securing the glass panels and the careful detachment of the glass from the fixture. These stages underscore the significance of precision and attentiveness, ensuring that the glass can be safely removed without causing damage or compromising safety.
Following the successful removal of the glass, the guide transitions into the pivotal phase of cleaning the fixture and potentially replacing the glass. From inspecting the interior of the fixture to removing dust and debris, applying a gentle cleaning solution, and thoroughly drying the surfaces, the cleaning process is detailed to ensure comprehensive maintenance.
For those opting to replace the glass, the guide provides insights into assessing the replacement glass, positioning it securely within the frame, and conducting a final inspection to verify its proper installation. These steps contribute to the overall rejuvenation of the outdoor light fixture, enhancing its visual clarity and functionality.
In essence, the process of removing glass from an outdoor light fixture is not only a maintenance task but also an opportunity to revitalize the exterior ambiance of a home. By embracing the steps outlined in this guide, individuals can embark on this journey with confidence, knowing that they have the knowledge and guidance to achieve a clean, polished, and inviting outdoor lighting environment.
Now that you've mastered removing glass from outdoor light fixtures, why not brighten your space further with creative illumination concepts? Our guide on outdoor lighting solutions offers dynamic ideas to transform your open-air areas into enchanting havens. From subtle accents to bold statements, find setups that suit every style and occasion. Keep your evenings aglow and your outdoor areas inviting. Ready to light up your nights and elevate your outdoor ambiance? Dive into our article on effective strategies for enhancing your patio's atmosphere.
Frequently Asked Questions about How To Remove Glass From Outdoor Light Fixture
Was this page helpful?
At Storables.com, we guarantee accurate and reliable information. Our content, validated by Expert Board Contributors, is crafted following stringent Editorial Policies. We're committed to providing you with well-researched, expert-backed insights for all your informational needs.


0 thoughts on “How To Remove Glass From Outdoor Light Fixture”