Home>Furniture>Outdoor Furniture>How To Repair A Patio Door Lock
Outdoor Furniture
How To Repair A Patio Door Lock
Modified: August 16, 2024
Looking to fix your patio door lock? Learn how to repair your outdoor furniture with this step-by-step guide and ensure your patio door is secure and functional.
(Many of the links in this article redirect to a specific reviewed product. Your purchase of these products through affiliate links helps to generate commission for Storables.com, at no extra cost. Learn more)
Introduction
Welcome to our guide on how to repair a patio door lock. Your patio door is an important entry point to your home, providing security and access to your outdoor space. Over time, the lock mechanism may become worn or damaged, resulting in a malfunctioning or non-functional lock. This can compromise the security of your home and disrupt your daily routine.
Fortunately, repairing a patio door lock is a relatively straightforward process that you can do yourself with the right tools and a little know-how. In this article, we will walk you through the steps to assess the problem, gather the necessary tools, and repair or replace the lock cylinder to restore full functionality to your patio door lock.
Before we begin, it’s important to note that different types of patio door locks may have unique repair procedures. Therefore, it’s essential to consult the manufacturer’s instructions or seek professional advice if you’re unsure about any specific details or steps for your particular patio door lock.
Now, let’s dive in and learn how to repair your patio door lock, so you can get back to enjoying the security and convenience it provides.
Key Takeaways:
- Keep your patio door lock in top condition by assessing, cleaning, and repairing it with basic tools. Regular maintenance ensures security and convenience for your home and outdoor space.
- With patience and the right tools, you can easily repair a malfunctioning patio door lock. Follow the steps to inspect, clean, and replace components for a secure and smoothly operating lock.
Read also: 15 Best Patio Door Locks For 2025
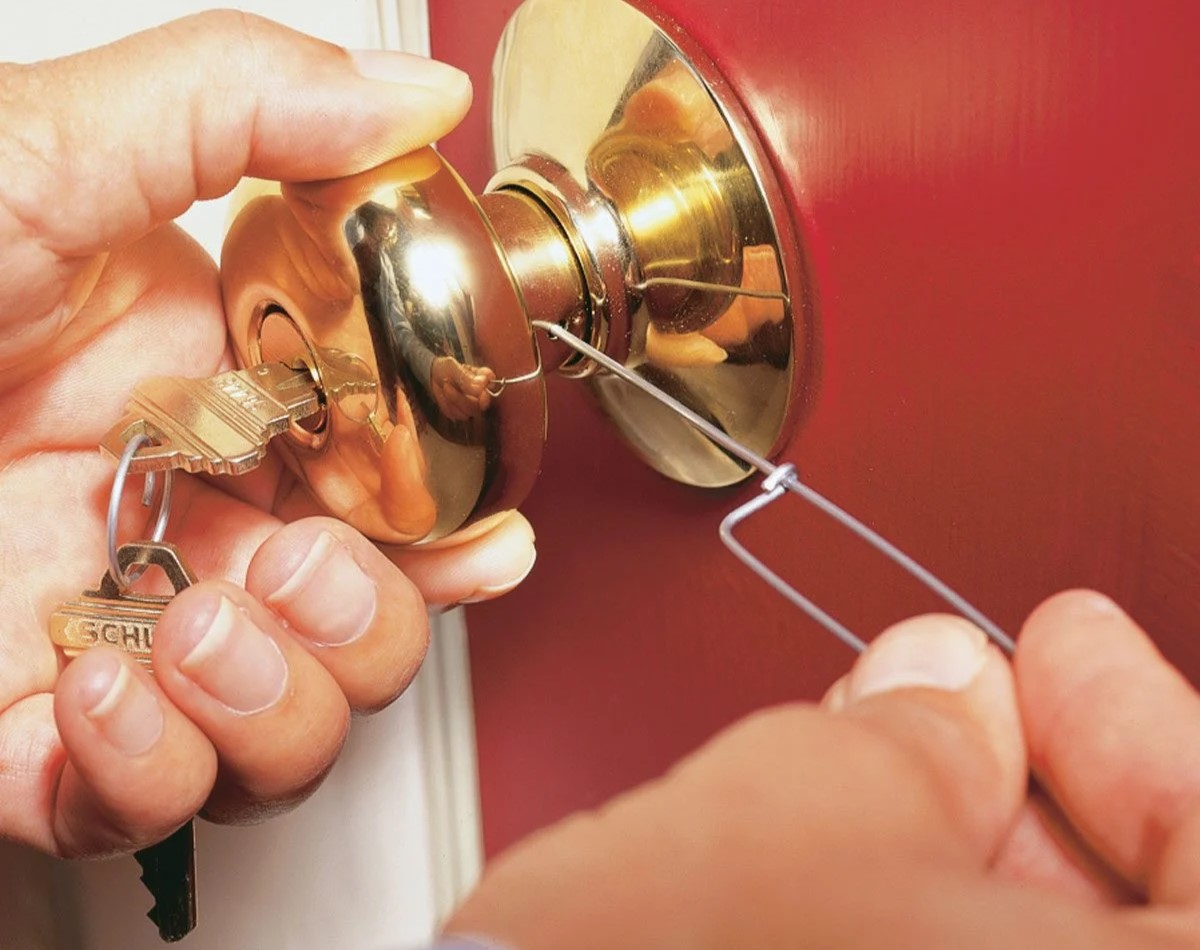
Assessing the Problem
The first step in repairing a patio door lock is to assess the problem and determine the root cause of the malfunction. There are several common issues you may encounter with a patio door lock:
- The lock is difficult to turn or becomes stuck: This could indicate a buildup of dust, dirt, or debris in the lock mechanism. It could also be a sign that the locking components are misaligned or damaged.
- The lock cylinder is loose or wobbly: If you notice that the lock cylinder moves or wiggles when you try to lock or unlock the patio door, it may be due to loose screws or worn-out internal components.
- The key does not turn smoothly: If you’re having trouble inserting or turning the key in the lock cylinder, it could be due to a worn-out or damaged key, or a problem with the lock mechanism.
- The latch does not retract fully: When the latch does not retract fully into the lock mechanism, it prevents the door from closing properly. This can occur due to misalignment, dirt, or damage to the latch or strike plate.
Take some time to carefully observe and evaluate the specific issue you’re experiencing with your patio door lock. Try to move the lock cylinder, turn the key, and operate the latch to get a better sense of the problem. Note any unusual sounds, resistance, or visual indicators of damage or wear.
Understanding the problem will help you determine the appropriate course of action. In some cases, a thorough cleaning and lubrication may solve the issue. In other cases, you may need to repair or replace specific components of the lock mechanism.
Once you’ve assessed the problem, you can move on to the next step: gathering the necessary tools.
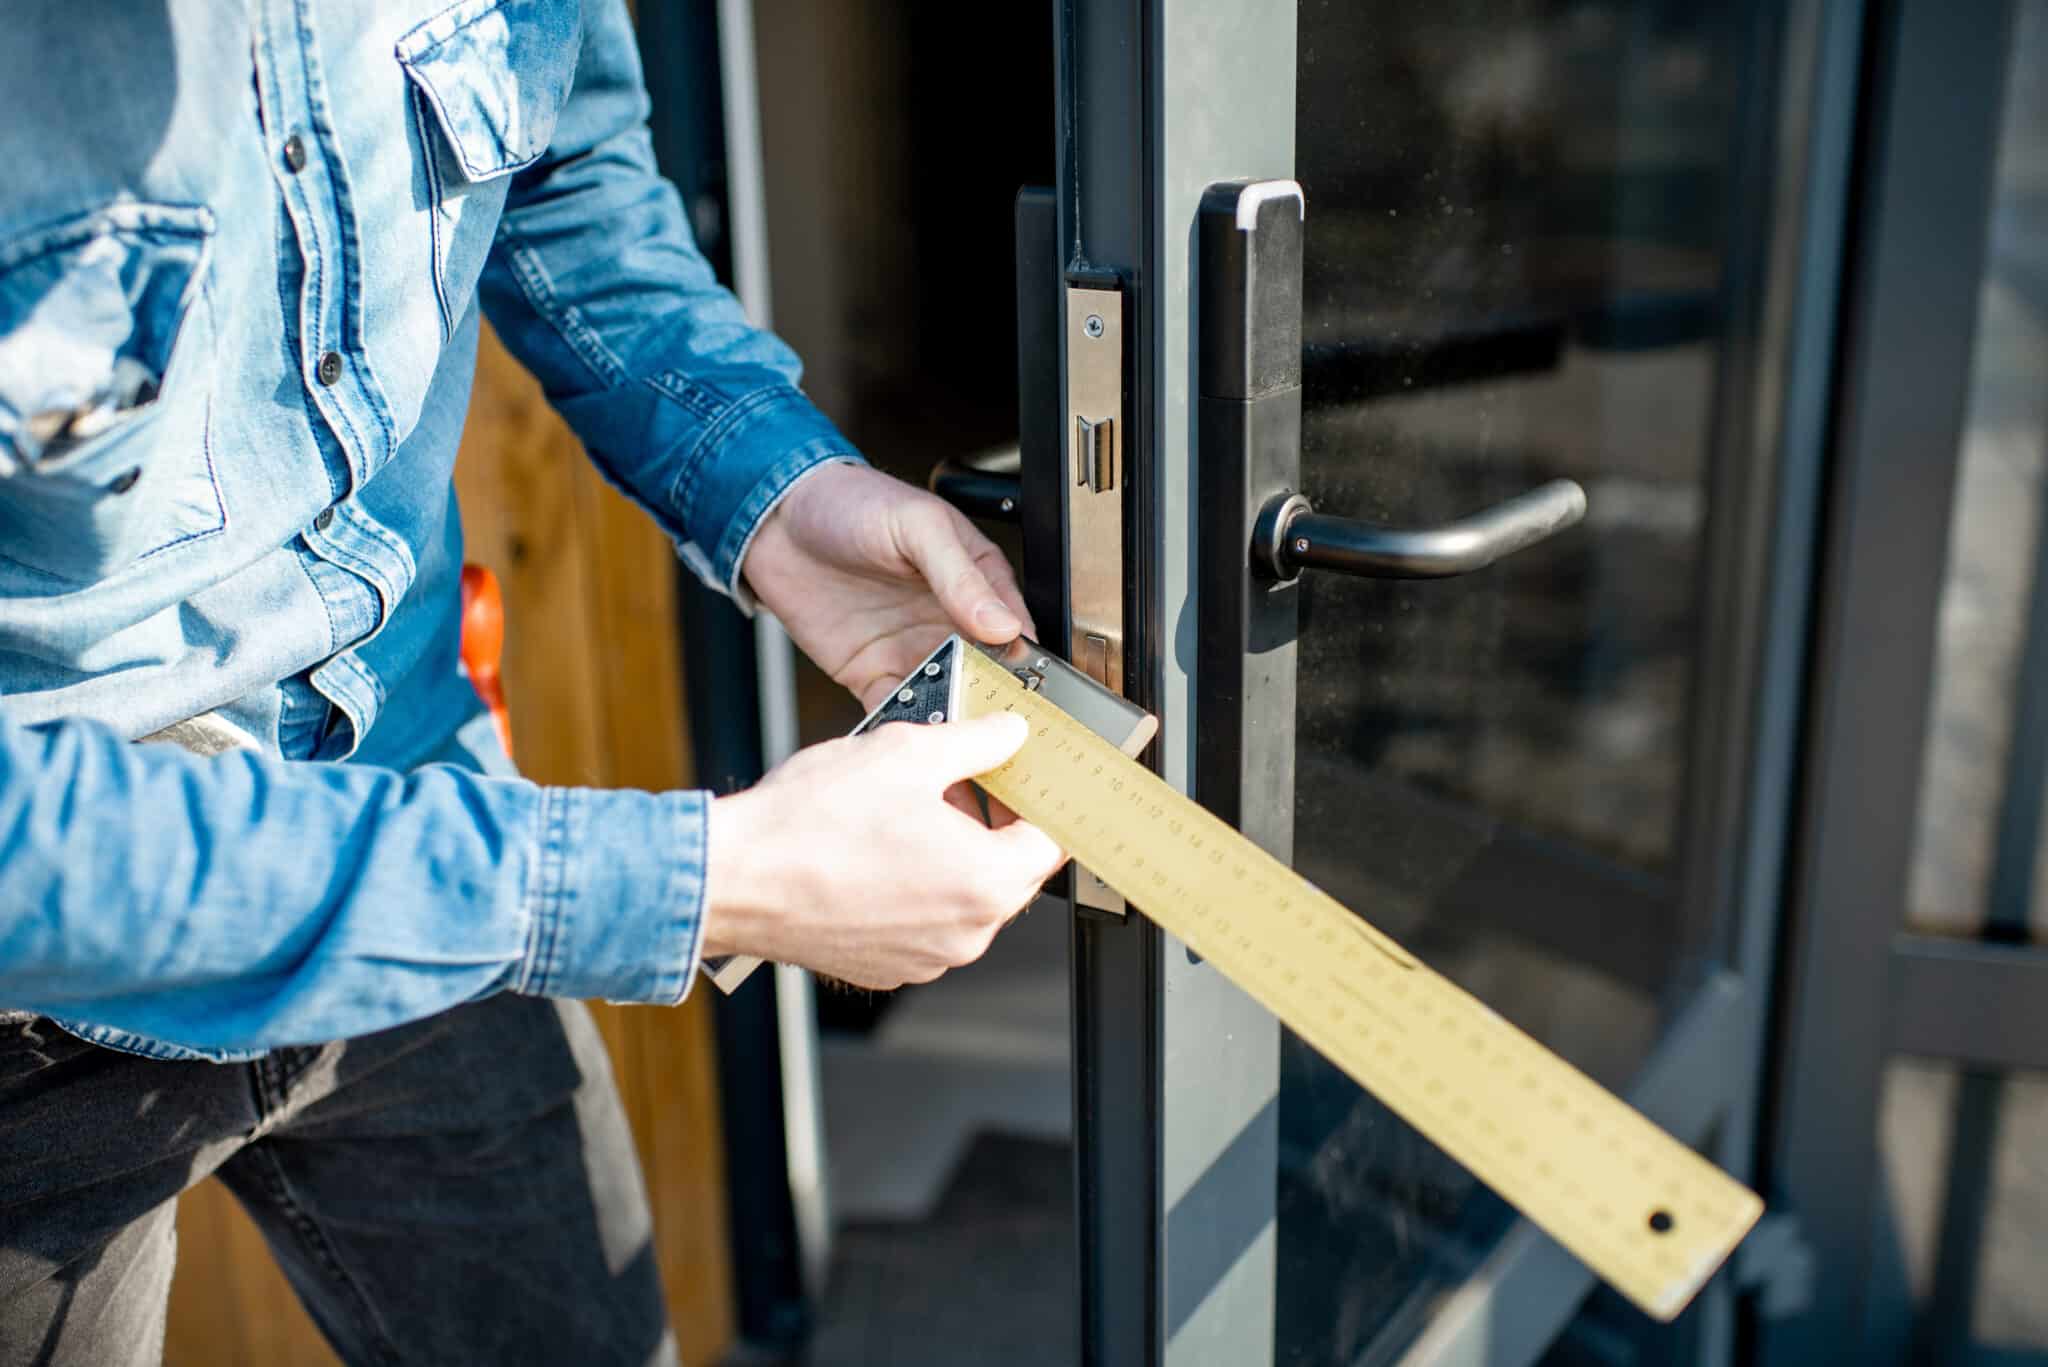
Gathering the Necessary Tools
Before you begin repairing your patio door lock, it’s important to gather the necessary tools to ensure a smooth and efficient process. Here are some common tools you may need:
- Screwdriver set: Having a set of screwdrivers with different sizes and types will allow you to remove screws of various types.
- Pliers: Pliers can be useful for gripping and manipulating small components of the lock mechanism.
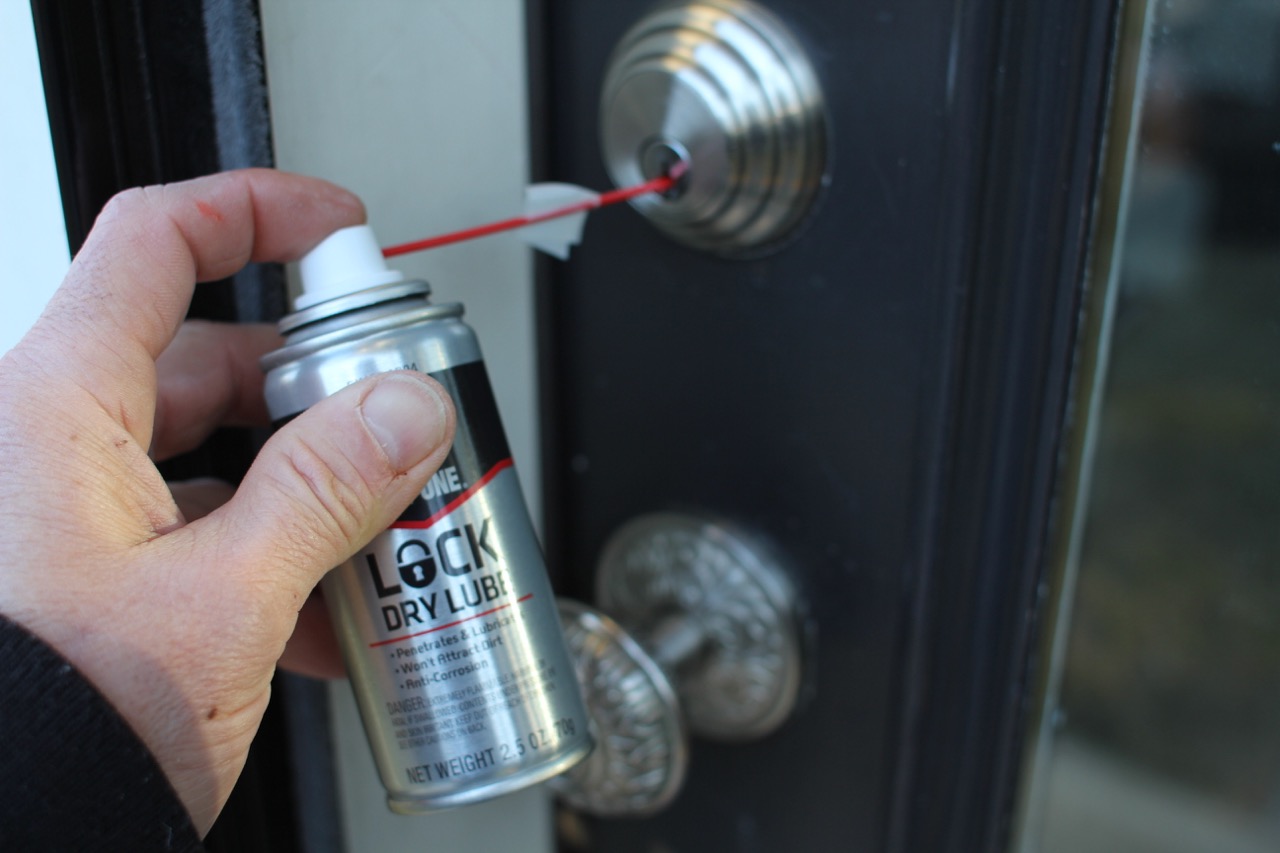
- Lock lubricant: A lock lubricant, such as graphite powder or silicone-based spray, can help smooth the operation of the lock and prevent future issues.
- Cleaning supplies: Depending on the condition of the lock mechanism, you may need cleaning supplies like a soft brush, cotton swabs, and a cleaning solution to remove dirt and debris.
- Replacement parts: If you have already identified the specific components that need repair or replacement, make sure to have the necessary replacement parts on hand. This could include a new lock cylinder, screws, or other components specific to your particular patio door lock model.
- Patio door lock manufacturer’s manual: It’s always a good idea to consult the manufacturer’s manual or instructions for your patio door lock. It may contain specific details and guidelines that will help you understand the lock mechanism and the correct repair procedures.
By having these tools readily available, you’ll be well-prepared to tackle the repair process efficiently and effectively.
Once you have gathered the necessary tools, it’s time to move on to the next step: removing the door handle and lock.
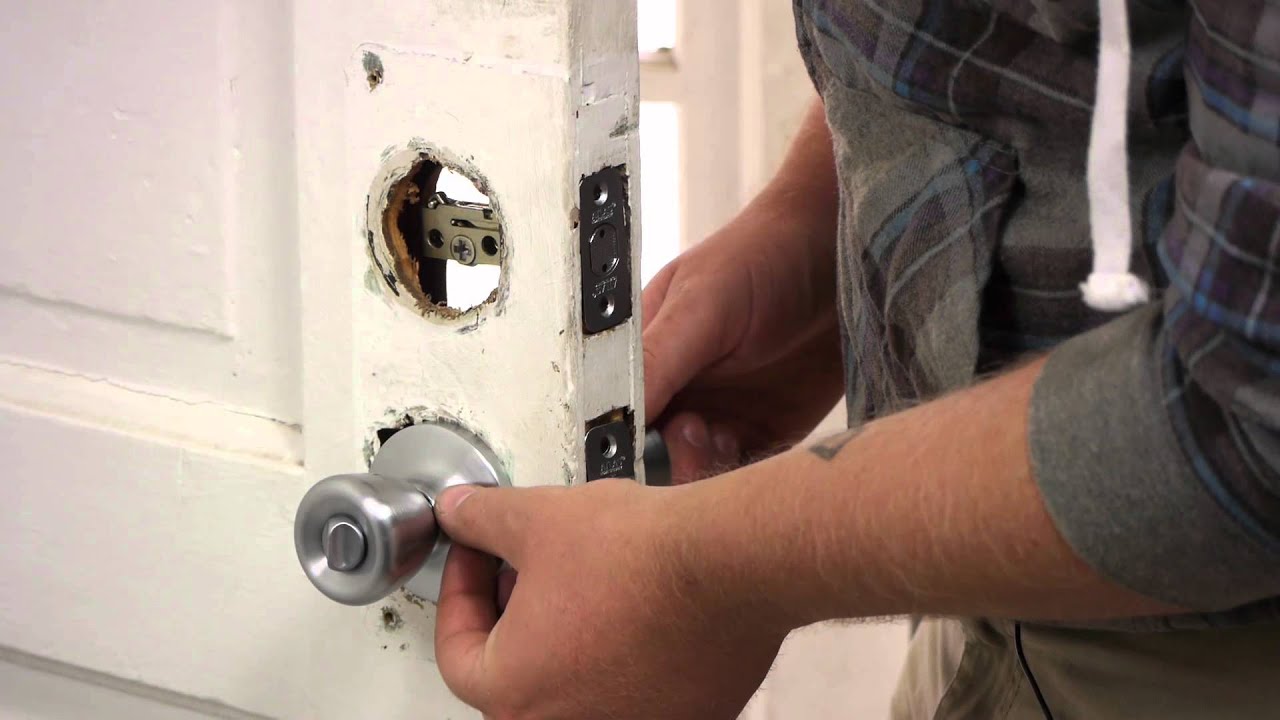
Removing the Door Handle and Lock
To begin the repair process, you’ll first need to remove the door handle and lock from the patio door. Follow these steps:
- Locate the screws: Look for screws or fasteners on the interior side of the door handle and lock assembly. These are typically located along the edge or face of the door handle. Use a screwdriver to remove these screws.
- Disconnect the handle: Once the screws are removed, gently separate the handle from the door by pulling it away from the door surface. You may need to wiggle it slightly to loosen it.
- Remove the lock trim plate: If your door has a trim plate that covers the lock mechanism, carefully pry it off using a screwdriver or your fingers.
- Unscrew the lock cylinder: Once the trim plate is removed, you’ll see the lock cylinder. Locate the screws holding it in place and use a screwdriver to unscrew them. Keep these screws in a safe place as you’ll need them later.
- Separate the lock from the door: With the screws removed, the lock should be free from the door. Gently pull it out or use pliers to loosen it if necessary.
As you remove the door handle and lock, be careful not to damage any surrounding components or the door itself. Take note of the order in which the components are assembled, as this will make reinstallation easier later on.
Once you have removed the door handle and lock, you can proceed to the next step: inspecting and cleaning the lock mechanism.
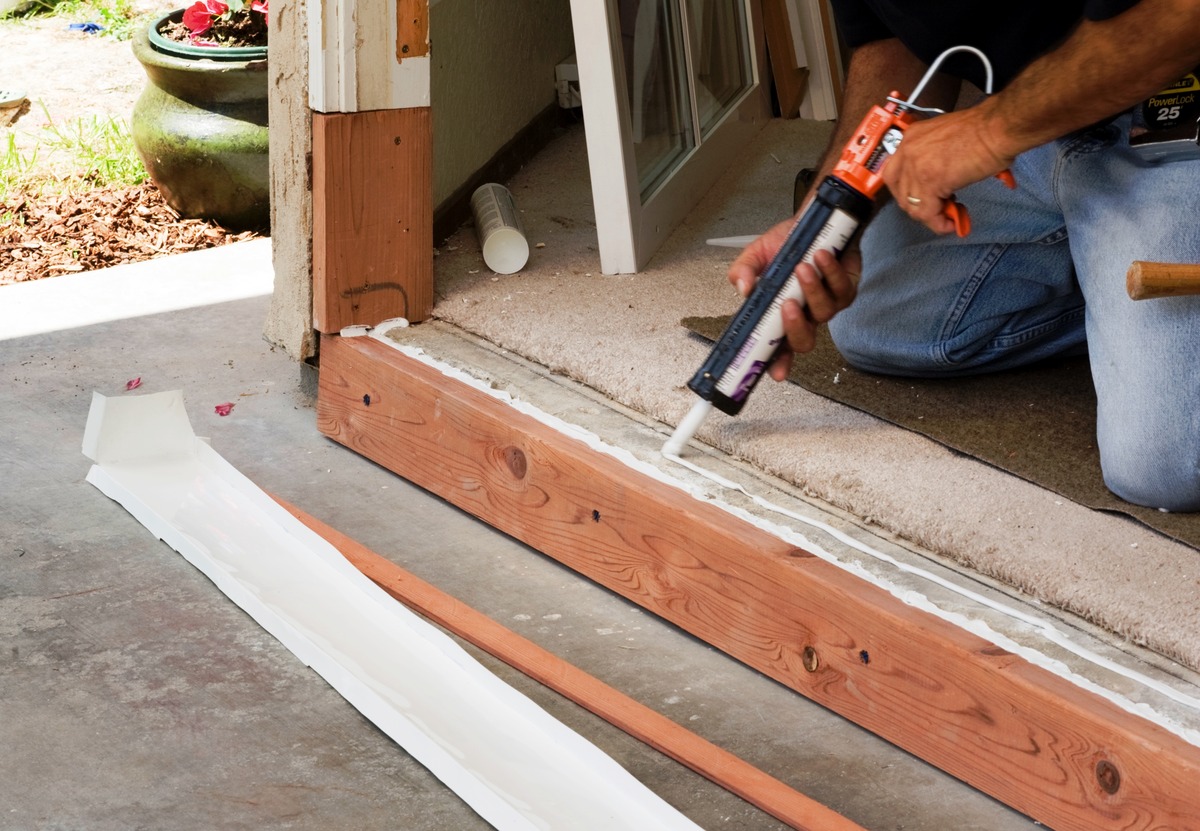
Inspecting and Cleaning the Lock Mechanism
Now that you have removed the door handle and lock, it’s time to inspect and clean the lock mechanism. Follow these steps:
- Examine the lock components: Take a close look at the lock cylinder, latch, and other components of the lock mechanism. Look for any signs of damage, wear, or misalignment. Pay attention to broken or bent parts, rust, or excessive dirt and debris.
- Clean the lock mechanism: Use a soft brush, cotton swabs, or compressed air to remove any dirt, dust, or debris that has accumulated inside the lock mechanism. Be gentle when cleaning to avoid causing further damage. If necessary, you can use a mild cleaning solution to dissolve stubborn dirt or grime. Be sure to dry the components thoroughly before reinstallation.
- Inspect the latch and strike plate: Check the condition of the latch and the corresponding strike plate on the door frame. Ensure that they align properly and that the latch fully retracts and extends when operated. If there are any alignment issues or if the latch is worn or damaged, you may need to adjust or replace the strike plate.
- Check the lock cylinder: Examine the lock cylinder for any signs of wear or damage. Pay attention to the keyway and pins inside the cylinder. If the cylinder is worn or damaged, it may need to be replaced. If it’s just dirty, you can clean it with a cotton swab and lubricate it with graphite powder or a silicone-based spray.
By thoroughly inspecting and cleaning the lock mechanism, you can identify any underlying issues and ensure that it operates smoothly. Cleaning the components will also help extend their lifespan and prevent future problems.
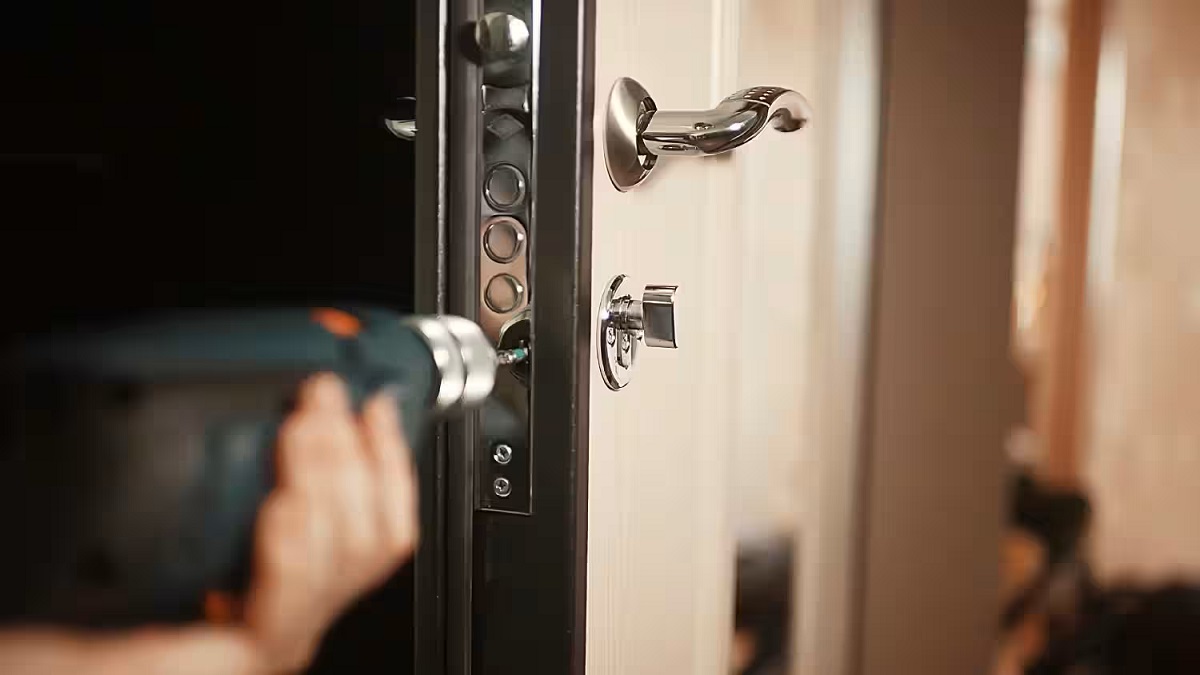
Once you have inspected and cleaned the lock mechanism, you can move on to the next step: repairing or replacing the lock cylinder, if necessary.
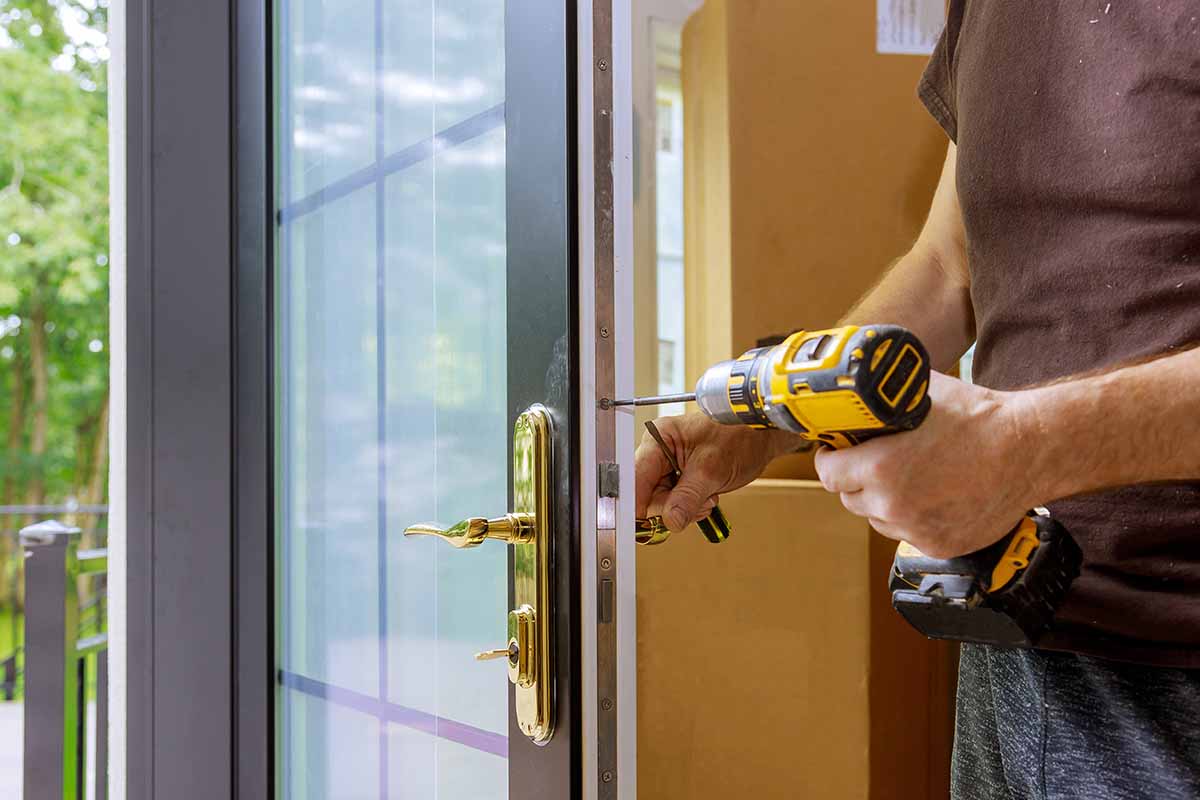
Use a screwdriver to remove the lock mechanism and inspect for any damage or debris. Clean and lubricate the mechanism, then reassemble and test the lock. If the issue persists, consider replacing the lock.
Read also: 8 Amazing Patio Door Lock With Key For 2025
Repairing or Replacing the Lock Cylinder
If your inspection revealed that the lock cylinder is damaged or worn-out, you will need to either repair or replace it. Here are the steps to repair or replace the lock cylinder:
- Assess the extent of the damage: Determine whether the lock cylinder can be repaired or if it needs to be replaced entirely. Minor issues such as loose pins or springs can often be fixed by repositioning or replacing them. However, if the cylinder is severely damaged or corroded, it’s best to replace it.
- Repairing the lock cylinder: If you decide to repair the lock cylinder, carefully disassemble it according to the manufacturer’s instructions. Replace any damaged or worn components with new ones, making sure to follow proper reassembly procedures. Take your time and work gently to avoid further damage to the cylinder.
- Replacing the lock cylinder: If the lock cylinder cannot be repaired or if you prefer to replace it, purchase a new lock cylinder that matches the specifications of your patio door lock. Follow the manufacturer’s instructions for installing the new cylinder, ensuring proper alignment and screw tightness.
- Test the lock cylinder: After repairing or replacing the lock cylinder, test its functionality. Insert the key, turn it, and make sure the latch moves smoothly and securely. If the lock cylinder is properly repaired or replaced, it should operate without any issues.
Remember to refer to the patio door lock manufacturer’s manual or instructions for specific guidelines on repairing or replacing the lock cylinder. Following the recommended procedures will ensure a successful repair and optimal functionality of your patio door lock.
Once you have completed the repair or replacement of the lock cylinder, you can proceed to the next step: reinstalling the door handle and lock.
Reinstalling the Door Handle and Lock
With the lock cylinder repaired or replaced, it’s time to reinstall the door handle and lock. Follow these steps:
- Align the lock cylinder: Place the lock cylinder back into the opening on the patio door, ensuring that it aligns properly with the hole in the door. Make sure that the cylinder is oriented correctly, with the keyway facing the exterior of the door.
- Screw in the lock cylinder: Use the screws that you previously removed to secure the lock cylinder in place. Tighten the screws enough to hold the cylinder securely, but be careful not to overtighten and strip the screw threads.
- Attach the trim plate (if applicable): If your patio door has a trim plate that covers the lock mechanism, reattach it by pressing it firmly into place. Ensure that it aligns properly and stays securely attached.
- Reconnect the handle: Align the door handle with the spindle on the lock cylinder and slide it into position. Ensure that the handle engages with the lock mechanism and operates smoothly. Once properly aligned, insert and tighten the screws to secure the handle in place.
- Test the door handle and lock: With the door handle and lock reinstalled, test their functionality. Turn the key, operate the handle, and check that the latch extends and retracts smoothly. Ensure that the door can be locked and unlocked without any difficulties.
Take your time during the reinstallation process to ensure that all components are aligned correctly and securely fastened. Double-check that the handle and lock operate smoothly before proceeding.
Once you have successfully reinstalled the door handle and lock, you can move on to the final step: testing the lock functionality.
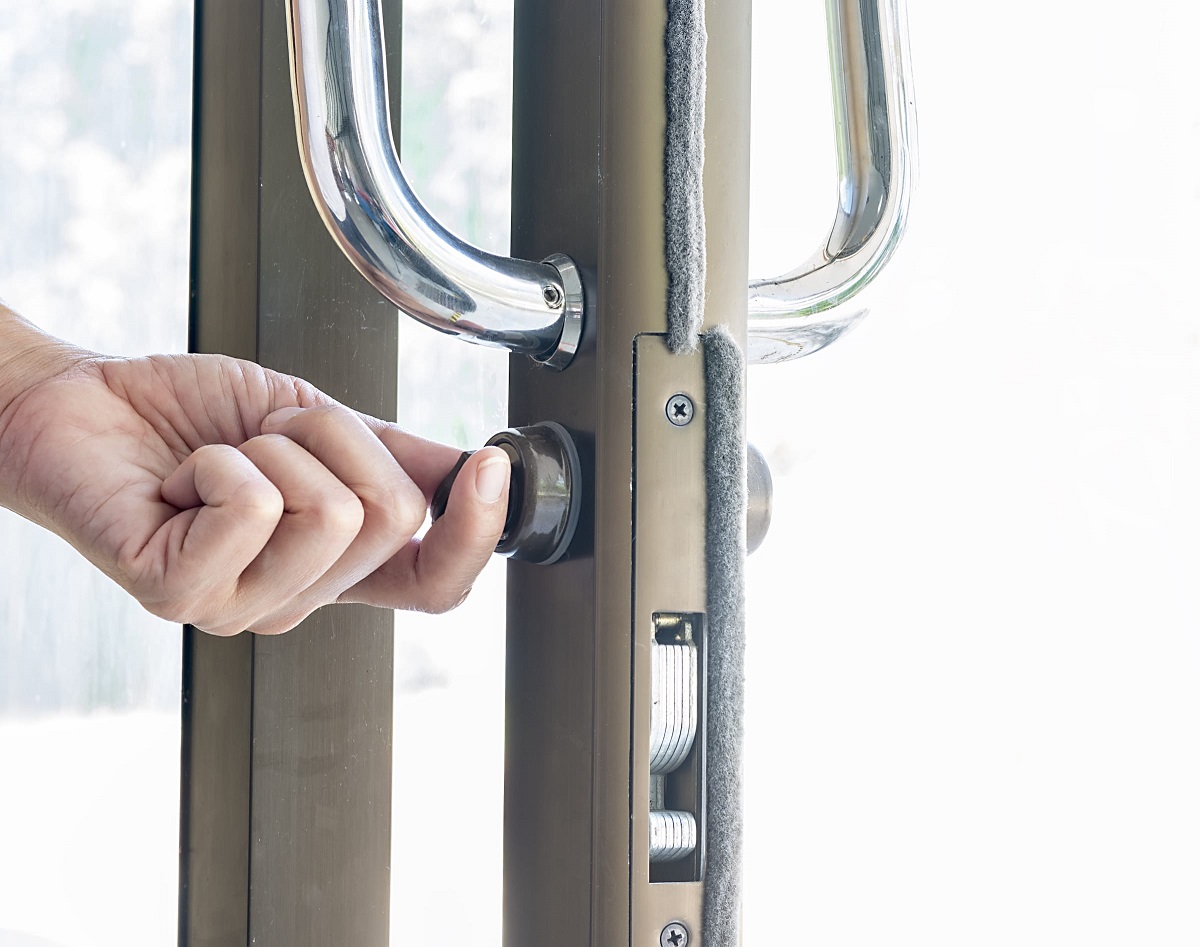
Testing the Lock Functionality
After reinstalling the door handle and lock, it’s crucial to test the lock’s functionality to ensure that it is working correctly. Follow these steps:
- Close the patio door: Ensure that the door is fully closed and aligned properly within the frame.
- Engage the lock: Turn the key or operate the lock mechanism to engage the lock. Make sure you feel resistance and hear a solid click as the lock engages.
- Test the latch: Attempt to open the door while it is locked. The latch should prevent the door from opening, indicating that it is securely locked.
- Unlock the door: Turn the key or operate the lock mechanism to unlock the door. Ensure that the latch retracts fully and smoothly, allowing the door to open without any resistance.
- Repeat the process: Test the lock multiple times to ensure consistent and reliable functionality. Pay attention to any signs of sticking, rough movement, or unusual sounds during the locking and unlocking process. If you notice any issues, you may need to revisit the previous steps and make adjustments as necessary.
By thoroughly testing the lock’s functionality, you can confirm that your repair or replacement efforts have been successful. This step is essential for the security and peace of mind provided by your patio door lock.
If the lock operates smoothly and securely without any issues, congratulations! You have successfully repaired your patio door lock. If you encounter any persistent problems or the lock continues to malfunction, it may be wise to consult a professional locksmith or contact the patio door manufacturer for further assistance.
Remember to periodically clean and lubricate your patio door lock to maintain its optimal performance and prolong its lifespan. Regular maintenance can help prevent future issues and ensure that your patio door lock continues to operate reliably for years to come.
With the lock functionality tested and confirmed, you can conclude the repair process. By following these steps, you have restored your patio door lock and can now enjoy the security and convenience it provides.
Conclusion
Repairing a patio door lock may seem like a daunting task, but with the right knowledge and tools, it can be a straightforward process. By following the steps outlined in this guide, you can assess the problem, gather the necessary tools, remove the door handle and lock, inspect and clean the lock mechanism, repair or replace the lock cylinder, reinstall the door handle and lock, and test the lock functionality.
Throughout the repair process, it’s important to take your time, be observant, and follow the manufacturer’s instructions if available. Remember to clean and lubricate your patio door lock periodically to keep it operating smoothly and prevent future issues.
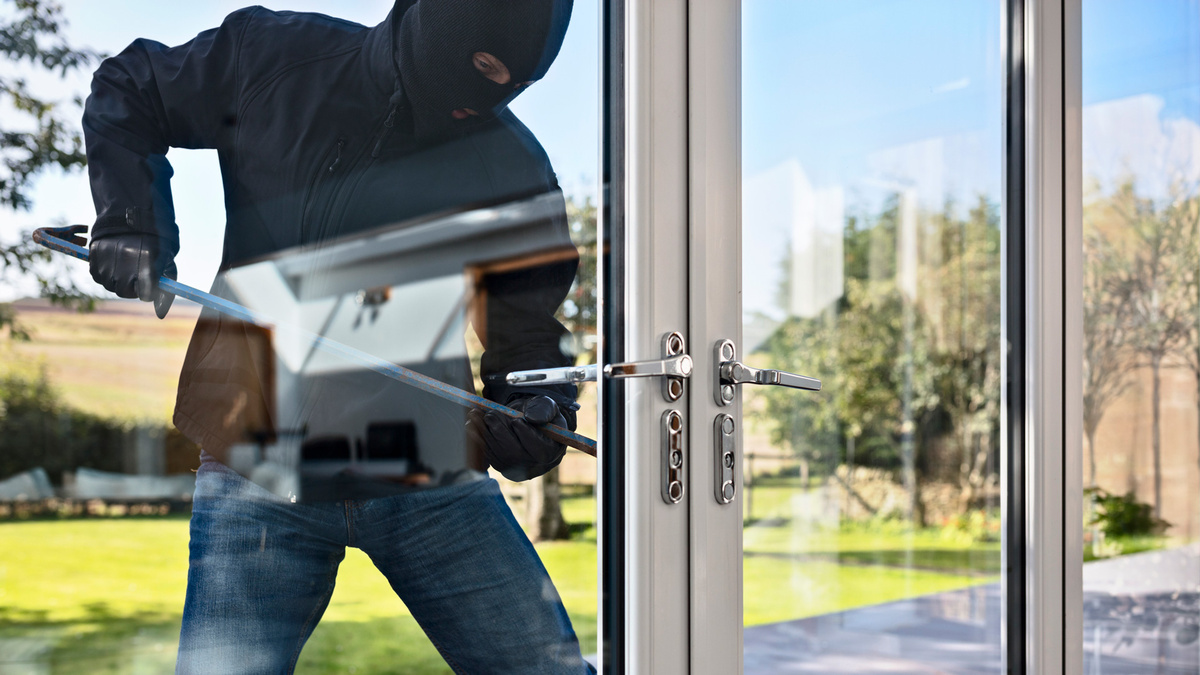
By repairing your patio door lock, you not only restore its functionality but also enhance the security and convenience of your home. A properly functioning lock ensures that your patio door remains a reliable barrier against intruders and provides easy access to your outdoor space.
If you encounter any difficulties during the repair process or if your lock continues to malfunction, don’t hesitate to seek professional assistance. Locksmiths and patio door manufacturers can provide guidance and support to address any complex issues.
We hope that this guide has been helpful in guiding you through the process of repairing a patio door lock. By taking care of your patio door lock, you can enjoy the peace of mind that comes with a secure and well-functioning entry point to your home.
Remember, regular maintenance and prompt repair of any issues will ensure the long-lasting performance of your patio door lock, allowing you to enjoy your outdoor space with confidence and peace.
Frequently Asked Questions about How To Repair A Patio Door Lock
Was this page helpful?
At Storables.com, we guarantee accurate and reliable information. Our content, validated by Expert Board Contributors, is crafted following stringent Editorial Policies. We're committed to providing you with well-researched, expert-backed insights for all your informational needs.


0 thoughts on “How To Repair A Patio Door Lock”