Home>Furniture>Outdoor Furniture>How To Replace A Patio Door Lock
Outdoor Furniture
How To Replace A Patio Door Lock
Modified: March 15, 2024
Learn how to easily replace a patio door lock and ensure the security of your outdoor furniture with step-by-step instructions and expert tips. Protect your valuable investments today!
(Many of the links in this article redirect to a specific reviewed product. Your purchase of these products through affiliate links helps to generate commission for Storables.com, at no extra cost. Learn more)
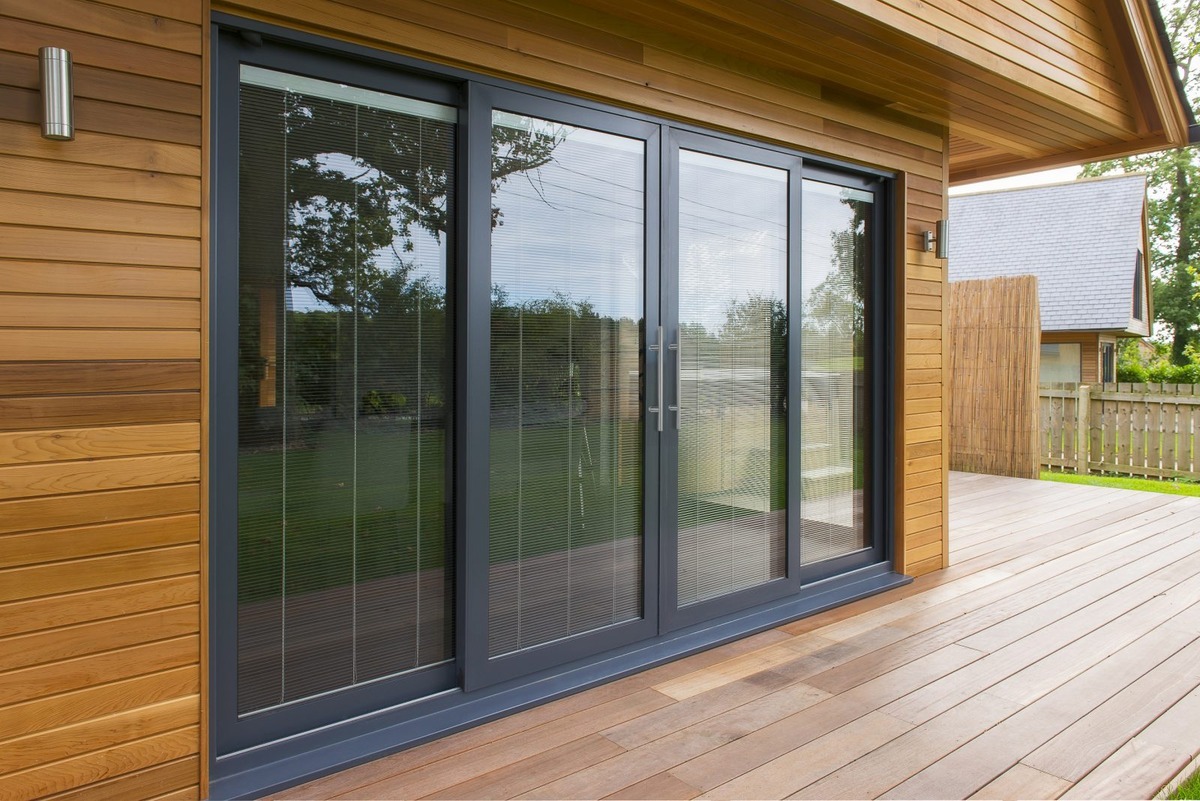
Introduction
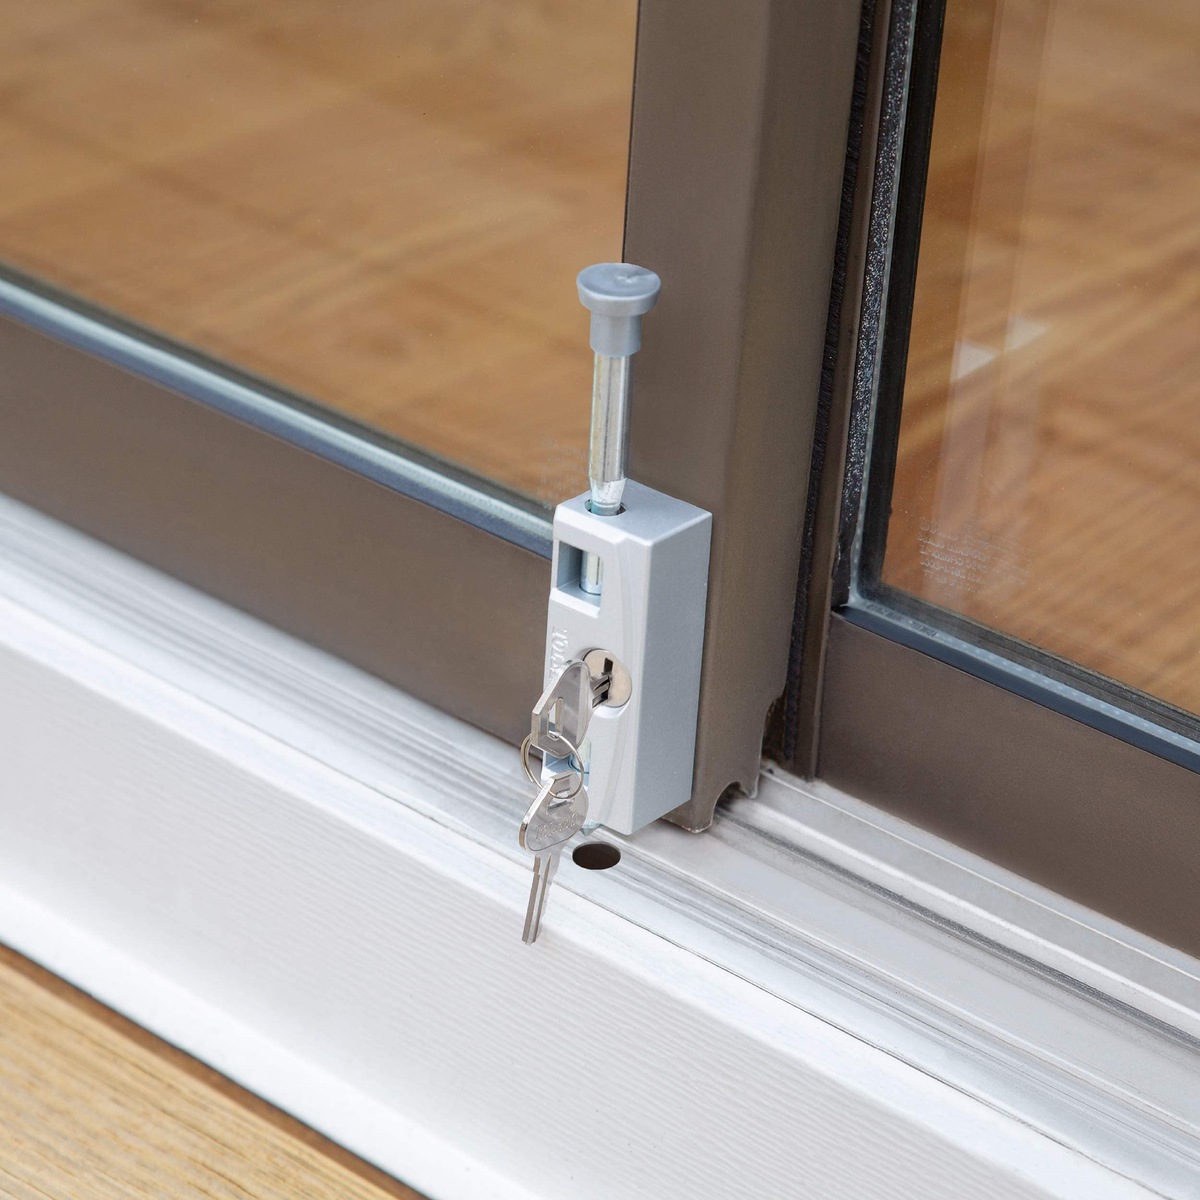
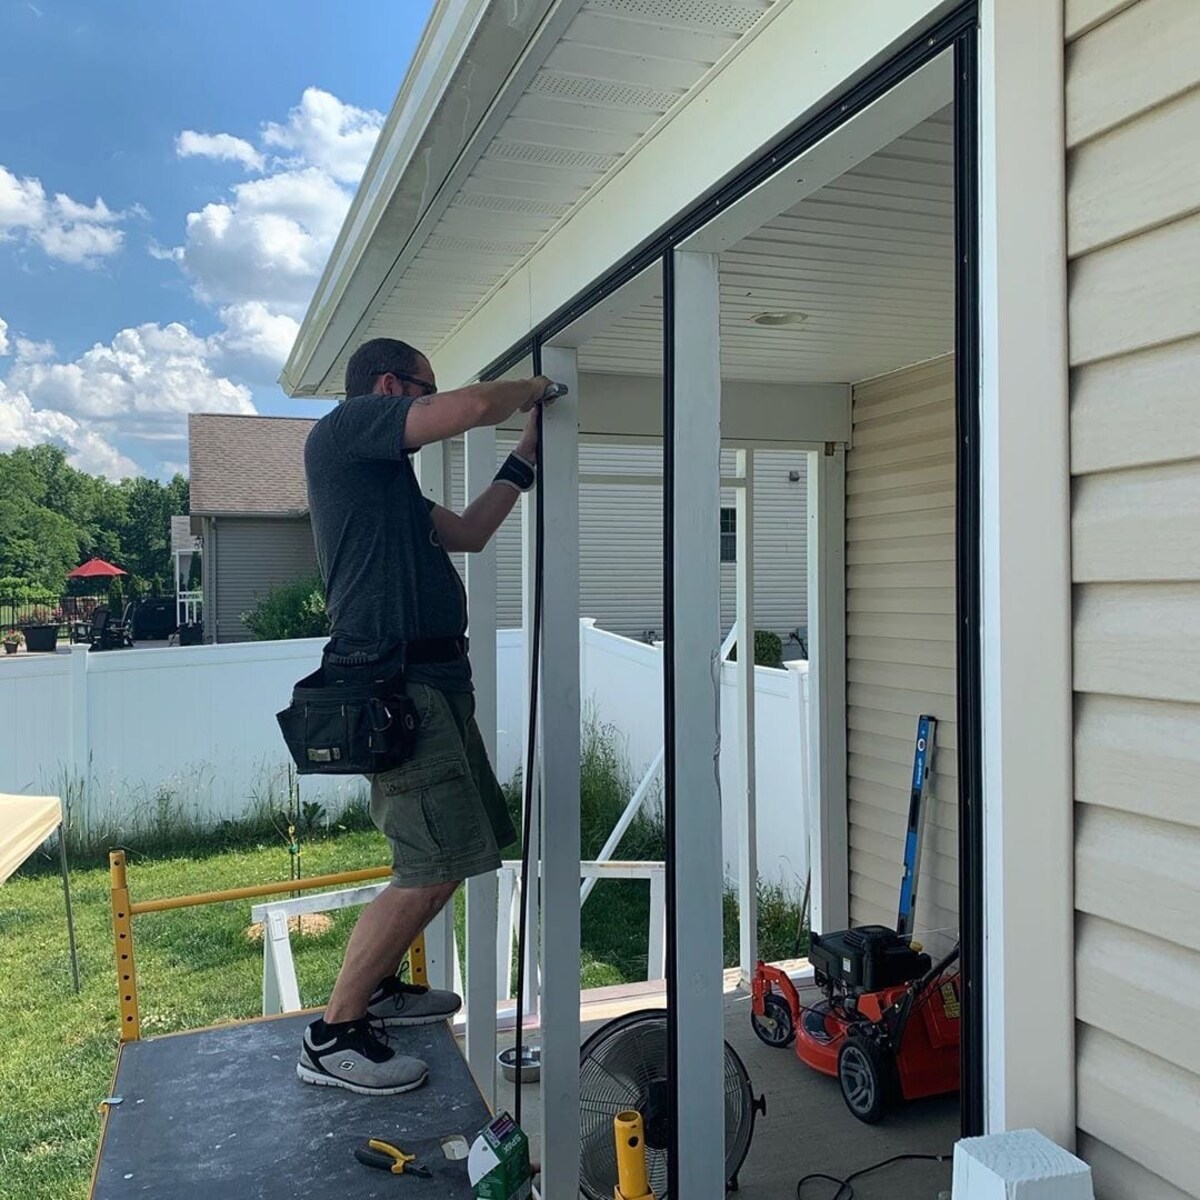
When it comes to the security and functionality of your patio door, having a reliable lock is essential. Over time, locks can become worn out or damaged, making it necessary to replace them. Fortunately, replacing a patio door lock is a task that you can easily tackle on your own with the right tools and a little know-how.
In this article, we will guide you through the step-by-step process of replacing a patio door lock. Whether you are dealing with a broken lock or simply wanting to upgrade to a more secure option, these instructions will help you get the job done efficiently and effectively. So, let’s dive in and get started!
Key Takeaways:
- Replacing a patio door lock is a DIY task that can save you time and money. With the right tools and careful steps, you can ensure the security and functionality of your patio door.
- Proper preparation, accurate measurements, and careful installation are key to a successful lock replacement. If in doubt, seek professional help for a smooth process and peace of mind.
Read more: How To Replace A Sliding Patio Door Lock
Step 1: Gather the necessary tools and materials
Before replacing a patio door lock, it’s important to gather all the necessary tools and materials. This will ensure that you have everything you need at hand and can complete the task without interruptions. Here’s a list of the tools and materials you’ll typically need:
- Screwdriver
- Drill
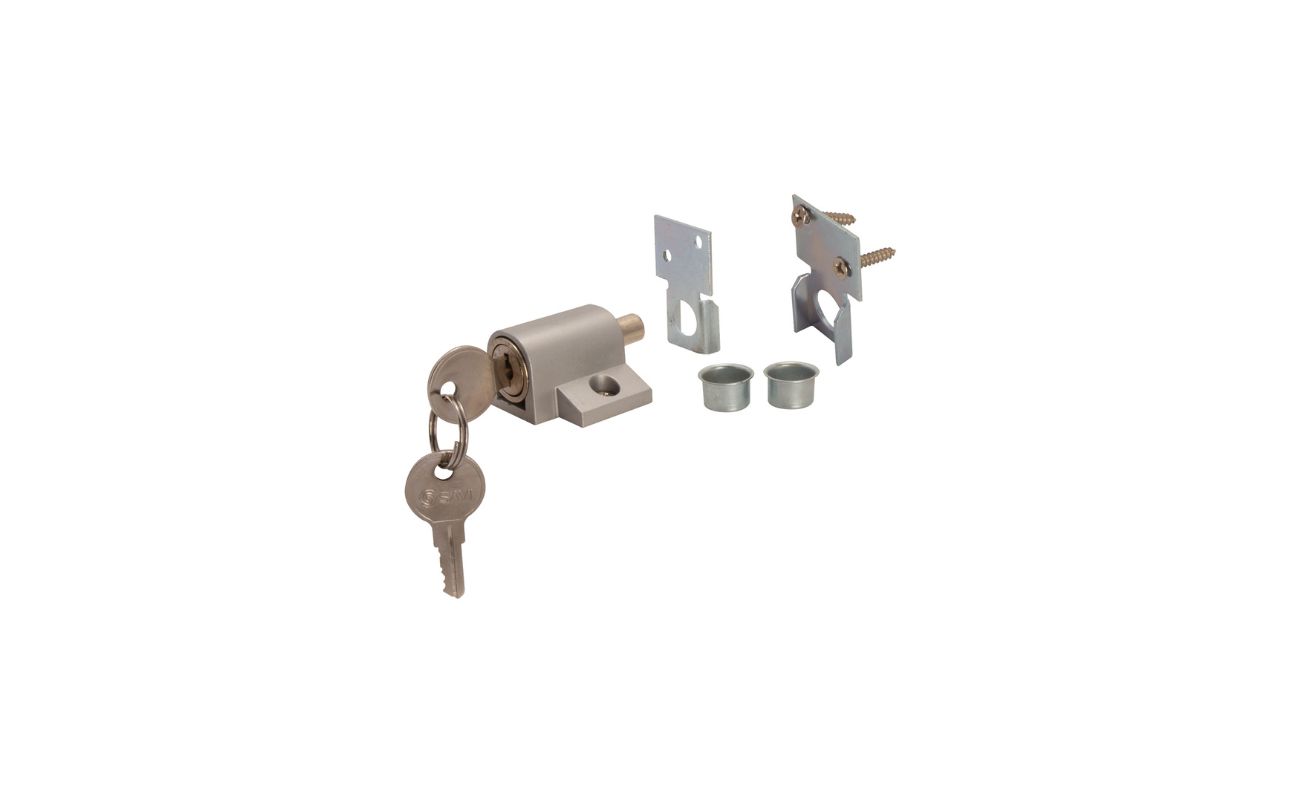
- Lockset kit
- Pencil
- Measuring tape
- Flathead screwdriver
- Masking tape
Make sure you have the appropriate screwdriver size for your door’s screws, as this will vary based on the lock’s manufacturer. Additionally, select a lockset kit that matches the style and design you desire for your patio door.
Having all these tools and materials ready will streamline the replacing process and save you time and effort in the long run. Now that you’re equipped with the necessary items, let’s move on to the next step: removing the old lock.
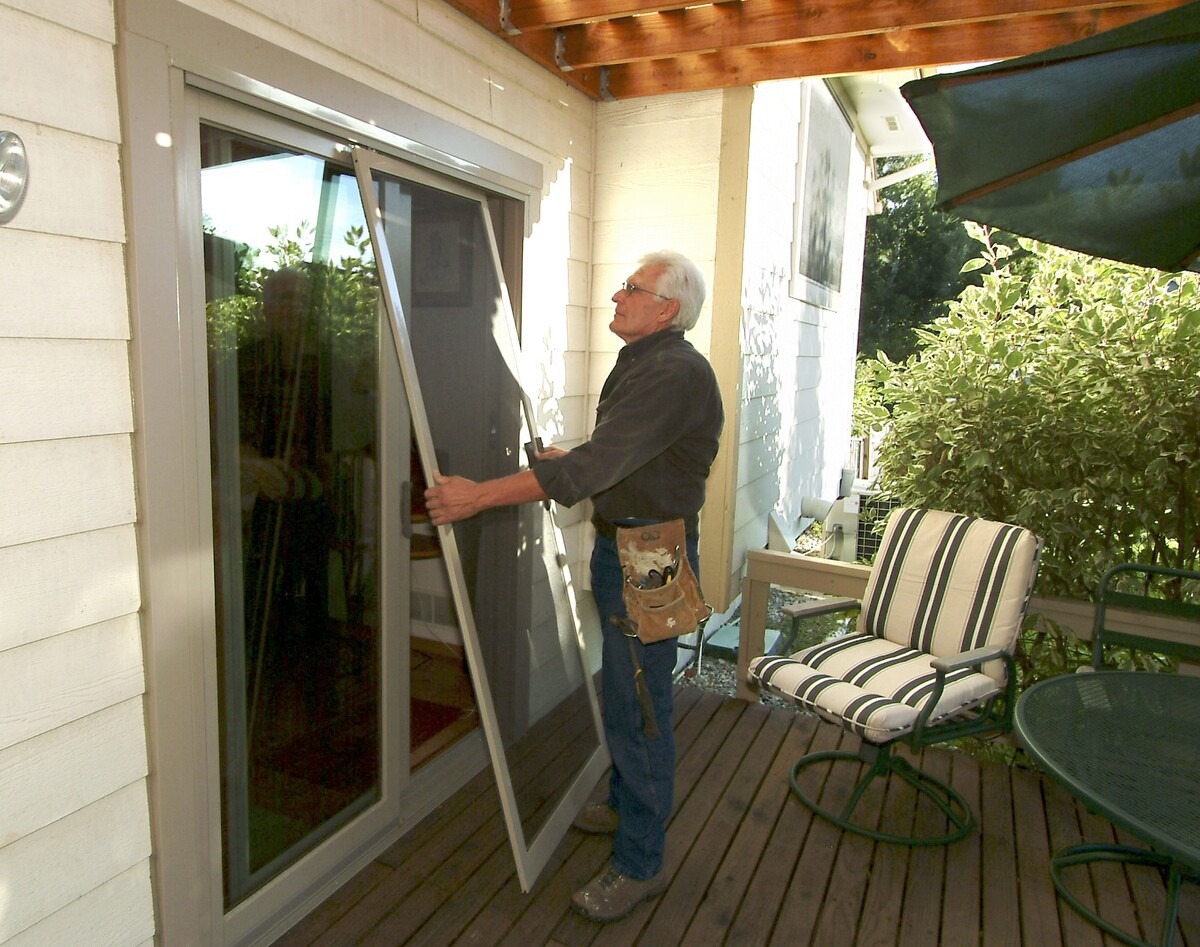
Step 2: Remove the old lock
Now that you have gathered your tools and materials, it’s time to remove the old patio door lock. Follow these steps to safely and effectively remove the lock:
- Open the door fully to provide easy access to both sides of the lock.
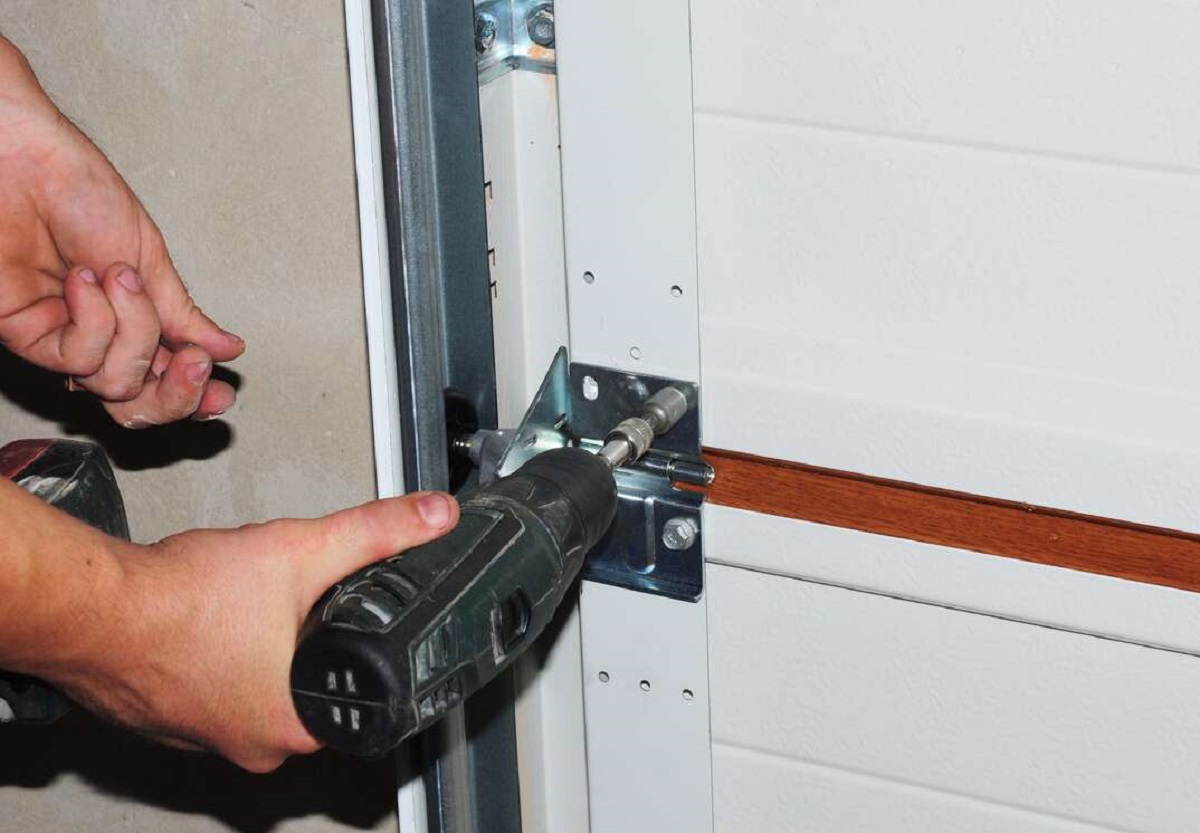
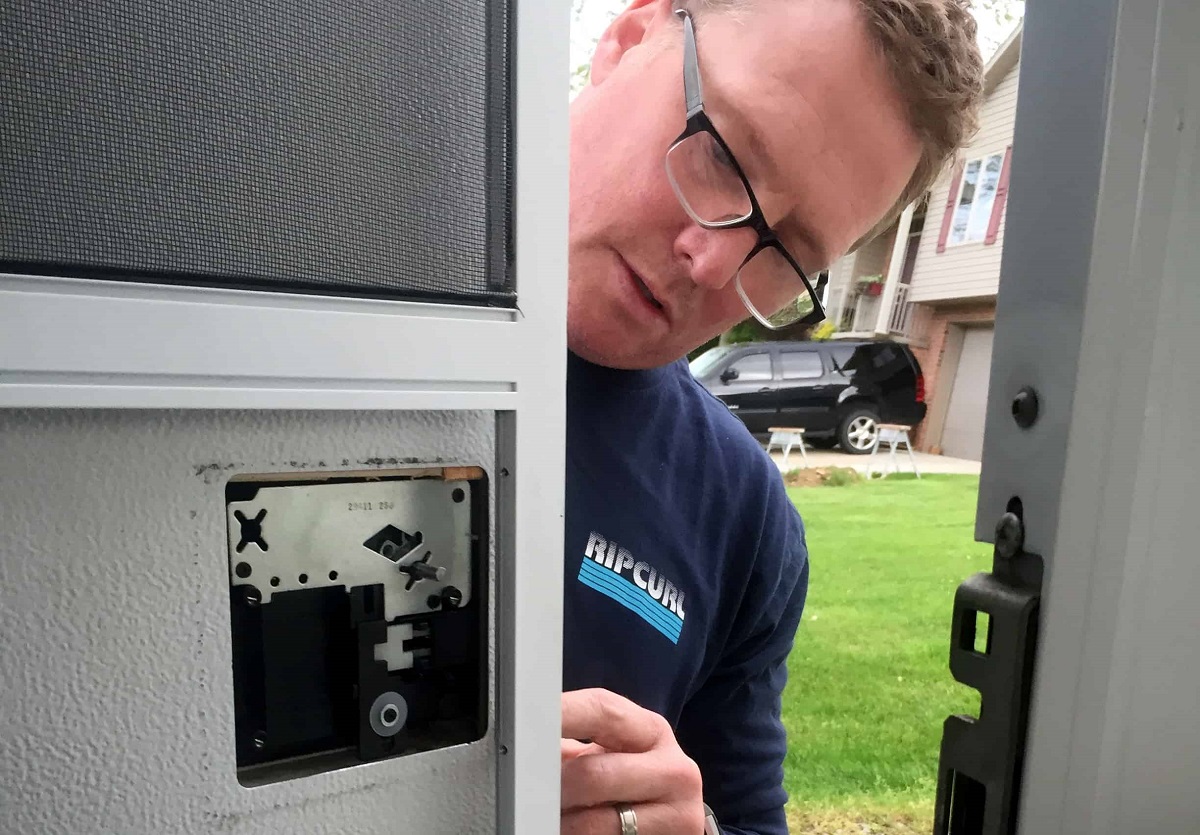
- Locate the screws that secure the lock in place. These are typically found on the interior side of the door.
- Using the appropriate screwdriver, carefully unscrew and remove the screws. Keep these screws in a safe place, as you may need them later.
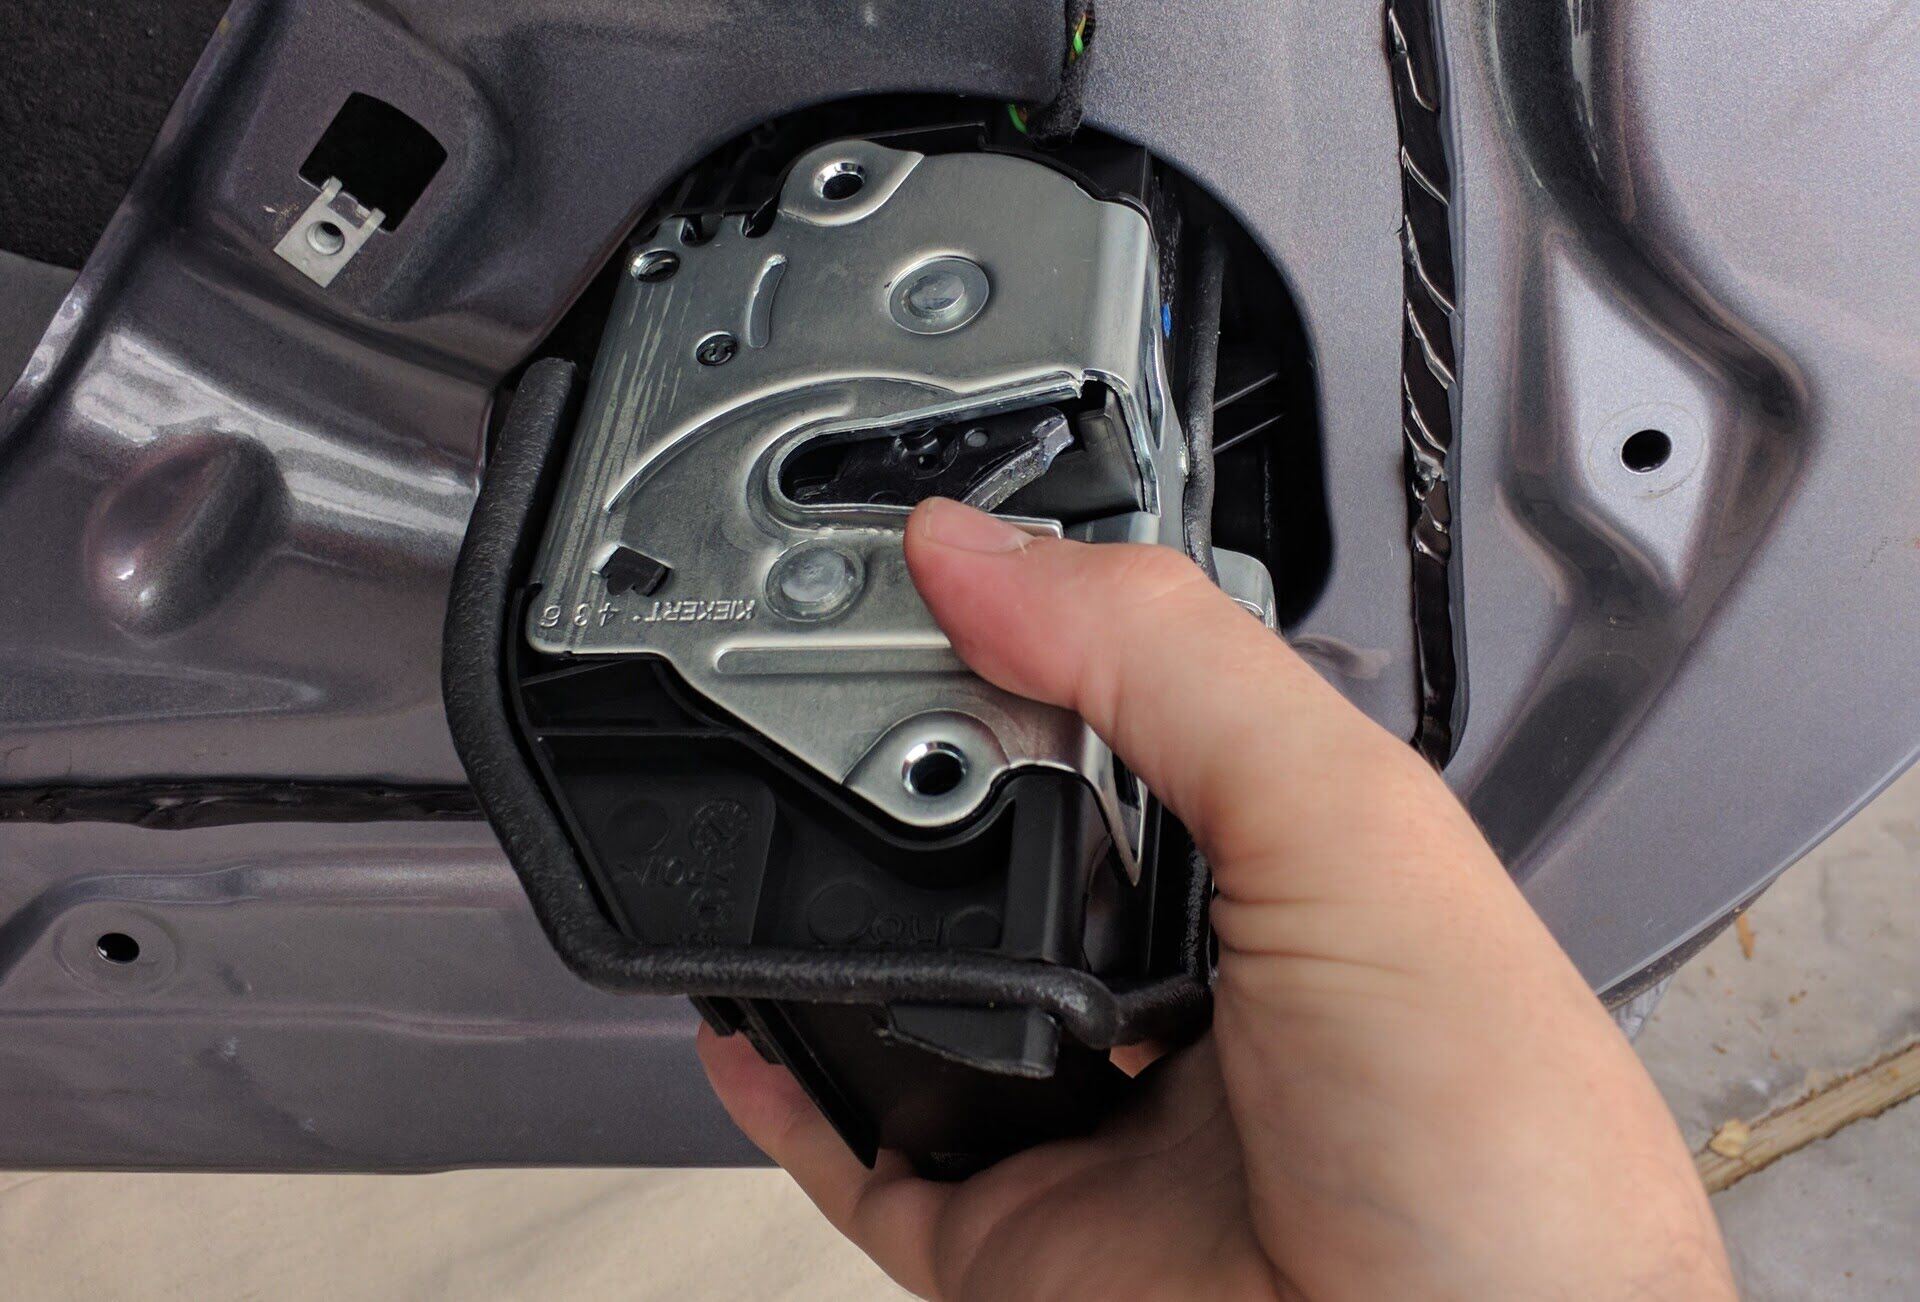
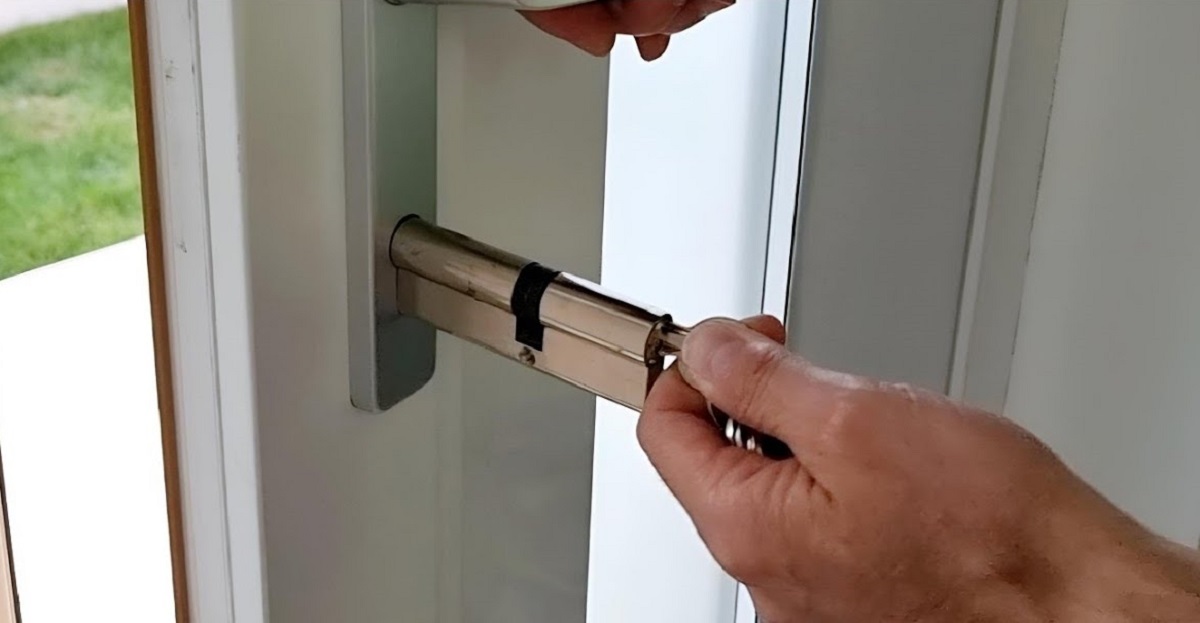
- Once the screws are removed, gently pull the lock away from the door. If the lock is stubborn and doesn’t come out easily, you may need to use a flathead screwdriver to pry it out.
- Inspect the area where the lock was installed for any dirt or debris. Use a soft cloth or brush to clean the surface and ensure a smooth installation of the new lock.
By following these steps, you should now have successfully removed the old patio door lock. Next, we’ll move on to measuring and preparing the new lock.
Step 3: Measure and prepare the new lock
With the old lock removed, it’s time to measure and prepare the new lock for installation. This step is crucial to ensure a proper fit and functionality of the new lock. Here’s what you need to do:
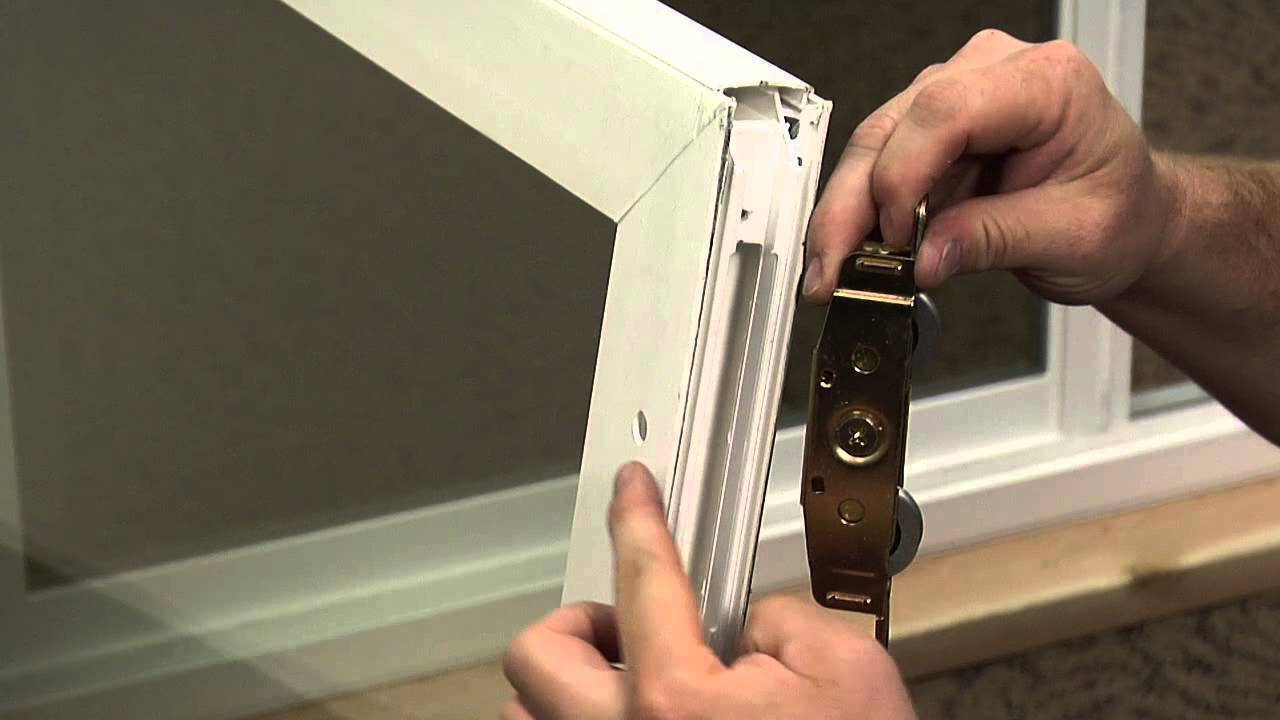
- Take out your measuring tape and measure the dimensions of the opening left by the old lock. Note down the height, width, and depth of the opening. Make sure to measure both the exterior and interior sides of the door for accuracy.
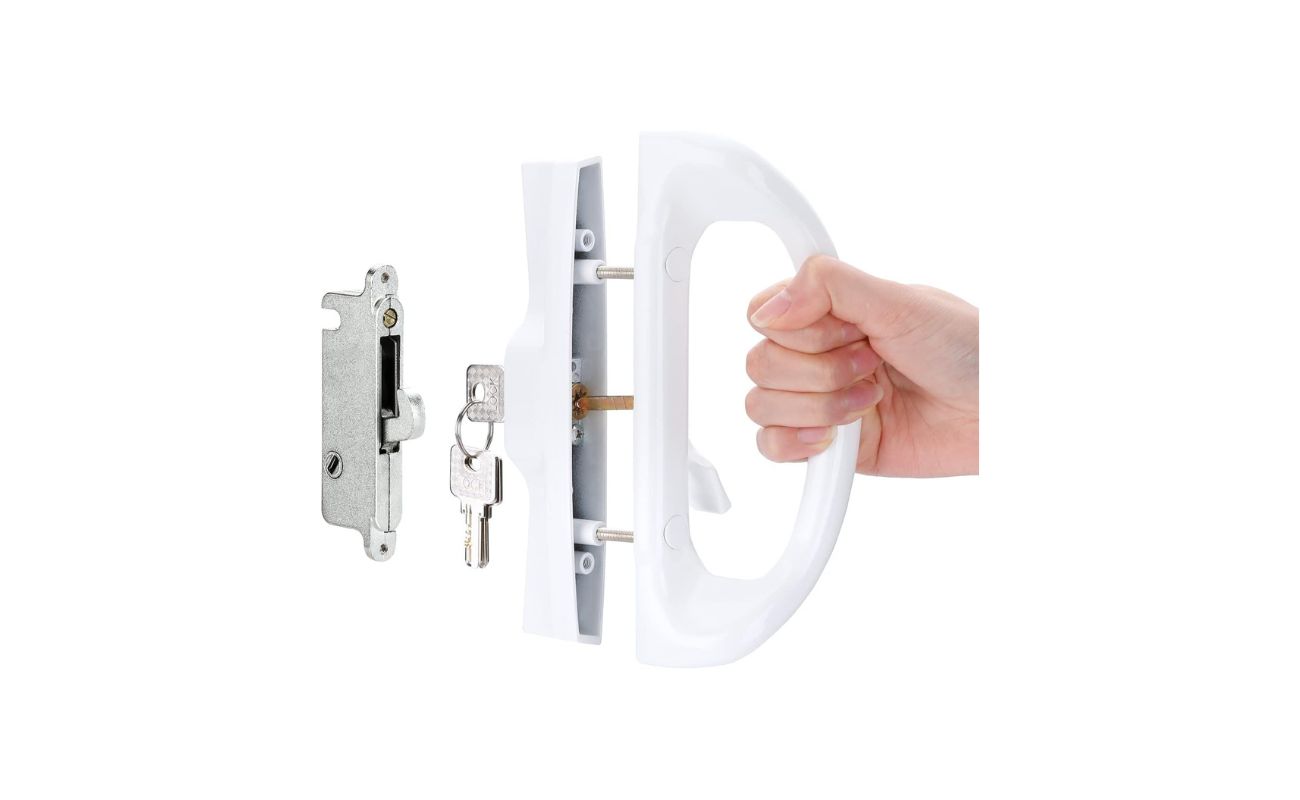
- Using the measurements you’ve taken, carefully select a new lockset kit that matches the size and design requirements of your patio door. Consider factors such as the backset (distance from the edge of the door to the center of the lock) and the handing (orientation of the lock mechanism).
- Follow the instructions provided with the lockset kit to prepare the lock for installation. This typically involves inserting the lock cylinder and aligning the latchbolt.
- Before installing the new lock, it’s a good idea to test it for smooth operation. Check that the latchbolt extends and retracts smoothly and that the key turns freely in the lock cylinder.
By carefully measuring and preparing the new lock, you ensure that it will fit correctly and function properly once installed. Now that you’ve done the necessary preparations, it’s time to move on to the next step: installing the new lock.
When replacing a patio door lock, make sure to measure the existing lock and purchase a replacement that matches the dimensions. It’s important to follow the manufacturer’s instructions for installation to ensure proper function and security.
Step 4: Install the new lock
Now that you’re ready to install the new lock, follow these steps to ensure a successful installation:
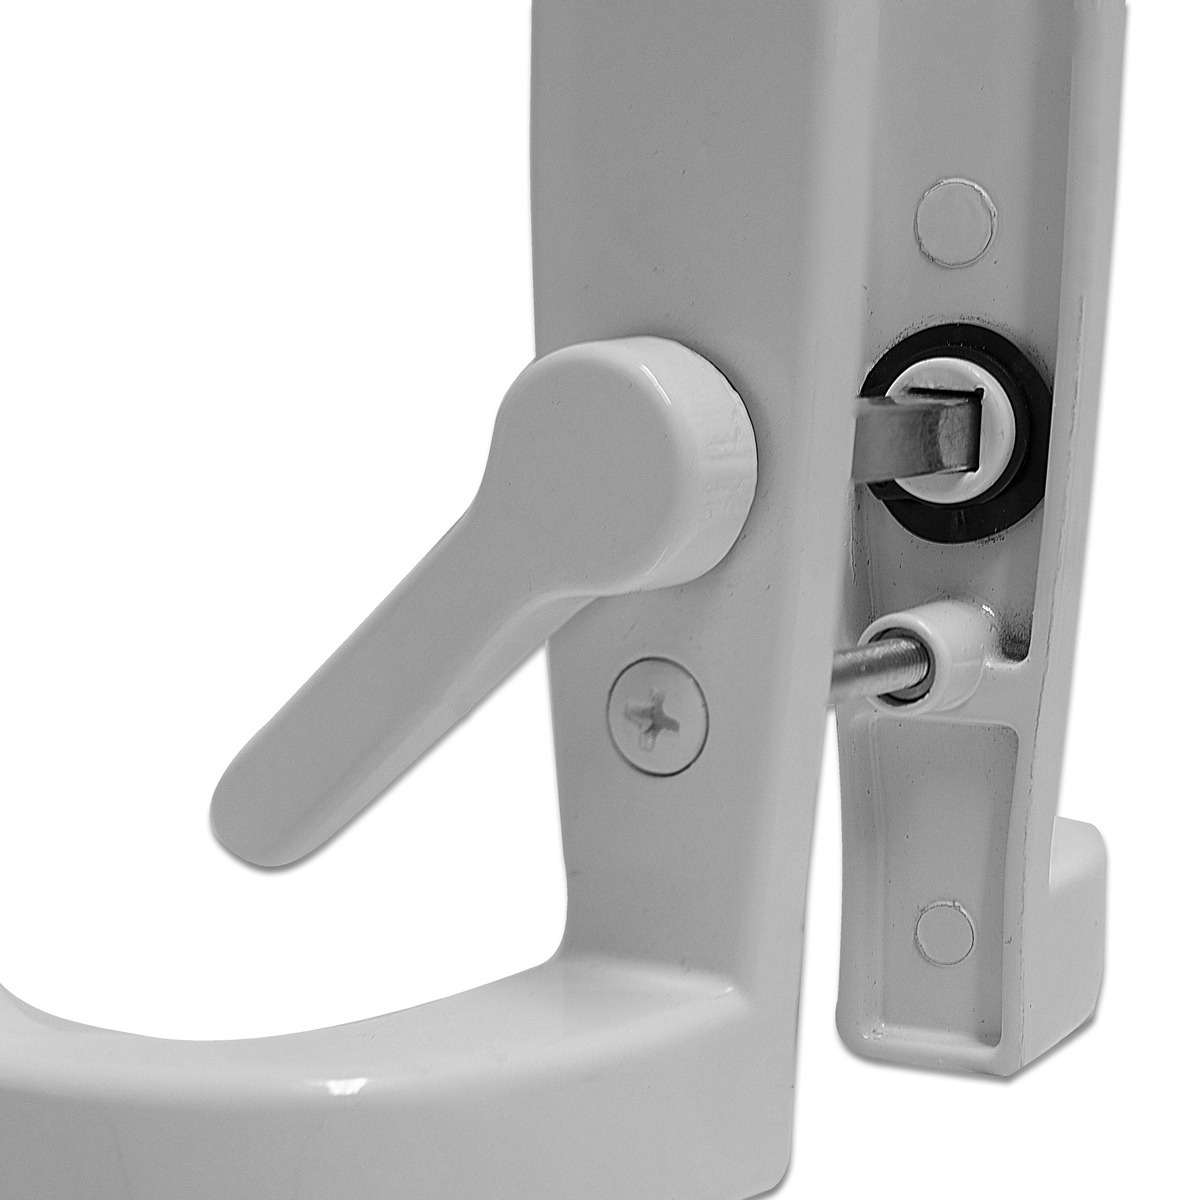
- Start by positioning the lockset on the interior side of the door, aligning it with the opening left by the old lock.
- Insert the lock cylinder into the hole on the door, making sure it is fully seated. The cylinder should fit snugly without any wobbling or looseness.
- Hold the lockset in place and secure it with the screws provided in the lockset kit. Use your screwdriver to tighten the screws, but be careful not to overtighten, as this can strip the threads or damage the lock.
- Next, align the latchbolt with the strike plate on the door jamb. Ensure that the latchbolt extends and retracts smoothly without any resistance.
- Install the strike plate on the door jamb, positioning it so that the latchbolt fully engages when the door is closed. Secure the strike plate using the screws provided.
Double-check the lock’s operation by testing it to ensure that the latchbolt fully extends and retracts when the door is closed and opened. If there are any issues, adjust the position of the strike plate or the alignment of the latchbolt as needed.
With the new lock properly installed and tested, you can move on to the final step: testing and adjusting the lock.
Read more: How To Replace A Patio Door
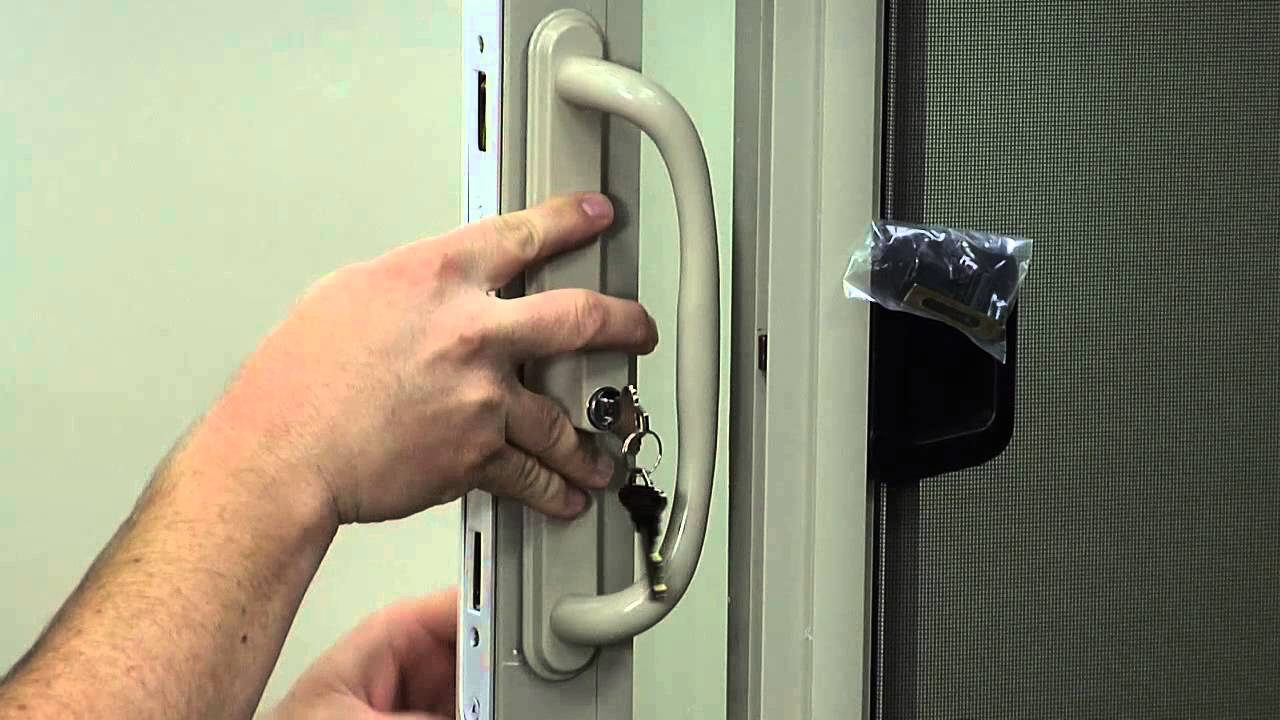
Step 5: Test and adjust the lock
After installing the new patio door lock, it’s important to test its functionality and make any necessary adjustments. Follow these steps to ensure that your lock is working smoothly and effectively:
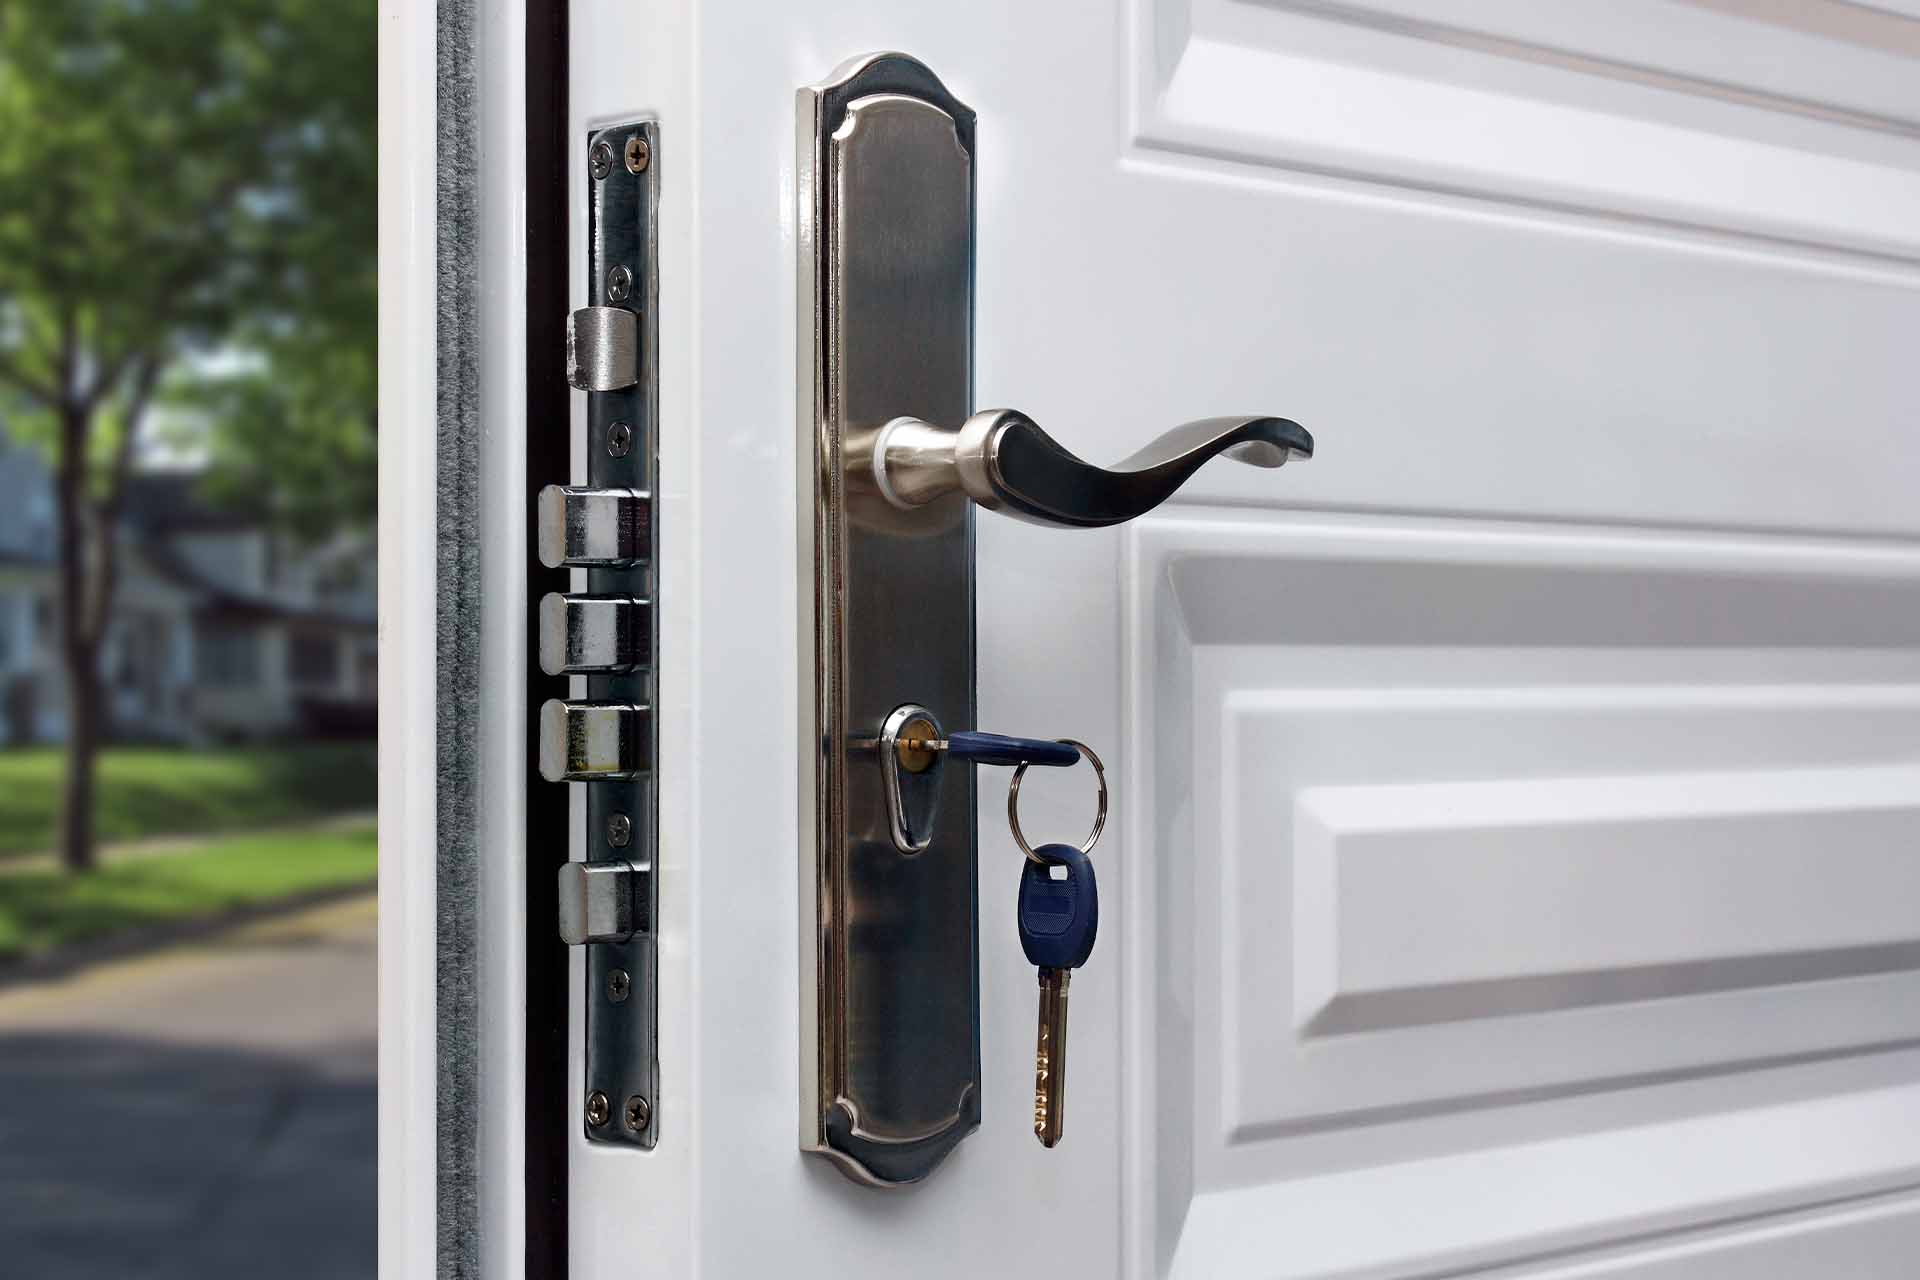
- Close the door and engage the lock by turning the key or operating the lock mechanism. Test the lock by attempting to open the door from both the inside and outside. Make sure the lock engages and disengages smoothly without any sticking or difficulty.
- If the lock is not functioning properly, you may need to adjust the strike plate or the alignment of the latchbolt. Use a screwdriver to loosen the screws on the strike plate and slightly adjust its position. Test the lock again to see if it engages and disengages properly.
- If needed, you can also adjust the latchbolt by loosening the screws that secure it to the edge of the door. Reposition the latchbolt slightly and retighten the screws. Test the lock again to ensure smooth operation.
- Once you are satisfied with the lock’s performance, check the door from the exterior to ensure that it closes securely and that the lock engages properly. Make any additional adjustments as necessary.
By thoroughly testing and adjusting the lock, you guarantee that it will provide the necessary security and ease of use for your patio door. Take the time to ensure that everything is functioning as it should before considering the installation complete.
With the lock successfully tested and adjusted, you have now completed the process of replacing a patio door lock. Congratulations!
Conclusion
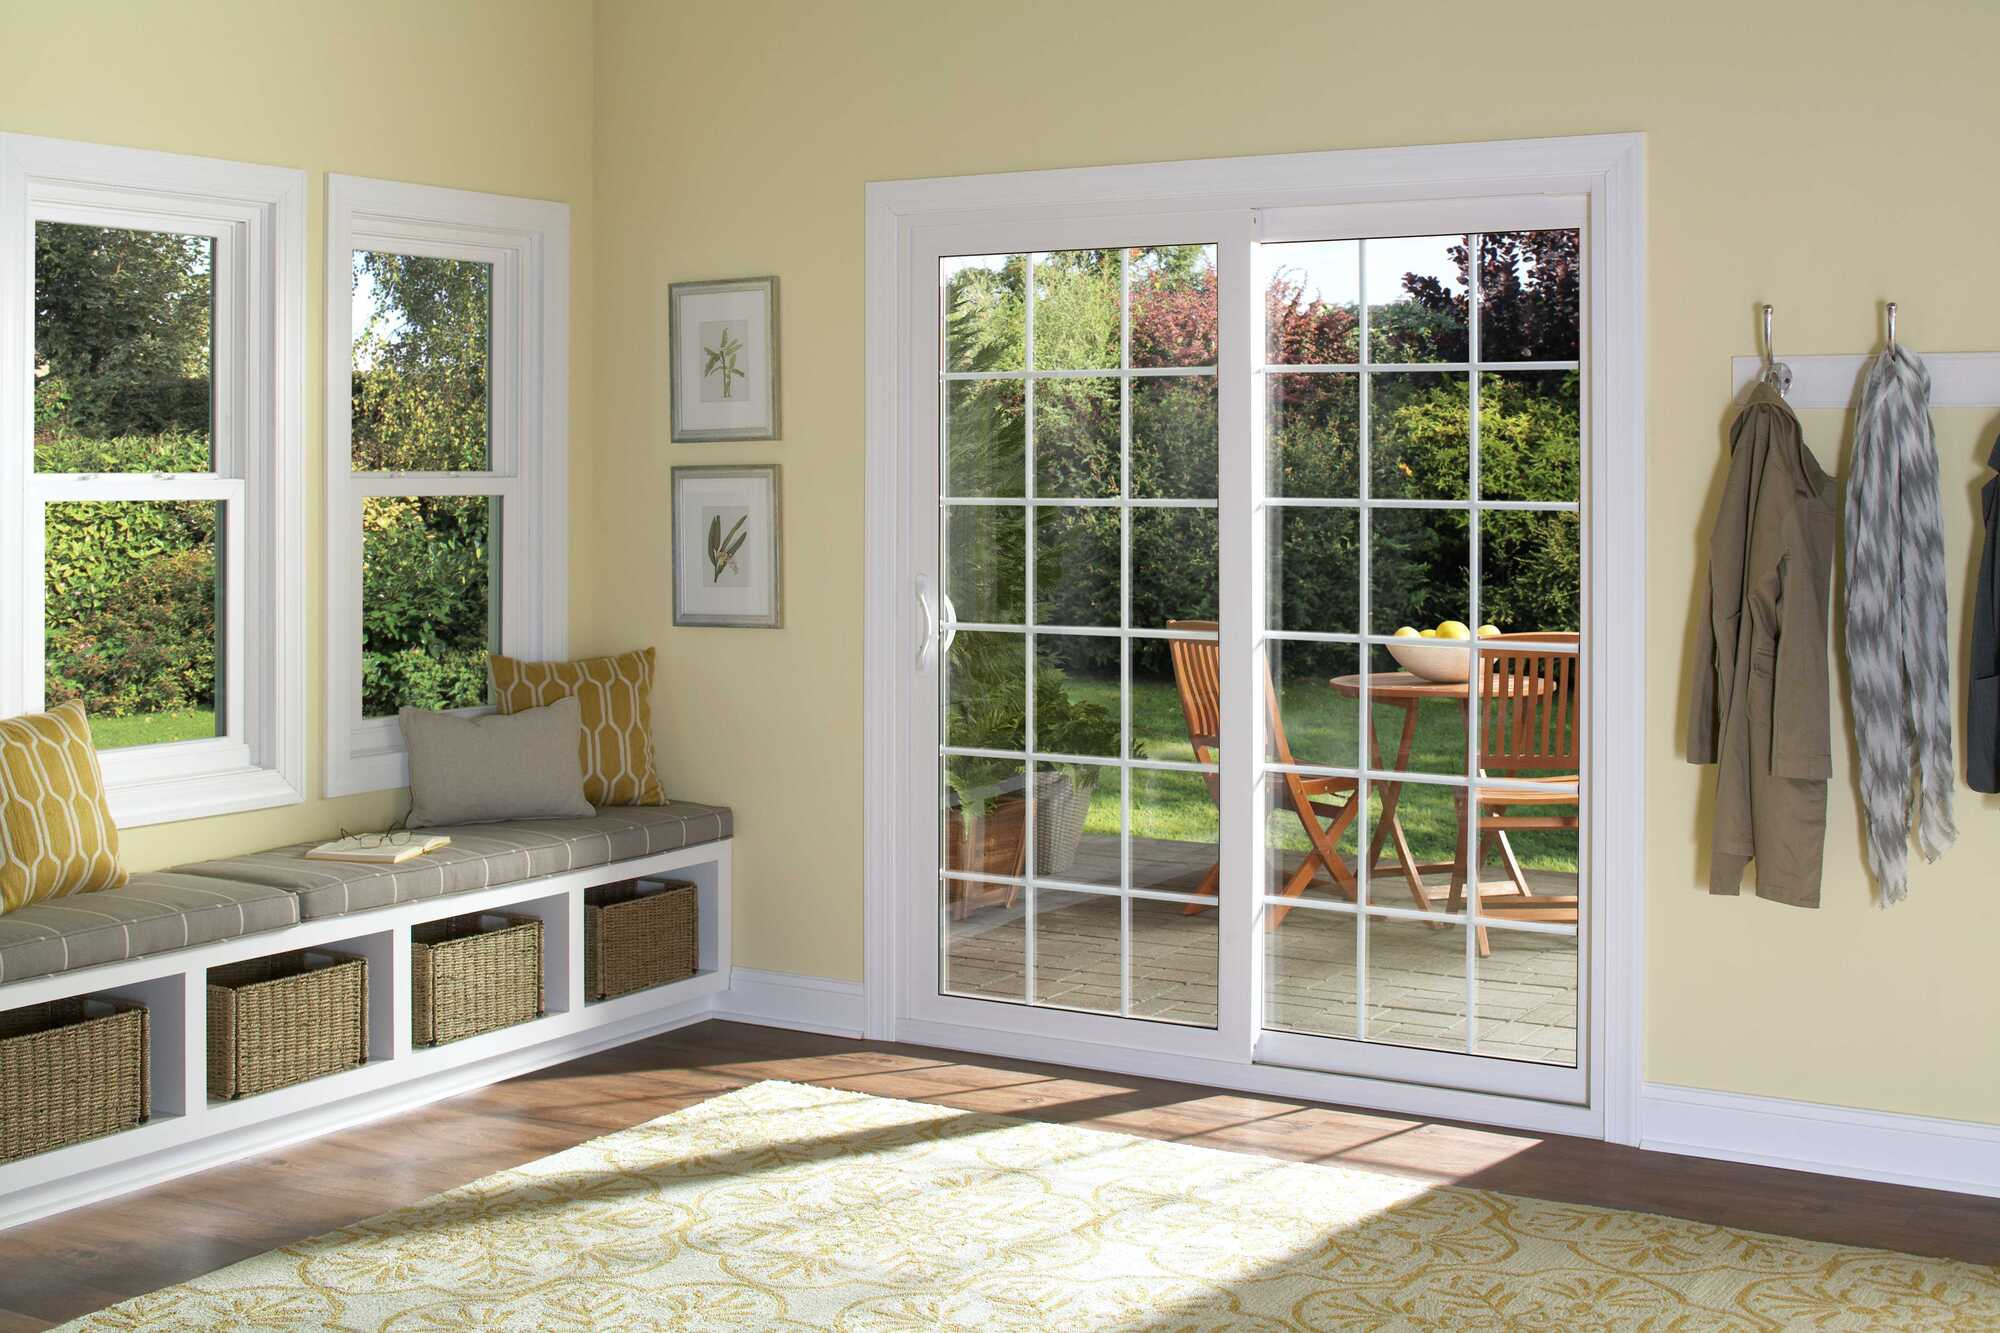
Replacing a patio door lock is a task that you can tackle on your own, saving you time and money. By following the step-by-step instructions outlined in this article, you can confidently replace your old or damaged lock with a new one, ensuring the security and functionality of your patio door.
Remember, the key to a successful replacement is proper preparation, accurate measurements, and careful installation. Take the time to gather the necessary tools and materials, remove the old lock, measure and prepare the new lock, install it correctly, and test and adjust its functionality.
With each step completed, you are one step closer to enjoying a secure and hassle-free patio door lock. By following these guidelines and paying attention to detail, you can ensure a smooth and successful replacement process.
However, if you are unsure about any step or encounter any difficulties, it’s always recommended to seek professional help from a trusted locksmith. They have the expertise and experience to handle any challenges that may arise during the process.
Now that you have the knowledge and confidence to replace your patio door lock, go ahead and get started. Enhance the security and convenience of your outdoor space with a brand new, functional lock that provides peace of mind. Happy replacing!
Frequently Asked Questions about How To Replace A Patio Door Lock
Was this page helpful?
At Storables.com, we guarantee accurate and reliable information. Our content, validated by Expert Board Contributors, is crafted following stringent Editorial Policies. We're committed to providing you with well-researched, expert-backed insights for all your informational needs.
0 thoughts on “How To Replace A Patio Door Lock”