Home>Furniture>Outdoor Furniture>How To Repair Mesh Patio Chairs
Outdoor Furniture
How To Repair Mesh Patio Chairs
Modified: March 7, 2024
Learn how to repair your mesh patio chairs with our simple step-by-step guide. Restore your outdoor furniture with ease and enjoy the comfort of sitting outside again.
(Many of the links in this article redirect to a specific reviewed product. Your purchase of these products through affiliate links helps to generate commission for Storables.com, at no extra cost. Learn more)
Introduction
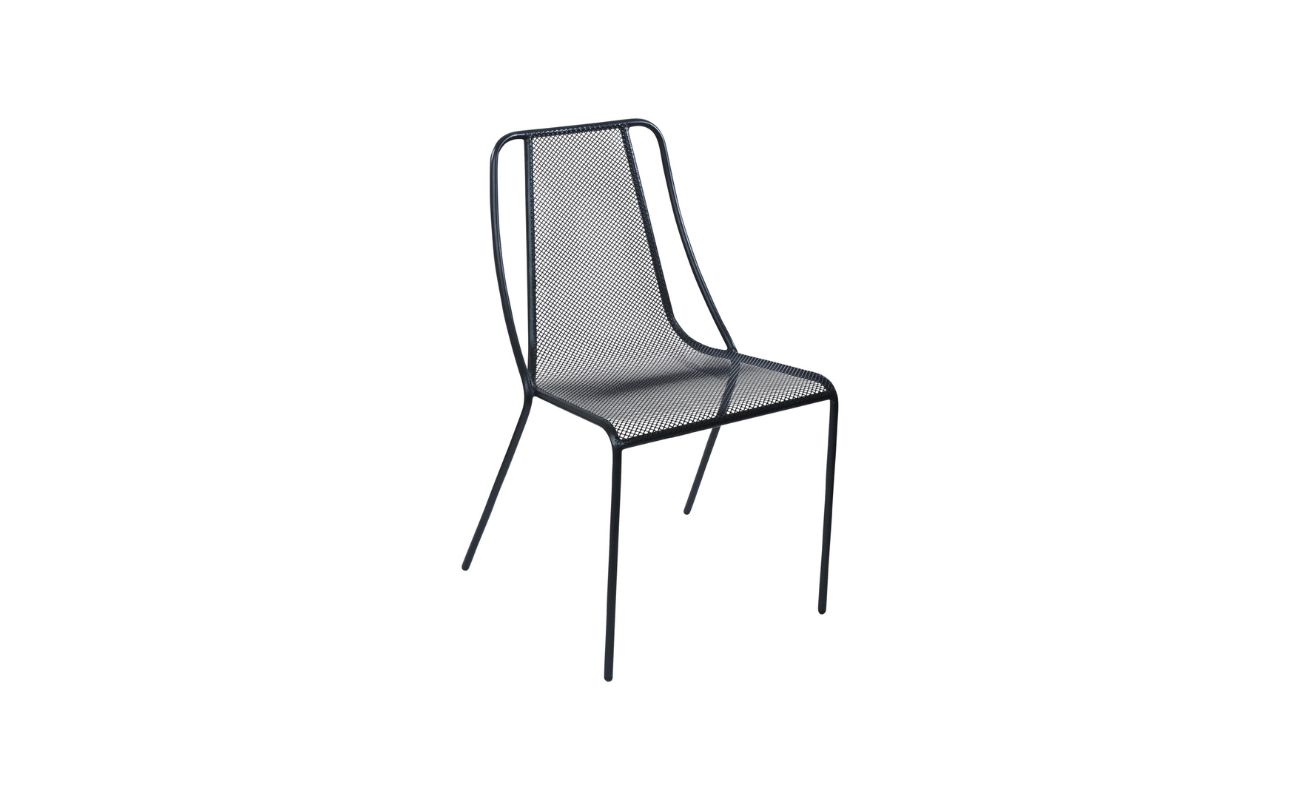
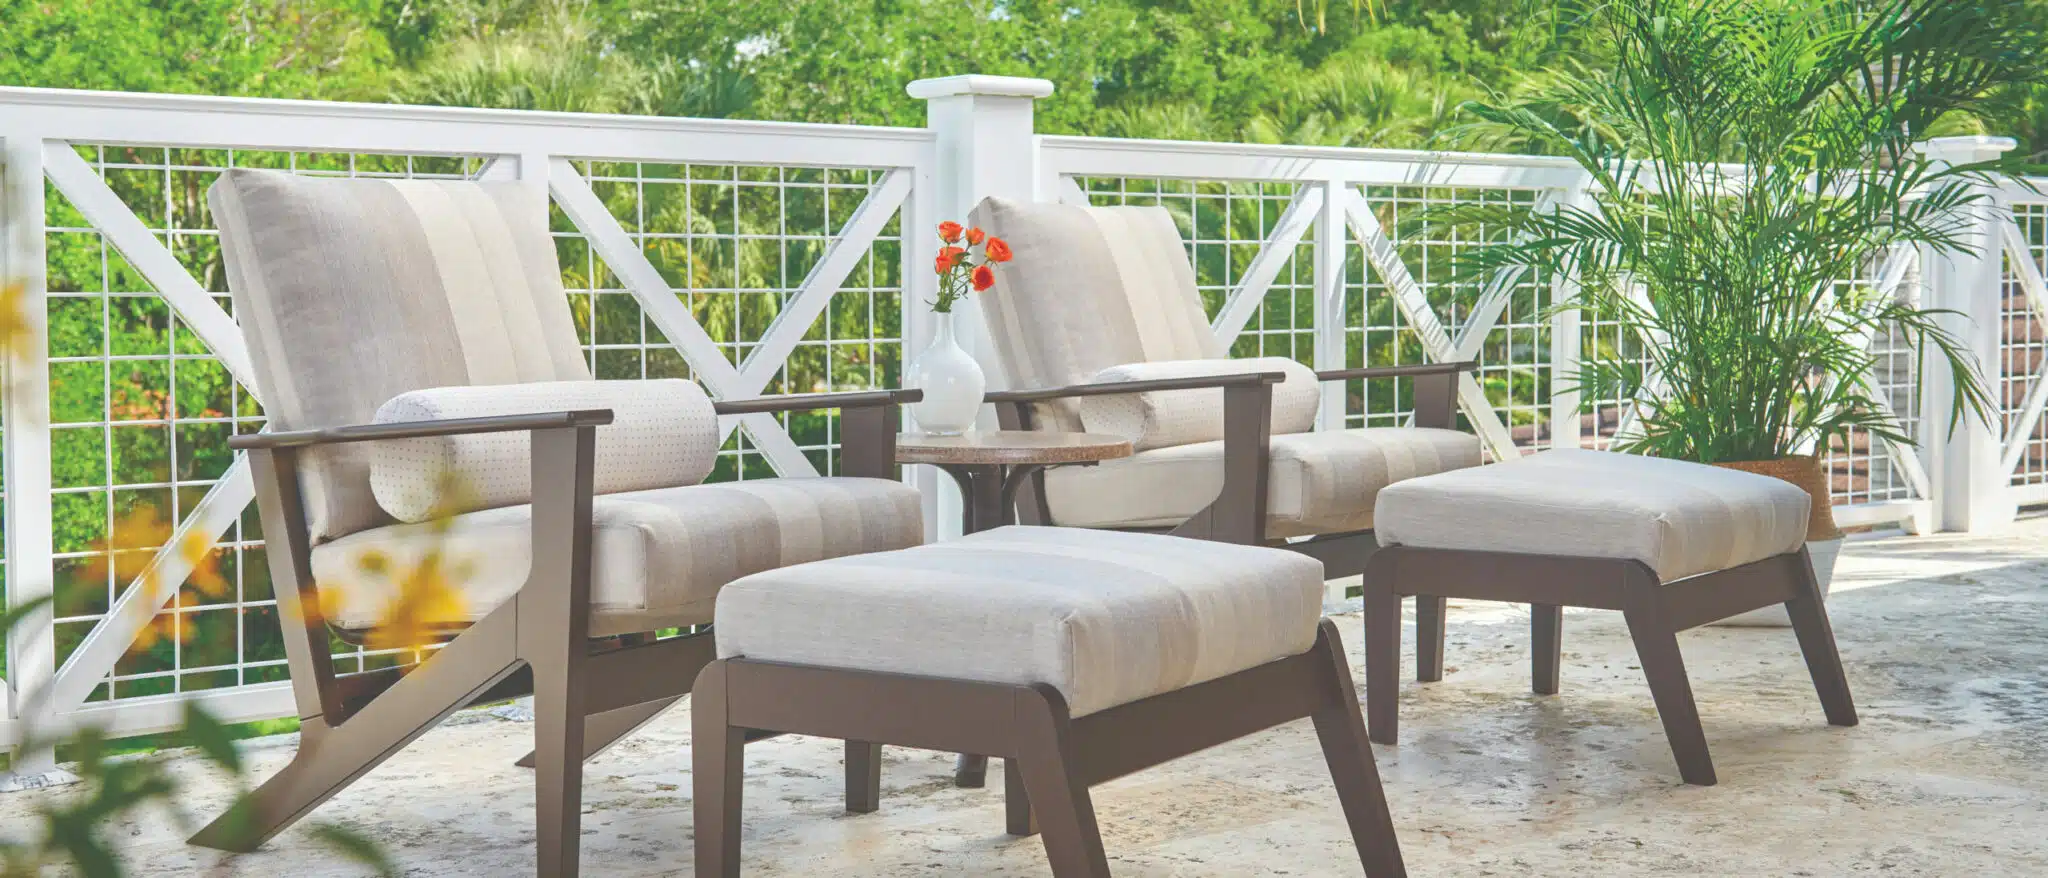
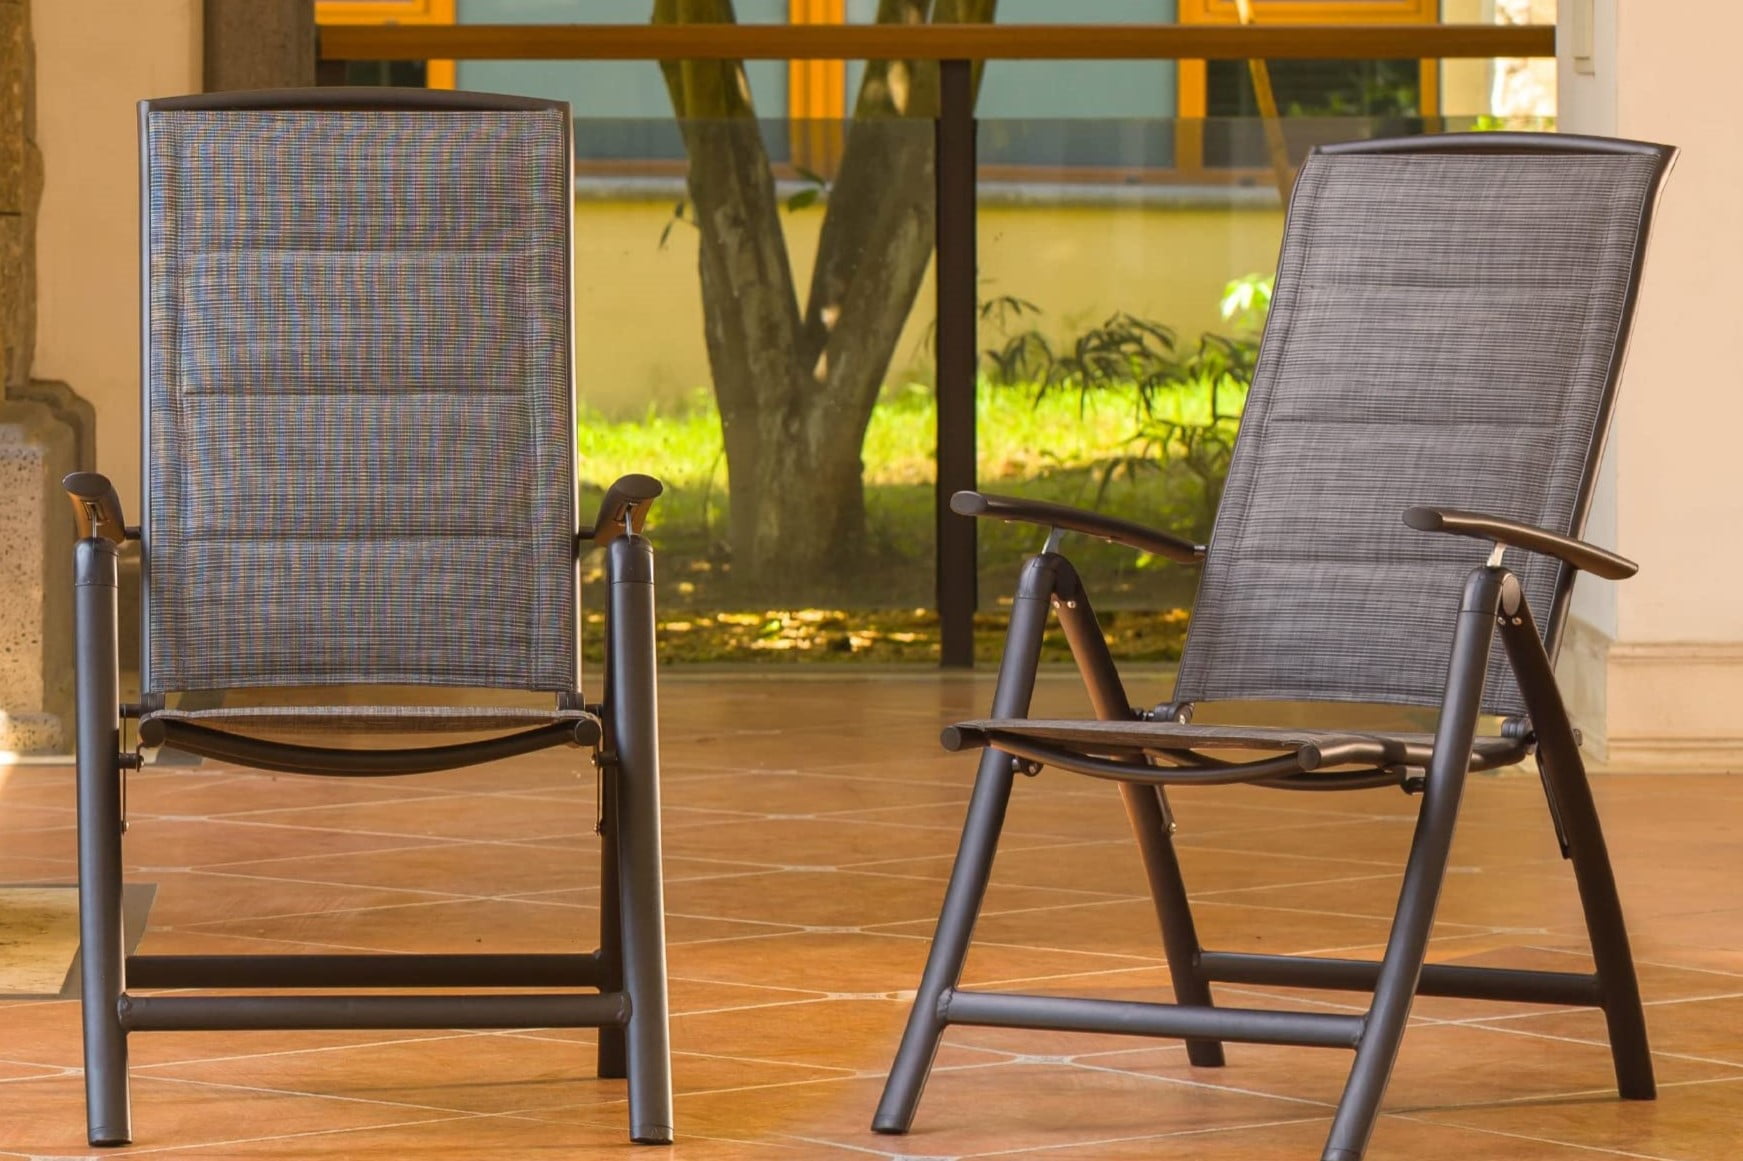
Welcome to our guide on how to repair mesh patio chairs. Mesh patio chairs are a popular choice for outdoor furniture due to their durability and comfort. However, over time, the mesh can become worn, torn, or loose, diminishing the aesthetic appeal and functionality of the chairs.
Fortunately, repairing mesh patio chairs is a straightforward process that can be done at home with the right tools and materials. In this article, we will walk you through the step-by-step process of assessing, cleaning, and repairing your mesh patio chairs, ensuring they regain their original beauty and functionality.
Before we dive into the repair process, it is essential to gather the necessary tools and materials. Let’s take a look at what you will need:
Tools:
- Scissors or utility knife
- Needle-nose pliers
- Screwdriver
- Wire brush or sandpaper
- Paintbrush (if planning to paint)
Materials:
- Replacement mesh (typically available at hardware or outdoor supply stores)
- Mesh glue or adhesive
- Paint or finish (optional)
Once you have all the tools and materials ready, we can begin assessing and cleaning your patio chairs. This initial step is crucial as it allows us to identify any additional repairs that may be necessary.
Key Takeaways:
- Repairing mesh patio chairs is a straightforward DIY process that involves assessing, cleaning, and replacing torn mesh. With the right tools and materials, you can restore both the functionality and visual appeal of your outdoor furniture.
- By following the step-by-step guide, you can transform worn-out patio chairs into beautiful and functional pieces of outdoor furniture. Regular maintenance and prompt repairs can help extend the lifespan of your chairs and reduce waste.
Read more: How To Clean Mesh Patio Chairs
Tools and Materials Needed
Tools:
- Scissors or utility knife
- Needle-nose pliers
- Screwdriver
- Wire brush or sandpaper
- Paintbrush (if planning to paint)
Materials:
- Replacement mesh (typically available at hardware or outdoor supply stores)
- Mesh glue or adhesive
- Paint or finish (optional)
Next, we will discuss the process of assessing and cleaning your mesh patio chairs in detail.
Key Takeaways:
- Repairing mesh patio chairs is a straightforward DIY process that involves assessing, cleaning, and replacing torn mesh. With the right tools and materials, you can restore both the functionality and visual appeal of your outdoor furniture.
- By following the step-by-step guide, you can transform worn-out patio chairs into beautiful and functional pieces of outdoor furniture. Regular maintenance and prompt repairs can help extend the lifespan of your chairs and reduce waste.
Read more: How To Clean Mesh Patio Chairs
Tools and Materials Needed
Before you begin repairing your mesh patio chairs, it’s important to gather all the necessary tools and materials. Having everything prepared in advance will make the repair process much smoother. Here is a list of what you will need:
Tools:
- Scissors or utility knife: These will be used to cut out any damaged or torn sections of the mesh.
- Needle-nose pliers: These will come in handy for removing staples or nails that are holding the old mesh in place.
- Screwdriver: You may need a screwdriver to remove any screws or bolts that are holding the frame together.
- Wire brush or sandpaper: This will be used to clean and prepare the metal frame for any necessary repairs or refinishing.
- Paintbrush: If you plan on painting or refinishing the frame, a paintbrush will be essential for applying the paint or finish.
Materials:
- Replacement mesh: You will need a new piece of mesh to replace any damaged sections. Mesh replacement kits are typically available at hardware or outdoor supply stores. Make sure to choose a mesh material that is suitable for outdoor use and matches the existing mesh on your chairs.
- Mesh glue or adhesive: This will be used to secure the new mesh in place. Look for a high-quality adhesive that is designed to bond with mesh and is suitable for outdoor applications.
- Paint or finish (optional): If you want to give your repaired chairs a fresh look, you may consider painting or refinishing the metal frame. Choose a paint or finish that is specifically formulated for outdoor use and is compatible with the material of your chairs.
Once you have gathered all the necessary tools and materials, you are ready to move on to the next steps of the repair process. In the following sections, we will guide you through the steps of assessing, cleaning, and repairing your mesh patio chairs to restore their functionality and aesthetic appeal.
Step 1: Assessing and Cleaning the Chairs
Before diving into the repair process, it’s crucial to assess the condition of your mesh patio chairs and identify any underlying issues that need to be addressed. Here’s how you can assess and clean your chairs:
- Inspect the mesh: Take a close look at the mesh on your chairs and identify any tears, holes, or areas where the mesh has become loose or detached from the frame.
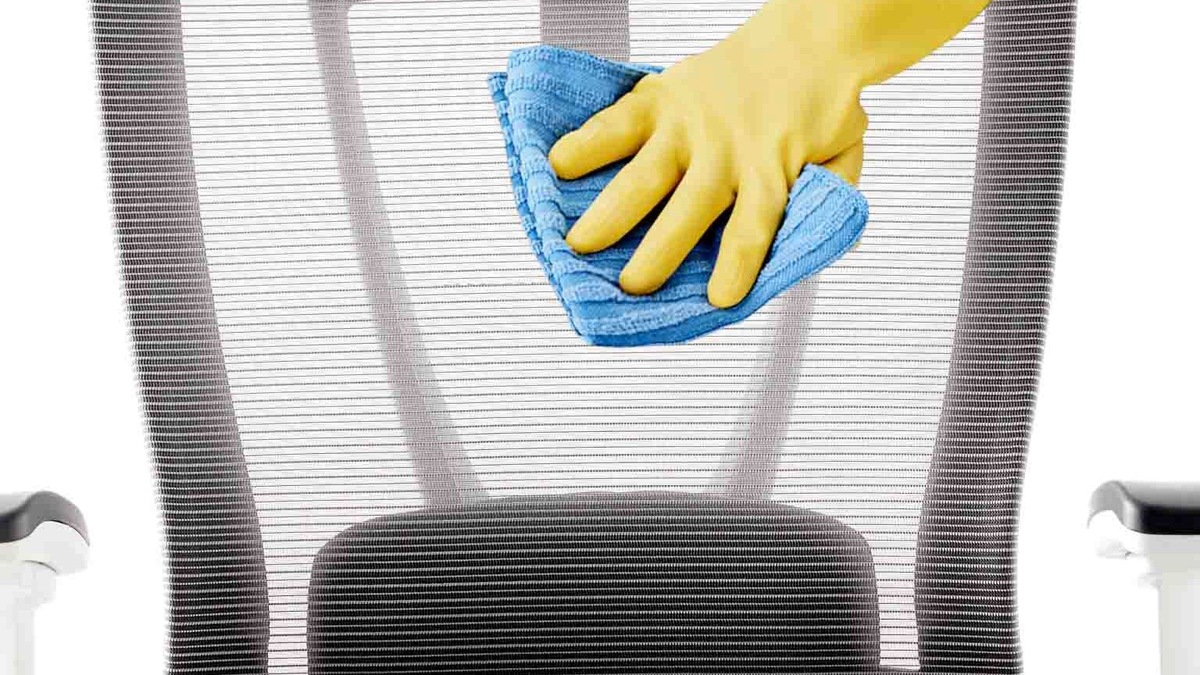
- Remove any debris: Clear away any dirt, dust, or debris that has accumulated on the chairs. You can use a brush or a vacuum cleaner to remove loose particles.
- Examine the frame: Check the metal frame for any signs of rust, corrosion, or structural damage. If you notice any issues, it’s important to address them before proceeding with the mesh repair.
- Clean the frame: Use a wire brush or sandpaper to remove any rust or corrosion from the metal frame. This will ensure a clean surface for repairs and help prevent further deterioration.
- Inspect the fasteners: Check the screws, bolts, or staples that hold the mesh in place. Tighten any loose fasteners or replace any damaged ones to ensure a secure hold.
- Consider refinishing: If the paint or finish on the frame is worn or peeling, you may want to consider refinishing it. Sand down any rough areas and apply a fresh coat of paint or finish for a polished look.
By carefully assessing and cleaning your chairs, you’ll be able to identify any necessary repairs or adjustments that need to be made. This step sets the foundation for a successful mesh repair process and helps ensure that your chairs regain their functionality and visual appeal.
Once you have completed this initial assessment and cleaning, you can move on to the next step, which involves gathering the necessary supplies and preparing for the repair process. In the following section, we will guide you through these steps to ensure you are fully prepared for the mesh repair.
Step 2: Gathering Supplies and Preparing for Repair
Now that you have assessed and cleaned your mesh patio chairs, it’s time to gather the necessary supplies and prepare for the repair process. Here’s what you need to do:
- Measure and purchase replacement mesh: Take accurate measurements of the areas that require mesh replacement. This will help you determine the size and amount of replacement mesh you need to purchase. Visit your local hardware or outdoor supply store to find a suitable replacement mesh that matches the existing material of your chairs.
- Acquire mesh glue or adhesive: Look for a high-quality mesh adhesive that is designed for outdoor use. Ensure that it bonds well with the type of mesh material you have selected. This adhesive will be used to secure the new mesh in place.
- Prepare your work area: Find a clean and well-ventilated area to work on your chairs. Lay down a drop cloth or old sheets to protect the surrounding area from any adhesive or paint spills.
- Retrieve the necessary tools: Gather all the tools you will need for the repair process, including scissors or a utility knife, needle-nose pliers, a screwdriver, and a wire brush or sandpaper if further cleaning or refinishing is required.
- Prepare the frame for repair: If you noticed any rust, corrosion, or structural damage during the assessment step, now is the time to address it. Remove any loose rust with the wire brush or sandpaper, and apply a rust-resistant primer if necessary. Repair any structural damage or reinforce weak areas of the frame as needed.
- Prepare the mesh for installation: Lay out the replacement mesh and cut it to the appropriate size and shape using scissors or a utility knife. Be sure to follow the measurements you took earlier and leave a little extra material for a secure and clean installation.
Gathering the necessary supplies and preparing your work area will help streamline the repair process. Once you have completed these steps, you are ready to move on to the next step: replacing the torn mesh on your patio chairs. In the following section, we will guide you through this process, ensuring that your chairs regain their functionality and visual appeal.
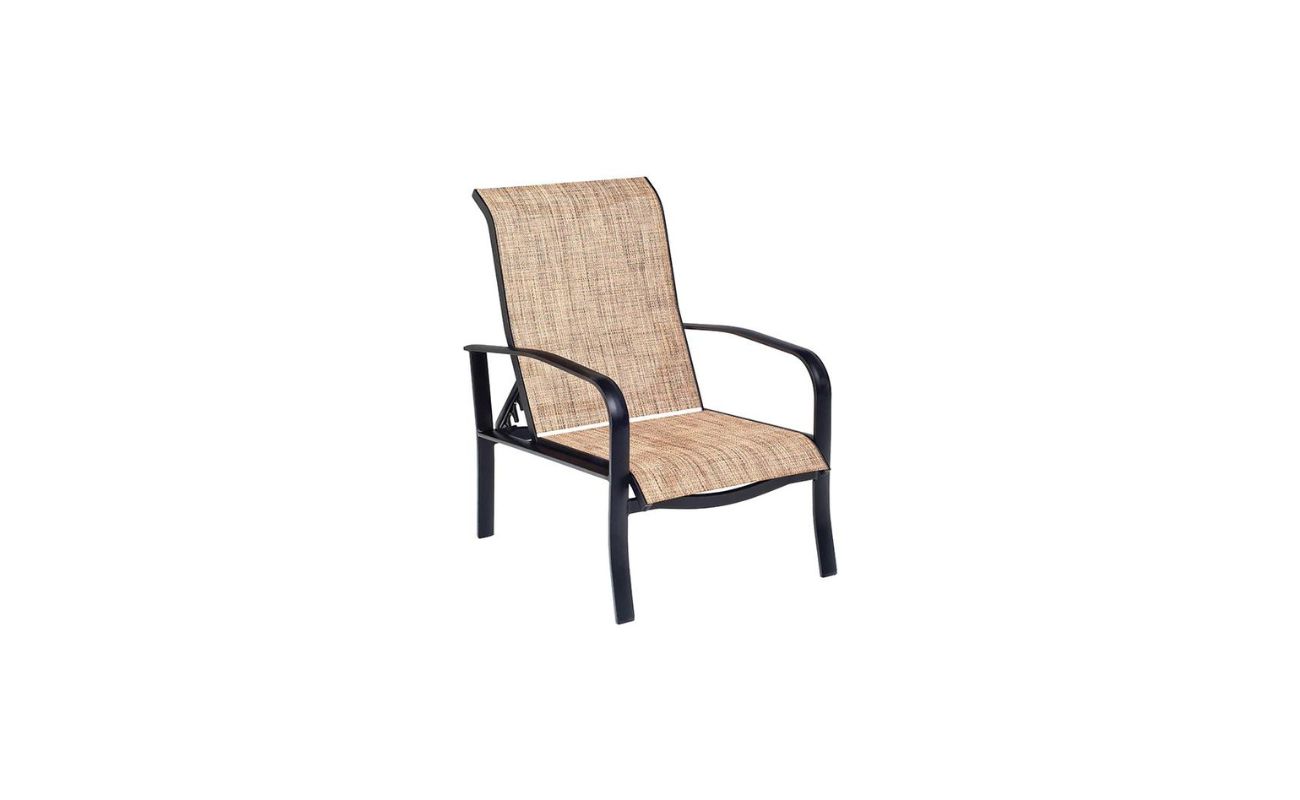
To repair mesh patio chairs, use a wire brush to remove rust, then apply a rust-inhibiting primer and spray paint. Replace any damaged mesh with new material using a screwdriver and pliers.
Read more: How To Clean Outdoor Mesh Chairs
Step 3: Replacing Torn Mesh
With the necessary supplies gathered and your work area prepared, it’s time to replace the torn mesh on your patio chairs. Follow these steps to ensure a successful mesh replacement:
- Remove the old mesh: Use needle-nose pliers to carefully remove any staples or nails that are holding the old mesh in place. Take your time to avoid damaging the frame or surrounding areas during this process.
- Clean the frame: Once the old mesh has been removed, use a wire brush or sandpaper to clean the frame thoroughly. This will ensure proper adhesion for the new mesh and help prevent any further corrosion or damage.
- Apply adhesive: Apply a thin, even layer of mesh adhesive to the frame, covering the areas where the new mesh will be placed. Be sure to follow the manufacturer’s instructions for proper application and drying time.
- Position the replacement mesh: Carefully position the replacement mesh over the adhesive-covered areas of the frame. Make sure it aligns properly and covers the entire area that needs repair.
- Secure the mesh: Gently press down on the replacement mesh to secure it in place. Ensure that it adheres properly to the adhesive and is tightly stretched across the frame for a smooth and even appearance.
- Trim excess mesh: Use scissors or a utility knife to trim any excess mesh that extends beyond the edges of the frame. Take care to cut cleanly and maintain a neat and professional appearance.
- Allow for drying time: Follow the instructions provided by the adhesive manufacturer for the recommended drying time. Avoid putting any weight or pressure on the repaired area until it is fully dry and secure.
By following these steps, you can successfully replace torn mesh on your patio chairs. Ensure that the adhesive is applied evenly and that the replacement mesh is securely positioned and stretched for a seamless repair. Once the adhesive has dried, you can move on to the next step: repairing the frame and supports on your patio chairs.
In the following section, we will guide you through the process of repairing any damaged frame or supports to ensure the overall structural integrity of your chairs.
Step 4: Repairing Frame and Supports
Now that you have successfully replaced the torn mesh on your patio chairs, it’s time to focus on repairing any damaged frame or supports. Follow these steps to ensure a sturdy and structurally sound chair:
- Inspect the frame and supports: Take a close look at the metal frame and supports of your chairs. Look for any signs of rust, corrosion, or structural damage that may compromise the stability and integrity of the chairs.
- Remove any rust or corrosion: If you spot any rust or corrosion on the frame, use a wire brush or sandpaper to remove it. Sand down the affected areas until you reach clean, bare metal.
- Repair structural damage: If you notice any bent or weak areas in the frame or supports, use pliers or a screwdriver to carefully bend them back into their original shape. Reinforce the weakened areas by adding additional support or braces as needed.
- Replace missing or damaged hardware: Check for any missing screws, bolts, or other hardware that may need to be replaced. Use the appropriate tools to install new hardware and ensure a secure fit.
- Strengthen loose joints: If you find any loose joints in the frame or supports, use wood glue or a suitable adhesive to strengthen the connection. Apply the adhesive and firmly press the joint together until it sets.
- Test the stability: Once you have made the necessary repairs, test the stability of the chairs by gently rocking or applying pressure to them. Ensure that they feel secure and stable without any wobbling or excessive movement.
- Allow for drying time: If you have used adhesive or glue during the repair process, follow the manufacturer’s instructions for recommended drying time. Avoid using the chairs until the adhesive is fully dry and has cured.
By following these steps, you can restore the structural integrity of your patio chairs. Repairing any damage to the frame and supports will not only prolong the lifespan of your chairs but also ensure the safety and comfort of those who use them.
Once you have completed the frame and support repairs, you may consider adding a finishing touch to enhance the overall appearance of your chairs. In the next step, we will explore the option of painting or applying a finish to your patio chairs.
Step 5: Painting or Finishing Touches
With the mesh repaired and the frame and supports in good shape, it’s time to consider adding a finishing touch to your patio chairs. Painting or applying a finish can not only improve the aesthetics but also provide added protection against the elements. Follow these steps to complete the repair process:
- Clean the surface: Ensure that the metal frame is clean and free of any dust or debris before painting or applying a finish. Use a damp cloth to wipe away any dirt or residue.
- Choose the right paint or finish: Select a paint or finish that is suitable for outdoor use and is compatible with the material of your chairs. Check the manufacturer’s instructions for specific recommendations and application guidelines.
- Prepare the surface: If the existing paint or finish is in good condition, you may simply need to lightly sand the surface to create a rough texture for better adhesion. However, if the paint or finish is peeling or flaking, you may need to remove it completely using a paint stripper or sanding.
- Apply the paint or finish: Use a brush or roller to apply an even coat of paint or finish to the metal frame. Follow the manufacturer’s instructions for the recommended number of coats and drying time between each coat.
- Allow for drying and curing: After applying the final coat, allow the paint or finish to dry and cure completely. This will ensure a durable and long-lasting finish on your patio chairs.
- Inspect and touch up if necessary: Once the paint or finish has dried, inspect the chairs for any missed spots or areas that may need touch-ups. Apply additional coats or touch-ups as needed to achieve the desired appearance.
By painting or applying a finish, you can rejuvenate the look of your patio chairs and protect them from the elements. Consider choosing a color or finish that complements your outdoor decor and personal style.
Congratulations! You have successfully repaired and restored your mesh patio chairs. By following these steps and taking care of your chairs, you can enjoy many more seasons of outdoor comfort and relaxation.
Remember to regularly inspect and clean your chairs to keep them in good condition. If any future repairs are needed, now you have the skills and knowledge to tackle them confidently. Enjoy your renewed patio chairs and make the most of your outdoor space!
Conclusion
Repairing mesh patio chairs is a rewarding and cost-effective way to breathe new life into your outdoor furniture. With the right tools, materials, and a bit of patience, you can restore both the functionality and aesthetic appeal of your chairs. Throughout this guide, we have walked you through the step-by-step process of assessing, cleaning, and repairing your mesh patio chairs.
We began by assessing the chairs and gathering the necessary tools and materials. Then, we moved on to cleaning the chairs and preparing them for repair. Next, we replaced the torn mesh, ensuring a secure and even installation. We then repaired any damaged frame or supports to restore the structural integrity of the chairs. Finally, we explored the option of painting or applying a finish to provide both protection and a fresh appearance.
By following these steps, you can transform worn-out and damaged patio chairs into beautiful and functional pieces of outdoor furniture. Repairing the chairs not only saves you money but also allows you to extend their lifespan and reduce waste.
Remember to regularly inspect and maintain your patio chairs to keep them in great condition for years to come. Clean them regularly, address any repairs promptly, and consider storing them in a covered area during inclement weather to prolong their longevity.
Thank you for using our guide on how to repair mesh patio chairs. We hope you found the information helpful and that you now feel confident in tackling any necessary repairs. Enjoy your revitalized patio chairs and make the most of your outdoor space. Happy relaxing!
Frequently Asked Questions about How To Repair Mesh Patio Chairs
Was this page helpful?
At Storables.com, we guarantee accurate and reliable information. Our content, validated by Expert Board Contributors, is crafted following stringent Editorial Policies. We're committed to providing you with well-researched, expert-backed insights for all your informational needs.

0 thoughts on “How To Repair Mesh Patio Chairs”