Home>Furniture>Outdoor Furniture>How To Make A Brick Patio

Outdoor Furniture
How To Make A Brick Patio
Modified: October 19, 2024
Learn how to create a stunning brick patio for your outdoor space and enhance it with stylish and durable outdoor furniture. Bring your backyard to life!
(Many of the links in this article redirect to a specific reviewed product. Your purchase of these products through affiliate links helps to generate commission for Storables.com, at no extra cost. Learn more)
Introduction
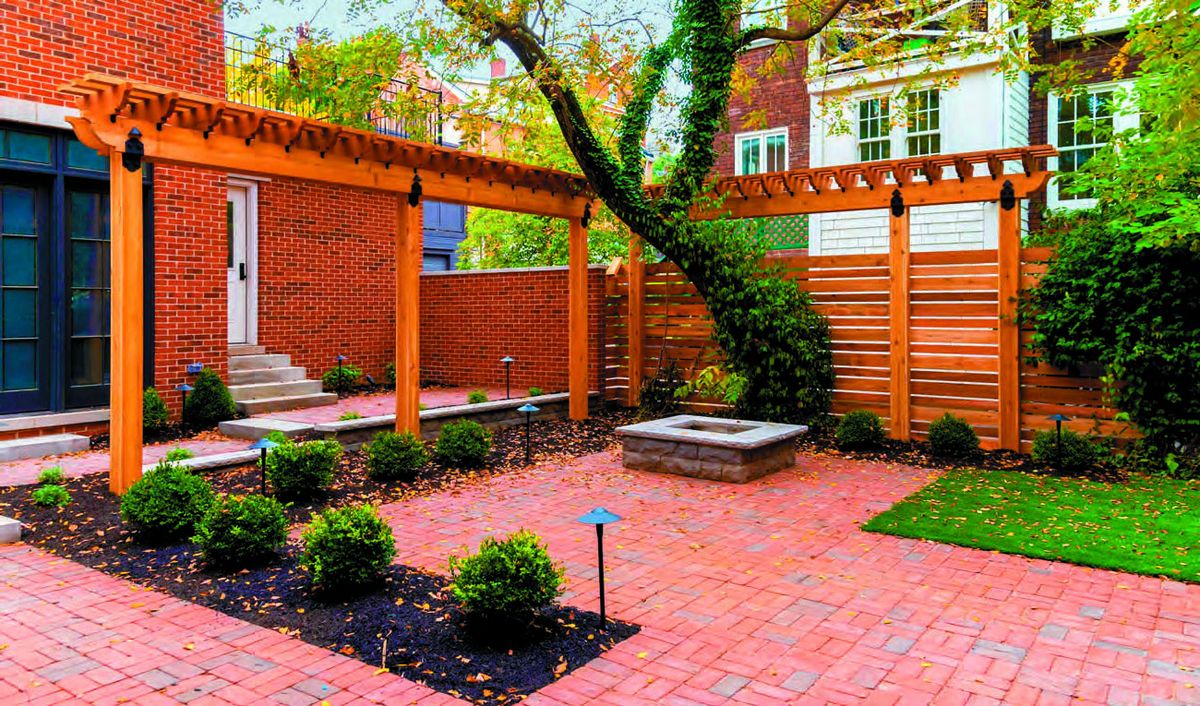
Welcome to the world of outdoor living! Creating a beautiful and functional space in your backyard is a dream for many homeowners. One way to achieve that is by building a brick patio. A brick patio not only adds charm and elegance to your outdoor area but also provides a versatile space for entertainment, relaxation, and enjoyment.
In this comprehensive guide, we will take you through the step-by-step process of building a brick patio, from planning and preparation to adding the finishing touches. Whether you are a seasoned DIY enthusiast or a beginner looking to tackle your first outdoor project, we have got you covered!
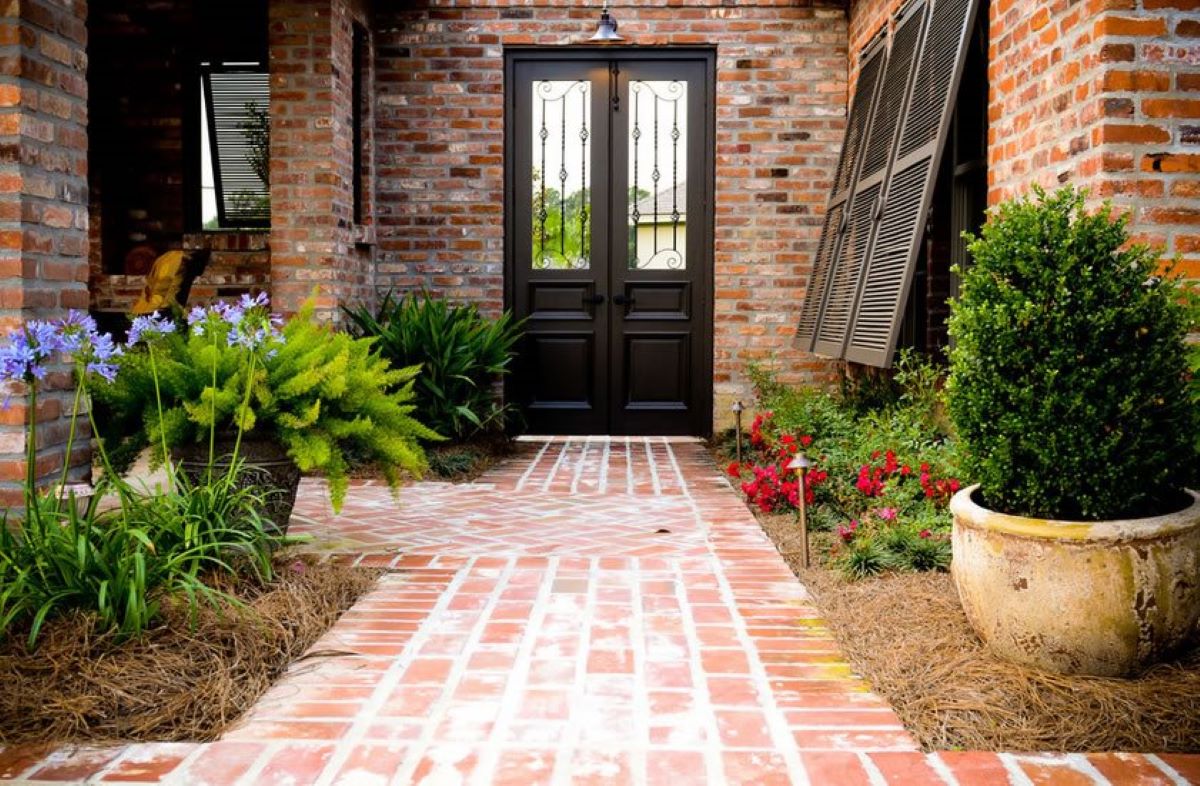
Before we dive into the nitty-gritty details, let’s take a moment to understand the benefits of having a brick patio. First and foremost, brick is a durable and long-lasting material that can withstand the elements and heavy foot traffic. It adds a timeless appeal to any outdoor space and can complement a variety of architectural styles.
A brick patio also offers excellent versatility in terms of design options. From traditional herringbone patterns to intricate basket-weave or running bond layouts, there are endless possibilities to create a patio that suits your style and preferences. Additionally, bricks come in various colors and textures, allowing you to customize the look and feel of your outdoor space.
Another advantage of a brick patio is its low maintenance requirements. Unlike other materials, bricks are resistant to stains, fading, and wear and tear. They are also relatively easy to clean and can be quickly spruced up by giving them a good sweep or a rinse with a garden hose.
Now that you’re familiar with the advantages of a brick patio, it’s time to roll up your sleeves and get started. Keep in mind that building a patio requires some physical effort and time dedication, but the end result is well worth it.
So, grab your notepad, put on your work gloves, and let’s embark on this exciting journey of creating your very own brick patio!
Key Takeaways:
- Building a brick patio requires careful planning, precise measurements, and attention to detail. It offers durability, low maintenance, and endless design options, creating a timeless and versatile outdoor space.
- Completing a brick patio project involves laying bricks, filling gaps with sand, and adding finishing touches. It’s a rewarding process that transforms your outdoor area into a beautiful and functional space for relaxation and entertainment.
Read more: How To Fix A Brick Patio
Step 1: Planning and Preparation
The first step in building a brick patio is careful planning and preparation. This stage is crucial as it sets the foundation for a successful project. Here are two important tasks to focus on:
Selecting the Location
Take some time to evaluate your outdoor space and determine the best location for your brick patio. Consider factors such as sunlight exposure, proximity to the house, and the overall landscape design. You’ll want to choose a spot that not only fits your desired patio size but also blends harmoniously with your backyard.
Think about how you intend to use the patio. If you plan on dining or entertaining, consider placing it near the kitchen or the back entrance of your home. If you seek a peaceful retreat, a secluded corner with shade trees might be ideal. It’s important to consider how the patio will fit into your overall outdoor living vision.
Taking Accurate Measurements
Once you have selected the location, it’s time to take accurate measurements of the area. This step ensures that you have the correct dimensions for planning the layout, ordering materials, and estimating costs.
Using a measuring tape, measure the length and width of the designated patio area. Take note of any irregular shapes or obstructions, such as trees, hedges, or existing structures, that might affect the layout. It is crucial to be precise while measuring to avoid any unnecessary adjustments later on.
Consider how much space you would like to leave around the patio for additional landscaping or furnishing. This will help you determine the final dimensions of the patio and ensure a comfortable and functional outdoor space.
By carefully selecting the location and taking accurate measurements, you are setting the stage for a successful brick patio project. These preliminary steps lay the foundation for the rest of the construction process, ensuring that the end result meets your expectations and enhances your outdoor living experience.
Step 2: Gathering Materials and Tools
Now that you have planned and prepared your brick patio, it’s time to gather the necessary materials and tools for the construction process. Paying attention to the quality of the materials and selecting the right tools will ensure a smooth and successful project. Let’s dive into the two important aspects of this step:
Read more: How To Clean A Brick Patio
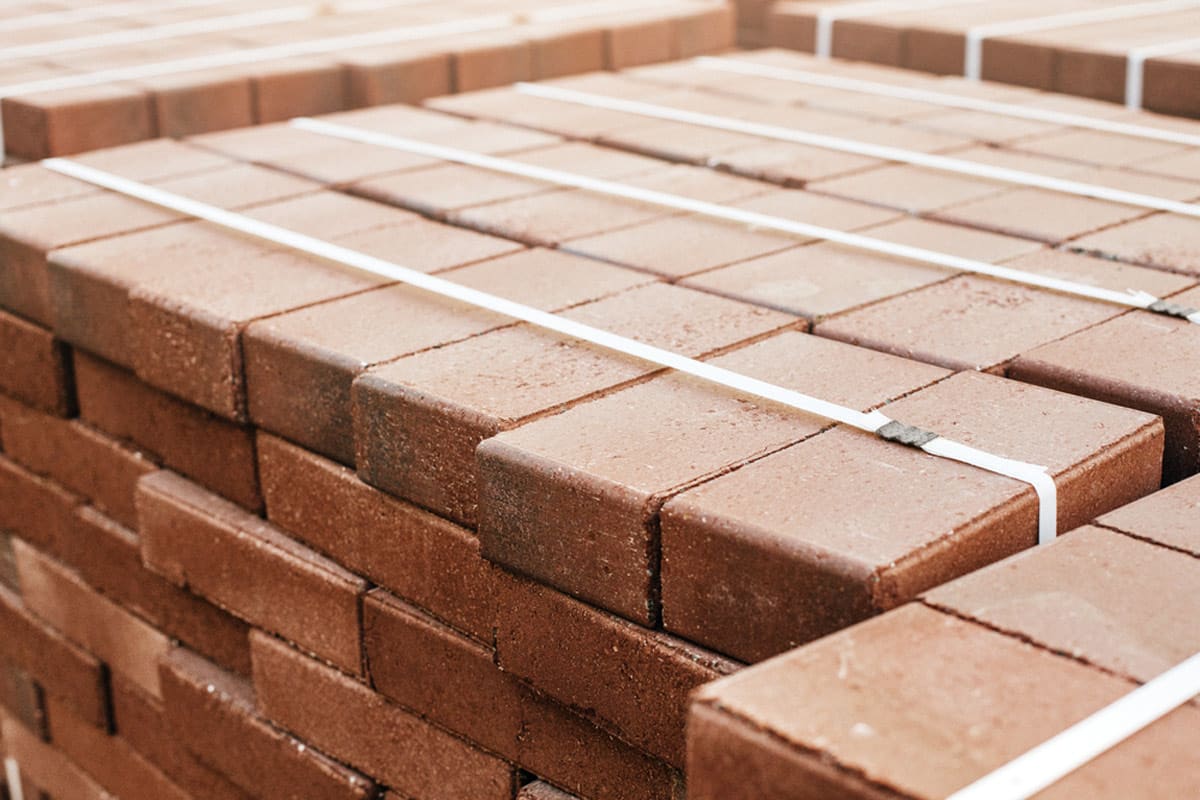
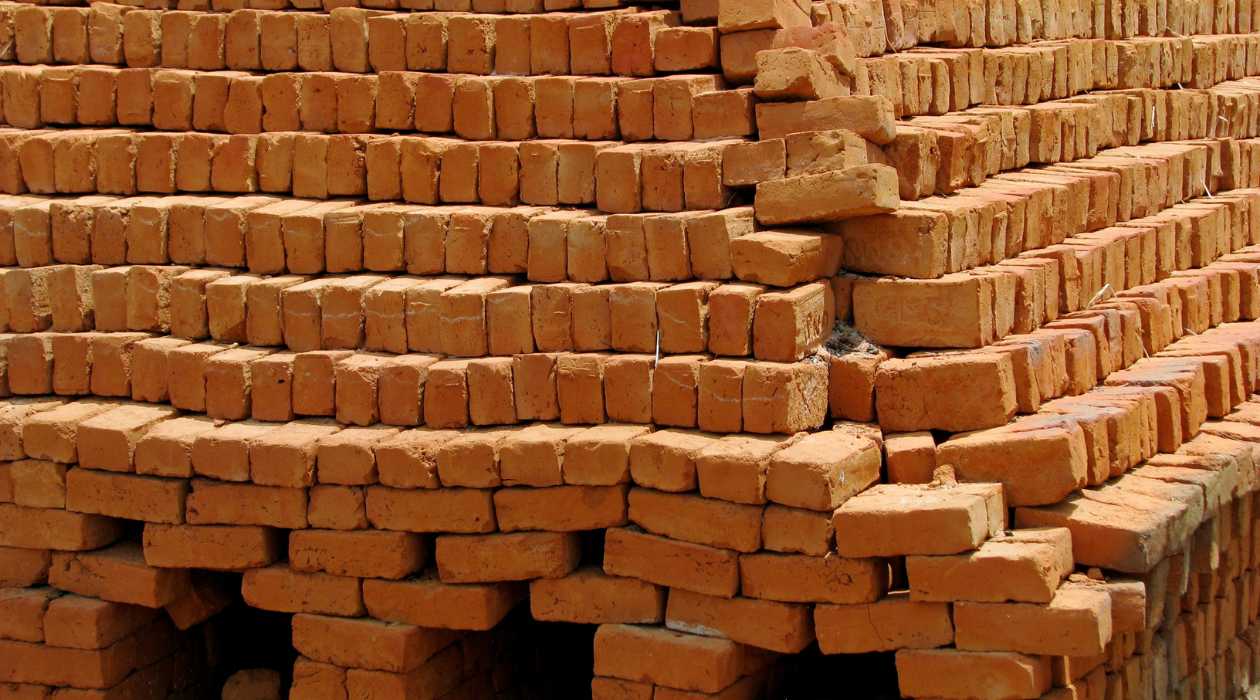
Choosing the Right Bricks
The selection of bricks is crucial as it determines the durability, appearance, and overall aesthetic of your patio. When it comes to choosing bricks, consider the following factors:
- Material: Opt for clay bricks, as they are sturdy, weather-resistant, and offer a classic look. Avoid using concrete bricks as they may crack over time.
- Color: Decide on the color that complements your home’s exterior or matches your overall outdoor design scheme. Bricks come in various shades, ranging from traditional red to earthy tones like brown or gray.
- Texture: Consider the texture of the bricks. Smooth bricks provide a modern and sleek look, while textured or tumbled bricks offer a rustic and aged appearance.
- Size and Shape: Choose brick pavers that are specifically designed for patios. Common sizes include 4×8 inches, 6×6 inches, or 8×8 inches. Rectangle or square shapes are the most popular options for patio bricks.
It’s a good idea to visit a local brick supplier or home improvement store to see and feel the bricks in person. This will help you make an informed decision and ensure you choose the right bricks for your patio project.
Getting the Necessary Equipment
Equipping yourself with the right tools will make the construction process more efficient and seamless. Here are some essential tools you will need:
- Tape Measure: Essential for taking accurate measurements.
- Shovel: Used for clearing the area and excavating the foundation.
- Rake: Helps in leveling the ground and removing debris.
- Wheelbarrow: Used for transporting materials, such as gravel or sand.
- Trowel: Necessary for spreading the base material and sand.
- Masonry Saw: Required to cut bricks if necessary.
- Rubber Mallet: Used for tapping the bricks into place.
- Sweeping Brush: Helps in filling the gaps between bricks with sand.
These are just a few examples of the tools you may need. Depending on the complexity of your patio project, there might be additional tools required. It’s essential to have all the necessary equipment on hand before you begin construction to avoid any delays or interruptions.
By carefully choosing the right bricks and gathering the necessary tools, you set the stage for a successful and visually appealing brick patio. These preparatory steps ensure that you have the materials and equipment needed to bring your patio vision to life. Now that you have everything ready, it’s time to move on to the next steps!
Step 3: Preparing the Foundation
An essential step in building a brick patio is preparing a solid foundation. The foundation ensures the stability and longevity of your patio. Let’s explore the three critical tasks involved in this step:
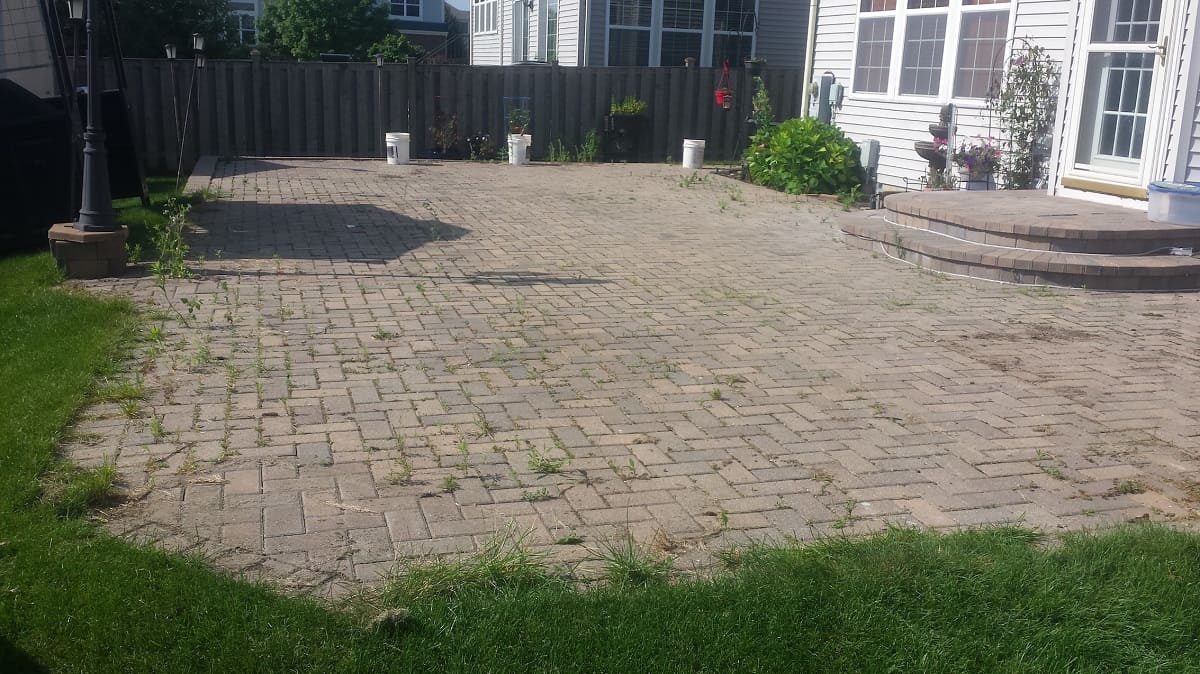
Clearing the Area
The first task is to clear the designated area where your patio will be constructed. Remove any existing vegetation, rocks, debris, or obstacles from the area. Use a shovel, rake, or wheelbarrow to clear out the space thoroughly. Ensure that the area is clean and free from any obstructions that could interfere with the patio construction process.
Read more: How To Seal A Brick Patio
Leveling the Ground
Once the area is cleared, it’s time to level the ground. This is an important step to ensure that your patio sits evenly. To begin, use a long, straight board or a level to identify any areas of the ground that are uneven or sloping.
If you come across any high spots, use a shovel to remove excess soil or grass. For low areas, add soil or gravel to fill them in. Use the level to continually check the ground and make adjustments until it is completely level and smooth.
Pro tip: Consider creating a slight slope away from your house to ensure proper drainage. This will prevent water from pooling on the patio and causing damage.
Installing Edging
Installing edging is crucial to define the boundaries of your patio and keep the bricks in place. There are various options for edging materials, including plastic or metal. Choose an edging material that suits your desired aesthetic and installation preferences.
Start by placing the edging material along the outer perimeter of the patio area. Ensure that it is level and sitting flush with the ground. Use stakes or anchors to secure the edging in place. This will help maintain the shape and integrity of your patio.
By clearing the area, leveling the ground, and installing edging, you are creating a solid foundation for your brick patio. These steps help ensure that your patio is properly aligned, stable, and resistant to shifting or sinking. With a well-prepared foundation, you can proceed to the next steps of constructing your beautiful brick patio.
Step 4: Setting the Base
Once you have prepared the foundation for your brick patio, it’s time to set the base. The base provides stability and support for the bricks, ensuring a level and long-lasting patio. Let’s explore the two essential tasks involved in this step:
Adding Base Material
The first task is to add base material to the excavated area. This material acts as a foundation for the patio. Start by adding a layer of gravel or crushed stone to the entire patio area. This base material provides proper drainage and stability.
Spread the gravel or crushed stone evenly, ensuring a uniform thickness of approximately 4-6 inches. Use a rake or shovel to smooth out the surface and create an even layer. Check the level periodically to ensure the base material is consistently flat.
Read more: How To Make A Brick
Compacting the Base
After adding the base material, it’s crucial to compact it to create a solid and stable foundation. Use a plate compactor or a hand tamper to firmly compact the base material. Begin at one corner and work your way across the entire patio area.
Ensure that the base material is compacted thoroughly by making multiple passes with the compactor or tamper. This will help eliminate any air pockets and create a firm surface for the bricks.
Creating a Slope for Drainage
An important consideration when setting the base is to create a slight slope for proper drainage. This prevents water from pooling on your patio and causing damage or erosion. Aim for a slope of about 1/8 inch per foot, sloping away from your house or any structures.
Use a level or a long straight board to check the slope as you compact the base material. Make adjustments as necessary to ensure a consistent slope across the entire patio area.
By adding base material, compacting it, and creating a slope for drainage, you are establishing a stable and properly drained base for your brick patio. This step is essential in ensuring the longevity and functionality of your patio. With a solid foundation in place, you are ready to move on to the exciting task of laying the bricks!
Step 5: Laying the Bricks
With the base set and the foundation prepared, it’s time to bring your brick patio to life by laying the bricks. This step requires careful planning and precision to ensure a professional and visually appealing result. Let’s explore the three crucial tasks involved in this step:
Dry Laying the Pattern
Before securing the bricks in place, it is essential to dry lay them in the desired pattern. This allows you to see how the bricks will fit together and make any necessary adjustments before permanently setting them.
Start by placing the bricks on the base, following your chosen pattern. Popular patterns include herringbone, basket weave, running bond, or a custom design of your own. Take your time to align the bricks properly and ensure that the pattern flows seamlessly.
Pay attention to spacing between the bricks to create uniform gaps for sand filling. Use spacers or your fingers to maintain consistent spacing throughout the entire patio.
Read more: How To Lay A Mortared Brick Patio
Cutting Bricks if Needed
During the dry laying process, you may encounter areas where you need to cut bricks to fit specific shapes or angles. Use a masonry saw or a brick splitter to carefully and precisely cut the bricks to the correct size.
Measure the area that requires a cut and mark the brick accordingly. Take your time when cutting to ensure clean and accurate cuts. Always wear safety goggles and follow the manufacturer’s instructions when using cutting tools.
Starting at One Corner and Working Outward
Once you are satisfied with the dry layout and have made any necessary cuts, it’s time to start laying the bricks. Begin at one corner of the patio and work your way outward.
Apply a layer of mortar or masonry adhesive on the base where the first brick will be placed. Press the brick firmly into the mortar and use a rubber mallet or a wooden block to make sure it is evenly seated. Check for levelness and adjust as necessary.
Continue laying the bricks, applying mortar or adhesive in small sections. Use a level frequently to ensure that the bricks are straight and level, adjusting as needed. Maintain consistent spacing between the bricks using spacers or your fingers.
Remember to periodically step back and evaluate the pattern and alignment of the bricks. Make any adjustments as you go to ensure a visually pleasing result.
By dry laying the pattern, cutting bricks if necessary, and starting at one corner, you are on your way to creating a beautifully laid brick patio. Taking your time, paying attention to detail, and maintaining consistency are the keys to success in this step. With each brick in place, your patio begins to take shape, bringing you closer to the completion of your outdoor living space.
Step 6: Filling the Gaps
Now that you have laid the bricks for your patio, it’s time to fill the gaps between them for stability and to enhance the overall appearance. This step involves spreading and sweeping sand into the joints to lock the bricks in place. Let’s explore the two essential tasks involved in this step:
Spreading and Sweeping Sand
The first task is to spread sand over the entire surface of the patio, focusing on the gaps between the bricks. Use a shovel or a broom to evenly distribute the sand, ensuring it fills the joints to a sufficient depth.
Make sure the sand is spread over the entire patio, moving back and forth to fill all the gaps between the bricks. Take your time with this process to ensure that the sand is applied evenly and fills the joints completely.
Read more: How To Make Brick Molds
Tamping the Sand
Once the sand is spread, it’s important to tamp it down to make it secure and stable. Use a tamper or a rubber mallet to gently tap the surface of the patio. This will help settle the sand into the gaps and create a solid and uniform appearance.
Continue tamping the sand across the entire patio, focusing on the joints between the bricks. Pay attention to any areas where the sand may be uneven or needs more settling. Take your time to ensure that the sand is compacted properly and that the joints are filled to the desired level.
By spreading and sweeping sand into the gaps and then tamping it down, you are ensuring that the bricks are securely in place and that the patio surface is stable. The sand serves as a cushion, allowing for slight movement and flexibility while preventing the bricks from shifting.
Once the gaps are filled and the sand is compacted, your brick patio will have a finished, polished look. The next step is to add some finishing touches to complete the project.
Step 7: Finishing Touches
Congratulations! You’re in the final stretch of building your brick patio. In this last step, we will focus on adding the finishing touches that will elevate the appearance and functionality of your outdoor space. Let’s explore the three important tasks involved in this step:
Edging the Patio
Edging your patio provides a clean and polished look while also serving as a barrier to prevent the edges from shifting or spreading over time. You can choose from a variety of edging options, such as plastic or metal, to suit your preference and design aesthetic.
Place the chosen edging material along the edges of the patio, ensuring it is slightly above the surface of the bricks. Use stakes or anchors to secure the edging in place. This will help maintain the shape and integrity of your patio while giving it a professional and finished appearance.
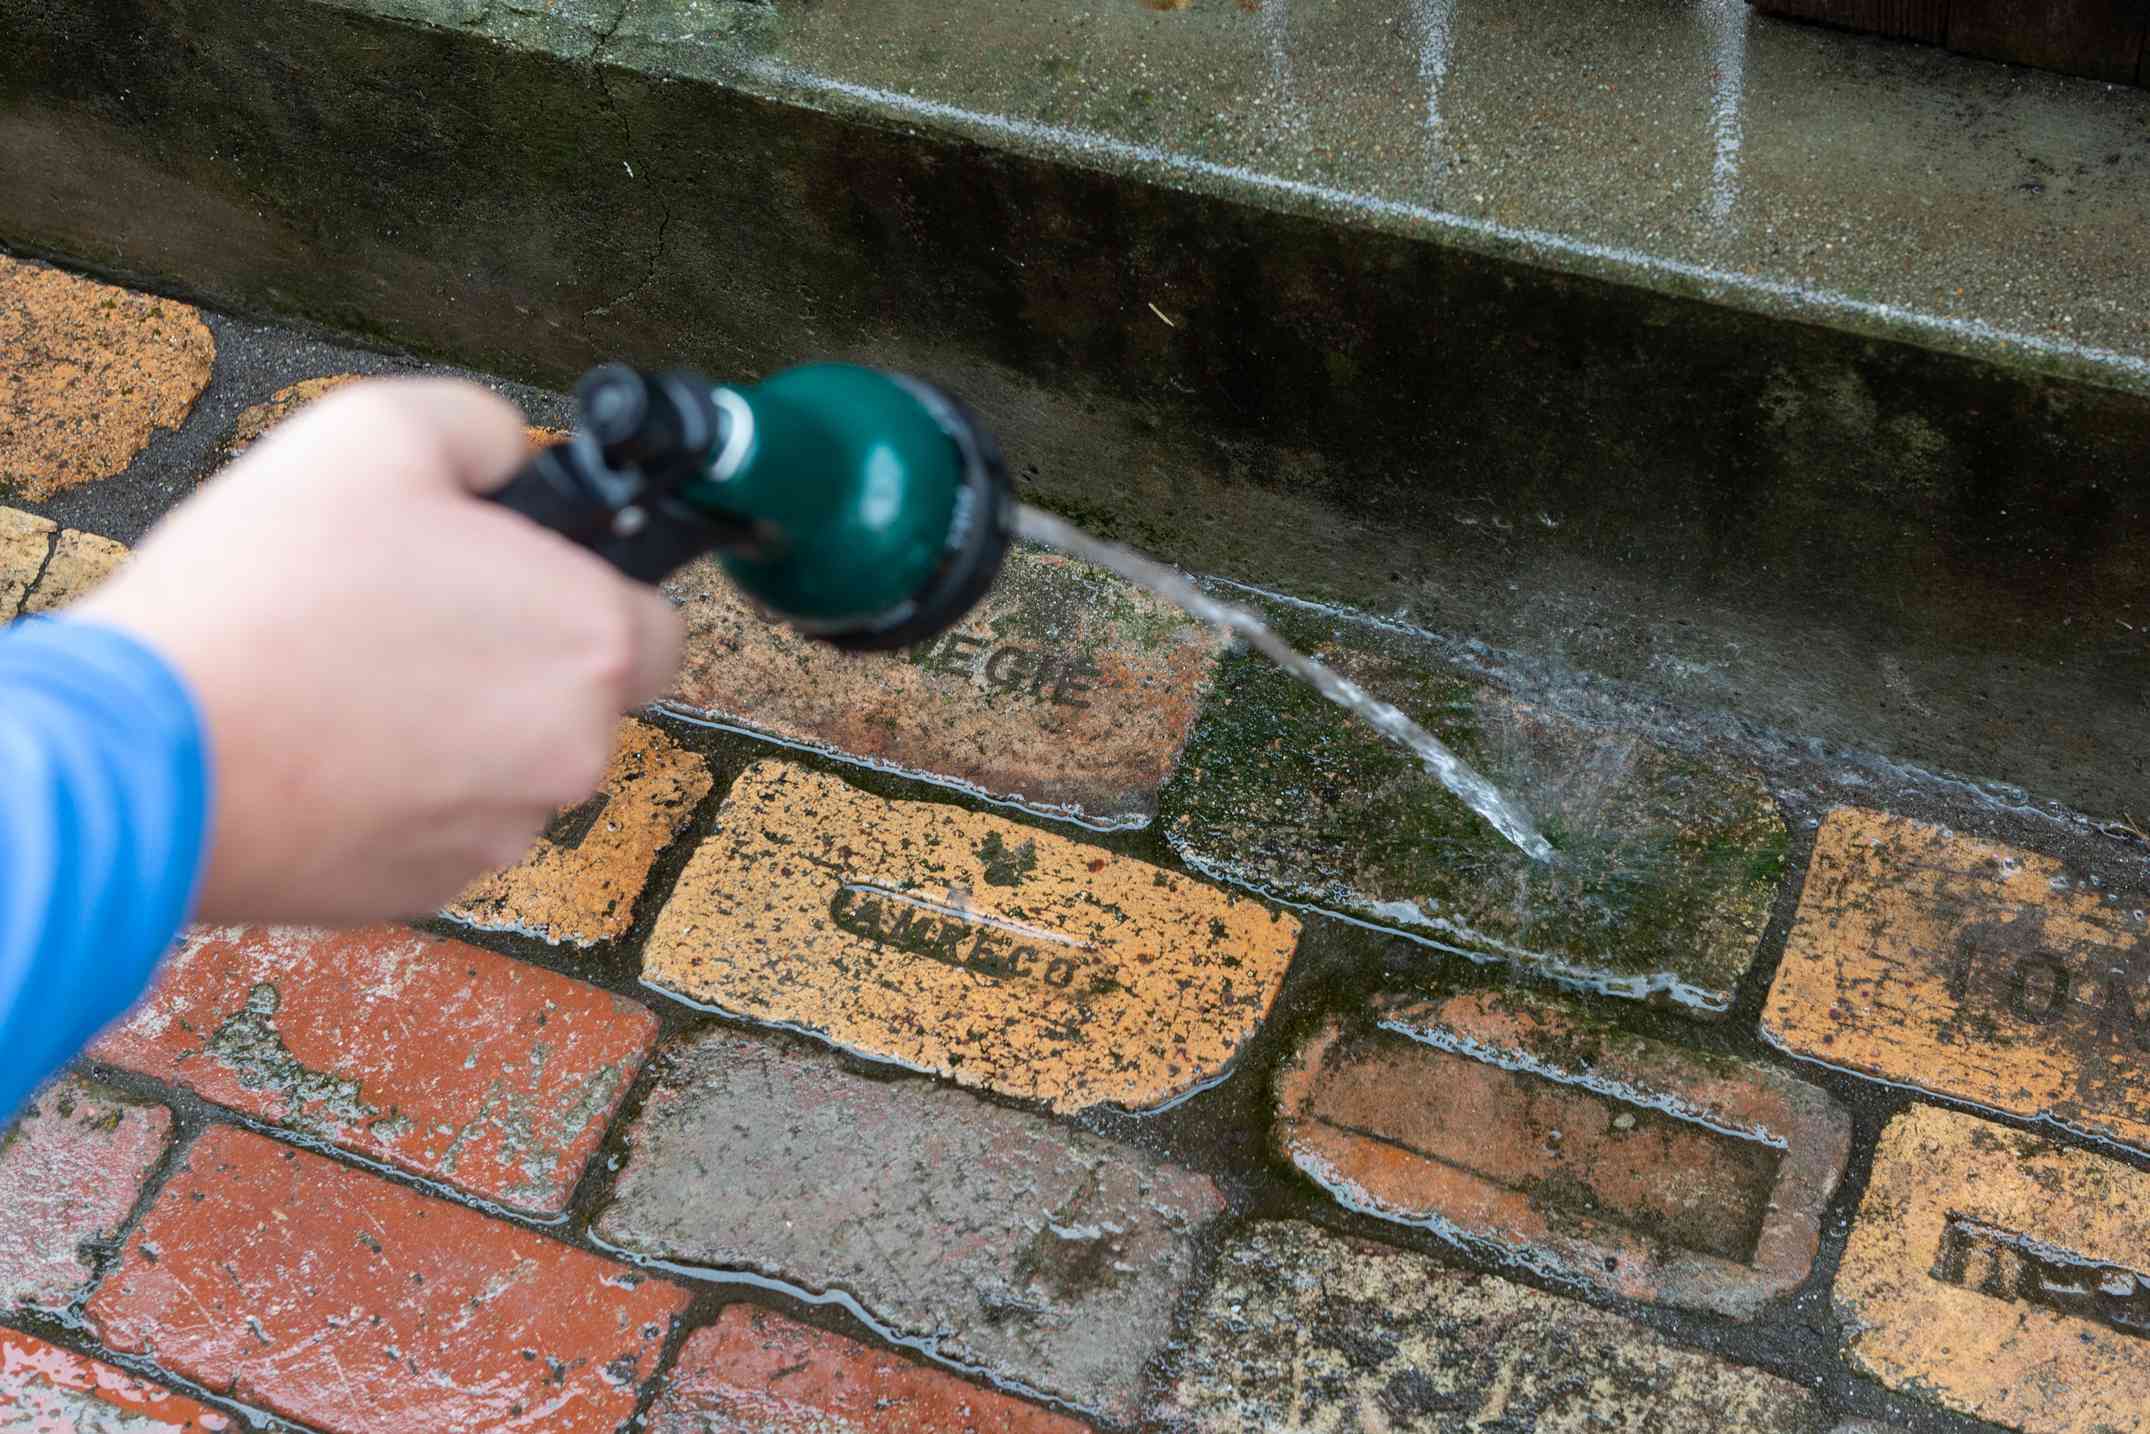
Watering the Bricks to Settle the Sand
After the sand has been tamped down, it’s time to water the bricks to help settle the sand further. Use a gentle spray nozzle or a watering can to dampen the entire surface of the patio. The water will seep into the joints and help the sand compact and solidify.
Allow the water to penetrate the bricks and sand for a few hours, then repeat the process. Be careful not to overwater, as excessive moisture can cause the sand to wash away. The goal is to provide enough water to help the sand settle without creating puddles or erosion.
Read more: How To Make Brick Slips
Cleaning Up
With the finishing touches complete, take some time to clean up the area around your new patio. Use a broom or a leaf blower to remove any residual sand or debris from the surface of the bricks. This will give your patio a neat and tidy appearance.
Dispose of any excess materials and tools properly, and return any borrowed tools to their owners. By cleaning up after yourself, you ensure a safe and clean environment for you and your family to enjoy your new outdoor space.
With the edging in place, the sand settled, and the patio cleaned, your brick patio is now complete! Take a step back and admire your hard work and the beautiful addition to your outdoor living area. Now it’s time to sit back, relax, and enjoy the fruits of your labor.
Conclusion
Congratulations on completing your brick patio! You have transformed your outdoor space into a beautiful and functional area for relaxation, entertainment, and enjoyment. Building a brick patio may require time, effort, and attention to detail, but the end result is well worth it.
Throughout this guide, we have walked you through the step-by-step process of planning, preparing, and constructing your brick patio. From selecting the location and gathering materials to laying the bricks and adding the finishing touches, each step has played a vital role in creating a patio that meets your vision and enhances your outdoor living experience.
A brick patio offers numerous benefits. It is a durable and long-lasting option that can withstand the elements, provides versatility in design options, requires minimal maintenance, and adds timeless elegance to any outdoor space. Whether you’re hosting a BBQ, enjoying a morning cup of coffee, or simply lounging with a book, your brick patio is sure to become a favorite spot for all your outdoor activities.
Remember, proper planning, accurate measurements, careful brick placement, and attention to detail are key factors in achieving a successful patio project. Take the time to select quality materials, choose a suitable pattern, and ensure proper installation techniques. By following these guidelines, you will create a patio that not only looks impressive but also stands the test of time.
Now that you have completed your brick patio, it’s time to make it your own. Add some comfortable outdoor furniture, vibrant potted plants, and cozy lighting to transform your patio into an inviting oasis. Personalize it with your favorite decorative touches, such as outdoor rugs, cushions, or a fire pit, to create an atmosphere that reflects your style and creates a welcoming ambiance.
As the seasons change, continue to maintain your brick patio by regularly cleaning the surface, clearing debris, and inspecting for any signs of wear or damage. Taking these simple maintenance steps will ensure that your patio remains in excellent condition for years to come.
Thank you for joining us on this journey to create your very own brick patio. We hope this guide has provided you with the knowledge and confidence to tackle this outdoor project and enjoy the fruits of your labor. Sit back, relax, and relish in the pleasure of your newly built brick patio!
Frequently Asked Questions about How To Make A Brick Patio
Was this page helpful?
At Storables.com, we guarantee accurate and reliable information. Our content, validated by Expert Board Contributors, is crafted following stringent Editorial Policies. We're committed to providing you with well-researched, expert-backed insights for all your informational needs.
0 thoughts on “How To Make A Brick Patio”