Home>Furniture>Outdoor Furniture>How To Set Up An Eno Hammock With Atlas Straps


Outdoor Furniture
How To Set Up An Eno Hammock With Atlas Straps
Modified: April 29, 2024
Learn how to easily set up your Eno hammock with Atlas straps for the ultimate outdoor furniture experience.
(Many of the links in this article redirect to a specific reviewed product. Your purchase of these products through affiliate links helps to generate commission for Storables.com, at no extra cost. Learn more)
Introduction
There’s nothing quite like lounging in a hammock, gently swaying in the breeze, with the sun kissing your skin and the sounds of nature surrounding you. Hammocks have been a beloved outdoor furniture piece for centuries, providing a relaxing and comfortable way to enjoy the great outdoors.
One of the most popular brands in the hammock industry is Eno, known for their high-quality hammocks and accessories. If you’ve recently purchased an Eno hammock with Atlas straps or are considering getting one, you might be wondering how to set it up properly. Look no further – in this article, we’ll guide you through the steps to set up an Eno hammock with Atlas straps, ensuring a secure and enjoyable hammocking experience.
Before we dive into the setup process, it’s important to note that Eno hammocks are designed for use with their specific suspension system, such as the Atlas straps. While you may be able to use them with other suspension systems, we highly recommend using the Eno Atlas straps for optimal performance and safety.
So, grab your Eno hammock and let’s get started on the setup!
Key Takeaways:
- Setting up an Eno hammock with Atlas straps is easy and ensures a safe and comfy outdoor experience. Follow the steps to find the perfect spot, attach the straps, and enjoy the relaxation!
- Enjoy your Eno hammock by finding the right spot, adjusting the height and tension, and indulging in the joy of hammocking. Relax, unwind, and embrace the comfort of nature!
Read more: How To Set Up An Eno Hammock
Step 1: Gather Your Materials
Before you begin setting up your Eno hammock with Atlas straps, make sure you have all the necessary materials at hand. Here’s a list of what you’ll need:
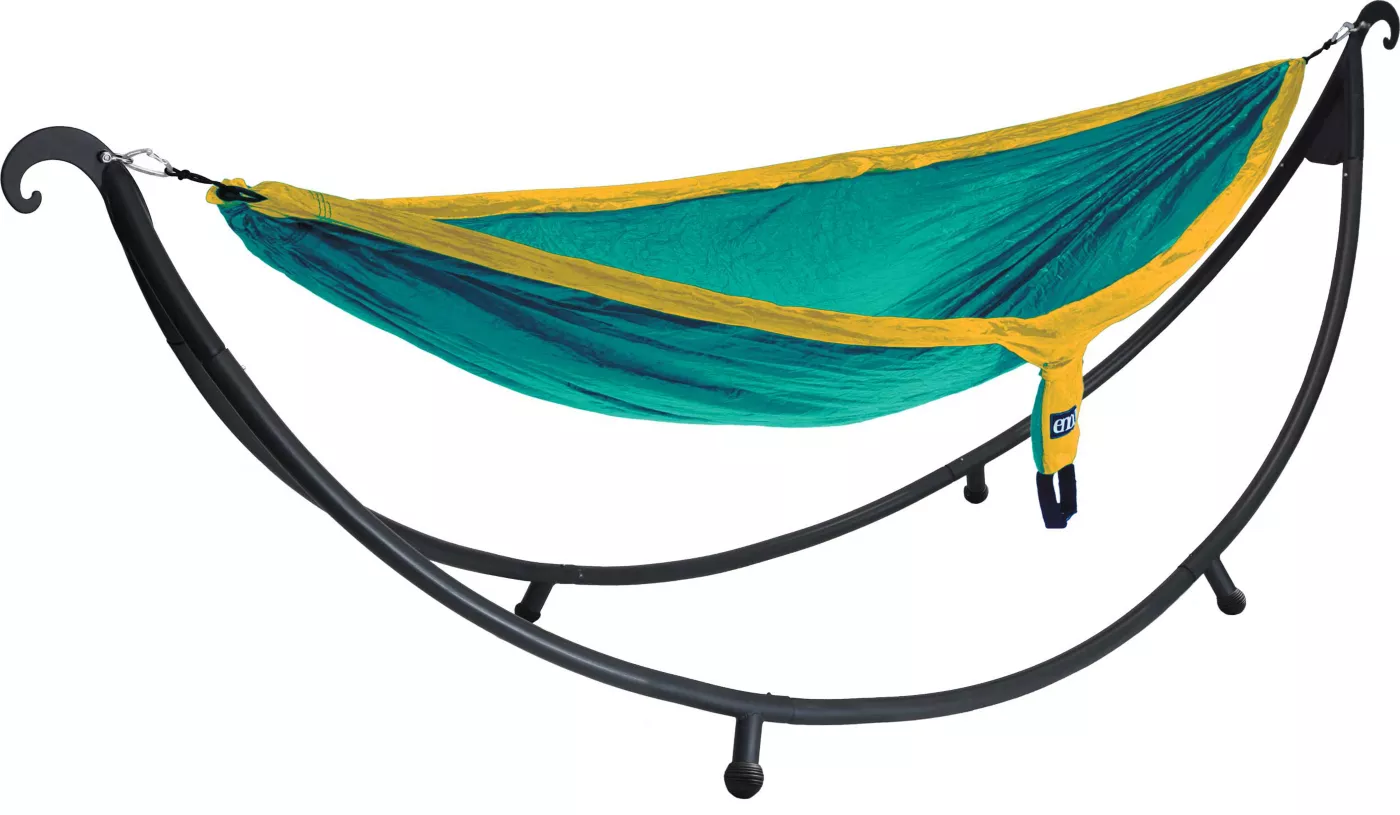
- Eno hammock: Choose the hammock that suits your needs and preferences. Eno offers a variety of hammock models, including single nest hammocks for solo lounging and double nest hammocks for sharing the relaxation with a partner.
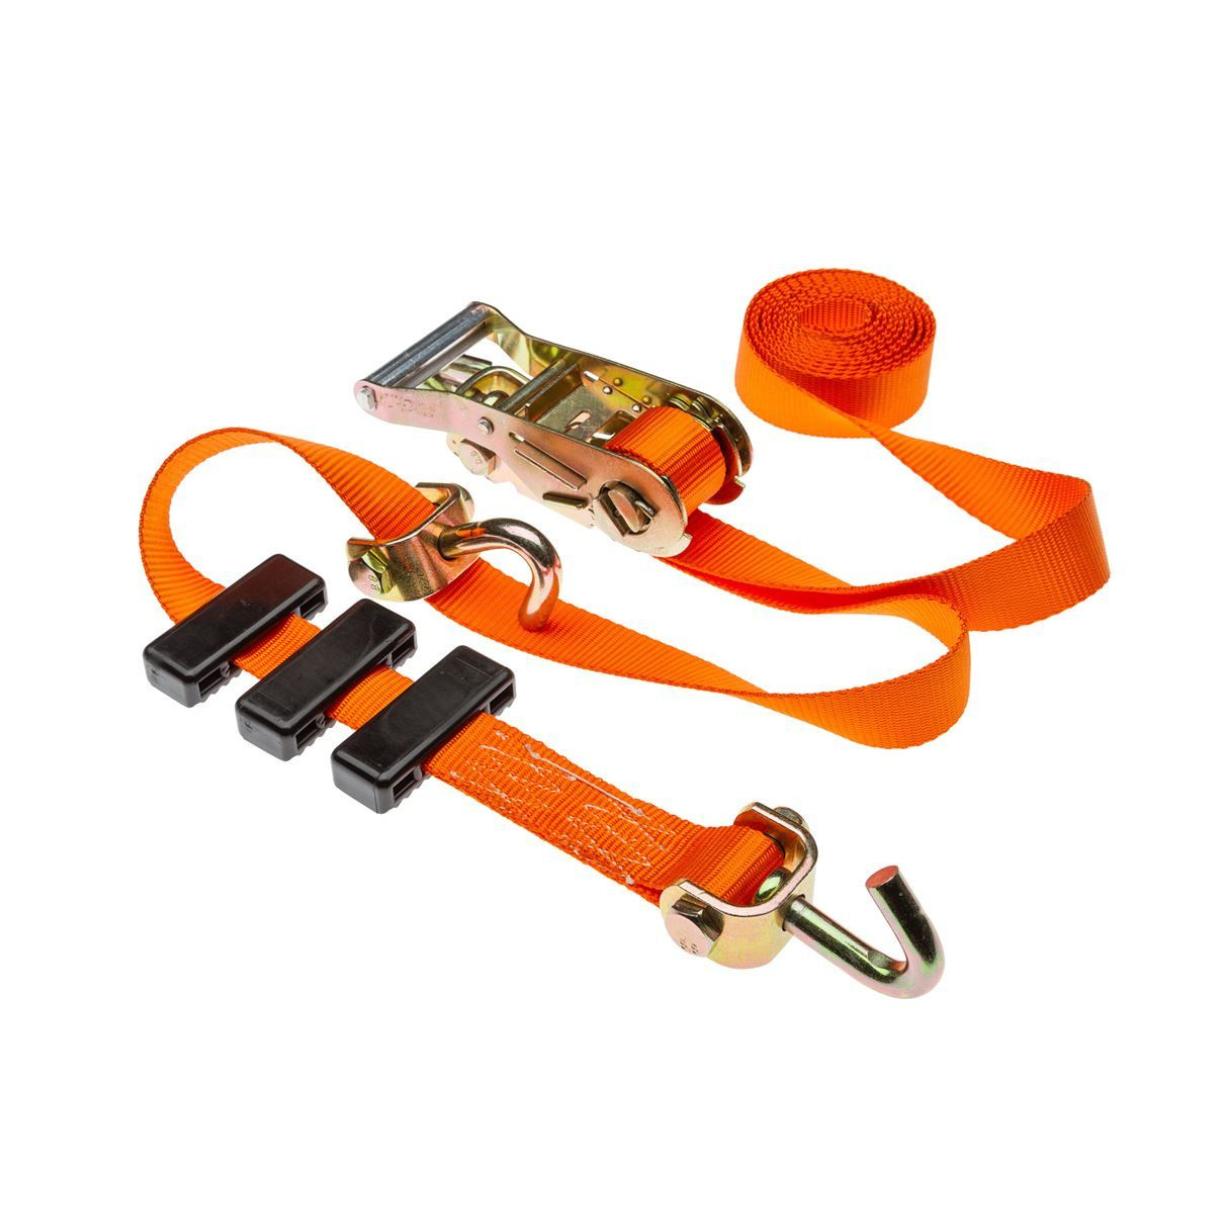
- Eno Atlas straps: These are specifically designed to work with Eno hammocks and provide a secure and adjustable suspension system. The Atlas straps are made of durable nylon material and have multiple attachment points for easy setup.
- Carabiners: These sturdy metal clips are necessary for attaching the hammock to the Atlas straps. Make sure to choose carabiners that are strong and reliable.
- Trees or sturdy anchor points: Look for two trees or anchor points that are at a suitable distance apart (around 10 to 15 feet) for setting up your hammock. Ensure that the trees or anchor points are strong and capable of supporting your weight.
- Tape Measure: This will help you measure the distance between the trees or anchor points and ensure proper setup.
With all your materials ready, you’re now prepared to move on to the next step: finding the right spot for your hammock.
Step 2: Find the Right Spot
Choosing the perfect location to hang your Eno hammock is essential for maximizing your comfort and enjoyment. Here are some factors to consider when finding the right spot:
- Tree spacing: Look for two trees that are approximately 10 to 15 feet apart. This distance ensures that your hammock will have a good amount of tension and won’t sag too much. If you don’t have trees available, you can also utilize sturdy anchor points like posts or columns.
- Clearance: Make sure there is enough clearance around your chosen spot to allow for full swinging motion without any obstructions. Check for low branches, rocks, or other potential hazards that could interfere with your hammock experience.
- Shade vs. sun exposure: Consider whether you prefer a shady spot or direct sunlight. If you’re planning to relax and unwind in your hammock during hot summer days, finding a shaded area can provide some relief from the sun’s rays. On the other hand, if you enjoy basking in the warmth, choose a spot with ample sunlight.
- Scenic view: Look for a spot that offers a scenic view, whether it’s overlooking a lake, nestled in the woods, or overlooking a picturesque landscape. A beautiful view can enhance your hammock experience and provide a sense of tranquility.
Once you’ve found the ideal spot, it’s time to move on to the next step: attaching the Atlas straps to your Eno hammock.
Step 3: Attach the Atlas Straps to the Hammock
Now that you’ve found the perfect spot to hang your Eno hammock, it’s time to attach the Atlas straps to the hammock itself. Follow these steps:
- Unroll the Atlas straps: Start by unrolling the Atlas straps and lay them out on the ground. Make sure there are no tangles or twists in the straps.
- Locate the carabiner loops: On each end of the hammock, you’ll find loops specifically designed for attaching the Atlas straps. These loops are usually located near the edges of the hammock and are reinforced for added durability.
- Attach the carabiners: Take one end of the Atlas strap and thread it through the loop on your hammock. Then, attach a carabiner to the loop of the strap, ensuring that it is securely in place. Repeat the process for the other end of the hammock.
- Adjust the position: Once the carabiners are attached to the hammock, you can slide them along the Atlas straps to adjust the position of the hammock. This allows you to achieve the desired height and tension for optimal comfort.
With the Atlas straps securely attached to your hammock, you’re now ready to move on to the next step: finding suitable anchor points for the straps.
Step 4: Find Suitable Anchor Points
With your Eno hammock set up and the Atlas straps securely attached, the next step is to find suitable anchor points where you will attach the straps. Follow these steps to ensure a safe and reliable setup:
- Inspect the trees or anchor points: Carefully examine the trees or anchor points you have chosen to make sure they are sturdy and capable of supporting the weight of the hammock and the person or persons using it. Look for healthy, mature trees with thick trunks or solid structures that can handle the load.
- Measure the distance: Use a tape measure to determine the distance between the anchor points. Ideally, you should have around 10 to 15 feet of space for your hammock. Make sure to leave some extra slack in the Atlas straps to allow for adjustments.
- Wrap the Atlas straps around the anchor points: Take one Atlas strap and wrap it around the first anchor point, ensuring it sits approximately shoulder height. Thread the strap through the loop at the end, ensuring it is secure. Repeat the process for the second anchor point.
- Adjust the height and tension: Slide the carabiners along the Atlas straps to adjust the height of the hammock. Aim for a comfortable height that allows you to easily enter and exit the hammock. Adjust the tension of the straps by pulling on the loose end of the strap to tighten or loosen the suspension.
By finding suitable anchor points and properly attaching the Atlas straps, you’re one step closer to enjoying the comfort of your Eno hammock. The next step involves fine-tuning the height and tension for the ultimate hammocking experience.
When setting up an Eno hammock with Atlas straps, make sure to find sturdy anchor points, wrap the straps around them, and secure the hammock using the carabiners. Adjust the straps to achieve the desired height and tension for a comfortable hang.
Read more: How To Wash An Eno Hammock
Step 5: Adjust the Height and Tension
Now that your Eno hammock is securely attached to the anchor points through the Atlas straps, it’s time to adjust the height and tension to ensure optimal comfort. Follow these steps:
- Test the height: Step into the hammock and gauge if the height feels comfortable to you. Adjust the height by sliding the carabiners along the Atlas straps. Remember, the ideal height should allow you to sit or lie down without touching the ground while also being easy to enter and exit the hammock.
- Find the right tension: Stand beside the hammock and pull the loose end of the Atlas strap to increase tension. As you do this, observe the sag of the hammock. You want some sag for a comfortable and natural curve, but not so much that the hammock touches the ground when you’re in it. Adjust the tension until you find the sweet spot.
- Balance the tension: Ensure that the tension on both sides of the hammock is balanced. It’s important to have equal tension on both straps to maintain stability while you’re in the hammock. Make adjustments as necessary to achieve this balance.
Take your time to fine-tune the height and tension, as these factors can greatly impact your overall hammock experience. Play around with different settings until you find the perfect position for relaxation.
With the height and tension adjusted to your liking, it’s time to move on to the next step: testing the stability of your Eno hammock setup.
Step 6: Test the Hammock’s Stability
Before fully settling into your Eno hammock, it’s important to test its stability to ensure a safe and secure experience. Follow these steps to check the stability of your hammock setup:
- Gently sit in the hammock: Slowly and carefully sit down in the middle of the hammock, distributing your weight evenly. Take note of how the hammock feels as you settle into it.
- Check for even suspension: Observe the hammock to see if it hangs evenly on both sides. If you notice any imbalance or if one side seems lower than the other, adjust the tension on the Atlas straps accordingly to achieve a balanced suspension.
- Rock gently and test stability: Start by gently rocking back and forth in the hammock to test its stability. Check for any excessive swinging or swaying, which could indicate that the setup needs adjustment. The hammock should provide a comfortable and stable experience without feeling too rigid or loose.
- Gradually increase movement: If the hammock feels stable during gentle rocking, you can gradually increase the intensity of your movements. Slowly shift your weight from side to side or experiment with different positions to get a sense of how the hammock responds.
- Ensure secure attachment: Double-check the carabiners and straps to ensure they remain securely attached to both the hammock and the anchor points. Make sure there are no signs of slipping or loosening of the attachments.
If the hammock feels secure, stable, and comfortable during testing, then congratulations! You’ve successfully set up your Eno hammock. However, if you encounter any issues or feel uncertain about the stability, make the necessary adjustments before fully utilizing the hammock.
With the stability and safety of your hammock confirmed, it’s time to move on to the final step: enjoying your Eno hammock in all its serene glory.
Step 7: Enjoy Your Eno Hammock
Now that your Eno hammock is properly set up and the stability has been tested, it’s time to indulge in the joy of hammocking. Follow these tips to enhance your experience:
- Get comfortable: Find your preferred position in the hammock, whether you want to lie flat, recline at an angle, or sit upright. Use a blanket, pillow, or even a book to enhance your comfort.
- Relax and unwind: Let the gentle swaying motion of the hammock lull you into a state of relaxation. Close your eyes, soak in the sounds of nature, and let go of any stress or worries.
- Enjoy the view: If you’ve chosen a scenic spot, take the time to admire the beautiful surroundings. Whether it’s a stunning landscape, a serene lake, or the canopy of trees, appreciate the natural beauty that surrounds you.
- Take a nap: Hammocks are perfect for a rejuvenating nap in the fresh air. The gentle rocking motion can help you drift off to sleep, and you’ll wake up feeling refreshed and energized.
- Disconnect, meditate, or read: Use your time in the hammock to disconnect from digital distractions and immerse yourself in a moment of mindfulness. Meditate, practice deep breathing exercises, or indulge in a good book to enhance your relaxation.
- Share the experience: If you have a double nest hammock, invite a friend or loved one to join you. Hammocking together is a great way to bond and create memorable moments.
- Stay hydrated and sun-safe: Remember to stay hydrated while enjoying your hammock. Keep a water bottle nearby and wear sunscreen to protect yourself from harmful UV rays.
Remember to always use your Eno hammock responsibly and follow any safety guidelines provided by the manufacturer. Never exceed the weight limit recommended by the hammock, and be cautious when entering and exiting the hammock to avoid any injuries.
Now, it’s time to relax, unwind, and embrace the comfort and serenity of your Eno hammock. Whether you’re in your backyard, at the beach, or deep in the wilderness, your hammock will be your oasis of relaxation and tranquility.
Enjoy your hammocking experience!
ConclusionSetting up an Eno hammock with Atlas straps is a straightforward process that allows you to enjoy the ultimate outdoor relaxation experience. By following the steps outlined in this guide, you can ensure a secure, comfortable, and enjoyable hammocking session every time.
From gathering your materials and finding the perfect spot to attaching the Atlas straps and adjusting the height and tension, each step plays a crucial role in creating a safe and optimal hammock setup. Taking the time to properly set up your Eno hammock not only ensures your comfort but also contributes to the longevity of your hammock and the preservation of the natural surroundings.
Once you’ve completed the setup process and tested the stability, it’s time to fully embrace the pleasures of hammocking. Whether you’re taking a nap, enjoying the scenery, or simply unwinding in the fresh air, your Eno hammock provides a luxurious escape from the fast-paced world.
Remember to prioritize safety by adhering to weight limits, using recommended accessories, and regularly inspecting your hammock setup for any signs of wear and tear. By doing so, you can continue to indulge in the bliss of hammocking for years to come.
So, grab your Eno hammock and let it whisk you away into a realm of relaxation and tranquility. Embrace the soothing sway, breathe in the fresh air, and savor the simple pleasures of nature. With your Eno hammock and Atlas straps, the possibilities for outdoor comfort and serenity are endless.
Now, go forth and enjoy the unmatched bliss of hammocking with your Eno hammock and Atlas straps!
Frequently Asked Questions about How To Set Up An Eno Hammock With Atlas Straps
Was this page helpful?
At Storables.com, we guarantee accurate and reliable information. Our content, validated by Expert Board Contributors, is crafted following stringent Editorial Policies. We're committed to providing you with well-researched, expert-backed insights for all your informational needs.


0 thoughts on “How To Set Up An Eno Hammock With Atlas Straps”