Articles
How To Create Sturdy Shelves
Modified: October 20, 2024
Learn how to create sturdy shelves in this comprehensive guide. Read articles on choosing the right materials, measurements, and assembly techniques.
(Many of the links in this article redirect to a specific reviewed product. Your purchase of these products through affiliate links helps to generate commission for Storables.com, at no extra cost. Learn more)
Introduction
Welcome to the comprehensive guide on how to create sturdy shelves. Whether you’re a DIY enthusiast or a homeowner looking to add some additional storage space to your living area, this article will provide you with all the necessary steps and tips to create shelves that are not only functional but also durable.
Shelves are an essential part of any home or office. They provide a convenient and organized way to store and display various items, from books and collectibles to kitchenware and decorative pieces. However, not all shelves are created equal. A sturdy shelf is essential to ensure that it can support the weight of your belongings without bowing or collapsing over time.
In this guide, we will walk you through the process of creating sturdy shelves from start to finish. We’ll cover everything from choosing the right materials to final touches. So, let’s dive in!
Key Takeaways:
- Choosing the right materials, precise measurements, and sturdy assembly are crucial for creating durable shelves that not only provide storage but also enhance the aesthetics of your space.
- Adding finishing touches, such as protective coatings and decorative elements, ensures that your sturdy shelves not only serve a functional purpose but also contribute to the overall visual appeal of your home or office.
Step 1: Choosing the Right Materials
The first step in creating sturdy shelves is to select the right materials. The material you choose will determine the overall strength and durability of your shelves. Here are a few options to consider:
- Wood: Wood is a popular choice for shelves due to its natural beauty and strength. Hardwoods like oak, maple, and cherry are known for their stability and resistance to warping. Plywood is another affordable option, providing strength and stability at a reasonable price.
- Metal: Metal shelves, such as those made from steel or aluminum, offer excellent durability and weight-bearing capacity. They are ideal for heavy-duty storage needs. However, keep in mind that metal shelves may not have the aesthetic appeal of wooden shelves.
- Glass: Glass shelves can add a touch of elegance to any space. While they may not be as strong as wood or metal, they can still support a significant amount of weight. Tempered or safety glass is recommended for added strength and security.
- Plastic: Plastic shelves are lightweight, affordable, and resistant to moisture and rust. They are a practical choice for areas with high humidity, such as bathrooms or kitchens. However, plastic shelves may not be as strong as wood or metal options.
When choosing the material for your shelves, consider factors such as the intended use, weight capacity requirements, and the overall style of your space. It’s important to select materials that are appropriate for the specific needs of your shelving project.
Additionally, don’t forget to consider the hardware required for assembly. Screws, brackets, and other fasteners should be made of durable materials that can withstand the weight they will be supporting.
Once you have determined the best material for your shelves, you can proceed to the next step: measuring and planning.
Step 2: Measuring and Planning
Before you start cutting the materials for your shelves, it’s crucial to take accurate measurements and create a detailed plan. This step will ensure that your shelves fit perfectly into the designated space and meet your storage needs. Here are the key steps to follow:
- Measure the Space: Use a tape measure to determine the height, width, and depth of the area where you intend to install the shelves. Take precise measurements and make note of any obstacles or irregularities, such as outlets or baseboards, that may affect the shelf design.
- Determine Shelf Placement: Based on your storage requirements and the available space, decide on the number and arrangement of shelves. Consider both vertical and horizontal spacing to ensure easy access and proper utilization of the shelf area.
- Create a Design: Using graph paper or a digital design tool, sketch out the design for your shelves. Take into account the dimensions of the materials you have chosen and the measurements of the space. This will help you visualize the final result and ensure accuracy during construction.
- Consider Support Systems: Depending on the weight-bearing capacity and design of your shelves, you may need to incorporate support systems such as brackets, wall anchors, or adjustable shelving standards. Research the best options for your specific project and include them in your design plan.
Remember, careful planning and measurements are essential to avoid any miscalculations or errors during the construction process. Taking the time to plan accurately will save you time, effort, and potential headaches down the road.
With your measurements and plans in hand, you are now ready to move on to the next step: cutting the pieces for your shelves.
Step 3: Cutting the Pieces
Once you have your materials and measurements ready, it’s time to start cutting the pieces for your shelves. Precise cutting is crucial to ensure that the shelves fit together properly and provide the necessary support. Here’s what you need to do:
- Gather the Necessary Tools: Depending on the material you are using, you will need appropriate cutting tools. For wood shelves, a circular saw, jigsaw, or table saw can be used. Metal shelves may require a metal cutting saw or grinder. Follow the manufacturer’s instructions and safety guidelines when using power tools.
- Mark the Cutting Lines: Transfer the measurements and dimensions from your design plan onto the materials. Use a pencil or marker to clearly mark the cutting lines. Double-check your measurements to ensure accuracy before proceeding.
- Secure the Materials: Place the materials securely on a workbench or a stable surface. Use clamps or other appropriate methods to prevent the materials from moving during the cutting process. This will help ensure clean and accurate cuts.
- Cut the Materials: Carefully follow the marked lines and make your cuts. Take your time and maintain a steady hand to achieve straight and precise cuts. If you are new to using power tools, consider practicing on scrap pieces before cutting the actual shelf materials.
- Sand and Smooth the Edges: After cutting the pieces, use sandpaper or a sanding block to smooth out any rough edges or splinters. This will not only improve the appearance of your shelves but also prevent any potential injuries when handling them.
Remember to wear appropriate safety gear, such as safety glasses and hearing protection, when using power tools. Always follow safety precautions to ensure a safe cutting experience.
With the pieces cut and smoothed, you are ready to move on to the next step: preparing the shelves for assembly.
Step 4: Preparing the Shelves
Preparing the shelves before assembly is an essential step to ensure stability and longevity. During this step, you will focus on making sure the surfaces are smooth, free from imperfections, and, if needed, applying protective treatments. Here’s what you need to do:
- Sanding the Surfaces: Use fine-grit sandpaper or a sanding block to smooth out any rough spots or imperfections on the surfaces of your shelves. This will create a clean and even surface for painting, staining, or applying protective finishes.
- Applying Finishes: If you desire a specific color or want to enhance the natural beauty of the material, consider applying finishes such as paint, stain, or varnish. Follow the manufacturer’s instructions for the specific product you choose and apply multiple coats as necessary, allowing proper drying time between each coat.
- Adding Edge Banding: If you are using plywood or particle board for your shelves, consider adding edge banding to create a finished look. This thin strip of material, available in various colors and finishes, is applied to the exposed edges of the shelves to conceal the inner layers.
- Sealing the Surfaces: For wooden shelves, it’s essential to apply a protective sealant to prevent moisture damage and increase durability. This could be a clear polyurethane, lacquer, or wax, depending on the desired level of sheen and protection.
Remember to work in a well-ventilated area when applying finishes and wear protective gloves if necessary. Follow the manufacturer’s safety guidelines and allow proper drying time before moving on to the next step.
With your shelves prepared, it’s time to move on to the exciting part – assembling the frame!
When creating sturdy shelves, use high-quality, thick wood for the shelves and strong brackets for support. Make sure to secure the shelves to the wall studs for added stability.
Read more: How To Make A Pool Ladder More Sturdy
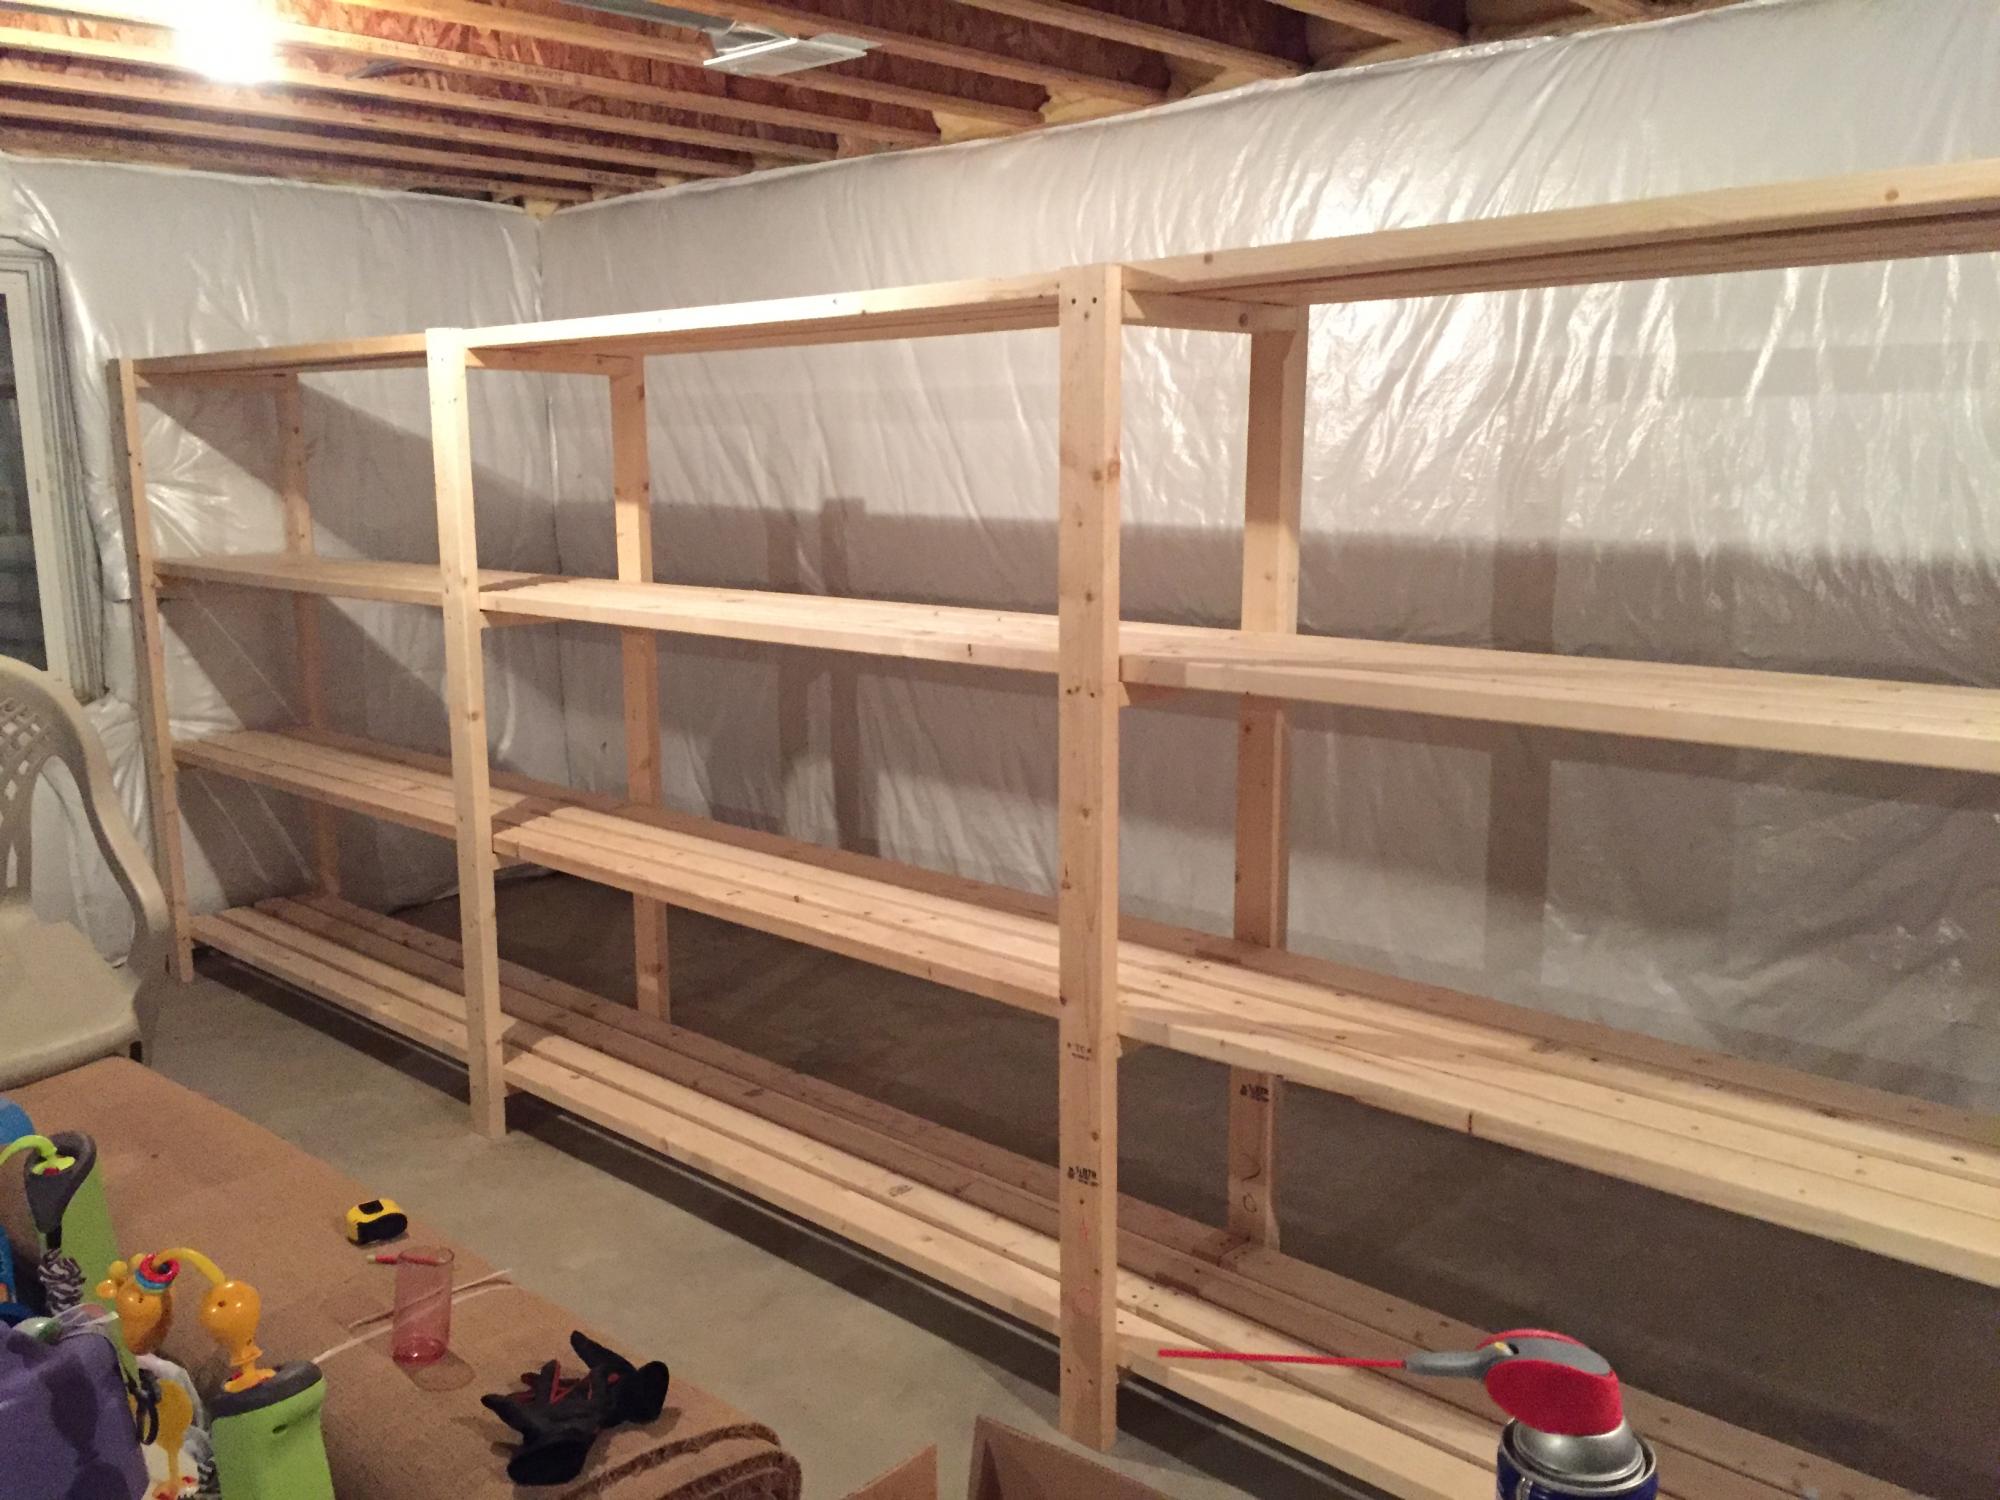
Step 5: Assembling the Frame
Now that you have prepared the shelves, it’s time to assemble the frame. The frame will serve as the structure that supports and holds the shelves in place. Follow these steps to ensure a sturdy and stable frame:
- Organizing the Pieces: Lay out all the cut pieces for the frame according to your design plan. Double-check that you have all the necessary components and hardware.
- Aligning and Joining: Use a square or a level to ensure that the pieces are aligned properly. Make sure each joint is flush and secure. Depending on the material, you can use screws, nails, or specialized connectors for the assembly. Follow the instructions for the chosen method to ensure a strong connection.
- Reinforcing the Joints: For added strength, consider using corner braces or reinforcing plates at the joints. These metal brackets, placed at the inside corners of the frame, will provide extra stability and prevent any wobbling or shifting.
- Checking for Stability: Once the frame is assembled, check for stability by gently shaking it. If there is any noticeable movement or instability, reinforce the weak areas or make necessary adjustments before proceeding.
Pay attention to the details during the assembly process to ensure a sturdy and reliable frame. Taking the time to carefully assemble the frame will provide a solid foundation for attaching the shelves in the next step.
With the frame securely assembled, it’s now time to move on to step 6: attaching the shelves.
Step 6: Attaching the Shelves
Attaching the shelves to the frame is the next crucial step in creating sturdy shelves. Proper attachment ensures that the shelves are secure and can support the weight of your items. Follow these steps to attach the shelves:
- Measure and Mark: Use a tape measure and a pencil to mark the desired height for each shelf within the frame. Ensure that the marks are level and aligned to achieve a balanced appearance.
- Positioning the Shelves: Place each shelf on the marked position within the frame. Make sure they are centered and flush with the sides of the frame. If necessary, use clamps to temporarily hold the shelves in place.
- Attaching the Shelves: Depending on the chosen method, you can use screws, nails, or specialized shelf brackets to attach the shelves to the frame. For wooden shelves, drive screws or nails through the frame and into the underside of the shelves for a secure connection. If using metal or glass shelves, consider using specialized brackets designed for those materials.
- Checking for Stability: After attaching each shelf, give it a gentle shake to ensure it is stable and firmly secured. If there is any noticeable movement or instability, reinforce the attachment points or make necessary adjustments.
Take your time during this step to ensure that each shelf is properly attached and aligned within the frame. A strong and secure attachment is essential for the overall stability and durability of your shelves.
With the shelves securely attached, it’s time to move on to step 7: reinforcing the shelves.
Step 7: Reinforcing the Shelves
To further enhance the sturdiness and weight-bearing capacity of your shelves, reinforcing them is an important step. Reinforcements help distribute the weight evenly and prevent sagging or bowing over time. Here’s how you can reinforce your shelves:
- Add Support Brackets: Install additional support brackets or shelf pins underneath each shelf. These brackets or pins, placed along the width of the shelf, provide extra support and prevent sagging. Make sure they are properly aligned and securely attached to both the shelf and the frame.
- Use Shelf Supports: Consider using shelf supports or brackets that attach to the sides of the frame. These supports increase the load-bearing capacity of the shelves. They are especially useful for longer shelves or those intended to hold heavy items.
- Install Backing Material: If your shelves are against a wall, consider adding a backing material, such as plywood or hardboard, to the back of the frame. This adds stability and prevents the shelves from tilting or shifting. Attach the backing material securely to the frame using screws or nails.
- Reinforce with Cross Bracing: For extra reinforcement, especially for taller shelves or those intended to hold particularly heavy items, consider adding cross-bracing. This involves adding diagonal supports between the back of the shelf frame and the sides. It helps distribute the weight evenly and prevents the shelves from wobbling or tipping.
Choose the reinforcement method that best suits your needs and the specific design of your shelves. Keep in mind that reinforcement is an important step to increase the durability and stability of your shelves, ensuring they can withstand the demands of everyday use.
With the shelves reinforced, it’s time for the final step: adding the finishing touches.
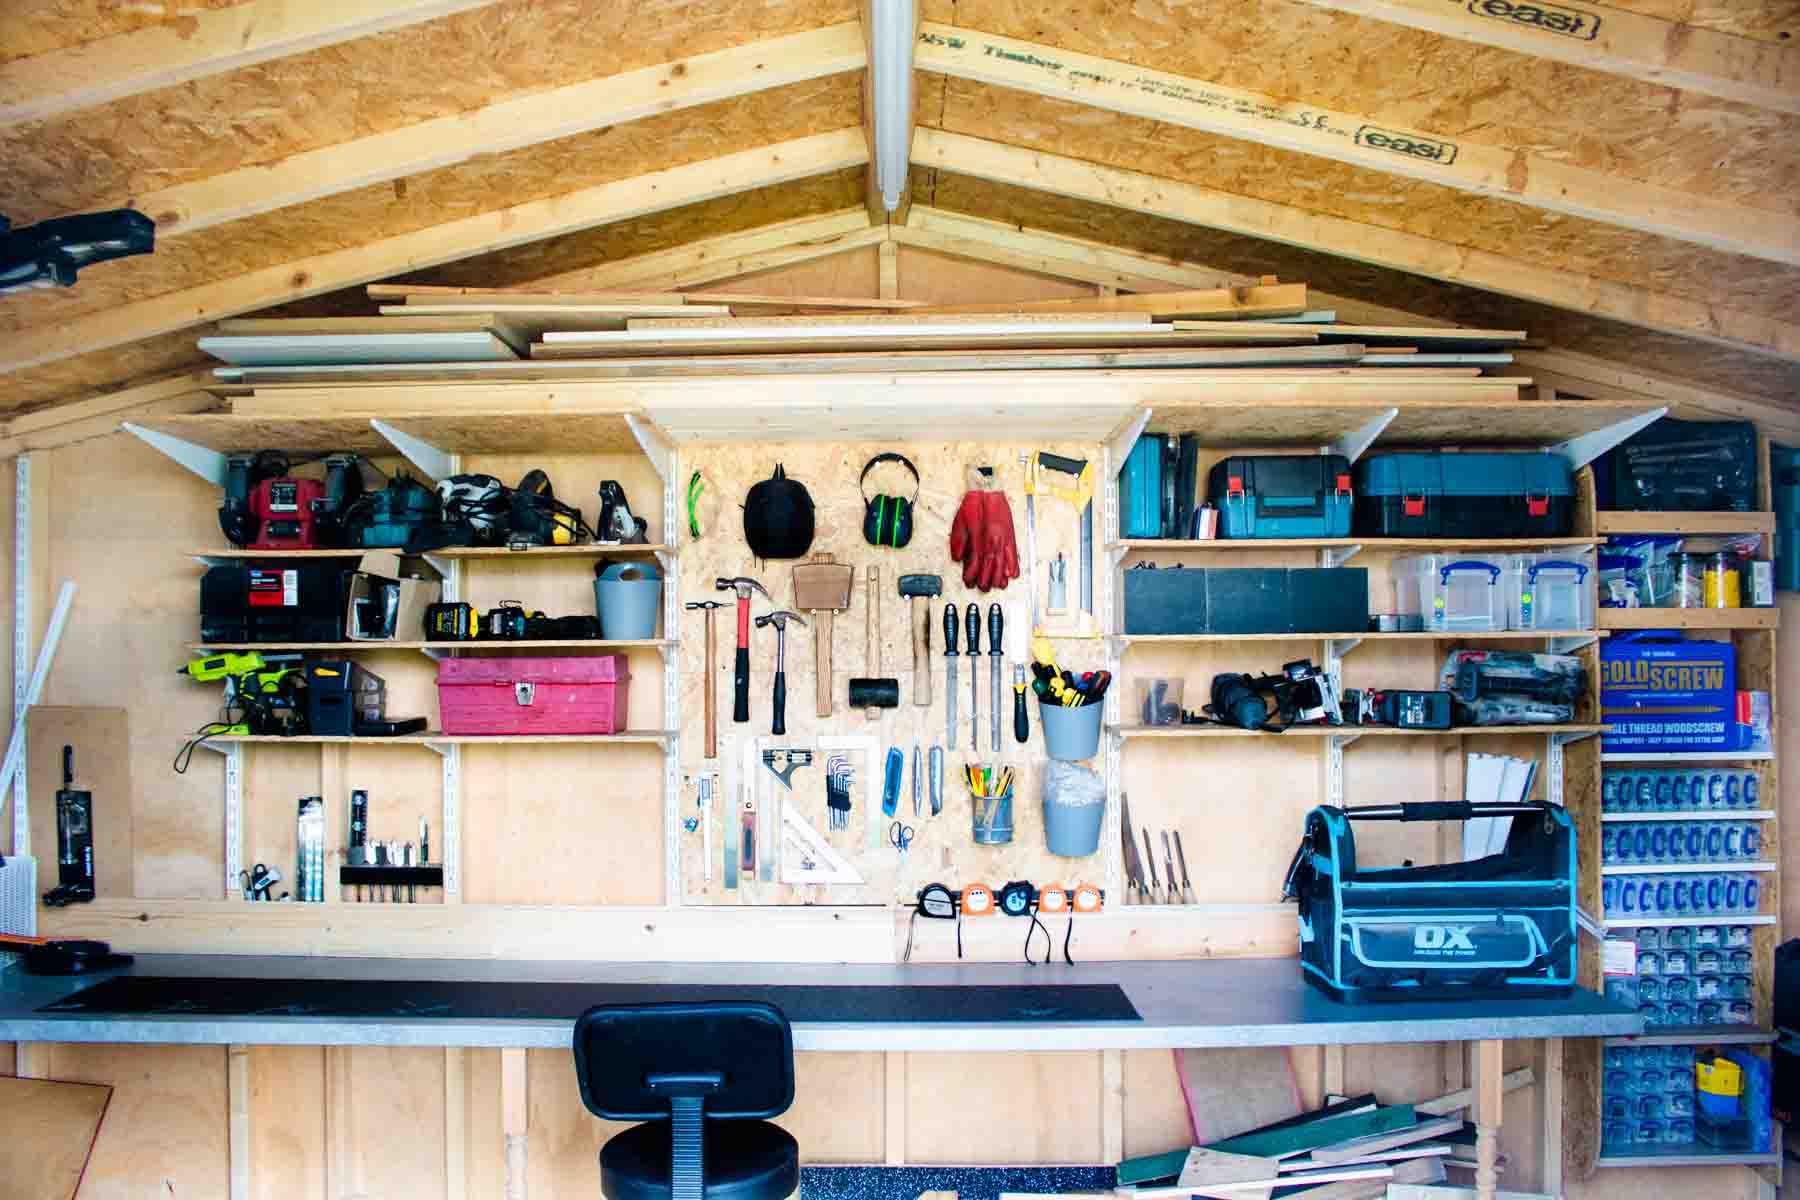
Step 8: Finishing Touches
Adding the finishing touches to your sturdy shelves not only enhances their appearance but also provides extra protection and functionality. Here are some final steps to consider:
- Paint or Stain: If you haven’t already done so, paint or stain the shelves to your desired color or finish. Apply multiple coats for even coverage and durability.
- Apply Protective Coating: Consider applying a protective coating, such as a clear varnish or sealant, to the entire surface of the shelves. This helps protect them from day-to-day wear and tear and makes cleaning easier.
- Install Trim or Molding: For a polished look, consider adding trim or molding to the front edge of the shelves. This adds a decorative element and can also help prevent items from accidentally falling off the front of the shelves.
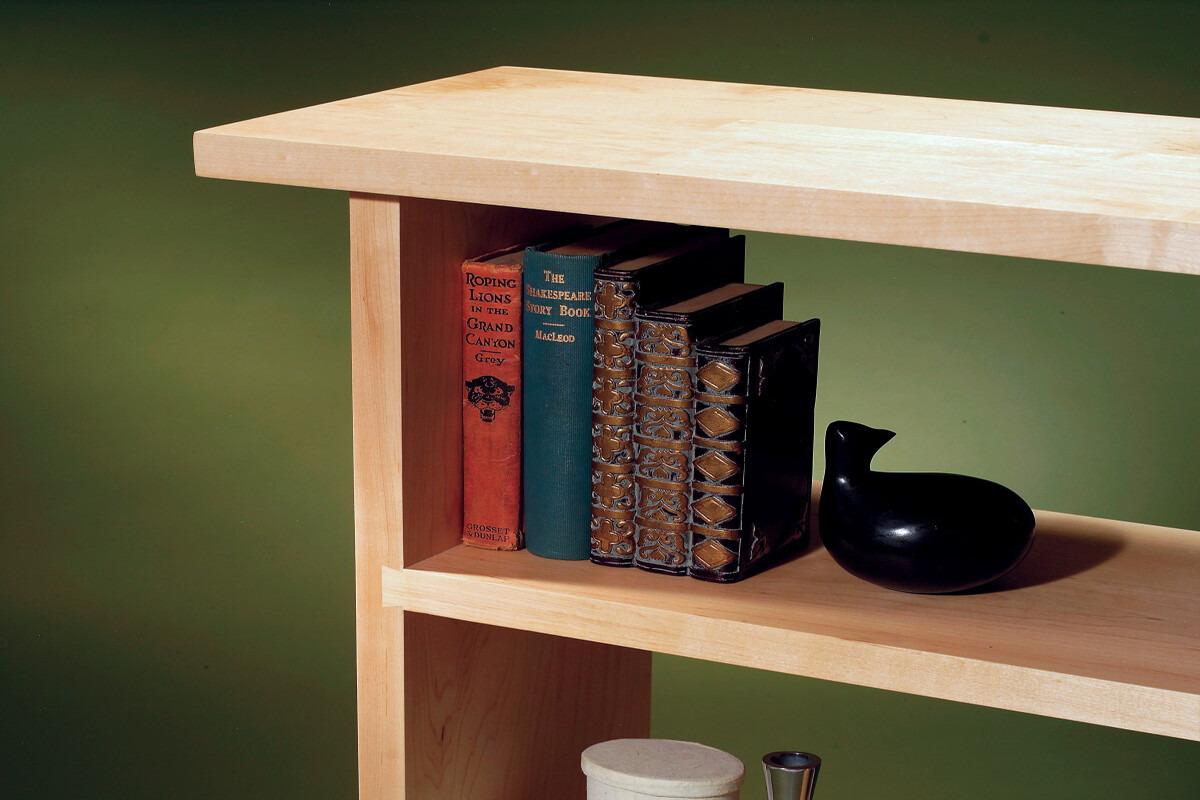
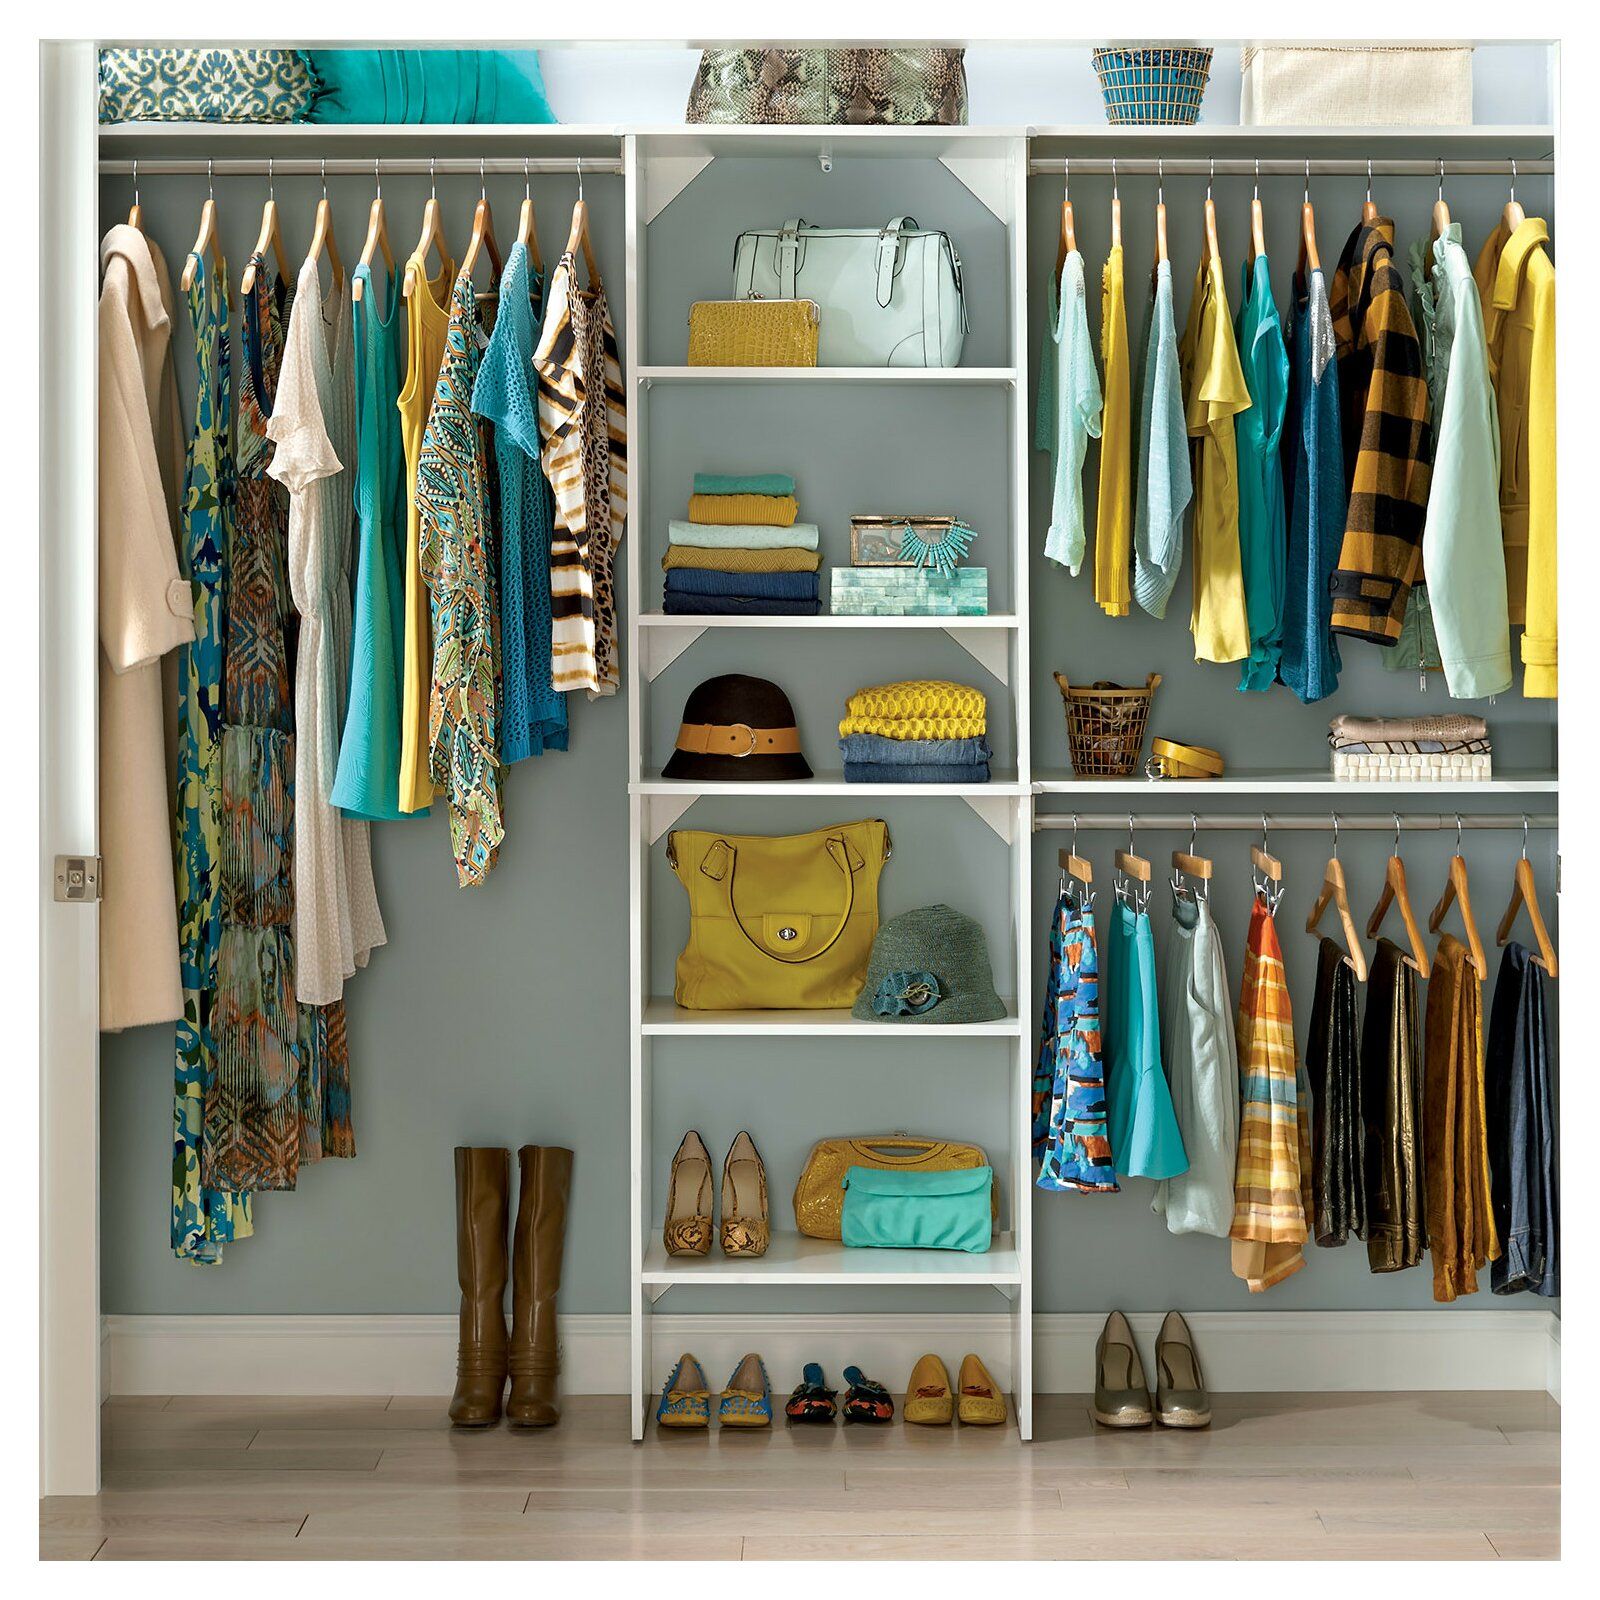
- Organize and Style: Once your shelves are complete, take some time to organize and style them. Group similar items together, use storage containers or baskets, and add decorative touches to personalize the shelves to your taste and needs.
- Regular Maintenance: To ensure the longevity of your sturdy shelves, periodically check for any signs of damage or instability. Tighten any loose screws or fasteners, and address any issues promptly to prevent further damage.
By completing these final touches, your sturdy shelves will not only provide functional storage space but also become a visually appealing and practical addition to your home or office.
Congratulations! You have successfully followed all the steps to create sturdy shelves from start to finish. Enjoy the benefits of your hard work and enjoy the organized and functional space that your new shelves provide.
Good luck with your project, and may your new shelves serve you well for years to come!
Conclusion
Congratulations on completing the journey of creating sturdy shelves! By following the steps outlined in this comprehensive guide, you have gained the knowledge and skills necessary to build shelves that are not only functional but also durable. Let’s recap what we’ve covered:
We started by choosing the right materials, considering options such as wood, metal, glass, and plastic, depending on your needs and preferences. Next, we emphasized the importance of accurate measuring and planning to ensure the perfect fit for your space. Then, we moved on to cutting the pieces, taking care to achieve precise and clean cuts.
After preparing the shelves and assembling the frame, we learned the crucial step of attaching the shelves securely. Reinforcing the shelves was the next vital step to strengthen their weight-bearing capacity and prevent sagging. Finally, we added the finishing touches to enhance the appearance and protect the shelves.
You now have sturdy shelves that not only provide ample storage but also contribute to the organization and aesthetics of your home or office. Remember to regularly maintain and inspect your shelves to ensure their continued stability and durability.
Enjoy the pride that comes with building something with your own hands and revel in the satisfaction of creating a functional and reliable storage solution. As you admire your completed shelves, take a moment to appreciate the effort and care you put into the process.
Thank you for following this guide, and we hope it has been helpful in your journey to create sturdy shelves! Happy organizing and may your shelves bring you many years of use and enjoyment.
Frequently Asked Questions about How To Create Sturdy Shelves
Was this page helpful?
At Storables.com, we guarantee accurate and reliable information. Our content, validated by Expert Board Contributors, is crafted following stringent Editorial Policies. We're committed to providing you with well-researched, expert-backed insights for all your informational needs.


0 thoughts on “How To Create Sturdy Shelves”