Home>Articles>Why Does My Garage Door Keep Opening After I Close It
Articles
Why Does My Garage Door Keep Opening After I Close It
Modified: August 22, 2024
Discover why your garage door keeps opening even after you close it. Read our informative articles to solve this annoying problem and ensure the security of your home.
(Many of the links in this article redirect to a specific reviewed product. Your purchase of these products through affiliate links helps to generate commission for Storables.com, at no extra cost. Learn more)
Introduction
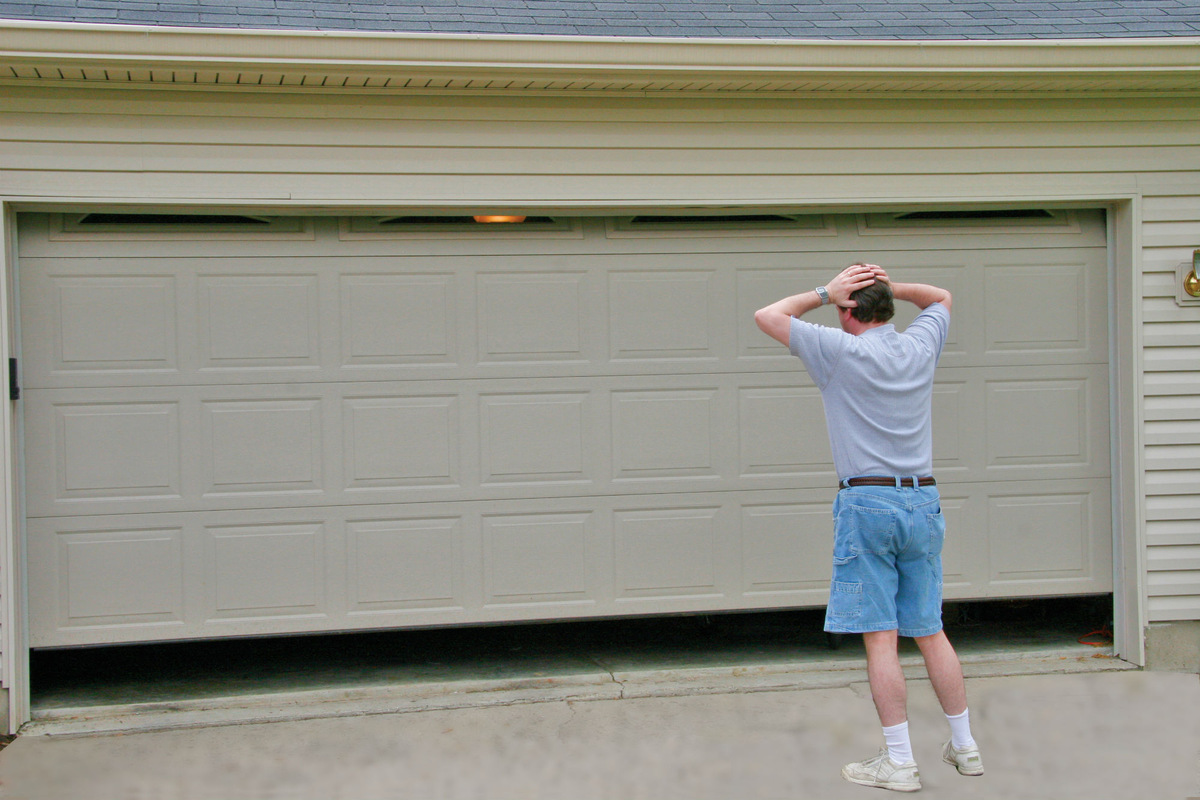
Have you ever experienced the frustration of closing your garage door only to find it mysteriously opening again a few moments later? It can be alarming and leave you wondering why this is happening. A garage door that keeps opening after you close it is not only an inconvenience but also a potential security risk. In this article, we will explore the potential causes behind this issue and provide troubleshooting steps to help you fix it.
A properly functioning garage door should close securely and remain closed until you decide to open it again. If you find that your garage door is opening on its own without any input from you, there could be several factors at play. It’s essential to identify the cause to ensure the safety and security of your property.
There are various reasons why a garage door may open after you close it. These include misaligned safety sensors, malfunctioning garage door opener remotes, interference from nearby devices, faulty garage door opener limit settings, snapped garage door springs, issues with the garage door tracks, or programming and wiring problems. Let’s delve into each of these potential causes in more detail to help you understand why your garage door keeps opening unexpectedly.
By understanding the possible reasons behind this issue, you can troubleshoot and resolve it effectively. However, it is worth noting that some solutions may require the expertise of a professional garage door technician. If you are unsure about the cause of the problem or feel uncomfortable performing the troubleshooting steps, it is always recommended to seek professional assistance to avoid any further damage to your garage door.
In the following sections, we will explore each potential cause and provide step-by-step troubleshooting guidance to help you address the issue. Whether it’s a simple adjustment or a more complex repair, rest assured that there is a solution to your garage door opening problem. So, let’s dive in and get to the bottom of this issue so you can enjoy the convenience and security of a fully functional garage door.
Key Takeaways:
- Ensure safety sensor alignment, inspect and replace opener remote batteries, and eliminate interference sources to troubleshoot and resolve a garage door opening unexpectedly after closing.
- Seek professional assistance for complex issues such as programming or wiring problems, broken springs, and track repairs to ensure the safe and efficient functioning of your garage door system.
Read more: Why Is My Garage Door Opening By Itself
Potential Causes of a Garage Door Opening after Closing
When your garage door mysteriously opens after you have closed it, it can be quite puzzling and frustrating. There are several potential causes for this issue, and understanding them can help you troubleshoot and resolve the problem effectively. Here are some of the common culprits behind a garage door opening unexpectedly:
1. Misaligned Safety Sensors: Modern garage doors are equipped with safety sensors that detect objects in the path of the closing door. If these sensors are misaligned or blocked, they can falsely interpret an obstruction and cause the door to reopen. Check that the sensors are properly aligned and free from any obstructions such as dirt or debris.
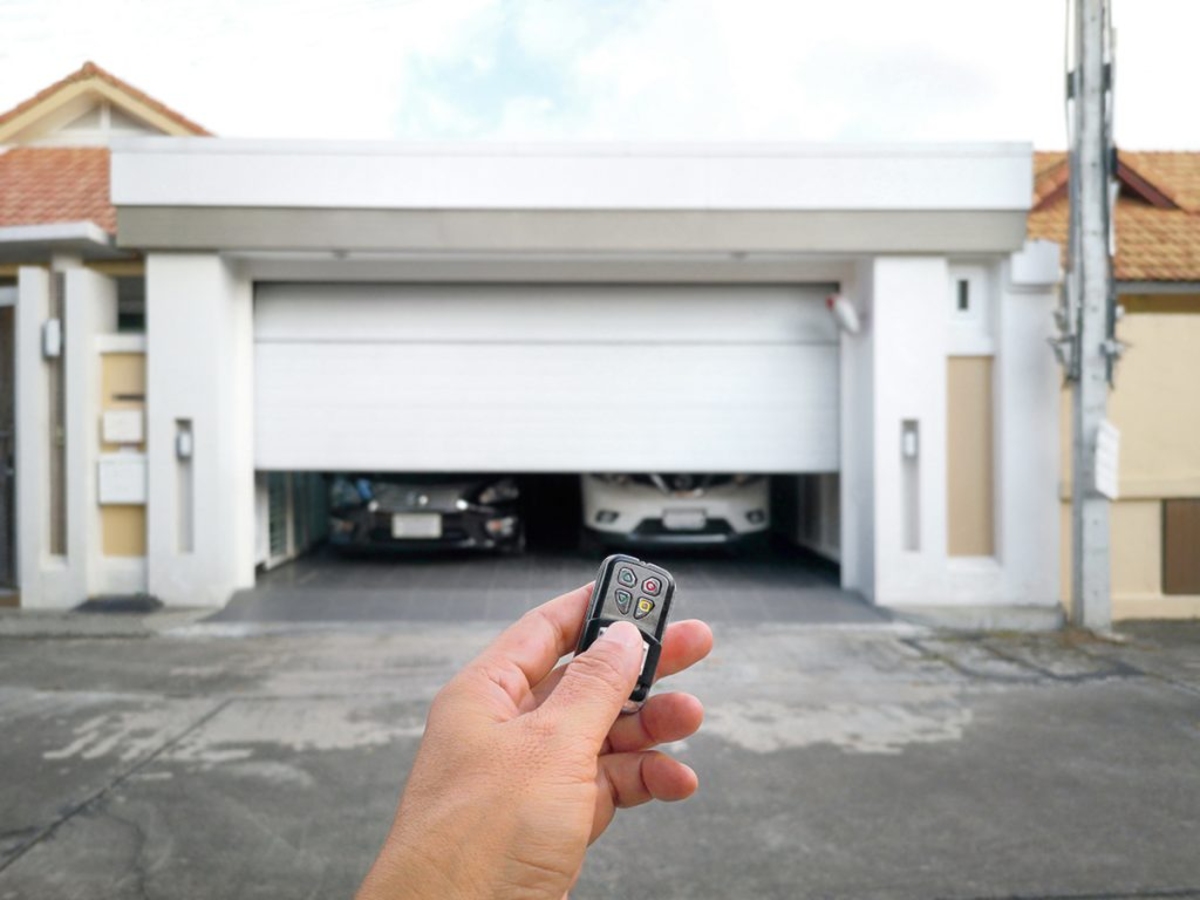
2. Malfunctioning Garage Door Opener Remote: The problem could lie with the opener remote itself. If the remote’s buttons are stuck or if it’s sending signals intermittently, it can trigger the door to open without your intention. Inspect the remote for any visible damage and ensure that the buttons are functioning properly.
3. Interference from Nearby Devices: Wireless devices operating on similar frequencies as your garage door opener can cause signal interference, leading to unintended openings. Common sources of interference include wireless routers, baby monitors, or even neighboring garage doors. Try moving these devices away from the opener or repositioning the opener’s antenna to minimize interference.
4. Faulty Garage Door Opener Limit Settings: The limit settings on your garage door opener determine how far the door should open and close. If these settings are incorrectly adjusted, it can cause the door to reopen after closing. Consult your opener’s user manual to learn how to adjust the limit settings and ensure they are properly configured.
5. Snapped Garage Door Springs: Garage door springs play a crucial role in the smooth operation of the door. If a spring breaks or becomes damaged, the door may not close fully, causing it to reopen. Inspect the springs for any signs of wear or damage and have them replaced by a professional if necessary.
6. Issues with the Garage Door Tracks: The tracks that guide the garage door’s movement must be in good condition for proper operation. If the tracks are bent, misaligned, or obstructed, it can prevent the door from closing completely, leading to automatic reopening. Inspect the tracks to ensure they are straight and clear of any debris or obstructions.
7. Programming or Wiring Problems: Sometimes, the problem may lie in the programming or wiring of the garage door opener system. If there are faulty connections or incorrect programming settings, it can result in unexpected door openings. Resetting the opener’s programming or checking the wiring connections can help resolve these issues.
Identifying the specific cause behind your garage door opening after closing may require some troubleshooting. In the next section, we will provide step-by-step troubleshooting steps to help you fix the issue and regain control over your garage door.
Misaligned Safety Sensors
One of the common causes of a garage door opening after closing is misaligned safety sensors. Modern garage doors are equipped with safety sensors located near the bottom of the opening on either side. These sensors transmit an infrared beam across the doorway, detecting any objects or obstructions in the path of the closing door.
If the sensors are misaligned or if something is blocking the beam, it can trigger the safety mechanism of the garage door opener, causing the door to reverse and reopen. This safety feature is designed to prevent accidents or damage by ensuring that the door does not close on objects or people in its path.
To troubleshoot misaligned safety sensors, follow these steps:
1. Inspect the Sensors: Start by visually inspecting the safety sensors. Check for any physical damage or obstructions that may be blocking the infrared beam’s path. Make sure there is no dirt, debris, or spider webs obstructing the sensors.
2. Check Alignment: The sensors should be facing each other directly and parallel to the ground. They should have a clear line of sight between each other. If they are misaligned, gently adjust them until they are properly aligned. Use a level to ensure they are level with each other.
3. Test the Sensors: Once the sensors are aligned, test them by closing the garage door. If the door closes without reopening, the issue may have been resolved. However, if the door still opens after closing, continue troubleshooting.
4. Clean the Sensors: If the sensors appear dirty, clean them with a soft cloth and mild cleaning solution. Be careful not to scratch or damage the sensors while cleaning. Dirt or grime on the sensors can disrupt the infrared beam and cause the door to open unexpectedly.
5. Check Wiring Connections: Ensure that the wiring connections from the sensors to the garage door opener are secure. Loose or damaged wiring can disrupt the communication between the sensors and the opener, leading to false detections.
6. Test the Safety Feature: To confirm that the sensors are working properly, intentionally block the infrared beam by placing an object between the sensors while the door is closing. The door should automatically reverse and open. If it doesn’t, the sensors may need to be replaced.
It’s important to note that if you are unsure about adjusting or troubleshooting the safety sensors yourself, it’s best to seek professional assistance. Garage door systems involve electrical components and it’s crucial to handle them with caution to avoid any potential hazards.
By ensuring proper alignment and functionality of the safety sensors, you can eliminate misalignment as the cause of your garage door opening after closing. If this troubleshooting step does not resolve the issue, proceed to the next potential cause outlined in this article.
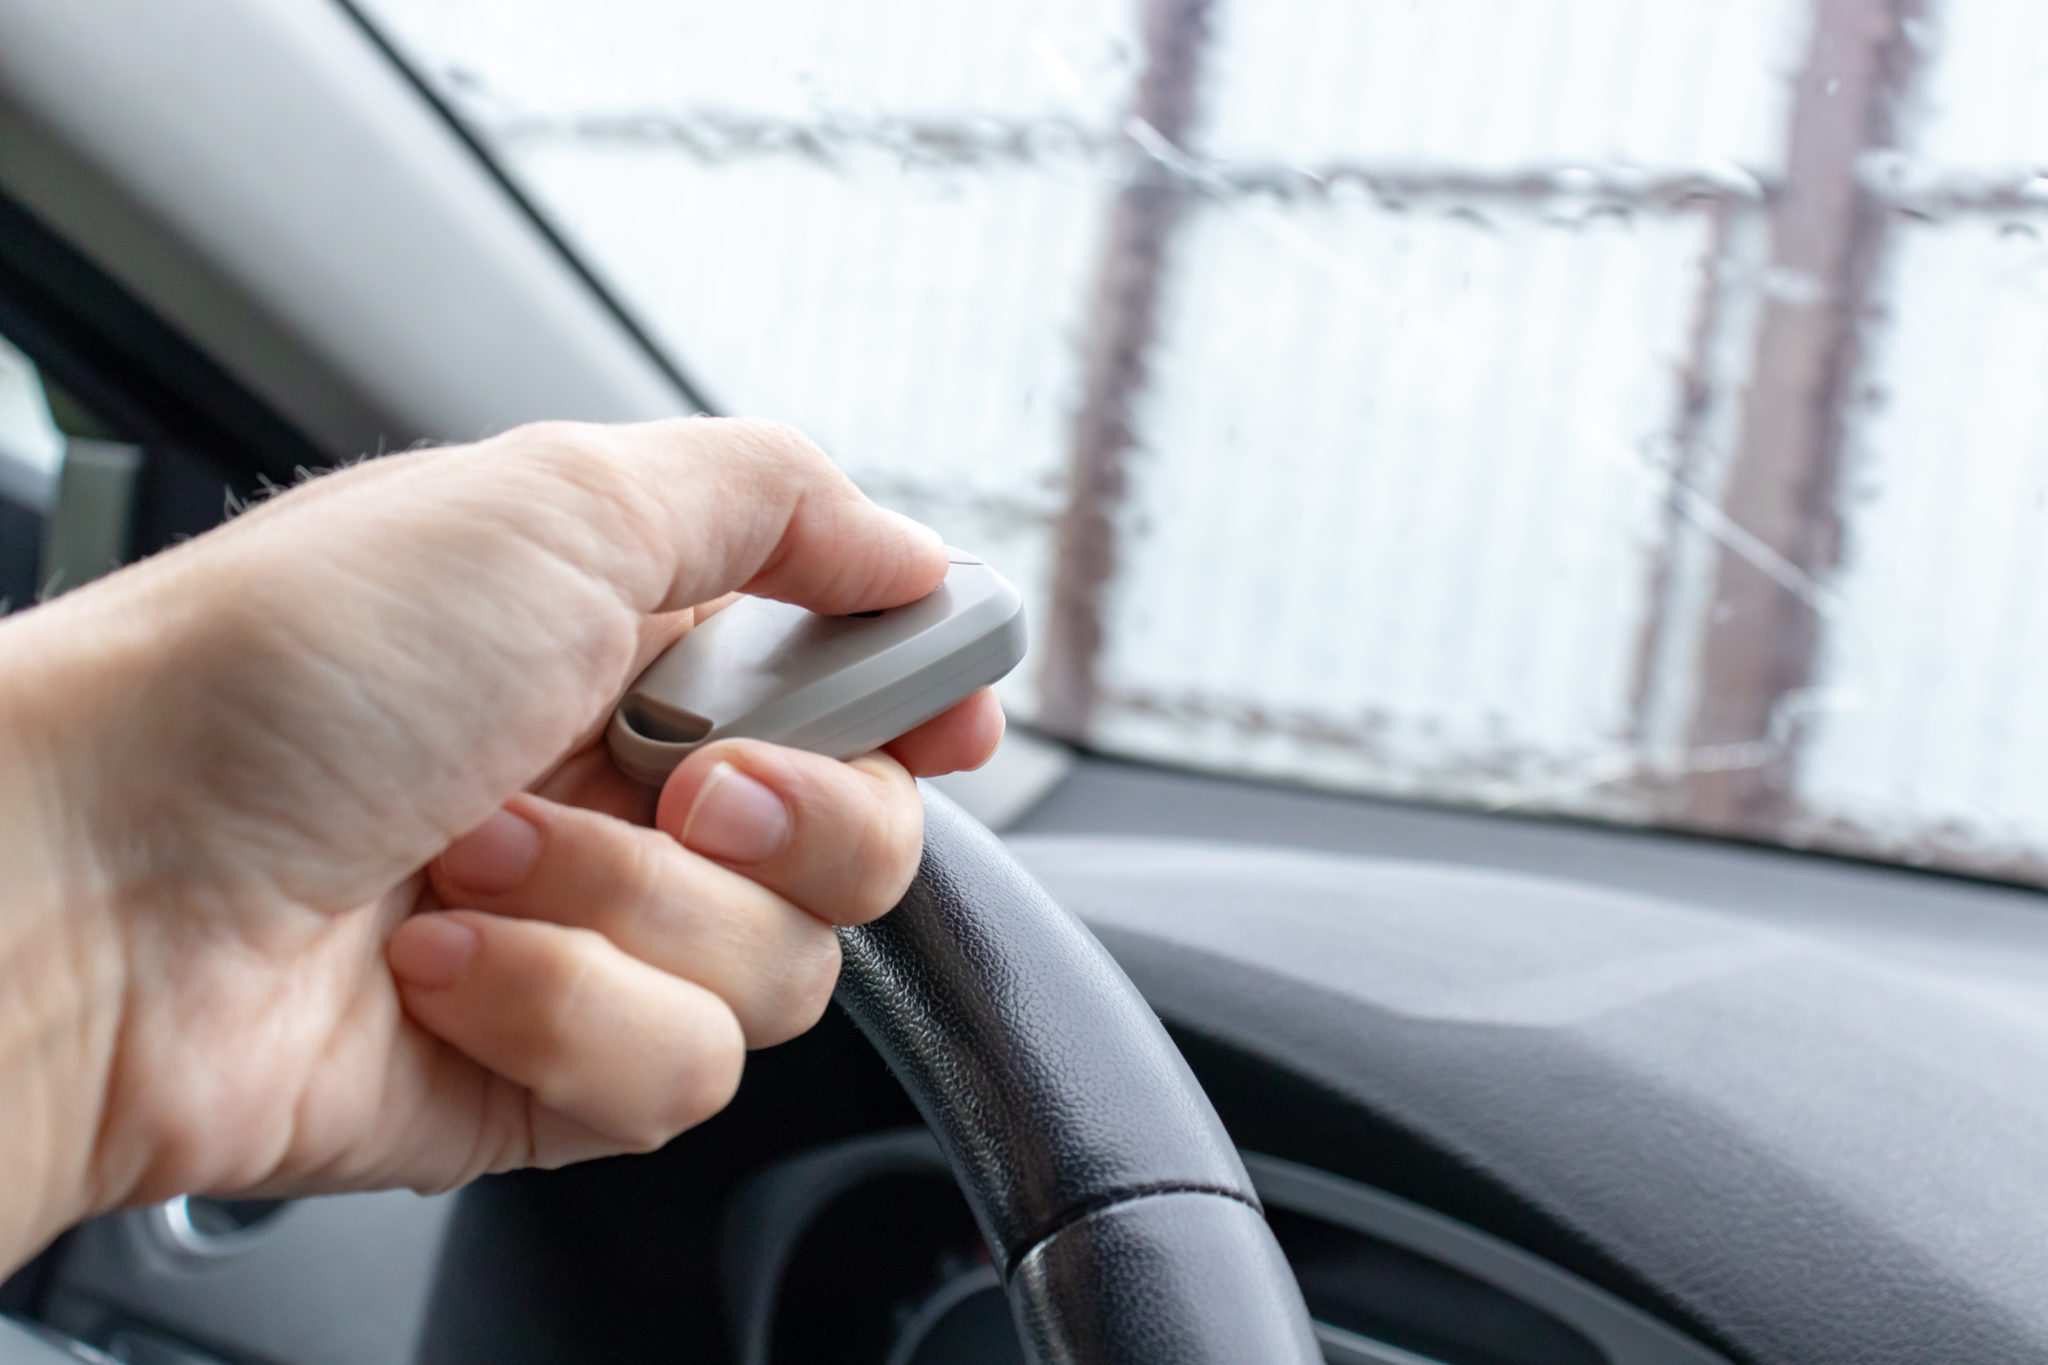
Malfunctioning Garage Door Opener Remote
Another possible cause of a garage door opening after closing is a malfunctioning garage door opener remote. The remote allows you to conveniently operate your garage door from a distance. However, if the remote is not functioning correctly, it can send intermittent or unintended signals to the opener, causing the door to open unexpectedly.
To troubleshoot a malfunctioning garage door opener remote, follow these steps:
1. Check the Remote Buttons: Inspect the buttons on the remote for any physical damage or sticking. Sometimes, debris or dirt can accumulate under the buttons, causing them to get stuck. Clean the remote with a soft cloth and check if the buttons are functioning properly.
2. Replace the Batteries: Weak or depleted batteries in the remote can affect its performance and cause intermittent signaling. Replace the batteries with fresh ones and test the remote to see if it resolves the issue. Make sure to insert the batteries correctly, following the polarity markings.
3. Reprogram the Remote: In some cases, the remote may need to be reprogrammed to sync with the garage door opener. Refer to the instructions provided by the manufacturer for the correct reprogramming procedure. Reprogramming the remote can restore its proper functionality.
4. Test with a Different Remote: If you have access to another remote for the same garage door opener, try using it to operate the door. If the alternative remote works without any issues, it indicates a problem with the original remote, which may need to be replaced.
5. Inspect the Remote Receiver: The remote receiver, located on the garage door opener unit, may be experiencing issues. Check the receiver for any signs of damage or loose connections. Tighten any loose connections and ensure that the receiver is securely mounted.
6. Contact the Manufacturer or Professional Service: If none of the above steps resolve the problem, it is advisable to contact the manufacturer for further assistance or seek the help of a professional garage door technician. They can diagnose and repair any underlying issues with the remote or the opener itself.
Remember to test the remote after each troubleshooting step to see if the garage door opens after closing. If the issue persists, move on to the next potential cause to continue troubleshooting and find a resolution.
By addressing the remote-related issues, such as stuck buttons, weak batteries, or reprogramming, you can eliminate a malfunctioning remote as the cause of your garage door opening unexpectedly.
Interference from Nearby Devices
One factor that can cause a garage door to open unexpectedly after closing is interference from nearby devices. Wireless devices that operate on similar frequencies as your garage door opener, such as wireless routers, baby monitors, or even neighboring garage doors, can disrupt the signal and trigger the door to open unintentionally.
To troubleshoot interference issues, follow these steps:
1. Identify Potential Interference Sources: Take note of any devices in the vicinity of your garage door opener that could potentially cause interference. Common culprits include wireless routers, cordless phones, security cameras, or other wireless devices.
2. Create Distance: Try moving the potential interference sources away from the garage door opener and its antenna. Increasing the distance between the devices can help minimize signal interference. If possible, relocate the router or other devices to a different area of your home.
3. Reposition the Opener’s Antenna: The garage door opener has an antenna that receives and transmits signals. Ensure that the antenna is properly positioned for optimal signal reception. Adjust the antenna’s position, if possible, to improve the strength and quality of the signal.
4. Change the Opener’s Frequency: Some garage door openers allow you to change the frequency on which they operate. Consult the manufacturer’s instructions or user manual to determine if your opener supports frequency adjustment. Changing the frequency can help avoid interference from nearby devices.
5. Use Shielding Materials: If you suspect that a specific device is causing interference, you can try using shielding materials to mitigate the problem. Shielding materials, such as aluminum foil or specialized shielding products, can help block or redirect interfering signals.
6. Upgrade to a Rolling Code Opener: Consider upgrading to a rolling code garage door opener if interference continues to be a persistent issue. Rolling code openers use a unique code every time you operate the door, making it difficult for outside interference to compromise the system’s security.
7. Professional Consultation: If interference problems persist or if you are unsure about performing troubleshooting steps yourself, it is advisable to consult with a professional garage door technician. They can provide further guidance and assistance in resolving the interference issue.
By addressing potential interference sources and taking steps to minimize signal disruption, you can eliminate interference as the cause of your garage door opening after closing. Remember to test the door after each troubleshooting step to ensure that the issue has been resolved before moving on to the next potential cause.
Read more: Why Is My Garage Door Opener Beeping
Faulty Garage Door Opener Limit Settings
When a garage door opens after being closed, it could be due to faulty garage door opener limit settings. These settings determine how far the door should open and close. If the limit settings are incorrect or improperly configured, the garage door may not close completely, triggering the opener to reopen the door.
To troubleshoot faulty garage door opener limit settings, follow these steps:
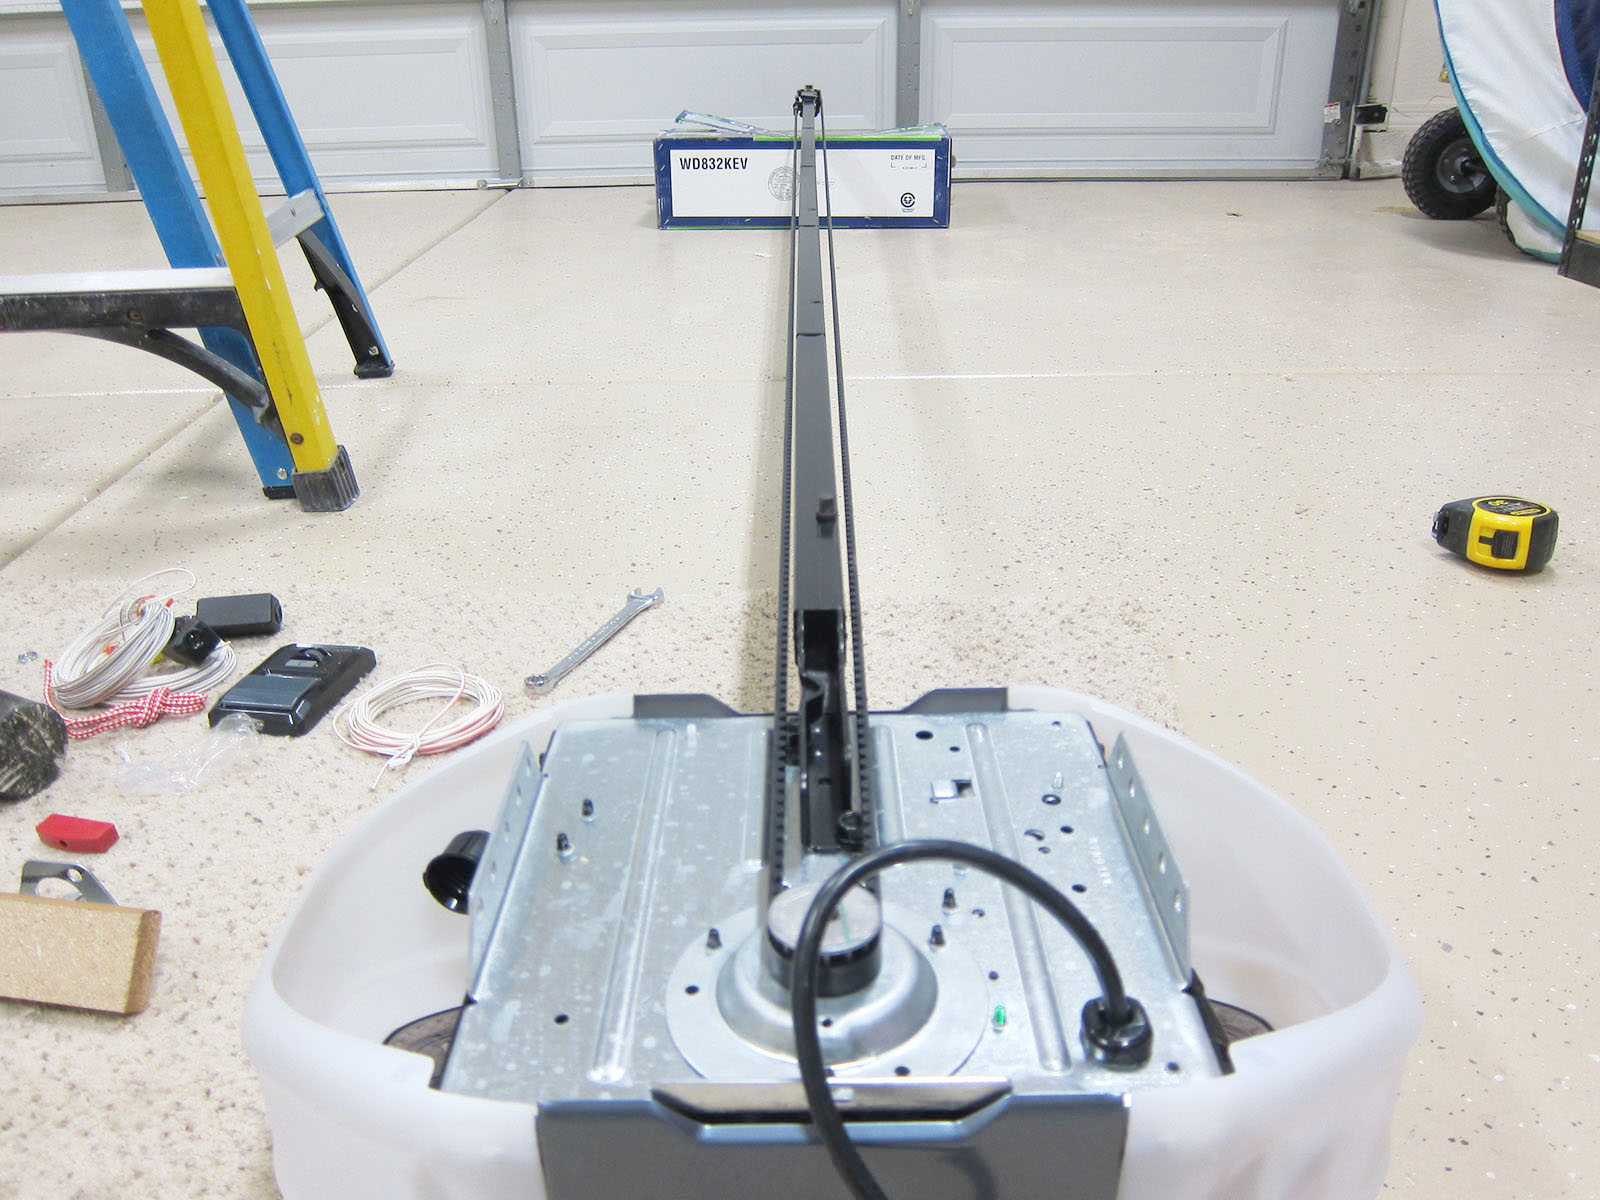
1. Locate the Limit Adjustment Screws: Depending on the type and model of your garage door opener, the limit adjustment screws can usually be found on the side or back of the opener. They control the travel distance of the door.
2. Identify the Closing Limit Screw: The closing limit screw determines how far the door descends when closing. It is typically marked with a “C” or “Close” label. You may need a ladder to access the screws if they are located on the back of the opener.
3. Adjust the Closing Limit Screw: Using a screwdriver, turn the closing limit screw in small increments. If the door is not closing all the way, turn the screw clockwise to increase the travel distance. If the door is closing too far or hitting the floor forcefully, turn the screw counterclockwise to decrease the travel distance.
4. Test the Door Operation: After making adjustments to the closing limit screw, test the door by closing it. If the door closes properly without reopening, the issue may have been resolved. If the problem persists, continue with the next steps.
5. Locate the Opening Limit Screw: The opening limit screw determines how far the door ascends when opening. It is typically marked with an “O” or “Open” label. Adjustments to this screw may be needed if the door isn’t reaching the desired open position or if it opens too far.
6. Adjust the Opening Limit Screw: Use a screwdriver to turn the opening limit screw in small increments. If the door doesn’t open all the way, turn the screw clockwise to increase the travel distance. If the door opens too far or hits the opener’s protective shroud, turn the screw counterclockwise to decrease the travel distance.
7. Test the Door Operation Again: After adjusting the opening limit screw, test the door’s opening operation. Ensure that it opens and stops at the desired position without any issues. If the problem persists or the door still opens after closing, continue troubleshooting.
8. Consult the Opener Manual or Seek Professional Help: If the limit adjustments do not resolve the issue, refer to the garage door opener’s user manual or contact the manufacturer for specific instructions. Alternatively, you can seek the assistance of a professional garage door technician to diagnose and fix the problem.
By properly adjusting the garage door opener limit settings, you can ensure that the door closes completely without reopening unexpectedly. However, be cautious when working with the limit adjustment screws and follow the manufacturer’s instructions to avoid causing any further issues.
Snapped Garage Door Springs
Snapped garage door springs can also cause a garage door to open unexpectedly after it has been closed. Springs are essential components that counterbalance the weight of the door and help in its smooth operation. When a spring breaks, it can disrupt the balance, causing the door to become unresponsive or partially close and then reopen.
Here are the steps to troubleshoot snapped garage door springs:
1. Visual Inspection: Begin by visually inspecting the garage door springs. Look for any signs of visible damage, such as gaps or breaks in the springs. Keep in mind that garage door springs are under high tension and should only be inspected from a safe distance. If you notice a broken or snapped spring, it’s important to avoid attempting any repairs yourself, as it can be dangerous.
2. Check Door Balance: With the garage door closed, disconnect the opener by pulling the release handle or disconnecting the power. Attempt to open the door manually and observe if it moves smoothly or feels heavy on one side. A door with a broken spring will be difficult to lift and may feel lopsided.
3. Contact a Professional: If you suspect that your garage door has a snapped spring, it is crucial to avoid attempting repairs yourself. Garage door springs are under high tension and require specialized tools and expertise to replace safely. Contact a professional garage door technician to assess the situation, provide proper diagnosis, and carry out the necessary repairs.
It’s important to note that attempting to fix or replace garage door springs without the proper knowledge and tools can lead to serious injury or further damage to the door and the surrounding components. A professional technician will have the experience and expertise to safely replace the broken spring and ensure that the door operates smoothly and securely.
Remember, the springs are critical components for the proper functioning of the garage door. Regular inspection and maintenance can help identify any signs of wear or damage before a spring breaks. By addressing snapped garage door springs promptly and seeking professional assistance, you can prevent any further issues and ensure the safe and reliable operation of your garage door.
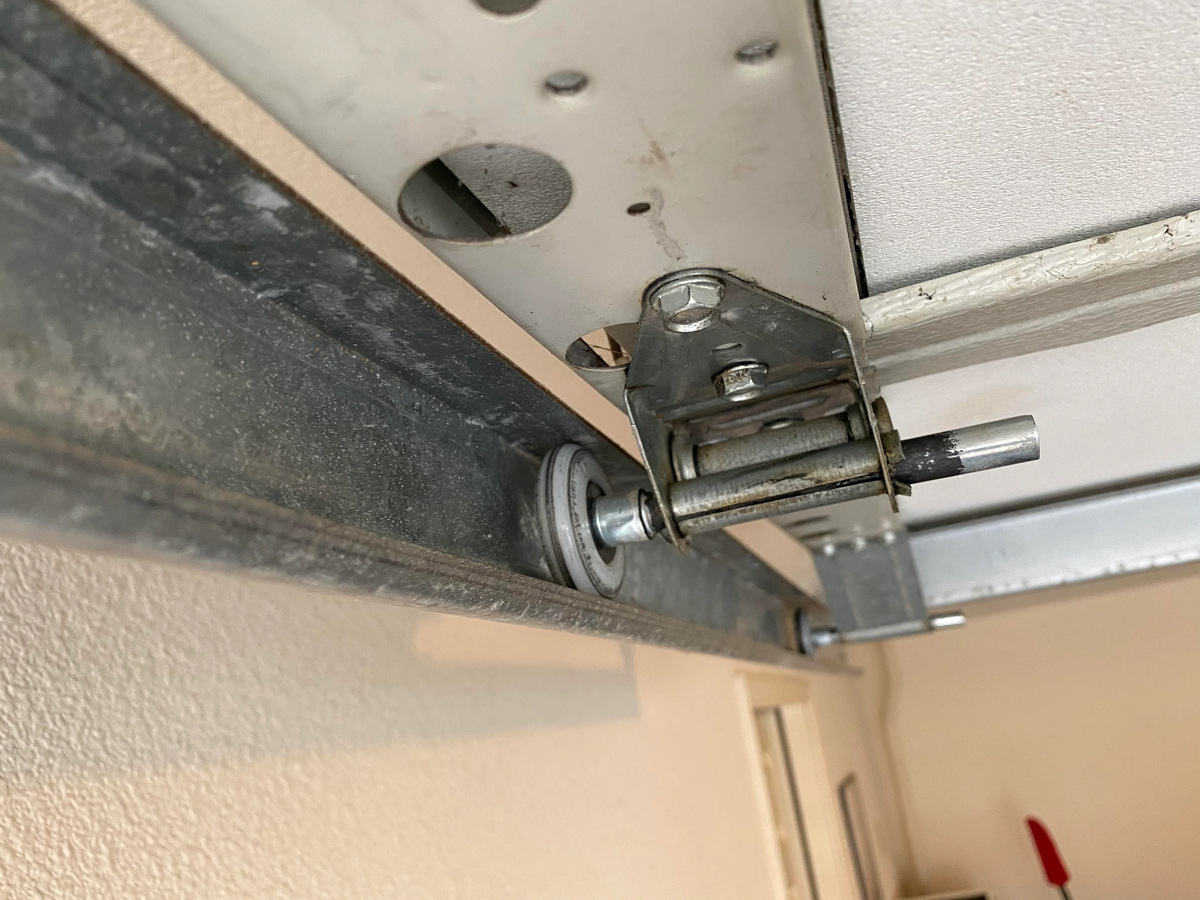
Issues with the Garage Door Tracks
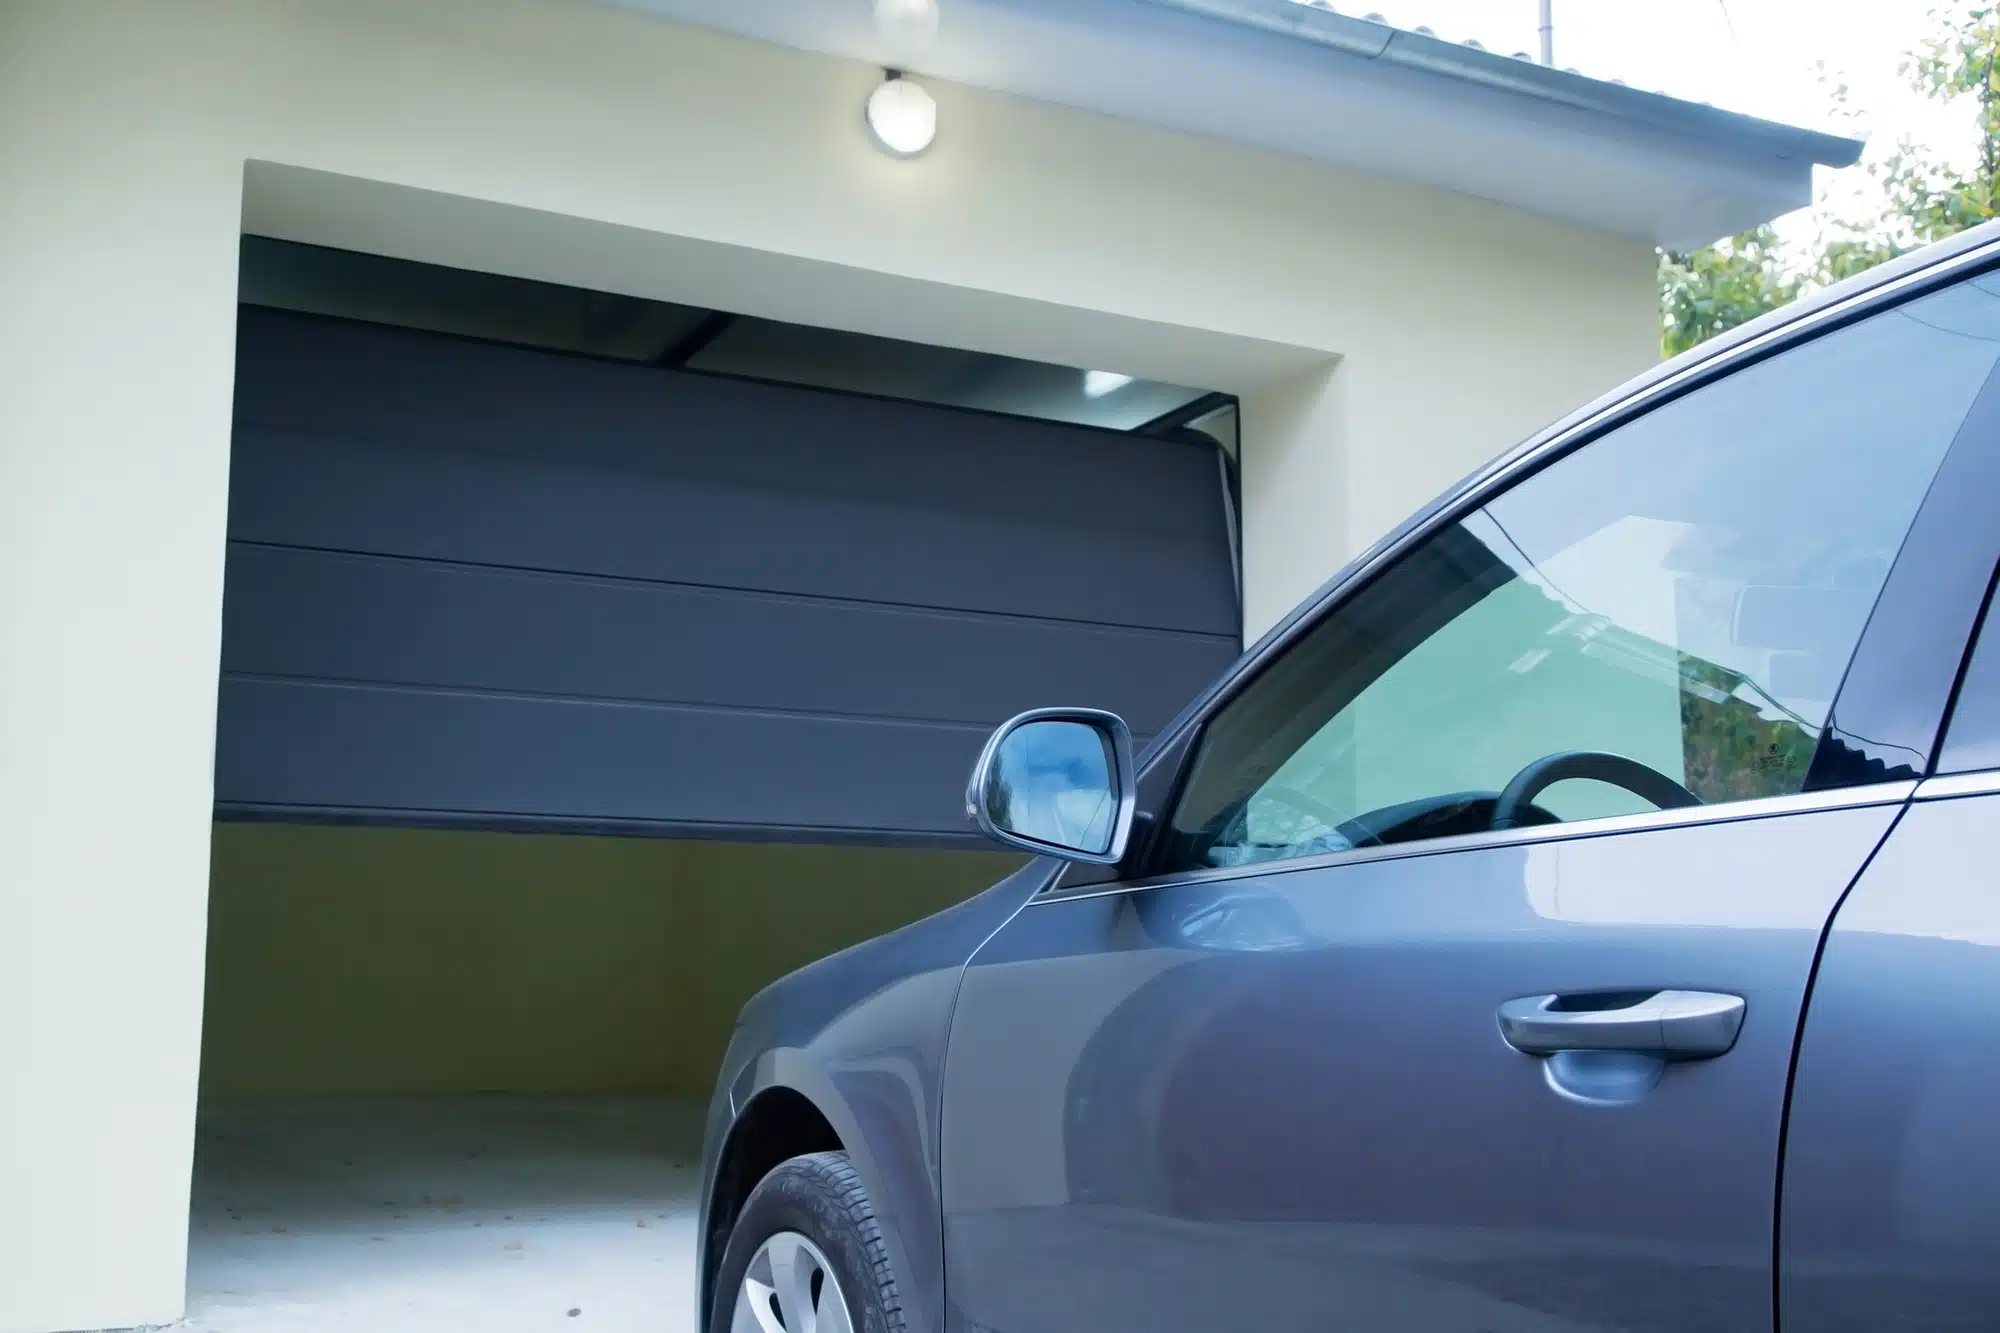
Issues with the garage door tracks can be another cause of a garage door opening after it has been closed. The tracks guide the door’s movement, ensuring smooth and proper operation. If there are any problems with the tracks, such as misalignment or obstructions, it can prevent the door from closing fully and cause it to reopen.
Here are the steps to troubleshooting issues with the garage door tracks:
1. Visual Inspection: Start by visually inspecting the garage door tracks. Look for any signs of damage, such as bends, dents, or misalignment. Observe if the tracks are parallel and properly aligned with each other.
2. Check for Obstructions: Remove any debris or objects that may be blocking the tracks. Dirt, leaves, or even small objects can get lodged in the tracks, preventing the door from closing properly. Clear any obstructions to ensure smooth movement of the door.
3. Align the Tracks: If you notice that the tracks are misaligned, use a rubber mallet or a block of wood to gently tap them back into place. Be careful not to apply excessive force, as it can cause further damage to the tracks. Use a level to ensure that the tracks are plumb and level.
4. Lubricate the Tracks: Apply a silicone-based lubricant to the tracks to reduce friction and ensure smoother door movement. Avoid using WD-40 or other petroleum-based lubricants, as they can attract dirt and debris, causing further issues.
5. Test the Door Operation: Close the door and observe if it closes smoothly without reopening. Open and close the door multiple times to ensure that it operates correctly and without any issues. If the door still opens after closing, proceed to the next troubleshooting step.
6. Seek Professional Assistance: If the tracks are severely damaged, bent, or misaligned to the point where you are unable to fix them yourself, it is advisable to seek professional assistance. A garage door technician will have the expertise and tools to properly align or replace tracks as needed.
Proper maintenance of the garage door tracks is essential to ensure the door’s smooth operation. Regularly inspect the tracks for any signs of damage or misalignment. Clear any obstructions and lubricate the tracks periodically to prevent issues.
By addressing issues with the garage door tracks promptly and ensuring their proper alignment and maintenance, you can eliminate track-related problems as the cause of your garage door opening unexpectedly.
Programming or Wiring Problems
Programming or wiring problems can also lead to a garage door opening unexpectedly after it has been closed. Issues with the programming or wiring of the garage door opener system can disrupt the communication between the opener and the various components, causing the door to malfunction.
Here are the steps to troubleshoot programming or wiring problems:
1. Check the Opener’s Programming: Consult the garage door opener’s user manual or manufacturer’s instructions to ensure that the opener is programmed correctly. Verify that the remote controls, keypad entry system, and any other devices are properly synced with the opener.
2. Reprogram the Opener: If you suspect a programming issue, try reprogramming the garage door opener following the manufacturer’s instructions. Reset all remote controls, keypads, and any other devices associated with the opener, and then reprogram them one at a time.
3. Inspect the Wiring Connections: Visually inspect the wiring connections in the garage door opener system. Look for any loose or damaged wires that may be affecting the communication between the components. Ensure that all wiring connections are secure and properly connected.
4. Test the Wiring: If you have the necessary knowledge and tools, you can test the wiring using a multimeter to check for continuity and proper voltage. However, it’s crucial to exercise caution and turn off power to the opener before handling any electrical components.
5. Seek Professional Assistance: If you are unsure about handling the programming or wiring yourself or if the troubleshooting steps do not resolve the issue, it is recommended to seek the assistance of a professional garage door technician. They will have the expertise to diagnose and fix any programming or wiring problems accurately and safely.
Programming or wiring problems can be complex and require technical knowledge. If you are not confident in your ability to troubleshoot or perform repairs, it’s best to leave it in the hands of a qualified professional to avoid any potential damage or injury.
By ensuring proper programming and inspecting the wiring connections, you can address programming or wiring issues that may be causing your garage door to open unexpectedly. If the troubleshooting steps do not resolve the problem, it’s recommended to consult a professional for further evaluation and repairs.
Check the safety sensors to ensure they are properly aligned and free from any obstructions. Misaligned or blocked sensors can cause the garage door to reopen after closing.
Troubleshooting Steps to Fix the Issue
If your garage door continues to open after closing, following a systematic troubleshooting approach can help you identify and resolve the underlying problem. Here are some general troubleshooting steps to fix the issue:
1. Check the Safety Sensors: Start by inspecting the safety sensors located near the bottom of the opening on either side. Ensure that they are properly aligned and free from any obstructions. Clean the sensors if necessary. If misaligned, adjust them until they are properly aligned.
2. Verify the Garage Door Opener Remote: Inspect the garage door opener remote for any physical damage or sticking buttons. Replace the batteries and ensure that the remote is functioning correctly. Reprogram the remote if needed. Test the door operation using a different remote, if available.
3. Minimize Interference: Identify any wireless devices operating on similar frequencies as your garage door opener. Move these devices away from the opener or reposition the opener’s antenna to reduce signal interference. Use shielding materials if necessary to block or redirect interfering signals.
4. Adjust Garage Door Opener Limit Settings: Properly set the opening and closing limit settings on your garage door opener. Ensure that the door can fully open and close without hitting the floor or the opener’s protective shroud. Make adjustments to the limit screws as needed.
5. Inspect Garage Door Springs: Visual inspection of the garage door springs is essential. Look for any signs of a broken or snapped spring. If a spring is broken, do not attempt to repair or replace it yourself. Contact a professional garage door technician to handle spring-related issues.
6. Check Garage Door Tracks: Visually inspect the garage door tracks for any damage, misalignment, or obstructions. Clear any debris from the tracks and ensure they are properly aligned. Lubricate the tracks with a silicone-based lubricant for smoother door movement.
7. Examine the Programming and Wiring: Verify that the garage door opener is correctly programmed and all remote controls and devices are synced. Inspect the wiring connections for any damage or looseness. Seek professional assistance if you are uncertain about programming or wiring issues.
It is essential to test the garage door after each troubleshooting step to see if the issue has been resolved. If the problem persists or if you are uncomfortable performing the troubleshooting steps yourself, it is advisable to contact a professional garage door technician. They have the expertise and tools to accurately diagnose and repair the issue to ensure the safe and proper functioning of your garage door.
By following these troubleshooting steps, you can identify and address the cause of your garage door opening after closing, restoring its functionality and providing peace of mind.
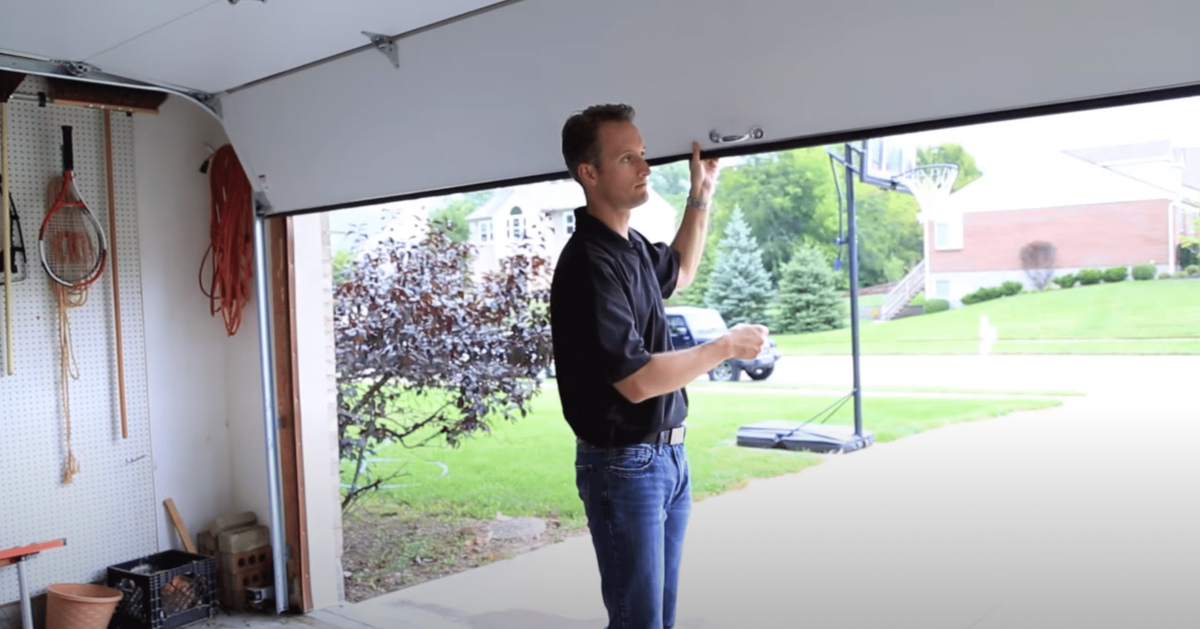
Check Safety Sensor Alignment
One of the first troubleshooting steps to take when your garage door keeps opening after closing is to check the alignment of the safety sensors. The safety sensors are located near the bottom of the garage door opening on either side and are designed to detect any objects or obstructions in the path of the closing door. Misalignment of these sensors can cause them to malfunction and trigger the door to reopen.
Here are the steps to check and realign the safety sensors:
1. Visual Inspection: Start by visually inspecting the safety sensors. Ensure that they are properly installed, securely mounted, and are not physically damaged. Look for any obstructions such as dirt, dust, or spider webs that may be blocking the sensors.
2. Verify Sensor Position: The safety sensors should be facing each other directly and be parallel to the ground. Make sure that there is no significant tilt or misalignment between the two sensors. Use a level to ensure they are perfectly aligned.
3. Clean the Sensors: Dirt, debris, and other particles can accumulate on the sensors and interfere with their functionality. Use a soft cloth to gently clean the lenses of the sensors. Avoid using abrasive cleaners or solvents as they may damage the sensors.
4. Check for LED Indicators: Most safety sensors have LED indicator lights that illuminate when the sensors are properly aligned and functioning. Check if both sensors have a steady light indicator. If one or both lights are not lit or are blinking, it may indicate an alignment issue.
5. Adjust the Sensor Alignment: If the sensors are misaligned, gently adjust them until they are perfectly aligned. Start by loosening the mounting brackets that hold the sensors in place. Carefully align the sensors, making sure they are parallel to each other. Once they are aligned, tighten the mounting brackets to secure them in position.
6. Test the Door Operation: After realigning the sensors, test the garage door to see if it closes without reopening. Stand clear of the door’s path and close it using the wall-mounted control or the garage door opener remote. If the door closes smoothly and remains closed, the realignment of the sensors may have resolved the issue.
It’s important to note that garage door sensors are sensitive components. If you are unsure about adjusting or troubleshooting the safety sensors yourself, it’s best to seek professional assistance. A professional garage door technician has the expertise and tools to properly align and troubleshoot the safety sensor system.
By ensuring the proper alignment of the safety sensors, you can eliminate misalignment as the cause of your garage door opening after closing. However, if the problem persists, proceed to the next troubleshooting step.
Inspect and Replace Batteries in the Opener Remote
If your garage door keeps opening after you close it, a possible cause could be a malfunctioning garage door opener remote. The remote sends signals to the opener to open or close the door. If the batteries in the remote are weak or depleted, it can result in intermittent or unreliable communication between the remote and the opener, causing the door to open unexpectedly.
To inspect and replace the batteries in the opener remote, follow these steps:
1. Access the Batteries: Most garage door opener remotes have a battery compartment on the back. Locate the battery compartment cover and remove it to access the batteries. In some remotes, you may need to slide or lift a cover, while others may have a small screw.
2. Inspect the Batteries: Check the batteries for any signs of corrosion or leakage. Corrosion can disrupt the electrical connection and impact the performance of the remote. If you notice corrosion, it’s advisable to replace the batteries and clean the battery contacts with a cotton swab or a small brush.
3. Replace the Batteries: If the batteries appear to be in good condition, still try replacing them with fresh ones. Use the same type and brand of batteries recommended by the manufacturer to ensure optimal performance. Insert the new batteries into the remote, following the correct polarity markings.
4. Test the Remote: With the new batteries in place, test the remote by pressing the buttons to open and close the garage door. Stand within range of the opener and ensure that the remote is functioning correctly. If the door operates smoothly without reopening, the battery replacement may have resolved the issue.
5. Consider Multiple Remotes: If you have multiple remotes for the same garage door opener, it’s worth testing all of them to ensure they are not causing the problem. If only one specific remote triggers the unexpected door opening, there may be an issue with that particular remote.
6. Reprogram the Remote: In some cases, reprogramming the remote can help resolve any syncing issues between the remote and the opener. Consult the opener’s user manual for instructions on how to reprogram the remote. Follow the steps carefully to ensure successful reprogramming.
If you have completed these steps and the problem persists, it’s possible that the issue lies with the opener itself or other components of the garage door system. At this point, it may be best to seek professional assistance from a garage door technician who can diagnose and address any underlying problems.
By inspecting and replacing the batteries in the opener remote, you can eliminate weak or depleted batteries as a potential cause of your garage door opening unexpectedly.
Eliminate Interference Sources
Interference from nearby devices can disrupt the communication signals between your garage door opener and the remote, resulting in the door opening unexpectedly after you have closed it. To resolve this issue, it is essential to eliminate or minimize potential sources of interference. Here are some steps to help eliminate interference sources:
1. Identify Potential Interference Devices: Take note of any wireless devices operating on similar frequencies as your garage door opener. These devices can include Wi-Fi routers, cordless phones, baby monitors, or even neighboring garage door openers.
2. Move Interference Sources: If possible, try relocating the interference sources away from the garage door opener. Moving the devices to different locations can reduce signal interference and improve the overall performance of your garage door opener.
3. Reposition the Opener’s Antenna: The garage door opener has an antenna that receives and transmits signals. Ensure that the antenna is properly positioned for optimal signal reception. Adjust the antenna’s position, if possible, to minimize interference and enhance signal strength.
4. Change Wi-Fi Channel: If your Wi-Fi router is causing interference, accessing the router’s settings and switching to a different channel can help avoid overlap with the garage door opener’s frequency. Consult your router’s user manual or contact the manufacturer for instructions on changing the channel.
5. Upgrade to a Dual-Band Router: If your garage door opener and Wi-Fi router operate on the same frequency band, consider upgrading to a dual-band router. Dual-band routers allow you to separate the Wi-Fi network into two different frequencies, reducing the risk of interference with the garage door opener.
6. Use Shielding Materials: If specific interference sources persist, you can use shielding materials to minimize the impact. Shielding materials, such as aluminum foil or special shielding products, can help block or redirect interfering signals. Place the shielding materials strategically between the interference source and the garage door opener to reduce signal interference.
7. Contact the Manufacturer: If you have tried various steps to eliminate interference sources and the problem persists, contact the manufacturer of your garage door opener. They may be able to provide further guidance or suggest specific solutions to address interference issues.
By taking these steps to eliminate or minimize interference sources, you can enhance the communication between your garage door opener and its remote, reducing the occurrence of the door opening unexpectedly after closing.
It’s important to note that some interference issues may require the assistance of a professional technician. If you are unsure about handling interference troubleshooting yourself, it is recommended to consult with a qualified garage door specialist who can diagnose and resolve the issue effectively.
Adjust Garage Door Opener Limit Settings
If your garage door keeps opening after closing, another potential cause could be incorrect or improperly configured garage door opener limit settings. These settings determine how far the door should open and close. If the limits are set incorrectly, the door may not close fully, causing the opener to reverse and reopen the door.
To troubleshoot and adjust the garage door opener limit settings, follow these steps:
1. Identify the Limit Adjustment Screws: Depending on the type of garage door opener, the limit adjustment screws can usually be found on the side or back of the opener unit. These screws control the travel distance of the garage door.
2. Understand the Limit Settings: There are two limit settings – the closing limit and the opening limit. The closing limit determines how far the door should descend when closing, while the opening limit determines how far the door should ascend when opening.
3. Test the Door Operation: Close the garage door using the wall-mounted control or the remote. Observe and take note of where the door stops or reverses. If the door fails to close completely or reopens after closing, it indicates that the limit settings need adjustment.
4. Locate the Closing Limit Screw: Identify the closing limit screw on the garage door opener unit. It is usually marked with a “C” or “Close” label. Use a screwdriver to adjust this screw, turning it clockwise to increase the travel distance or counterclockwise to decrease the distance.
5. Adjust the Closing Limit Screw: Make small adjustments to the closing limit screw and test the door operation after each adjustment. Continue making incremental changes until the door closes fully and remains closed without reopening.
6. Locate the Opening Limit Screw: Find the opening limit screw, typically marked with an “O” or “Open” label. Using a screwdriver, adjust this screw by turning it clockwise to increase the travel distance or counterclockwise to decrease it.
7. Adjust the Opening Limit Screw: Similarly, make gradual adjustments to the opening limit screw and test the door operation each time. Ensure that the door opens fully without hitting the opener’s protective shroud or stopping prematurely.
8. Fine-Tune the Adjustments: Fine-tune the limit adjustments as necessary to achieve the desired opening and closing positions of the garage door. Always test the door operation after each adjustment to ensure proper functionality.
Remember, garage door opener limit settings should be adjusted cautiously. It’s important to make small incremental changes and test the door operation after each adjustment to prevent overcorrection or causing further issues.
If you are unsure about adjusting the limit settings yourself or if the problem persists despite your efforts, it is recommended to seek professional assistance from a qualified garage door technician. They have the expertise to accurately adjust the limit settings and ensure the proper functioning of your garage door.
Examine and Replace Broken Garage Door Springs
If your garage door continues to open after closing, one of the possible causes could be broken or damaged garage door springs. Garage door springs play a crucial role in counterbalancing the weight of the door, making it easier to open and close. When a spring breaks, it can disrupt the door’s balance and cause issues with its operation, including unexpected openings.
To examine and replace broken garage door springs, follow these steps:
1. Visual Inspection: Conduct a visual inspection of the garage door springs. Look for any signs of damage, such as gaps, elongation, or visible breakage. Broken springs will usually have a noticeable separation or a distinct gap between the coils.
2. Determine the Type of Springs: Garage doors typically have either extension springs or torsion springs. Extension springs are located above the upper tracks on either side of the door, while torsion springs are mounted on a metal shaft above the door opening. Identify which type of spring system your door has.
3. Safety Precautions: It’s important to exercise caution when dealing with garage door springs, as they are under high tension and can cause serious injury if mishandled. If you are unsure or uncomfortable with the inspection and replacement process, it is highly recommended to seek professional assistance.
4. Replace Extension Springs: If you have identified that your garage door has broken extension springs, it is best to replace them in pairs. Release the tension of the remaining functional spring using the appropriate tools. Remove the broken spring and install a new one of the same size, type, and strength. Repeat the process for the other side.
5. Replace Torsion Springs: Replacing torsion springs can be more complex and dangerous due to the high amount of tension involved. It is strongly advised to hire a professional garage door technician for the replacement of torsion springs. They have the experience, knowledge, and specialized tools required to safely replace torsion springs.
6. Balancing the Door: After replacing the broken springs, it is essential to ensure that the door is properly balanced. With the assistance of a professional or by following the manufacturer’s instructions, adjust the tension of the springs to achieve the correct balance for smooth and safe door operation.
7. Regular Maintenance: To prolong the life of your garage door springs and prevent future issues, it is important to maintain them properly. Apply a silicone-based lubricant to the springs periodically to reduce friction and prevent corrosion. Regularly inspect the springs for signs of wear or damage.
Remember, working with garage door springs can be dangerous and should be approached with caution. If you are unsure or uncomfortable with the inspection and replacement process, contact a professional garage door technician who can safely and correctly replace the broken springs.
By examining and replacing broken garage door springs, you can restore the proper balance and functionality of your door, eliminating the issue of unexpected openings and ensuring the safe operation of your garage door system.
Inspect and Repair Garage Door Tracks
If your garage door keeps opening after closing, it’s important to inspect and repair the garage door tracks, as issues with the tracks can interfere with the smooth operation of the door. Damaged or misaligned tracks can prevent the door from closing completely, causing it to reopen unexpectedly.
Follow these steps to inspect and repair the garage door tracks:
1. Visual Inspection: Begin by inspecting the tracks visually. Look for any signs of damage, such as bends, dents, or gaps in the tracks. Check for any loose or missing mounting brackets or hardware.
2. Track Alignment: Observe if the tracks are properly aligned. Use a level to ensure that the tracks are plumb and straight. Misaligned tracks can cause the door rollers to bind or derail, resulting in improper functioning.
3. Clean the Tracks: Clear any dirt, debris, or obstructions from the tracks. Use a damp cloth or a soft brush to remove any buildup. Ensure that the tracks are clean and free from any obstacles that could obstruct the door’s movement.
4. Check Roller Condition: Inspect the rollers that glide along the tracks. Look for signs of wear, damage, or misalignment. If any rollers are worn out or damaged, they may need to be replaced. Lubricate the rollers with a silicone-based lubricant to ensure smooth operation.
5. Verify Vertical Alignment: The tracks should maintain a consistent vertical alignment from top to bottom. Use a level to check if the tracks are vertical and parallel to each other. Adjust the tracks if they are out of alignment.
6. Correct Horizontal Alignment: The horizontal alignment of the tracks is also crucial for proper door operation. Ensure that the tracks are parallel to the garage wall, following the same horizontal plane. Adjust the tracks if needed until they are properly aligned.
7. Repair Bent Tracks: If the tracks are bent or misshapen, attempt to straighten them using a pair of pliers or a track straightening tool. Be gentle, as excessive force may further damage the tracks. Severe or irreparable track damage may require professional assistance or replacement.
8. Tighten Loose Hardware: Check all mounting brackets, bolts, screws, and nuts along the tracks. Tighten any loose hardware as needed to secure the tracks in place.
9. Test the Door Operation: After inspecting and repairing the tracks, test the garage door’s operation. Close and open the door multiple times to ensure it moves smoothly along the tracks without any issues.
If you encounter difficulties or the problem persists despite your efforts, it is recommended to seek professional assistance from a qualified garage door technician. They have the expertise and tools to repair or replace damaged tracks and ensure the proper alignment of your garage door system.
By inspecting and repairing the garage door tracks, you can eliminate any issues that may cause the door to open unexpectedly after closing. Properly aligned tracks are crucial for smooth and reliable door operation, enhancing the overall functionality and safety of your garage door.
Seek Professional Assistance for Programming or Wiring Issues
If you continue to experience issues with your garage door opening after closing, particularly related to programming or wiring, it is strongly recommended to seek professional assistance. Programming or wiring problems can be complex, and it’s essential to have the expertise and knowledge of a professional garage door technician to diagnose and resolve these issues effectively.
Here are the reasons why you should consider seeking professional assistance for programming or wiring issues:
1. Expertise and Experience: Garage door technicians have the necessary expertise and experience to navigate and troubleshoot complex programming or wiring problems. They are familiar with various garage door opener models and types, and they understand the intricacies of the programming and wiring systems.
2. Safety Precautions: Dealing with programming or wiring issues can potentially be hazardous, as it involves working with electrical components. Garage door technicians are trained to adhere to safety protocols and take precautionary measures when handling electrical systems. They have the knowledge and equipment to work safely and minimize any risks of electrical shock or accidents.
3. Proper Diagnosis: Garage door technicians have a comprehensive understanding of the garage door systems. They can accurately diagnose the root cause of the programming or wiring issues. They know how to interpret error codes, identify faulty components, and determine whether the problem lies in the opener, sensors, remotes, or wiring connections.
4. Efficient Resolutions: With their experience, technicians can efficiently troubleshoot and resolve programming or wiring issues. They have access to specialized tools, equipment, and resources to quickly identify and rectify the problem. They can reprogram the opener, repair wiring connections, replace malfunctioning components, and ensure proper functionality of your garage door system.
5. Warranty Considerations: Seeking professional assistance for programming or wiring issues helps ensure that you comply with any warranties associated with your garage door opener or other components. Attempting DIY repairs or modifications may void any existing warranties, whereas working with a professional technician ensures that any necessary repairs or replacements are covered under warranty.
6. Value for Money: Engaging a garage door technician to address programming or wiring issues can save you time, effort, and potential expenses in the long run. They can provide accurate solutions, prevent further damage caused by incorrect repairs, and enhance the overall performance and lifespan of your garage door system.
Remember, the complexity of programming or wiring issues, combined with the importance of safety, makes it prudent to rely on the expertise of a professional technician. They can efficiently diagnose the problem, implement the necessary repairs, and ensure the smooth operation of your garage door.
By seeking professional assistance for programming or wiring issues, you can avoid potential pitfalls and ensure that your garage door opener system is functioning optimally and securely. Contact a reputable garage door technician who specializes in programming and wiring to address these specific issues effectively and efficiently.
Conclusion
Experiencing a garage door opening after closing can be frustrating and even raise concerns about the safety and security of your property. However, by systematically troubleshooting the potential causes and taking the necessary steps, you can resolve this issue and restore the reliable functionality of your garage door.
Throughout this article, we have explored several possible causes for a garage door opening after closing, including misaligned safety sensors, malfunctioning opener remotes, interference from nearby devices, faulty opener limit settings, broken springs, issues with garage door tracks, and programming or wiring problems.
We have provided step-by-step troubleshooting guidance for each of these potential causes, emphasizing the importance of proper alignment, checking and replacing batteries in the opener remote, eliminating interference sources, adjusting limit settings, inspecting and replacing broken springs, examining and repairing garage door tracks, and seeking professional assistance for programming or wiring issues.
It’s crucial to approach troubleshooting with caution, prioritizing safety and following manufacturer instructions or seeking professional assistance when needed. Garage door systems involve various electrical and mechanical components, and improper handling can lead to further damage or personal injury.
By systematically addressing each potential cause, you can identify and resolve the underlying issue that is causing your garage door to open unexpectedly after closing. Remember, some problems may require the expertise of a professional garage door technician, and seeking their assistance can provide peace of mind and ensure a safe and effective resolution.
Regular maintenance and inspections of your garage door system are also essential to prevent future issues and prolong its lifespan. Lubricate moving parts, clear debris from tracks, examine springs and cables for wear or damage, and test the safety features on a regular basis.
In conclusion, with proper troubleshooting and maintenance, you can overcome the challenge of a garage door opening after closing. By addressing the root cause and ensuring the proper functioning of safety features and mechanical components, you can enjoy the convenience and security of a fully functional garage door for years to come.
Frequently Asked Questions about Why Does My Garage Door Keep Opening After I Close It
Was this page helpful?
At Storables.com, we guarantee accurate and reliable information. Our content, validated by Expert Board Contributors, is crafted following stringent Editorial Policies. We're committed to providing you with well-researched, expert-backed insights for all your informational needs.

0 thoughts on “Why Does My Garage Door Keep Opening After I Close It”