Home>Garden Essentials>How To Collect Bee Balm Seeds
Garden Essentials
How To Collect Bee Balm Seeds
Modified: March 16, 2024
Learn the steps to collect bee balm seeds and enhance your garden. Discover the secrets of successful seed saving and take your gardening skills to the next level.
(Many of the links in this article redirect to a specific reviewed product. Your purchase of these products through affiliate links helps to generate commission for Storables.com, at no extra cost. Learn more)
Introduction
Welcome to the world of gardening, where nature’s beauty unfolds in every plant and flower. If you’re an avid gardener, you’ve probably come across the mesmerizing beauty of bee balm in your journey. Bee balm, also known as Monarda, is a vibrant and hardy perennial plant that blooms with stunning, colorful flowers. But did you know that besides appreciating its beauty, bee balm also offers the opportunity to collect seeds and grow new plants?
In this article, we will explore the fascinating world of collecting bee balm seeds. We will delve into what bee balm is, why collecting its seeds is beneficial, when and where to collect the seeds, and the steps involved in the seed collection process. Whether you’re a seasoned gardener or just discovering your green thumb, this article will equip you with the knowledge and techniques to successfully collect bee balm seeds and continue your gardening adventure.
So, let’s get started and unlock the secrets of collecting bee balm seeds!
Key Takeaways:
- Collecting bee balm seeds preserves plant diversity, saves money, and fosters community. It’s a fun and cost-effective way to expand your garden while sharing the beauty of bee balm with others.
- To collect bee balm seeds, wait for wilted flowers, choose mature seed heads, and store them in a cool, dry place. Proper storage ensures successful germination and a thriving bee balm garden.
Read more: When To Plant Bee Balm Seeds
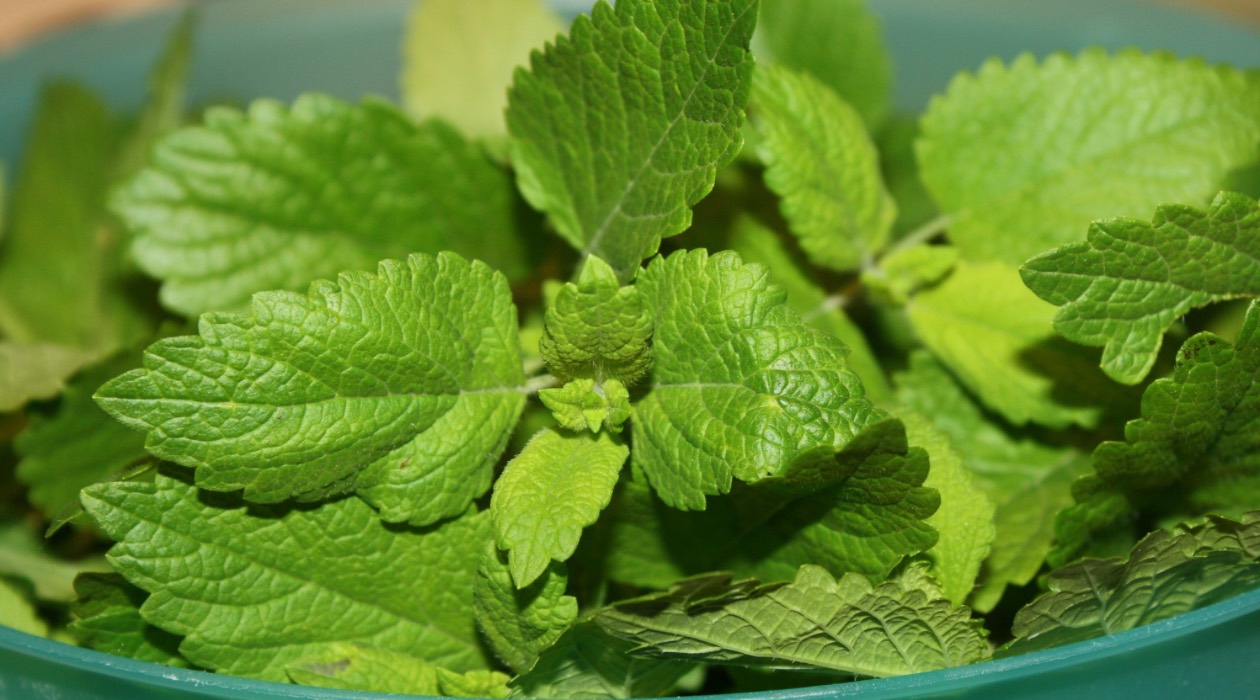
What is Bee Balm?
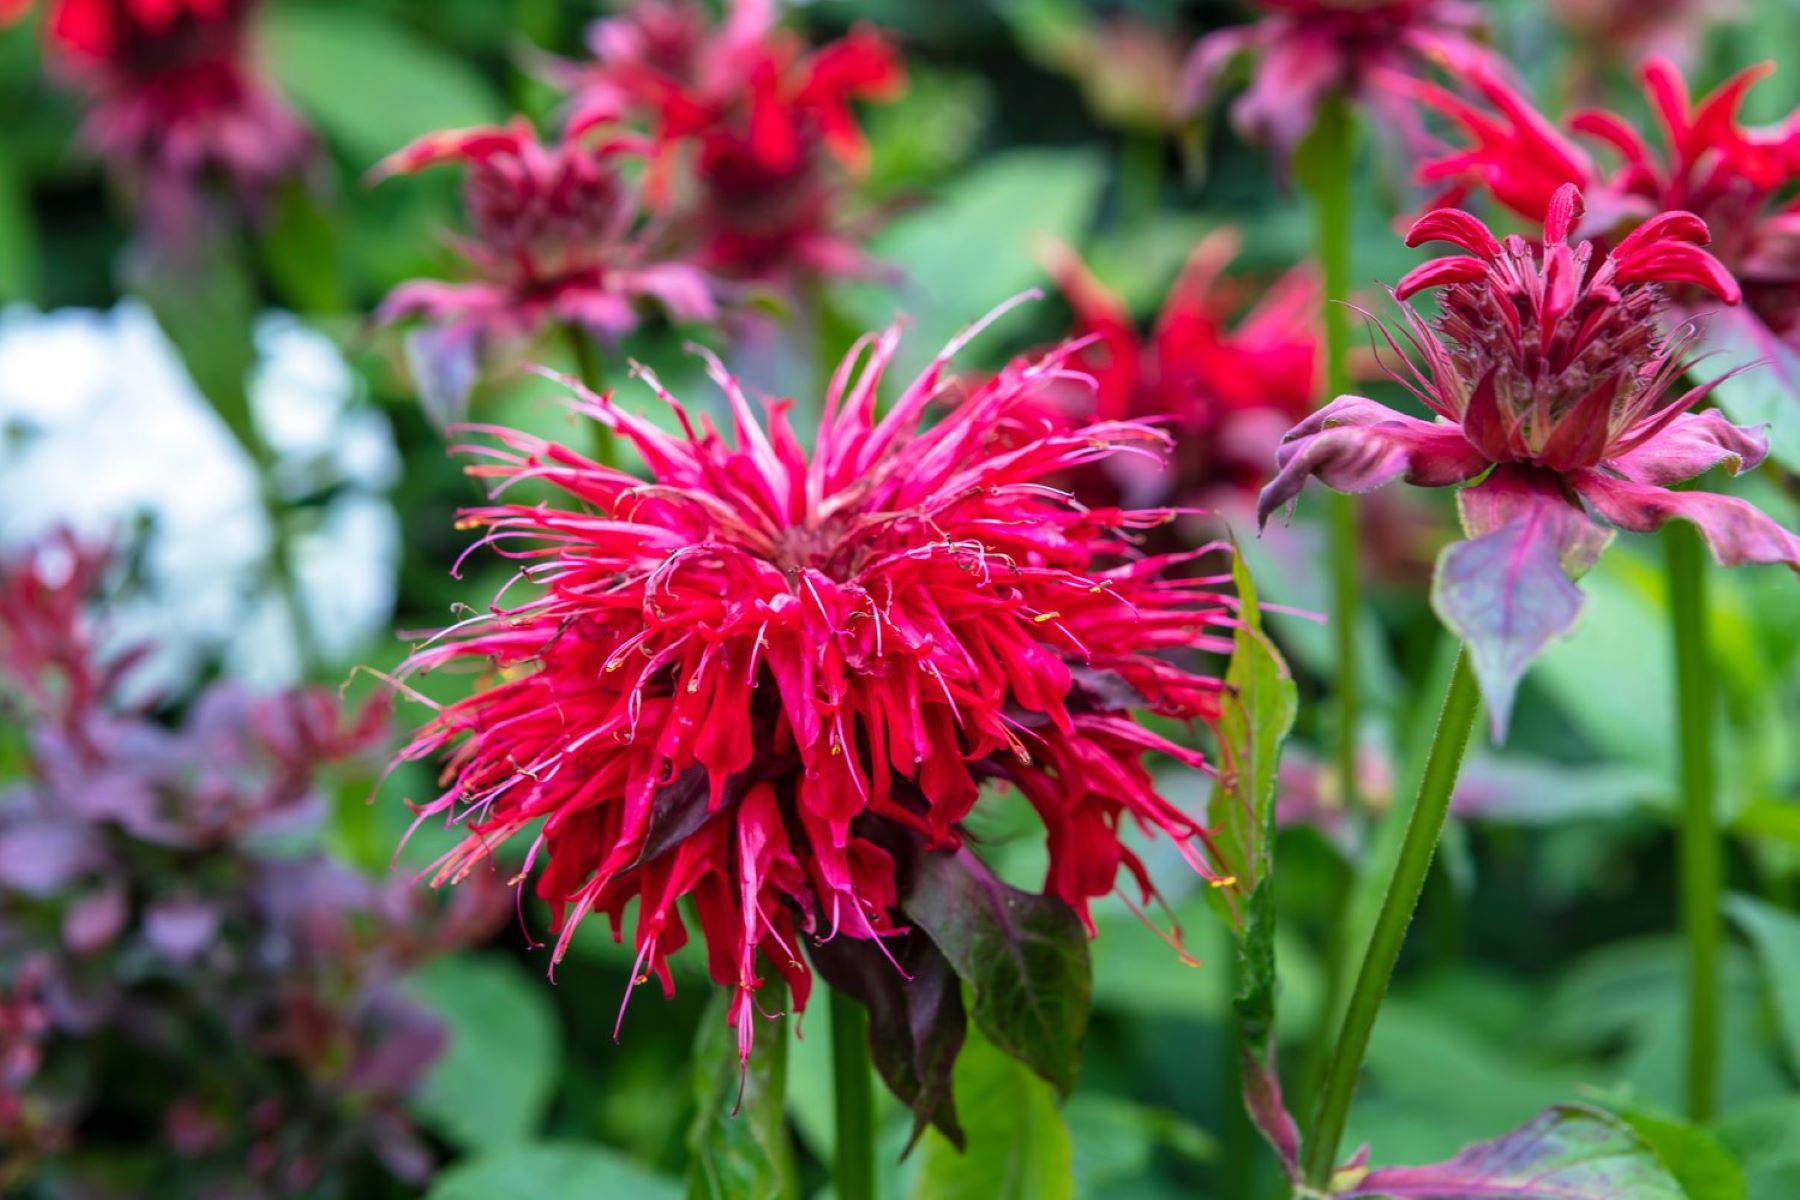
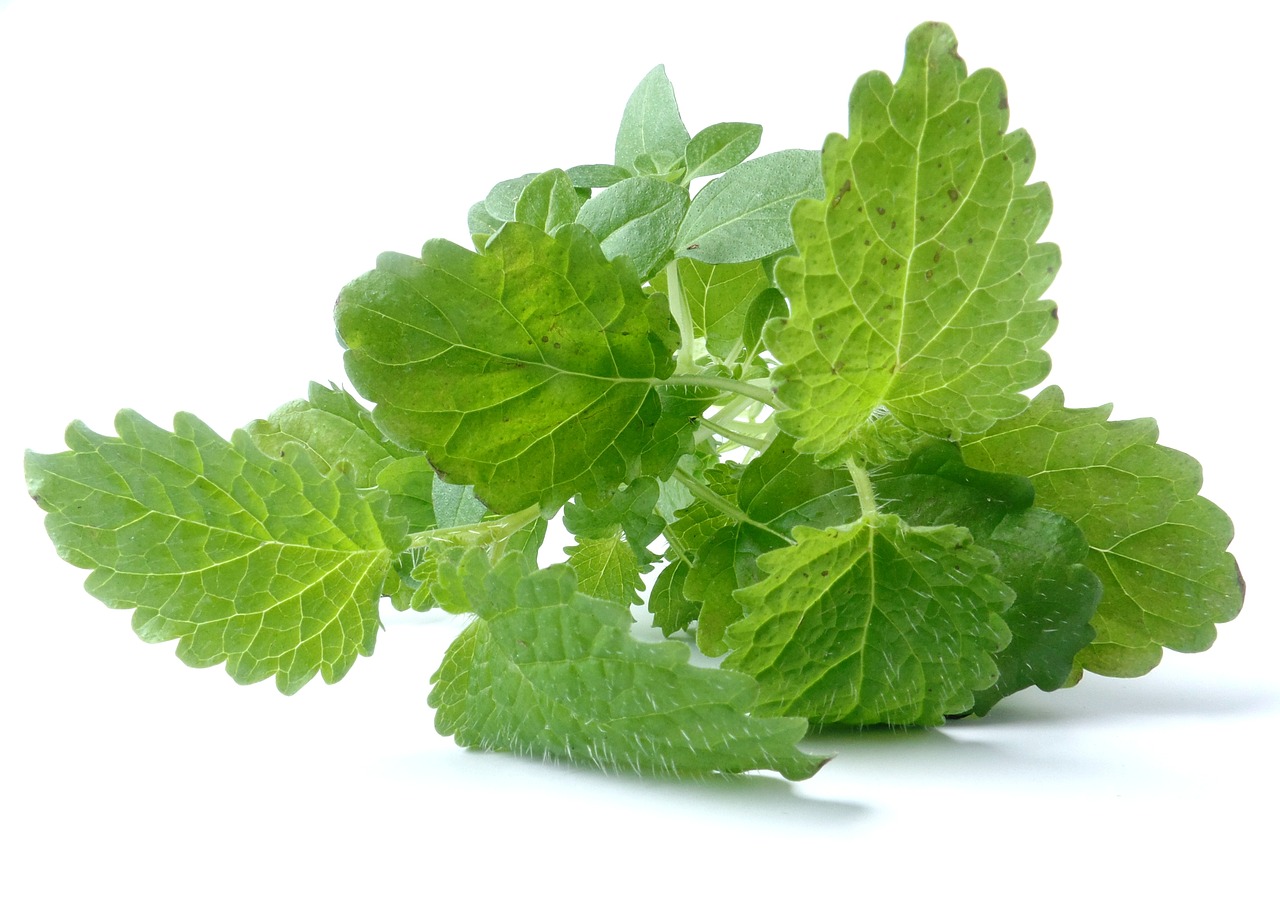
Bee balm, scientifically known as Monarda, is a genus of flowering plants that belongs to the mint family, Lamiaceae. Native to North America, bee balm is widely appreciated for its vibrant and showy flowers, as well as its delightful fragrance. It is a popular choice among gardeners for its ability to attract bees, butterflies, and hummingbirds, hence its common name.
There are several species of bee balm, each with its unique characteristics and color variations. The most commonly cultivated varieties include Monarda didyma, Monarda fistulosa, and Monarda citriodora. Monarda didyma, also known as Scarlet Bee Balm, displays brilliant red flowers that are truly eye-catching. Monarda fistulosa, or Wild Bergamot, showcases lovely lavender-colored blossoms that emit a delightful aroma. Monarda citriodora, commonly referred to as Lemon Bee Balm, features lemon-scented leaves and pale pink to lavender flowers.
Bee balm plants typically grow to be two to four feet tall, with lance-shaped leaves and square stems. They bloom in mid to late summer, gracing the garden with their vibrant colors and attracting pollinators. Besides being a visual delight, bee balm is also recognized for its herbal and medicinal properties. Native Americans have long used various parts of the plant for their healing qualities, including its leaves, flowers, and essential oils.
Overall, bee balm is a versatile and beautiful addition to any garden. Its hardiness and ability to attract pollinators make it a favorite among both experienced and novice gardeners.
Why Collect Bee Balm Seeds?
Collecting bee balm seeds can be a rewarding and beneficial practice for any gardener. Here are a few reasons why you should consider collecting bee balm seeds:
- Preserving the Plant: Bee balm seeds ensure the preservation of the plant for future generations. By collecting and saving seeds, you contribute to the conservation of bee balm and its unique genetic diversity.
- Cost-Effective Gardening: Growing plants from seeds is a cost-effective way to expand your garden. Rather than purchasing new plants each season, collecting and planting bee balm seeds allows you to propagate more plants at little to no cost.
- Sharing with Others: Bee balm seeds make fantastic gifts for fellow gardeners or plant enthusiasts. By collecting and sharing seeds, you can spread the beauty of bee balm to others and foster a sense of community among gardeners.
- Adapting to Your Garden: Every garden has its unique conditions, including soil type, sunlight, and climate. By collecting seeds from your existing bee balm plants, you can select for traits that are well-suited to your specific garden environment, resulting in stronger, more resilient plants.
- Experimenting and Hybridization: Collecting bee balm seeds opens up opportunities for experimentation and hybridization. With careful cross-pollination, you can create new variations and hybrids, adding an element of creativity and excitement to your gardening endeavors.
Furthermore, collecting bee balm seeds allows you to have a constant supply of fresh seeds, ensuring that you can continue growing this beautiful plant year after year. It offers a sense of self-sufficiency and a deeper connection to the natural world.
Now that we understand the importance and benefits of collecting bee balm seeds, let’s explore when and where to collect these valuable seeds.
When and Where to Collect Bee Balm Seeds
Knowing the right time and place to collect bee balm seeds is crucial for successful seed harvesting. Here are some guidelines to follow:
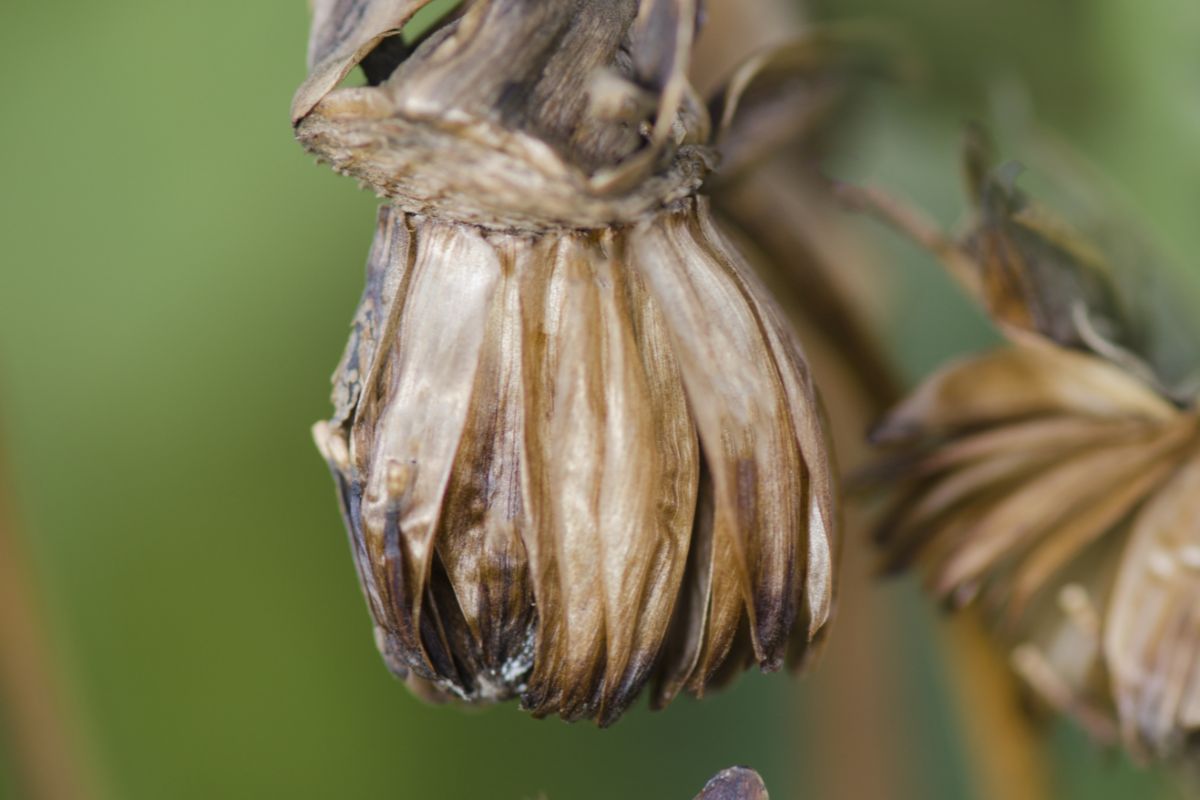
Timing: The best time to collect bee balm seeds is when the flowers have wilted and begun to form seed heads. This usually occurs in late summer or early fall, depending on your climate. Watch for the flower petals to fade and the seed heads to dry out before collecting the seeds.
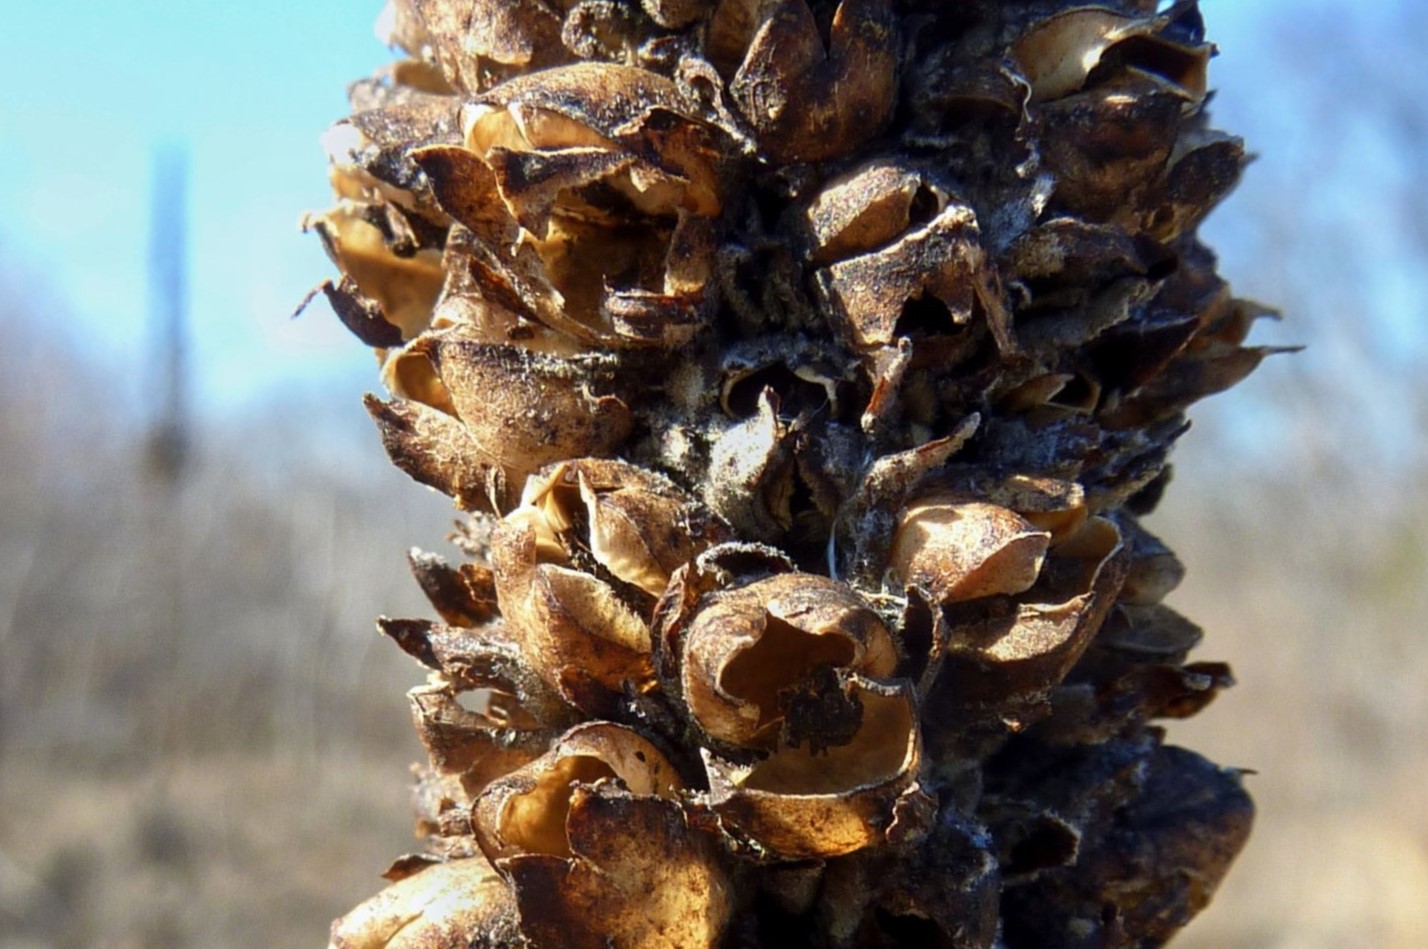
Location: Bee balm plants usually produce seeds near the end of their stalks or stems. Look for the dried-up seed heads at the top of these stems. It’s also important to note that bee balm seeds are usually contained in small pods or capsules.
When collecting bee balm seeds, it’s important to be observant and patient. Wait until the seed heads are brown and dry before attempting to harvest them. If the seed pods are still green or slightly moist, the seeds may not be fully developed and may not germinate successfully.
Make sure to choose healthy plants with strong root systems and plentiful blooms to ensure that the collected seeds will produce robust and vigorous offspring.
Now that you know when and where to collect bee balm seeds, let’s move on to the step-by-step process of collecting these precious seeds.
After the bee balm flowers have dried on the plant, carefully collect the seed heads and place them in a paper bag. Allow the seed heads to dry further in the bag for a few weeks, then gently crush the heads to release the seeds. Store the seeds in a cool, dry place until you are ready to plant them.
Steps to Collect Bee Balm Seeds
Collecting bee balm seeds is a relatively simple process. Follow these step-by-step instructions to successfully harvest the seeds:
- Wait for the Right Time: As mentioned earlier, wait until the bee balm flowers have wilted and formed dried seed heads. This is an indication that the seeds are ripe and ready for collection.
- Gather Your Tools: Before you begin, gather some essential tools such as a pair of scissors or pruning shears, paper bags, or envelopes to store the seeds, and a notebook to label and record the seeds.
- Choose the Seed Heads: Select the dried seed heads that are fully matured and have turned brown. These are the ones that will contain the viable seeds.
- Harvest the Seeds: Place the paper bag or envelope beneath the seed head to catch any seeds that may fall during the process. Use your scissors or pruning shears to carefully cut the seed head from the stem, collecting as many seed heads as desired.
- Separate the Seeds: Once you have harvested the seed heads, it’s time to separate the seeds from the seed heads. You can do this by gently rubbing the seed heads between your fingers or by lightly crushing them. Be careful not to crush the seeds as you want to ensure their viability.
- Clean the Seeds: After separating the seeds, you may notice that there are still bits of debris or chaff mixed in. To remove these impurities, you can use a fine sieve or mesh screen to sift the seeds. This process will help ensure that you collect clean and viable seeds.
- Label and Store the Seeds: Once you have collected and cleaned the seeds, it’s crucial to label them correctly to avoid any confusion later on. Use your notebook to record the date of collection, the species or variety of bee balm, and any specific characteristics you want to note. Store the seeds in a cool and dry place, such as a sealed envelope or airtight container until you are ready to plant them.
By following these step-by-step instructions, you can successfully collect bee balm seeds and continue to enjoy these beautiful plants in your garden for years to come.
Storing Bee Balm Seeds
Proper storage of bee balm seeds is essential to maintain their viability and ensure successful germination when you’re ready to plant them. Here are some guidelines to follow when storing bee balm seeds:
- Drying: Before storing bee balm seeds, they need to be completely dry. Spread the harvested seeds out on a clean and dry surface, such as a paper towel or a screen, and allow them to air dry for a few weeks. Make sure the seeds are fully dry before proceeding to the next step.
- Container: Choose a suitable container for storing the seeds. It’s best to use airtight containers, such as glass jars or plastic containers with tight-fitting lids, to protect the seeds from moisture and pests. Ensure the containers are clean and dry before placing the seeds inside.
- Labeling: Properly label the containers with the date of collection, the species or variety of bee balm, and any additional information that may be helpful in the future. This will prevent any confusion and ensure you can easily identify the stored seeds.
- Cool and Dry Environment: Store the labeled containers in a cool and dry environment to maintain seed viability. A cool, dark closet or a refrigerator are ideal storage locations. Avoid storing the seeds in areas prone to temperature fluctuations or high humidity levels as this can reduce their shelf life.
- Regular Check-ups: Periodically check on the stored seeds to ensure they remain dry and undamaged. If you notice any signs of mold, moisture, or pests, discard the affected seeds immediately to prevent contamination of the entire batch.
- Long-Term Storage: If you plan to store bee balm seeds for an extended period, you can also consider using desiccant packets or silica gel packets in the storage containers to absorb any excess moisture. This will help maintain the quality and viability of the seeds over time.
By following these storage guidelines, you can prolong the viability of your bee balm seeds and have a reliable supply for future planting seasons.
Now that you know how to store bee balm seeds, you’re ready to embark on your gardening journey with these collected treasures!
Conclusion
Congratulations! You have now learned the art of collecting bee balm seeds, a fascinating endeavor that allows you to preserve the beauty of these plants and expand your garden with little to no cost. By understanding the process of collecting, timing, and location of bee balm seed harvesting, as well as proper storage techniques, you are well-equipped to embark on this exciting gardening venture.
Collecting bee balm seeds not only ensures the preservation of the plant but also offers many other benefits. It allows you to be more self-sufficient in your gardening efforts, experiment with cross-pollination and hybridization, and share the beauty of bee balm with fellow gardeners and plant enthusiasts.
Remember to choose healthy plants and wait for the right time to collect seeds. Be patient and observant, ensuring that the seeds are fully matured and dry before harvesting. Properly label and store the collected seeds in a cool and dry environment to maintain their viability and ensure successful germination in the future.
Now, armed with the knowledge and techniques of collecting bee balm seeds, you can continue to enjoy the brilliance of these vibrant plants in your garden year after year. Let your green thumb and creativity run wild as you experiment with new varieties and share the joy of bee balm with others.
Happy gardening and may your bee balm garden thrive with the beauty and abundance of nature!
Frequently Asked Questions about How To Collect Bee Balm Seeds
Was this page helpful?
At Storables.com, we guarantee accurate and reliable information. Our content, validated by Expert Board Contributors, is crafted following stringent Editorial Policies. We're committed to providing you with well-researched, expert-backed insights for all your informational needs.

0 thoughts on “How To Collect Bee Balm Seeds”