Home>Garden Essentials>When To Plant Bee Balm Seeds
Garden Essentials
When To Plant Bee Balm Seeds
Modified: October 28, 2024
Looking to plant bee balm seeds in your garden? Discover the best time to sow and grow bee balm in your garden for a beautiful and vibrant display.
(Many of the links in this article redirect to a specific reviewed product. Your purchase of these products through affiliate links helps to generate commission for Storables.com, at no extra cost. Learn more)
Introduction
Welcome to the wonderful world of gardening! If you’re a plant enthusiast or simply want to add some beauty to your outdoor space, you’ve come to the right place. In this article, we’ll delve into the fascinating realm of bee balm, a vibrant and versatile plant that can enhance your garden and attract pollinators.
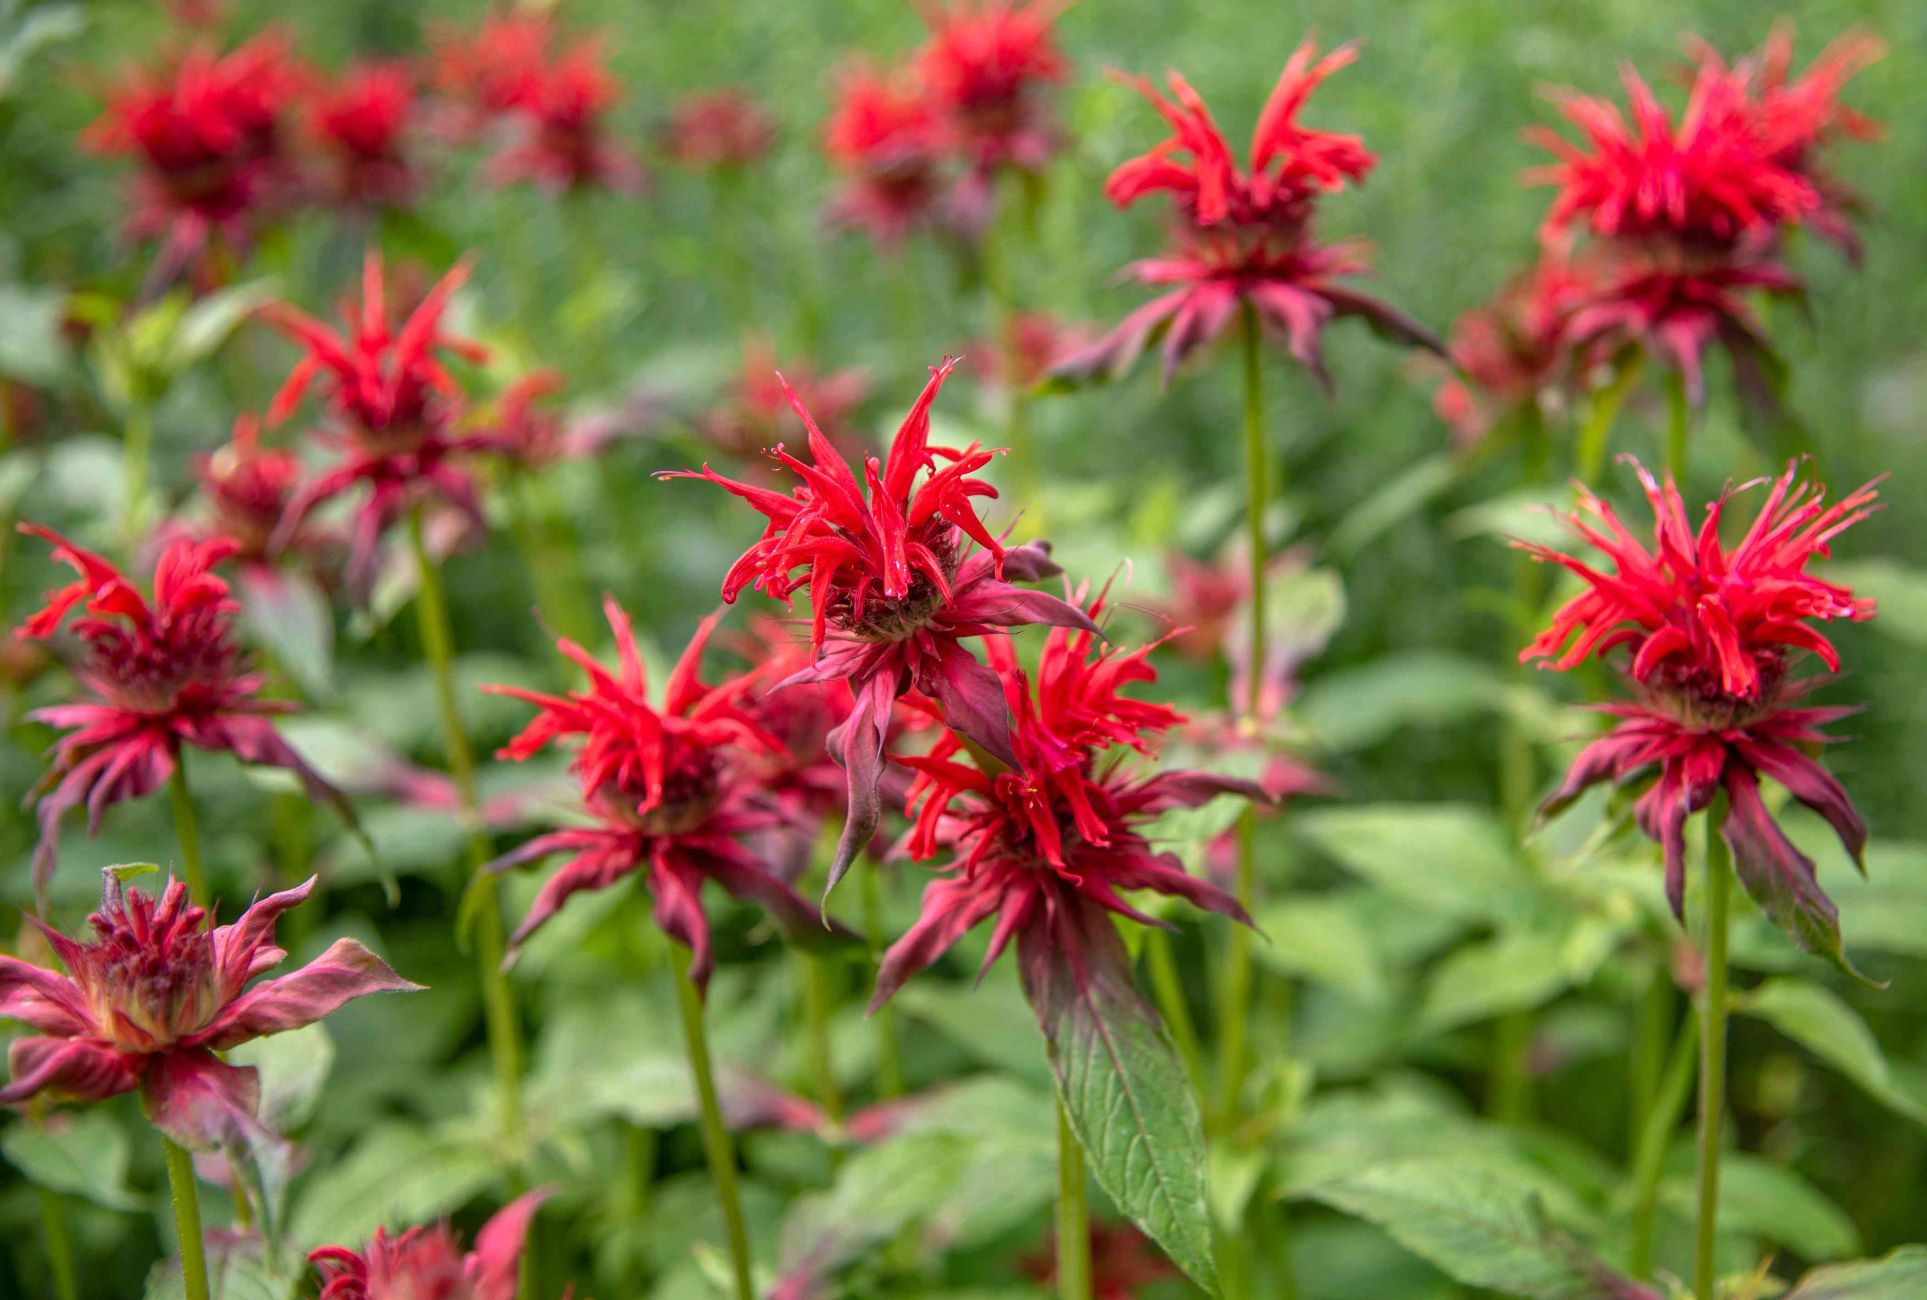
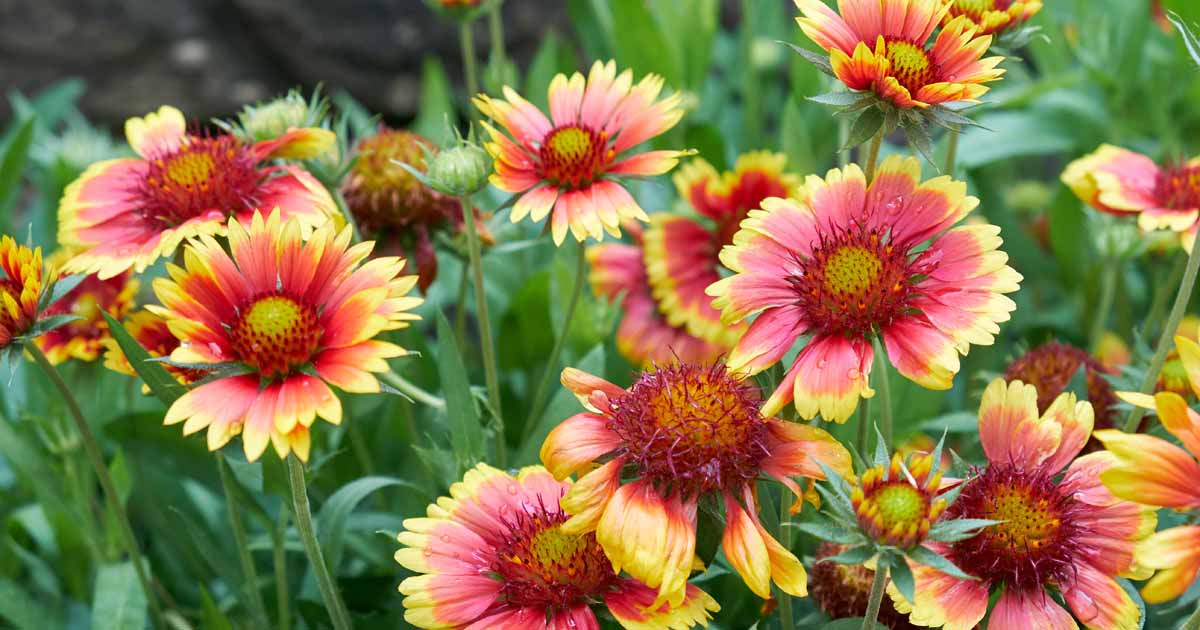
Bee balm, also known as Monarda, is a perennial flowering herb native to North America. Its unique and eye-catching flowers, along with its delightful fragrance, make it a popular choice among gardeners. Not only does bee balm enhance the aesthetic appeal of your garden, but it also serves as a valuable source of nectar for butterflies, bees, and hummingbirds.
Before you rush out to buy bee balm seeds and get planting, it’s important to understand the factors that can influence the success of your garden. From choosing the right time to preparing the soil and caring for the plants, each step plays a crucial role in the growth and well-being of your bee balm.
In this comprehensive guide, we’ll walk you through the process of planting bee balm seeds and provide you with tips and tricks to ensure the best possible results. Whether you’re a seasoned gardener or a beginner, there’s something here for everyone.
So, let’s dive in and learn more about when to plant bee balm seeds and how to create a thriving garden full of these gorgeous flowering plants. Get ready to unleash your inner green thumb and create a haven for both yourself and nature!
Key Takeaways:
- Plant bee balm seeds in spring or fall, considering factors like climate, soil, and sunlight. Proper care, including watering, mulching, and pruning, ensures healthy, vibrant plants that attract pollinators.
- Harvest bee balm blooms for culinary delights and herbal remedies. Troubleshoot common issues like powdery mildew and pests to maintain a thriving bee balm garden.
Read more: How To Collect Bee Balm Seeds
Understanding Bee Balm
Before we delve into the details of when and how to plant bee balm seeds, it’s important to have a good understanding of this remarkable plant. Bee balm belongs to the Monarda genus and is a member of the mint family, known as Lamiaceae. Native to North America, it is commonly found in meadows, woodlands, and along stream banks.
Bee balm plants are known for their beautiful and vibrant flowers, which typically range in color from pink and red to purple and white. These flowers are tubular in shape and attract a wide variety of pollinators, including bees, butterflies, and hummingbirds. Not only do these creatures benefit from the nectar-rich blooms, but they also help with the pollination process, ensuring the plant’s reproduction and survival.
In addition to its visual appeal, bee balm also boasts a pleasant and refreshing fragrance. The leaves and flowers contain essential oils, which give off a distinct aroma, often described as minty or citrusy. This fragrance is not only delightful for humans but also acts as a natural repellent for certain pests, making bee balm a valuable addition to any garden.
But bee balm isn’t just a pretty face and a nice scent. It also has a long history of medicinal uses. Native American tribes have traditionally used different parts of the plant, including the leaves and flowers, for various purposes. From treating respiratory ailments and soothing digestive issues to relieving headaches and promoting relaxation, bee balm has been valued for its therapeutic properties.
With its numerous benefits, bee balm is a versatile and worthwhile addition to any garden. Whether you’re looking to attract pollinators, add pops of color to your landscape, or explore the world of herbal remedies, bee balm is sure to deliver.
Now that we have a solid understanding of this incredible plant, let’s move on to the next steps in our journey: determining the best time to plant bee balm seeds and preparing the soil for optimal growth and health.
Factors to Consider Before Planting
Before you start planting bee balm seeds, it’s essential to take a few factors into consideration to ensure the success of your garden. By addressing these factors upfront, you can create an ideal environment for your bee balm to thrive and flourish. Let’s explore some of the key factors you should consider:
- Climate: Bee balm is adaptable to a variety of climates, but it tends to prefer moderate temperatures. It thrives in regions with mild summers and cold winters. While it can tolerate some heat and humidity, extended periods of high temperatures may cause the plant to struggle.
- Sunlight: Bee balm loves the sun and thrives in full sunlight. Ideally, it should receive at least six hours of direct sunlight each day. However, it can tolerate partial shade, especially in hotter regions where some afternoon shade may be beneficial.
- Soil Type: Bee balm prefers well-draining soil that is rich in organic matter. It can tolerate a range of soil types, including sandy, loamy, and clay soils, as long as they are well-draining. Before planting, it’s a good idea to amend the soil with organic matter such as compost to improve its fertility and drainage.
- Moisture: Bee balm has moderate water requirements. It prefers moist soil but can tolerate short periods of drought once established. Overly wet or waterlogged soil can lead to root rot, so it’s important to find the right balance. Water the plants deeply when the top inch of soil feels dry, ensuring the water reaches the root zone.
- Companion Plants: Bee balm is a great companion plant in the garden. It attracts pollinators, including bees and butterflies, that can help with the pollination of other plants nearby. It also repels certain pests, such as aphids and mosquitoes, making it a beneficial addition to your garden ecosystem.
- Space: Bee balm plants can spread and become quite bushy over time. Make sure to provide enough space for each plant to grow without crowding. This not only allows for better air circulation but also prevents the spread of diseases and minimizes competition for nutrients.
By considering these factors and making appropriate adjustments, you can create an ideal environment for your bee balm plants to thrive. Once you’ve taken these factors into account, it’s time to determine the best time to plant bee balm seeds and get your garden started.
Choosing the Right Time
Timing is crucial when it comes to planting bee balm seeds. By choosing the right time, you can give your plants the best chance of successful establishment. Here are some guidelines to help you determine the ideal time for planting bee balm seeds:
- Spring or Fall: Bee balm seeds can be sown either in the spring or fall, depending on your climate and the specific variety of bee balm you’re growing. In cooler regions, starting the seeds indoors 6-8 weeks before the last frost date is recommended, and transplanting them outdoors after the danger of frost has passed in the spring. In milder climates, fall planting is preferable to allow the seeds to benefit from the winter cold stratification process.
- Frost Dates: It’s important to know the average date of the last frost in your area. This information will help you determine the appropriate time to sow bee balm seeds outdoors. The seeds should be planted after the last frost to avoid any potential damage from cold weather.
- Soil Temperature: Bee balm seeds germinate best when the soil temperature is between 60°F and 70°F (15°C to 21°C). If the soil temperature is too cold, the seed germination may be delayed or unsuccessful. Using a soil thermometer can help you determine when the soil has reached the optimal temperature for sowing the seeds.
- Growing Season: Consider the length of your growing season when deciding when to plant bee balm. If you have a shorter growing season, starting the seeds indoors or purchasing young seedlings can help ensure that the plants have enough time to establish and bloom before the first frost.
- Regional Climate: Be aware of your region’s climate and any specific climatic conditions that may affect the growth of bee balm. For example, in regions with hot summers, afternoon shade or protection from intense sunlight may be necessary for the plants to thrive.
It’s important to note that bee balm is a resilient plant and can tolerate a range of conditions. However, providing the optimal growing conditions will result in healthier plants and more abundant blooms.
By considering these factors and understanding the specific needs of your bee balm variety, you can choose the right time to plant your seeds or seedlings and set them up for success. In the next section, we’ll discuss how to prepare the soil for optimal growth and health.
Preparing the Soil
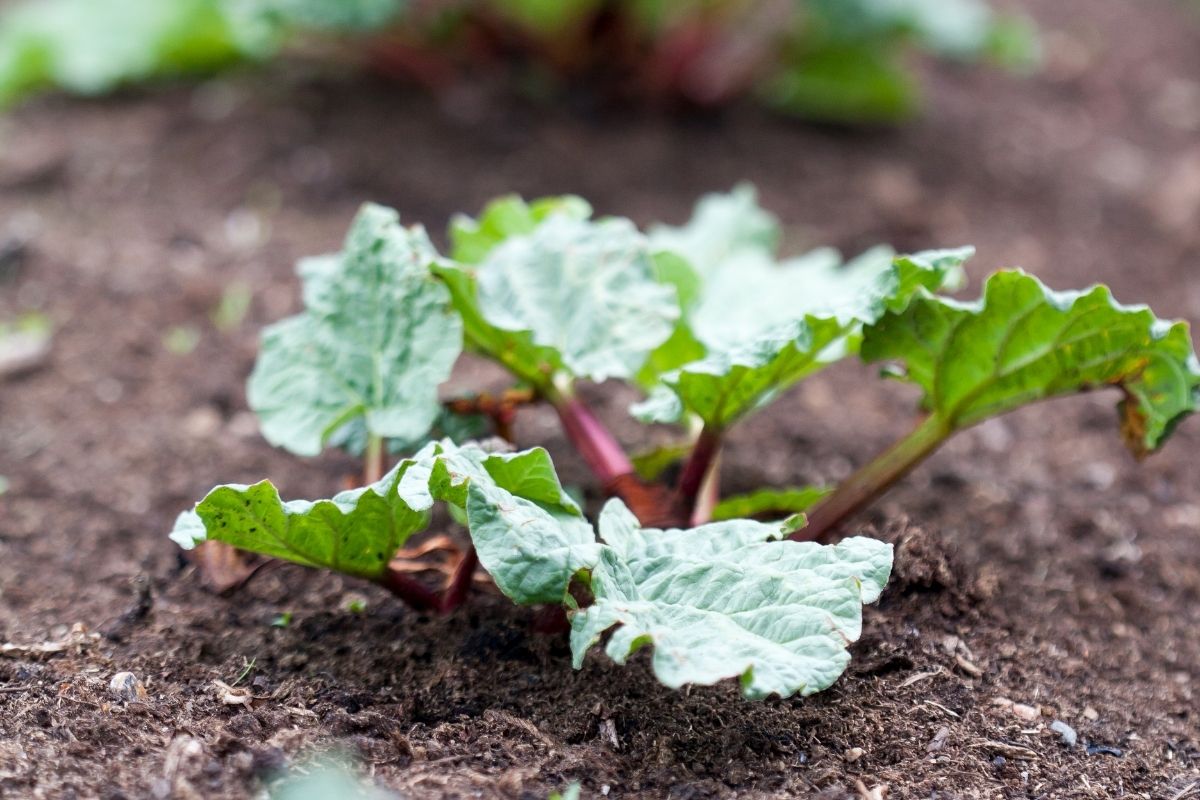
Proper soil preparation is a crucial step in creating a favorable environment for your bee balm plants to thrive. By ensuring that the soil is nutrient-rich and well-draining, you can help promote healthy growth and vibrant blooms. Here’s a step-by-step guide on how to prepare the soil for planting bee balm:
- Clear the Area: Start by clearing the area where you plan to plant your bee balm. Remove any existing weeds, grass, or debris to create a clean and open space for your plants to grow.
- Test the Soil: It’s beneficial to test the soil’s pH and nutrient levels before planting. Bee balm prefers a slightly acidic to neutral soil with a pH range of 6.0 to 7.0. Testing kits are readily available at garden centers and can provide valuable insights into the soil’s composition.
- Improve Drainage: Bee balm plants thrive in well-draining soil. If your soil tends to be heavy or clayey, amend it with organic matter such as compost or aged manure. This will help improve its drainage capabilities and prevent the roots from sitting in waterlogged conditions.
- Add Organic Matter: Adding organic matter to the soil improves its fertility and texture. Mix in a generous amount of compost, leaf mold, or well-rotted manure to provide essential nutrients for your plants. This organic matter also enhances the soil’s ability to retain moisture without becoming waterlogged.
- Loosen the Soil: Use a garden fork or tiller to loosen the top layer of soil. This helps break up any compacted areas and allows the roots to penetrate easily. Avoid excessive tilling, as it can disrupt the soil structure and harm beneficial soil organisms.
- Remove Larger Debris: While tilling, make sure to remove any larger rocks, roots, or clumps of soil that may impede root growth or hinder the planting process.
- Level the Soil: Once the soil is prepared, use a rake to level the surface. This provides an even planting area and ensures that water distribution is uniform.
By following these steps, you create an optimal growing environment for your bee balm plants. The nutrient-rich and well-draining soil will help support healthy root development and overall plant growth.
Now that you’ve prepared the soil, it’s time to move on to the exciting part: planting the bee balm seeds and watching your garden come to life. We’ll cover the planting process in the next section.
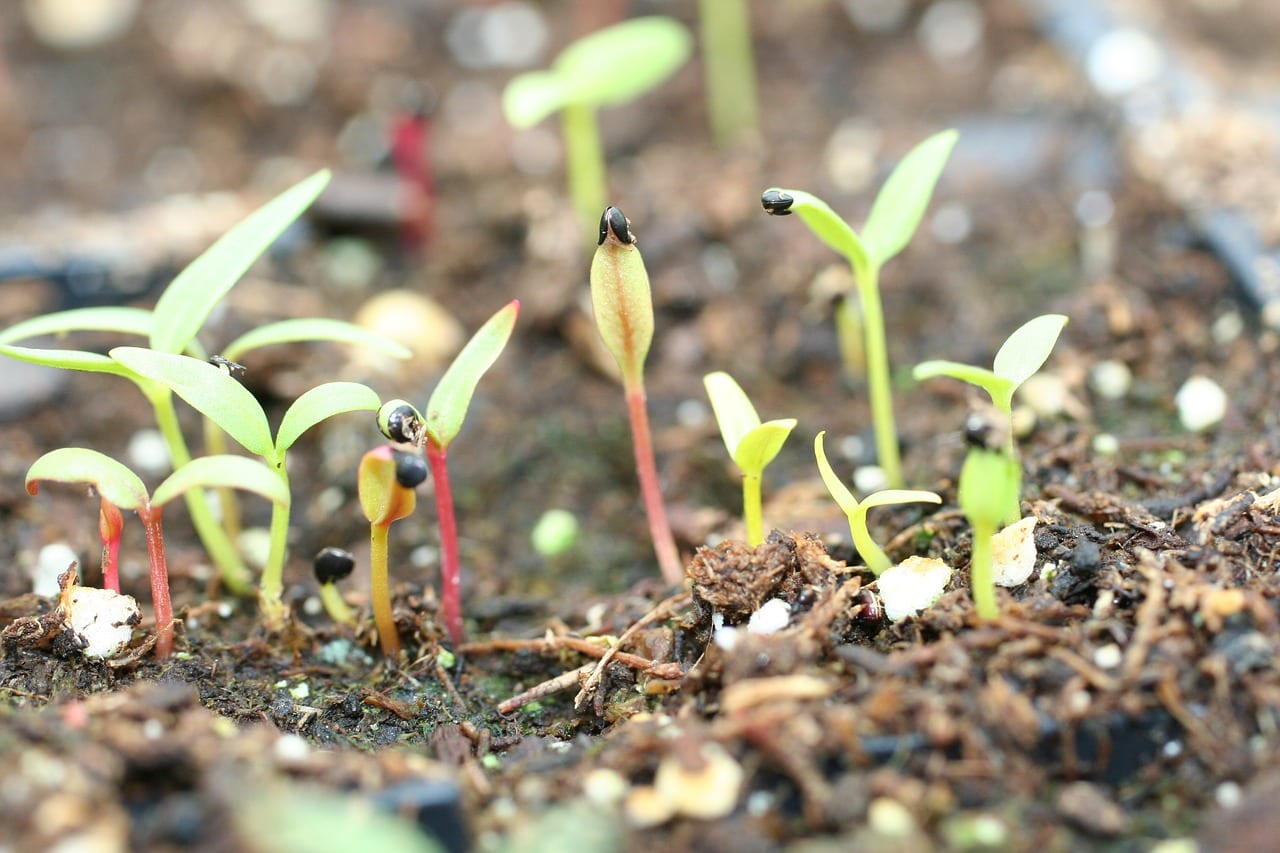
Plant bee balm seeds in the spring after the last frost, or in the fall before the ground freezes. Bee balm prefers well-drained soil and full sun to partial shade. Keep the soil consistently moist until the seeds germinate.
Planting Bee Balm Seeds
Now that you’ve prepared the soil and the optimal time has arrived, it’s time to get your hands dirty and start planting your bee balm seeds. Follow these steps to ensure successful germination and healthy growth:
- Choose High-Quality Seeds: Select high-quality bee balm seeds from a reputable source. Look for seeds that are fresh and viable, as this will greatly increase your chances of successful germination.
- Direct Sowing or Indoor Start: Decide whether you want to directly sow your bee balm seeds in the garden or start them indoors. Starting seeds indoors gives you more control over the germination process, especially in colder climates.
- Direct Sowing: If you choose to direct sow your seeds, prepare small holes or furrows in the soil, around 1/4 inch deep. Space the holes approximately 12 to 18 inches apart to allow sufficient room for the plants to grow. Sow 2-3 seeds per hole, covering them with a thin layer of soil, and gently firm the soil on top.
- Indoor Starting: If you decide to start your seeds indoors, fill seed trays or containers with a high-quality seed-starting mix. Moisten the mix and sow 2-3 seeds per cell or container, pressing them gently into the soil. Place the trays in a warm and well-lit area, such as near a sunny window or under grow lights.
- Provide Ideal Conditions: Keep the soil consistently moist but not overly saturated. Provide adequate humidity by using a humidity dome or covering the trays with a plastic wrap. Once the seeds have germinated and the seedlings have developed their first true leaves, thin them to allow only the strongest seedling to remain in each cell or container.
- Harden Off Seedlings: About a week before transplanting seedlings outdoors, gradually expose them to outdoor conditions. Start by placing them outside for a few hours each day and gradually increase the duration over the course of a week. This helps the seedlings acclimate to outdoor temperatures, wind, and sunlight.
- Transplanting: When the soil has warmed up, and all risk of frost has passed, it’s time to transplant your bee balm seedlings. Dig holes in the prepared garden bed, ensuring they are slightly larger than the root ball of the seedling. Carefully remove the seedlings from their containers, gently loosen the roots, and place them in the holes. Backfill the soil and press gently to secure the seedlings in place.
- Water and Mulch: After transplanting, water the seedlings thoroughly to settle the soil. Apply a layer of organic mulch, such as straw or wood chips, around the base of the plants to help retain moisture, suppress weed growth, and regulate soil temperature.
By following these steps, you can successfully plant bee balm seeds and set the stage for beautiful, blooming plants. Now that your bee balm is in the ground, it’s time to shift our focus to caring for your plants and ensuring their continued health and vitality. We’ll explore this topic in the next section.
Caring for Bee Balm Plants
Once your bee balm plants are in the ground, it’s important to provide proper care to ensure their growth and longevity. By following these tips, you can keep your bee balm healthy and thriving:
- Watering: Bee balm plants require regular watering, especially during dry spells. It’s best to water deeply, providing enough moisture to reach the roots. Avoid overwatering, as it can lead to root rot. Water the plants at the base, rather than overhead, to keep the foliage dry and prevent the spread of diseases.
- Mulching: Apply a layer of organic mulch around the base of the plants to help conserve moisture, suppress weed growth, and regulate soil temperature. Maintain a mulch depth of 2-3 inches, being careful not to pile it against the stems as it can lead to rot.
- Fertilizing: Bee balm plants benefit from a balanced and organic fertilizer application once or twice during the growing season. Apply a slow-release fertilizer following the manufacturer’s instructions or use compost or well-rotted manure to provide the plants with essential nutrients.
- Pruning: To promote bushier growth and prolong blooming, deadhead spent flowers regularly. This involves removing the faded flowers by cutting back the stem just above a leaf node. Additionally, pruning the plant in early spring before new growth appears can help maintain its shape and prevent overcrowding.
- Staking: Some bee balm varieties may benefit from staking or support, especially if they have tall and heavy flower spikes that may droop. Use bamboo stakes or plant supports to keep the plants upright and prevent damage from strong winds or heavy rains.
- Pest and Disease Control: Bee balm is generally resilient to pests and diseases. However, some common issues include powdery mildew, aphids, and spider mites. Monitor your plants regularly and take immediate action at the first signs of infestation. Natural remedies such as neem oil or insecticidal soaps can help control these pests. Proper spacing, good air circulation, and avoiding overhead watering can also minimize the risk of diseases like powdery mildew.
- Supporting Pollinators: One of the main benefits of growing bee balm is its attractiveness to pollinators. Support these important creatures by planting other native flowers and providing a diverse range of nectar and pollen sources throughout the growing season. Limit or eliminate pesticide use to create a safe and inviting environment for bees, butterflies, and hummingbirds.
By providing proper care and attention to your bee balm plants, you can enjoy a garden filled with beautiful blooms and buzzing pollinators. With the right maintenance, your bee balm plants will continue to enchant you year after year.
In the next section, we’ll address common issues and troubleshooting tips, so you’ll be well-prepared to handle any challenges that may arise in your bee balm garden.
Common Issues and Troubleshooting
While bee balm plants are generally hardy and resistant to many pests and diseases, they may still encounter a few issues. Here are some common problems you may come across when growing bee balm and helpful troubleshooting tips:
- Powdery Mildew: Powdery mildew, a fungal disease, can affect bee balm plants, especially in humid and crowded conditions. To prevent this, provide adequate spacing between plants for air circulation and avoid overhead watering. If powdery mildew appears, remove affected foliage and treat with a fungicide specifically formulated for powdery mildew.
- Aphids: Aphids are small, sap-sucking insects that can infest the leaves and stems of bee balm. To control them, gently rinse the affected plants with a strong jet of water or use insecticidal soap. Encouraging natural predators like ladybugs and lacewings can also help keep aphid populations in check.
- Spider Mites: Spider mites are tiny mites that feed on plant juices, leaving behind a stippled or yellowing appearance on the leaves. These pests thrive in hot and dry conditions. Regularly misting the plants can help deter spider mites. If an infestation occurs, spraying the foliage with a strong stream of water or applying insecticidal soap can help eliminate them.
- Root Rot: Overwatering or poorly draining soil can lead to root rot, a fungal infection that causes the roots to decay. To prevent root rot, ensure proper drainage by amending the soil with organic matter and allowing it to dry slightly between waterings. If root rot is suspected, dig up the affected plants, trim away the rotted parts, and replant in fresh, well-draining soil.
- Discolored or Spotted Leaves: Discoloration or spots on the leaves can be caused by various factors, including nutrient deficiencies, improper watering, or fungal infections. Assess the overall health of the plant and address any underlying issues. Adjust watering, apply balanced fertilizer, and remove affected leaves to promote healthy foliage growth.
- Deer or Rabbit Damage: Bee balm can be a target for hungry deer or rabbits. If you have these pests in your area, take measures to protect your plants. Use physical barriers like fences or use repellents that are safe for the garden and wildlife. Alternatively, choose deer and rabbit-resistant plants to deter these animals from the garden.
By identifying these common issues early on and taking appropriate measures, you can ensure the health and productivity of your bee balm plants. Regular monitoring, proper cultural practices, and prompt action will help you maintain a thriving bee balm garden.
Now that you have the tools to troubleshoot common problems, let’s move on to the rewarding aspect of bee balm cultivation: harvesting the blooms and using them in various endeavors.
Harvesting and Using Bee Balm
Harvesting bee balm is not only a rewarding process but also an opportunity to enjoy the beauty and fragrance of this versatile plant. Here’s how you can harvest and make the most of your bee balm blooms:
- Timing: Harvest bee balm flowers when they are fully open but before they start to fade. The best time to harvest is in the morning when the flowers are at their freshest.
- Cutting: Use clean, sharp scissors or garden pruners to cut the flower stems just above a leaf node or lateral bud. This encourages new growth and prevents the plant from becoming leggy. Avoid cutting more than one-third of the plant’s total height to maintain its vitality.
- Preserving: To preserve the freshness and color of the flowers, immediately place them in a bucket or vase filled with water. Remove any lower leaves that may be submerged to prevent bacterial growth in the water. Change the water every few days to prolong the vase life of the flowers.
- Drying: If you want to dry bee balm flowers for long-term use, hang the harvested stems upside down in a dry and well-ventilated area. Make small bunches and secure them with a rubber band or string. Allow the flowers to dry for a few weeks until they are crispy to the touch. Store them in airtight containers away from direct light and heat.
- Using in Culinary Delights: Bee balm flowers have a unique and refreshing flavor that can be used in various culinary creations. The flowers are edible and can be added to salads, fruit salads, syrups, jellies, and even as a garnish for desserts. They impart a citrusy, minty flavor that adds a delightful twist to your dishes.
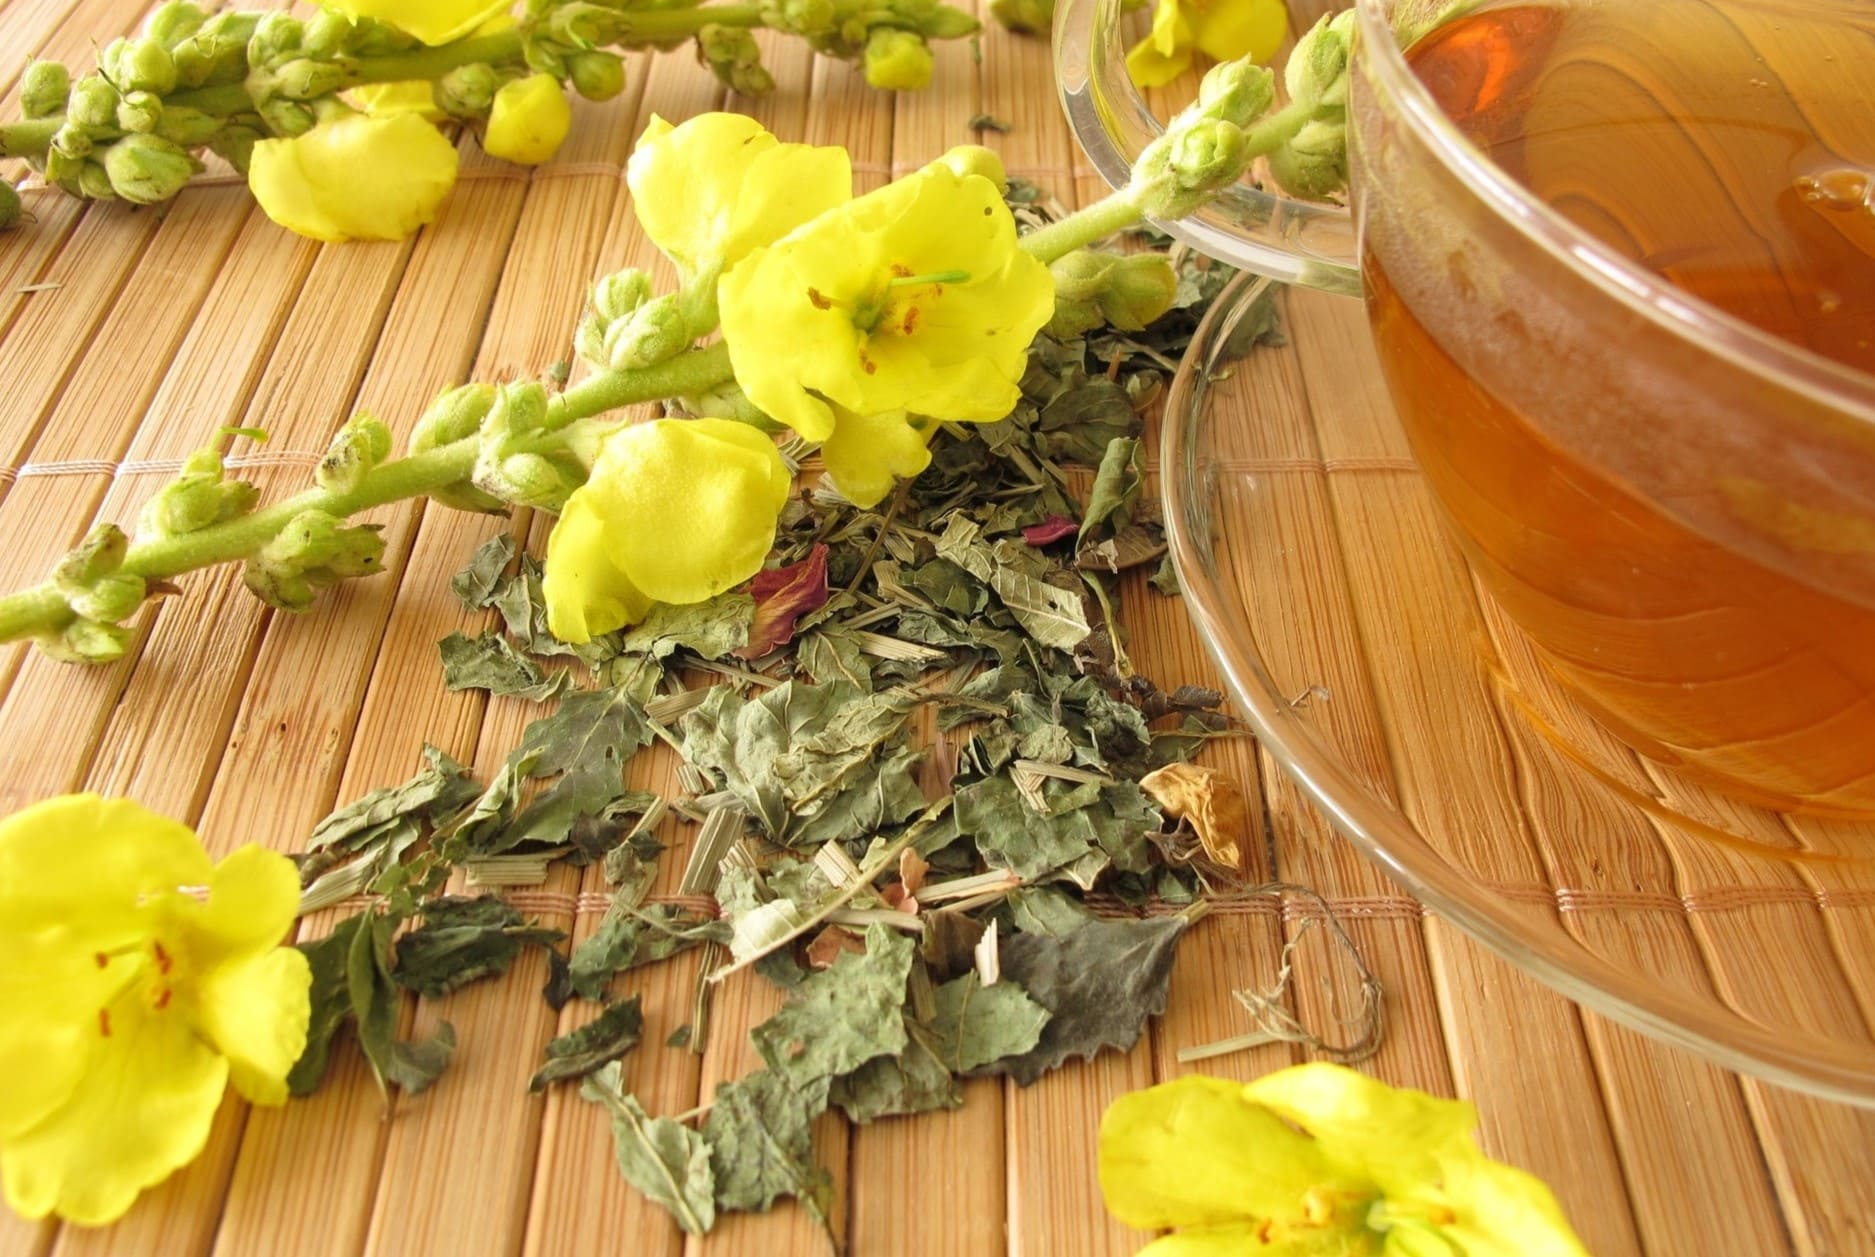
- Herbal Remedies: Bee balm has a long history of medicinal use. The leaves and flowers contain essential oils that have antibacterial and antifungal properties. Infuse dried bee balm flowers in hot water to create a fragrant herbal tea that can help soothe indigestion, relieve stress, and boost the immune system.
- Attracting Pollinators: Aside from harvesting the flowers, allowing some bee balm plants to go to seed can provide food for birds and allow for self-sowing. As the plants produce seeds, they become a valuable food source for birds during the fall and winter months.
With its vibrant colors and enticing aroma, bee balm adds a touch of beauty and flavor to your garden and beyond. Whether you’re using its blooms in culinary creations, enjoying its aromatic tea, or simply appreciating its presence in the garden, bee balm is a plant that offers an array of benefits.
Now that you have a wealth of knowledge about bee balm, from planting to harvesting, you can cultivate a flourishing garden filled with these captivating plants. Enjoy the process and watch as your garden becomes a sanctuary for both you and the pollinators that are drawn to its beauty!
Happy gardening!
Read more: When To Plant Borage Seeds
Conclusion
Congratulations! You’ve now become well-versed in the art of planting and caring for bee balm. This remarkable plant not only adds beauty and vibrancy to your garden but also attracts important pollinators that contribute to the health of our ecosystem. By following the guidelines outlined in this article, you’re well on your way to creating a thriving bee balm garden.
From understanding the characteristics of bee balm to considering factors like climate, sunlight, and soil type, you’ve learned how to create the ideal growing conditions for these versatile plants. You’ve also discovered the importance of timing, soil preparation, and proper care in ensuring the success and longevity of your bee balm garden.
Through the process of planting bee balm seeds, you’ve witnessed the magic of germination and seen your garden come to life. You’ve embraced the joy of nurturing your plants, providing them with the necessary water, nutrients, and care they need to flourish.
Should you encounter any issues along the way, remember the troubleshooting tips provided. You’re equipped to handle common problems such as powdery mildew, aphids, and spider mites, ensuring the health and vitality of your bee balm plants.
With the knowledge of proper harvesting techniques, you can now enjoy the beauty and fragrance of bee balm blooms in various ways. Whether it’s using them in culinary delights, creating herbal remedies, or attracting pollinators, bee balm’s versatility knows no bounds.
Your journey with bee balm doesn’t end here. Gardening is a continuous learning process, and as you tend to your bee balm garden over time, you’ll discover new insights and techniques to enhance your skills. Embrace this adventure and continue to expand your horizons in the world of gardening.
So go forth, armed with your newfound knowledge, and create a garden filled with the captivating beauty and sweet fragrance of bee balm. Enjoy the sights, sounds, and scents that this remarkable plant brings to your outdoor space. And remember, as you care for your bee balm, you’re not only creating a sanctuary for yourself but also providing a safe haven for the pollinators that play a vital role in our environment.
Happy gardening and may your bee balm garden bring you endless joy!
Frequently Asked Questions about When To Plant Bee Balm Seeds
Was this page helpful?
At Storables.com, we guarantee accurate and reliable information. Our content, validated by Expert Board Contributors, is crafted following stringent Editorial Policies. We're committed to providing you with well-researched, expert-backed insights for all your informational needs.


0 thoughts on “When To Plant Bee Balm Seeds”