Home>Garden Essentials>How To Collect Seeds From Vegetables
Garden Essentials
How To Collect Seeds From Vegetables
Modified: October 20, 2024
Learn how to collect seeds from vegetables in your garden and save them for future planting. Discover the step-by-step process and ensure a successful harvest.
(Many of the links in this article redirect to a specific reviewed product. Your purchase of these products through affiliate links helps to generate commission for Storables.com, at no extra cost. Learn more)
Introduction
Welcome to the fascinating world of seed collection from vegetables! If you’re an avid gardener or simply interested in sustainable gardening practices, collecting seeds from vegetables can be a rewarding and cost-effective way to grow your own plants year after year. Not only does it save you money on purchasing new seeds each season, but it also allows you to preserve heirloom varieties and maintain genetic diversity in your garden.
Seed collection is a time-honored tradition that dates back centuries, when farmers and gardeners relied on saving and exchanging seeds to ensure a steady food supply. Today, the practice has gained popularity due to the increasing interest in organic gardening, sustainability, and the desire to maintain local plant varieties.
In this article, we will walk you through the process of collecting seeds from various vegetables, providing you with the knowledge and confidence to embark on your own seed-saving journey. We will cover the importance of seed collection, how to choose the right vegetables for seed saving, the best time to collect seeds, the tools and supplies you will need, a step-by-step process for seed collection, how to clean and store vegetable seeds, testing seed viability, tips for successful seed collection, common mistakes to avoid, and much more. So, let’s dig in and discover the wonders of collecting seeds from vegetables!
Key Takeaways:
- Collecting seeds from vegetables is a cost-saving, sustainable practice that preserves heirloom varieties and promotes genetic diversity, making gardening more rewarding and environmentally friendly.
- To successfully collect, clean, and store vegetable seeds, choose the right vegetables, time the collection carefully, use the necessary tools, and avoid common mistakes. Happy gardening!
Read more: How To Collect Hibiscus Seeds
Why Collect Seeds from Vegetables
Collecting seeds from vegetables offers numerous benefits for gardeners and plant enthusiasts. Let’s explore some of the reasons why you should consider incorporating seed collection into your gardening practices.
1. Cost-saving: Purchasing seeds every year can become costly, especially if you have a large garden or want to experiment with different varieties. By collecting and saving seeds from your own vegetables, you can significantly reduce your expenses and have an abundant supply of seeds for future plantings.
2. Preserving heirloom varieties: Seed collection allows you to preserve heirloom vegetable varieties that may not be readily available in commercial seed catalogs. Heirloom varieties are valued for their unique flavors, colors, and historical significance. By saving and sharing these seeds, you help to maintain their genetic diversity and cultural heritage.
3. Adapting to your specific growing conditions: Over time, seeds collected from your own garden will become acclimated to your specific microclimate and growing conditions. This adaptation can result in more resilient plants that are better suited to your garden’s unique challenges, such as local pests, diseases, and climate fluctuations. Collecting seeds from the best-performing vegetables in your garden enables you to develop a locally adapted seed stock.
4. Promoting sustainability: Seed collection is a sustainable practice that promotes self-sufficiency and reduces dependence on external seed sources. By saving seeds from open-pollinated or heirloom varieties, you contribute to plant diversity and decrease reliance on genetically modified or hybrid seeds.
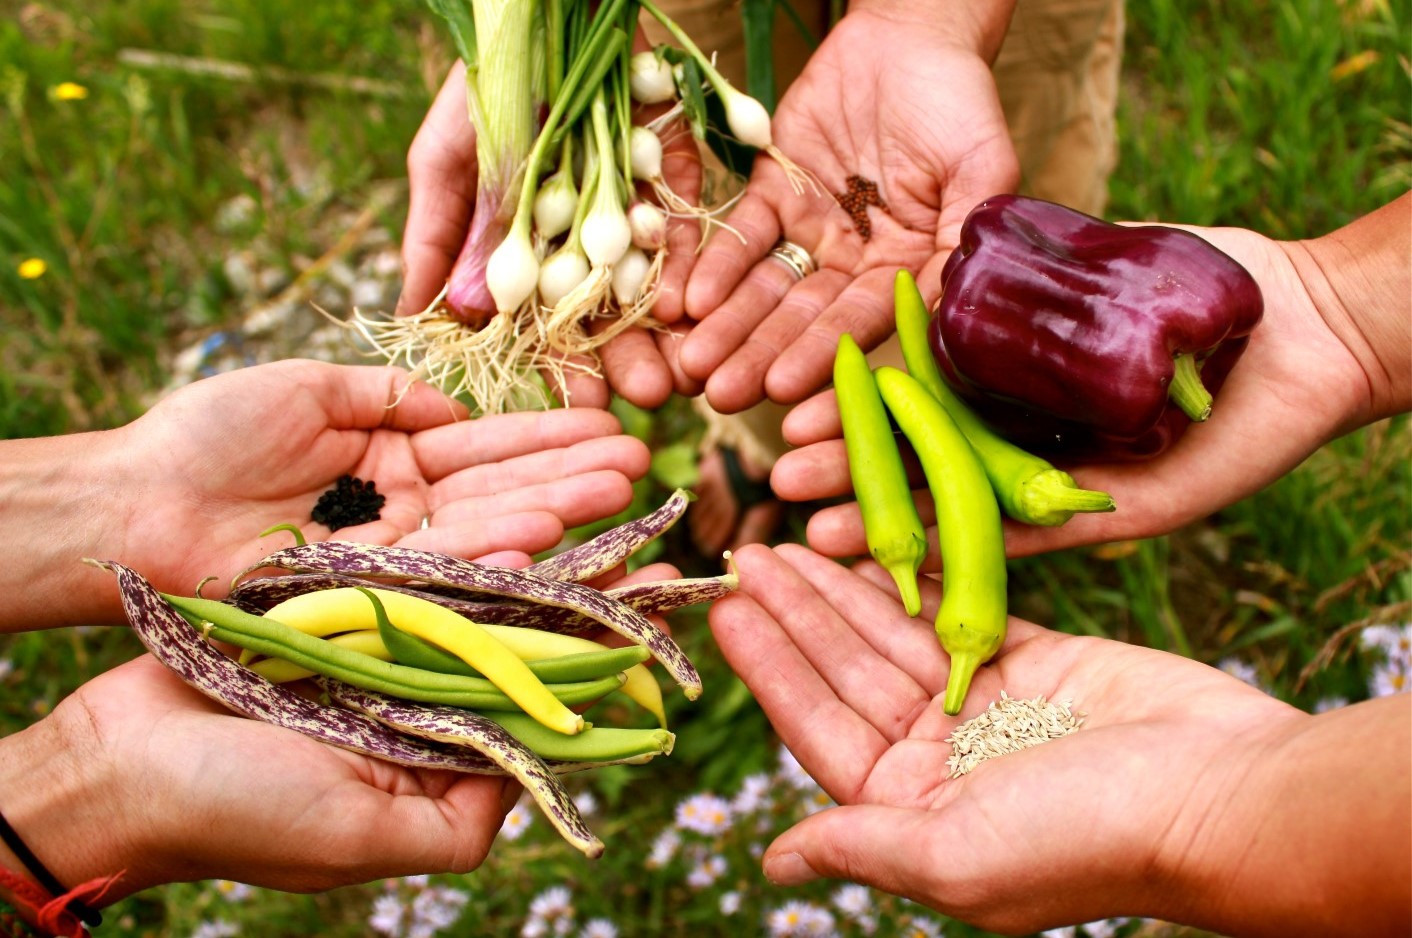
5. Sharing with others: Seed collection provides an opportunity to share the abundance of your garden with friends, family, and fellow gardeners. By giving away or trading seeds, you not only foster a sense of community but also support the local seed-saving movement and contribute to preserving rare and unique vegetable varieties.
6. Educational value: Seed collection is a wonderful educational activity for children and adults alike. It allows you to observe the different stages of plant growth, learn about pollination and plant genetics, and gain a deeper understanding of the interconnectedness between plants and our environment.
By understanding the benefits of seed collection, you can see how this practice can enhance your gardening experience and contribute to a more sustainable and resilient food system. So, let’s delve into the next step: choosing the right vegetables for seed collection.
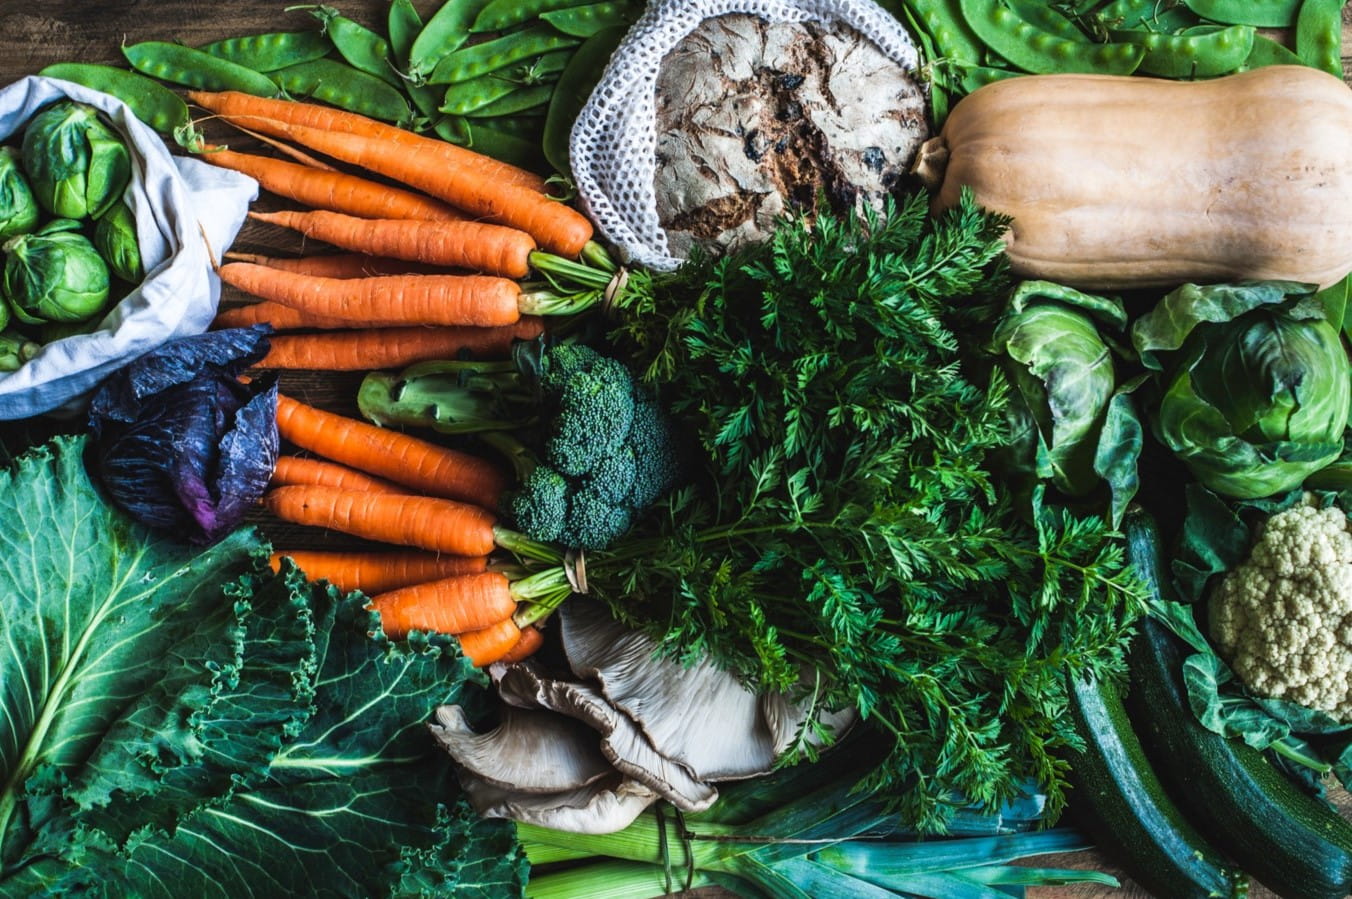
Choosing the Right Vegetables for Seed Collection
When it comes to seed collection, not all vegetables are created equal. Some vegetables are easier to collect seeds from, while others may require more specialized techniques. Here are some factors to consider when choosing vegetables for seed collection:
1. Open-pollinated varieties: Look for vegetables that are open-pollinated or heirloom varieties. These plants are pollinated by natural means, such as wind, insects, or birds, which ensures genetic diversity in the seeds. Open-pollinated plants produce seeds that will grow into offspring similar to the parent plant.
2. Non-hybrid varieties: Avoid vegetables that are hybrid varieties. Hybrid plants are the result of cross-pollination between different parent varieties and do not reliably produce seeds with the same characteristics as the parent plant. While the fruits of hybrid plants may be desirable for consumption, the seeds may not be suitable for saving.
3. Self-pollinating vs. cross-pollinating vegetables: Some vegetables, like tomatoes and peppers, are self-pollinating, which means they have both male and female reproductive parts and can pollinate themselves. This makes collecting seeds from these crops relatively straightforward. On the other hand, cross-pollinating vegetables, such as cucumbers, pumpkins, and melons, require isolation or hand-pollination techniques to prevent unwanted cross-pollination from nearby plants. Consider your ability and willingness to undertake these additional steps when selecting cross-pollinating vegetables for seed collection.
4. Disease-free and vigorous plants: Choose plants that are healthy, disease-free, and show vigorous growth. Avoid collecting seeds from plants with signs of pest damage or disease, as these traits can be passed on to future generations.
5. Adapted to your climate: Opt for vegetables that are well-adapted to your specific climate and growing conditions. Local varieties often perform better and have a higher chance of success in your garden. Talk to local gardeners or extension offices to find out which vegetable varieties thrive in your area.
6. Suitable plant size: Consider the size of your garden space and the growth habit of the vegetable plants. Some vegetables, like squash or corn, require ample space for seed collection, while others, like lettuce or radishes, can be easily collected in smaller raised beds or containers.
7. Long maturation period: Keep in mind that some vegetables take longer to mature and produce seeds. If you have a short growing season, choose vegetables with shorter maturation periods or start them indoors to ensure they have enough time to develop mature seeds.
By considering these factors, you can select the right vegetables for seed collection and set yourself up for success in the next steps of the process. Next, let’s discuss when to collect seeds from vegetables.
When to Collect Seeds from Vegetables
The timing of seed collection is crucial for ensuring the quality and viability of the seeds. Harvesting seeds at the right stage of maturity is key to obtaining viable seeds that will germinate and grow into healthy plants. Here are some guidelines for determining when to collect seeds from vegetables:
1. Seed maturity: Wait until the vegetable fruit or pod has fully matured and started to dry out. The seeds should be mature and fully developed within the fruit. In most cases, this stage occurs after the vegetable is no longer suitable for consumption. Look for signs such as dry, brown, or brittle pods or fruits.
2. Time since pollination: Most vegetable seeds need time to mature after pollination. You’ll want to wait until an adequate amount of time has passed for the seeds to develop fully. This can range from a few weeks to several months, depending on the vegetable. Consult seed-saving resources or seed packets for specific information on the expected seed maturity timeline for each vegetable.
3. Reaching the harvest stage: Seeds are usually collected when the vegetable crop is ready for harvest. For example, if you’re growing lettuce for seed collection, you’ll let the lettuce plants bolt and develop seed heads before collecting the seeds. Similarly, for tomatoes, allow the fruit to fully ripen and become overripe on the vine before extracting the seeds.
4. Testing seed readiness: To ensure that the seeds are mature and ready for collection, perform a simple “squeeze test.” For vegetables with seed pods, gently squeeze the pod between your fingers. If it pops open easily and reveals mature seeds, it’s time to collect. For fruits like tomatoes, squeeze them to see if the gelatinous substance surrounding the seeds has become more watery or has started to ferment.
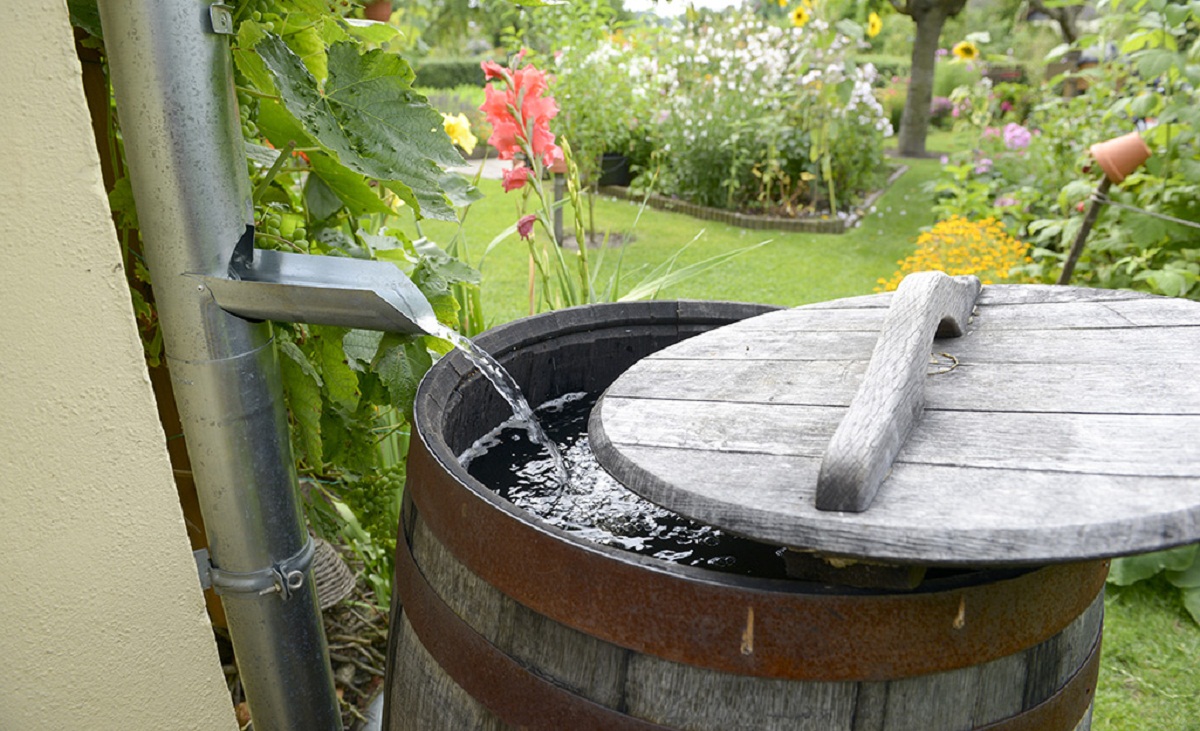
5. Weather conditions: Take into account the weather conditions in your area when considering seed collection. Seeds collected during damp or humid conditions may be prone to mold or rot. If possible, choose a dry and sunny day to collect seeds to ensure their longevity and viability.
6. Frost-sensitive vegetables: Some vegetables are sensitive to frost and won’t survive if left to mature on the plant until the first frost. In these cases, you may need to harvest the vegetable earlier and allow it to finish ripening and drying indoors before collecting the seeds.
Remember, the timeline for seed collection varies depending on the vegetable. It’s important to research and familiarize yourself with specific details for each crop. By harvesting seeds at the right stage of maturity, you increase the chances of obtaining viable seeds that will give you successful plantings in the future.
Next, let’s gather the essential tools and supplies needed for seed collection.
Tools and Supplies Needed for Seed Collection
Collecting seeds from vegetables requires a few basic tools and supplies to ensure success. Having the right equipment on hand will make the process easier and more efficient. Here are the essential tools and supplies you’ll need for seed collection:
1. Garden clippers or scissors: These are used to harvest seedheads or mature pods from the plants. Make sure your clippers or scissors are clean and sharp to prevent damage to the seeds or plants.
2. Paper or cloth bags: Use paper or cloth bags to collect and store the harvested seedheads or pods. Avoid using plastic bags, as they can trap moisture and promote mold growth, which can reduce seed viability.
3. Labels and markers: It’s important to label your seed collection to keep track of the variety, the location it was collected from, and the date collected. Use waterproof labels or permanent markers to ensure the information doesn’t smudge or fade over time.
4. Fine mesh screens or sieves: These are used for separating seeds from the fruit or pod. Depending on the size of the seeds, you may need different mesh sizes of screens or sieves. This allows you to remove any debris or unwanted plant material from the seeds.
5. Small bowls or containers: Use small bowls or containers to hold the seeds as you separate them from the fruit or pod. This ensures that the seeds are not scattered or lost during the process.
6. Drying trays or screens: Once the seeds have been separated and cleaned, they need to be dried. Drying trays or screens provide air circulation and allow the seeds to dry evenly. Choose a location away from direct sunlight and with good ventilation to prevent mold formation.
7. Envelopes or seed packets: Once the seeds are completely dry, transfer them into envelopes or seed packets for long-term storage. Use envelopes or packets made of paper, as they allow for better air circulation and help prevent moisture buildup.
8. Storage containers: Find airtight containers, such as glass jars or plastic containers with tight-fitting lids, to store your envelopes or seed packets. Make sure the containers are clean and moisture-free, and store them in a cool, dark, and dry place to maintain seed viability.
9. Seed viability testing materials: Optional, but recommended, are materials for testing seed viability, such as water, paper towels, and sealable plastic bags. These materials can help you determine if the collected seeds are viable before planting them in the garden.
By having these tools and supplies ready, you’ll be well-equipped to collect, clean, and store seeds from your vegetables successfully. Now that we have all the necessary equipment, let’s dive into the step-by-step process of collecting seeds from vegetables.
Read more: How To Collect Dahlia Seeds
Step-by-Step Process of Collecting Seeds from Vegetables
Collecting seeds from vegetables involves a series of steps to ensure the quality and viability of the seeds. By following these steps, you’ll be able to gather and store seeds successfully. Here’s a step-by-step process for collecting seeds from vegetables:
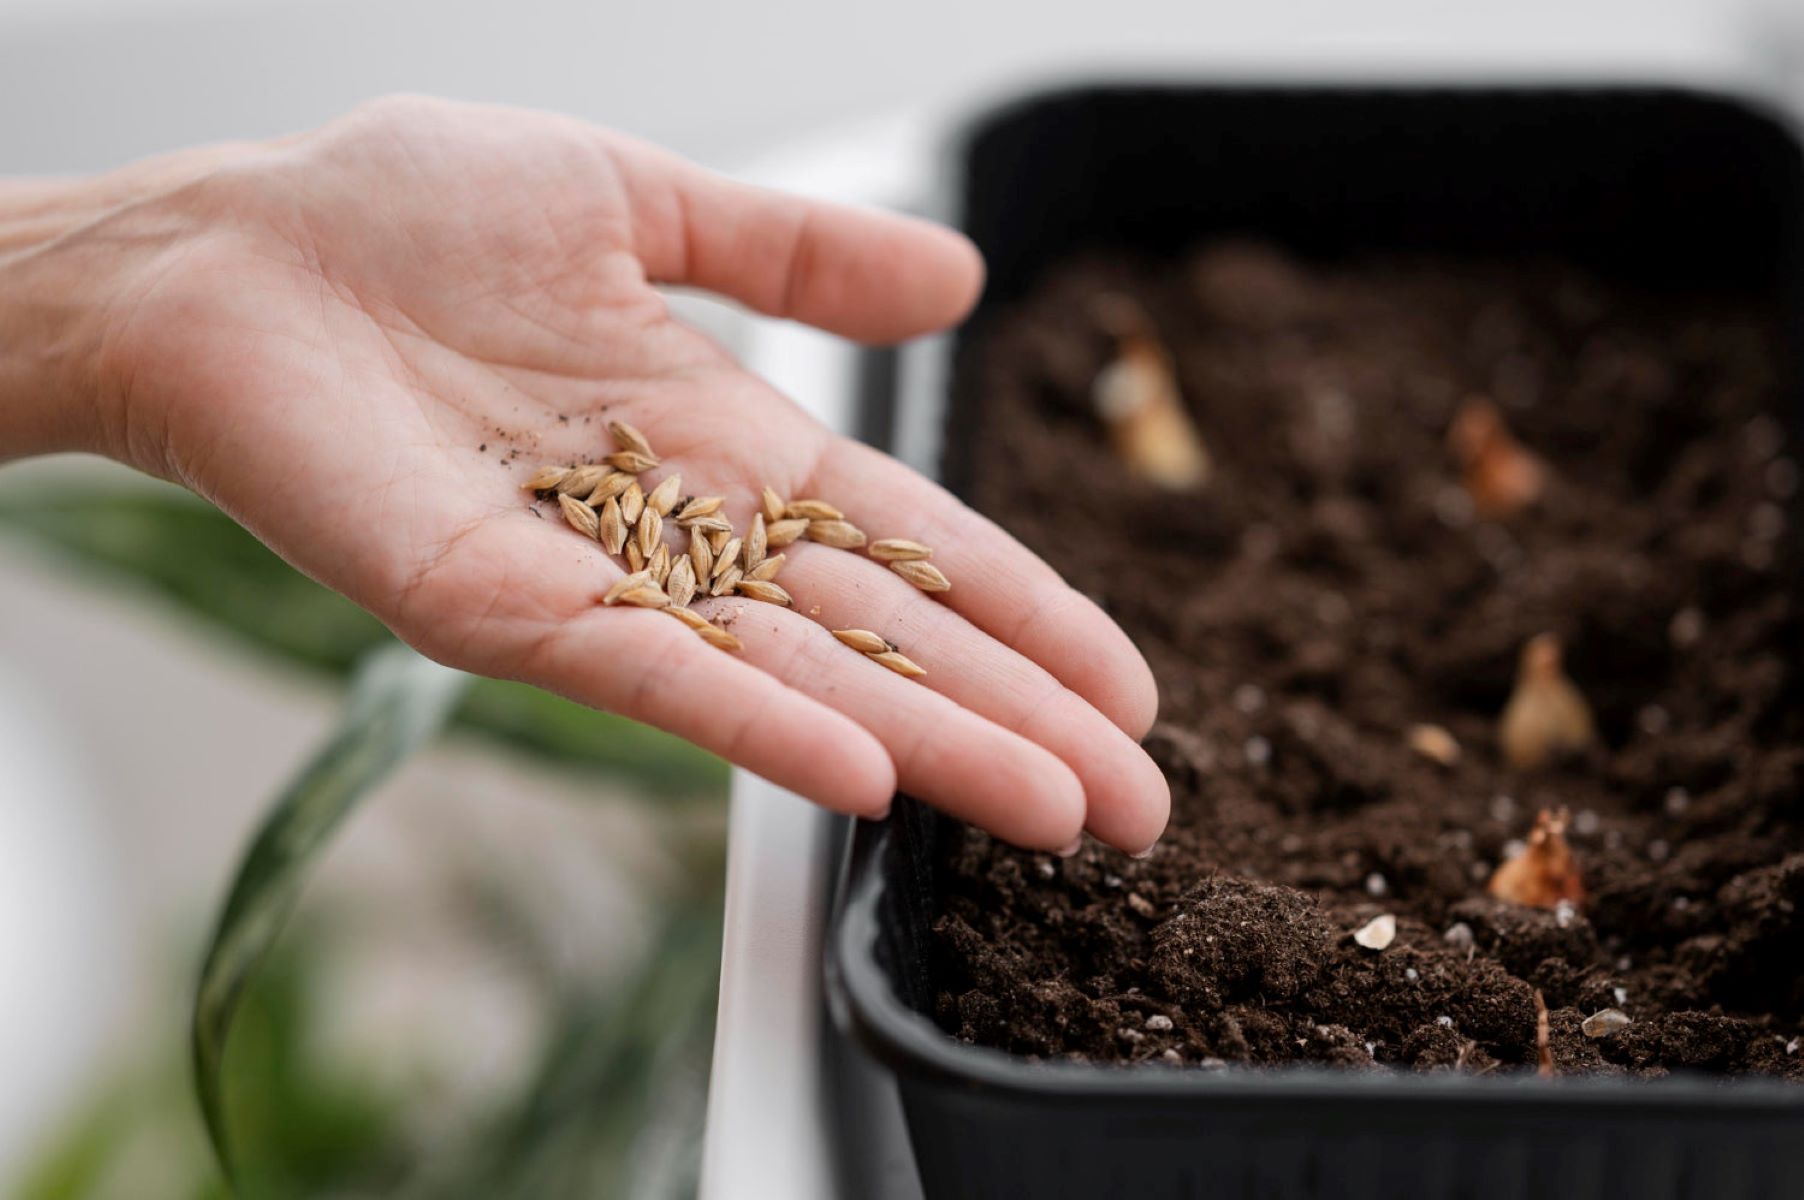
Step 1: Choose mature and healthy plants: Select plants that are mature, healthy, and free from pest and disease damage. These plants are more likely to produce high-quality seeds.
Step 2: Allow fruits/pods to fully ripen: Let the vegetable fruits or pods fully mature and begin to dry out on the plant. This stage indicates that the seeds inside have reached maturity.
Step 3: Harvest seedheads or pods: Use garden clippers or scissors to carefully harvest the seedheads or mature pods from the plant. Place them in paper or cloth bags to prevent seed loss and mix-ups.
Step 4: Separate seeds from the fruit or pod: Different vegetables require different methods to separate the seeds from the fruit or pod. For example, for fleshy fruits like tomatoes, squeeze the seeds and gel into a container and let them ferment for a few days. Then, rinse and dry the seeds. For dry-podded vegetables, gently crush or rub the pods to release the seeds.
Step 5: Clean the seeds: Remove any debris or unwanted plant material from the seeds. This can be done by using fine mesh screens or sieves to sift out larger pieces. You can also use your fingers to pick out any remaining debris.
Step 6: Dry the seeds: Spread the cleaned seeds in a single layer on drying trays or screens. Place them in a dry and well-ventilated area away from direct sunlight. Allow the seeds to dry completely, as any lingering moisture can lead to mold or decrease seed viability.
Step 7: Label and store the seeds: Once the seeds are dry, transfer them into envelopes or seed packets. Label each envelope or packet with the vegetable variety, collection date, and any other pertinent information. Place the envelopes or packets in airtight containers, and store them in a cool, dark, and dry location.
Step 8: Consider seed viability testing: Optional but recommended, perform a seed viability test to check the germination rate of the collected seeds. Place a small number of seeds on a damp paper towel, seal it in a plastic bag, and observe if the seeds sprout. This test will help determine the viability and germination potential of the seeds.
By following these steps, you’ll be able to collect, clean, and store seeds from your vegetables effectively. Remember to label and organize your seed collection for future reference and sharing with other gardening enthusiasts. Now that you’ve completed the seed collection process, let’s move on to cleaning and storing the vegetable seeds.
When collecting seeds from vegetables, make sure to choose mature, healthy vegetables. Remove the seeds and allow them to dry completely before storing them in a cool, dry place.
Cleaning and Storing Vegetable Seeds
Properly cleaning and storing vegetable seeds is essential for maintaining their viability and ensuring successful germination in future growing seasons. Cleaning seeds removes any remaining debris or plant material, while proper storage conditions help maintain their longevity. Follow these steps to clean and store your vegetable seeds:
Step 1: Remove debris and chaff: After collecting the seeds, gently remove any remaining debris, chaff, or unwanted plant material. Use fine mesh screens or sieves to sift out larger pieces, and you can also use your fingers to pick out any smaller debris.
Step 2: Drying the seeds: Allow the cleaned seeds to dry completely before storing them. Spread them in a single layer on drying trays or screens, ensuring good air circulation. Place them in a dry, well-ventilated area away from direct sunlight. Proper drying prevents moisture buildup, which could lead to mold formation and decrease seed viability.
Step 3: Labeling the seeds: Label each batch of seeds with the vegetable variety and collection date. This ensures that you can easily identify and keep track of the seeds in your collection. You can use waterproof labels or permanent markers to prevent the information from smudging or fading over time.
Step 4: Seed storage containers: After the seeds have thoroughly dried, transfer them into envelopes or seed packets. Choose envelopes or packets made of paper, as they provide better air circulation and help prevent moisture buildup. Sealable plastic bags or airtight glass jars can also be used for storing seeds.
Step 5: Optimal storage conditions: Store your seed packets or envelopes in a cool, dark, and dry location. Aim for a temperature between 32°F (0°C) and 50°F (10°C) to help preserve seed viability. Excess heat, humidity, and exposure to light can accelerate seed deterioration. Avoid storing seeds in areas prone to temperature fluctuations, such as garages or attics.
Step 6: Proper seed organization: Organize your seed collection by grouping them according to vegetable type or planting season. This way, you can easily locate the seeds you need when planning your garden. Consider using labeled dividers or storage containers to keep your seed packets organized and easily accessible.
Step 7: Regular seed viability testing: Periodically perform seed viability tests to check the germination rate of older stored seeds. This test helps determine if the seeds are still viable or if it’s time to replace them with fresh ones. Conduct the viability test by placing a small number of seeds between damp paper towels and monitor their germination over a specified period.
By properly cleaning and storing your vegetable seeds, you can maintain their viability for multiple years and ensure successful germination when you’re ready to plant. Remember, each vegetable seed may have unique requirements, so adjust your cleaning and storage methods accordingly. With your seeds safely stored, you’re well-prepared for future gardening adventures.
Now that you have learned how to clean and store vegetable seeds, let’s move on to the next step – testing the viability of the collected vegetable seeds.
Testing the Viability of Collected Vegetable Seeds
Before planting your collected vegetable seeds, it’s beneficial to test their viability. Seed viability testing allows you to assess the germination ability of the seeds and determine their likelihood of successfully sprouting and growing into healthy plants. Follow these steps to test the viability of your collected vegetable seeds:
Step 1: Gather your testing materials: You will need your collected seeds, water, paper towels, and sealable plastic bags.
Step 2: Choose a representative sample: Select a small sample of seeds from the batch you wish to test. A sample of 10 to 20 seeds is typically sufficient.
Step 3: Prep the testing environment: Moisten a paper towel with water, wringing out any excess moisture. Place the damp paper towel on a flat surface.
Step 4: Arrange the seeds: Carefully place the seeds on the damp paper towel, ensuring they are evenly spaced and not touching each other.
Step 5: Seal the seeds: Fold the paper towel over the seeds to cover them completely. Gently press to ensure good contact between the seeds and the damp paper towel. Place the folded towel with the seeds inside a sealable plastic bag.
Step 6: Create a controlled environment: Store the sealed bag in a warm location, ideally between 70°F (21°C) and 85°F (29°C). This temperature range promotes optimal germination conditions.
Step 7: Monitor germination: Check the seeds regularly over the next two weeks to observe any signs of germination. Moisture should be maintained throughout the testing period, so if the paper towel begins to dry out, carefully re-moisten it without disturbing the seeds.
Step 8: Record germination results: After the testing period, note the number of seeds that have successfully germinated. Calculate the germination rate by dividing the number of germinated seeds by the total number of seeds tested and multiplying by 100.
Step 9: Evaluate seed viability: Consider the germination rate to determine the viability of the seed batch. Generally, a germination rate of 70% or higher indicates good seed viability, while rates below 50% may warrant obtaining fresher seeds.
Testing the viability of your collected vegetable seeds provides valuable information about their potential for successful germination. It also helps you assess the need for acquiring additional seeds if the germination rate is low.
Remember, seed viability can vary depending on how the seeds were collected, cleaned, and stored. Even if the germination rate is not ideal, it doesn’t necessarily mean that all the seeds are non-viable. You can still try planting the seeds and observe their germination in the garden.
Now that you’ve tested the viability of your collected vegetable seeds, let’s explore some tips and tricks for successful seed collection.
Tips and Tricks for Successful Seed Collection
Collecting seeds from vegetables requires attention to detail and some handy tips and tricks to ensure a successful outcome. These tips will help you improve your seed collection techniques and increase the chances of obtaining viable, healthy seeds. Consider these suggestions for successful seed collection:
1. Start with easy-to-collect seeds: If you’re new to seed collection, begin with vegetables that have larger seeds or are relatively easier to collect, such as beans, peas, or sunflowers. This will give you a confidence boost while you learn the process.
2. Avoid collecting seeds from hybrid plants: Hybrid plants, which are the result of cross-breeding, often produce seeds that do not come true to the parent plant. Focus on collecting seeds from open-pollinated or heirloom varieties to maintain genetic integrity.
3. Isolate cross-pollinating plants: If you want to collect seeds from cross-pollinating vegetables, like cucumbers or squash, ensure they are adequately isolated from other varieties to prevent unintended cross-pollination. Alternatively, learn hand-pollination techniques to control the pollination process.
4. Collect seeds from multiple plants: To ensure genetic diversity, collect seeds from multiple healthy and vigorous plants of the same variety. This helps prevent inbreeding depression and increases the chances of obtaining resilient, adaptable seeds.
5. Time your seed collection: Harvest seeds when they are fully mature and have reached their maximum ripeness. Waiting too long may result in seeds dropping naturally, while collecting them too early can lead to reduced germination rates.
6. Label seeds carefully: Properly label each seed packet or envelope with important details such as the plant name, collection date, and any other pertinent information. Clear labeling helps you keep track of your seed collection and ensures accurate identification when it’s time to plant.
7. Store seeds in a cool and dry environment: To maintain seed viability, store your seeds in a cool, dark, and dry location. Avoid exposure to high temperatures, moisture, and fluctuating humidity levels, as these conditions can affect seed quality.
8. Perform a germination test: Regularly evaluate the germination rates of your stored seeds to verify their viability. Conduct a simple germination test to determine the percentage of seeds that successfully sprout. This information assists in planning your garden and replacing older seeds with fresh ones if needed.
9. Share and exchange seeds: Participate in seed-sharing networks or local gardening communities to expand your seed collection and promote genetic diversity. Sharing seeds with other gardeners not only fosters community connections but also helps preserve heirloom varieties that may be rare or endangered.
10. Document your seed collection: Keep records of your seed collection activities, including plant varieties, collection dates, and any observed characteristics. This valuable information helps you learn from your experiences and improve your techniques over time.
By incorporating these tips and tricks into your seed collection practices, you’ll be on your way to building a diverse and successful collection of vegetable seeds. Enjoy the process of collecting, preserving, and growing your own plants from these seeds, and have fun exploring the incredible world of gardening!
Now that you’re aware of the tips and tricks, let’s discuss some common mistakes to avoid during the seed collection process.
Read more: How To Collect Mullein Seeds
Common Mistakes to Avoid
When collecting seeds from vegetables, it’s important to be aware of common mistakes that can impact the quality and viability of the seeds. By avoiding these pitfalls, you can increase your chances of successfully collecting and storing healthy seeds. Here are some common mistakes to avoid during the seed collection process:
1. Collecting seeds from hybrid plants: Hybrid plants are created by cross-breeding different varieties, and their seeds may not produce offspring with the desired traits. Focus on collecting seeds from open-pollinated or heirloom varieties to maintain genetic integrity.
2. Collecting seeds from unhealthy or diseased plants: Avoid collecting seeds from plants that show signs of pests, diseases, or nutrient deficiencies. These conditions can be passed on to the offspring, leading to weaker plants or reduced yields.
3. Collecting seeds too early or too late: Timing is crucial when collecting seeds. Harvest seeds when they are fully mature and have reached their maximum ripeness. Collecting seeds too early may result in low germination rates, while waiting too long could lead to seeds being dispersed naturally.
4. Failing to properly clean the seeds: Thoroughly clean collected seeds to remove any debris or plant material. Failure to clean the seeds properly can hinder their long-term storage and lead to mold or fungal issues.
5. Storing seeds in poor conditions: Seeds stored in unfavorable conditions, such as high temperatures or excessive moisture, can rapidly lose their viability. Make sure to store seeds in a cool, dark, and dry environment to maintain their quality.
6. Not labeling the seeds: Accurate labeling is essential for seed organization and identification. Neglecting to label the seeds with the variety name, collection date, and other important details can lead to confusion and difficulty in selecting the right seeds for future planting.
7. Failing to perform seed viability tests: Testing the viability of stored seeds on a regular basis allows you to assess their germination rate. Skipping this step may result in using seeds with low viability, which can lead to poor germination and wasted time and effort in the garden.
8. Neglecting to rotate seed stock: Keeping seeds for too long without rotating them can decrease their viability over time. It’s a good practice to use the older seeds first and regularly replenish the collection by obtaining fresh seeds.
9. Relying solely on one seed source: Depending solely on a single source for seeds limits the diversity of your collection. Explore different seed suppliers, participate in seed exchanges, and connect with local gardeners to expand your seed variety and preserve unique and heirloom plants.
10. Being impatient with germination: Different seeds have varying germination times, and some may require more time than others to sprout. Avoid giving up too quickly on seeds that may just need a little extra time to germinate.
By avoiding these common mistakes, you can improve the quality and viability of your collected vegetable seeds. Remember to be diligent, patient, and attentive throughout the seed collection process. Happy seed collecting and successful gardening!
Now that you’re aware of the common mistakes to avoid, let’s summarize what we’ve covered in this article.
Conclusion
Congratulations on embarking on the exciting journey of collecting seeds from vegetables! In this comprehensive guide, we’ve covered everything you need to know to successfully collect, clean, and store vegetable seeds. By following the steps outlined in this article and avoiding common mistakes, you can build a diverse and vibrant seed collection that will provide you with a sustainable source of plants for years to come.
Remember, seed collection not only saves you money but also allows you to preserve heirloom varieties, adapt plants to your specific growing conditions, and promote sustainability. It’s a rewarding practice that connects us to the rich history of seed saving while contributing to the growth and preservation of our local plant communities.
Start by choosing the right vegetables for seed collection, focusing on open-pollinated and non-hybrid varieties. Understand when to collect seeds by waiting for fruits or pods to fully mature and dry out. Equip yourself with the necessary tools and supplies, such as clippers, drying trays, and envelopes, to ensure a smooth seed collection process.
Once you’ve collected the seeds, clean them thoroughly to remove any debris and allow them to dry completely. Properly label and store the seeds in a cool, dark, and dry environment to maintain their viability. Regularly test the germination rate of stored seeds to ensure their quality.
Throughout this article, we’ve highlighted tips and tricks to enhance your seed collection experience, as well as common mistakes to avoid. Stay patient, observant, and organized as you build your seed collection and share your abundance with fellow gardeners to expand the diversity of plant varieties in your community.
Seed collection is a wonderful way to deepen your connection with nature, learn about plant genetics, and play a role in preserving our agricultural heritage. So roll up your sleeves, get out in the garden, and start collecting those seeds. Happy gardening!
Remember, with proper care and attention, the seeds you collect today have the potential to grow into vibrant, fruitful plants that will bring joy and sustenance to your garden for years to come.
Frequently Asked Questions about How To Collect Seeds From Vegetables
Was this page helpful?
At Storables.com, we guarantee accurate and reliable information. Our content, validated by Expert Board Contributors, is crafted following stringent Editorial Policies. We're committed to providing you with well-researched, expert-backed insights for all your informational needs.

0 thoughts on “How To Collect Seeds From Vegetables”