Home>Garden Essentials>How To Cut A Mango With Seed

Garden Essentials
How To Cut A Mango With Seed
Modified: March 15, 2024
Learn how to cut a mango with seed in your garden and enjoy delicious, juicy fruit all summer long. Expert tips and step-by-step guide included.
(Many of the links in this article redirect to a specific reviewed product. Your purchase of these products through affiliate links helps to generate commission for Storables.com, at no extra cost. Learn more)
Introduction
Welcome to the ultimate guide on how to cut a mango with a seed! If you’ve ever found yourself struggling to tackle this tropical fruit, you’re not alone. Mangoes may seem intimidating, but with the right technique, you can enjoy its sweet, juicy flesh without any hassle.
Mangoes are not only delicious, but they are also packed with nutrients, such as vitamins A and C, potassium, and fiber. They have a unique flavor profile that can add a tropical twist to your salads, smoothies, salsas, and desserts. Learning how to cut a mango properly will not only make it easier to enjoy but also enhance your overall culinary experience.
In this guide, we will walk you through each step of the process, from selecting a ripe mango to removing the flesh from the seed. So, let’s grab our tools and get ready to dive into the world of mangoes!
Key Takeaways:
- Enjoy sweet, juicy mangoes by choosing ripe ones with vibrant colors, a soft texture, and a sweet aroma. Cut off the cheeks or separate the mango into halves to savor the delicious fruit hassle-free.
- Enhance your mango-cutting skills by experimenting with different cutting techniques, chilling the mango for a refreshing treat, and saving the seed for future use. Get creative and enjoy the tropical delight!
Read more: How To Start A Mango Seed
Tools and Materials Needed
Before we begin, it’s important to gather all the necessary tools and materials to ensure a smooth and successful mango-cutting process. Here’s what you’ll need:
- A ripe mango: Look for mangoes that are slightly soft to the touch and have a sweet aroma. Avoid mangoes that are too soft or have any signs of mold or bruising.
- A cutting board: Choose a sturdy cutting board that will provide a stable surface for cutting.
- A sharp knife: A sharp knife with a thin and flexible blade will make it easier to maneuver around the mango’s skin and seed.
- A peeler (optional): If you prefer to remove the mango’s skin before cutting, a vegetable peeler can be useful.
- A spoon: A spoon will come in handy when removing the flesh from the mango’s cheeks and seed.
- A bowl: Have a bowl ready to collect the mango slices and any juices that may be released during the cutting process.
Once you have these tools and materials ready, you’re all set to move on to the next step: choosing a ripe mango!
Step 1: Choosing a Ripe Mango
The first step in cutting a mango is selecting a ripe one. A ripe mango is crucial for a sweet and flavorful experience. Here’s how you can choose a ripe mango:
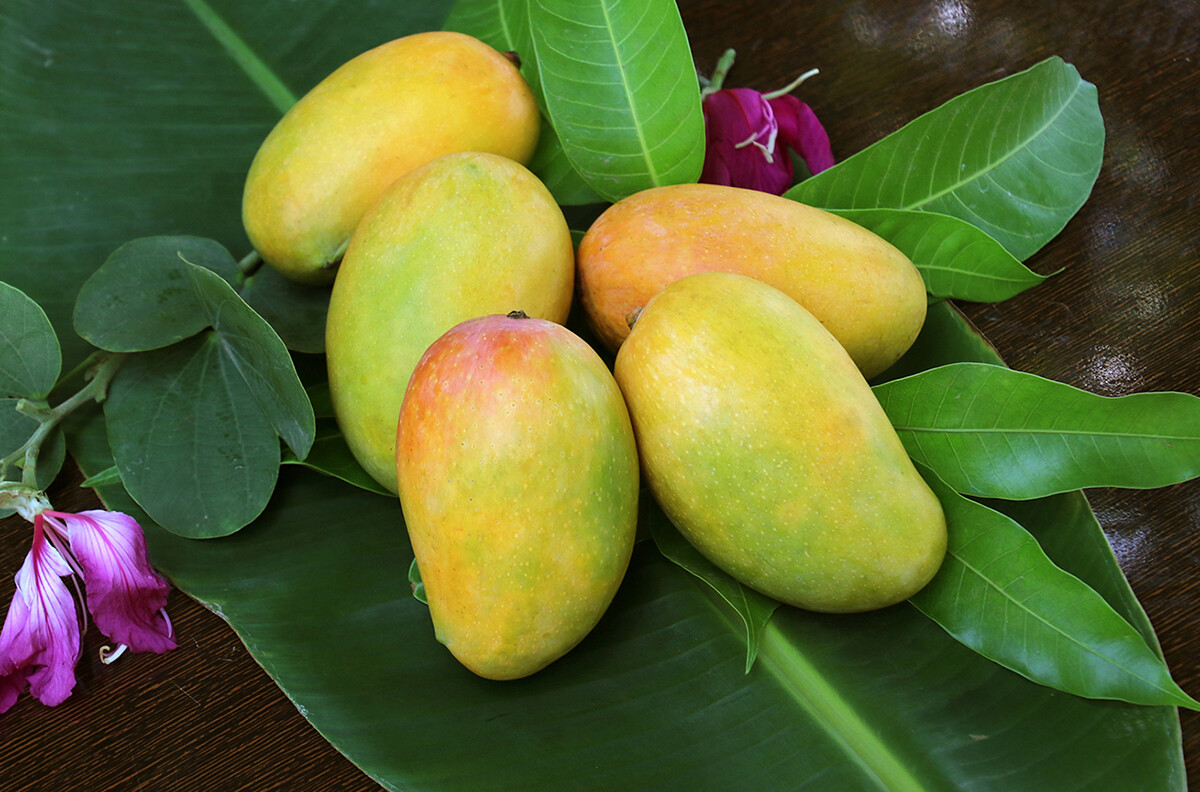
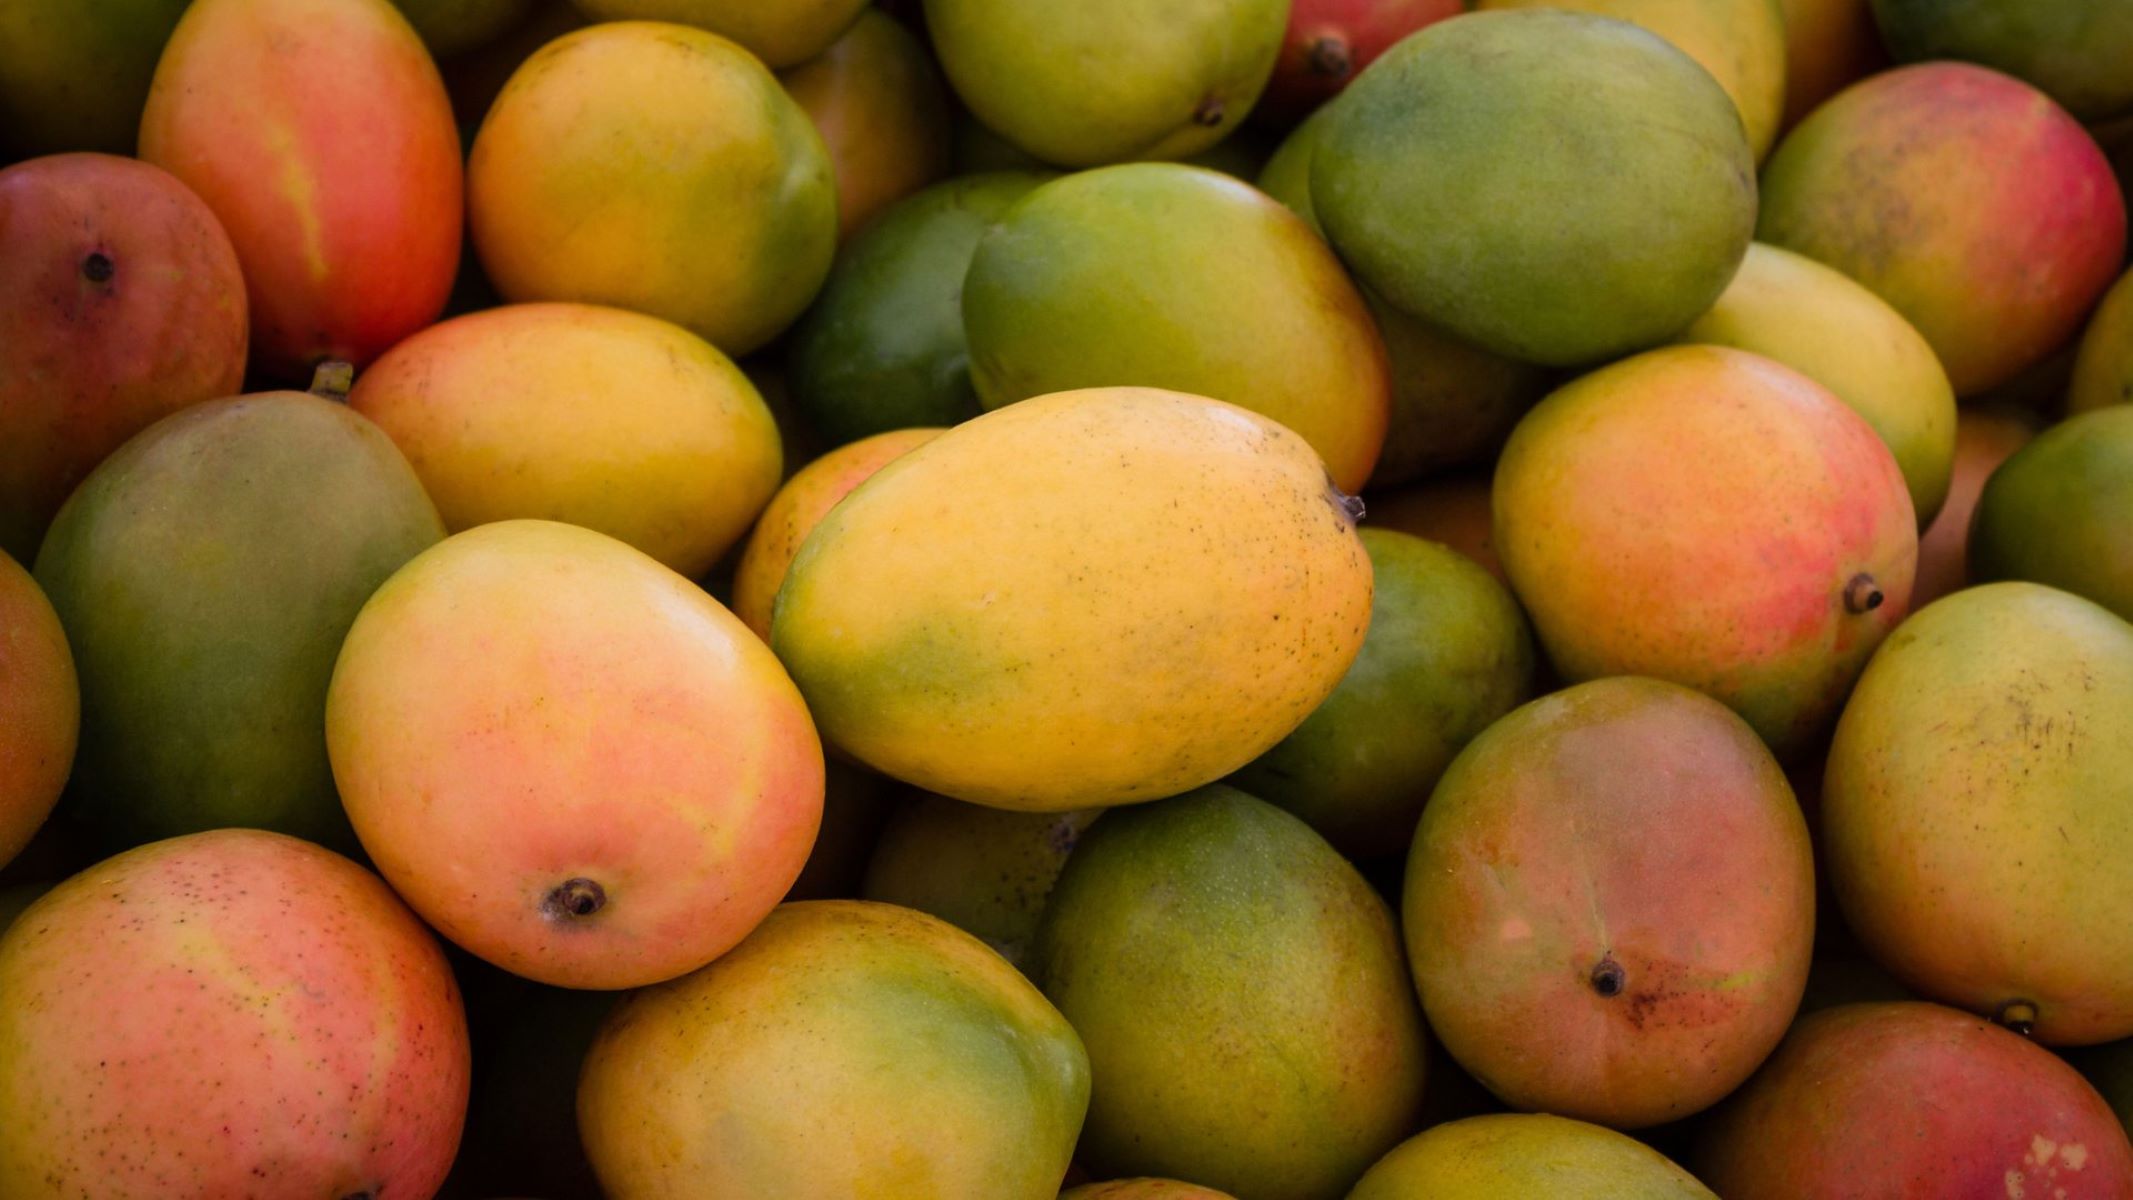
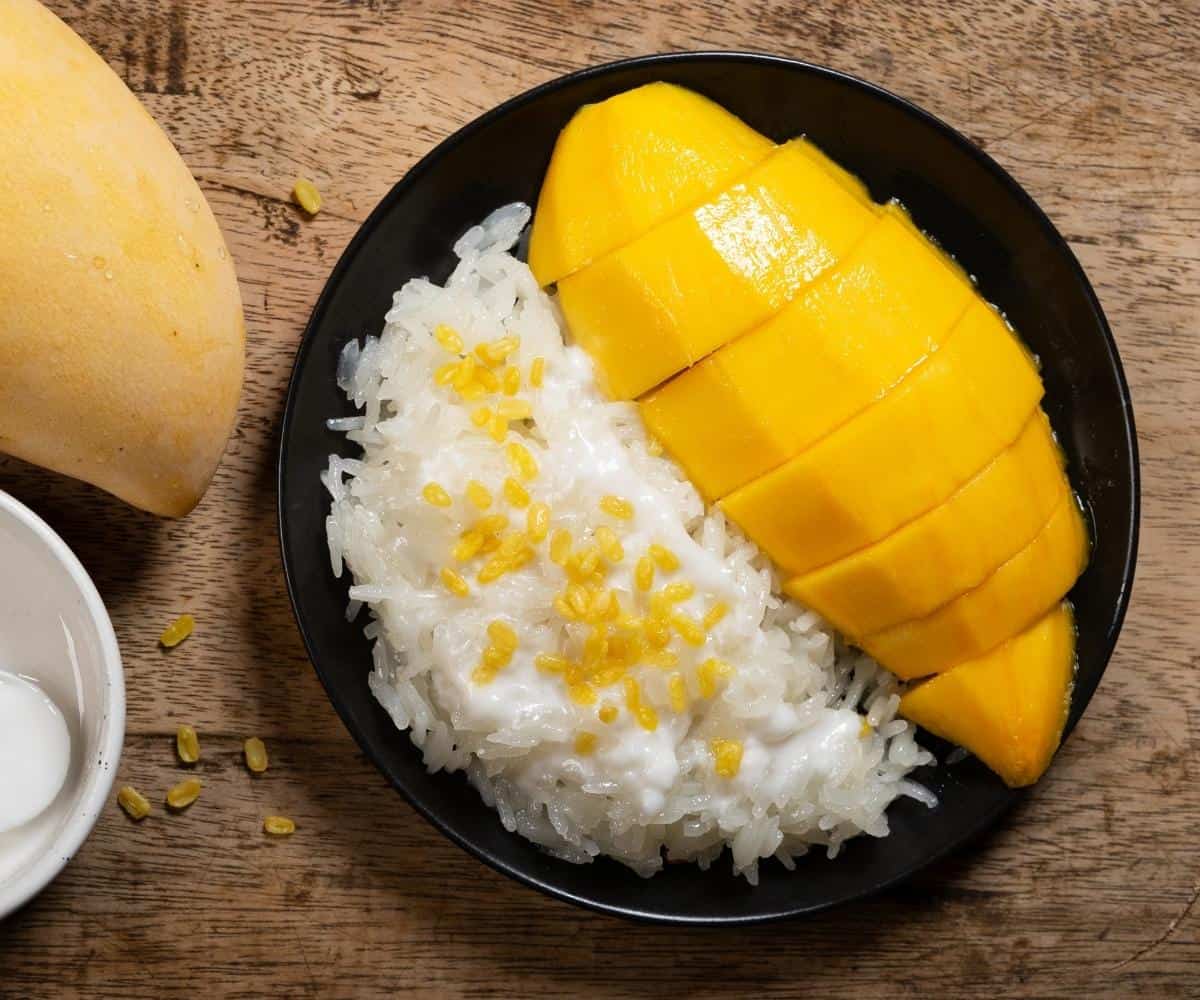
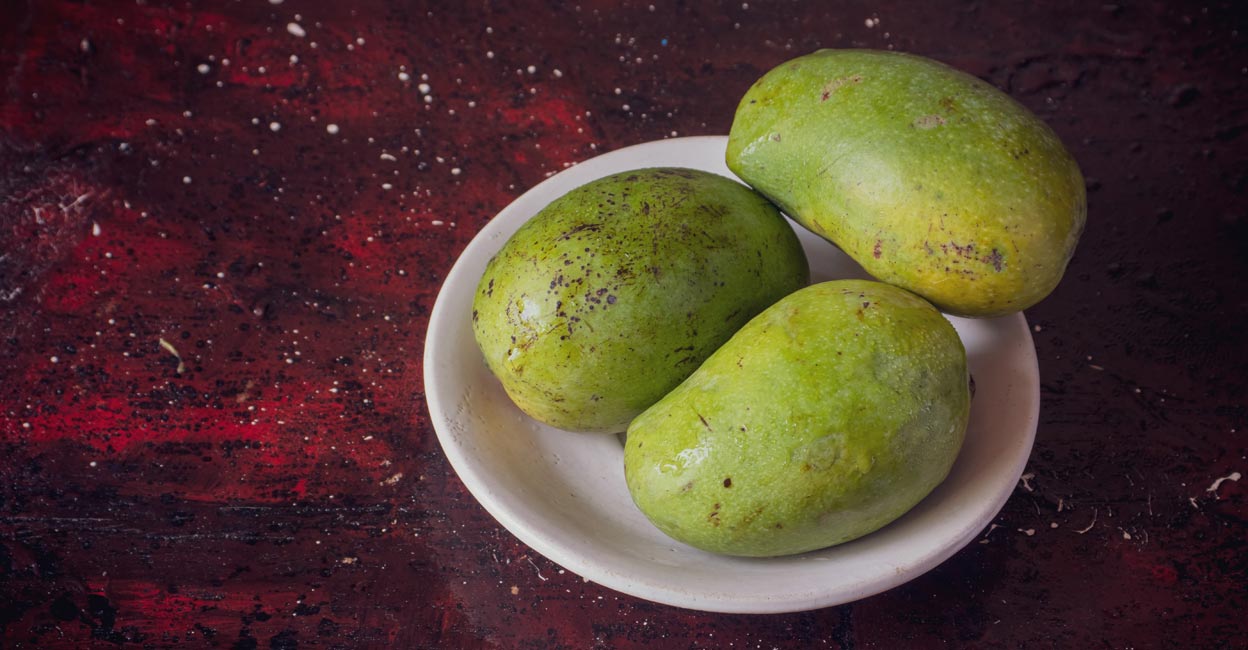
1. Color: Look for mangoes that have vibrant colors. While the shade may vary depending on the mango variety, ripe mangoes generally have a combination of yellow, orange, or red hues. Avoid mangoes that are predominantly green or have a dull appearance.
2. Texture: Gently squeeze the mango to check for ripeness. A ripe mango will yield slightly to moderate pressure and feel soft to the touch. Avoid mangoes that are too hard or too mushy.
3. Aroma: Give the mango a sniff. Ripe mangoes have a sweet and fragrant aroma. If you can smell the mango’s sweetness, it’s a good indication that it’s ripe and ready to be enjoyed.
Keep in mind that mangoes can ripen further after being picked. If you come across slightly underripe mangoes, you can allow them to ripen at room temperature for a few days. Once they reach your desired level of ripeness, you can start the cutting process.
Now that you’ve chosen a ripe mango, let’s move on to preparing the fruit for cutting in the next step!
Step 2: Preparing the Mango
After selecting a ripe mango, it’s time to prepare it for cutting. Here’s what you need to do:
- Wash the mango: Start by rinsing the mango under cool water to remove any dirt or residue on the skin. Pat it dry with a clean towel.
- Secure the mango: Place the mango on a cutting board, ensuring that it is stable and won’t roll around during the cutting process. You can also use a damp cloth or a rubber mat to prevent the mango from slipping.
- Get familiar with the mango: Take a moment to examine the mango’s shape. Mangoes typically have a long, narrow seed running vertically through the middle. Understanding the mango’s structure will help you make precise cuts and avoid the seed.
At this point, you have a choice to make. You can either cut off the cheeks of the mango, leaving the seed intact, or you can cut the mango into two halves, separating the seed. Both methods have their advantages, and it’s up to personal preference.
If you choose to cut off the cheeks, proceed to step 3. If you prefer to cut the mango into halves, continue to step 3a. Let’s explore both options:
Option 1: Cutting off the Cheeks
If you’re short on time or prefer a quicker method, cutting off the cheeks is the way to go. This method allows you to easily remove the mango’s skin and have two large, fleshy portions.
Option 2: Cutting the Mango into Halves
This method gives you more control over the size of each mango half and allows you to work with the seed directly. It’s also a great option if you want to save the seed for later use, such as planting it or using it in smoothies.
Choose the method that suits your needs and proceed to the next step accordingly.
Step 3: Cutting Off the Cheeks
If you’ve chosen to cut off the mango’s cheeks, follow these steps:
- Hold the mango: Take the mango in one hand and position it vertically on the cutting board. The stem end should be facing upwards.
- Find the center line: Locate the center line of the mango, where the seed is positioned. Visualize an imaginary line running vertically from the top to the bottom of the mango. This will serve as your cutting guide.
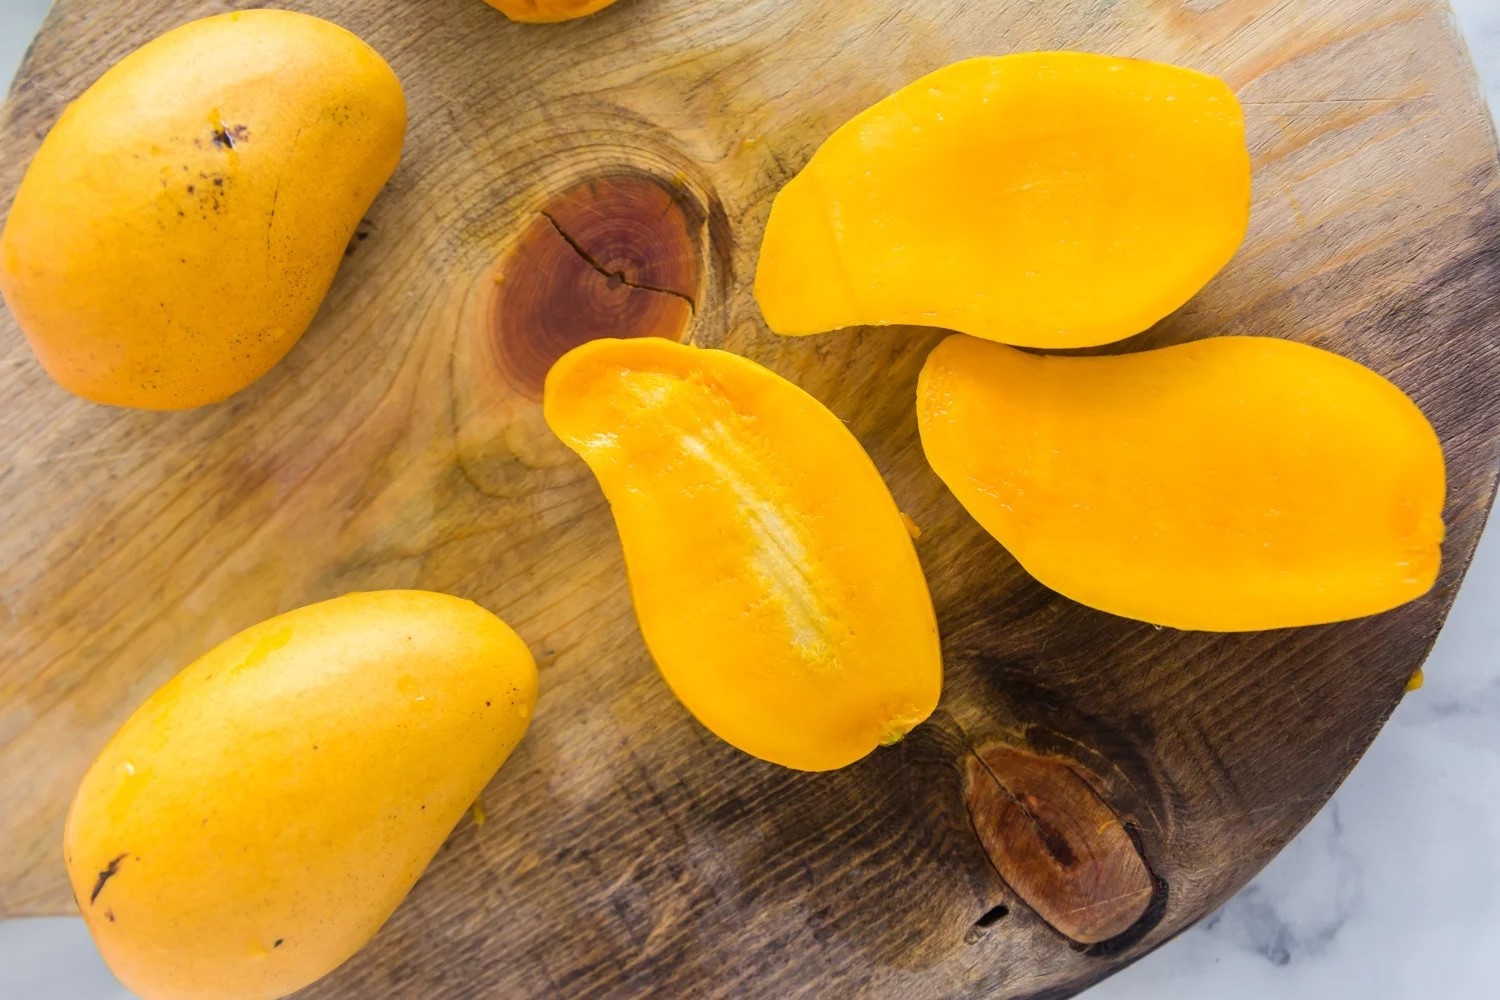
- Cut off the first cheek: With a sharp knife, carefully slice off one side of the mango, following the imaginary center line. Start from the top and cut straight down until you reach the bottom. Repeat on the other side to cut off the second cheek.
You should now have two mango cheeks, each with a flat side and a curved side. These cheeks contain the majority of the mango’s succulent flesh.
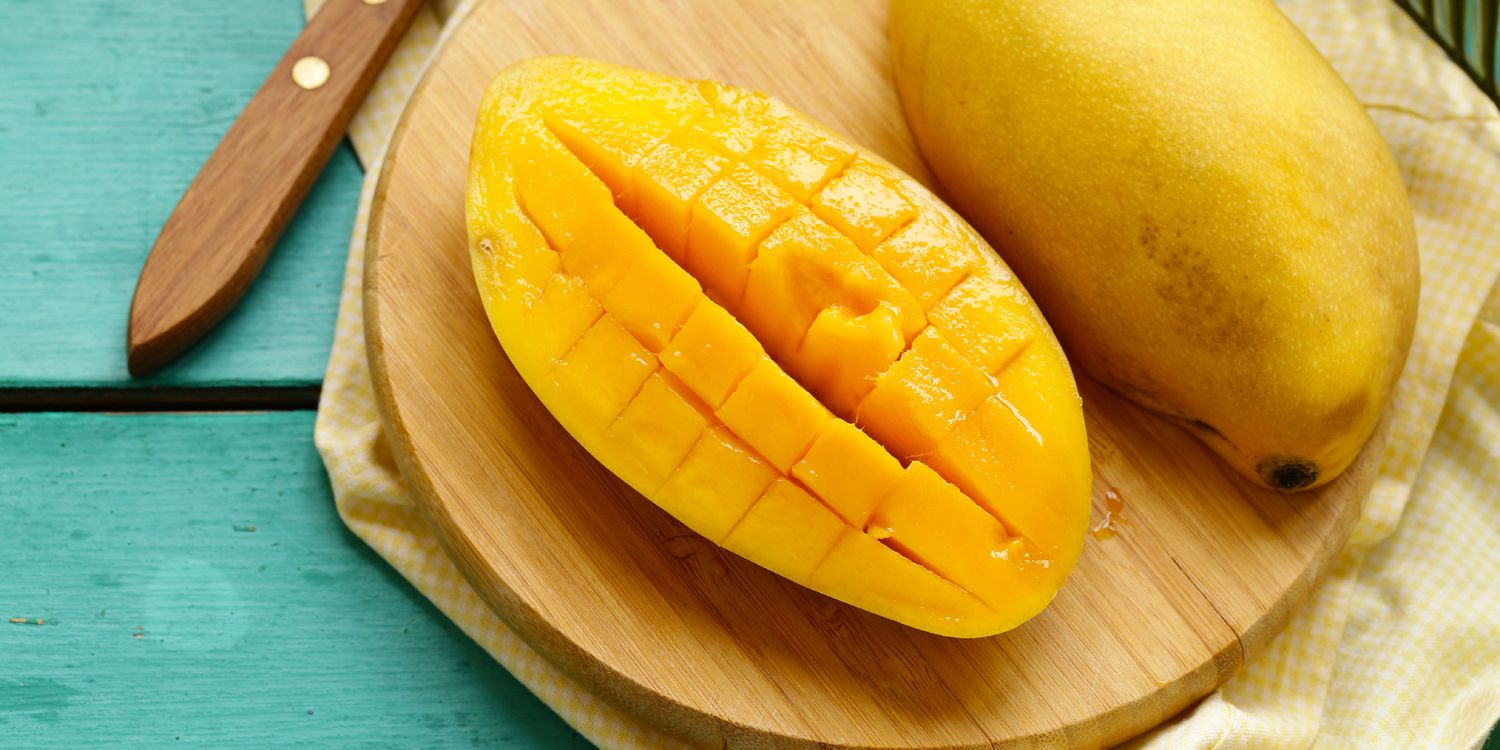
Alternatively, if you prefer smaller, bite-sized pieces, you can proceed to cut the cheeks into cubes by making crosshatch cuts on the flesh. However, if you want to remove the skin from the cheeks and keep them intact, follow the next step.
Now that you’ve successfully cut off the mango’s cheeks, it’s time to move on to step 4: removing the peel from the cheeks!
To cut a mango with a seed, slice off the sides, avoiding the seed. Score the flesh in a crisscross pattern, then scoop it out with a spoon.
Read more: How To Store Mango After Cut
Step 4: Removing the Peel from the Cheeks
After cutting off the mango’s cheeks, the next step is to remove the peel from the flesh. Here’s how you can do it:
- Take one mango cheek and hold it with the curved side facing down. Use your fingers to gently push the skin upwards from the bottom, turning it inside out.
- Continue peeling: Work your way around the cheek, gently pulling the skin away from the flesh. Take care not to apply too much pressure to avoid squishing the mango.
- Repeat the process with the other mango cheek until both are free from the peel.
Now you have two beautifully peeled mango cheeks ready to be enjoyed! These delicious morsels can be eaten as is or used in various recipes.
If you prefer smaller mango pieces, you can further dice the cheeks into cubes by making crosshatch cuts without cutting through the skin. Simply make vertical and horizontal cuts, creating a grid-like pattern. After that, gently push the skin from the back, and the mango cubes will pop out.
With the peels removed and the mango flesh exposed, it’s time to move on to step 5: removing the flesh from the seed.
Step 5: Removing the Flesh from the Seed
If you’ve chosen to cut the mango into halves, separating the seed, follow these steps to remove the flesh from the seed:
- Pick up one mango half and hold it with the seed facing upwards. Identify the thinner edge of the seed. This is where you’ll start cutting.
- With a sharp knife, carefully make a vertical cut alongside the edge of the seed. Follow the curve of the seed and slice as close to it as possible, separating the flesh from the seed. Repeat the process on the other side of the seed.
- You should now have two mango seed halves with the flesh removed. Use a spoon to scoop out any residual flesh that may be clinging to the seed. Enjoy these small morsels or add them to your recipes!
- If there is still more flesh left on the seed, you can gently scrape it off with a knife or use your teeth to nibble away the remaining bits. Waste not, want not!
Now that you have successfully removed the flesh from the seed, you can savor the delicious mango goodies that you’ve just unlocked!
At this point, you can enjoy your freshly cut mango as a snack, add it to your favorite recipes, or incorporate it into various dishes. The possibilities are endless!
Before we conclude, let’s go over some additional tips and tricks to help you make the most out of your mango-cutting experience.
Step 6: Additional Tips and Tricks
As with any skill, practice makes perfect. Here are some additional tips and tricks to enhance your mango-cutting prowess:
- Use a ripe mango: While it can be tempting to cut into an unripe mango, it’s best to wait until it’s fully ripened for optimal flavor and texture.
- Experiment with different cutting techniques: You can try different methods, such as the “hedgehog” or “inside-out” technique, to create unique mango presentations.
- Chill the mango: For a refreshing treat, place the mango in the refrigerator for a few hours before cutting. The cool temperature will enhance its taste.
- Save the seed: Mango seeds can be used to grow your own mango tree or blended into smoothies for an added nutritional boost.
- Pair mangoes with other ingredients: Mangoes pair well with a variety of flavors, such as lime, coconut, chili powder, and mint. Get creative in your culinary explorations!
- Cut away from yourself: When slicing the mango or separating the flesh from the seed, always cut away from your body to avoid accidental injuries.
- Practice knife safety: Keep your fingers away from the blade while cutting and use a cutting board with a non-slip surface.
Remember, the goal is to enjoy the sweet and juicy goodness of mangoes, so don’t be afraid to experiment and find the cutting technique that works best for you. With time, you will develop your own style and become a mango-cutting expert!
Now that you’re armed with the knowledge of how to cut a mango with a seed, it’s time to put it into practice and indulge in the tropical delight. Enjoy!
For more information and exciting gardening tips, feel free to explore our website, where we have a wealth of resources at your disposal.
Happy mango cutting!
Conclusion
Cutting a mango with a seed doesn’t have to be a daunting task. With the right technique and a little practice, you can easily enjoy the sweet, juicy fruit without any hassle.
In this guide, we’ve covered the step-by-step process of cutting a mango, from selecting a ripe one to removing the flesh from the seed. By following these instructions, you’ll be able to savor the delicious flavor and reap the nutritional benefits of this tropical fruit.
Remember to choose a ripe mango with vibrant colors, a soft texture, and a sweet aroma. Prepare the mango by washing it and securing it on a stable surface. Then, depending on your preference, cut off the cheeks or separate the mango into halves.
Once you have the mango prepared, you can remove the peel from the cheeks or scoop out the flesh from the seed. Both methods result in delectable pieces of mango that can be enjoyed on their own, added to recipes, or paired with other ingredients.
To enhance your mango-cutting skills, we’ve shared some additional tips and tricks, such as chilling the mango, saving the seed for future use, and experimenting with different cutting techniques and flavor combinations. These suggestions will take your mango experience to the next level.
Now armed with the knowledge and confidence to cut a mango with a seed, it’s time to dive into the tropical goodness of this luscious fruit. So, grab your tools, select a ripe mango, and start cutting. Enjoy the sweet and juicy delights that await you!
For more information on gardening, recipes, and other exciting topics, visit our website where you can find a wealth of resources to fuel your passion for all things green.
Happy mango cutting!
Frequently Asked Questions about How To Cut A Mango With Seed
Was this page helpful?
At Storables.com, we guarantee accurate and reliable information. Our content, validated by Expert Board Contributors, is crafted following stringent Editorial Policies. We're committed to providing you with well-researched, expert-backed insights for all your informational needs.








0 thoughts on “How To Cut A Mango With Seed”