Home>Furniture & Design>Interior Design Trends>How To Glass A Surfboard
Interior Design Trends
How To Glass A Surfboard
Published: February 8, 2024
Learn the latest interior design trends and techniques for glassing a surfboard. Discover expert tips and tricks to create a stunning and durable finish.
(Many of the links in this article redirect to a specific reviewed product. Your purchase of these products through affiliate links helps to generate commission for Storables.com, at no extra cost. Learn more)
Introduction
Glassing a surfboard is a crucial step in the surfboard crafting process. It involves applying fiberglass cloth and resin to the foam core of the surfboard, creating a durable and water-resistant shell that protects the board and provides the necessary rigidity for optimal performance on the waves. Whether you're a seasoned surfboard shaper or a passionate DIY enthusiast, mastering the art of glassing is essential for creating a high-quality, custom surfboard.
The glassing process not only enhances the structural integrity of the surfboard but also allows for artistic expression through various glassing techniques. From tinted resin to intricate pinlines, the glassing stage offers a canvas for creativity, enabling surfboard craftsmen to personalize their creations and imbue them with unique character.
Understanding the nuances of glassing is fundamental for achieving a surfboard that not only looks stunning but also delivers exceptional performance in the water. By learning the intricacies of this process, you can elevate your surfboard crafting skills and produce boards that stand out both aesthetically and functionally.
In this comprehensive guide, we will delve into the step-by-step process of glassing a surfboard, from the essential materials needed to the meticulous techniques required for a flawless finish. Whether you're embarking on your first glassing endeavor or seeking to refine your existing skills, this guide will equip you with the knowledge and insights to tackle the glassing process with confidence and precision. So, let's dive into the world of surfboard glassing and unlock the secrets to creating stunning, high-performance surfboards.
Key Takeaways:
- Glassing a surfboard involves applying fiberglass and resin to create a durable, water-resistant shell. It’s a creative process that enhances both the look and performance of the surfboard, making it a crucial step in crafting a custom board.
- To glass a surfboard, you need materials like fiberglass cloth, resin, and protective gear. Preparing the surfboard is essential, and applying fiberglass requires precision and patience. Sanding and finishing are crucial for achieving a smooth, polished surface that enhances the board’s durability and visual appeal.
Read more: How To Store A Surfboard In An Apartment
Materials Needed
When it comes to glassing a surfboard, having the right materials at your disposal is essential for achieving a professional-grade finish. Here's a comprehensive list of the materials you'll need to embark on the glassing process:
-
Fiberglass Cloth: This forms the foundation of the glassing process. Opt for high-quality fiberglass cloth that is compatible with epoxy or polyester resin, depending on your preference and expertise.
-
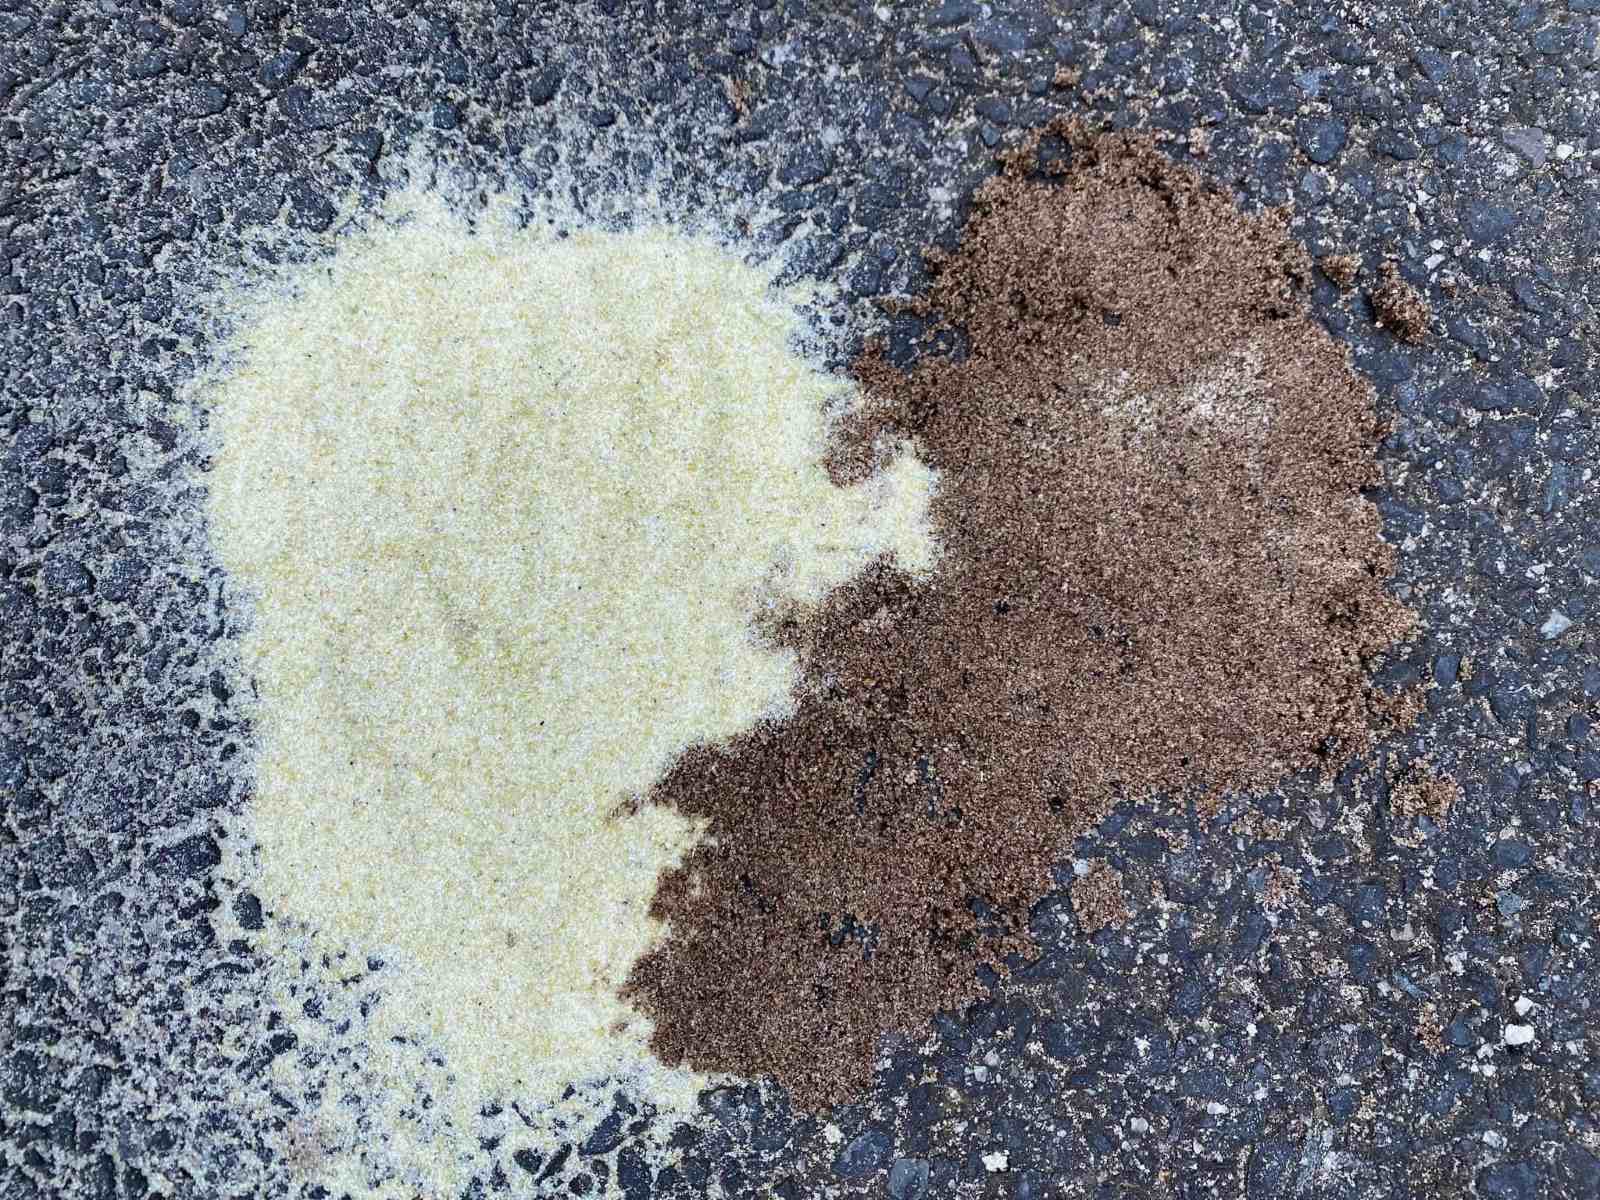
Resin: Epoxy or polyester resin serves as the binding agent that adheres the fiberglass cloth to the surfboard's foam core. Each type of resin offers distinct characteristics, so choose the one that aligns with your desired performance and aesthetic outcomes.
-
Catalyst: If you opt for polyester resin, a catalyst is essential for initiating the curing process. Be sure to follow the manufacturer's guidelines for the appropriate catalyst-to-resin ratio to ensure optimal curing.
-
Sanding Resin: This specialized resin is formulated for sanding and provides a smooth, even surface for the final stages of the glassing process.
-
Sanding Pads and Sandpaper: A variety of sanding pads and sandpaper grits will be required for shaping and smoothing the resin-coated surfboard.
-
Protective Gear: Safety should always be a priority. Equip yourself with protective gear, including gloves, a respirator mask, and safety goggles to shield yourself from harmful fumes and particles during the glassing process.
-
Mixing Containers and Stirring Sticks: These are essential for accurately measuring and blending the resin and catalyst, ensuring a consistent and effective mixture.
-
Squeegees and Brushes: High-quality squeegees and brushes are indispensable for evenly distributing the resin and fiberglass cloth, minimizing air bubbles, and achieving a seamless finish.
-
Masking Tape: Use masking tape to protect areas of the surfboard that should not come into contact with resin, such as fin boxes and leash plugs.
-
Ventilation: Adequate ventilation is crucial for a safe and comfortable working environment. Consider working in a well-ventilated area or using fans and respirators to minimize exposure to resin fumes.
By gathering these essential materials, you'll be well-prepared to embark on the intricate and rewarding process of glassing a surfboard. Each item plays a crucial role in achieving a professional-grade finish and ensuring the structural integrity and aesthetic appeal of the final product.
Preparing the Surfboard
Before diving into the application of fiberglass and resin, it's crucial to prepare the surfboard's foam core to ensure optimal adhesion and a smooth, flawless finish. The preparation stage sets the foundation for a successful glassing process and directly impacts the overall quality and durability of the final product. Here's a detailed breakdown of the essential steps involved in preparing the surfboard:
Step 1: Clean and Inspect
Begin by thoroughly cleaning the surfboard's foam core to remove any dust, dirt, or residue that could hinder the bonding of the fiberglass and resin. Use a mild detergent and water to cleanse the surface, ensuring that it is free from any contaminants that could compromise the adhesion. Once cleaned, inspect the board for any dings, dents, or imperfections that may require repair before proceeding with the glassing process.
Step 2: Repair Imperfections
Address any imperfections on the surfboard's surface, such as dings or dents, by filling them with an appropriate surfboard repair kit. Carefully follow the manufacturer's instructions to fill and smooth out these imperfections, ensuring that the foam core is uniform and free from any irregularities that could affect the application of the fiberglass and resin.
Read more: How To Hang Surfboard From The Ceiling
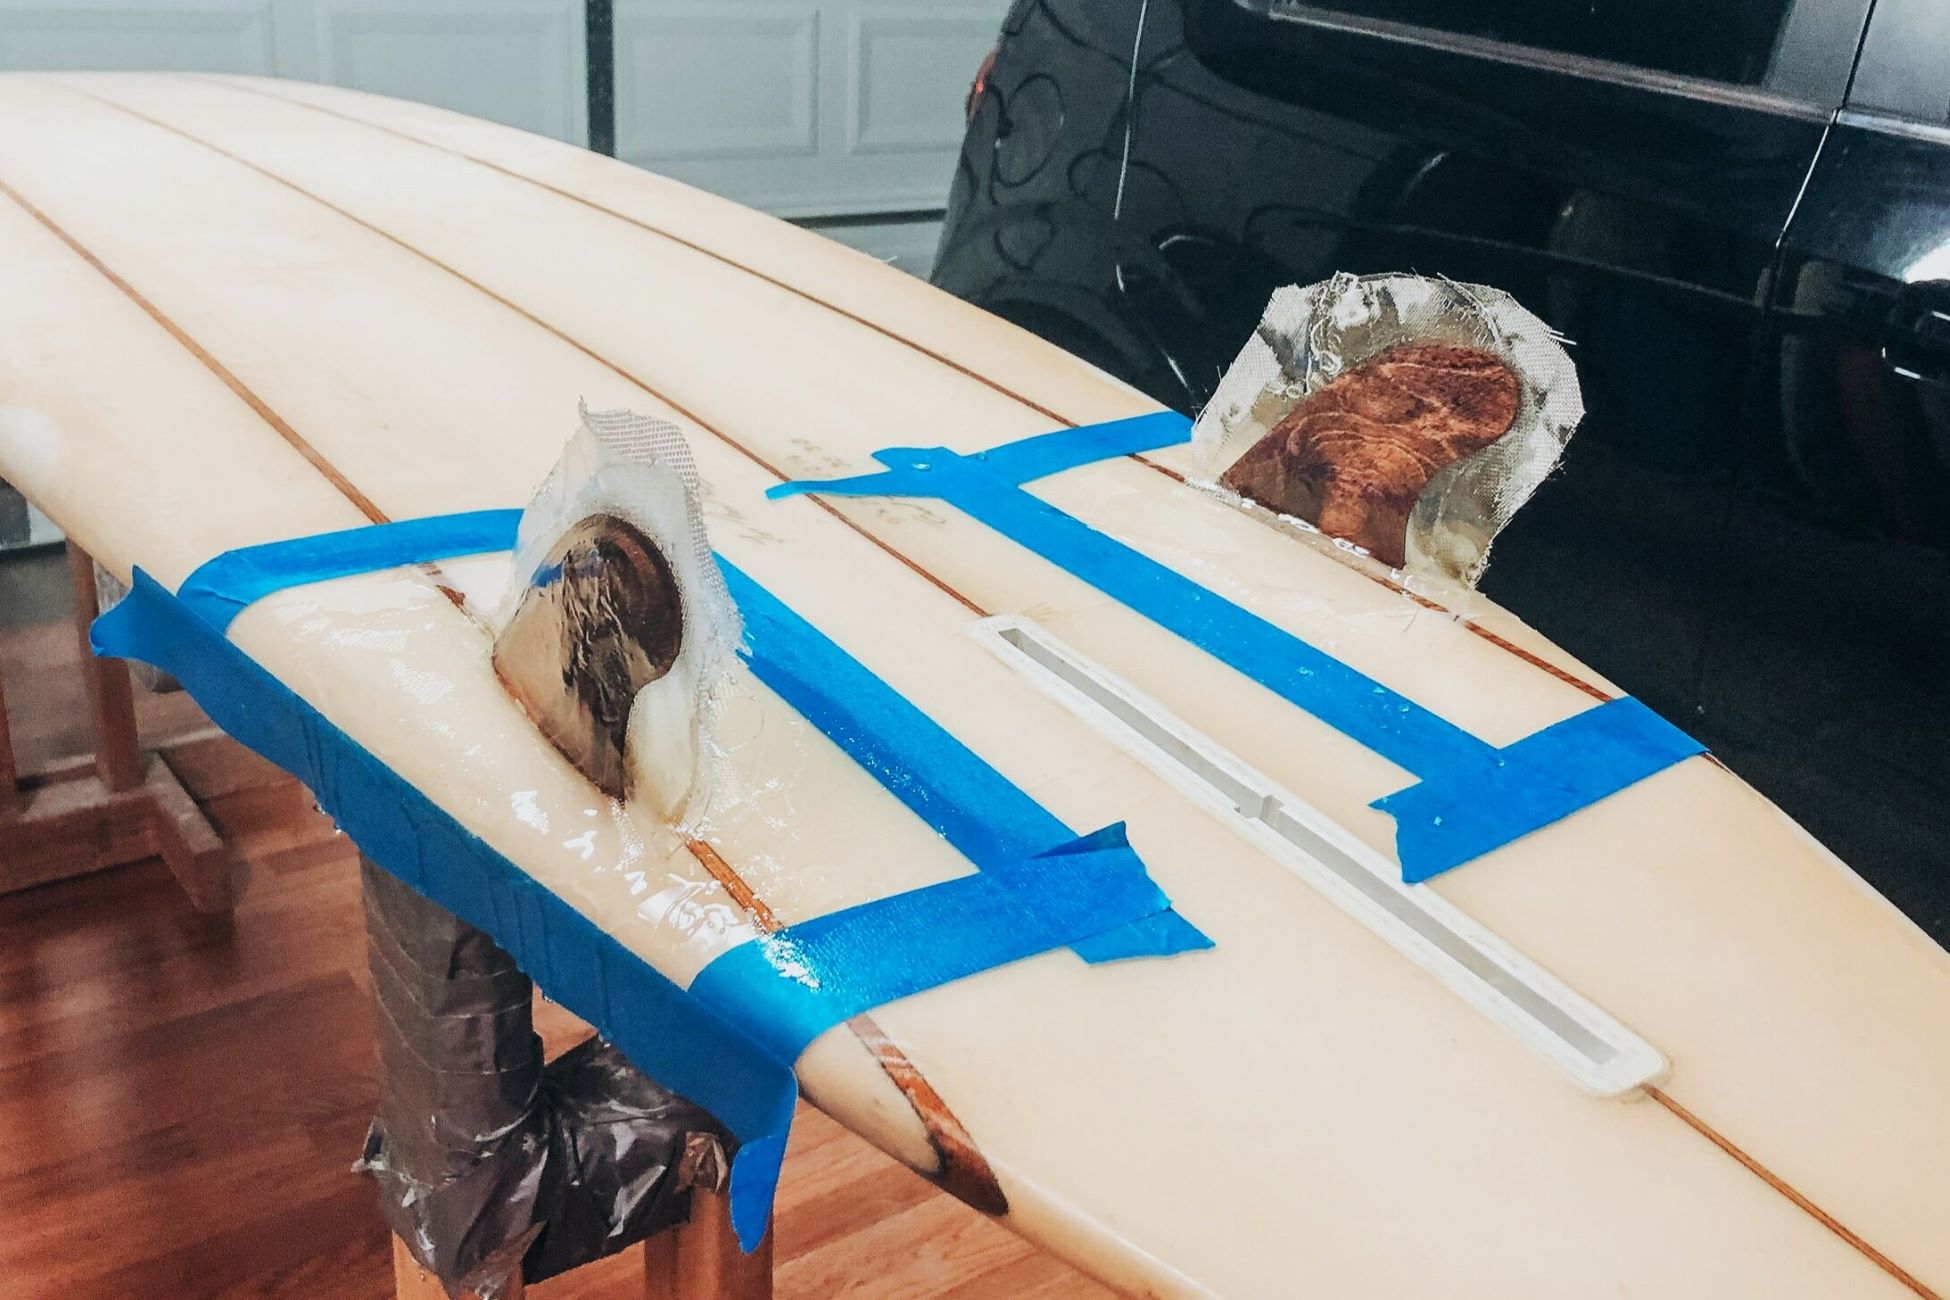
Step 3: Masking and Ventilation
Use masking tape to protect areas of the surfboard that should not come into contact with resin, such as fin boxes, leash plugs, and any other components that should remain resin-free. Additionally, ensure that the workspace is well-ventilated to minimize exposure to resin fumes, promoting a safe and comfortable environment for the glassing process.
Step 4: Surface Preparation
Once the surfboard is clean, repaired, and appropriately masked, it's time to prepare the surface for the application of fiberglass and resin. Lightly sand the entire foam core using fine-grit sandpaper to create a textured surface that promotes strong adhesion. This step is crucial for ensuring that the fiberglass and resin bond securely to the surfboard, minimizing the risk of delamination or separation over time.
By meticulously following these preparatory steps, you'll establish a solid foundation for the subsequent application of fiberglass and resin. Properly preparing the surfboard sets the stage for a successful glassing process, ultimately contributing to the structural integrity, longevity, and aesthetic appeal of the finished surfboard.
Applying the Fiberglass
Once the surfboard is meticulously prepared, it's time to embark on the pivotal stage of applying the fiberglass. This step is integral to the structural reinforcement and water-resistant properties of the surfboard, as the fiberglass cloth serves as a protective shell that encapsulates the foam core. The application of fiberglass demands precision, patience, and attention to detail to ensure a seamless and durable finish. Here's a comprehensive guide to the meticulous process of applying fiberglass to a surfboard:
Step 1: Cutting the Fiberglass Cloth
Begin by cutting the fiberglass cloth to the appropriate size, ensuring that it adequately covers the entire surface of the surfboard. Carefully measure and trim the fiberglass cloth, allowing for a slight overlap around the edges to facilitate a smooth transition and optimal coverage.
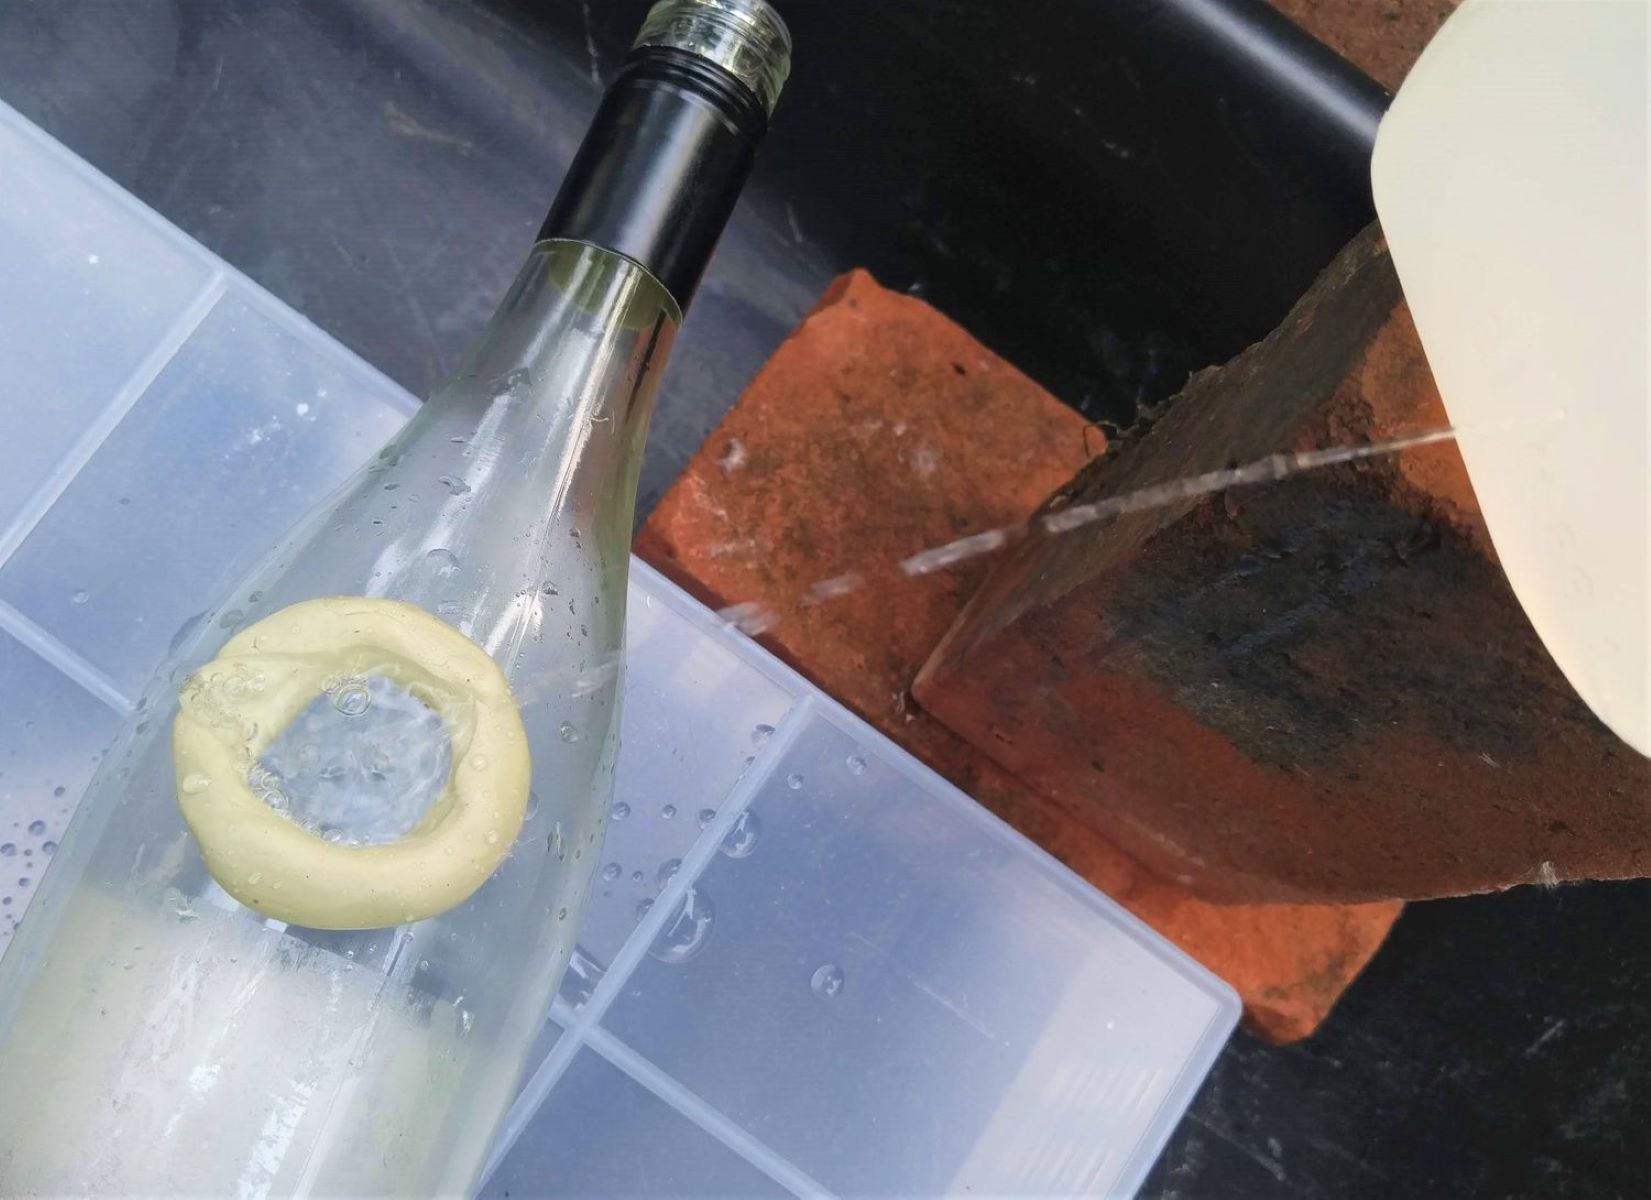
Step 2: Mixing and Applying Resin
Prepare the resin according to the manufacturer's guidelines, ensuring the accurate ratio of resin to catalyst for proper curing. With a brush or squeegee, evenly apply a thin layer of resin onto the prepared foam core, creating a tacky surface for the fiberglass cloth to adhere to. Work methodically to avoid excess resin buildup and ensure uniform coverage.
Step 3: Laying the Fiberglass Cloth
Gently lay the precut fiberglass cloth onto the resin-coated surfboard, starting from the center and working outward to minimize air bubbles and wrinkles. Use a squeegee to carefully press the fiberglass cloth onto the resin-coated surface, ensuring firm adhesion and the expulsion of any trapped air. Pay close attention to the contours and curves of the surfboard, gently stretching the fiberglass cloth to conform to the shape of the board without distorting the weave.
Step 4: Saturation and Consolidation
Once the fiberglass cloth is in place, carefully saturate it with additional resin, ensuring thorough impregnation and consolidation. Work methodically to eliminate any air pockets and achieve a uniform, translucent appearance, indicating complete saturation. Take care to avoid excessive resin buildup, as this can lead to unnecessary weight and potential performance issues.
Step 5: Curing and Trimming
Allow the resin-saturated fiberglass to cure according to the manufacturer's recommended timeframe, ensuring an optimal bond and structural integrity. Once cured, carefully trim any excess fiberglass cloth around the edges of the surfboard, creating a clean and precise outline.
By meticulously following these steps, you'll effectively apply fiberglass to the surfboard, creating a robust and water-resistant shell that enhances the board's durability and performance. The meticulous application of fiberglass is a critical aspect of the glassing process, contributing to the overall quality and longevity of the finished surfboard.
Read more: How To Glue Glass To Glass Permanently
Sanding and Finishing
Sanding and finishing are the pivotal stages that elevate the surfboard from a raw, resin-coated form to a polished, high-performance watercraft. This phase involves meticulous sanding to achieve a smooth, uniform surface, followed by the application of a final resin coat to seal and protect the fiberglass, culminating in a stunning finish that enhances both the aesthetics and functionality of the surfboard.
Step 1: Initial Sanding
Commence the sanding process by using coarse-grit sandpaper to level the resin-coated surface, removing any irregularities and excess resin. This initial sanding phase aims to create a uniform and smooth foundation, preparing the surfboard for subsequent refinement and finishing. Work methodically, paying attention to detail to ensure an even surface without compromising the integrity of the fiberglass.
Step 2: Fine Sanding
Transition to finer-grit sandpaper to further refine the surface, gradually smoothing out imperfections and achieving a seamless texture. This meticulous fine sanding process is essential for eliminating any remaining blemishes, ensuring that the surfboard's exterior is impeccably smooth and ready for the final resin application. Take care to maintain a consistent pressure and motion during this phase to achieve a flawless finish.
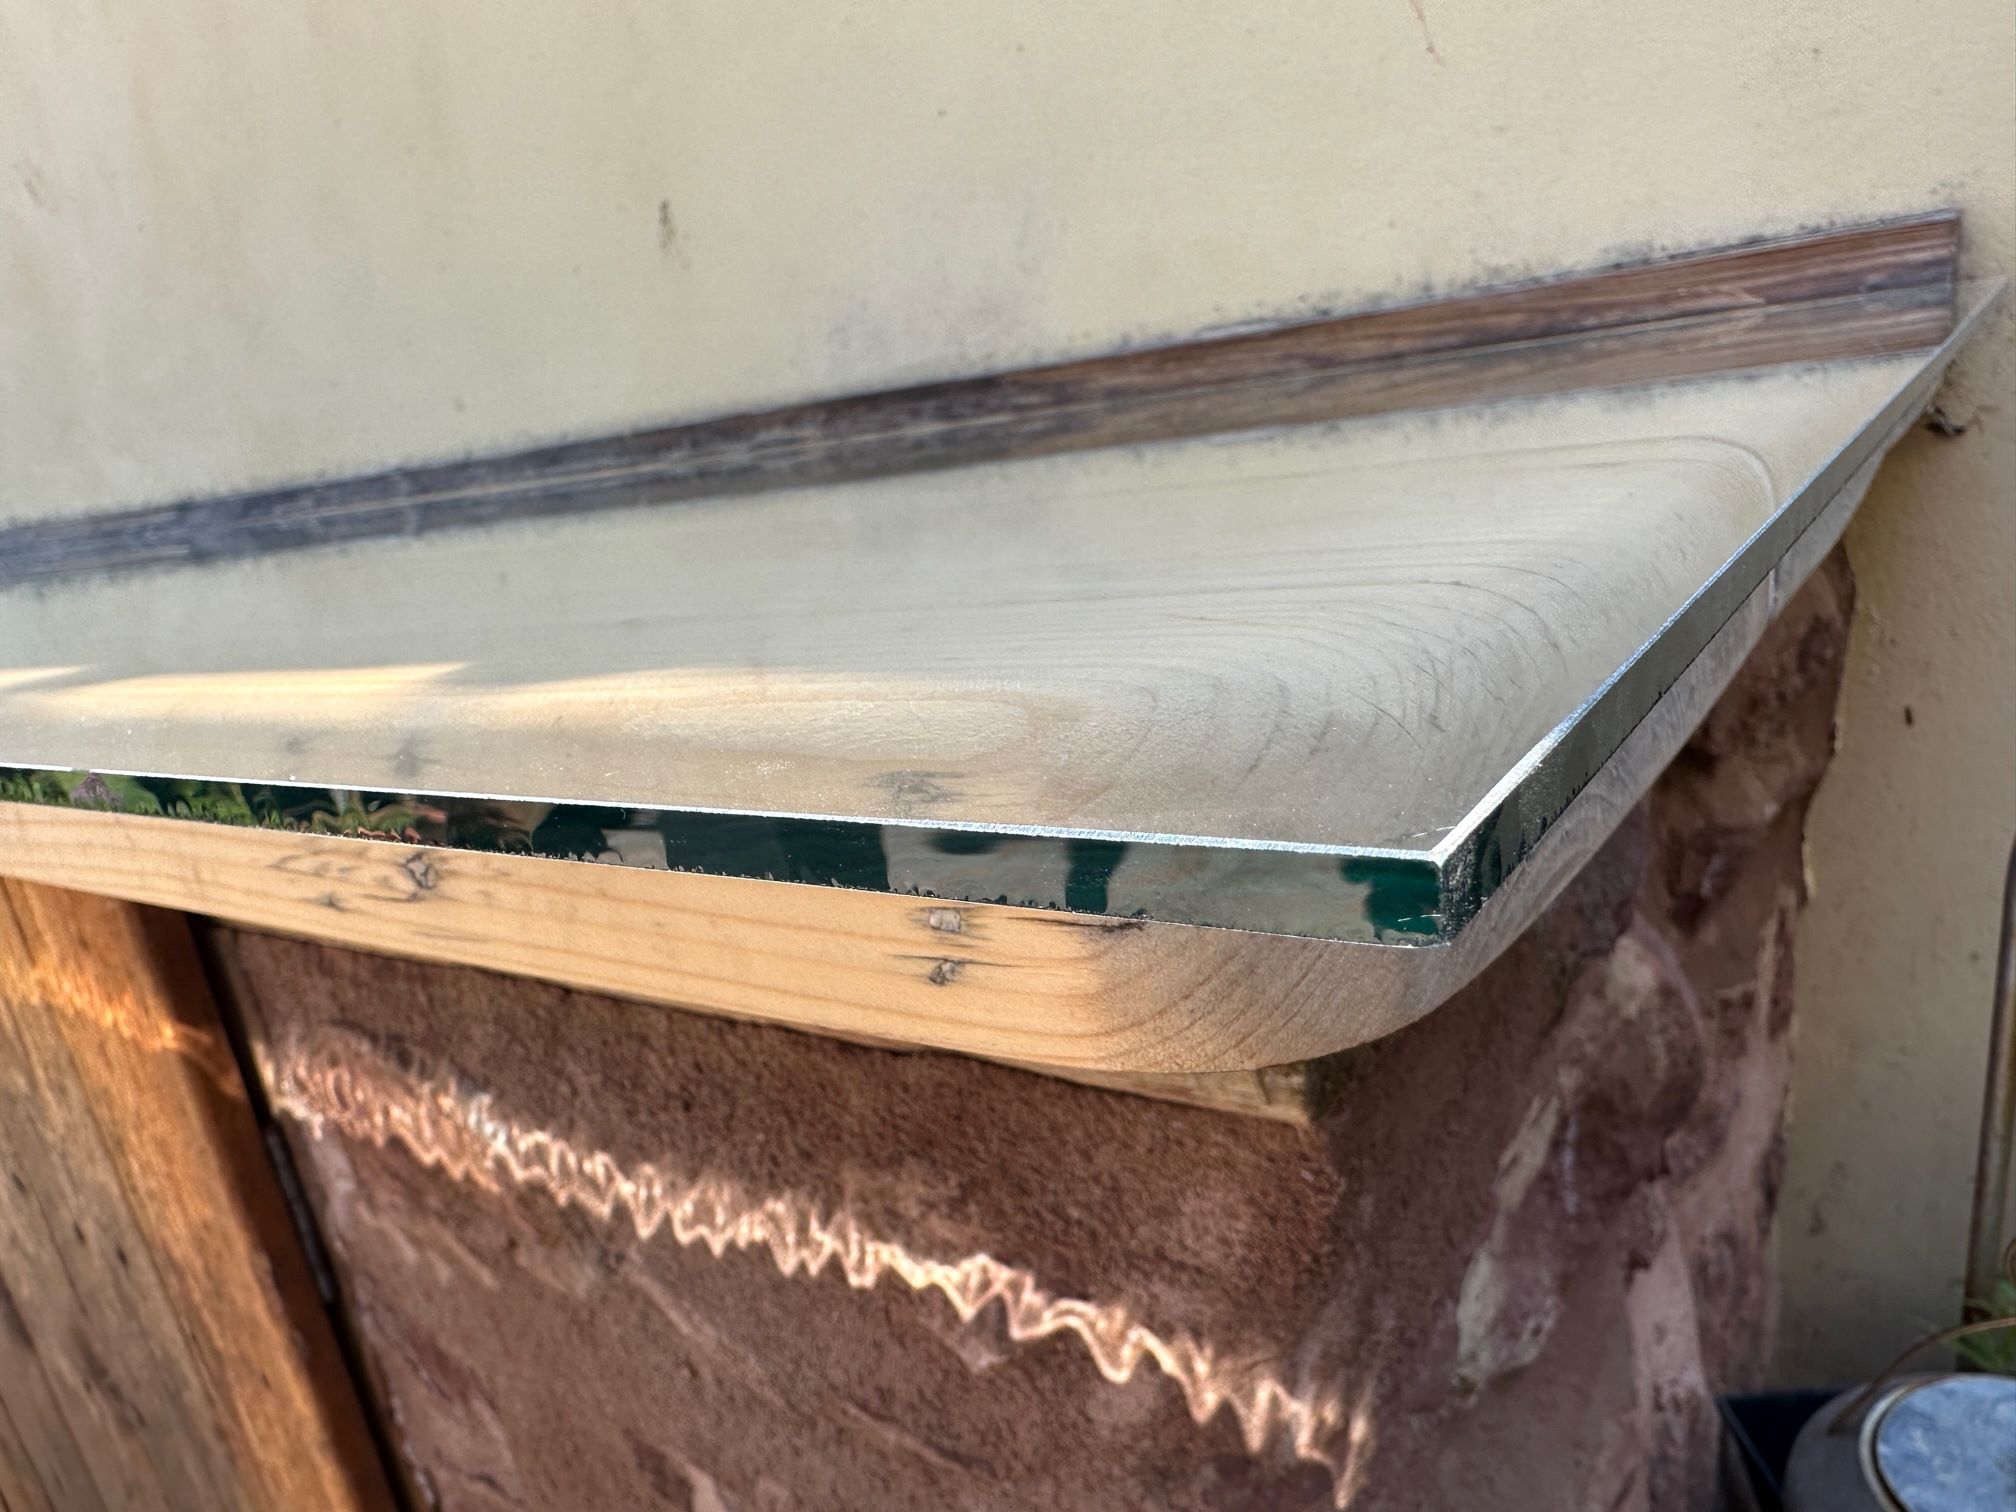
Step 3: Applying the Final Resin Coat
Following the thorough sanding process, apply a final coat of resin to the sanded surface, encapsulating the fiberglass and providing a protective layer that enhances the board's durability and luster. Utilize a brush or squeegee to evenly distribute the resin, ensuring comprehensive coverage and a glossy, uniform appearance. This final resin coat not only seals the fiberglass but also accentuates the vibrant colors and intricate details of the surfboard, adding a captivating visual dimension to the finished product.
Read more: How To Sublimate On Glass
Step 4: Polishing and Buffing
Once the final resin coat has cured, proceed to polish and buff the surfboard to a radiant sheen. Employ polishing compounds and buffing pads to meticulously enhance the luster of the resin, unveiling the full brilliance of the surfboard's finish. This transformative step elevates the surfboard's visual appeal, showcasing the craftsmanship and artistry embedded in every detail.
Step 5: Quality Inspection
Conduct a comprehensive quality inspection, meticulously examining the surfboard's surface for any imperfections or inconsistencies. Address any remaining blemishes or irregularities through targeted sanding and refinishing, ensuring that the surfboard meets the highest standards of quality and aesthetics.
By meticulously navigating through the sanding and finishing process, you'll unveil a surfboard that not only exudes visual allure but also delivers exceptional performance on the waves. The culmination of precise sanding and the application of a final resin coat results in a surfboard that stands as a testament to craftsmanship, artistry, and unwavering dedication to the pursuit of surfboard perfection.
Conclusion
In conclusion, the art of glassing a surfboard is a multifaceted journey that intertwines craftsmanship, creativity, and technical precision. From the meticulous preparation of the surfboard's foam core to the transformative application of fiberglass and resin, each step in the glassing process contributes to the creation of a surfboard that embodies both artistry and functionality.
The process of glassing a surfboard transcends mere construction; it is a convergence of passion and expertise, where surfboard craftsmen and enthusiasts alike channel their creativity into tangible expressions of wave-riding art. The careful selection of materials, the precise application of fiberglass, and the transformative stages of sanding and finishing collectively shape the surfboard into a masterpiece that not only reflects the surfer's individuality but also delivers unparalleled performance on the water.
As the final resin coat glistens under the sun, encapsulating the vibrant hues and intricate details of the surfboard, it serves as a testament to the dedication and artistry poured into every aspect of the glassing process. The surfboard, now a harmonious fusion of form and function, stands ready to carve through the waves, embodying the culmination of craftsmanship and creativity.
The journey of glassing a surfboard is a testament to the enduring allure of surf culture, where the pursuit of perfection intertwines with the exhilaration of riding the ocean's swells. It is a journey that beckons surfboard craftsmen to push the boundaries of innovation and self-expression, continually seeking new techniques and artistic flourishes to elevate their creations.
Ultimately, the art of glassing a surfboard transcends the mere act of construction; it is an immersive experience that intertwines tradition with innovation, craftsmanship with creativity, and the thrill of the surf with the artistry of wave-riding. As the surfboard emerges from the glassing process, it embodies the spirit of its creator, poised to embark on countless adventures and carve indelible memories on the canvas of the ocean.
In the world of surfboard crafting, the art of glassing stands as a testament to the enduring allure of wave-riding, where craftsmanship and creativity converge to shape timeless vessels that carry surfers across the boundless expanse of the sea.
Frequently Asked Questions about How To Glass A Surfboard
Was this page helpful?
At Storables.com, we guarantee accurate and reliable information. Our content, validated by Expert Board Contributors, is crafted following stringent Editorial Policies. We're committed to providing you with well-researched, expert-backed insights for all your informational needs.


0 thoughts on “How To Glass A Surfboard”