Home>Dining>Table Decor>How To Make A Christmas Table Centerpiece
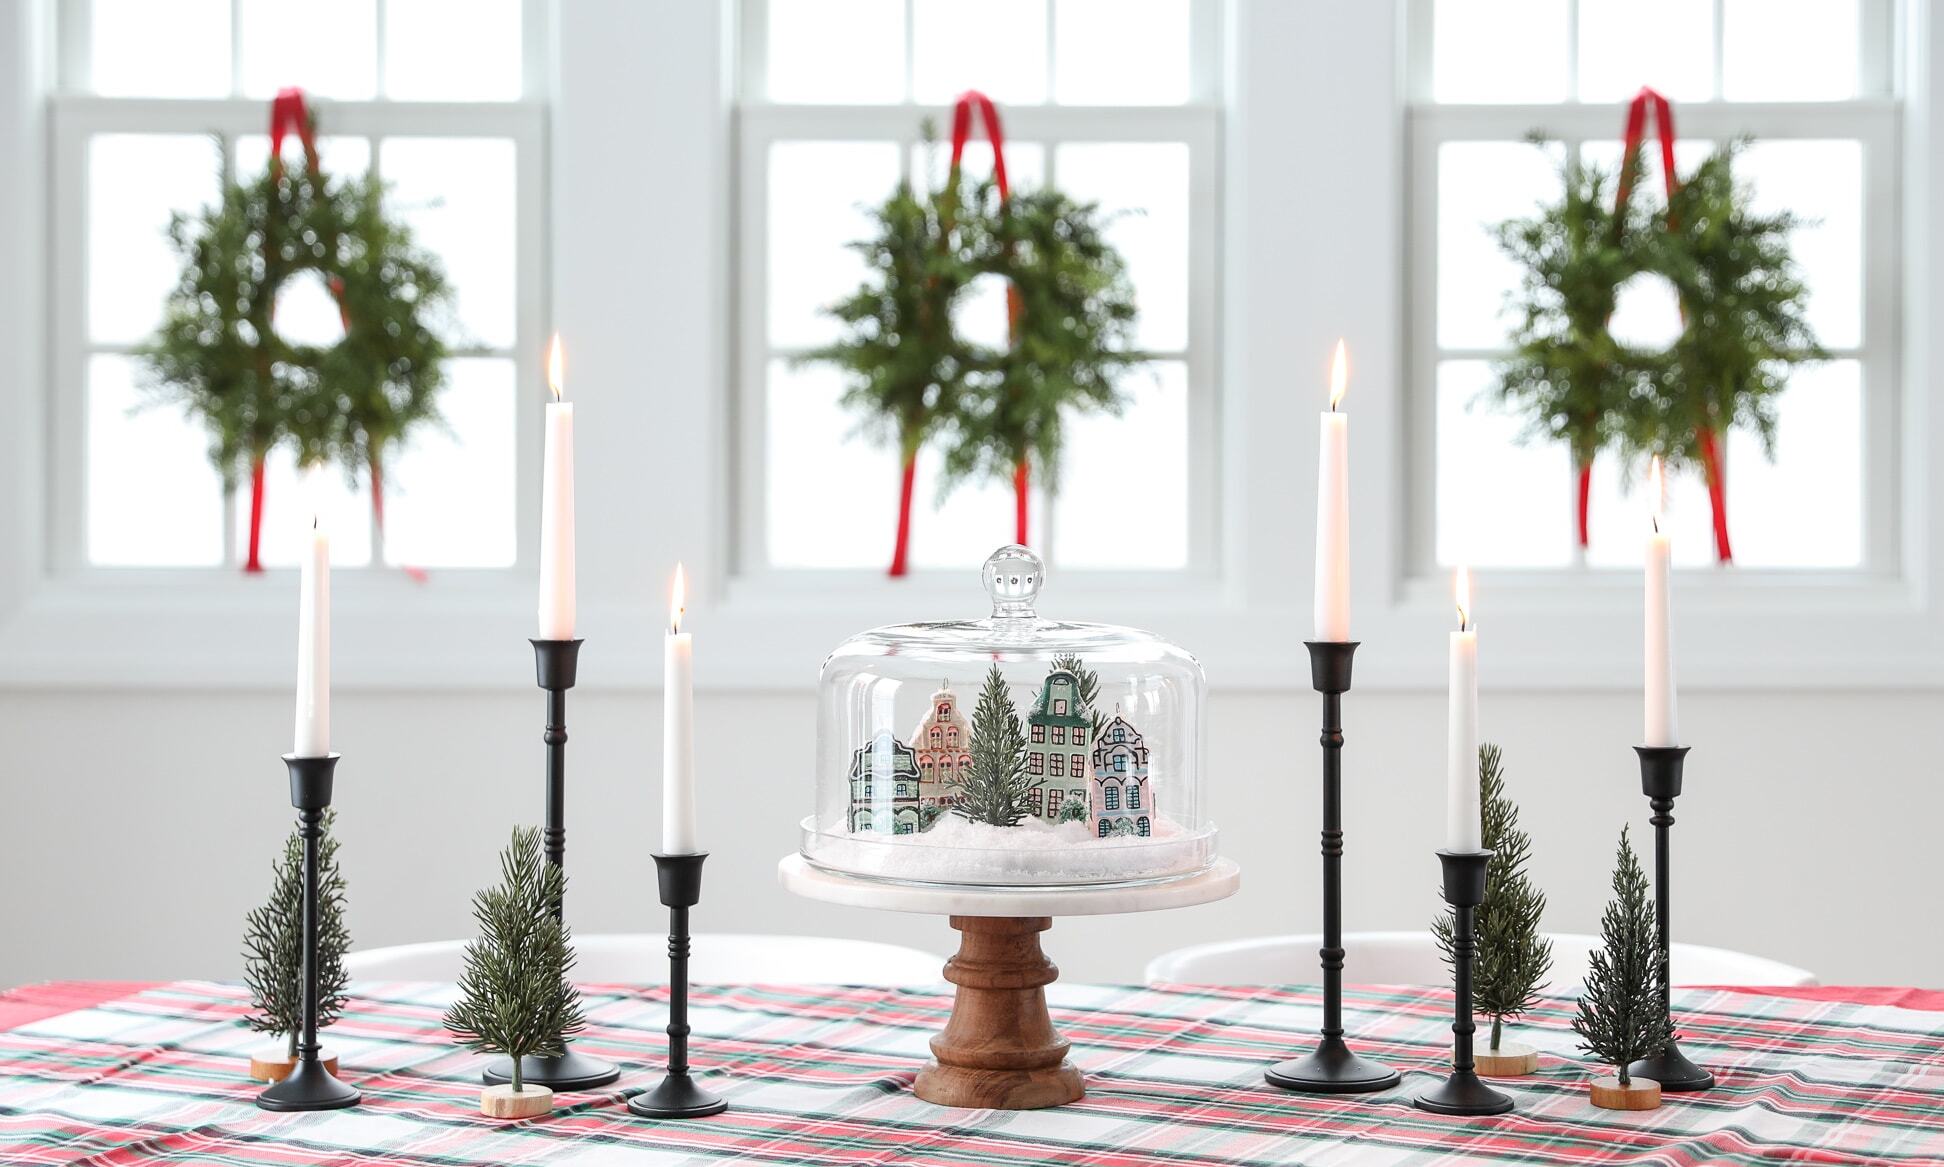
Table Decor
How To Make A Christmas Table Centerpiece
Modified: October 21, 2024
Learn how to create a stunning Christmas table centerpiece with our easy step-by-step guide. Elevate your table decor with festive arrangements and impress your guests!
(Many of the links in this article redirect to a specific reviewed product. Your purchase of these products through affiliate links helps to generate commission for Storables.com, at no extra cost. Learn more)
Introduction
Welcome to the wonderful world of table decor! The holiday season is upon us, and what better way to add a festive touch to your home than by creating a beautiful Christmas table centerpiece. A well-designed centerpiece can instantly transform your dining table into a captivating focal point, setting the stage for a memorable holiday gathering with family and friends.
But where do you begin? Don’t worry – we’ve got you covered. In this article, we’ll provide you with a comprehensive guide on how to make a stunning Christmas table centerpiece that will be the envy of all your guests. So let’s get started!
Key Takeaways:
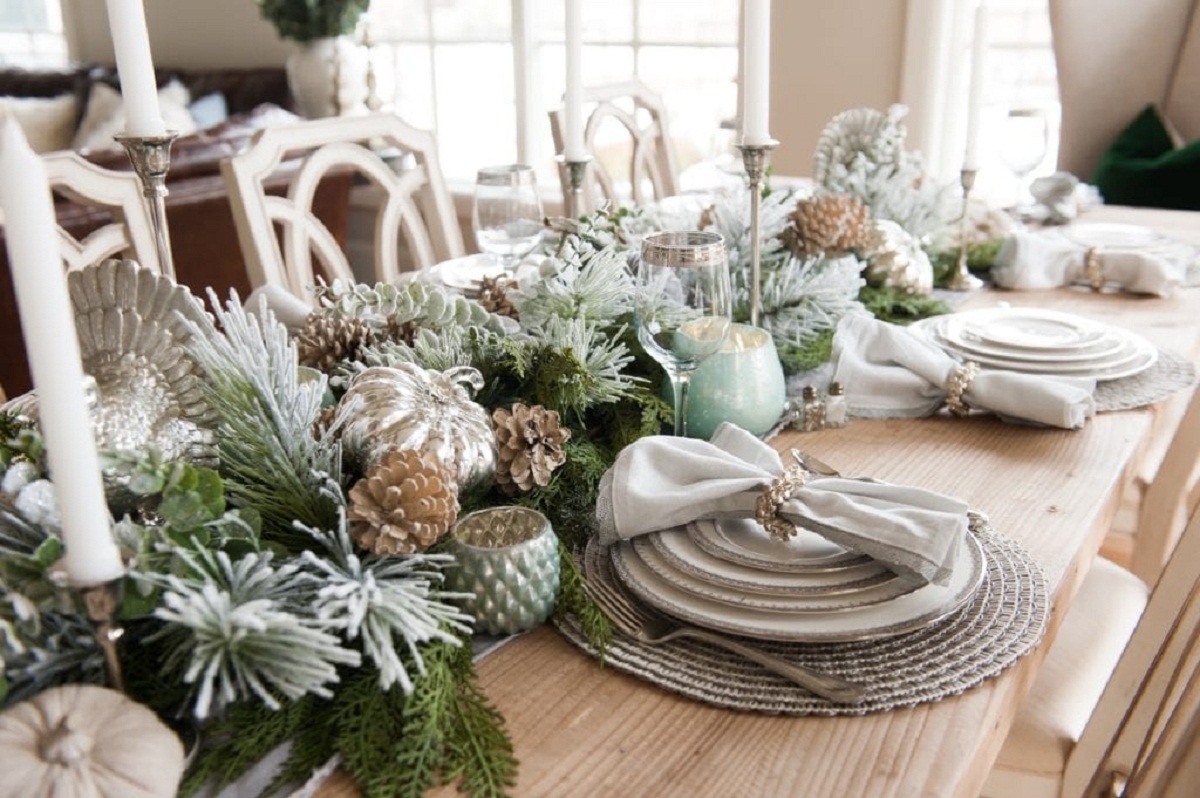
- Create a visually captivating Christmas table centerpiece by gathering greenery, adding decorative elements, incorporating candles, and adding final touches. Personalize your arrangement to suit your unique style and preferences.
- Transform your dining table into a stunning focal point with a well-designed Christmas table centerpiece. Follow the comprehensive guide to gather materials, assemble the base, and create a warm and inviting ambiance with candles.
Read more: How To Make Centerpieces For Christmas
Materials Needed
Before we dive into the steps of creating a Christmas table centerpiece, let’s gather all the necessary materials to bring your vision to life. Here’s a list of what you’ll need:
- A decorative tray or container
- Greenery such as pine branches, cedar, or fir
- Ornaments, pinecones, or berries for embellishments
- Candles or LED lights for a warm glow
- Floral foam or oasis
- Pruning shears or scissors
- Ribbon or fabric for additional decorations
- Optional: small decorative figurines or holiday-themed accents
With these materials in hand, you’re ready to create a stunning centerpiece that suits your style and complements your Christmas décor.
Step 1: Gathering Greenery
The first step in creating a Christmas table centerpiece is to gather the greenery that will serve as the base for your arrangement. Look for fresh pine branches, cedar, or fir, as these types of foliage are commonly associated with the holiday season and will give your centerpiece a festive and aromatic touch.
If you have access to a garden or outdoor space, consider cutting branches from your own trees or bushes. This not only adds a personal and sustainable touch to your centerpiece but also allows you to control the length and quantity of the greenery you gather.
Once you have gathered your greenery, trim any excess leaves or branches using pruning shears or scissors. This will help create a neat and compact arrangement. Take care to remove any thorns or sharp edges that could potentially cause harm or damage to your hands or furniture.
Remember to collect enough greenery to cover the entire base of your tray or container. You want the arrangement to appear full and lush, so be generous with your gathering. Don’t be afraid to mix different types of foliage to add texture and visual interest to your centerpiece.
Now that you have gathered your greenery, it’s time to move on to the next step: assembling the base of your Christmas table centerpiece.
Step 2: Assembling the Base
With your gathered greenery in hand, it’s time to start assembling the base of your Christmas table centerpiece. This step will provide a solid foundation for the rest of your arrangement, ensuring stability and balance.
Begin by preparing your container or tray. Make sure it is clean and free from any debris. If using floral foam or oasis, soak it in water for a few minutes to ensure it is fully hydrated. This will help keep your greenery fresh for longer.
Place the soaked floral foam or oasis in the center of your container or tray. Once in place, start inserting the greenery into the foam, working your way from the outer edges towards the center. Angle the branches slightly upwards to create depth and dimension.
Continue adding the greenery until the foam is completely covered, ensuring there are no visible gaps or holes. As you work, step back occasionally to assess the balance and symmetry of your arrangement. Adjust and trim any excess branches if necessary.
Remember to vary the lengths and textures of the greenery to create visual interest. Mix in different types of foliage, such as pine, cedar, and fir, to add depth and a natural aesthetic to your centerpiece.
With the base of your Christmas table centerpiece complete, it’s time to move on to the next step: adding decorative elements to enhance the festive vibe.
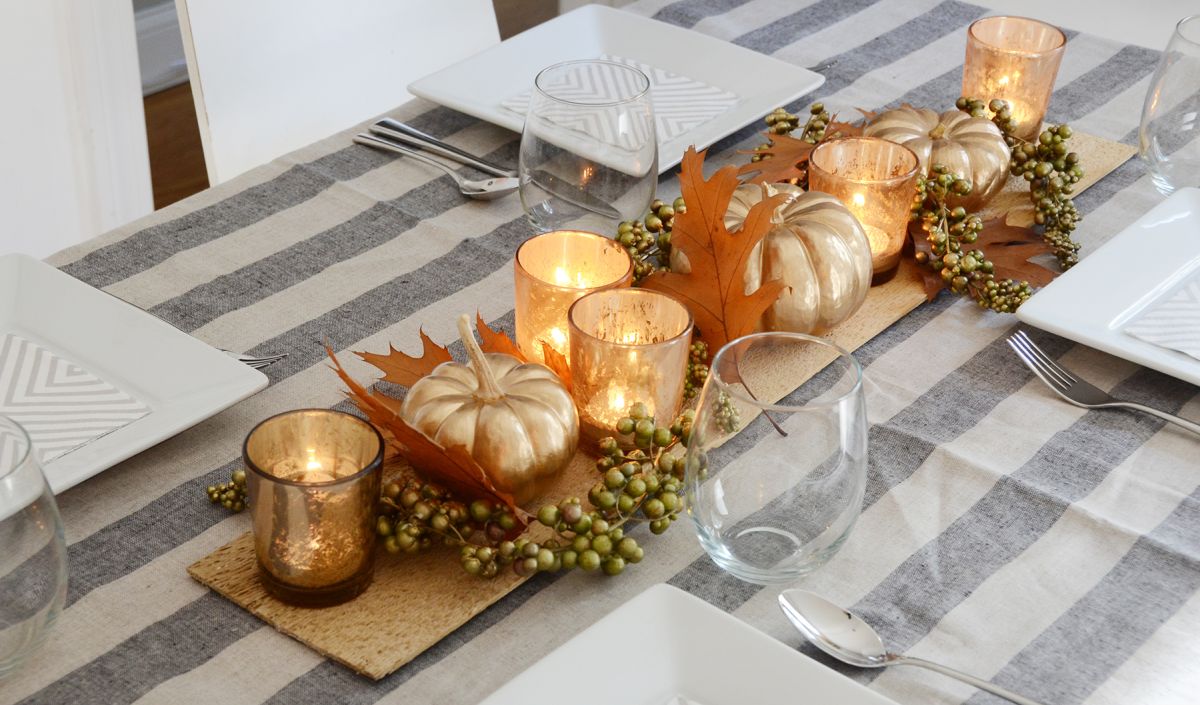
Consider using a mix of fresh greenery, pine cones, and candles to create a festive Christmas table centerpiece. Add in some seasonal flowers or ornaments for extra flair.
Step 3: Adding Decorative Elements
Now that you have assembled the base of your Christmas table centerpiece, it’s time to add some decorative elements to make it truly festive and eye-catching. This step is where you can let your creativity shine and personalize your arrangement to suit your holiday theme or style.
Start by incorporating ornaments, pinecones, or berries into your centerpiece. Place them strategically throughout the greenery, spacing them evenly to create a sense of balance. Opt for ornaments in various colors and sizes to add visual interest and depth. If you prefer a more rustic look, natural elements like pinecones and berries can add a touch of charm and earthiness to your arrangement.
Incorporating ribbons or fabric is another great way to enhance the festive atmosphere. Wrap a ribbon around the base of the container or tray, or intertwine it within the greenery for a pop of color and texture. You can also drape a piece of fabric, such as velvet or plaid, around the centerpiece to create a cozy and inviting feel.
For an extra touch of whimsy, consider adding small decorative figurines or holiday-themed accents. This could be a miniature Santa Claus, reindeer, or snowman figurine placed strategically within the greenery. These additions can bring a fun and playful element to your centerpiece.
As you add these decorative elements, step back and assess the overall look of your centerpiece. Make any necessary adjustments to ensure everything is well-balanced and visually pleasing. Don’t be afraid to experiment and rearrange items until you achieve the desired effect.
Now that your centerpiece is adorned with festive elements, it’s time to move on to the next step: incorporating candles to create a warm and inviting ambiance.
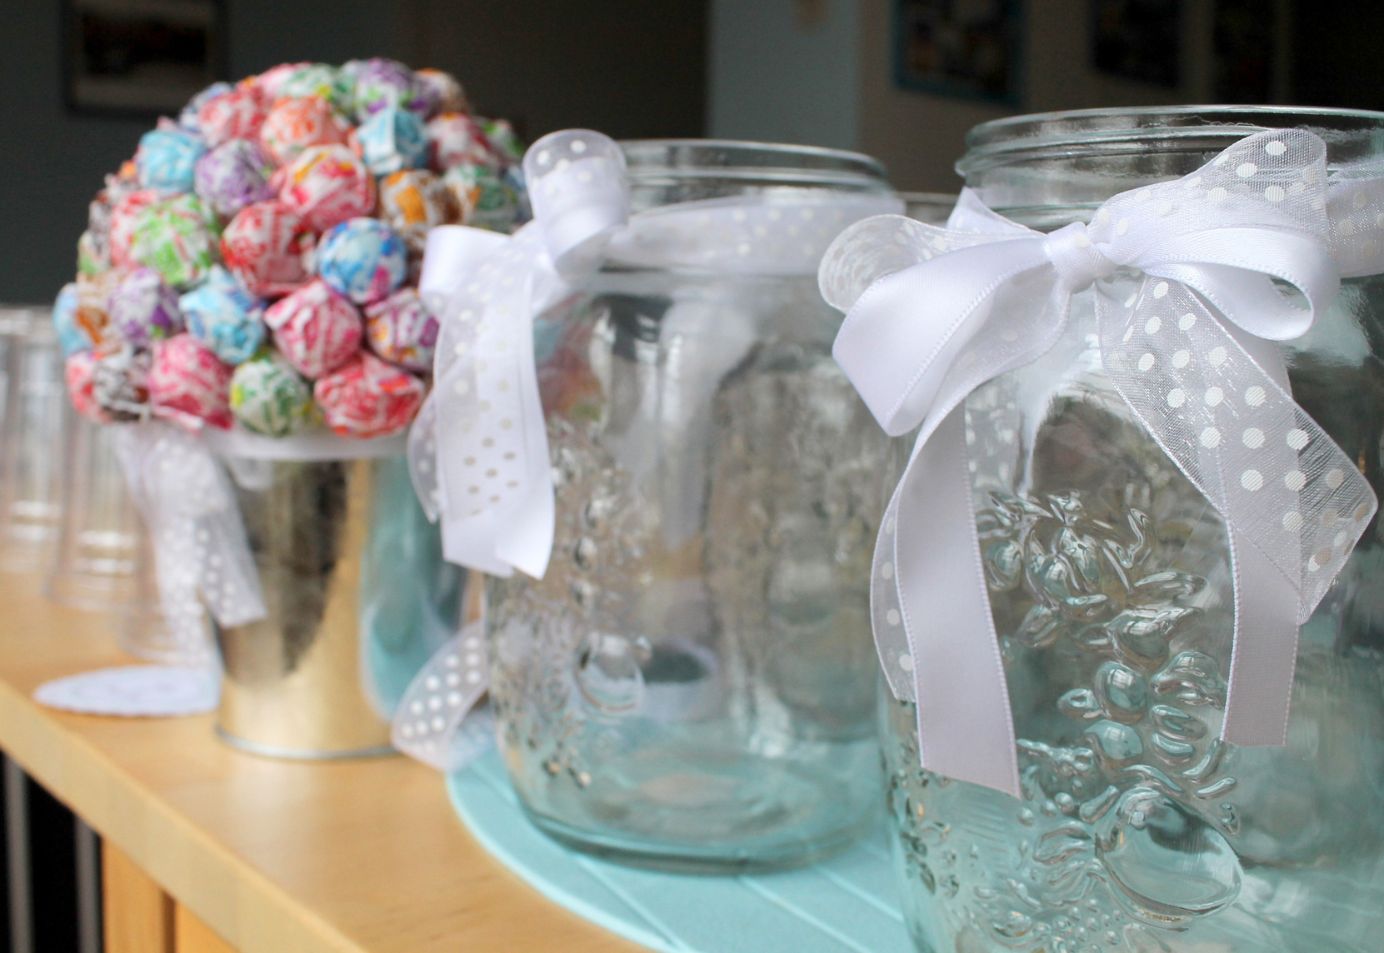
Read more: How To Make Centerpieces With Candy
Step 4: Incorporating Candles
Candles are a quintessential element of Christmas decor, and incorporating them into your centerpiece will add a warm and inviting glow to your holiday table. Whether you choose traditional candles or opt for safer LED lights, they will create a cozy and magical ambiance.
If using traditional candles, make sure to place them securely and safely within your centerpiece. Ensure they are positioned away from any flammable materials and that they are not at risk of being knocked over or coming into contact with the greenery.
If you prefer a flameless option, LED lights or battery-operated candles can provide a similar effect without the risk of fire. These are especially great if you have small children or pets in the house or if you plan on having your centerpiece displayed for an extended period of time.
When incorporating candles into your centerpiece, consider their placement for optimal visual impact. You can position them at different heights within the greenery, using candle holders or by inserting them directly into the foam or oasis. To create a more enchanting display, try using candles of varying sizes and shapes.
As you arrange the candles, step back and assess the overall effect. Make sure they are evenly spaced and that their placement complements the rest of the elements in your centerpiece. Avoid overcrowding the candles, as you want each one to shine and contribute to the warm and magical atmosphere.
Remember to exercise caution when using real candles and never leave them unattended. If you plan on having your centerpiece lit for an extended period of time, consider using battery-operated candles for added peace of mind.
With the candles incorporated into your centerpiece, it’s time for the final touches and preparing to display your beautiful creation.
Step 5: Final Touches and Displaying the Centerpiece
You’re nearing the final step of creating your Christmas table centerpiece! Now it’s time to add those finishing touches that will complete the look and ensure your centerpiece is ready for display.
Take a moment to carefully inspect your arrangement and make any necessary adjustments. Trim any stray branches or foliage that may obscure the overall design or obstruct the view of the decorative elements and candles.
If desired, you can add some final decorative touches to enhance the overall aesthetic. Consider scattering faux snow or glitter over the greenery for a touch of sparkle and a wintry feel. You can also incorporate small ornaments or beads for additional pops of color and texture.
Once you are satisfied with the final look of your centerpiece, decide where and how you want to display it. The dining table is an obvious choice, but you can also place it on a sideboard, mantel, or coffee table for a festive touch.
Keep in mind the size and proportions of your centerpiece in relation to the surface it will be displayed on. You want the arrangement to be visually pleasing and not overwhelm the space. If needed, adjust the height or width of the centerpiece by adding or removing greenery.
Consider the overall theme and decor of your Christmas celebration when choosing the location for your centerpiece. It should complement the surrounding elements and contribute to the festive atmosphere.
Once your centerpiece is in its designated spot, step back and admire your handiwork. The combination of lush greenery, decorative elements, candles, and final touches has resulted in a stunning focal point for your holiday table.
Remember to keep your centerpiece hydrated throughout the holiday season by lightly misting the greenery with water every few days. This will help to keep it fresh and vibrant for as long as possible.
Now it’s time to sit back, relax, and enjoy the warm and inviting ambiance created by your beautiful Christmas table centerpiece.
Conclusion
Congratulations on creating a gorgeous Christmas table centerpiece! Now you have a stunning focal point that will undoubtedly enhance the festive spirit in your home and wow your guests during holiday gatherings.
By following the steps outlined in this guide, you were able to gather greenery, assemble the base, add decorative elements, incorporate candles, and add final touches to create a visually captivating centerpiece. The combination of natural elements, festive embellishments, and the warm glow of candles has brought the magic of the holiday season to your dining table.
Remember that creativity and personalization are key when it comes to creating a centerpiece. Feel free to experiment with different materials, colors, and textures to suit your own unique style and preferences. There is no right or wrong way to design your centerpiece – it’s all about expressing your creativity and creating a piece that brings joy and delight to your home.
As you enjoy the holiday season, be sure to maintain your centerpiece by keeping the greenery hydrated and making any necessary adjustments to ensure it stays fresh and visually appealing. With proper care, your centerpiece will continue to bring warmth and charm to your holiday decor throughout the season.
Finally, don’t forget that the most important part of the season is celebrating with loved ones and creating cherished memories. Your beautifully crafted centerpiece will serve as a backdrop for those special moments, adding an extra touch of enchantment to your gatherings.
Thank you for joining us on this journey to create a Christmas table centerpiece. We hope you found this guide informative, inspiring, and enjoyable. May your holidays be filled with joy, love, and an abundance of festive cheer!
Frequently Asked Questions about How To Make A Christmas Table Centerpiece
Was this page helpful?
At Storables.com, we guarantee accurate and reliable information. Our content, validated by Expert Board Contributors, is crafted following stringent Editorial Policies. We're committed to providing you with well-researched, expert-backed insights for all your informational needs.


0 thoughts on “How To Make A Christmas Table Centerpiece”