Home>Garden Essentials>How To Grow Mint From Seed Indoors
Garden Essentials
How To Grow Mint From Seed Indoors
Modified: March 15, 2024
Learn how to successfully grow mint from seed indoors and create your own garden oasis. Discover expert tips and tricks for a thriving indoor garden experience.
(Many of the links in this article redirect to a specific reviewed product. Your purchase of these products through affiliate links helps to generate commission for Storables.com, at no extra cost. Learn more)
Introduction
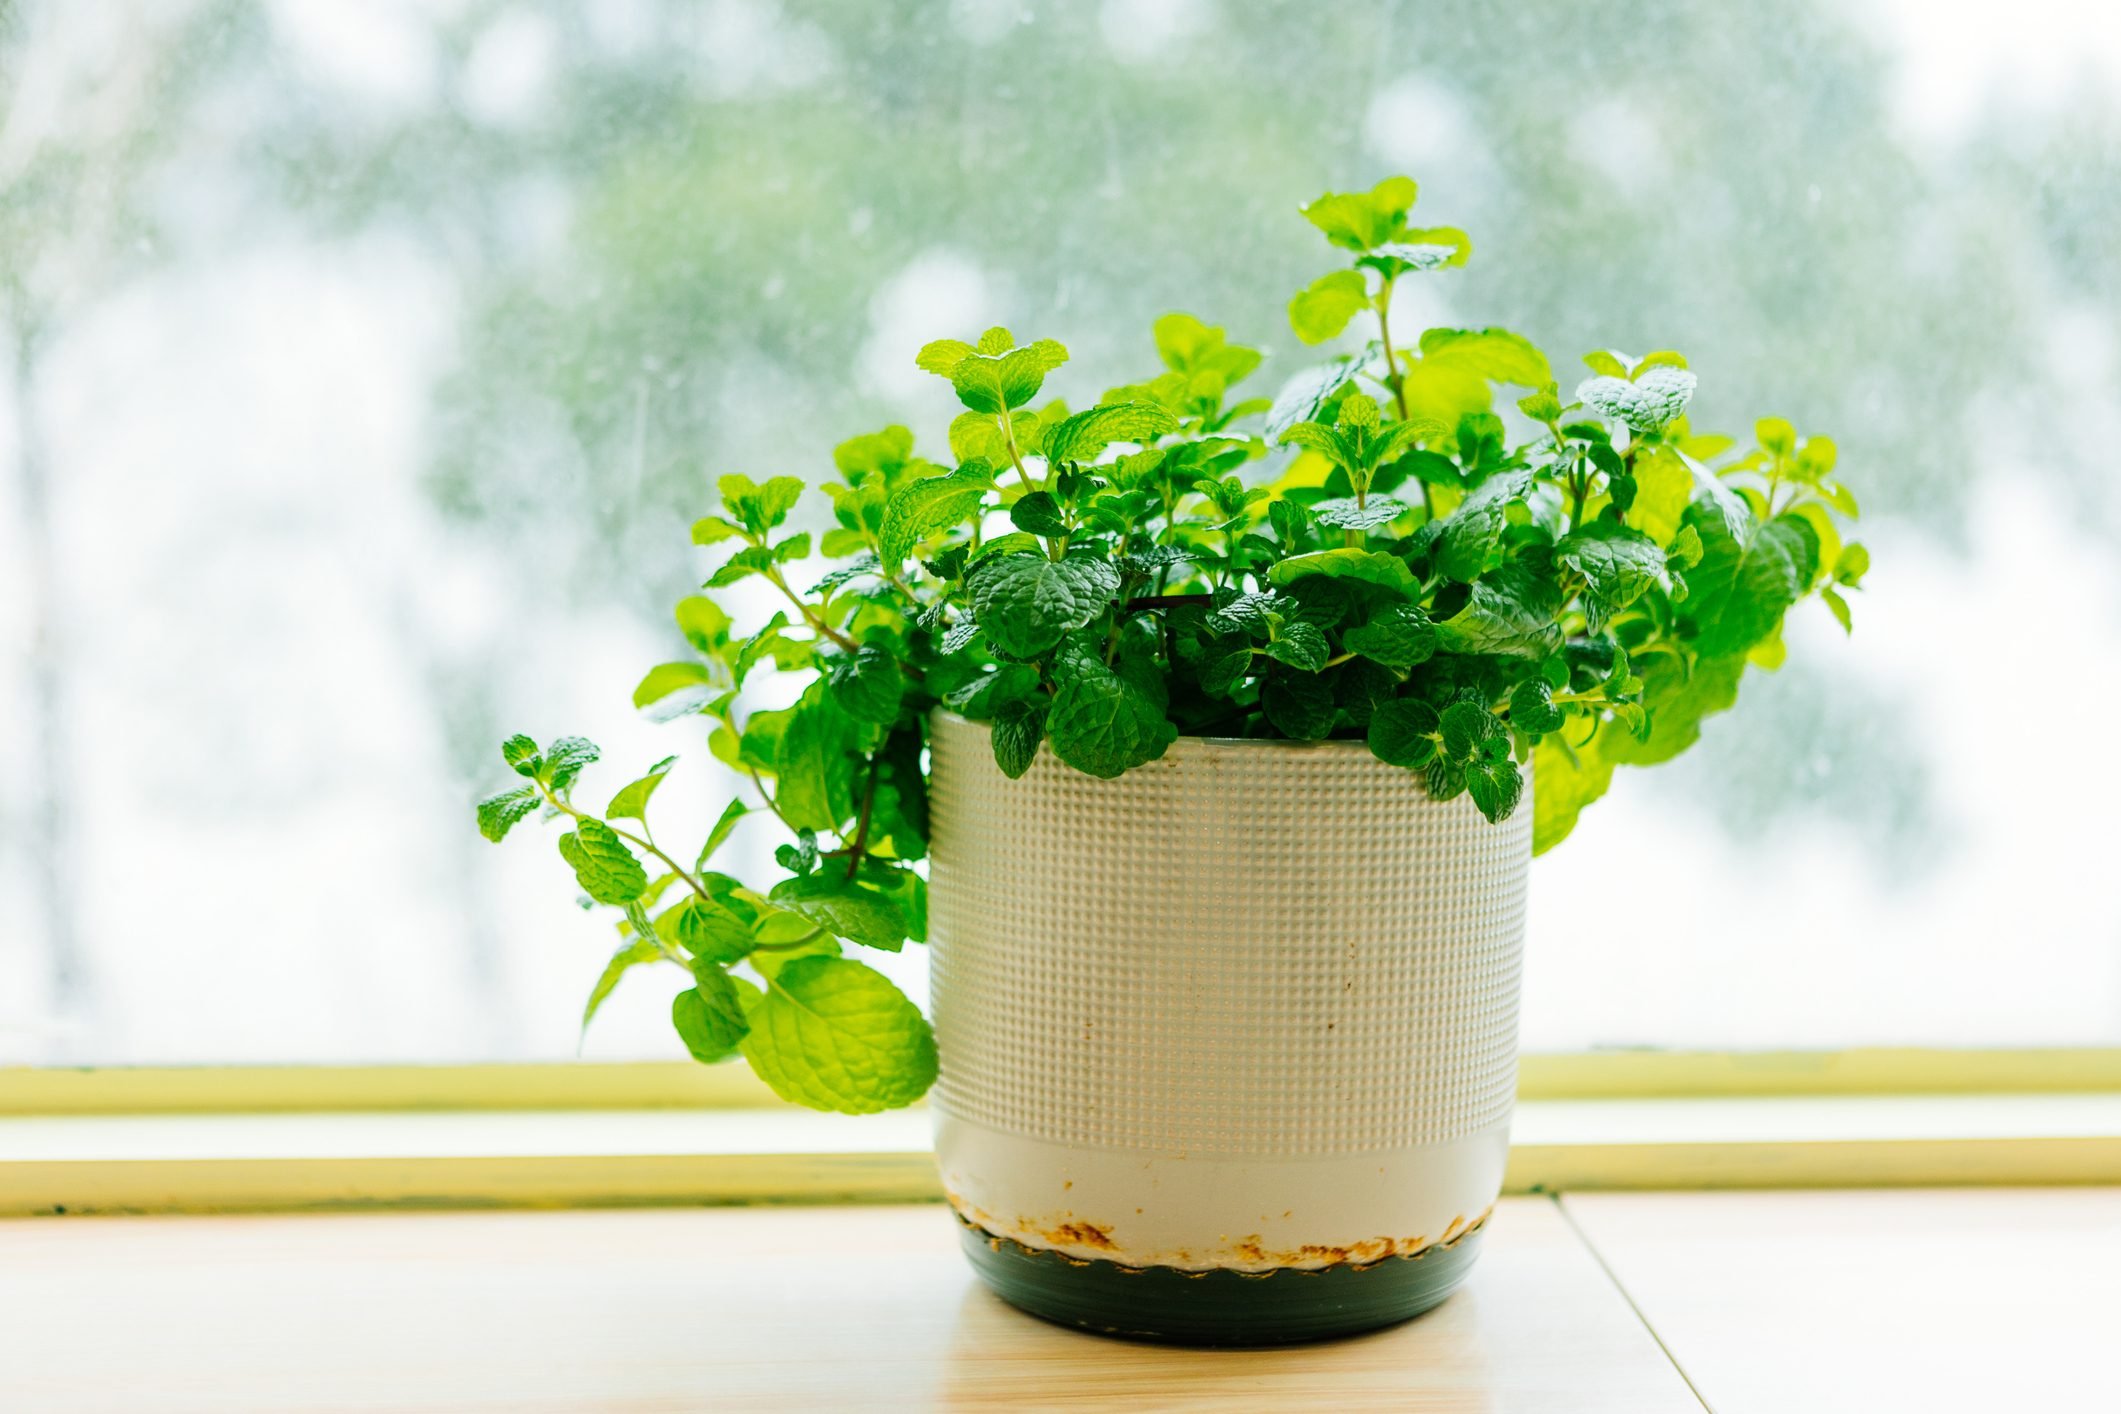
Welcome to the wonderful world of gardening! If you’re looking to add a fresh and fragrant herb to your indoor garden, growing mint from seed is a fantastic choice. Mint is not only easy to grow, but it also offers a range of practical uses, from making delicious teas to adding flavor to recipes and even repelling pesky insects.
When you grow mint from seed indoors, you have control over its environment, ensuring optimal growing conditions. Whether you’re a seasoned gardener or a complete beginner, this guide will walk you through the steps of successfully starting mint seeds indoors and nurturing them into flourishing plants.
Before we dive into the process, let’s take a moment to explore the different mint varieties available. This will help you choose the right type of mint to suit your tastes and preferences.
Key Takeaways:
- Grow mint indoors for fresh, aromatic leaves to enhance teas, cocktails, and dishes. Choose the right variety, provide optimal conditions, and enjoy the flavorful harvest!
- Start mint seeds indoors for a versatile herb with practical uses. From choosing the right variety to nurturing seedlings, enjoy the joys of homegrown mint!
Read more: How Long Does It Take To Grow Mint From Seed
Choosing the Right Mint Variety
Mint is a versatile herb with various flavors and aromas. There are several mint varieties to choose from, each with its own unique characteristics. Here are some popular mint varieties to consider:
- Peppermint (Mentha x piperita): Peppermint is known for its refreshing and cooling menthol flavor. It is widely used in teas, desserts, and as a natural remedy for digestive issues.
- Spearmint (Mentha spicata): Spearmint has a milder flavor compared to peppermint, with hints of sweetness. It is commonly used in cooking, particularly in Mediterranean and Middle Eastern cuisines.
- Chocolate Mint (Mentha x piperita ‘Chocolate’): This variety has a delightful chocolatey aroma. It adds a unique twist to desserts and beverages.
- Orange Mint (Mentha x piperita ‘Orange’): As the name suggests, this mint variety has a citrusy scent reminiscent of oranges. It is an excellent addition to fruit salads, cocktails, and herbal teas.
- Lemon Mint (Monarda citriodora): Although not a true mint, Lemon Mint is worth mentioning for its intense lemony fragrance. It can be used in salads, marinades, and herbal infusions.
Consider your preferences and the intended use of your mint when selecting a variety. If you’re unsure, you can always experiment with different types to find your favorites. Once you’ve chosen the perfect mint variety, it’s time to gather the necessary materials for starting your seeds.
Gather Necessary Materials
Before you begin the process of growing mint from seed indoors, it’s important to gather all the necessary materials. Having everything prepared and readily available will make the entire process smoother and more efficient. Here are the materials you’ll need:
- Mint Seeds: Start by obtaining high-quality mint seeds from a reputable source. Ensure that the seeds are fresh and have not expired for optimal germination.
- Seed Starting Mix: Look for a well-draining and nutrient-rich seed starting mix. Avoid using regular garden soil, as it can be too heavy and may hinder seed germination.
- Pots or Seed Trays: Choose containers that have drainage holes at the bottom to prevent waterlogging. Individual pots or seed trays are suitable for starting mint seeds.
- Plastic Wrap or Seedling Dome: To create a humid environment for germination, cover the containers with plastic wrap or use a seedling dome.
- Grow Lights or Sunny Windowsill: Mint plants require bright light for healthy growth. If you don’t have access to natural sunlight, consider using fluorescent grow lights.
- Watering Can or Spray Bottle: It’s essential to keep the soil consistently moist during the germination and growing stages. A watering can or spray bottle will help you control the water flow and prevent overwatering.
- Organic Fertilizer: Once the mint seedlings have reached a certain size, they will benefit from the application of a mild, organic fertilizer.
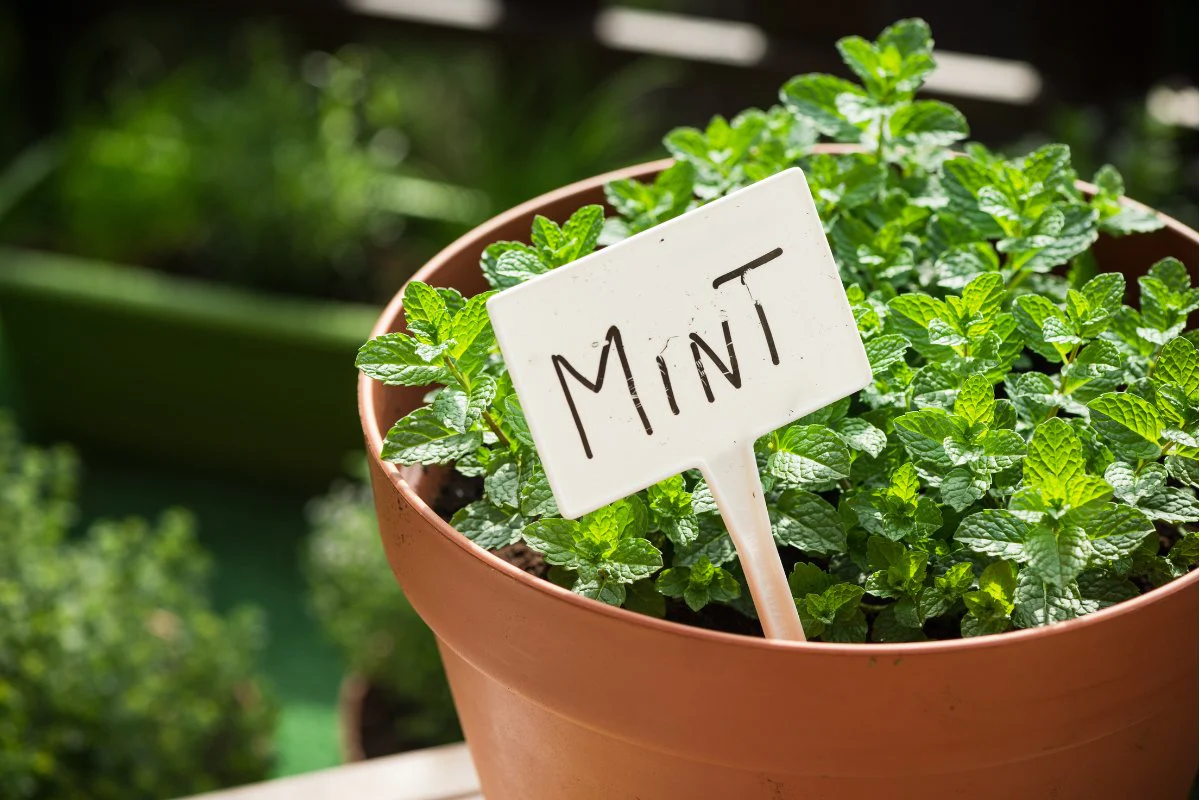
- Labels or Markers: To keep track of the different mint varieties and plantings, use labels or markers to identify each container.
By ensuring that you have all these materials ready, you’ll be well-prepared to start the process of growing mint from seed indoors. The next step is preparing the seed starting mix, which we’ll discuss in detail.
Preparing the Seed Starting Mix
The success of growing mint from seed indoors starts with a well-prepared seed starting mix. Creating a suitable growing medium will provide the necessary nutrients and aeration for the seeds to germinate and thrive. Here’s how to prepare the seed starting mix:
- Choose the Right Mix: Look for a high-quality seed starting mix that is well-draining and lightweight. You can find pre-packaged mixes at garden centers or create your own by combining equal parts of peat moss, perlite, and vermiculite.
- Sterilize the Mix: If you’re using homemade or reusable containers, it’s important to sterilize the seed starting mix to prevent the growth of harmful pathogens. Place the mix in a large baking tray and moisten it slightly. Heat the mix in the oven at 180°F (82°C) for about 30 minutes to kill any pathogens.
- Moisten the Mix: Before sowing the mint seeds, moisten the seed starting mix to the appropriate moisture level. The mix should be damp but not waterlogged. Add water gradually, mixing it with the soil until it reaches the desired consistency.
Once you have prepared the seed starting mix, you’re ready to sow the mint seeds and kickstart the germination process. Remember to handle the seeds with care and provide them with the optimal growing conditions to ensure successful growth. In the next section, we will discuss the steps for sowing the mint seeds.
Sowing the Mint Seeds
Now that you have your seed starting mix ready, it’s time to sow the mint seeds. Proper sowing techniques will maximize germination rates and set the stage for healthy seedling growth. Follow these steps to ensure successful seed sowing:
- Fill Containers: Fill your seed trays or pots with the moistened seed starting mix, leaving about 1 inch (2.5 cm) of space at the top.
- Plant Seeds: Place 2-3 mint seeds on top of the soil in each container. Space them evenly to provide enough room for the seedlings to grow.
- Cover Seeds: Gently press the seeds into the soil using your finger or the back of a spoon. Aim for a depth of about 1/4 to 1/2 inch (0.6 to 1.3 cm). Avoid burying the seeds too deep, as they require light for germination.
- Mist the Soil: Lightly mist the soil surface with water to settle the seeds in place without disturbing them. Be careful not to oversaturate the soil.
- Label and Cover: Place labels or markers in each container to identify the mint variety. Cover the containers with plastic wrap or use a seedling dome to create a humid environment.
- Provide Warmth: Mint seeds germinate best in warm temperatures between 65-75°F (18-24°C). You can place the containers on a seedling heat mat or in a warm location in your home.
- Monitor and Water: Check the containers daily to ensure that the soil remains moist. Water gently with a spray bottle or misting wand if necessary.
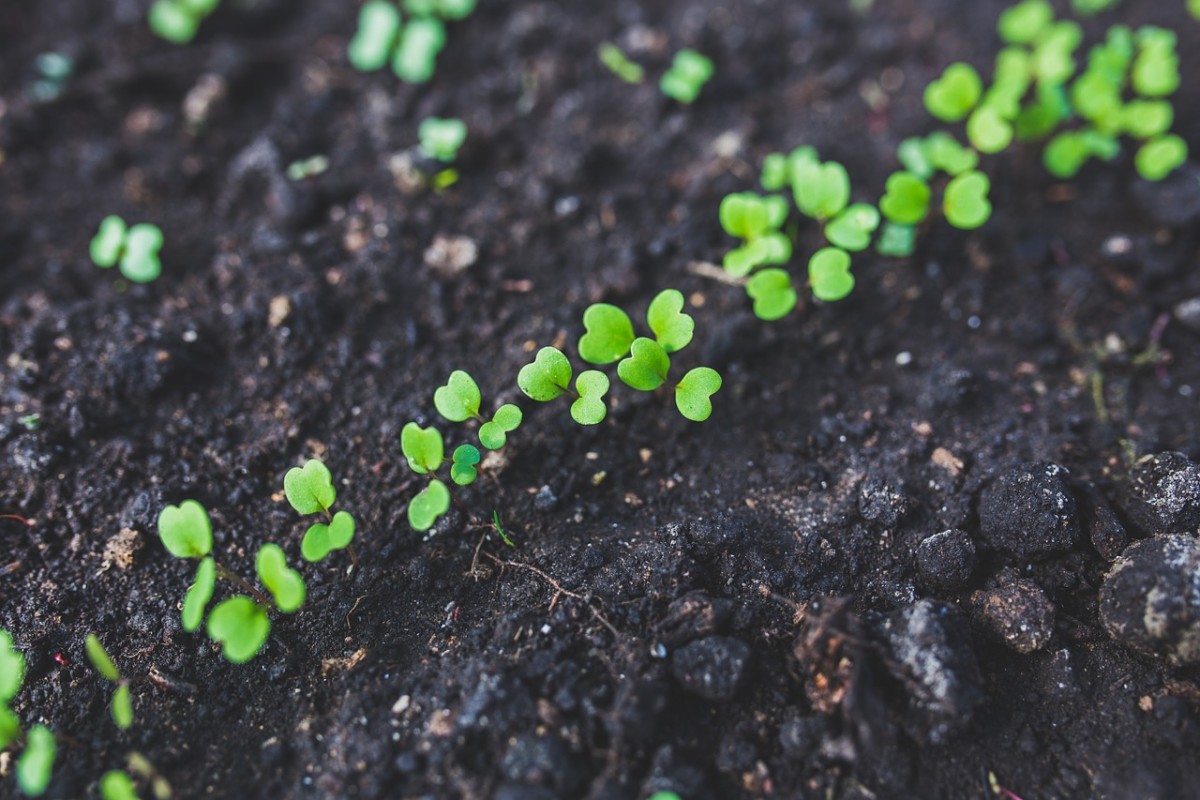
Within 7-14 days, you should start to see tiny mint seedlings emerging from the soil. Once the seedlings have sprouted, it’s essential to provide them with optimal growing conditions to promote healthy growth. In the next section, we’ll discuss the key factors for providing the best environment for your mint seedlings.
Read more: How To Grow Sage Indoors From Seed
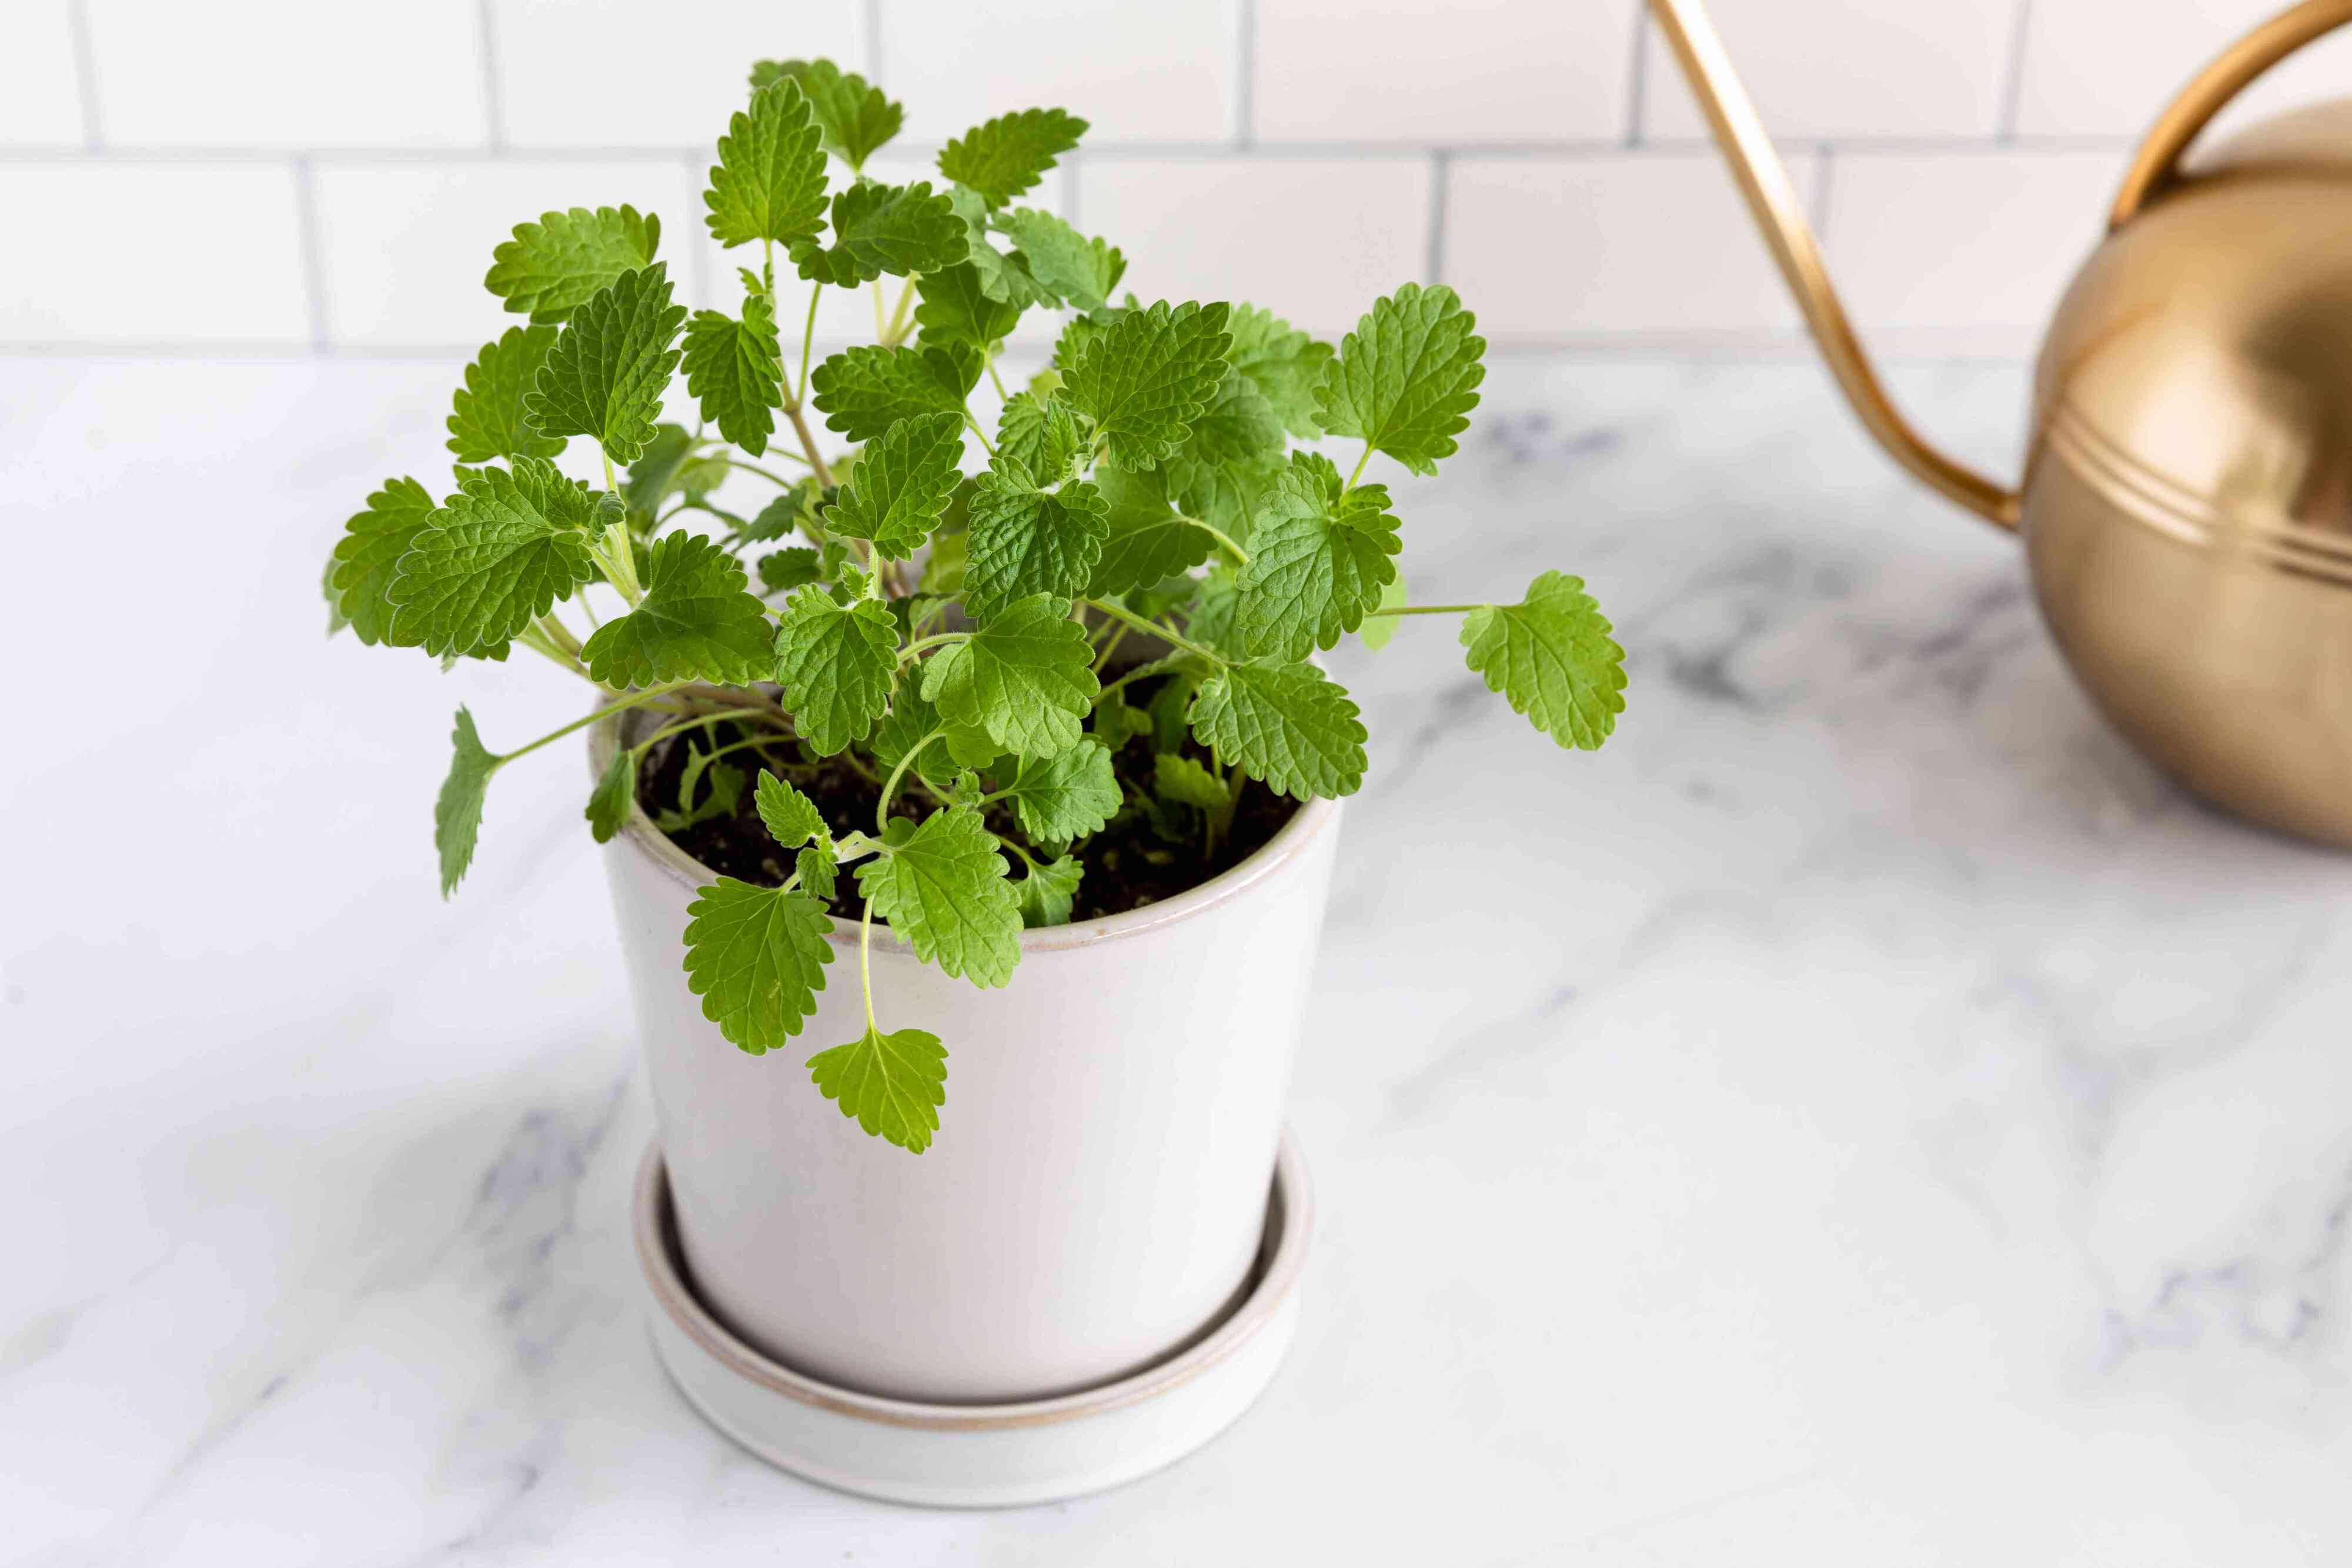
Providing the Optimal Growing Conditions
After the mint seeds have germinated and the seedlings have emerged, it’s crucial to provide them with the optimal growing conditions for healthy development. Here are the key factors to consider:
- Light: Mint plants thrive in bright, indirect sunlight. If you’re growing mint indoors, place the containers near a south-facing window where they can receive at least 6-8 hours of sunlight per day. If natural light is insufficient, supplement with fluorescent grow lights positioned 6-12 inches (15-30 cm) above the seedlings.
- Temperature: Mint plants prefer moderate temperatures between 60-70°F (15-21°C). Avoid exposing them to extreme heat or cold drafts, as this can stress the plants.
- Air Circulation: Proper air circulation helps prevent the growth of fungi and improves transpiration. Place a small fan nearby to provide gentle air movement around the seedlings.
- Watering: Mint plants prefer consistently moist soil. Water the seedlings whenever the top inch (2.5 cm) of soil feels dry. Avoid overwatering, as it can lead to root rot. Always water at the base of the plants to keep the foliage dry, as damp leaves can invite fungal diseases.
- Humidity: Mint seedlings benefit from higher humidity levels during their early stages. If the air in your home is dry, mist the plants or place the containers on a tray filled with water and pebbles to increase humidity around the seedlings.
As the mint seedlings grow, they will develop multiple sets of true leaves. At this stage, they will require additional nutrients for optimal growth. In the next section, we’ll discuss watering and fertilizing techniques to ensure your mint plants thrive.
To grow mint from seed indoors, start by planting the seeds in a small pot with well-draining soil. Keep the soil consistently moist and place the pot in a sunny location. Once the seedlings have grown a few inches tall, you can transplant them into larger pots or directly into the garden.
Watering and Fertilizing
Proper watering and fertilizing are crucial for the healthy growth of your mint plants. Here’s what you need to know:
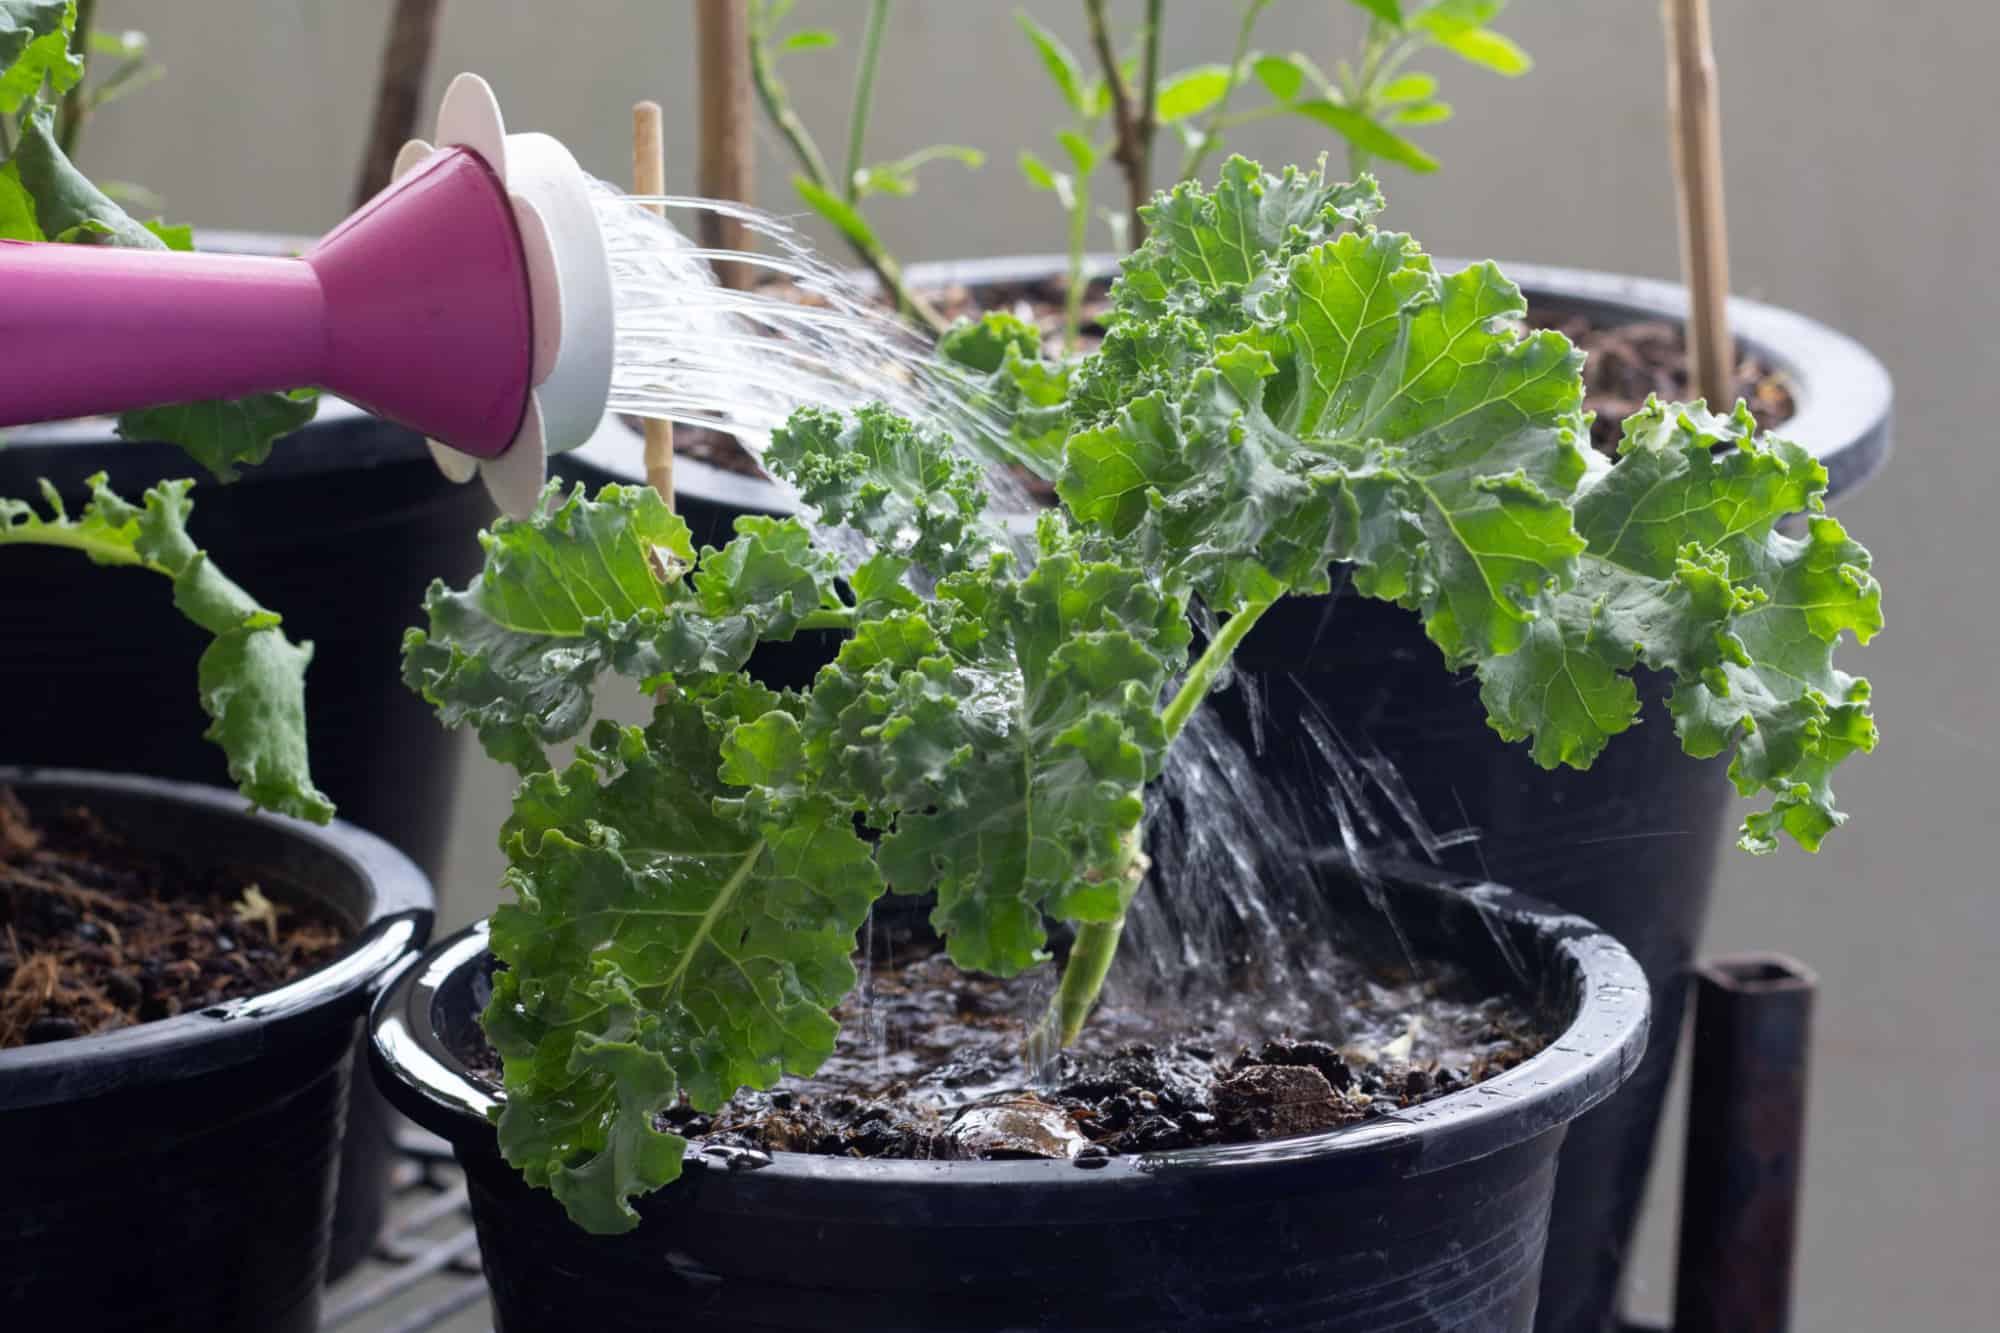
Watering:
Mint plants prefer consistently moist soil, but they don’t tolerate waterlogged conditions. Here are some tips for watering your mint seedlings:
- Water the plants whenever the top inch (2.5 cm) of soil feels dry. Stick your finger into the soil to check the moisture level.
- Water at the base of the plants rather than overhead to prevent wetting the foliage, which can lead to fungal diseases.
- Use a watering can, a gentle spray bottle, or a drip irrigation system to ensure even and thorough watering.
- Avoid overwatering, as it can cause root rot. Allow the soil to drain completely before watering again.
Fertilizing:
Mint plants are relatively low-maintenance and don’t require heavy fertilization. However, a mild boost of nutrients can promote healthy growth. Here are some guidelines for fertilizing your mint plants:
- Wait until the mint seedlings have at least two sets of true leaves before applying fertilizer.
- Use a balanced, organic fertilizer with equal parts nitrogen, phosphorus, and potassium (N-P-K), such as a 10-10-10 or 14-14-14 blend.
- Dilute the fertilizer according to the manufacturer’s instructions, and apply it to the soil around the base of the plants.
- Avoid excessive fertilization, as it can lead to lush foliage but less intense flavor.
- Fertilize every 4-6 weeks during the growing season, reducing or stopping fertilization in the winter months when the plants are less active.
By following these watering and fertilizing practices, you’ll provide your mint plants with the necessary moisture and nutrients to thrive. However, it’s important to remain vigilant for potential pests and diseases, which we’ll address in the next section.
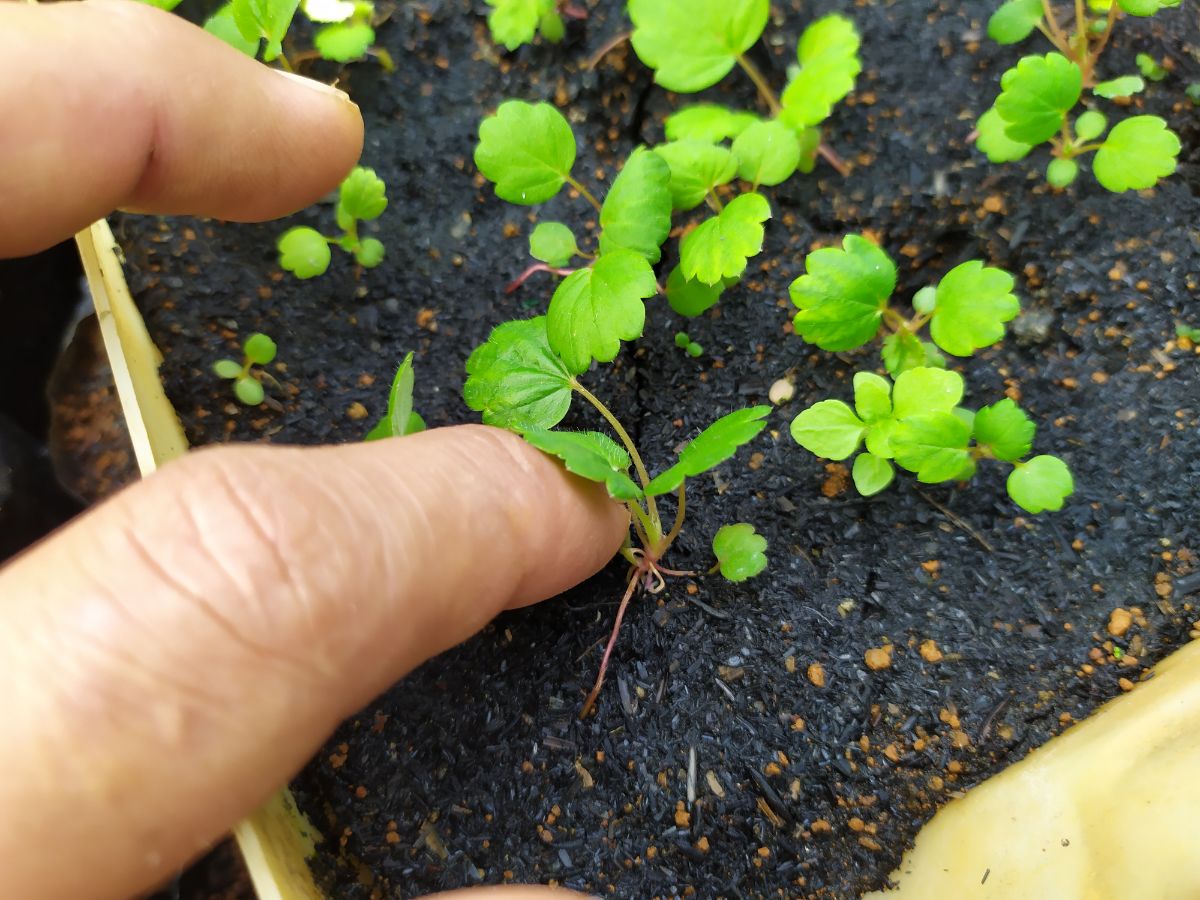
Transplanting the Seedlings
As your mint seedlings continue to grow, they will eventually outgrow their initial containers and need to be transplanted into larger pots or garden beds. Here’s how to successfully transplant your mint seedlings:
- Choose the Right Time: Wait until the mint seedlings have grown at least 3-4 sets of true leaves before transplanting. This usually takes about 4-6 weeks.
- Select the Proper Containers or Garden Bed: Choose containers or a garden bed that provides ample space for the mint plants to spread. Ensure the containers have drainage holes to prevent waterlogging.
- Prepare the New Containers or Garden Bed: Fill the new containers or garden bed with well-draining potting soil or garden soil amended with organic matter, such as compost or aged manure.
- Water the Mint Seedlings: Water the mint seedlings thoroughly before transplanting to help ease the transition and minimize stress on the plants.
- Carefully Remove the Seedlings: Gently loosen the soil around the seedlings and carefully lift them from the containers. Be cautious not to damage the roots.
- Plant the Seedlings: Dig holes in the new containers or garden bed that are slightly larger than the root balls of the mint seedlings. Place the seedlings into the holes and backfill with soil, ensuring that the plants are at the same soil level as before.
- Pat down the Soil: Gently pat down the soil around the base of each plant to secure them in place.
- Water Thoroughly: After transplanting, water the mint seedlings deeply to help them establish their roots in their new environment.
- Provide Care and Maintenance: Continue to provide appropriate light, temperature, and watering conditions as the transplanted mint seedlings adjust to their new surroundings.
Transplant shock is common after repotting or transplanting seedlings. However, mint is generally resilient and should recover quickly with proper care. Keep an eye on the plants for the first few days, ensuring they remain hydrated and receive adequate sunlight.
Now that your mint seedlings are comfortably settled in their new containers or garden bed, it’s important to be aware of potential pests and diseases and take steps to protect your plants, as we’ll discuss in the next section.
Managing Pests and Diseases
Like any plant, mint can be susceptible to pests and diseases. It’s important to monitor your mint plants regularly to detect and address any issues promptly. Here are some common pests and diseases that can affect mint, along with management strategies:
Pests:
- Aphids: These small, sap-sucking insects can cause distorted growth and transmit diseases. Use a strong blast of water or insecticidal soap to control aphids.
- Spider Mites: These tiny pests suck sap from the leaves, causing yellowing and webbing. Spray the plants with water or use insecticidal soap or neem oil to control spider mites.
- Whiteflies: These small, flying insects damage the leaves by piercing them and sucking sap. Use yellow sticky traps or insecticidal soap to control whiteflies.
- Mint Flea Beetles: These small beetles create tiny holes in mint leaves. Handpick the beetles or use row covers to protect the plants.
Diseases:
- Mint Rust: This fungal disease causes orange or brown pustules on the undersides of leaves. Remove infected leaves and consider applying a fungicide labeled for rust diseases.
- Downy Mildew: This fungal disease causes yellowing and distorted growth. Provide good air circulation and avoid overhead watering to prevent downy mildew.
- Root Rot: Overwatering or poorly draining soil can lead to root rot. Ensure proper drainage and avoid overwatering to prevent this disease.
Regularly inspect your mint plants for any signs of pests or diseases. Early detection is key to managing and controlling these issues effectively. If necessary, apply organic or chemical controls according to the manufacturer’s instructions. Proper sanitation, such as removing infected leaves or discarding heavily infested plants, can also help prevent the spread of pests and diseases.
Now that you are equipped to protect your mint plants from pests and diseases, let’s move on to the exciting part—harvesting and using those beautiful mint leaves.
Read more: How To Grow Cilantro From Seed Indoors
Harvesting and Using Mint Leaves
One of the joys of growing mint is the ability to harvest fresh leaves for culinary and medicinal purposes. Here’s how to properly harvest and use mint leaves:
Harvesting Mint Leaves:
- Wait for Maturity: Allow your mint plants to mature for at least 8-10 weeks before harvesting the leaves. This will ensure that the plants have enough foliage to sustain growth.
- Pick the Leaves: Select healthy, mature leaves for harvest. Pinch or snip the leaves off the stems, either individually or in small clusters.
- Prune Regularly: Regularly prune your mint plants by removing 1/3 to 1/2 of the plant’s height. This will encourage bushier growth and prevent the plants from becoming leggy.
- Leave Some Leaves Behind: When harvesting mint, always leave some leaves behind to allow the plants to continue growing and producing foliage.
Using Mint Leaves:
The uses for mint leaves are endless, adding a refreshing flavor and aroma to various dishes and beverages. Some popular ways to use mint leaves include:
- Teas and Infusions: Steep fresh mint leaves in hot water for a soothing and aromatic herbal tea. You can enjoy it on its own or blend it with other herbs and flavors.
- Cocktails and Mocktails: Add mint leaves to your favorite cocktails or mocktails for a burst of freshness. Mint is a common ingredient in classics like Mojitos and Mint Juleps.
- Salads and Dressings: Chop or tear mint leaves and toss them into salads for a vibrant and refreshing twist. They pair well with ingredients like cucumber, feta cheese, and watermelon.
- Desserts: Sprinkle chopped mint leaves over ice cream, fruit salads, or chocolate desserts to enhance their flavors. Mint can also be used to infuse creams or syrups for a delightful twist.
- Cooking: Mint can be used to add a burst of flavor to savory dishes, such as sauces, curries, and marinades. It complements the flavors of lamb, chicken, and vegetables beautifully.
- Medicinal Uses: Mint has a long history of medicinal use. It can aid digestion, soothe nausea, relieve headaches, and freshen breath. Brewed mint tea or infused oils can be used for these purposes.
Remember to always wash and inspect the mint leaves before using them. Store fresh mint leaves in the refrigerator in a plastic bag or container lined with a damp paper towel to prolong their freshness.
Congratulations! You’ve completed the journey of growing mint from seed indoors and are now ready to enjoy the delightful flavors and aromas that fresh mint leaves bring to your culinary creations. Happy gardening and happy cooking!
Conclusion
Congratulations on successfully learning how to grow mint from seed indoors! By following the steps outlined in this guide, you have acquired the knowledge and skills to start mint seeds, nurture the seedlings, and harvest fresh mint leaves for various culinary and medicinal uses.
Mint is a versatile and aromatic herb that adds flavor and fragrance to a wide range of dishes and beverages. Whether you choose peppermint, spearmint, or one of the unique mint varieties available, growing your own mint allows you to enjoy the freshness and quality of homegrown herbs.
Throughout the cultivation process, we discussed the importance of choosing the right mint variety, gathering the necessary materials, preparing the seed starting mix, sowing the seeds, providing optimal growing conditions, watering and fertilizing, transplanting the seedlings, managing pests and diseases, and finally, harvesting and using the mint leaves.
Remember to continue caring for your mint plants by providing ample light, appropriate watering, and regular maintenance. Prune the plants to maintain their bushy shape and prevent legginess. If you notice any signs of pests or diseases, take immediate action to address the issues and protect the health of your plants.
Enjoy the fruits of your labor by incorporating fresh mint leaves into your favorite recipes and experimenting with new flavor combinations. Whether in teas, cocktails, salads, desserts, or savory dishes, mint leaves will undoubtedly elevate your culinary creations with their refreshing and aromatic qualities.
Thank you for joining us on this mint-growing journey. We hope this guide has inspired you to embark on many more indoor gardening adventures. Happy gardening and savor the delights of your homegrown mint!
Frequently Asked Questions about How To Grow Mint From Seed Indoors
Was this page helpful?
At Storables.com, we guarantee accurate and reliable information. Our content, validated by Expert Board Contributors, is crafted following stringent Editorial Policies. We're committed to providing you with well-researched, expert-backed insights for all your informational needs.


0 thoughts on “How To Grow Mint From Seed Indoors”