Home>Garden Essentials>How To Make A Greenery Boutonniere
Garden Essentials
How To Make A Greenery Boutonniere
Modified: March 24, 2024
Learn how to create a stunning garden-inspired boutonniere with our step-by-step guide. Enhance your special occasion with this elegant touch of nature.
(Many of the links in this article redirect to a specific reviewed product. Your purchase of these products through affiliate links helps to generate commission for Storables.com, at no extra cost. Learn more)
Introduction
When it comes to special occasions like weddings or formal events, adding a touch of greenery can elevate your outfit and make a lasting impression. One way to achieve this is by creating a beautiful greenery boutonniere. A boutonniere is a small floral arrangement worn on the lapel of a suit or tuxedo that adds a dash of color and natural elegance.
Designing your own greenery boutonniere allows you to customize it to match your personal style and preferences. Whether you’re a gardening enthusiast or simply someone who appreciates the beauty of nature, this step-by-step guide will help you create a stunning boutonniere that will make heads turn.
In this article, we will walk you through the process of making a greenery boutonniere, from gathering the supplies to adding the finishing touches. By the end, you’ll have a unique and eye-catching accessory that perfectly complements your attire.
So, let’s dive in and learn how to create a greenery boutonniere that will make you stand out from the crowd.
Key Takeaways:
- Elevate your style with a custom greenery boutonniere for any special occasion. Gather supplies, choose the right greenery, and add personal touches to make a lasting impression.
- Keep your greenery boutonniere fresh by storing it in a cool place, hydrating the stems, and handling it with care. Let your creativity shine as you craft a nature-inspired masterpiece.
Step 1: Gather the Supplies
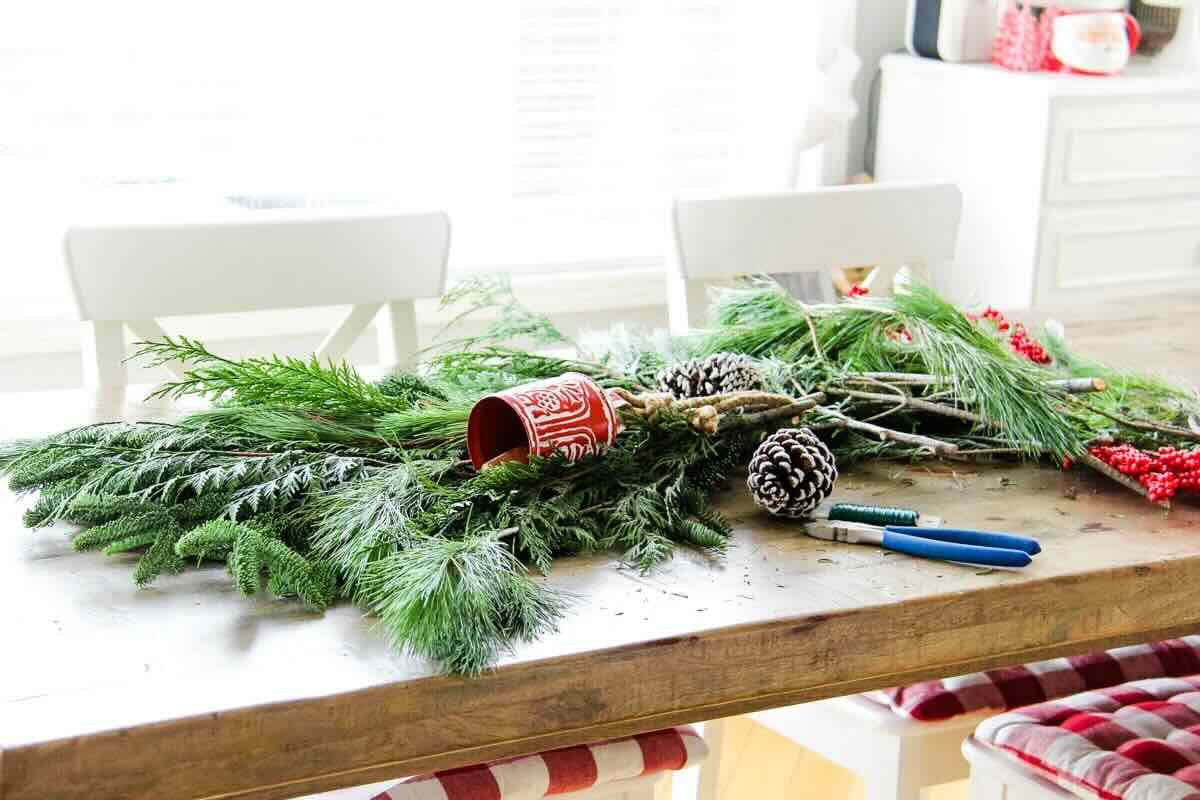
Before you start creating your greenery boutonniere, it’s important to gather all the necessary supplies. Having everything you need on hand will ensure a smooth and uninterrupted crafting process. Here are the supplies you’ll need:
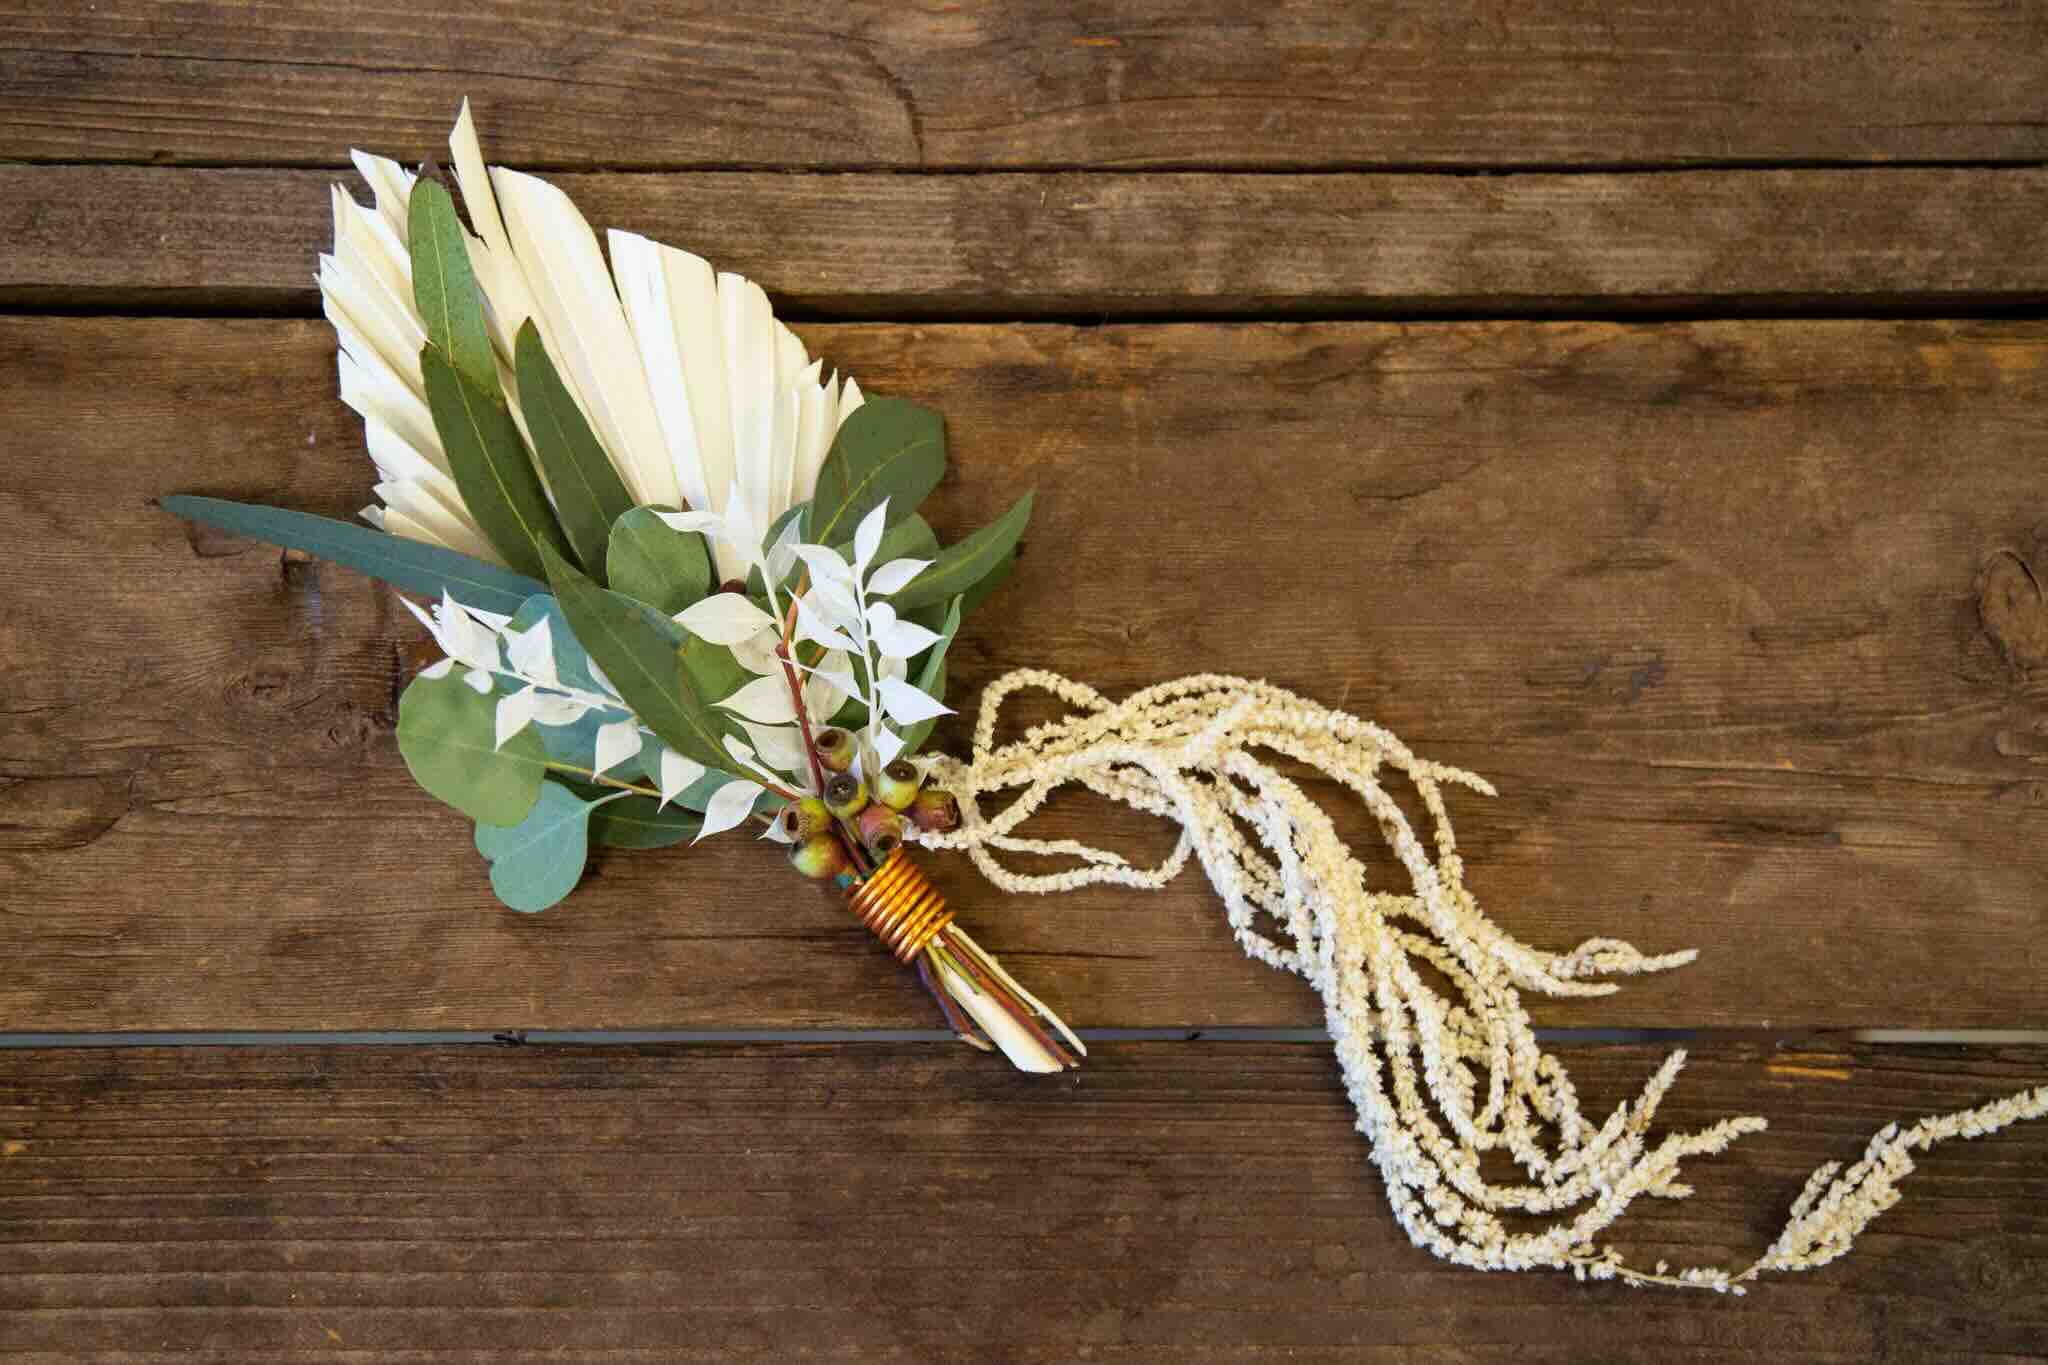
- Greenery: Look for a variety of small leafy greens, such as eucalyptus, ferns, or ivy. You can also consider using herbs like rosemary or lavender to add a fragrant touch.
- Floral tape: This adhesive tape is specifically designed for binding flowers and greenery together. It provides a secure hold while maintaining a natural look.
- Floral wire: Choose a thin floral wire that will be used to attach the greenery stems to the boutonniere base.
- Boutonniere pin or attachment: This can be a classic boutonniere pin or a clip attachment that will secure the boutonniere to the lapel.
- Sharp scissors or wire cutters: You’ll need these to trim the greenery stems and cut any excess wire.
- You may also want to consider adding some additional decorative elements like small flowers, berries, or ribbons to personalize your boutonniere.
Once you have gathered all the supplies, make sure to set up a clean and well-lit workspace. This will make it easier for you to work efficiently and see the details as you assemble your boutonniere.
Now that you have everything you need, it’s time to move on to the next step: choosing the greenery for your boutonniere.
Step 2: Choose the Greenery
Choosing the right greenery for your boutonniere is crucial as it sets the tone and aesthetic of the final product. Greenery not only adds texture and color but also creates a natural and organic look. Here are some factors to consider when selecting your greenery:
1. Style and Theme: Consider the overall style and theme of your event or outfit. Are you going for a rustic, bohemian, or classic look? Select greenery that complements the style and creates a cohesive appearance.
2. Shape and Size: Choose greenery with different shapes and sizes to add depth and dimension to your boutonniere. Opt for varieties with smaller leaves, like baby’s breath or ivy, to ensure they fit well on the lapel without overpowering the design.
3. Colors and Tones: Pay attention to the color palette of your event or outfit. Select greenery that matches or complements the colors you’re working with. For example, if your theme is centered around earthy tones, consider using olive branches or eucalyptus with silver-blue hues.
4. Texture: Experiment with different textures to create visual interest and tactile appeal. Incorporate feathery ferns, fuzzy lamb’s ear, or spiky succulents for a unique touch.
5. Seasonal Availability: Depending on the time of year, certain greenery may be more readily available and affordable. Consider using seasonal foliage to highlight the natural beauty of the season.
Don’t be afraid to mix and match different types of greenery to achieve the desired look. Combining various textures and shades will result in a visually captivating boutonniere.
Once you’ve chosen the greenery, it’s time to prepare the stems before assembling the boutonniere. Let’s move on to step three.
Step 3: Prepare the Greenery
Now that you’ve chosen the perfect greenery for your boutonniere, it’s time to prepare the stems for assembly. Properly preparing the greenery will ensure that it stays fresh and secure in the boutonniere. Follow these steps to prepare the greenery:
1. Trim the Stems: Using sharp scissors or wire cutters, trim the stems of your greenery to the desired length. Aim for a length of about 3-4 inches, but adjust it based on your personal preference and the size of the lapel where the boutonniere will be worn. Take care to cut the stems at a diagonal angle, as this allows for better water absorption and longevity.
2. Remove Excess Foliage: Take a moment to remove any excess foliage or thorns from the lower portion of the stems. This will ensure a clean and neat appearance when the boutonniere is assembled and attached.
3. Condition the Greenery: If you gathered fresh greenery from your garden or a local source, it’s essential to condition them properly. Fill a container with clean water and place the stems inside, allowing them to soak for a few minutes. Conditioning the greenery helps to hydrate them and prolong their freshness.
4. Shake off Excess Water: After conditioning, gently shake off any excess water from the greenery stems. You want them to be slightly damp but not dripping wet when you start assembling the boutonniere.
By properly preparing the greenery, you are ensuring that it stays vibrant and hydrated throughout the event. With the greenery ready, it’s time to move on to step four, where we’ll arrange the greenery into a beautiful boutonniere.
Step 4: Arrange the Greenery
Arranging the greenery is where the creativity and artistry come into play. This step involves carefully arranging the different elements of greenery to create a visually appealing boutonniere. Follow these steps to arrange the greenery:
1. Start with the Base: Take a few stems of your chosen greenery and hold them together, creating a base for your boutonniere. The base should be sturdy and compact to provide a solid foundation for the rest of the greenery.
2. Add Layers: Begin adding additional layers of greenery by weaving them around the base. Make sure to vary the direction and angle of each stem to add depth and dimension to your boutonniere. You can also alternate different types of greenery to create an interesting contrast.
3. Create a Focal Point: Select a standout piece of greenery, such as a unique leaf or a sprig with an interesting shape. Place it slightly higher or at the center of the arrangement to create a focal point. This will draw attention and add visual interest to your boutonniere.
4. Check Balance and Proportions: Regularly assess the balance and proportions of the boutonniere as you add each stem of greenery. Make adjustments if necessary to ensure that the arrangement looks symmetrical and visually pleasing from all angles.
5. Take Breaks and Step Back: Don’t be afraid to take breaks during the arranging process. Stepping back and looking at the boutonniere from a distance will give you a fresh perspective and help you identify any areas that need adjustment or improvement.
Remember, there is no hard and fast rule when it comes to arranging greenery. Allow your creativity to shine and trust your instincts. Play around with different configurations until you achieve a design that you are happy with.
With the greenery arranged, it’s time to move on to the next step: securing the boutonniere so that it stays intact throughout the event.
When making a greenery boutonniere, be sure to use sturdy greenery like eucalyptus or rosemary to ensure it holds up throughout the day. Additionally, secure the stems tightly with floral tape to keep the boutonniere in place.
Read more: How To Store Boutonniere
Step 5: Secure the Boutonniere
Once you have arranged the greenery to your liking, it’s important to secure the boutonniere so that it stays in place throughout the event. The last thing you want is for it to wilt or fall apart halfway through the celebration. Follow these steps to securely fasten your boutonniere:
1. Cut Floral Wire: Cut a piece of floral wire approximately 5-6 inches long. This will be used to attach the greenery to the boutonniere base.
2. Wrap Floral Tape: Take the floral wire and wrap it tightly around the base of the greenery stems, ensuring it is secure and hidden from view. The floral tape will provide additional support and hold the stems together.
3. Attach the Boutonniere Pin or Attachment: Depending on the type of fastening method you have chosen, carefully attach the boutonniere pin or attachment to the back of the boutonniere. Make sure it is securely attached and positioned in a way that allows the boutonniere to be easily pinned to the lapel.
4. Test for Stability: Give the boutonniere a gentle shake to check its stability. If any parts feel loose or wobbly, secure them further using additional floral tape or wire. It’s crucial to ensure that the boutonniere is firmly attached to withstand any movement or activity during the event.
5. Optional: Add Ribbon or Decorative Elements – If desired, you can enhance the boutonniere by adding a ribbon or small decorative elements. Simply attach them using floral tape or wire, being mindful of the overall balance and design.
By securely fastening the boutonniere, you can have peace of mind knowing that it will stay intact and maintain its pristine appearance throughout the occasion.
Now that your boutonniere is securely fastened, let’s move on to the final step: adding the finishing touches to make it truly unique and personalized.
Step 6: Add the Finishing Touches
Adding the finishing touches to your greenery boutonniere is where you can truly make it stand out and reflect your personal style. These small details can make a big difference in the overall look and feel of the boutonniere. Here are some creative ideas to add those final touches:
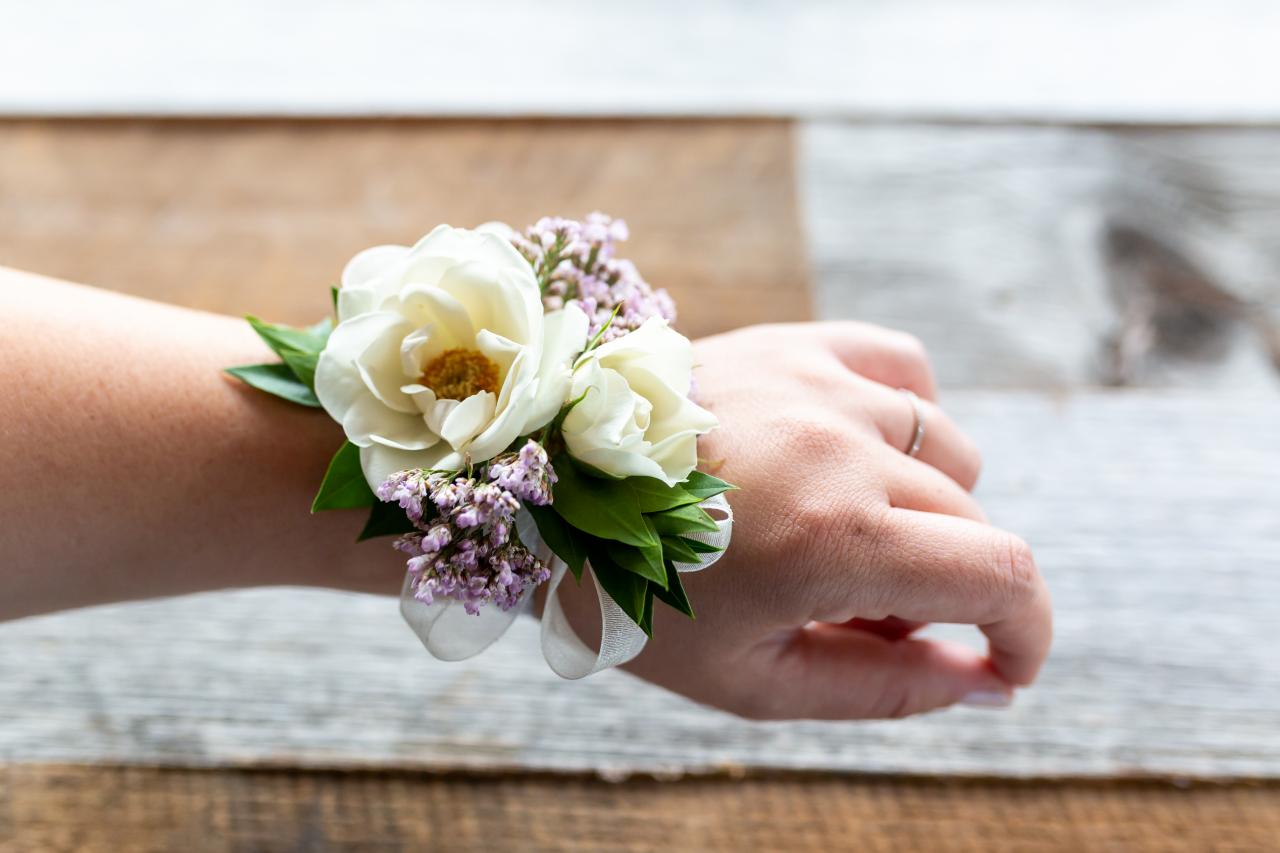
1. Small Flowers: Consider incorporating tiny flowers into the boutonniere design. Choose blooms that complement the greenery and overall color scheme. For a classic touch, you can use delicate white baby’s breath or miniature roses. Alternatively, opt for colorful flowers like lavender or bachelor’s buttons to create a pop of color.
2. Berries or Seed Pods: Add visual interest and texture by incorporating small berries or seed pods into the boutonniere. This can be done through the use of dried berries, such as hypericum berries or rose hips, or fresh berries like viburnum or holly. These natural elements give an organic and charming feel to your boutonniere.
3. Ribbons or Fabric: Wrap a small piece of ribbon, fabric, or even twine around the base of the boutonniere to add a touch of elegance or rustic charm. Experiment with different colors and textures to complement your outfit or event theme.
4. Personalized Charms: Attach a personalized charm or trinket to the boutonniere to make it uniquely yours. It could be a small locket, a tiny photo frame, or a charm that symbolizes something meaningful to you. This adds a personal touch and can become a conversation starter.
5. Scented Elements: Consider adding fragrant elements, such as sprigs of lavender or rosemary, to create a subtle and aromatic accent. The pleasant scent of these herbs will add an extra sensory dimension to your boutonniere.
Remember to be mindful of the overall balance and proportions of your boutonniere when adding the finishing touches. You want each element to complement and enhance the beauty of the greenery without overpowering it.
With the final touches added, your greenery boutonniere is now complete and ready to make a statement. Next, we’ll explore how to store and care for your boutonniere to keep it looking fresh and vibrant throughout the day.
Step 7: Store and Care for the Boutonniere
Once you have created your beautiful greenery boutonniere, it’s important to properly store and care for it to ensure its longevity and visual appeal. Follow these steps to keep your boutonniere looking fresh and vibrant throughout the day:
1. Store in a Cool Location: Find a cool and dry place to store your boutonniere when it’s not being worn. Avoid exposing it to direct sunlight, heat, or high humidity, as this can cause the greenery to wilt and fade.
2. Use a Water Source: If possible, keep the stems of the boutonniere in a water source to maintain their moisture. Place the boutonniere in a small container filled with water, ensuring that only the stems are submerged and the greenery remains dry. This will help prolong the freshness of the greenery throughout the day.
3. Mist the Greenery: If you don’t have access to a water source, lightly mist the greenery with water using a spray bottle. This will provide some hydration and prevent the leaves from drying out.
4. Handle with Care: When handling the boutonniere, be gentle to avoid damaging the delicate greenery. Avoid touching or pulling on the leaves, as they can easily become loose or wilted.
5. Store in a Protective Container: If you need to transport the boutonniere, place it in a small box or container to protect it from getting crushed or bent. Make sure the container provides enough space to prevent the boutonniere from getting squished.
6. Consider a Backup Boutonniere: If you’re concerned about the boutonniere’s condition throughout the event, create a backup boutonniere. This way, if any mishaps occur, you have a spare one ready to replace it seamlessly.
By following these storage and care guidelines, your greenery boutonniere will stay fresh and vibrant, enhancing your outfit and making an impression until the very end of the event.
Congratulations! You have successfully learned how to create a stunning greenery boutonniere from start to finish. With your newfound knowledge, you can now bring a touch of nature and sophistication to any special occasion.
Remember to unleash your creativity and experiment with different combinations of greenery, flowers, and decorative elements to design a boutonniere that reflects your style and personality. Have fun and enjoy the process of creating something unique and beautiful!
Conclusion
Creating a greenery boutonniere is a delightful and creative way to incorporate nature into your special occasions. By following the steps outlined in this guide, you can design a stunning boutonniere that complements your outfit and adds a touch of elegance and individuality.
Gathering the necessary supplies, choosing the right greenery, and preparing the stems are essential initial steps. Arranging the greenery requires artistic expression, as you carefully layer and position each element to create a visually appealing boutonniere. Securing the boutonniere ensures it stays intact throughout the event, while adding finishing touches like small flowers, berries, or ribbons adds a personal and unique touch.
Storing and caring for the boutonniere after it’s made is crucial to maintain its freshness and beauty. Remember to store it in a cool place, keep the stems hydrated, handle it with care, and consider using a protective container when transporting it. These simple measures will help your boutonniere stay vibrant and lush until the end of the occasion.
Now that you have learned this skill, you can create custom greenery boutonnieres for weddings, parties, proms, and other special events. Let your imagination run wild as you experiment with different combinations of greenery, flowers, and decorative elements to design unique and eye-catching creations.
By adding a touch of nature to your outfit, you not only elevate your personal style but also celebrate the beauty of the natural world. So, go ahead and embrace your inner gardener and craft your own masterpiece with a greenery boutonniere!
Frequently Asked Questions about How To Make A Greenery Boutonniere
Was this page helpful?
At Storables.com, we guarantee accurate and reliable information. Our content, validated by Expert Board Contributors, is crafted following stringent Editorial Policies. We're committed to providing you with well-researched, expert-backed insights for all your informational needs.


0 thoughts on “How To Make A Greenery Boutonniere”