Home>Garden Essentials>How To Germinate A Pinion Pine
Garden Essentials
How To Germinate A Pinion Pine
Modified: March 15, 2024
Learn how to successfully germinate a pinion pine in your garden with our comprehensive step-by-step guide. Enhance your gardening skills and enjoy the beauty of these majestic trees.
(Many of the links in this article redirect to a specific reviewed product. Your purchase of these products through affiliate links helps to generate commission for Storables.com, at no extra cost. Learn more)
Introduction
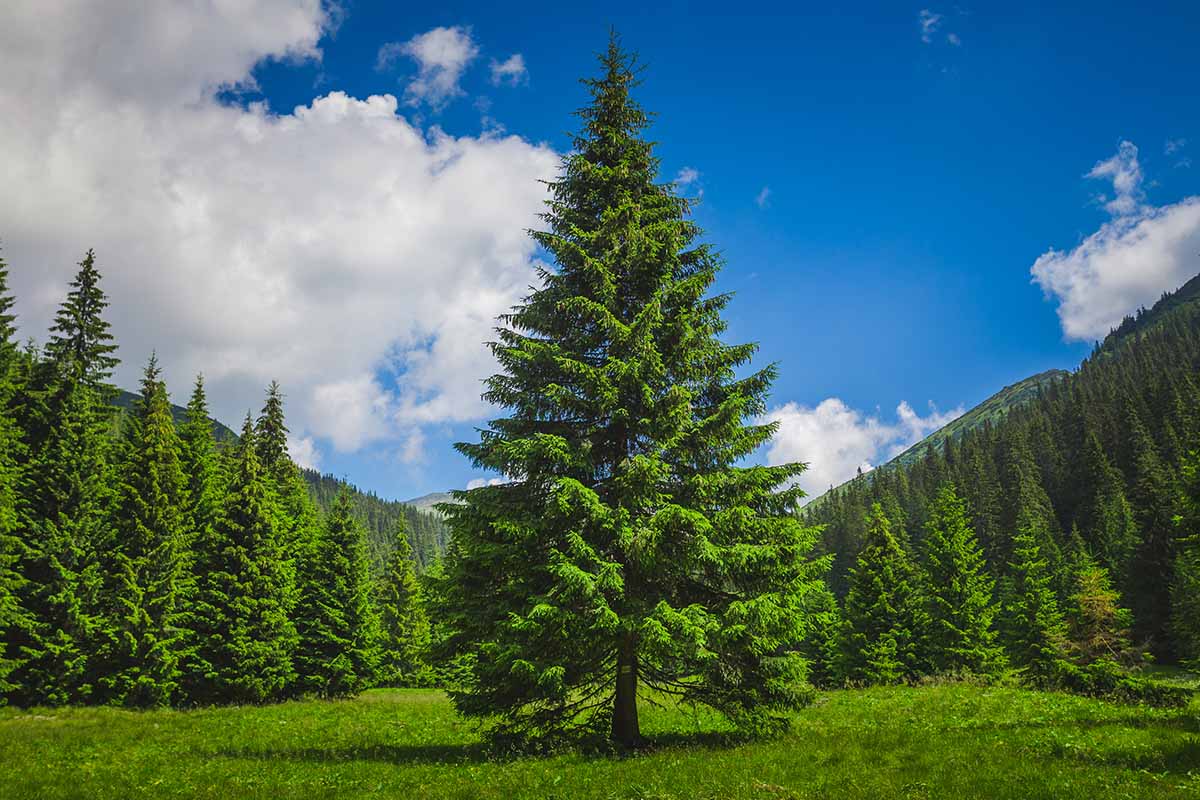
Germinating Pinion Pine seeds is a labor of love for any gardening enthusiast. Pinion Pine, often referred to as Pinyon Pine, is a beautiful and resilient tree species that is native to the southwestern United States. These pine trees are known for their evergreen foliage, aromatic resin, and delicious edible pine nuts.
Starting the germination process for Pinion Pine seeds can be both rewarding and challenging. However, with the right knowledge and techniques, you can successfully grow these magnificent trees and bring a touch of the wild Southwest to your own garden.
In this guide, we will take you through the step-by-step process of germinating Pinion Pine seeds, from preparing the seeds to transplanting the seedlings. So, grab your gardening gloves and let’s get started on this exciting journey!
Key Takeaways:
- Growing Pinion Pine trees from seeds is a rewarding journey that requires patience and attention to detail. From preparing the seeds to transplanting the seedlings, each step is crucial for successful cultivation.
- By following the step-by-step process, you can bring the beauty and resilience of Pinion Pines into your garden, creating a natural oasis and adding a touch of the wild Southwest to your landscape. Happy gardening!
Read more: How To Germinate A Redwood From A Pine Cone
Step 1: Preparing the Seeds
Before you begin the germination process, it’s important to properly prepare the Pinion Pine seeds. Here’s what you need to do:
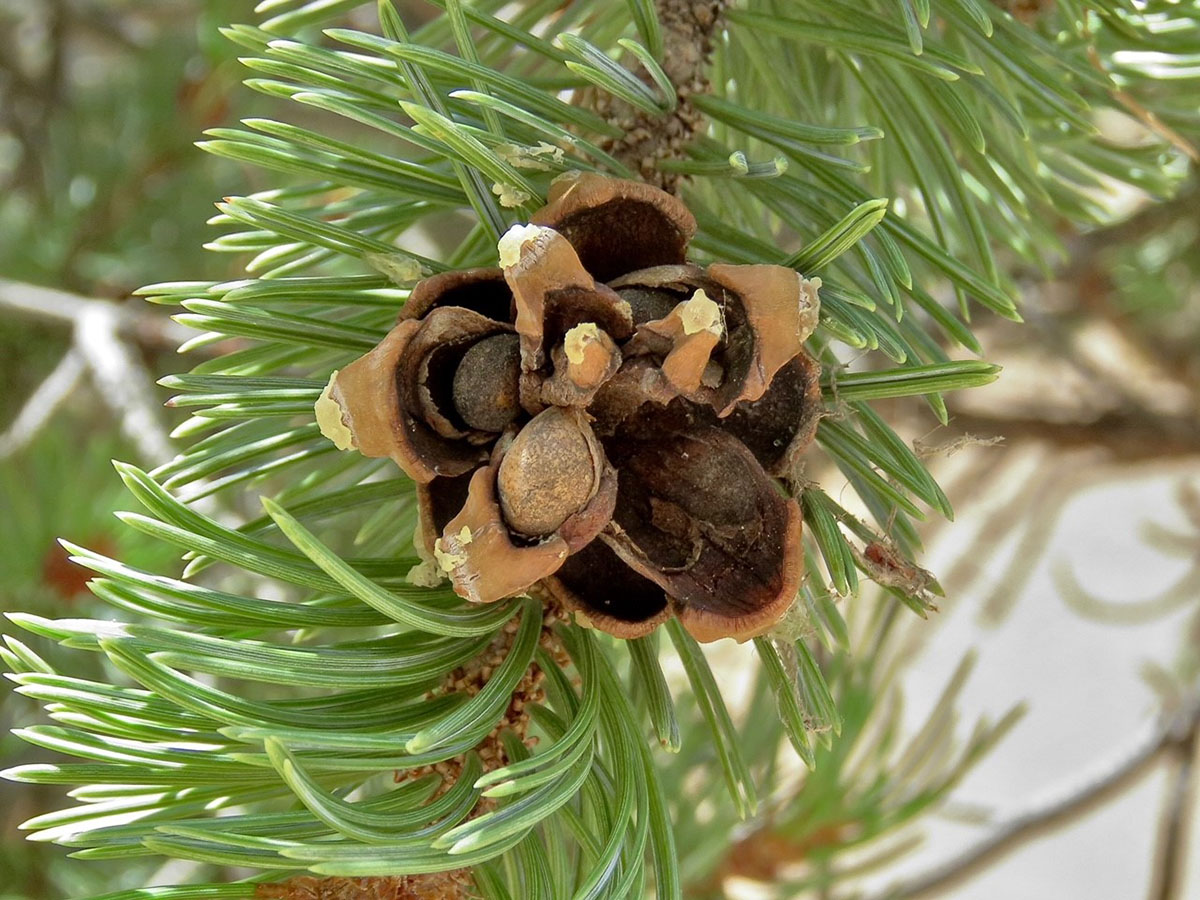
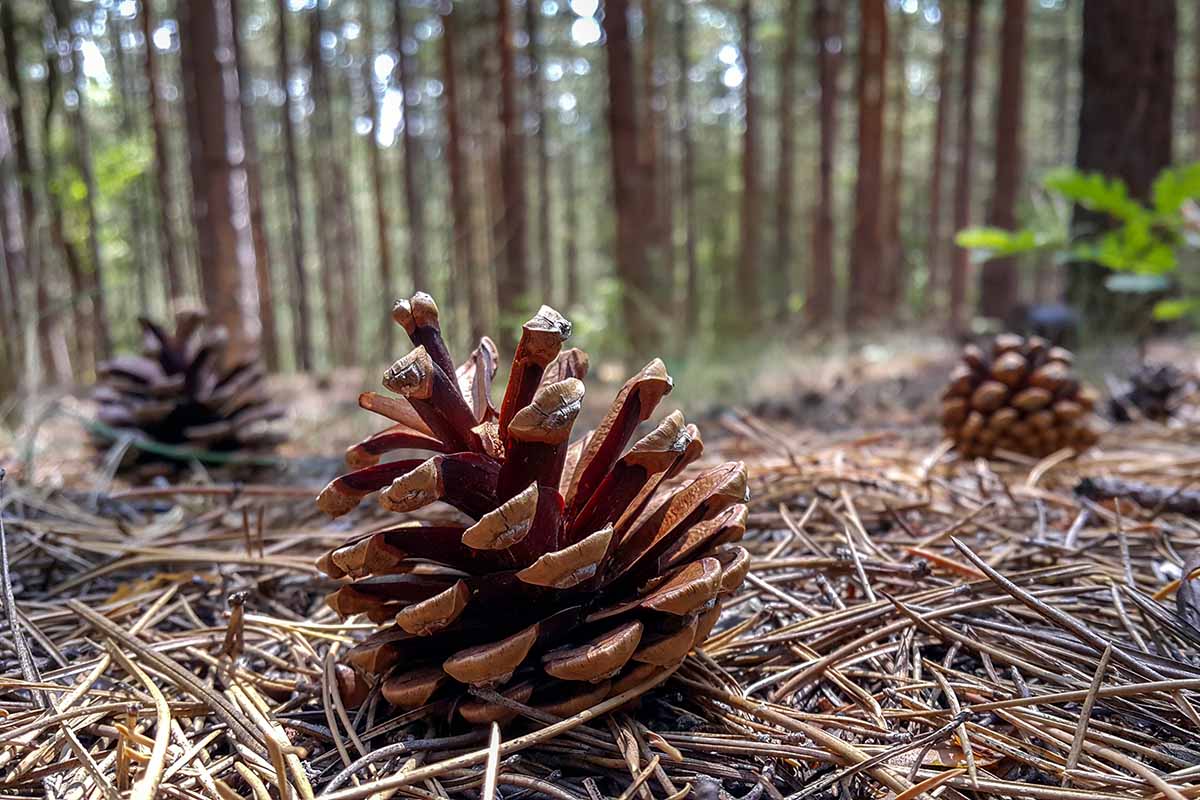
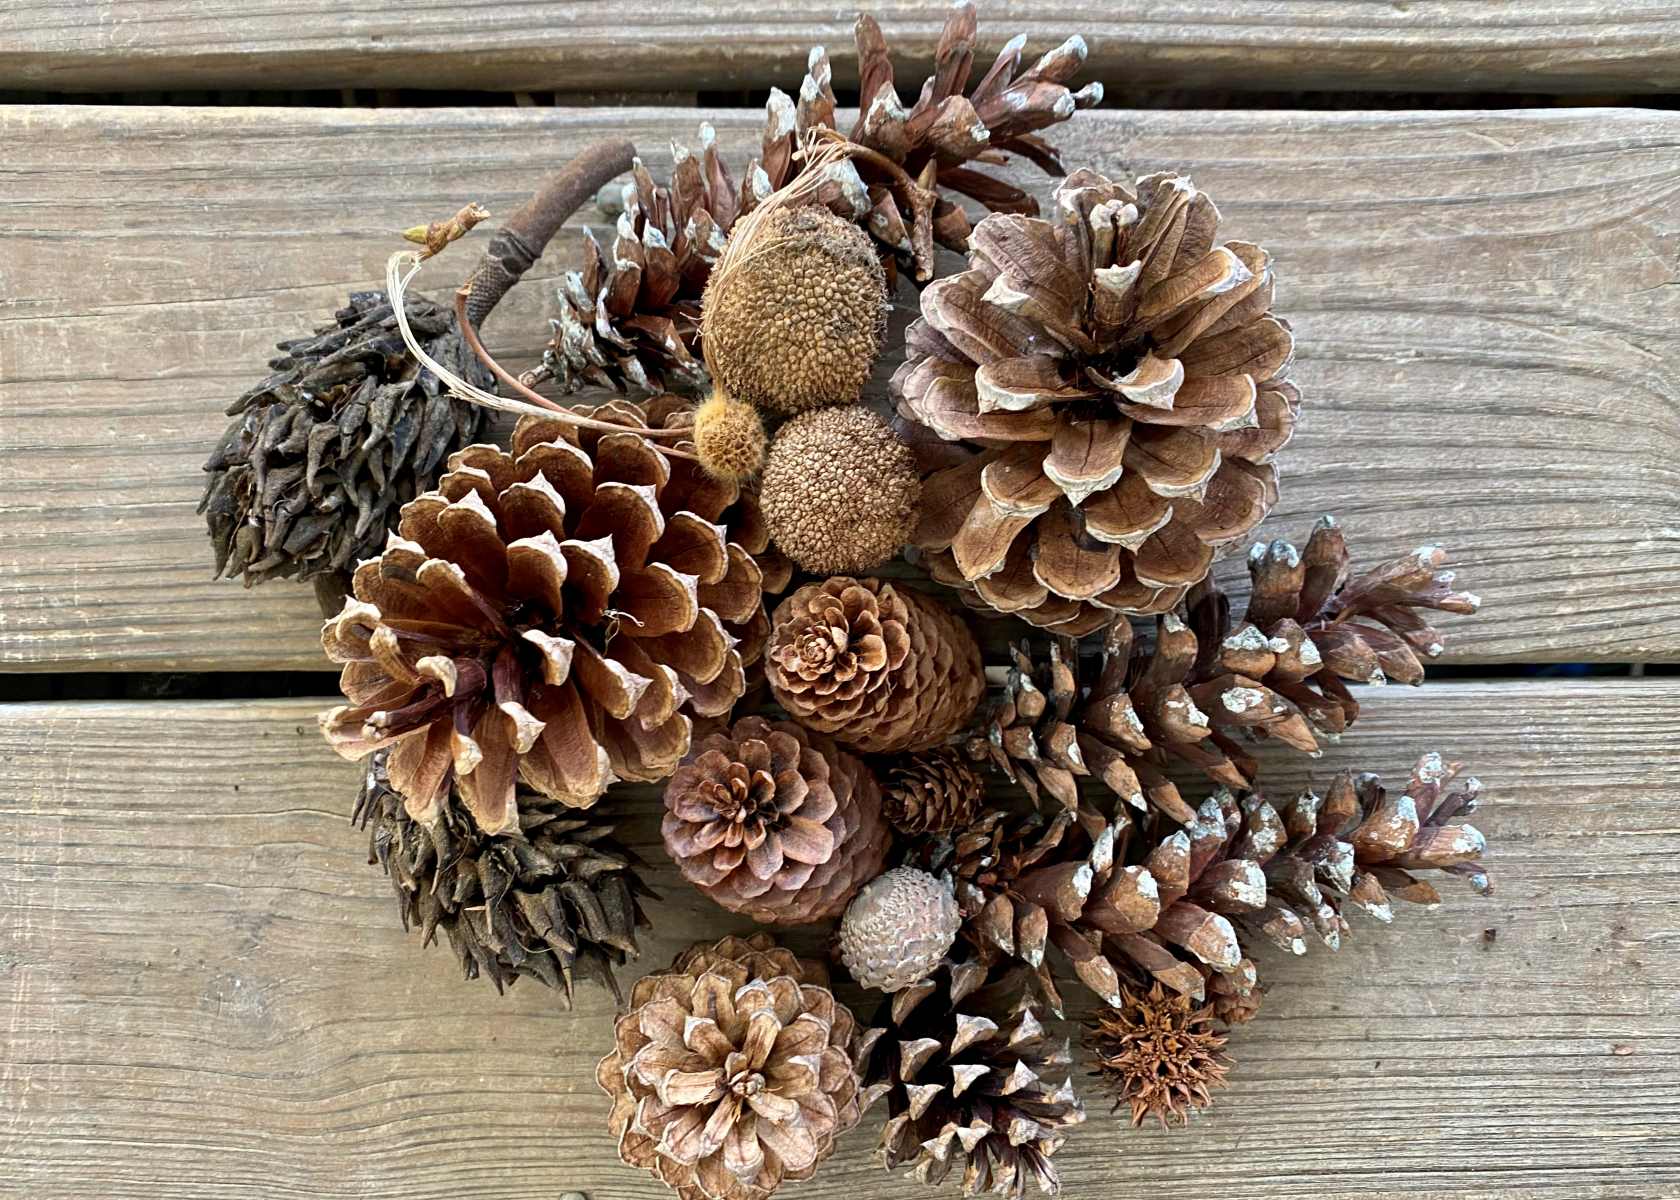
- Collecting the Seeds: Pinion Pine seeds are typically found inside their cones. Wait until the cones turn brown and begin to open naturally on the tree. Carefully collect the cones and place them in a paper bag to allow them to further dry.
- Extracting the Seeds: Once the cones are completely dry, gently tap them to release the seeds. The seeds are small, about the size of a sunflower seed. Collect them in a container, discarding any dust or debris.
- Removing the Wings: Pinion Pine seeds have small wings attached to them, which aid in seed dispersal. To ensure successful germination, gently remove these wings by rubbing the seeds between your fingers or using tweezers.
- Inspecting for Viability: It’s a good practice to check the viability of the seeds before proceeding. Fill a bowl with water and place the seeds in it. Discard any seeds that float as they are likely not viable. Healthy seeds will sink to the bottom.
- Drying the Seeds: After inspecting the seeds, spread them out on a paper towel or a tray and allow them to air dry for 2-3 days. This will help remove any excess moisture and promote successful germination.
By following these steps, you will ensure that your Pinion Pine seeds are ready for the germination process. Now, let’s move on to the next step of soaking the seeds to prepare them for germination.
Step 2: Soaking the Seeds
Soaking the Pinion Pine seeds prior to germination can help to soften the seed coat, enhance moisture absorption, and encourage faster and more successful germination. Here’s how you can soak the seeds:
- Prepare a Seed Soaking Solution: Fill a small container with room temperature water. Make sure the container is deep enough to fully submerge the seeds.
- Place the Seeds in the Solution: Carefully place the Pinion Pine seeds into the container of water. Ensure that all the seeds are fully submerged.
- Soak the Seeds: Allow the seeds to soak in the water for 24-48 hours. This soaking period will help to soften the seed coat and facilitate the germination process.
- Change the Water: After the initial soaking period, discard the old water and replace it with fresh room temperature water. This will prevent the growth of any mold or bacteria that may inhibit germination.
- Continue Soaking: Repeat the soaking process for another 24-48 hours, changing the water every day. This will ensure that the seeds remain hydrated and adequately prepared for germination.
Remember to keep the container in a warm and well-ventilated area during the soaking process. Once the seeds have completed the soaking process, they are ready for the next step: stratification.
Step 3: Stratification
Stratification is an essential step in the germination process for Pinion Pine seeds. It mimics the natural conditions that the seeds would experience in their native habitat, breaking their dormancy and promoting successful sprouting. Follow these steps to stratify your Pinion Pine seeds:
- Prepare a Stratification Medium: Start by moistening a mixture of peat moss and sand in a ratio of 1:1. Place this mixture in a plastic bag or a sealable container.
- Add the Seeds: Carefully spread the soaked Pinion Pine seeds evenly over the stratification medium. Press them gently into the surface, ensuring they have good contact with the moistened mixture.
- Seal the Bag or Container: Seal the bag or container to create a humid environment. It’s crucial to provide sufficient airflow by poking a few small holes in the plastic bag or loosening the container’s lid slightly.
- Place in the Refrigerator: Store the bag or container in the refrigerator, preferably in the vegetable or fruit drawer where the temperature remains consistently cool. The ideal temperature range for stratification is around 35 to 40°F (1.5 to 4°C).
- Duration of Stratification: Generally, Pinion Pine seeds require a stratification period of 60 to 90 days. During this time, periodically check the moisture level of the stratification medium and ensure it remains damp but not waterlogged.
- Monitor for Signs of Germination: After the stratification period, monitor the seeds for any signs of germination. Once you observe small root radicles forming, it’s time to move on to the next step of germination.
Stratification is a crucial process that prepares the Pinion Pine seeds for germination by providing the necessary cold and moist conditions. It breaks their dormancy and allows them to sprout when favorable growing conditions are provided. In the next step, we’ll explore the germination process itself.
Soak pinion pine seeds in water for 24 hours, then place them in a plastic bag with damp sand and refrigerate for 30-60 days to simulate winter conditions. Plant the seeds in well-draining soil and keep them moist to germinate.
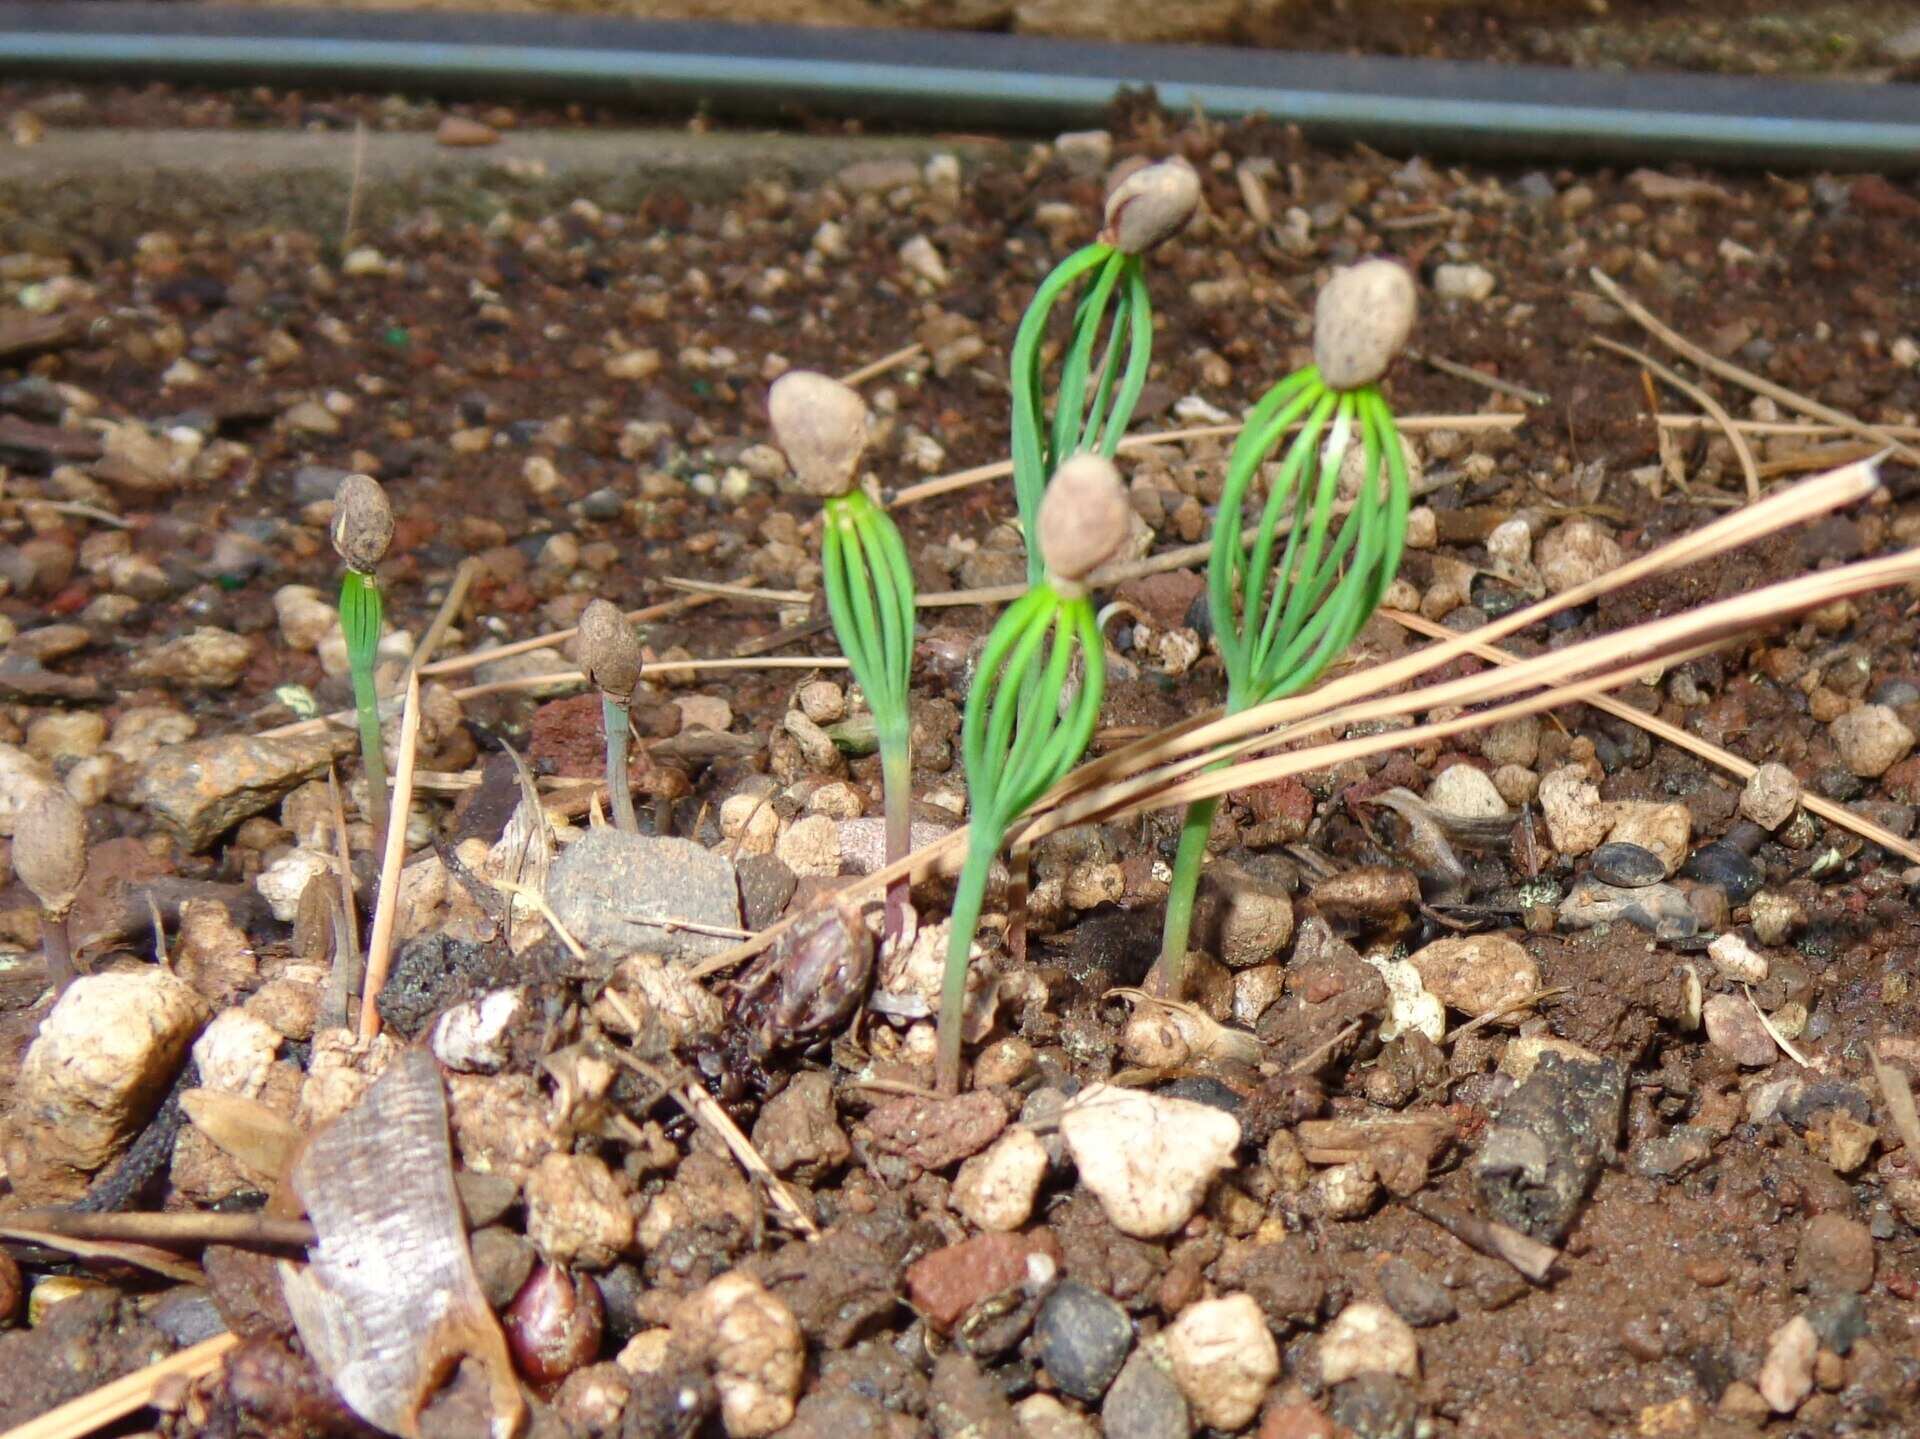
Step 4: Germination
Now that your Pinion Pine seeds have been through the stratification process, it’s time to move on to the exciting stage of germination. Here’s how you can successfully germinate your Pinion Pine seeds:
- Choose a Germination Container: Select a container with drainage holes, such as a seed tray or small pots. Fill the container with a well-draining potting mix that is suitable for seedlings.
- Plant the Seeds: Create small holes in the potting mix, approximately twice the depth of the seed. Place one seed in each hole and cover them with soil, gently firming it around the seeds.
- Maintain Optimal Conditions: Place the germination container in a warm location with indirect sunlight. Maintain a consistent temperature between 65 and 75°F (18-24°C) and keep the soil consistently moist but not overly waterlogged.
- Be Patient and Monitor Progress: Germination can take anywhere from a few weeks to several months, so be patient and monitor the progress of your seeds. Keep the soil consistently moist and avoid letting it dry out.
- Provide Adequate Light: Once the seedlings begin to emerge, provide them with sufficient light. You can use fluorescent lights or place them near a sunny window to ensure they receive at least 6-8 hours of indirect sunlight daily.
- Thin out the Seedlings: If multiple seedlings emerge in the same spot, thin them out by gently removing the weaker ones, leaving the strongest and healthiest seedlings to grow.
With proper care and attention to the germination process, you’ll soon see your Pinion Pine seeds sprouting and growing into healthy seedlings. Remember to water them regularly, provide adequate light, and protect them from extreme temperatures or harsh weather conditions.
Now that your Pinion Pine seeds have germinated successfully, let’s move on to the final step of transplanting the seedlings into their desired location.
Read more: How To Store Pine Nuts
Step 5: Transplanting the Seedlings
Once your Pinion Pine seedlings have grown to a suitable size, it’s time to transplant them into their permanent location in your garden. Follow these steps to ensure a smooth transition for your young seedlings:
- Choose the Right Location: Pinion Pines thrive in well-drained soil and prefer full sun or partial shade. Select a location in your garden that provides these conditions and enough space for the mature tree to grow.
- Prepare the Transplant Hole: Dig a hole in the planting area that is slightly larger and deeper than the root ball of the seedling. Loosen the soil around the hole to allow for proper root growth.
- Carefully Remove the Seedling: Gently remove the seedling from its current container or the germination tray. Be cautious not to damage the delicate roots.
- Plant the Seedling: Place the seedling into the prepared hole, ensuring that it sits at the same level it was previously planted. Backfill the hole with soil, gently firming it around the roots.
- Water Thoroughly: After planting, water the seedling thoroughly to settle the soil and remove any air pockets around the roots. Ensure that the soil remains consistently moist during the establishment period.
- Mulch and Protect: Apply a layer of organic mulch around the base of the seedling to conserve moisture and suppress weed growth. This will also help protect the young tree from extreme temperatures.
- Provide Ongoing Care: Continue to water the seedling regularly, especially during dry spells. Monitor for any signs of pests or diseases and take necessary action to protect the tree.
- Monitor Growth and Prune if Necessary: Keep an eye on the growth of your Pinion Pine tree and prune any dead or damaged branches as needed. This will promote healthy growth and shape the tree.
Transplanting the seedlings not only allows them to establish and grow in their permanent location but also provides them with the opportunity to flourish and contribute to the beauty of your garden for years to come. Remember to provide proper care and maintenance to ensure the health and longevity of your Pinion Pine tree.
Congratulations! You’ve successfully gone through the entire process of germinating Pinion Pine seeds and transplanting the seedlings. Now sit back, relax, and enjoy watching your new trees grow and thrive in your garden.
By following these steps, you can bring the beauty and resilience of Pinion Pines into your own backyard, creating a natural oasis and adding a touch of the wild Southwest to your landscape.
Conclusion
Germinating Pinion Pine seeds and growing them into healthy trees is a rewarding and fulfilling experience for any avid gardener. By following the step-by-step process outlined in this guide, you can successfully bring these majestic trees to life in your own garden.
From collecting and preparing the seeds to soaking them, stratifying, germinating, and finally transplanting the seedlings, each step is crucial in ensuring the success of your Pinion Pine cultivation. Patience, attention to detail, and dedication are key qualities that will help you navigate through the process.
Pinion Pines, with their evergreen foliage, aromatic resin, and delicious pine nuts, not only add beauty to your landscape but also contribute to the ecosystem. These trees provide habitat and food for various wildlife species, support soil conservation, and improve the overall biodiversity of your garden.
Remember to provide your Pinion Pine trees with the proper care and maintenance they require. Regular watering, sufficient sunlight, and protection from extreme weather conditions will go a long way in ensuring their long-term health and vitality.
As your Pinion Pines grow and mature, you’ll be rewarded with a breathtaking landscape, a connection to nature, and the satisfaction of nurturing and growing these remarkable trees from tiny seeds. So, get started on your Pinion Pine journey and create a garden filled with the beauty and resilience of the Southwest.
Happy gardening!
Frequently Asked Questions about How To Germinate A Pinion Pine
Was this page helpful?
At Storables.com, we guarantee accurate and reliable information. Our content, validated by Expert Board Contributors, is crafted following stringent Editorial Policies. We're committed to providing you with well-researched, expert-backed insights for all your informational needs.


0 thoughts on “How To Germinate A Pinion Pine”