Home>Garden Essentials>How To Harvest Pine Cone Seeds
Garden Essentials
How To Harvest Pine Cone Seeds
Modified: May 6, 2024
Learn the easy steps to harvest pine cone seeds in your garden and create a thriving collection of beautiful and unique pine trees.
(Many of the links in this article redirect to a specific reviewed product. Your purchase of these products through affiliate links helps to generate commission for Storables.com, at no extra cost. Learn more)
Introduction
Welcome to the world of gardening! Whether you are a seasoned gardener or new to the hobby, one of the most rewarding experiences is growing plants from seed. While many plants produce seeds in various forms, today we are going to focus on the fascinating process of harvesting pine cone seeds.
Pine trees, with their majestic presence and refreshing scent, are not only beautiful additions to any landscape but also provide an abundant supply of seeds. These seeds, tucked away inside their woody husks, hold the potential to grow into new pine trees.
By harvesting and planting these pine cone seeds, you can play an active role in the continuation of these magnificent trees’ life cycle. So, let’s gather our supplies and embark on this exciting journey of pine cone seed harvesting!
Key Takeaways:
- Harvesting pine cone seeds is an exciting way to grow new pine trees. Look for mature cones in the fall, gather supplies, and prepare the seeds for planting to enjoy the journey of nature’s growth.
- After harvesting, clean and store pine cone seeds in a cool, dry place for future planting. Enjoy the rewarding experience of growing your own pine trees from seed!
Read more: How To Plant Pine Cone Seeds
Gathering the Supplies
Before you begin harvesting pine cone seeds, it is important to gather the necessary supplies. Here are the items you will need:
- Gloves: Protect your hands from prickly pine needles and any potential irritants.
- Basket or bag: Use a container with ample space to hold the pine cones you collect.
- Garden pruners: These will come in handy for snipping the pine cones from their branches.
- Old newspapers: Lay out some newspapers to provide a clean workspace for sorting and drying the pine cones.
With these supplies in hand, you’re ready to embark on your pine cone harvesting adventure!
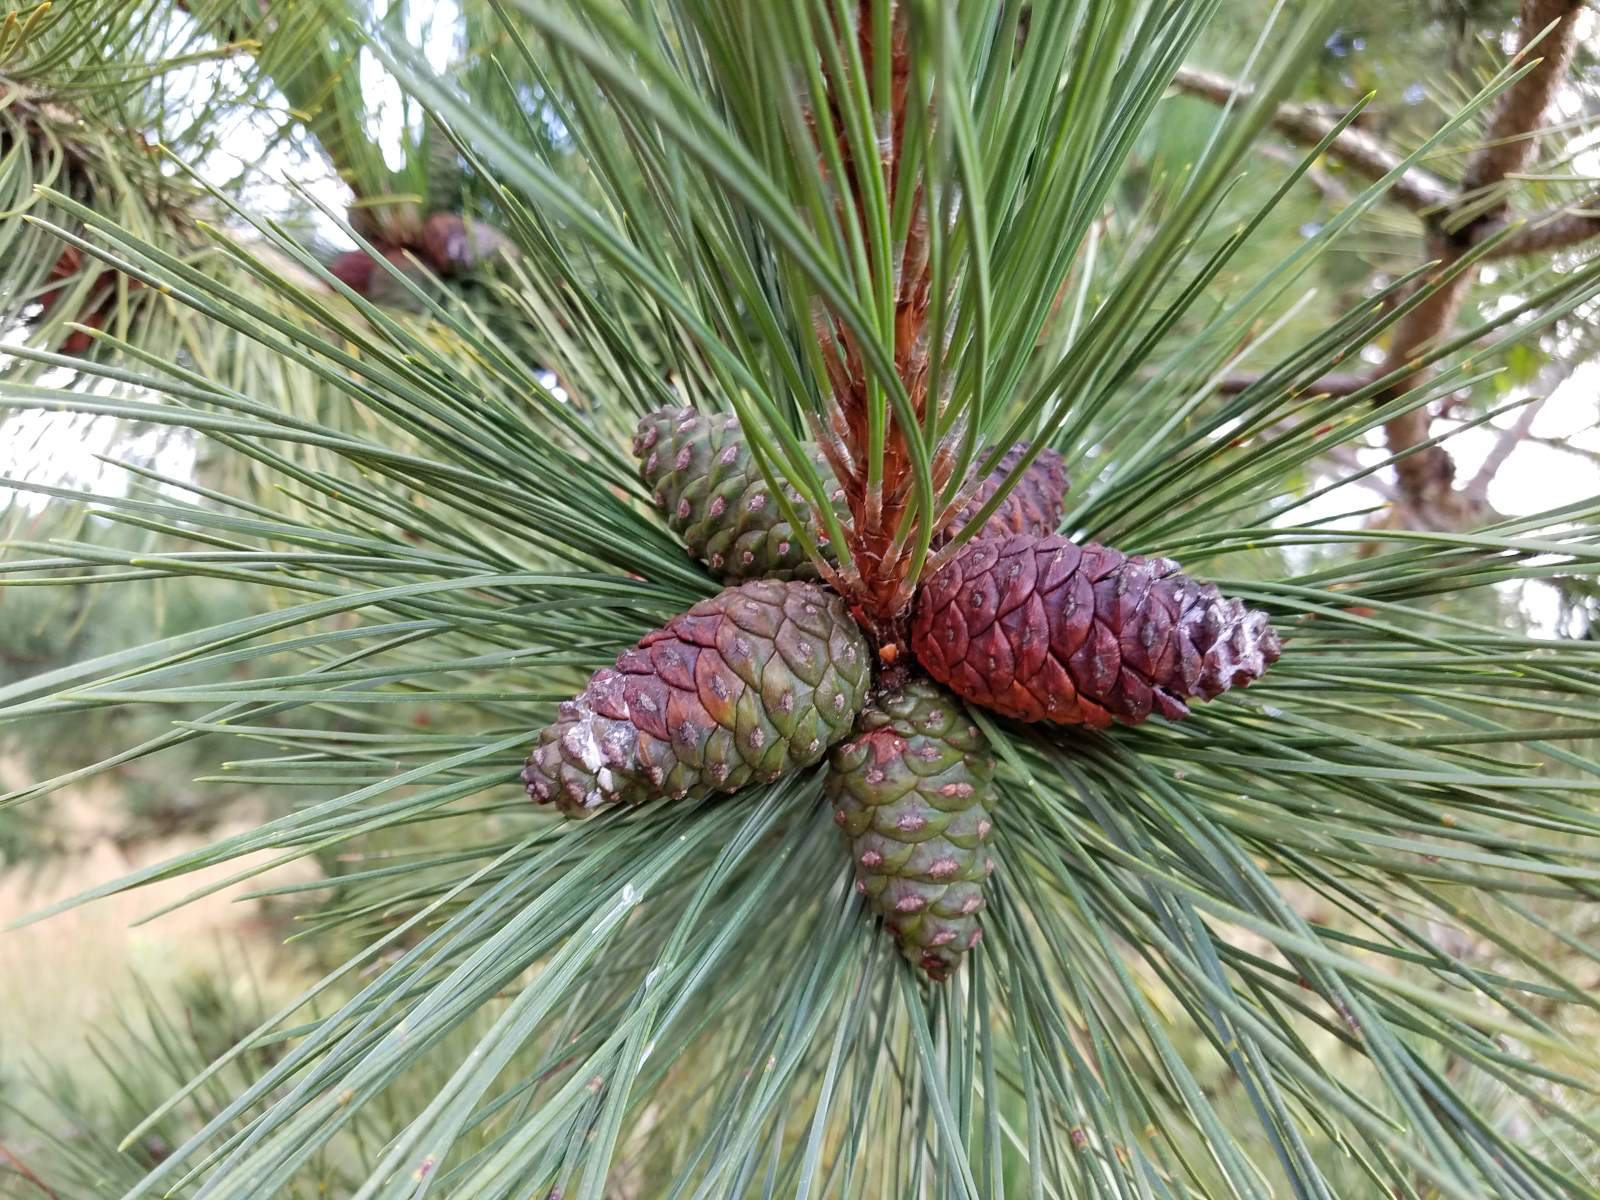
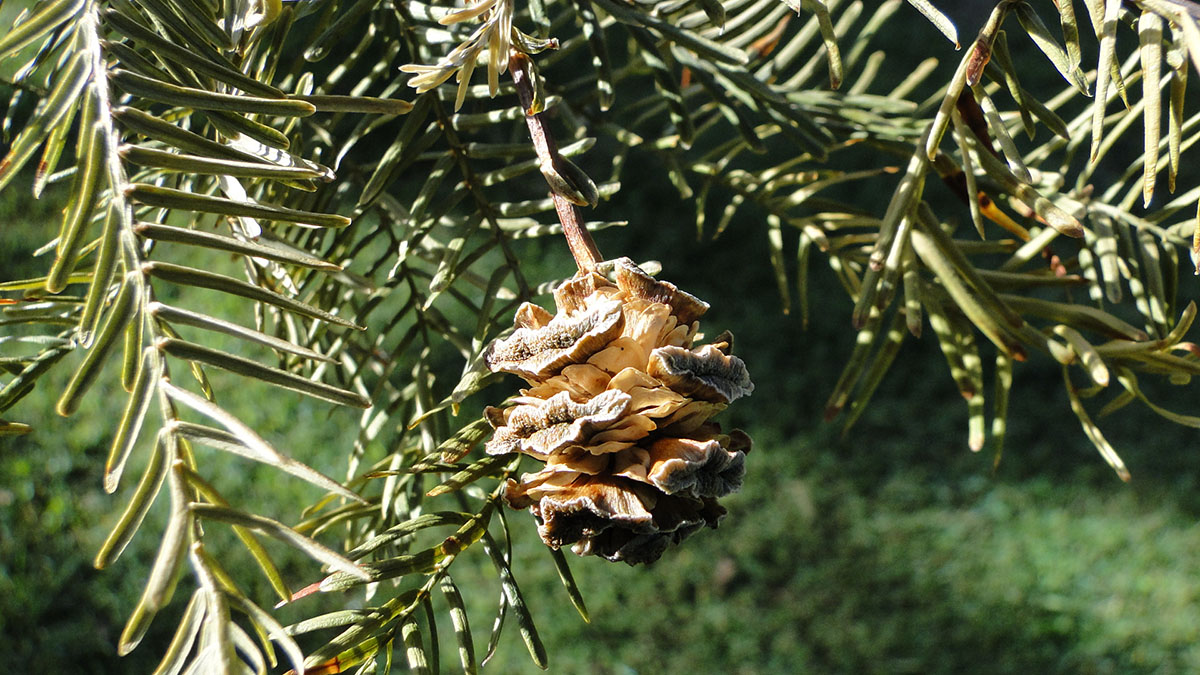
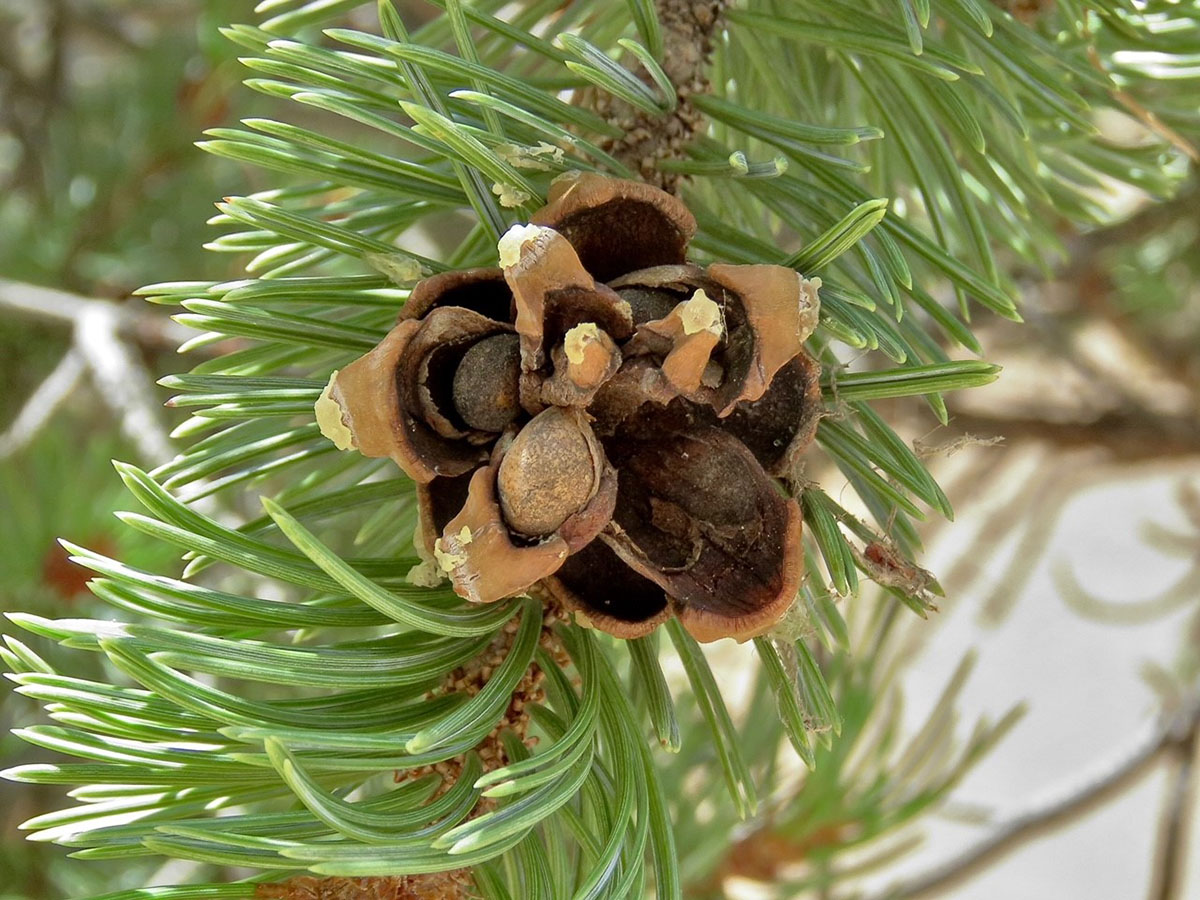
Identifying Mature Pine Cones
Before you start harvesting pine cone seeds, it’s important to identify mature pine cones. These are the cones that have reached their full development and are ready to release their seeds. Here are some key characteristics to look for:
Size and Shape: Mature pine cones are typically larger and fuller in shape compared to younger cones. They will have a sturdy and compact structure.
Color: When pine cones are ready to be harvested, they will typically have a brown or golden color. Avoid cones that are green or partially closed, as these are not fully mature.
Texture: Mature pine cones will have a firm texture and may feel slightly heavy in your hand. The scales of the cone should be tightly closed and intact.
Flexibility: Gently squeeze the pine cone to test its flexibility. Mature cones will be more rigid and less pliable compared to younger cones.
Seeds: Check the base of the scales for signs of open scales or exposed seeds. If you can easily see the seeds, it is a good indication that the cone is mature and ready for harvesting.
It’s important to identify mature pine cones to ensure that you collect seeds that have the greatest chance of successfully germinating and growing into healthy trees. Now that you know what to look for, it’s time to find the perfect cones for harvesting!
Selecting the Right Time to Harvest
Timing is crucial when it comes to harvesting pine cone seeds. You want to ensure that the cones are at their peak maturity, as this will increase the chances of obtaining viable seeds. Here are a few indicators to help you determine the right time to harvest:
Fall Season: Pine cones typically mature and release their seeds in the fall. Keep an eye out for the change in color of the cones during this time.
Weather Conditions: Look for a period of dry weather before harvesting. Rain and excessive moisture can cause the cones to become moldy, making it difficult to extract the seeds.
Natural Cone Opening: Some pine cone species have a unique mechanism that causes their scales to open and release the seeds naturally. Wait until you see the cones start to open on their own before harvesting. This indicates that the seeds are fully matured.
Seed Dispersal: Pay attention to the ground beneath the tree. If you see fallen seeds or cones, it’s a sign that the cones are ready for harvest. However, be sure to gather the cones before animals or weather impact the seeds’ viability.
Observation: Take the time to observe the cones closely. If you see seeds being released or if the scales start to loosen, it’s a clear sign that the cones are ripe and ready for harvesting.
By selecting the right time to harvest your pine cones, you increase the likelihood of obtaining high-quality seeds. This will give your new pine tree saplings the best chance of thriving once planted. Now that the timing is on your side, let’s move on to the actual process of harvesting the cones!
To harvest pine cone seeds, wait until the cones are fully mature and then gently shake or tap them to release the seeds. Collect the seeds and store them in a cool, dry place until you are ready to plant them.
Harvesting Pine Cones
Now that you have identified the right time to harvest and have gathered your supplies, it’s time to start the process of harvesting pine cones. Follow these steps to ensure a successful harvest:
1. Find a Suitable Tree: Look for a pine tree with mature cones that you want to harvest. Make sure you have the property owner’s permission if you are harvesting from someone else’s property.
2. Put on Your Gloves: Protect your hands by wearing a pair of gloves. This will help prevent any prickly pine needles or irritants from coming into contact with your skin.
3. Use Garden Pruners: Position the garden pruners close to the base of the cone and carefully snip it off from the branch. Avoid damaging the cone or the surrounding foliage.
4. Collect the Cones: Place the harvested pine cones into your basket or bag. Continue to harvest cones until you have gathered as many as you need.
5. Sort the Cones: Once you are done harvesting, go through the collected cones and remove any damaged or moldy ones. It’s important to select only healthy cones for seed extraction.
6. Dry the Cones: Lay out the sorted cones on a piece of old newspaper in a well-ventilated area. Allow them to air dry for a few weeks until they are fully dry and the scales start to open.
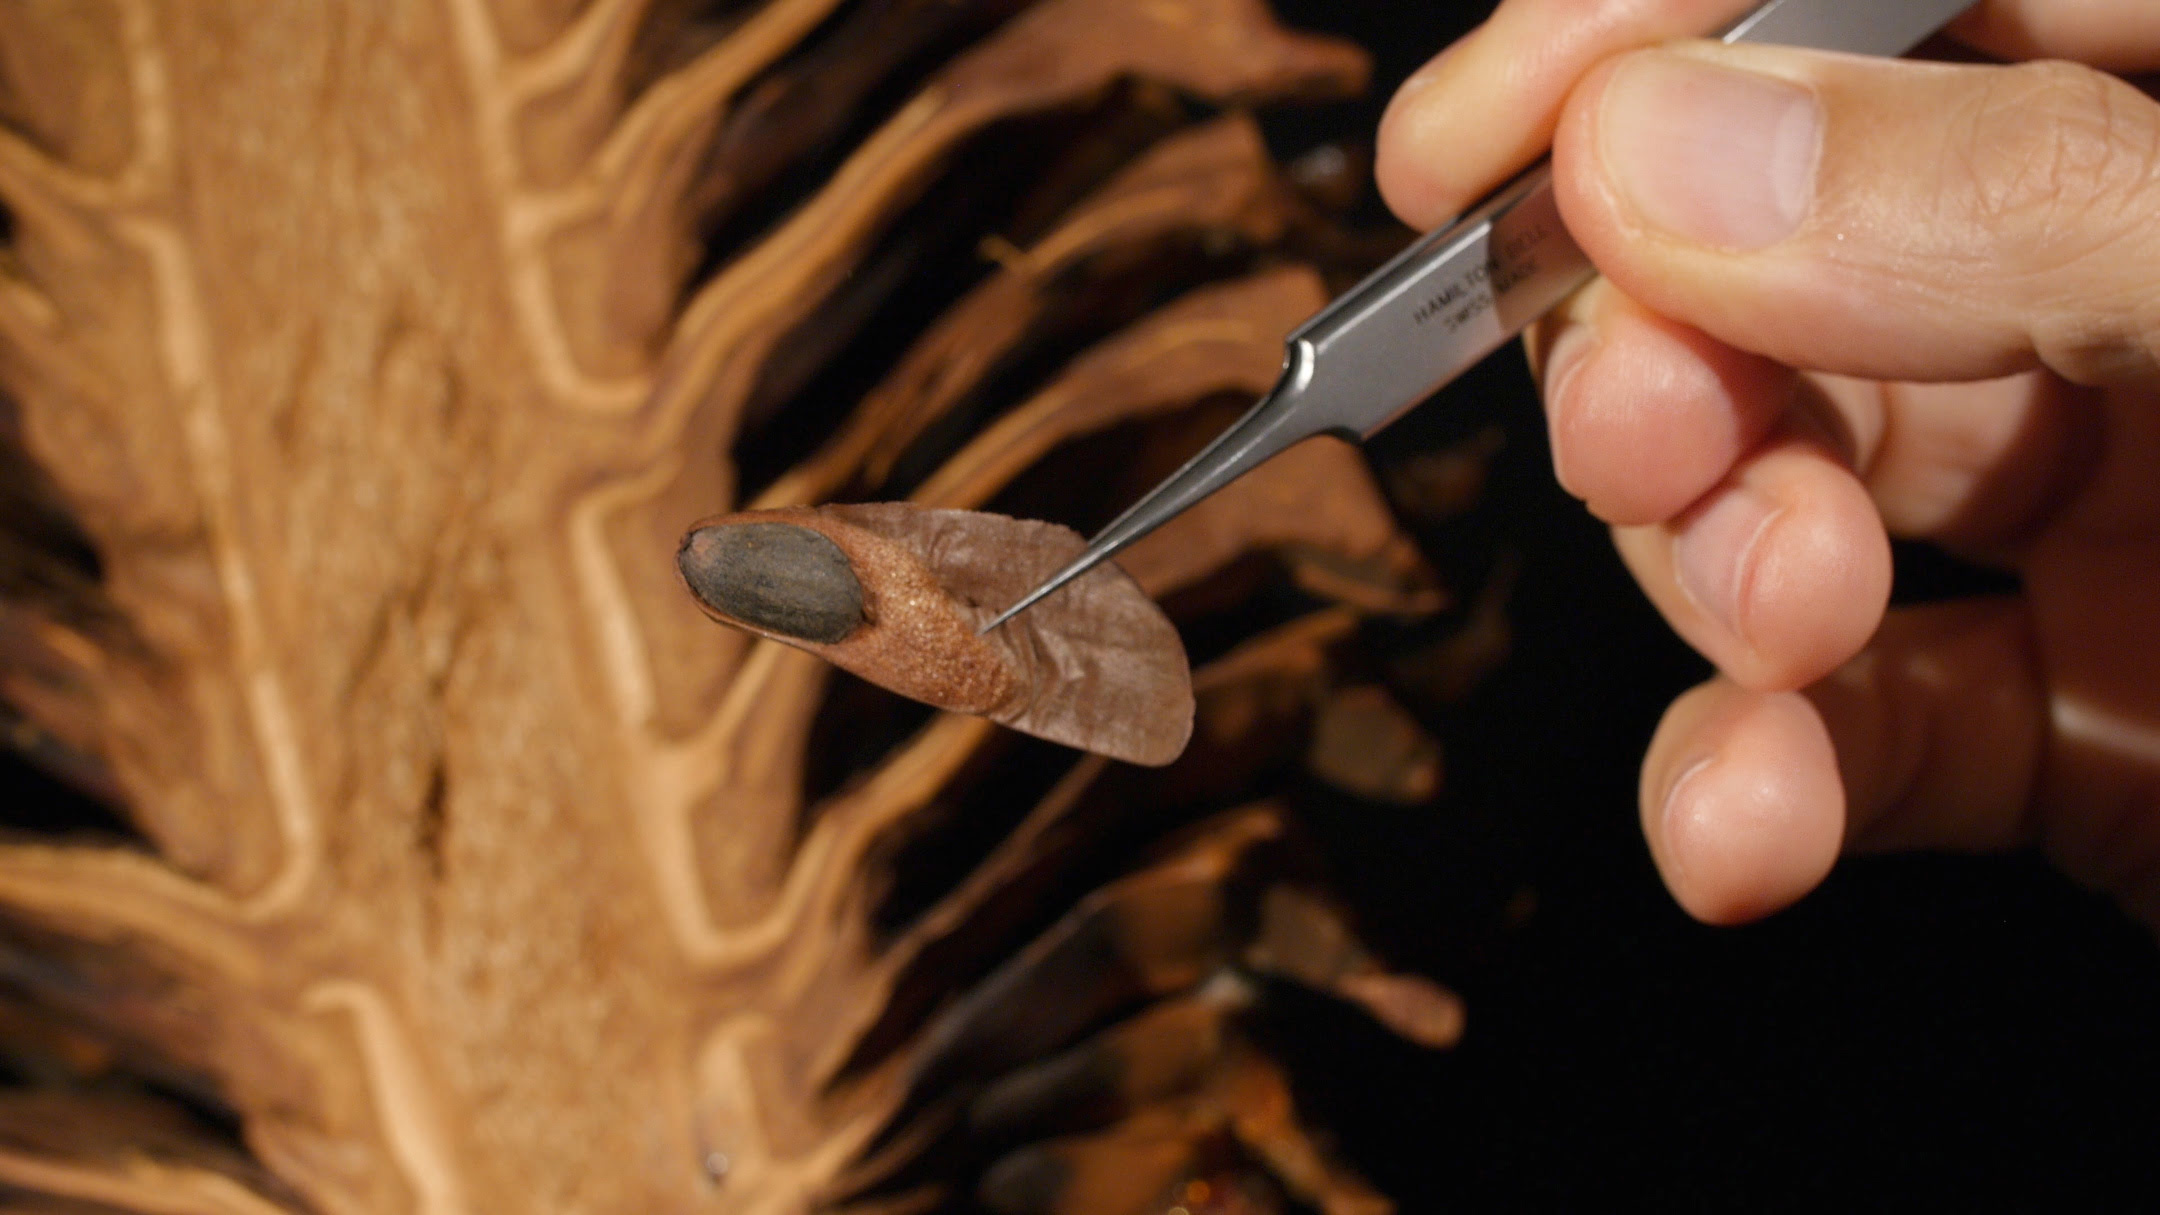
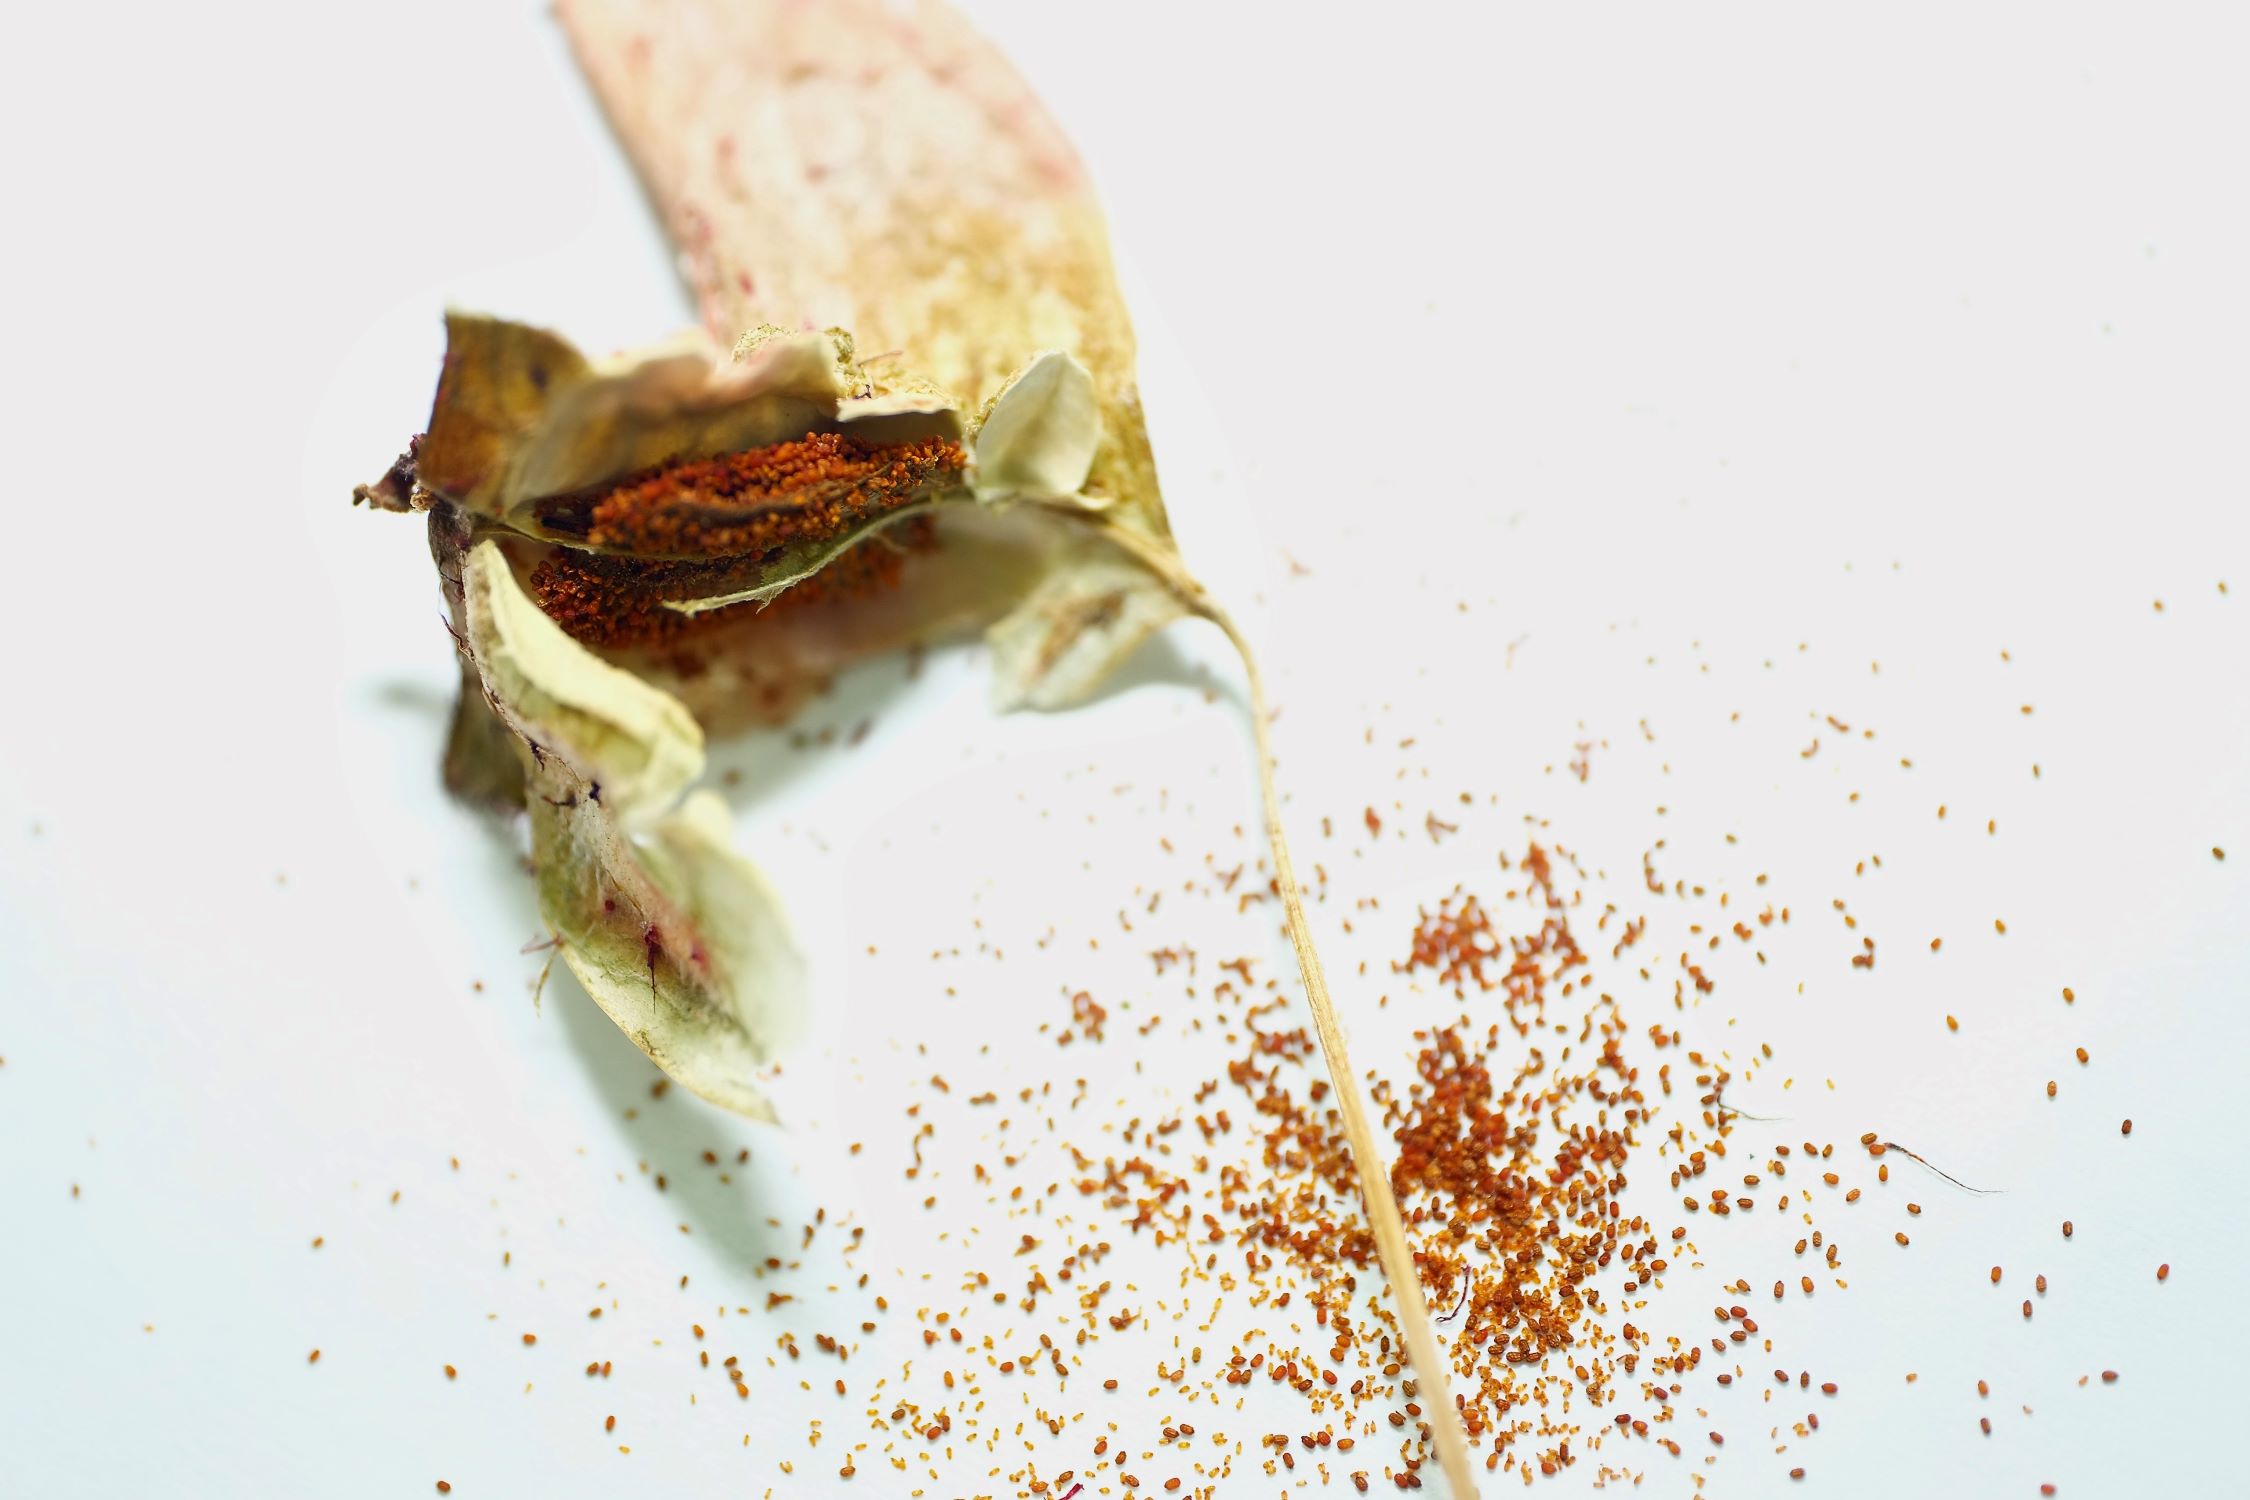
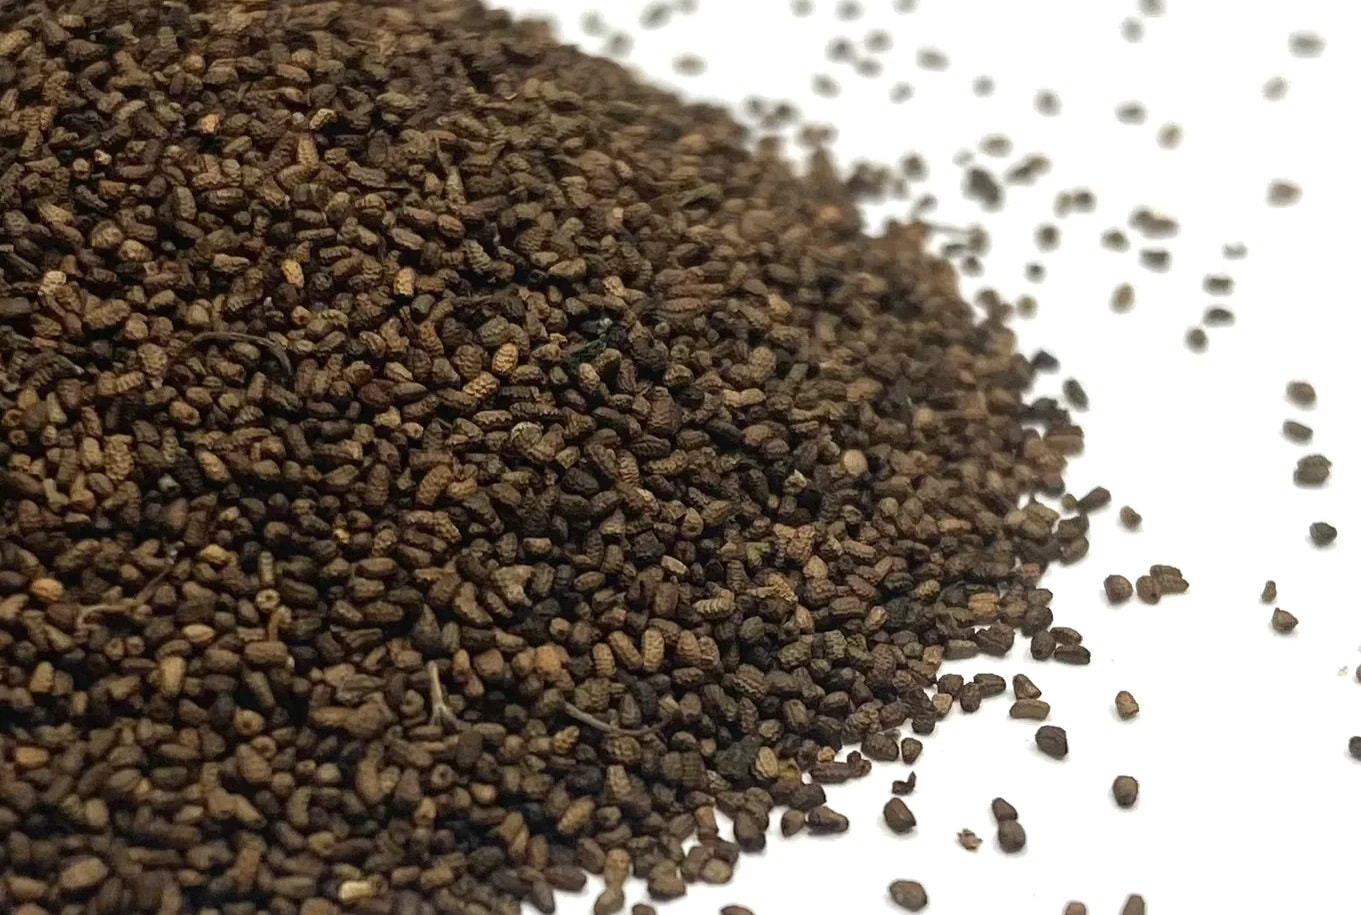
7. Extract the Seeds: Gently tap the dried cones on a hard surface to release the seeds. You can also roll the cones between your hands to aid in seed extraction. Collect the seeds and discard any remaining cone debris.
Remember to handle the pine cones with care during the harvesting process. By following these steps, you can ensure that you have a bountiful supply of pine cone seeds ready for planting. Next, let’s move on to preparing the seeds for planting!
Read more: Where Are The Seeds In A Pine Cone
Preparing the Seeds for Planting
Now that you have harvested pine cone seeds, it’s time to prepare them for planting. Follow these steps to ensure that your seeds are properly prepared:
1. Clean the Seeds: Remove any remaining debris or bits of cone from the seeds. You can do this by gently blowing on them or using a soft brush to remove any loose material.
2. Remove the Wings: Some pine cone seeds are equipped with wings that help them disperse in the wind. However, for planting purposes, it’s best to remove these wings. Simply rub the seeds between your hands to separate the wings from the seeds.
3. Stratification: Some pine cone seeds benefit from a process called stratification, which simulates the natural winter conditions they would experience. Place the seeds in a plastic bag filled with moistened sand or peat moss and store them in the refrigerator for 4-6 weeks. This cold stratification will help break seed dormancy and improve germination rates.
4. Germination Test: If you want to ensure the viability of your seeds before planting, you can conduct a germination test. Moisten a paper towel and place the seeds inside it. Seal the towel in a plastic bag and keep it in a warm location. Check the seeds regularly for signs of germination, such as root or shoot development. This will give you an idea of the percentage of viable seeds you have.
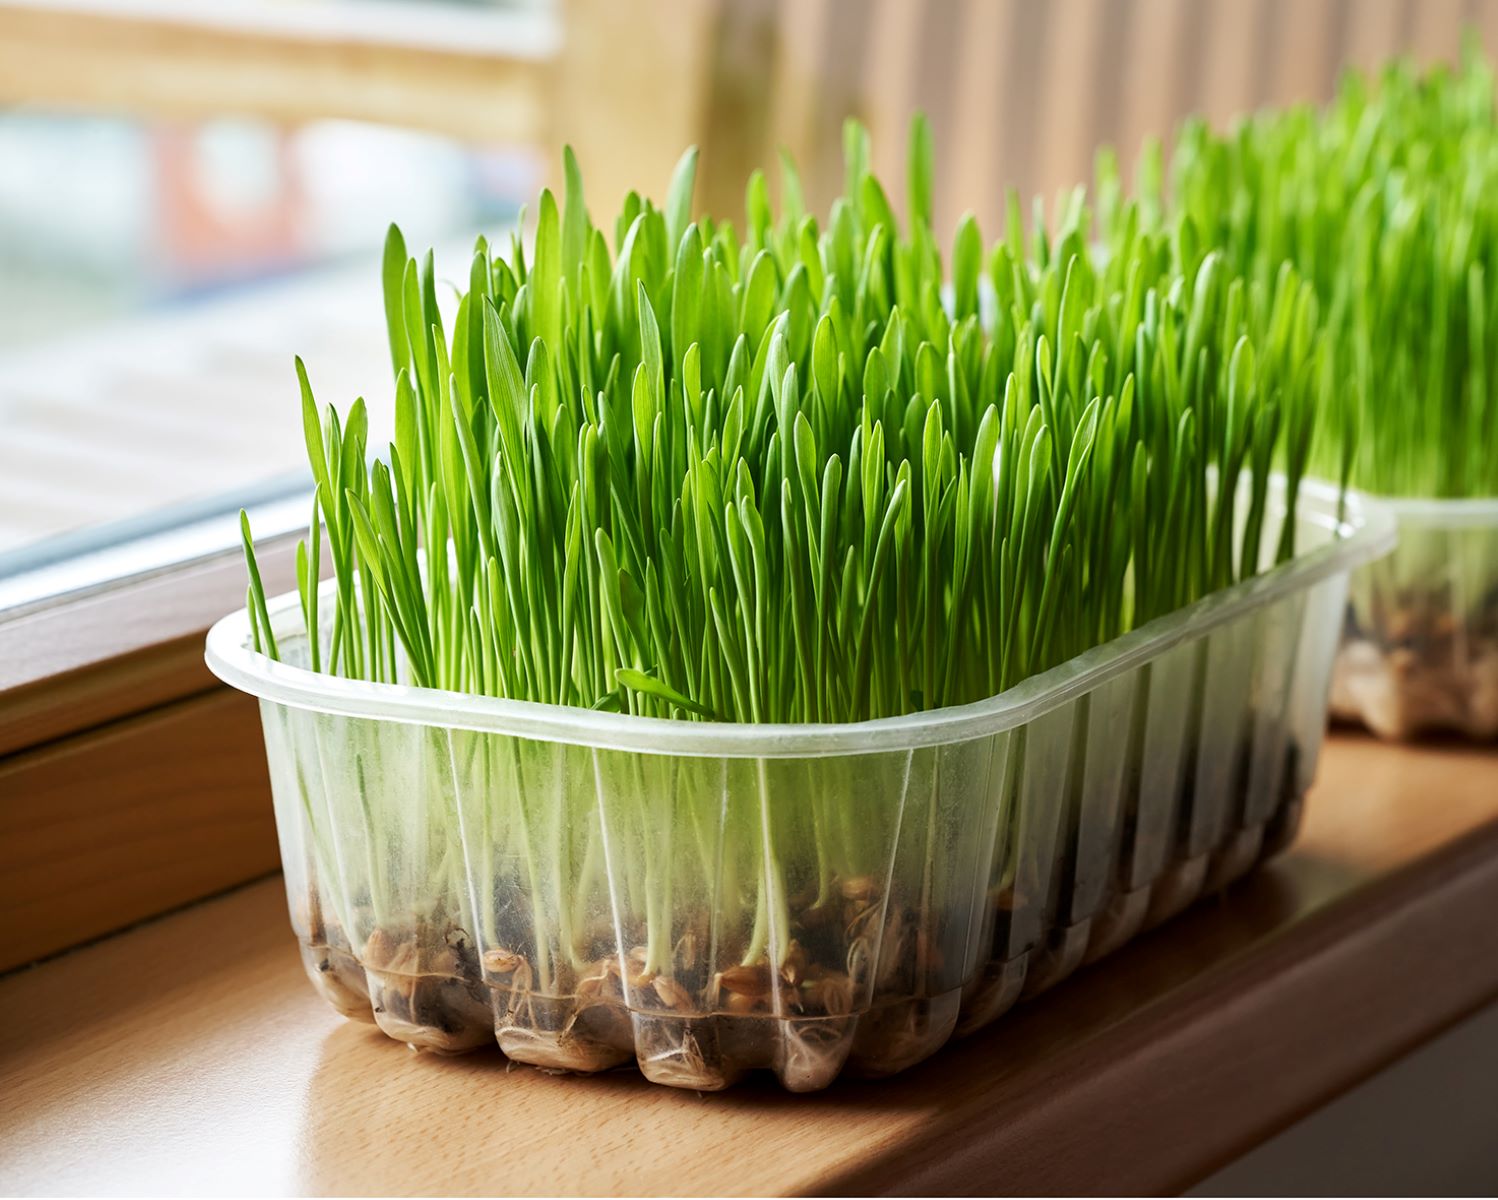
5. Planting: Once the seeds have been properly cleaned and stratified, they are ready for planting. Choose a suitable location in your garden or in pots, ensuring that the soil is well-drained. Plant the seeds at a depth of about an inch, covering them gently with soil. Water the area well and keep the soil consistently moist until the seeds germinate.
By properly preparing your pine cone seeds, you give them the best chance of successful germination and growth. With a little patience and care, you will soon see the fruits of your labor in the form of tiny pine saplings. Now, let’s move on to the final step – storing any remaining seeds for future use.
Storing Pine Cone Seeds
If you have harvested more pine cone seeds than you currently need for planting, it’s important to store them properly to maintain their viability for future use. Follow these steps to ensure that your pine cone seeds remain healthy and ready for planting:
1. Cleaning and Drying: Before storing the seeds, make sure they are clean and dry. Remove any remaining debris or bits of cone from the seeds, and allow them to air dry for a few days to ensure they are moisture-free.
2. Moisture-Controlled Environment: Pine cone seeds require a cool, dry environment to maintain their quality. Store the seeds in a breathable container, such as a paper envelope or a breathable cloth bag, to prevent moisture buildup. Avoid using plastic bags, as they can trap moisture and lead to mold or rot.
3. Cool and Dark Location: Choose a storage location that is cool and dark, such as a basement or a refrigerator. The ideal temperature range for storing pine cone seeds is between 32°F (0°C) and 41°F (5°C).
4. Labeling and Organization: Properly label each envelope or bag with the species and date of collection to ensure easy identification later. If you have collected seeds from multiple pine tree species, it’s important to keep them organized and separate to avoid confusion.
5. Regular Check-ups: Periodically check on the stored seeds to ensure their condition. Look for signs of mold or moisture buildup, and remove any seeds that show signs of deterioration to prevent the spread of fungi or pests.
6. Long-Term Storage: If you plan to store the seeds for an extended period, consider using airtight containers and adding a desiccant, such as silica gel packets, to absorb any residual moisture. Place the containers in the refrigerator to keep the seeds dormant.
With proper storage, pine cone seeds can remain viable for several months to a few years, depending on the species. Regularly testing the seeds for germination rates can help determine their viability before planting.
By implementing these storage practices, you can ensure that your harvested pine cone seeds will be ready for future planting endeavors. Now that you have the knowledge and techniques for harvesting and storing pine cone seeds, it’s time to enjoy the excitement of watching these seeds grow into magnificent trees in your very own garden.
Conclusion
Congratulations! You have now learned the ins and outs of harvesting and preparing pine cone seeds. By embarking on this journey, you can actively participate in the growth and proliferation of these beautiful trees. Here’s a quick recap of the key points we covered:
– Gathering the necessary supplies such as gloves, pruners, and a basket or bag
– Identifying mature pine cones based on their size, color, texture, flexibility, and seeds
– Selecting the right time to harvest, considering the fall season, weather conditions, natural cone opening, seed dispersal, and observation
– Harvesting pine cones carefully, ensuring the cone’s base is snipped off and collecting them in a container
– Preparing the seeds for planting by cleaning them, removing the wings if applicable, and optionally stratifying and conducting a germination test
– Storing any remaining seeds in a cool, moisture-controlled environment, labeled and organized for easy identification
By following these steps, you can enjoy the rewarding experience of growing pine trees from seed. Not only will you witness the growth and transformation of these magnificent trees, but you will also contribute to the overall health and diversity of your garden and the environment.
Remember, gardening is not only a process, but it is also a journey of patience, care, and love for nature. So, enjoy every step along the way – from harvesting the pine cones to sowing the seeds and nurturing the saplings.
Now, armed with the knowledge of how to harvest and prepare pine cone seeds, why not explore other seed harvesting adventures? You can try your hand at collecting seeds from different plants and trees, expanding your gardening skills and contributing to the biodiversity of your backyard.
Happy gardening and may your pine cone seeds grow into magnificent trees that bring joy and beauty to your surroundings for years to come!
Now that you've mastered harvesting pine cone seeds, why not spruce up your garden's boundaries? Check out our curated list of creative garden fence ideas. These designs can transform your outdoor space into a visually appealing haven, offering both beauty and function. From rustic wooden fences to modern metal options, find the perfect style to complement your blossoming garden.
Frequently Asked Questions about How To Harvest Pine Cone Seeds
Was this page helpful?
At Storables.com, we guarantee accurate and reliable information. Our content, validated by Expert Board Contributors, is crafted following stringent Editorial Policies. We're committed to providing you with well-researched, expert-backed insights for all your informational needs.
0 thoughts on “How To Harvest Pine Cone Seeds”