Home>Garden Essentials>How To Germinate Mitraria

Garden Essentials
How To Germinate Mitraria
Modified: March 16, 2024
Learn how to successfully germinate Mitraria in your garden with our step-by-step guide. Increase your gardening knowledge and achieve beautiful results.
(Many of the links in this article redirect to a specific reviewed product. Your purchase of these products through affiliate links helps to generate commission for Storables.com, at no extra cost. Learn more)
Introduction
Welcome to the wonderful world of gardening! Whether you are a seasoned gardener or just starting out, learning how to germinate and grow plants from seeds is an essential skill. In this article, we will focus on the process of germinating Mitraria seeds.
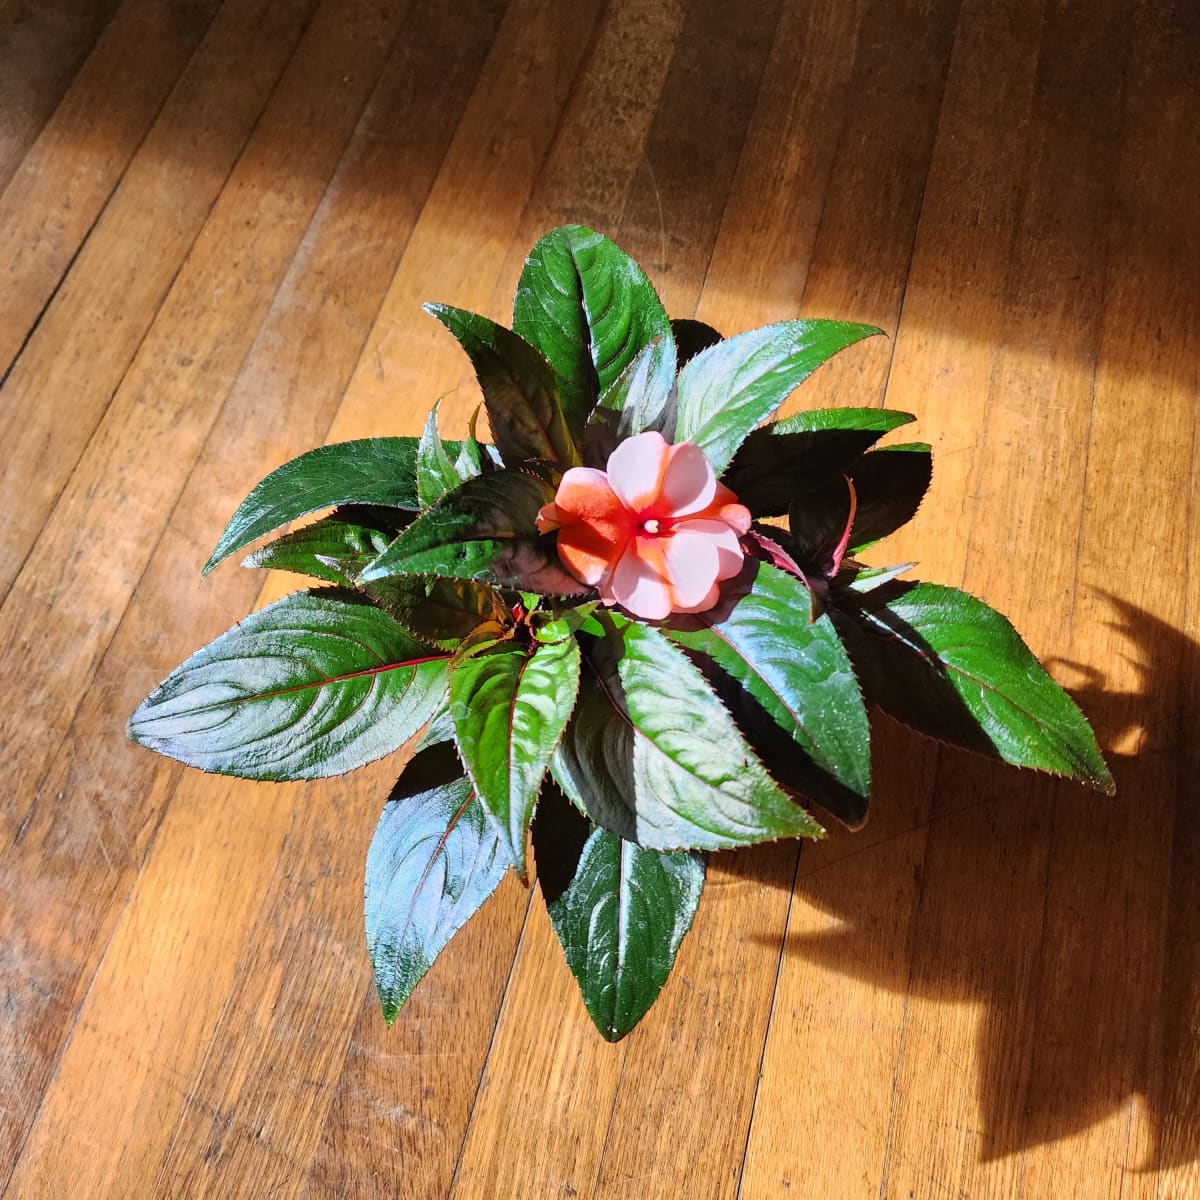
Mitraria, also known as the Chilean Mitre Flower, is a beautiful flowering plant native to South America. It features vibrant red or orange tubular flowers and glossy green leaves, making it a popular choice for gardeners who want to add a splash of color to their outdoor space. Germinating Mitraria seeds is a rewarding experience that allows you to grow these stunning plants from scratch.
Before we delve into the step-by-step instructions on how to germinate Mitraria seeds, there are a few key factors to consider. First, it’s important to note that Mitraria prefers a moderate climate and grows best in regions with mild temperatures. If you live in a colder climate, you may need to provide extra care and protection to ensure successful germination and growth.
Secondly, Mitraria is an evergreen plant that thrives in well-drained soil and partial shade. It prefers rich, organic soil that is slightly acidic. To create the ideal growing conditions for Mitraria, it’s important to prepare the soil and provide the right amount of light, water, and nutrients.
Now that we have covered the basics, let’s dive into the step-by-step process of how to germinate Mitraria seeds. By following these instructions, you will be on your way to growing your own beautiful Mitraria plants and enjoying their vibrant blooms in no time!
Key Takeaways:
- Germinating Mitraria seeds requires gathering materials, preparing the seeds, and providing optimal growing conditions. It’s a rewarding process that leads to beautiful flowering plants.
- After germination, caring for Mitraria seedlings involves watering, providing light, and gradually transitioning them to the garden. With proper care, they will thrive and bloom vibrantly.
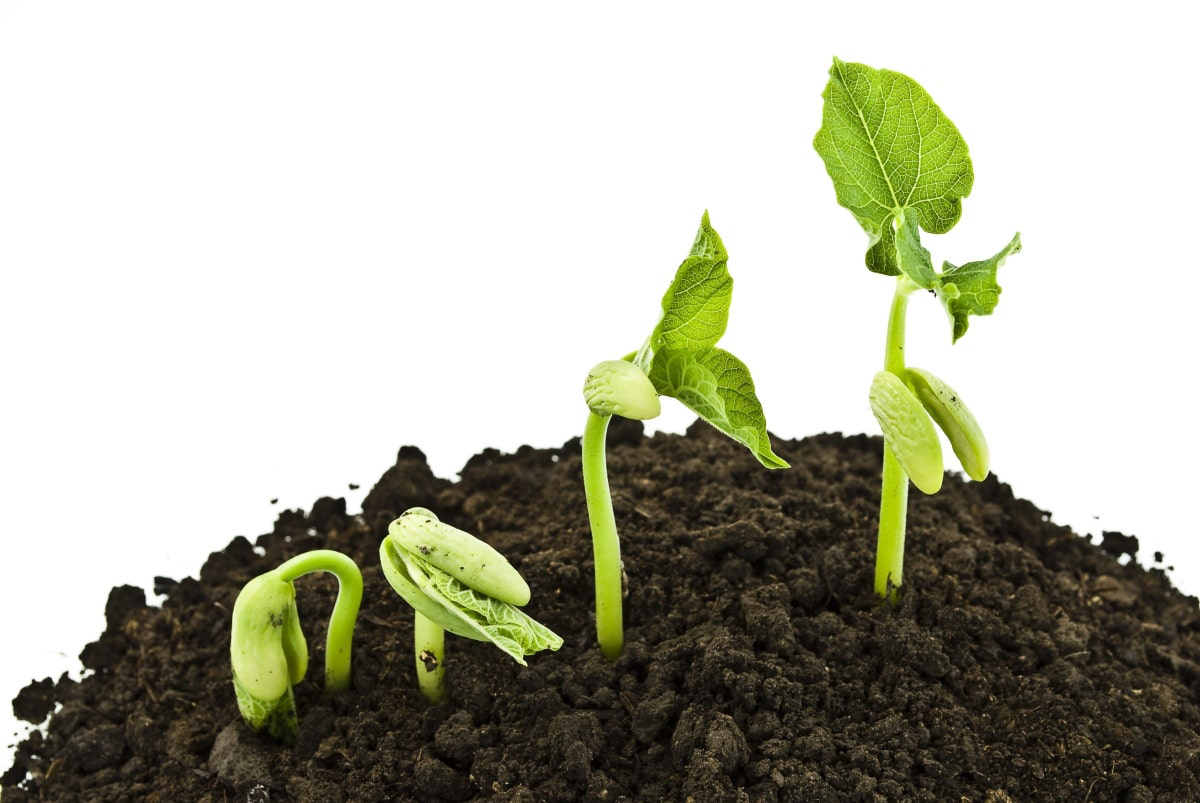
Read more: How To Germinate A Bean
Step 1: Gathering Materials
Before you begin the process of germinating Mitraria seeds, it’s essential to gather all the necessary materials. Having everything prepared will make the process smoother and more efficient. Here’s a list of the materials you will need:
- Mitraria seeds: Firstly, you will need to acquire Mitraria seeds. These can usually be obtained from reputable nurseries or online seed suppliers. Make sure to choose fresh, high-quality seeds for the best germination results.
- Seed tray or pots: You will need a seed tray or small pots to sow the Mitraria seeds. Ensure that the container has drainage holes to prevent waterlogging.
- Seed starting mix: A well-draining seed starting mix is essential for germinating Mitraria seeds. You can purchase pre-made seed starting mix from garden centers, or make your own by combining equal parts peat moss, vermiculite, and perlite.
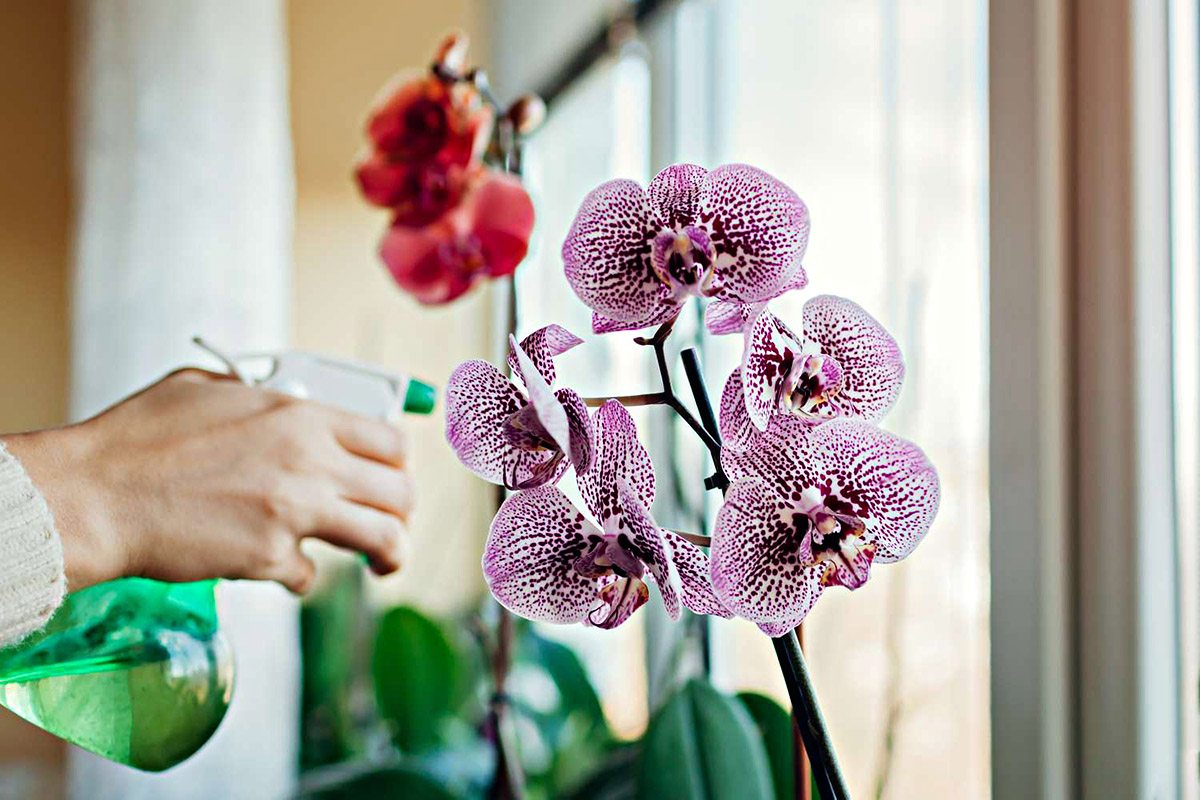
- Watering can or spray bottle: You will need a watering can or spray bottle to moisten the seed starting mix without causing it to become saturated.
- Clear plastic cover or plastic wrap: Mitraria seeds require a humid environment for successful germination. Covering the seed tray or pots with a clear plastic cover or plastic wrap will help to retain moisture.
- Heat mat or warm location: Mitraria seeds germinate best in warm temperatures. If your location is not naturally warm, you can use a heat mat or find a warm spot in your home to place the seed tray or pots.
- Grow lights (optional): While not necessary, grow lights can be beneficial for providing sufficient light during the germination process, especially if you don’t have access to natural sunlight.
- Plant labels: It’s important to label your Mitraria seeds to keep track of the varieties you are germinating. This will be helpful when it comes time to transplant the seedlings.
- Notebook and pen: Keeping a record of your germination process, including dates and observations, can be valuable for future reference.
Now that you have gathered all the necessary materials, you are ready to move on to the next step: preparing the Mitraria seeds for germination.
Step 2: Preparing the Seeds
Preparing the Mitraria seeds properly is crucial for successful germination. Follow these steps to ensure that your seeds are ready to grow:
- Inspect the seeds: Before you begin, examine the Mitraria seeds to ensure that they are healthy and free from any damage or disease. Discard any seeds that appear discolored, shriveled, or damaged.
- Scarification (optional): Some gardeners choose to scarify Mitraria seeds to enhance germination. Scarification involves gently nicking or scratching the seed coat to promote water absorption. To scarify the seeds, use a file or sandpaper to lightly rub the outer layer of the seed coat. Be careful not to damage the seed itself.
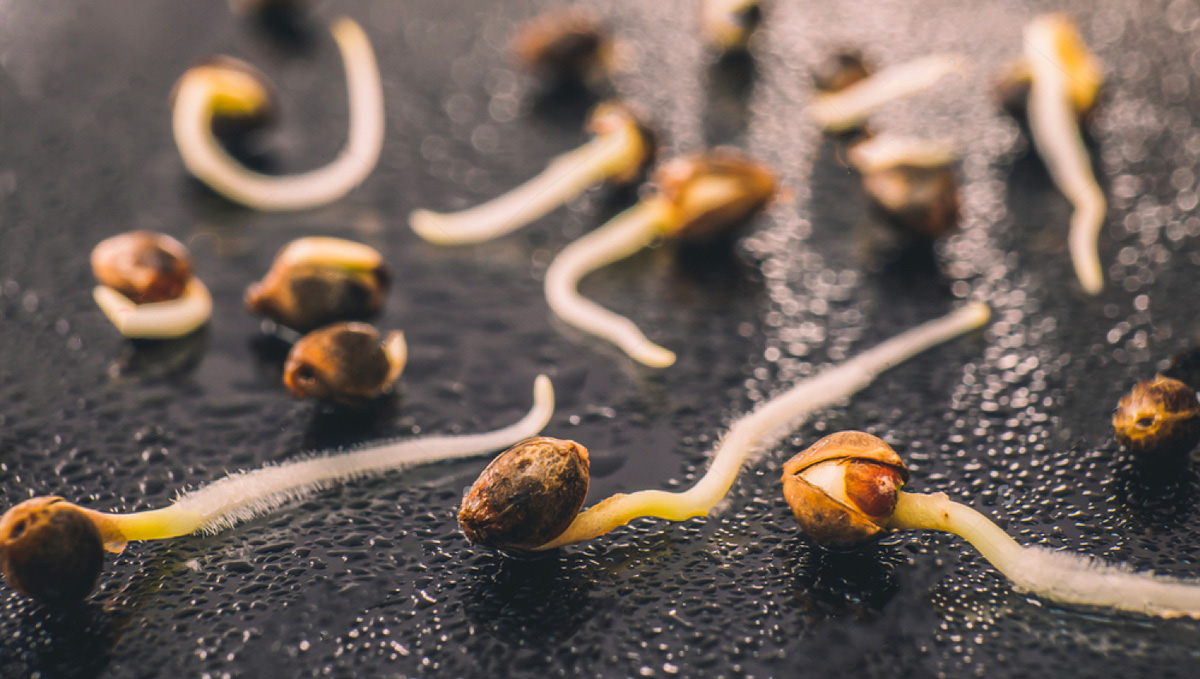
- Soaking the seeds: To increase the chances of successful germination, you can soak the Mitraria seeds before planting. Fill a bowl with warm water and place the seeds in it. Allow them to soak for 24 hours. This process will help to soften the seed coat and promote germination.
- Prepare the seed starting mix: While the seeds are soaking, prepare the seed starting mix. Moisten the mix with water, ensuring that it is damp but not waterlogged. Fill the seed tray or pots with the moistened seed starting mix, leaving a small gap at the top for watering.
- Sow the seeds: After the soaking period, carefully remove the Mitraria seeds from the water and place them on top of the seed starting mix in the seed tray or pots. Space the seeds evenly, allowing room for growth. Lightly press the seeds into the mix, ensuring good seed-to-soil contact, but do not bury them too deep.
- Mist or water gently: After sowing the seeds, mist the surface of the seed starting mix with a spray bottle or use a watering can with a fine nozzle to water gently. Avoid creating standing water or causing the seeds to wash away. Maintain a consistently moist environment throughout the germination process.
Once you have prepared the Mitraria seeds, you are ready to move on to the next step: providing optimal growing conditions for germination. In the following step, we will explore the ideal conditions required for successful Mitraria seed germination.
Step 3: Providing Optimal Growing Conditions
To ensure successful germination of Mitraria seeds, it is important to create the ideal growing conditions. Here are the key factors to consider:
- Temperature: Mitraria seeds germinate best in warm temperatures ranging between 70°F and 75°F (21°C and 24°C). If your location is not naturally warm, consider using a heat mat underneath the seed tray or placing it in a warm spot in your home.
- Light: While Mitraria seeds do not require light for germination, they will need bright light once they sprout. If natural sunlight is limited, consider using grow lights to provide the necessary intensity and duration of light for healthy seedling growth.
- Humidity: Mitraria seeds require a humid environment to germinate successfully. Cover the seed tray or pots with a clear plastic cover or plastic wrap to help retain moisture. This will create a mini greenhouse effect and keep the humidity levels high.
- Air circulation: While maintaining humidity is important, it is equally crucial to provide adequate air circulation to prevent mold or fungal growth. Lift the plastic cover or plastic wrap for a few minutes each day to allow fresh air to circulate around the seedlings.
- Watering: It’s important to keep the seed starting mix consistently moist during germination. Use a spray bottle or a watering can with a fine nozzle to mist the surface of the mix regularly. Avoid overwatering, as it can lead to rotting of the seeds.
- Patience: Be patient during the germination process. Mitraria seeds may take anywhere from two to four weeks to sprout. Some seeds may germinate faster than others, so continue providing the necessary conditions until all the seeds have sprouted.
By ensuring optimal growing conditions, you are setting the stage for successful germination of your Mitraria seeds. In the next step, we will explore the process of germinating the seeds.
Step 4: Germinating the Seeds
Now that you have prepared the Mitraria seeds and created optimal growing conditions, it’s time to germinate the seeds. Follow these steps to encourage successful germination:
- Place the seed tray or pots in a warm location: Ensure that the seed tray or pots are placed in a warm location with a temperature of around 70°F to 75°F (21°C to 24°C). This warmth will help to stimulate germination.
- Maintain humidity: Keep the moisture levels consistent by misting the seed starting mix regularly with a spray bottle or using a fine nozzle on a watering can. Ensure that the mix remains moist but not waterlogged.
- Monitor the seeds: Check on the seeds regularly to observe signs of germination. It may take anywhere from two to four weeks for the Mitraria seeds to sprout.
- Transplant germinated seedlings: Once the seeds have sprouted and the seedlings have developed their first set of true leaves, it’s time to transplant them into individual pots or containers. Gently loosen the seedlings from the seed starting mix and carefully transfer them to their new homes, ensuring that the roots are well-covered with soil.
- Continue care: After transplanting, continue to provide the seedlings with the optimal growing conditions mentioned in Step 3. This includes maintaining the right temperature, light, humidity, air circulation, and watering routine.
- Monitor growth: Monitor the growth of your Mitraria seedlings and make sure they are receiving adequate light and water. Adjust the care routine as needed to support healthy growth.
Germinating Mitraria seeds can be an exciting and rewarding process. By following these steps and providing the right conditions, you will soon have a batch of thriving Mitraria seedlings ready for the next stage: transferring them to individual containers. Stay tuned for Step 5, where we will cover the process of transferring seedlings to containers.
To germinate Mitraria seeds, place them in a damp paper towel inside a plastic bag. Keep the bag in a warm, bright location and check for sprouting in 2-4 weeks. Transplant the sprouted seeds into a pot with well-draining soil.
Read more: How To Germinate Pecans
Step 5: Transferring Seedlings to Containers
Congratulations on successfully germinating your Mitraria seeds! Now it’s time to transfer the seedlings to individual containers to give them more space to grow and develop. Follow these steps to ensure a smooth transition:
- Prepare individual pots: Select individual pots or containers that are large enough to accommodate the growing Mitraria seedlings. Ensure that the pots have drainage holes to prevent waterlogging.
- Fill pots with suitable potting mix: Fill each pot with a well-draining potting mix. You can use a commercial potting mix suitable for flowering plants or create your own mix by combining equal parts of potting soil, compost, and sand. This mix will provide the necessary nutrients and proper drainage for healthy growth.
- Make a hole for transplanting: Using your finger or a small tool, create a hole in the center of each pot, deep enough to accommodate the roots of the Mitraria seedlings.
- Transplant the seedlings: Carefully remove the Mitraria seedlings from the seed tray, taking care to keep their delicate roots intact. Gently place each seedling into a prepared hole in the individual pots, making sure that the roots are covered with soil. Gently press the soil around the base of the seedlings to secure them in place.
- Water the seedlings: After transplanting, give the newly potted Mitraria seedlings a thorough watering. This will help settle the soil around the roots and provide much-needed hydration.
- Place in a suitable location: Find a location for your potted Mitraria seedlings that receives bright, indirect light. Avoid placing them in direct sunlight, as this can stress the young plants. If needed, you can provide supplemental grow lights to ensure they receive adequate light for healthy growth.
- Continue care: Maintain regular watering, ensuring that the soil remains evenly moist but not waterlogged. Monitor the seedlings for any signs of pests or diseases and take appropriate action if needed.
Transferring the germinated Mitraria seedlings to individual containers sets them up for continued growth and allows you to provide more specific care. In the next step, we will cover the essential care tips for your germinated seedlings. Stay tuned!
Step 6: Caring for Germinated Seedlings
Now that you have transferred your germinated Mitraria seedlings to individual pots, it’s important to provide them with proper care to ensure healthy growth and development. Follow these essential care tips for your seedlings:
- Watering: Water your Mitraria seedlings regularly, keeping the soil evenly moist. Avoid overwatering, as it can lead to root rot. Check the moisture level of the soil by inserting your finger about an inch deep. If it feels dry, it’s time to water. Adjust the frequency of watering based on the environmental conditions in your area.
- Light: Place your Mitraria seedlings in a location that receives bright, indirect sunlight. If natural light is limited, supplement with grow lights to ensure they receive adequate light for healthy growth. Position the lights approximately 6 to 12 inches above the seedlings and provide 12 to 16 hours of light each day.
- Temperature: Mitraria seedlings thrive in moderate temperatures ranging from 60°F to 70°F (15°C to 21°C). Avoid exposing them to extreme temperatures, as both hot and cold conditions can stress the young plants.
- Fertilization: After the seedlings have established themselves in their new pots, you can begin fertilizing them. Use a balanced liquid fertilizer diluted to half-strength and apply it every two to three weeks. Follow the instructions provided by the fertilizer manufacturer for application rates. This will provide the necessary nutrients for healthy growth.
- Pruning: As your Mitraria seedlings grow, you may need to prune them to encourage bushier growth and maintain a desired shape. Pinch back the tips of the stems to promote branching and remove any damaged or dead leaves.
- Pest and disease control: Keep a close eye on your Mitraria seedlings for any signs of pests or diseases. Common pests that may affect them include aphids, mealybugs, and spider mites. If you notice any signs of infestation, treat the affected plants immediately with appropriate organic pest control methods or insecticidal soap.
- Transitional hardening: Before transplanting your Mitraria seedlings into the garden, it’s important to gradually expose them to outdoor conditions. This process, known as hardening off, helps the plants acclimate to wind, sunlight, and changes in temperature. Start by placing your seedlings in a shaded, protected area outdoors for a few hours each day, gradually increasing the time over one to two weeks.
Caring for your germinated Mitraria seedlings with these tips will contribute to their healthy growth and prepare them for successful transplantation into the garden. In the next step, we will cover the process of transplanting your seedlings to their permanent garden location. Stay tuned!
Step 7: Transplanting Seedlings to the Garden
Congratulations on nurturing your Mitraria seedlings to this stage! It’s now time to transplant them from their pots to their permanent garden location. Follow these steps to ensure a successful transplant:
- Timing: Choose a suitable time to transplant your Mitraria seedlings to the garden. It’s best to wait until after the last frost date in your area, when the weather has warmed up and the risk of frost has passed. This will give your seedlings the best chance of survival.
- Prepare the planting area: Select a location in your garden that receives partial shade or dappled sunlight. Mitraria prefers well-draining soil that is rich in organic matter. Amend the soil with compost or well-rotted manure to improve its fertility and drainage.
- Dig holes: Dig individual holes in the planting area that are slightly larger than the root ball of each seedling. Space the holes according to the mature size of the Mitraria plants, giving them enough room to spread and grow.
- Remove seedlings from pots: Gently remove each Mitraria seedling from its pot by holding the base of the plant and carefully easing it out. Try to keep the root ball intact to minimize transplant shock.
- Place seedlings in holes: Place each seedling into a prepared hole, ensuring that the top of the root ball is level with or slightly above the soil surface. Backfill the hole with soil, gently firming it around the roots to eliminate air pockets.
- Water thoroughly: After transplanting, water the newly planted seedlings thoroughly to settle the soil and provide hydration. Continue to water regularly, especially during dry periods, to help the plants establish themselves in their new environment.
- Mulch: Apply a layer of organic mulch around the base of each Mitraria plant. This will help retain moisture, suppress weed growth, and provide some insulation to the roots.
- Monitor and care for the plants: Keep a close eye on your newly transplanted Mitraria seedlings. Provide them with regular water and monitor for any signs of stress or pest infestations. Protect them from extreme weather conditions, such as strong winds or intense heat, by providing temporary shade or using plant covers if necessary.
- Continue maintenance: As your Mitraria plants establish themselves in the garden, continue to provide them with regular care, including proper watering, fertilization, and pruning as needed. Monitor for any signs of pests or diseases and take appropriate action to protect your plants.
Transplanting your Mitraria seedlings to the garden is the final step in their journey from seed to thriving plants. With proper care and attention, your Mitraria plants will reward you with their vibrant blooms and foliage. Enjoy the beauty they bring to your garden!
That concludes our step-by-step guide on how to germinate Mitraria seeds. By following these instructions, you can successfully grow these stunning flowering plants and enjoy their splendor in your outdoor space. Happy gardening!
Conclusion
Congratulations on completing the journey of germinating Mitraria seeds! By following the steps outlined in this guide, you have gained the knowledge and skills to successfully grow these beautiful flowering plants from scratch. Germinating Mitraria seeds and caring for the seedlings from the initial stages to transplanting them into the garden can be a rewarding and fulfilling experience for any gardener.
Throughout this guide, we covered the importance of gathering the necessary materials, preparing the seeds, providing optimal growing conditions, germinating the seeds, transferring seedlings to containers, caring for the germinated seedlings, and finally, transplanting them into the garden. Each step plays a crucial role in ensuring the success of your Mitraria plants.
Remember to pay attention to the needs of your Mitraria plants, including proper watering, adequate light, suitable temperatures, and regular care. By providing the ideal conditions and monitoring their growth, you can encourage healthy development and enjoy the vibrant blooms of your Mitraria plants for years to come.
Don’t forget to maintain a gardening journal or record, noting important dates, observations, and any adjustments you made along the way. This will serve as a valuable resource for future reference and help you learn and improve your gardening techniques.
As your Mitraria plants mature and thrive, continue to enjoy their beauty and reap the rewards of your efforts. Share your gardening successes and knowledge with others, and don’t hesitate to explore other plant species and expand your gardening repertoire.
Thank you for embarking on this gardening journey with us. We hope that this guide has equipped you with the necessary tools and insights to successfully germinate Mitraria seeds and nurture them into thriving plants. May your garden be filled with the vibrant colors and fragrances of Mitraria blooms!
Frequently Asked Questions about How To Germinate Mitraria
Was this page helpful?
At Storables.com, we guarantee accurate and reliable information. Our content, validated by Expert Board Contributors, is crafted following stringent Editorial Policies. We're committed to providing you with well-researched, expert-backed insights for all your informational needs.


0 thoughts on “How To Germinate Mitraria”