Home>Garden Essentials>How To Grow Delphiniums From Seed


Garden Essentials
How To Grow Delphiniums From Seed
Modified: March 16, 2024
Learn how to grow beautiful delphiniums from seed in your garden with our step-by-step guide. Cultivate your own stunning floral display and enjoy the rewards of a flourishing garden.
(Many of the links in this article redirect to a specific reviewed product. Your purchase of these products through affiliate links helps to generate commission for Storables.com, at no extra cost. Learn more)
Introduction
Welcome to the wonderful world of gardening! If you’re looking to add a touch of elegance and beauty to your garden, growing delphiniums from seed is a fantastic choice. Delphiniums, also known as larkspurs, are timeless perennials that produce stunning, tall spires of flowers in various shades of blue, purple, pink, and white.
Not only are delphiniums visually stunning, but they also attract pollinators like butterflies and hummingbirds, making them a valuable addition to any garden ecosystem. While it may seem intimidating to grow delphiniums from seed, a little knowledge and preparation is all you need to succeed.
In this article, we will guide you through the process of growing delphiniums from seed, from choosing the right seeds to caring for seedlings and eventually transplanting them into your garden. So, grab your gardening gloves and let’s get started!
Key Takeaways:
- Delphiniums, also known as larkspurs, are stunning perennials that attract butterflies and hummingbirds. Choose high-quality seeds and provide the right conditions for successful growth in your garden.
- Growing delphiniums from seed requires selecting the right seeds, preparing the growing area, sowing the seeds, and providing proper care. Harvesting and storing seeds allows for propagation and sharing with others.
Read more: How Long For Delphinium To Germinate
Choosing Delphinium Seeds
When it comes to choosing delphinium seeds, there are a few factors to consider to ensure successful growth. Here are some tips to help you select the right seeds for your garden:
- Choose a reputable supplier: Look for a trusted seed company or nursery that specializes in high-quality delphinium seeds. This will increase your chances of getting viable seeds that will germinate and grow into healthy plants.
- Consider the variety: Delphiniums come in a wide range of varieties, each with its own unique characteristics, such as flower color, height, and bloom time. Think about the specific qualities you want in your delphiniums to create the desired effect in your garden.
- Check the hardiness zone: Delphiniums thrive in different climates, so it’s important to choose seeds that are suitable for your specific hardiness zone. Ensure that the seeds you select can withstand the temperature and conditions of your region.
- Look for fresh seeds: Seed viability decreases over time, so it’s best to choose fresh seeds that have a higher chance of germination. Check the packaging or inquire with the supplier about the seed’s age to ensure optimal success.
- Consider your growing conditions: Delphiniums prefer full sun and well-drained soil. If your garden has specific conditions, such as clay soil or partial shade, look for delphinium seeds that are known to thrive in those conditions.
By taking these factors into account, you can select delphinium seeds that are best suited to your gardening goals and the conditions of your garden. Remember, investing in high-quality seeds will greatly increase your chances of success and ensure that you enjoy beautiful blooms in the future.
Preparing the Growing Area
Before sowing delphinium seeds, it’s important to prepare the growing area to create the ideal conditions for their growth. Here are some steps to follow:
- Choose the right location: Delphiniums thrive in full sun, so select a spot in your garden that receives at least 6-8 hours of direct sunlight daily. Ensure that the area is protected from strong winds, as delphiniums have tall, delicate stems that can easily break.
- Prepare the soil: Delphiniums prefer well-drained soil with a pH level of around 6.5-7.5. Before planting, loosen the soil to a depth of 12-18 inches and remove any weeds or debris. Incorporate organic matter, such as compost or well-rotted manure, to improve soil fertility and drainage.
- Test the soil: Use a soil testing kit to assess the nutrient levels and pH of your soil. If necessary, amend the soil with the appropriate nutrients or adjust the pH to create the ideal growing conditions for delphiniums.
- Provide support: Delphiniums have tall flower spikes that can reach heights of 4-6 feet, so it’s important to provide support to prevent the stems from bending or breaking. Install stakes or place a plant support grid around the area where you plan to grow delphiniums.
- Clear the area: Remove any remaining debris, rocks, or weeds from the planting area. This will prevent competition for nutrients and reduce the risk of pests and diseases.
- Consider mulching: Applying a layer of organic mulch, such as wood chips or straw, around the base of the plants can help conserve moisture, suppress weed growth, and maintain a more even temperature in the soil.
By properly preparing the growing area, you provide your delphinium seeds with the best possible start for healthy growth. Taking these steps will ensure that the soil is fertile, well-drained, and provides the necessary support for the tall flower spikes to thrive.
Sowing Delphinium Seeds
Now that you have prepared the growing area, it’s time to sow your delphinium seeds. Follow these steps to ensure successful germination:
- Timing: Delphinium seeds can be sown either in early spring or in late autumn. Spring-sown seeds will produce flowers in the following summer, while autumn-sown seeds will flower in the subsequent year. Choose the timing that works best for your gardening goals and climate.
- Scarification: Delphinium seeds have a hard outer shell that can inhibit germination. To increase the chances of successful germination, you can scarify the seeds by gently rubbing them with sandpaper or soaking them in warm water overnight.
- Germination trays or pots: Fill seed trays or small pots with a seed-starting mix or a well-drained potting soil. Moisten the soil, ensuring it is evenly moist but not waterlogged.
- Sow the seeds: Plant the scarified seeds on the surface of the soil, spacing them about 1 inch apart. Press them gently into the soil, but do not cover them with additional soil as delphinium seeds require light to germinate.
- Mist the seeds: Spray a fine mist of water over the seeds to settle them into the soil. Be careful not to use a strong stream of water as it can displace the seeds.
- Cover the trays: Place a clear plastic lid or a plastic wrap over the trays to create a mini greenhouse effect. This helps retain moisture and maintain a consistent temperature for germination. Keep the trays in a warm location with temperatures around 70-75°F.
- Monitor and maintain moisture: Check the trays regularly and ensure that the soil remains consistently moist. Avoid overwatering, as excessive moisture can lead to fungal diseases. Use a spray bottle to mist the soil as needed.
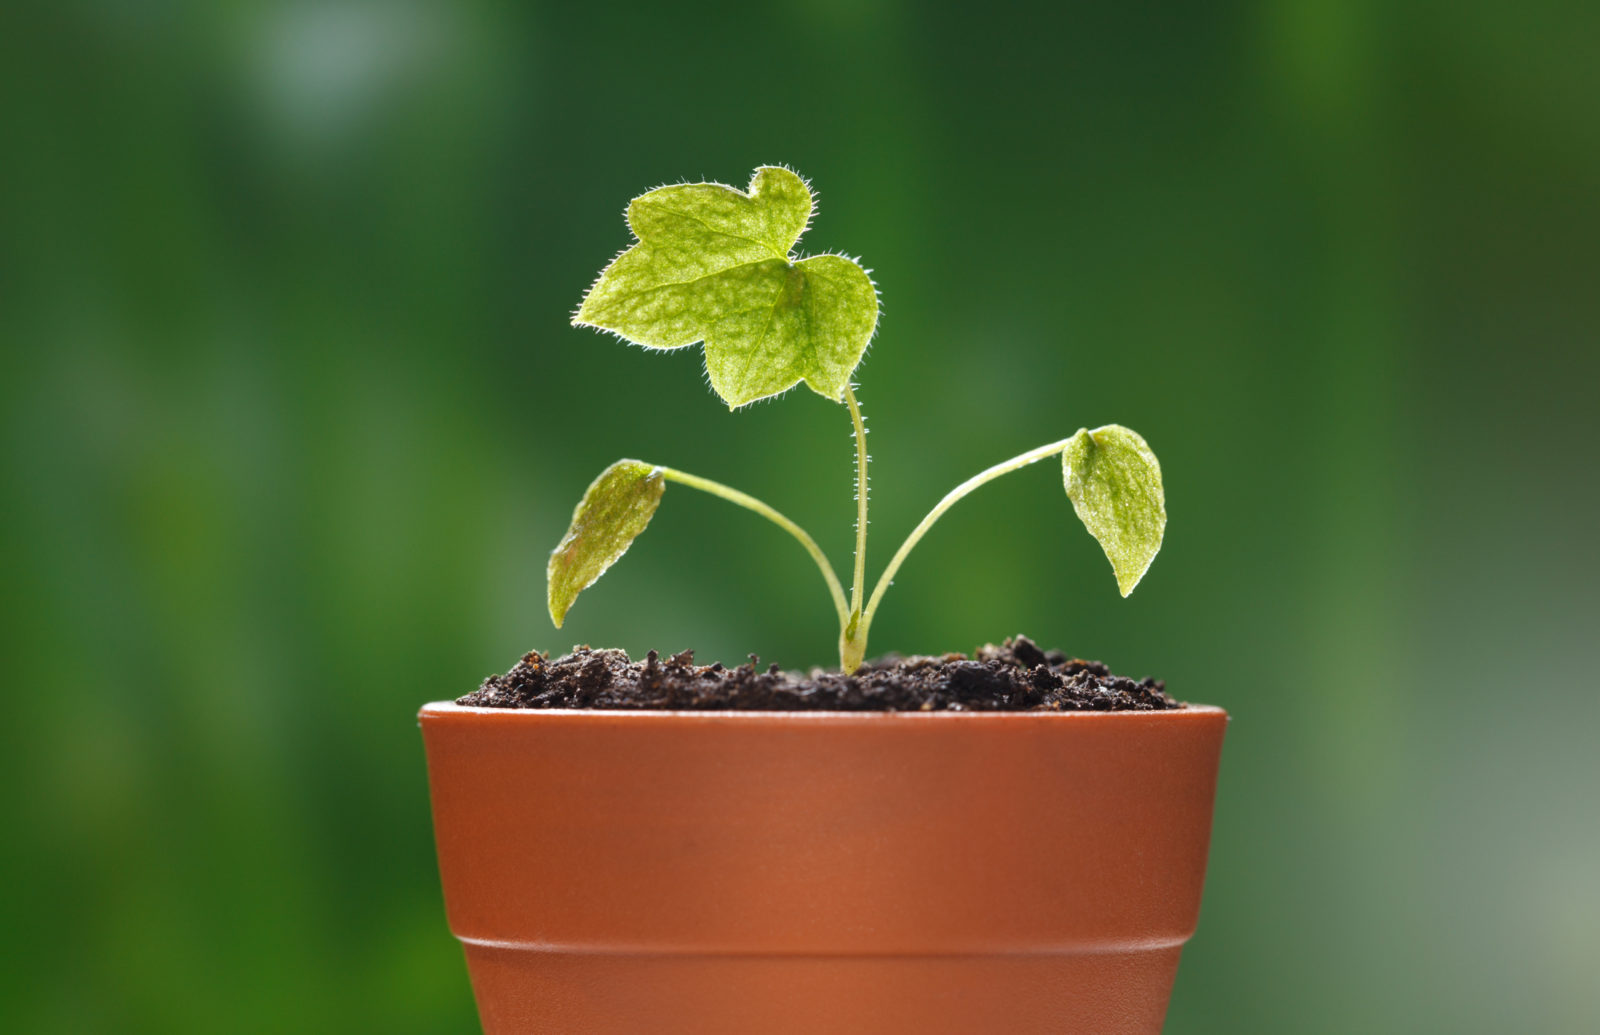
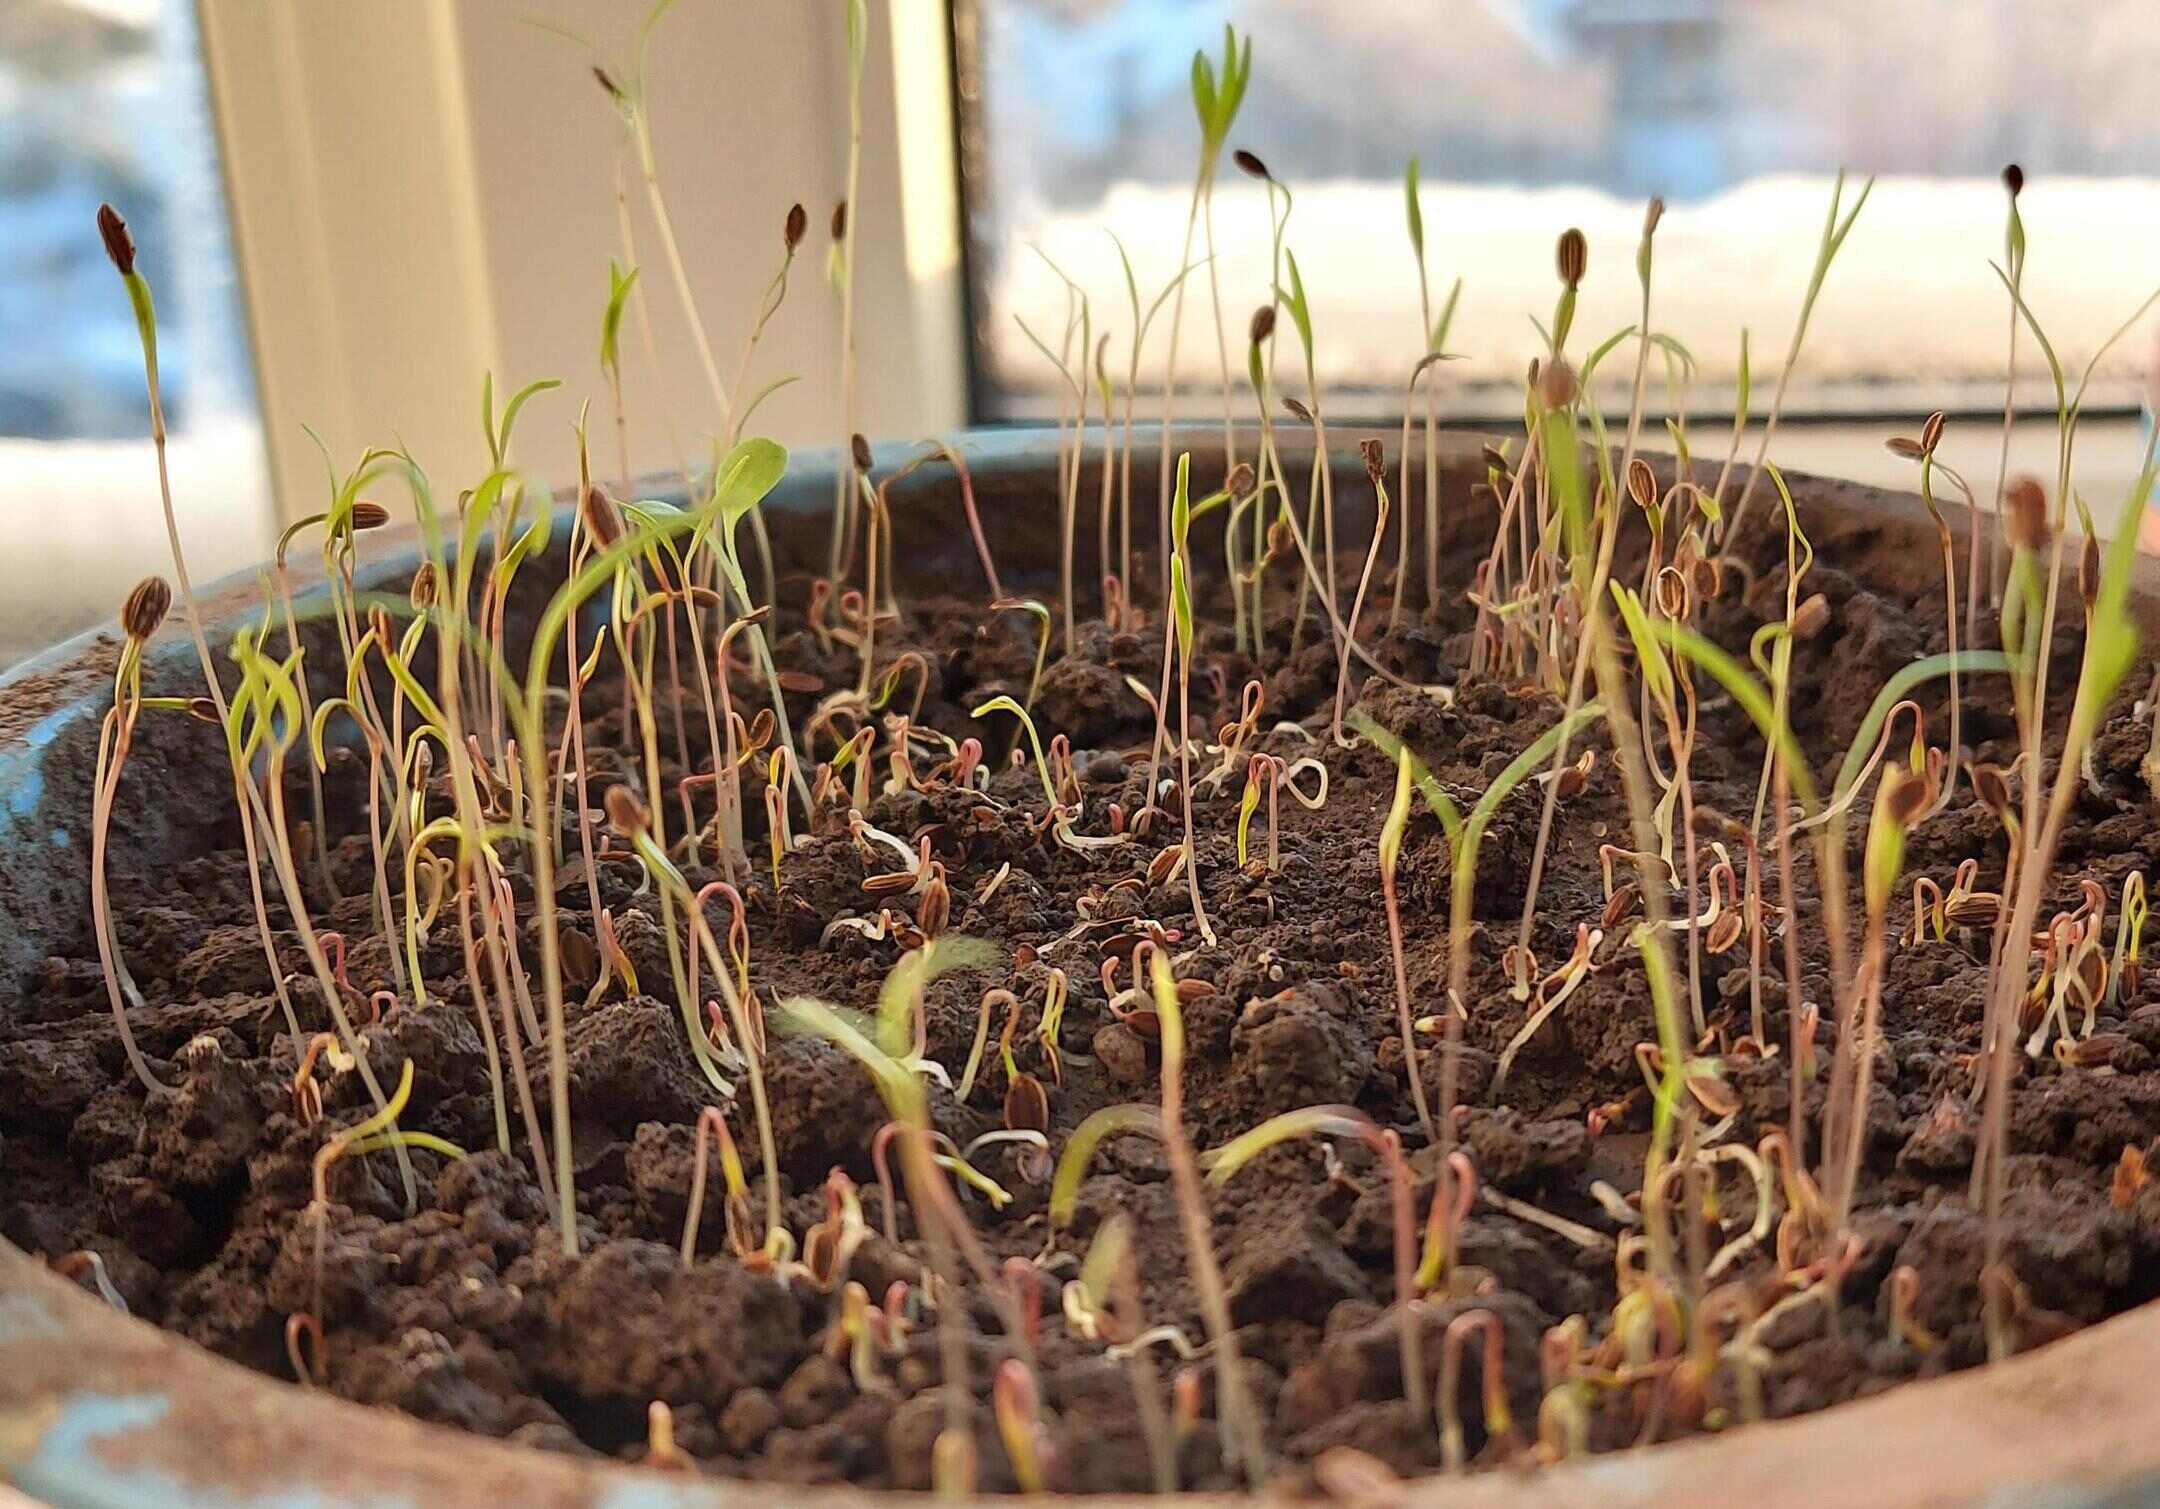
With proper care and attention, you should start to see the delphinium seeds germinate within 2-3 weeks. Once the seedlings have a few sets of true leaves, they are ready to be transplanted into individual pots or into the garden bed to continue their growth journey.
Providing the Right Conditions
Delphiniums have specific requirements when it comes to their growing conditions. By providing the right conditions, you can ensure healthy growth and beautiful blooms. Here are some key factors to consider:
- Watering: Delphiniums require regular watering, especially during dry spells. Keep the soil evenly moist, but avoid overwatering, as excessive moisture can lead to root rot. Water the plants at the base to prevent wetting the foliage, which can make them more susceptible to diseases like powdery mildew.
- Fertilizing: Delphiniums are heavy feeders and benefit from regular fertilization. Before planting, incorporate compost or well-rotted manure into the soil to provide nutrients. Additionally, apply a balanced fertilizer once or twice during the growing season, following the manufacturer’s instructions for application rates.
- Supporting the stems: As delphiniums grow, their tall flower spikes may require additional support to prevent them from bending or breaking. Use stakes or a plant support grid early on to provide stability and keep the plants upright, especially in areas prone to strong winds.
- Deadheading: To encourage continuous blooming, it is important to deadhead delphiniums regularly. This involves removing faded flowers by cutting the stem just above a set of leaves. Deadheading prevents the plant from diverting energy into seed production, allowing it to focus on producing new blooms.
- Pest and disease control: Delphiniums can be susceptible to pests like aphids and slugs, as well as diseases like powdery mildew and crown rot. Monitor your plants regularly and take action at the first signs of trouble. Use insecticidal soap or organic pest control methods to manage pests, and provide adequate airflow and avoid overcrowding to prevent diseases.
- Mulching: Mulching around the base of the plants can help conserve moisture, suppress weed growth, and maintain a more even soil temperature. Apply a layer of organic mulch, such as wood chips or straw, but keep it a few inches away from the stems to prevent rotting.
By ensuring that your delphiniums have the right amount of water, nutrients, support, and protection, you will create an optimal environment for their growth. With these conditions met, your delphiniums will reward you with abundant blooms and a beautiful addition to your garden.
Sow delphinium seeds in early spring in a well-draining soil mix. Keep the soil consistently moist and provide plenty of sunlight for healthy seedling growth.
Read more: How To Grow Cactus From Seed
Caring for Delphinium Seedlings
Delphinium seedlings are delicate and require special care to ensure their healthy development. Here are some essential care tips for nurturing your delphinium seedlings:
- Provide ample sunlight: Place your delphinium seedlings in a location that receives full sun for at least 6-8 hours a day. If you are growing them indoors, consider using grow lights to provide the necessary amount of sunlight.
- Maintain proper moisture: Keep the soil consistently moist but avoid overwatering, as damp conditions can lead to root rot. Water the seedlings gently at the base to prevent wetting the foliage, which can make them more vulnerable to fungal diseases.
- Thin out the seedlings: If you have multiple seedlings growing in one container, thin them out by carefully removing the weaker ones, leaving only the healthiest and strongest seedlings. This allows each plant to have enough space, nutrients, and airflow for optimal growth.
- Monitor the temperature: Delphinium seedlings thrive in cooler temperatures, preferably between 60-70°F (15-21°C). Avoid exposing them to extreme heat or cold, as this can stunt their growth or cause damage. If necessary, use a fan or provide shade during excessively hot periods.
- Fertilize appropriately: Once the delphinium seedlings have developed their first true leaves, you can start fertilizing them. Use a diluted, balanced fertilizer to provide essential nutrients. Follow the instructions on the fertilizer packaging for the correct application rates.
- Protect from pests: Keep a close eye on your seedlings and be vigilant for any signs of pests, such as aphids or slugs. If you notice any infestations, take immediate action using organic pest control methods or insecticidal soap to prevent damage to the seedlings.
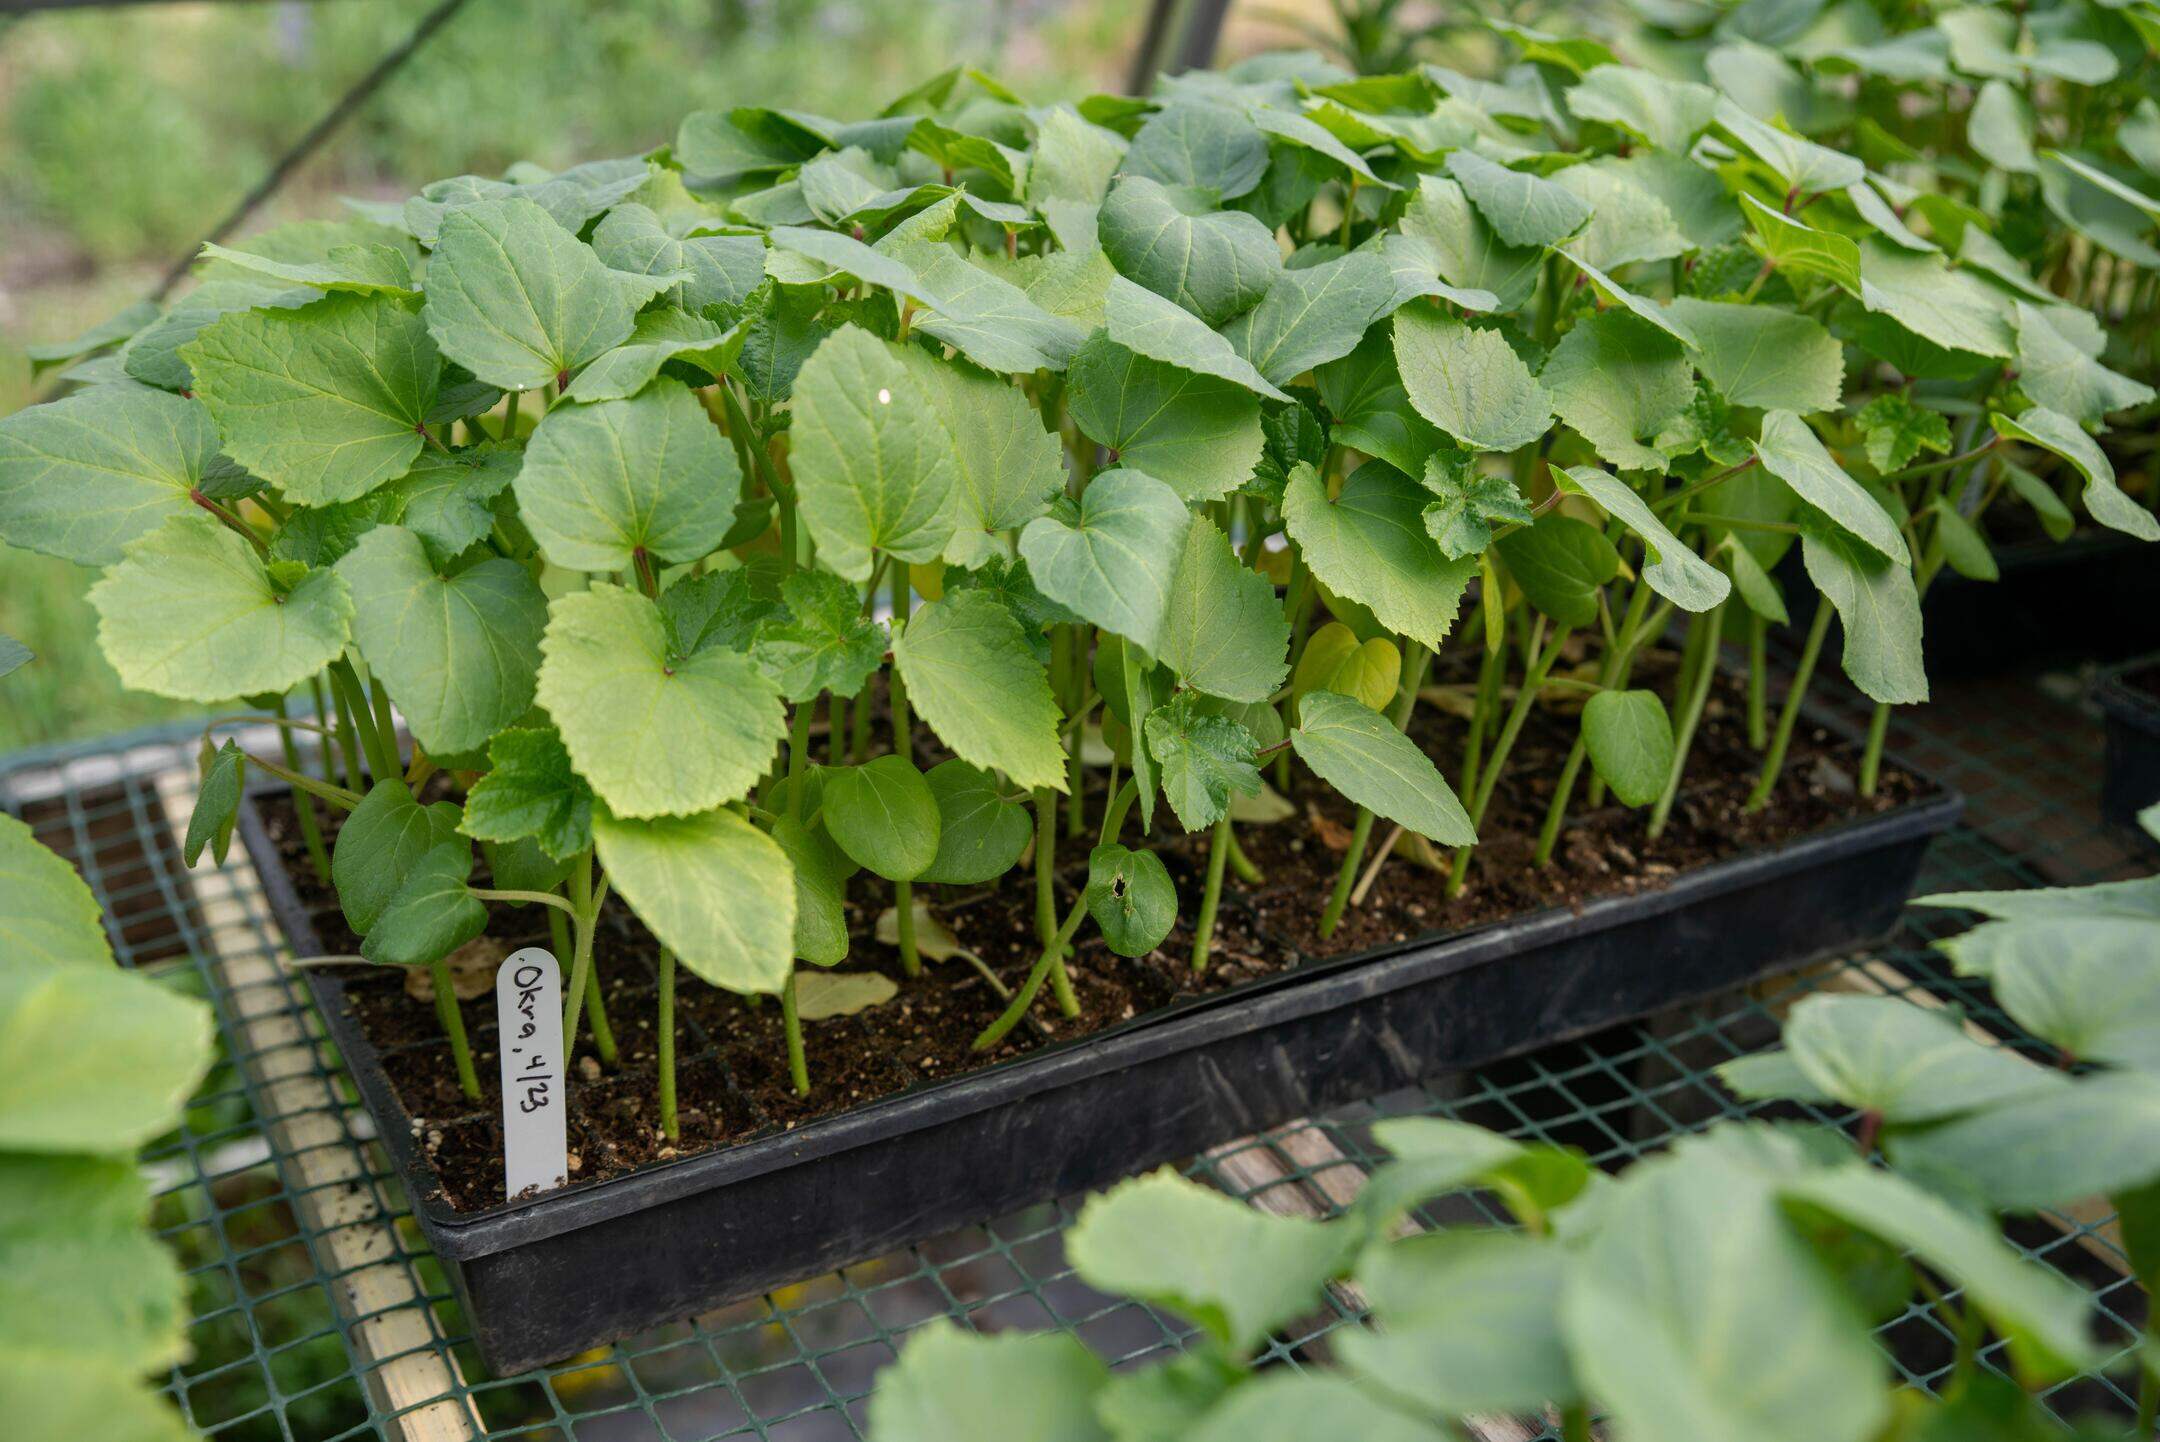
- Thin and transplant: As your delphinium seedlings grow bigger and stronger, they will eventually outgrow their containers. Thin them out further if necessary, leaving only the healthiest plants. Transplant them into individual pots or into the garden bed, ensuring they have enough space to grow and thrive.
By providing the right care and attention to your delphinium seedlings, you are setting them up for success. Remember to monitor their growth, address any issues promptly, and adjust their care as needed. With proper care, your delphinium seedlings will develop into robust plants ready to showcase their stunning blooms.
Transplanting Delphinium Seedlings
Once your delphinium seedlings have grown strong and healthy, it’s time to transplant them into their permanent spot in the garden. Follow these steps to ensure a successful transplant:
- Choose the right timing: Wait until the threat of frost has passed and the soil has warmed up before transplanting your delphinium seedlings. Transplanting in early spring or early fall is ideal, as it allows the plants to establish their root systems before facing extreme weather conditions.
- Prepare the transplant site: Select a location in your garden that receives full sun and has well-drained soil. Clear any weeds or debris from the area and loosen the soil to a depth of 12-18 inches. Incorporate compost or well-rotted manure to improve soil fertility and drainage.
- Dig the planting hole: Dig a hole that is slightly wider and deeper than the size of the root ball of the seedling. Make sure there is enough space to accommodate the roots without crowding or bending them.
- Gently remove the seedling from its container: Carefully remove the delphinium seedling from its pot, handling it by the leaves to avoid damaging the delicate stem. If the roots are tightly bound, gently tease them apart to encourage outward growth.
- Place the seedling in the hole: Lower the delphinium seedling into the planting hole, making sure that the top of the root ball is level with the surrounding soil. Backfill the hole with soil, gently firming it around the base of the plant to provide stability.
- Water thoroughly: Once the transplantation is complete, water the delphinium seedlings thoroughly to settle the soil and eliminate any air pockets around the roots. Ensure the soil is evenly moist but not waterlogged.
- Provide support: Install stakes or place a plant support grid around the delphinium seedlings to provide support as they grow. This will prevent the tall flower spikes from bending or breaking in windy conditions.
- Mulch the area: Apply a layer of organic mulch around the base of the seedlings, keeping it a few inches away from the stems. Mulch helps retain soil moisture, suppresses weed growth, and maintains a more even temperature.
Remember to continue providing proper care, including regular watering and fertilization, as your transplanted delphinium seedlings adjust to their new environment. With time and care, they will establish themselves and reward you with their magnificent flowers.
Troubleshooting Common Issues
While delphiniums are generally resilient plants, they can sometimes encounter common issues that hinder their growth and health. Here are some common problems that you may encounter with delphiniums and how to troubleshoot them:
- Poor or no germination: If you experience poor or no germination of your delphinium seeds, it could be due to several factors. Ensure that the seeds are fresh and have not expired. Also, make sure the seeds have been scarified or stratified if necessary. If the conditions for germination were not optimal, adjust the temperature, moisture, or light exposure for future seed sowing.
- Pests: Delphiniums can be susceptible to pests such as aphids, slugs, and snails. Monitor your plants regularly and take action at the first signs of infestation. Use organic pest control methods or insecticidal soap to manage pests and protect the health of your delphiniums.
- Fungal diseases: Delphiniums can be prone to fungal diseases like powdery mildew and crown rot. To prevent these diseases, ensure adequate airflow around the plants by avoiding overcrowding and providing proper spacing. Avoid overhead watering, as wet leaves can create a conducive environment for fungal growth. If necessary, use fungicides specifically formulated for the treatment of powdery mildew or consult with a local garden center for appropriate disease control solutions.
- Weak or flopping stems: Delphiniums have tall flower spikes that may require additional support to prevent them from bending or breaking. Install stakes or use plant support grids to provide stability. Alternatively, you can place pebbles or rocks around the base of the plant for support. Another preventive measure is to pinch back the growing tips of the plant when they are about 6-8 inches tall. This promotes branching and can result in stronger, more compact growth.
- Yellowing leaves: Yellowing leaves can be a sign of various issues, including nutrient deficiencies, overwatering, or improper pH levels in the soil. Conduct a soil test to check the pH and nutrient levels. Adjust the soil pH if necessary and provide a balanced fertilizer to address any nutrient deficiencies. Ensure that you are providing the correct amount of water, avoiding both under and overwatering.
By being proactive and taking appropriate action to address these common issues, you can help maintain the health and vitality of your delphiniums. Regular monitoring, proper care, and timely intervention will ensure your delphiniums thrive and continue to bring beauty to your garden.
Harvesting Delphinium Seeds
Harvesting delphinium seeds is an exciting process that allows you to propagate these beautiful flowers and create more plants for your garden or to share with fellow gardening enthusiasts. Here are some steps to follow when harvesting delphinium seeds:
- Wait for seed maturity: Delphinium seeds are ready for harvesting when the seed pods turn brown and begin to split open. This usually occurs several weeks after the flowers have faded. Patience is key, as harvesting too early may result in immature seeds that may not germinate successfully.
- Gather the seeds: Once the seed pods are dry and starting to split, gently pluck them from the plant and place them in a paper bag or envelope. Alternatively, you can cut the seed heads with a pair of scissors or pruners, ensuring that the seeds are fully developed before collecting them.
- Dry the seeds: Once you have collected the seed pods, spread them out in a cool, dry, and well-ventilated area. Allow them to air dry for several weeks until the pods fully open and release the seeds. Check on them periodically and gently shake the pods to encourage seed release.
- Separate the seeds: Once the pods have fully opened, carefully separate the seeds from the pod. You can do this by gently rubbing the pods between your fingers or by lightly tapping them to dislodge the seeds. Be patient and take your time to ensure you collect all the seeds.
- Store the seeds: Place the harvested delphinium seeds in a labeled envelope or airtight container. Store them in a cool, dark, and dry location to maintain their viability. Adding a small packet of desiccant or rice grains can help absorb excess moisture and prolong the storage life of the seeds.
- Label and organize: It’s important to label your harvested delphinium seeds with the appropriate variety and the date of collection. This will help you keep track of the seed’s freshness and characteristics. Consider creating a seed inventory or using seed organizing containers to keep your collection organized.
By harvesting and storing delphinium seeds properly, you can enjoy the satisfaction of propagating new plants, preserving unique varieties, or sharing seeds with other gardening enthusiasts.
Note: Be aware that delphinium seeds may not come true to the parent plants, as they may cross-pollinate with other delphinium varieties in your garden.
Read more: How To Grow Tree From Seed
Conclusion
Congratulations! You’ve learned how to grow delphiniums from seed and gained valuable insights into the world of gardening. By following the steps outlined in this article, you can successfully cultivate these stunning perennial flowers and fill your garden with their vibrant colors and delicate beauty.
From choosing the right delphinium seeds to preparing the growing area, sowing the seeds, and caring for the seedlings, you have acquired the knowledge and skills necessary for successful delphinium cultivation. Remember to provide the right conditions, such as adequate sunlight, well-drained soil, and proper watering, to ensure healthy growth.
As your delphinium plants mature, be attentive to any issues that may arise, such as pests, diseases, or weak stems. Prompt action and appropriate care will help maintain the health and vitality of your plants.
Additionally, don’t forget the joy and excitement of harvesting delphinium seeds. By collecting and storing seeds, you can continue to propagate and share the beauty of delphiniums with others.
Remember, gardening is a journey of continuous learning and discovery. Take pleasure in experimenting, exploring different varieties, and adapting techniques to suit your specific garden and preferences.
Now, armed with the knowledge and passion for growing delphiniums from seed, it’s time to put your green thumb to work. Embrace the joy and satisfaction of watching your delphiniums bloom and transforming your garden into a breathtaking oasis of color and fragrance.
So, go outside, get your hands dirty, and create a garden adorned with the magnificence of delphiniums. Happy gardening!
Frequently Asked Questions about How To Grow Delphiniums From Seed
Was this page helpful?
At Storables.com, we guarantee accurate and reliable information. Our content, validated by Expert Board Contributors, is crafted following stringent Editorial Policies. We're committed to providing you with well-researched, expert-backed insights for all your informational needs.


0 thoughts on “How To Grow Delphiniums From Seed”