Home>Garden Essentials>How To Grow Hollyhocks From Seed
Garden Essentials
How To Grow Hollyhocks From Seed
Modified: March 24, 2024
Learn how to grow beautiful hollyhocks from seed in your garden. Follow our step-by-step guide for a successful and vibrant display of these stunning flowers.
(Many of the links in this article redirect to a specific reviewed product. Your purchase of these products through affiliate links helps to generate commission for Storables.com, at no extra cost. Learn more)
Introduction
Growing hollyhocks from seeds can be a rewarding and fulfilling experience for any gardener. These tall and majestic flowers add a touch of old-fashioned charm to any garden, with their vibrant blooms and distinctive presence. If you want to bring these beautiful flowers to life in your own garden, this article will guide you through the process, step by step.
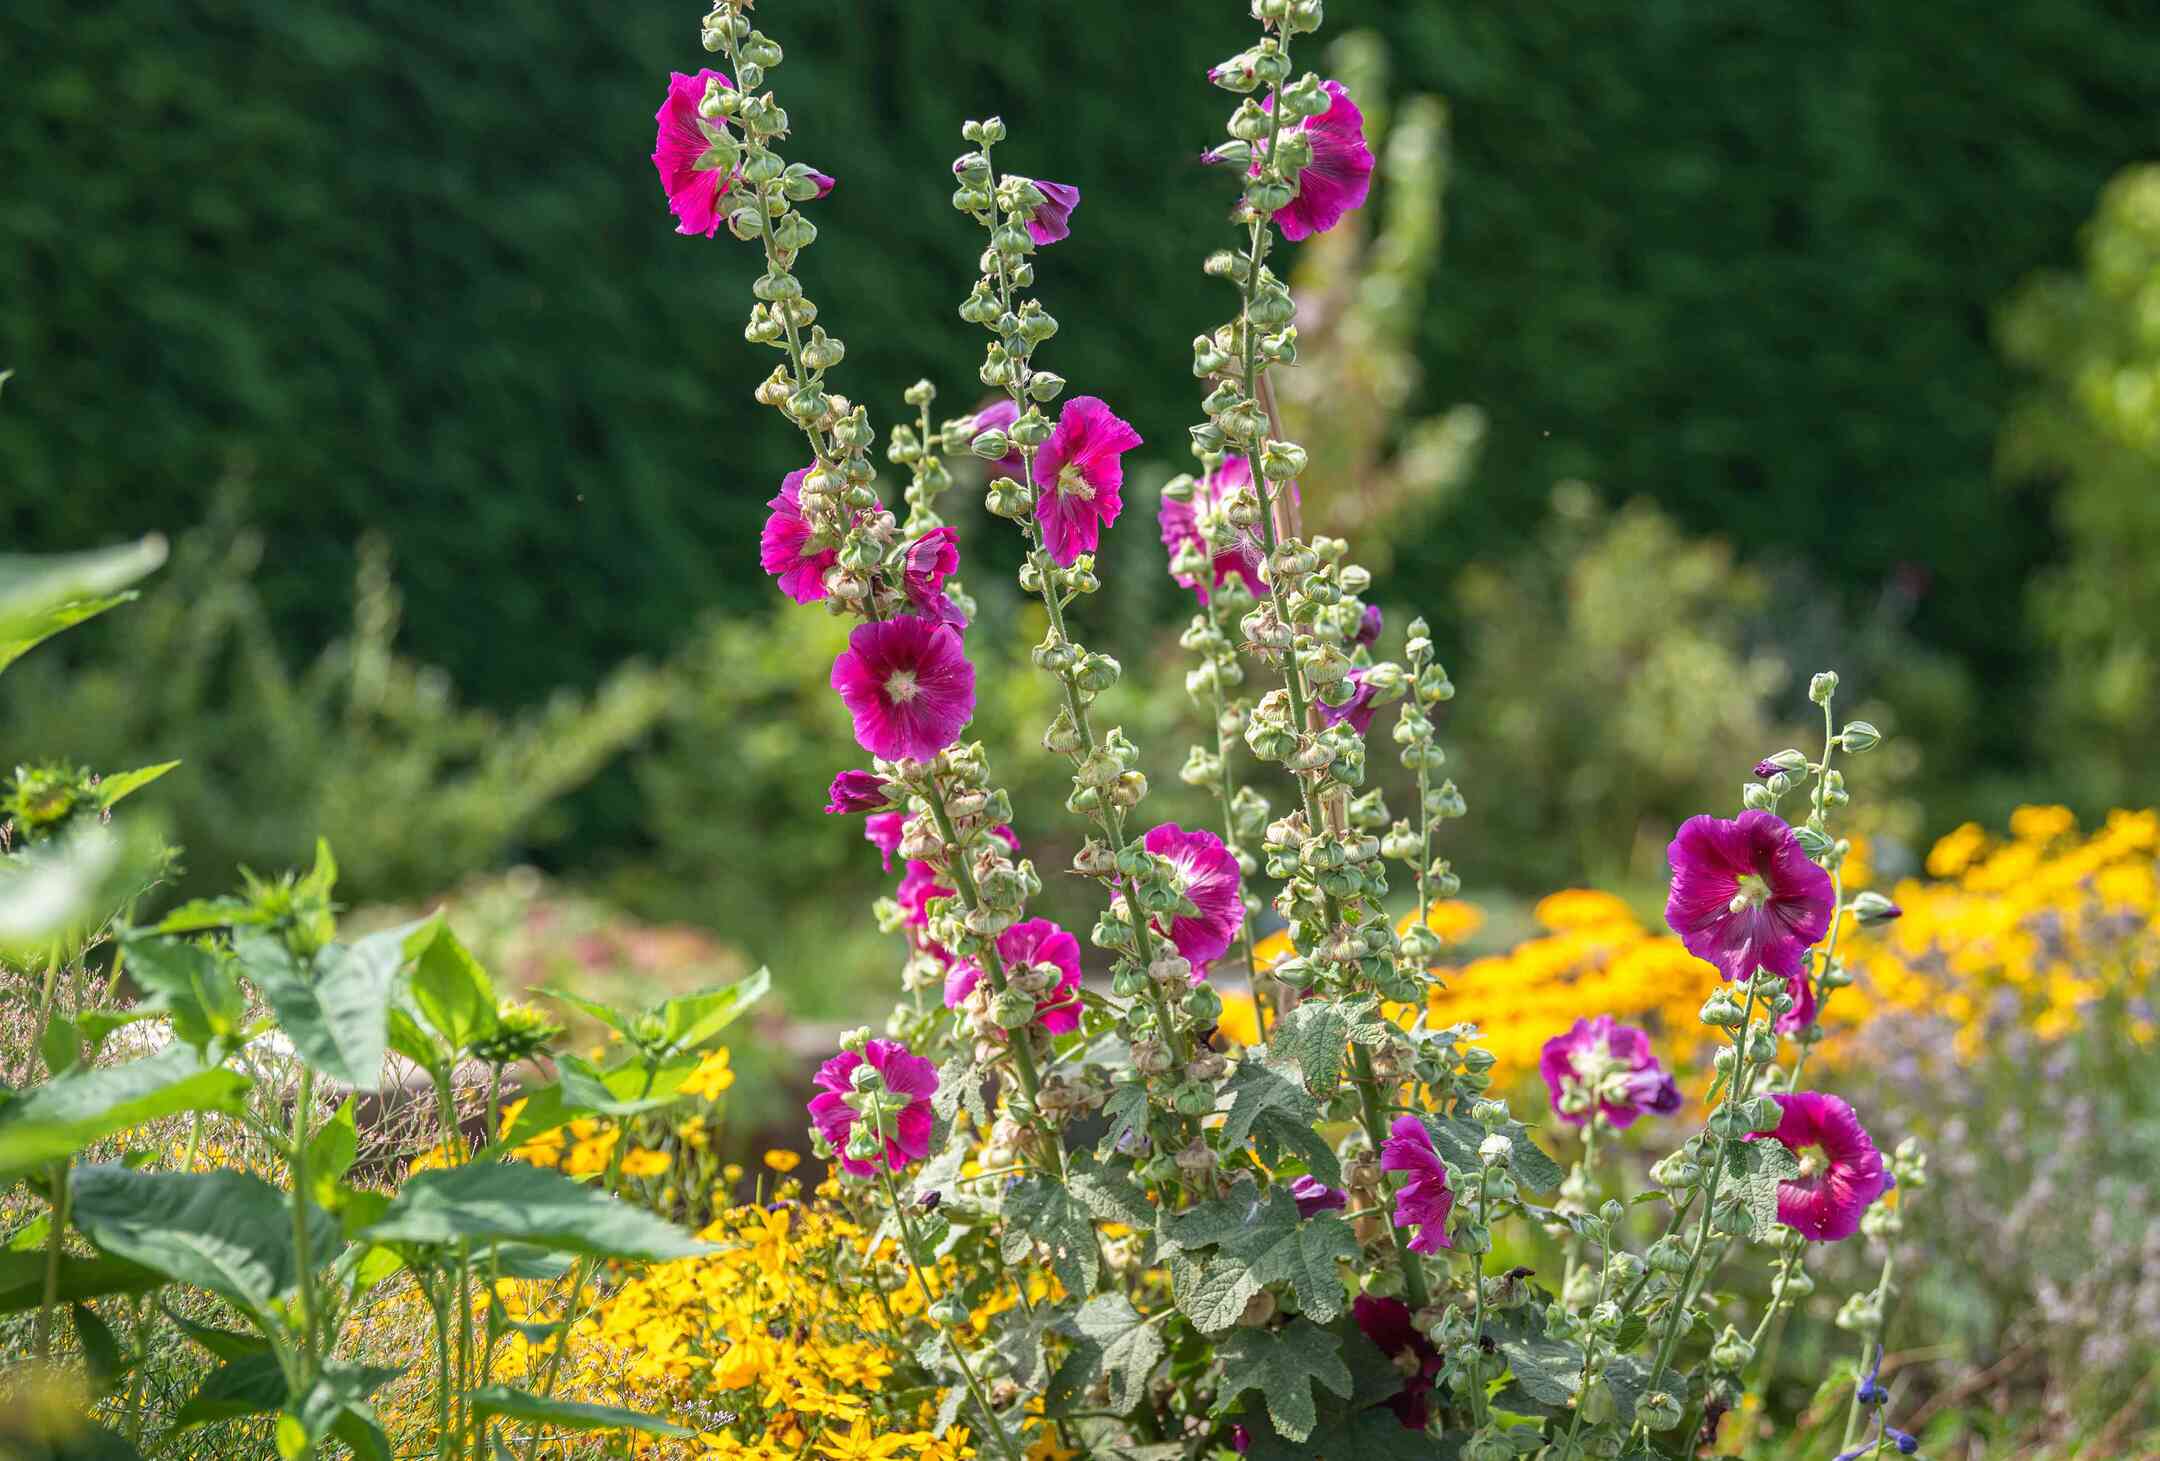
Hollyhocks, scientifically known as Alcea rosea, are herbaceous biennial or short-lived perennial plants that are native to Asia and Europe. They are known for their long, sturdy stalks, which can reach heights of up to 6 feet or more, adorned with large, showy flowers in a variety of colors including pink, red, yellow, and white. Hollyhocks are a favorite among gardeners due to their ability to attract pollinators like bees and butterflies.
When grown from seeds, hollyhocks require a bit of patience and attention, but the end result is well worth the effort. By following the steps outlined in this article, you will be able to cultivate your own hollyhock plants and enjoy their stunning blooms for years to come.
Key Takeaways:
- Growing hollyhocks from seeds requires choosing the right seeds, preparing the soil, sowing the seeds, and providing the ideal conditions for germination. Patience and attention to detail are key for successful hollyhock cultivation.
- Caring for hollyhocks involves regular watering, mulching, providing support as they grow, deadheading faded flowers, and monitoring for pests and diseases. Harvesting and saving seeds allows for future plantings and sharing the beauty of hollyhocks with others.
Read more: How To Grow Okra From Seed
Step 1: Choosing the right seeds
Choosing the right seeds is the first and crucial step in growing hollyhocks from scratch. It is important to select high-quality seeds from a reputable source to ensure healthy and vigorous plants. Here are a few factors to consider when choosing your hollyhock seeds:
- Variety: Hollyhocks come in a variety of colors, so choose a seed variety that matches your preferences. Popular varieties include ‘Chater’s Double Mix’ with its double-flowered blossoms, ‘Blacknight’ with deep purple flowers, and ‘Peaches ‘n’ Dreams’ with soft peach blooms.
- Freshness: Look for packets of seeds with the current year’s date or the previous year’s date. Fresh seeds have a higher germination rate than older seeds, increasing your chances of success.
- Organic or untreated: If possible, opt for organic or untreated seeds. This ensures that the seeds have not been chemically treated, which can be harmful to the environment and beneficial insects.
When purchasing hollyhock seeds, also make note of the requirements mentioned on the seed packet. It will provide specific details about planting depth, spacing, and any additional considerations for that particular variety.
If you have existing hollyhock plants in your garden, you can also collect seeds from them for future propagation. Allow the seed pods to fully mature and dry on the plants before harvesting them. Remove the dry pods and carefully separate the seeds from the chaff. Store the seeds in a cool and dry place until you are ready to sow them.
Once you have selected the right seeds, you are ready to move on to the next step: preparing the soil for planting hollyhocks.
Step 2: Preparing the soil
Proper soil preparation is essential for the successful growth of hollyhocks. These plants thrive in well-draining soil that is rich in organic matter. Follow these steps to prepare your soil for planting hollyhock seeds:
- Choose the right location: Select a sunny spot in your garden that receives at least 6-8 hours of direct sunlight each day. Hollyhocks prefer full sun but can tolerate some afternoon shade in hotter climates.
- Loosen the soil: Use a garden fork or tiller to loosen the soil in the chosen area. This will help to improve drainage and create a loose, friable texture that hollyhock roots can easily penetrate.
- Amend the soil: Mix in organic matter such as compost, well-rotted manure, or leaf mold to improve the fertility and structure of the soil. This will provide the necessary nutrients for healthy plant growth.
- Adjust the pH: Hollyhocks prefer slightly acidic to neutral soil with a pH range of 6.0 to 7.0. Test your soil pH using a soil testing kit and make any necessary adjustments by adding lime to raise the pH or sulfur to lower it.
- Remove weeds: Take the time to remove any existing weeds or grass from the planting area. Weeds can compete with hollyhocks for nutrients and moisture, hindering their growth and development.
Once the soil preparation is complete, the stage is set for sowing your hollyhock seeds. In the next step, we will guide you through the process of sowing the seeds and preparing them for germination.
Step 3: Sowing the seeds
Now that you have prepared the soil, it’s time to sow your hollyhock seeds. Follow these steps to ensure successful germination:
- Timing: Hollyhock seeds are best sown in early spring or late summer/early fall. This allows the plants to establish themselves before the heat of summer or the harshness of winter.
- Planting depth: The general rule of thumb for sowing hollyhock seeds is to plant them at a depth of twice their size. Make sure not to bury them too deep, as they need light to germinate.
- Spacing: Space the seeds about 12-18 inches apart to give them enough room to grow. If you are planting multiple rows, leave at least 2 feet of space between each row.
- Watering: After sowing the seeds, gently water the area to settle the soil and ensure good seed-to-soil contact. Keep the soil consistently moist throughout the germination process.
- Protecting the seeds: To protect the seeds from birds and other critters, you can cover the planting area with a thin layer of straw or a protective mesh. This will deter pests while still allowing sunlight and water to reach the seeds.
Once the seeds are sown and protected, it’s time to provide the ideal conditions for germination. In the next step, we will discuss how to provide the right conditions for your hollyhock seeds to sprout and grow into healthy seedlings.
Step 4: Providing the right conditions for germination
Ensuring the proper conditions for germination is crucial to the success of your hollyhock seeds. Follow these guidelines to create an optimal environment for seed germination:
- Temperature: Hollyhock seeds prefer a temperature of around 65-70°F (18-21°C) for germination. You can start the seeds indoors in early spring and then transplant the seedlings outside once they have established.
- Light: Hollyhock seeds require light for germination, so do not cover them with soil. Place the seed tray or pots in a location where they can receive bright indirect sunlight.
- Moisture: Keep the soil consistently moist but not waterlogged. Water the seeds gently, using a misting spray bottle or a watering can with a fine rose attachment.
- Humidity: To maintain humidity around the seeds, you can cover the trays or pots with a clear plastic dome or place them inside a plastic bag. This helps to create a greenhouse-like environment and aids in seed germination.
- Patience: Germination can take anywhere from 10 to 21 days, so be patient and continue to provide the necessary care during this period.
As the hollyhock seeds germinate and grow into seedlings, it’s important to monitor their progress and ensure they are developing well. In the next step, we will guide you through the process of transplanting the hollyhock seedlings into the garden.
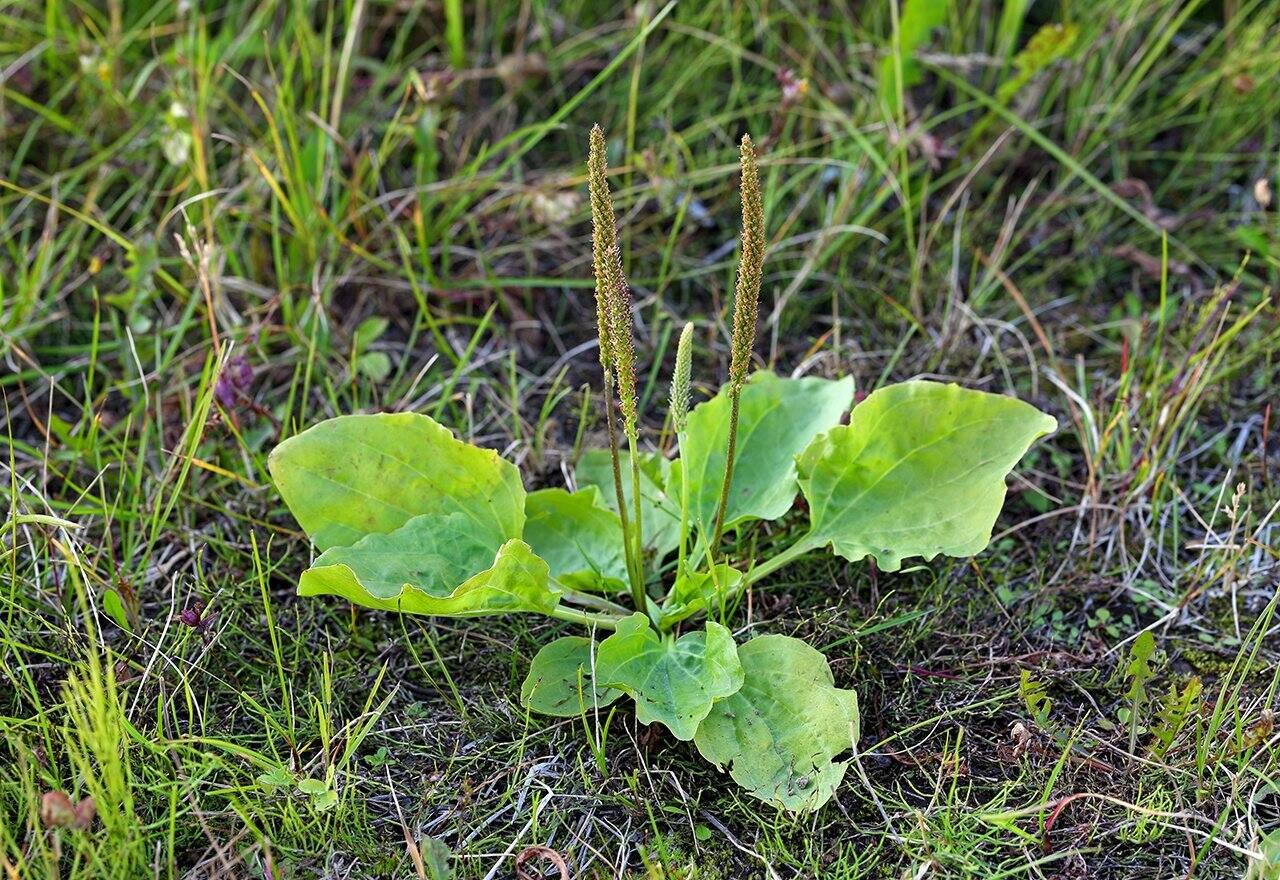
Plant hollyhock seeds in well-draining soil in a sunny spot. Keep the soil consistently moist but not waterlogged. Thin seedlings to 18 inches apart to promote healthy growth.
Read more: How To Grow A Tree From A Seed
Step 5: Transplanting the seedlings
Once your hollyhock seedlings have grown to a suitable size and the threat of frost has passed, it’s time to transplant them into their permanent garden location. Follow these steps for successful transplanting:
- Timing: Wait until the seedlings have developed their second or third set of true leaves before transplanting. This usually takes about 6-8 weeks after germination.
- Preparing the planting holes: Dig holes in the prepared garden bed that are slightly larger than the root ball of the seedlings. Space the holes 18-24 inches apart to allow the mature plants room to grow.
- Gently removing the seedlings: Carefully loosen the soil around the seedlings and lift them out of their containers. Be mindful not to damage the delicate roots of the young plants.
- Planting at the right depth: Place each seedling into the prepared hole, ensuring that the top of the root ball is level with the soil surface. Gently firm the soil around the roots to provide stability.
- Watering: After transplanting, water the seedlings thoroughly to settle the soil and help them establish. Continue to keep the soil consistently moist for a few weeks while the plants adjust.
- Providing support: Given the tall nature of hollyhocks, it’s advisable to provide support for them as they grow. Place a stake or install a trellis near each plant and gently tie the stem to it using garden twine or soft plant ties.
Transplant shock is common among young seedlings, so it’s important to provide proper care and attention during this crucial phase. In the next step, we will discuss the essential steps for caring for hollyhocks once they are in the garden.
Step 6: Caring for hollyhocks
Caring for hollyhocks is essential to ensure healthy growth and abundant blooms. Here are some key steps to keep your hollyhocks thriving:
- Watering: Hollyhocks require regular watering, especially during dry spells. Aim to keep the soil consistently moist, but avoid overwatering, as this can lead to root rot. Water at the base of the plant to prevent the leaves from getting wet, which can invite diseases.
- Mulching: Apply a layer of organic mulch around the base of the hollyhock plants to help retain moisture, suppress weeds, and regulate soil temperature.
- Support: As the hollyhock plants grow taller, continue to provide support by tying the stems to the stakes or trellis. This will prevent them from bending or toppling over in strong winds.
- Deadheading: Regularly deadhead faded flowers by snipping them off at the base of the stem. This will encourage the plant to produce more blooms and extend the flowering period.
- Pruning: In late summer or early fall, after the blooming season has ended, you can prune the hollyhock plants to remove any damaged or diseased foliage. Cut back the stems to the base of the plant, but leave a few inches above the ground for protection during winter.
- Fertilizing: Hollyhocks are generally not heavy feeders, but you can give them a boost by applying a balanced slow-release fertilizer in early spring. Follow the instructions on the fertilizer packaging for proper application.
- Monitoring for pests and diseases: Keep a close eye on your hollyhocks for any signs of pests or diseases, such as aphids, rust, or powdery mildew. If necessary, treat with organic insecticides or fungicides to prevent further damage.
By providing the right care and attention throughout the growing season, you can enjoy the beauty of healthy hollyhock plants in your garden year after year.
In the next step, we will cover important tips for dealing with pests and diseases that may affect your hollyhock plants.
Step 7: Dealing with pests and diseases
Despite their resilience, hollyhocks can sometimes fall victim to pests and diseases. Here are some common issues you may encounter and how to address them:
- Aphids: These tiny insects can gather in clusters on the new growth of hollyhocks, sucking sap and causing distortion. To control aphids, use a strong spray of water or insecticidal soap to knock them off the plants. You can also introduce beneficial insects like ladybugs or lacewings, which feed on aphids.
- Rust: Rust is a fungal disease that manifests as orange or brown spots on the leaves. To prevent rust, provide proper air circulation by spacing the plants adequately. Infected leaves should be pruned and destroyed. Fungicidal sprays can also be used, following the instructions on the label.
- Powdery mildew: Powdery mildew appears as a white powdery coating on the leaves, usually in humid conditions. To prevent it, avoid overhead watering and provide good air circulation. If powdery mildew occurs, prune affected foliage and treat with a fungicide formulated for powdery mildew.
- Slugs and snails: These pests can chew holes in the leaves of hollyhocks. Use organic slug and snail repellents, diatomaceous earth, or create barriers around the base of the plants with copper tape to deter them.
Regularly inspecting your hollyhock plants and promptly addressing any pests or diseases will help keep them healthy and vibrant throughout the growing season. By taking preventive measures and using organic solutions, you can minimize the impact of these common issues.
In the next step, we will discuss the harvesting of hollyhock seeds and how to save them for future plantings.
Step 8: Harvesting and saving seeds
One of the wonderful aspects of growing hollyhocks is the opportunity to harvest and save seeds for future plantings. Here’s how you can harvest and save hollyhock seeds:
- Timing: Allow the hollyhock flowers to fully mature on the plant. The petals will dry up and the seed pods will form at the base of the spent flower.
- Harvesting: Once the seed pods turn brown and start to split open, it’s time to harvest the seeds. Cut the seed pods from the plant using clean, sharp scissors or pruners.
- Drying: Place the harvested seed pods in a dry and well-ventilated area, such as a paper bag or a shallow tray. Allow them to air dry for 1-2 weeks, ensuring that they are completely dry before proceeding.
- Extracting the seeds: Once the seed pods are dry, gently break them open to release the small, dark seeds inside. Collect all the seeds and separate them from any remaining chaff or debris.
- Storing the seeds: Store the hollyhock seeds in a cool, dry, and dark place. Use small envelopes or airtight containers to keep the seeds protected from moisture and pests. Don’t forget to label the containers with the seed variety and date of collection.
With proper harvesting and storage, hollyhock seeds can remain viable for several years, allowing you to continue growing these beautiful flowers in your garden or share them with other gardening enthusiasts.
Congratulations! By following these steps, you have successfully grown, cared for, and harvested hollyhocks from seed. Enjoy the beauty and charm these magnificent flowers bring to your garden, and happy gardening!
Read more: How To Grow Zinnias From Seed
Conclusion
Growing hollyhocks from seed is a wonderful way to bring these majestic flowers into your garden. By following the steps outlined in this guide, you can successfully grow, care for, and harvest hollyhocks, adding a touch of old-fashioned charm to your outdoor space.
From choosing the right seeds and preparing the soil to sowing, germination, transplanting, and caring for the plants, each step plays a crucial role in the success of your hollyhock journey. With patience, attention to detail, and a little bit of green thumb, you can enjoy the beautiful blooms and vibrant colors of hollyhocks throughout the year.
Remember to choose high-quality seeds, prepare the soil with care, and provide the right conditions for germination. Transplant the seedlings with caution, ensuring they have adequate support and moisture. Caring for hollyhocks involves regular watering, mulching, deadheading, and monitoring for pests and diseases.
By carefully harvesting and saving seeds, you can continue to propagate hollyhocks and share their beauty with others for years to come. Remember to create a suitable storage environment to maintain seed viability and label them properly for future use.
Hollyhock plants are not only stunning in their appearance but also attract pollinators, adding life and activity to your garden. Whether you plant them to enhance a cottage garden, create a focal point in a flower bed, or simply enjoy their majestic presence, hollyhocks are sure to delight and inspire gardeners of all levels.
So, roll up your sleeves, gather your gardening tools, and get ready to embark on a rewarding hollyhock growing adventure. With a little dedication and a lot of love for gardening, you can transform your outdoor space into a haven of beauty and charm with these timeless and elegant flowers.
Frequently Asked Questions about How To Grow Hollyhocks From Seed
Was this page helpful?
At Storables.com, we guarantee accurate and reliable information. Our content, validated by Expert Board Contributors, is crafted following stringent Editorial Policies. We're committed to providing you with well-researched, expert-backed insights for all your informational needs.


0 thoughts on “How To Grow Hollyhocks From Seed”