Home>Garden Essentials>How To Grow Thyme From Seed


Garden Essentials
How To Grow Thyme From Seed
Modified: May 5, 2024
Learn how to grow thyme from seed and create a thriving garden with our step-by-step guide. Discover essential tips and techniques for successful cultivation.
(Many of the links in this article redirect to a specific reviewed product. Your purchase of these products through affiliate links helps to generate commission for Storables.com, at no extra cost. Learn more)
Introduction
Growing thyme from seed is a rewarding and cost-effective way to add this versatile herb to your garden. Thyme not only offers a delightful fragrance and taste, but it is also known for its medicinal properties and ability to attract beneficial insects. Whether you’re a seasoned gardener or a beginner, this article will guide you through the process of growing thyme from seed and help you achieve a bountiful harvest.
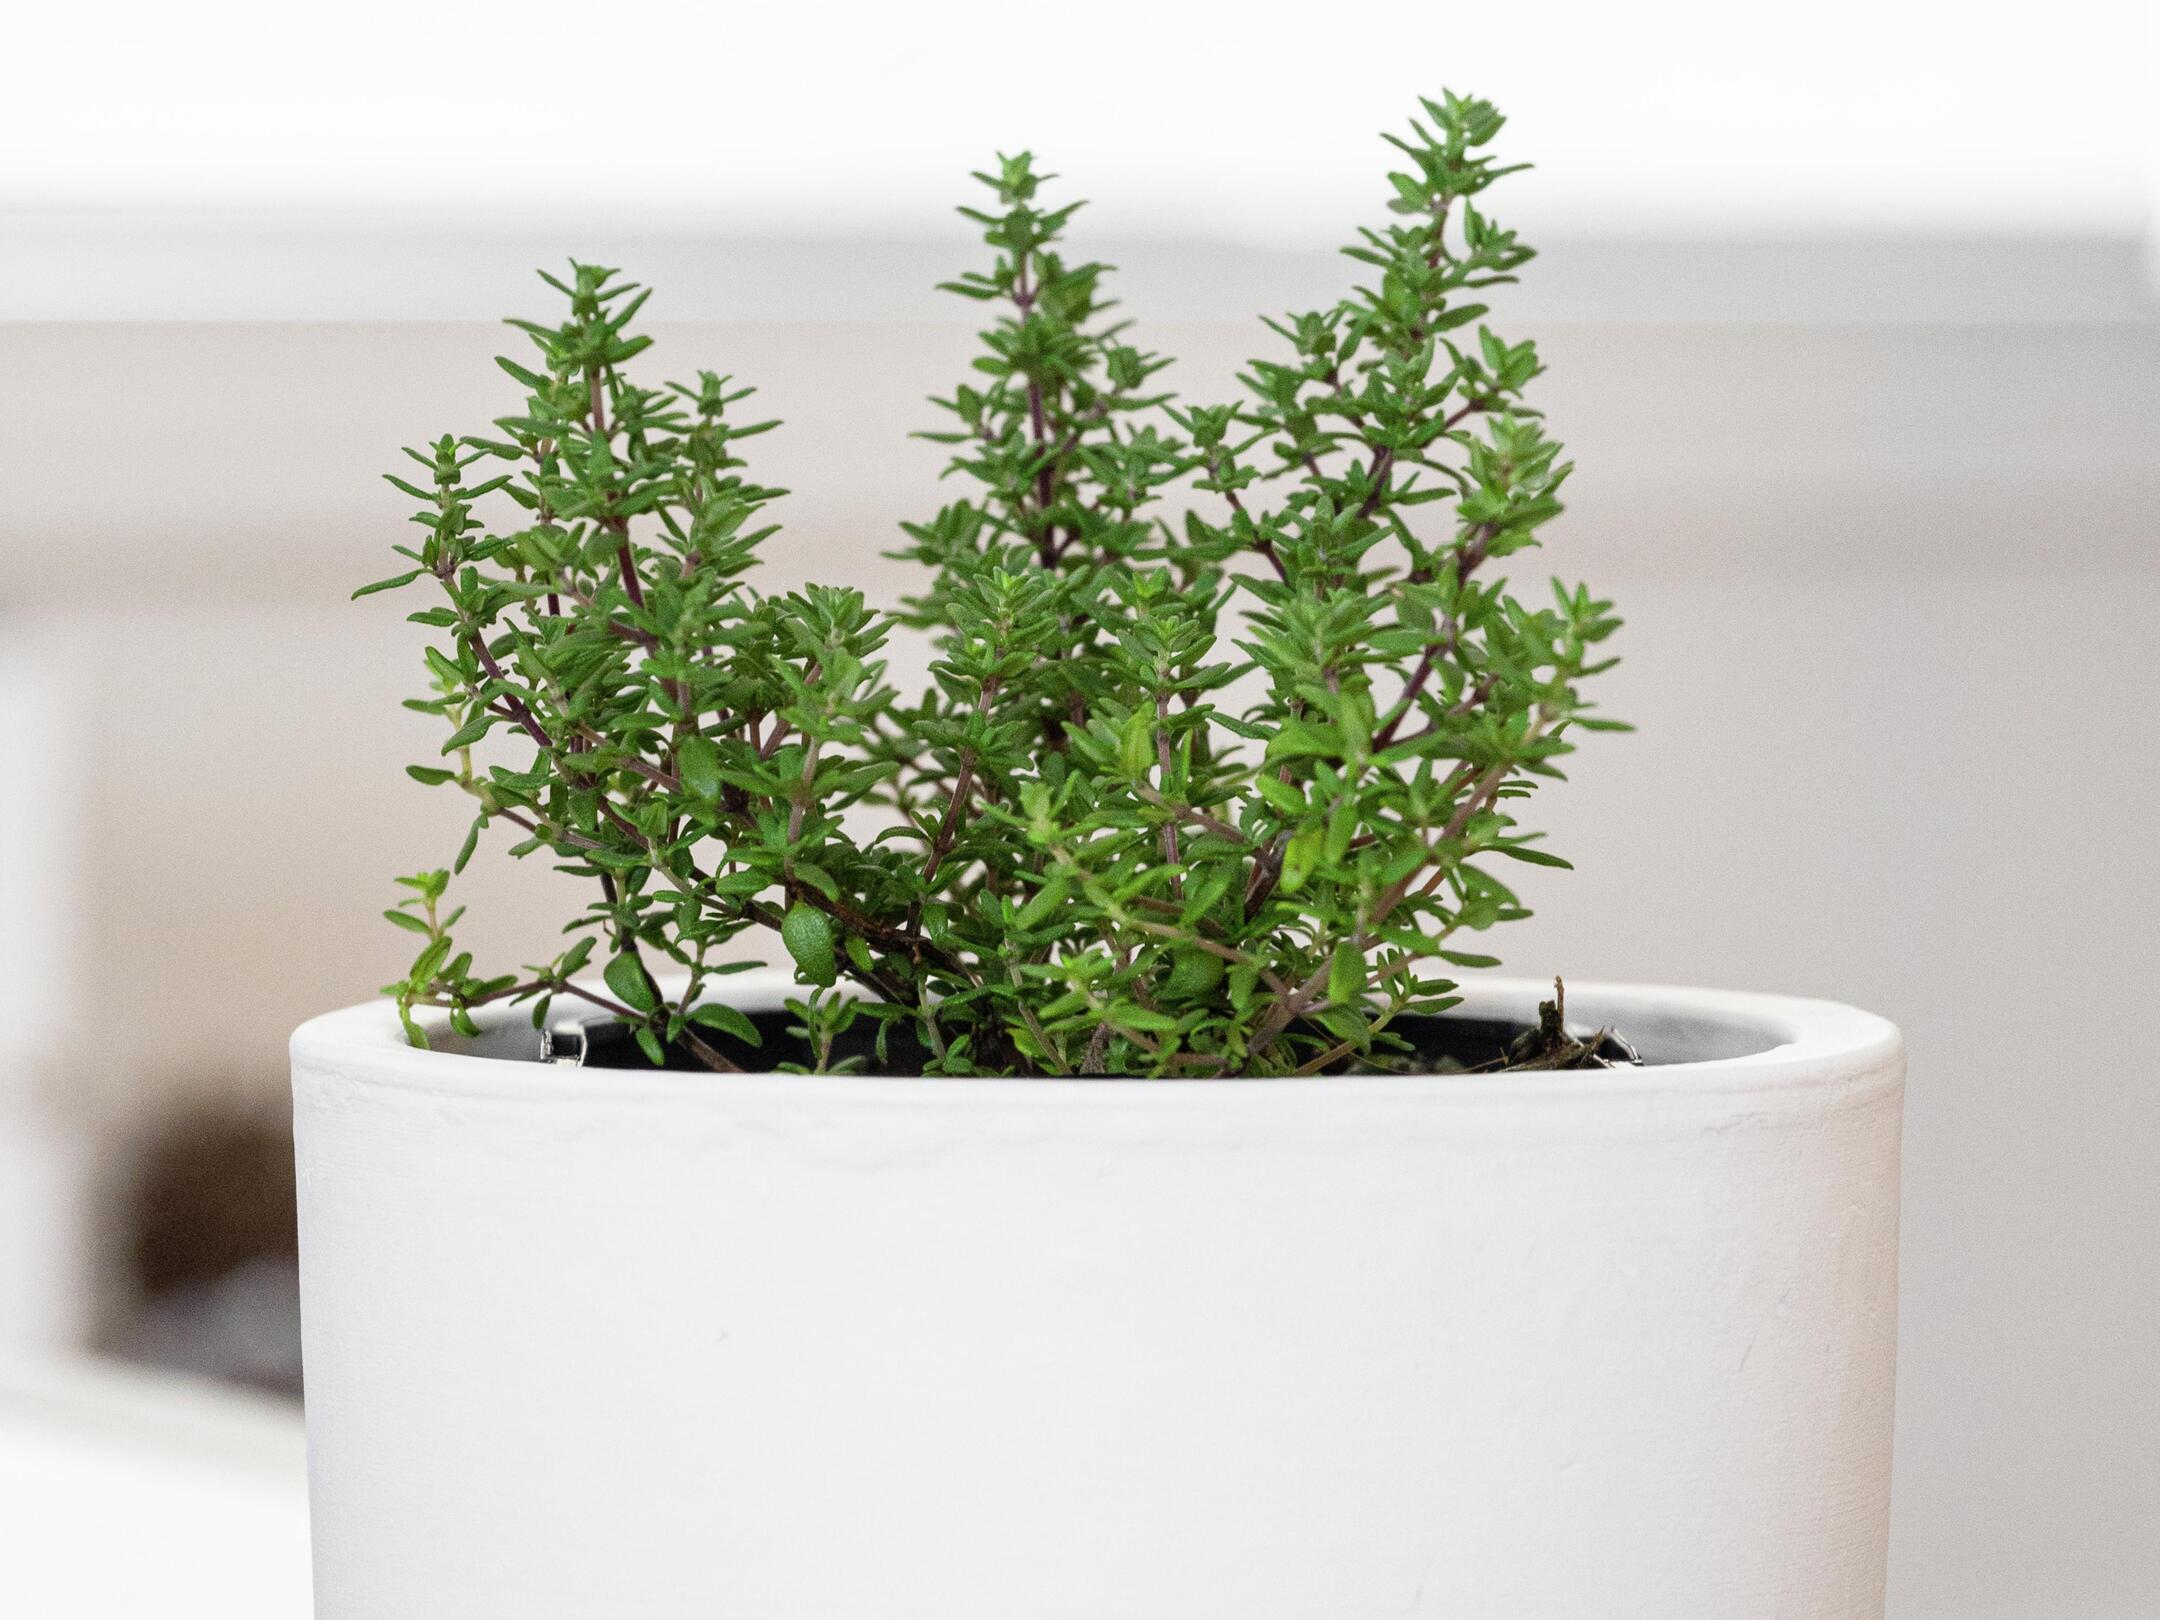
Thyme, scientifically known as Thymus vulgaris, is a perennial herb that belongs to the mint family. It is native to the Mediterranean region but has been cultivated and enjoyed worldwide for centuries. Thyme is renowned for its culinary uses, often added to various dishes to enhance the flavor profile. Additionally, thyme has been used medicinally for its antiseptic and antimicrobial properties.
One of the biggest advantages of growing thyme from seed is the wide variety of thyme cultivars available. From common thyme to lemon, orange, and even variegated varieties, you can choose the ones that best suit your taste and garden aesthetics.
When starting thyme from seed, it’s important to select high-quality seeds from a reputable source. Look for organic seeds if possible, as they ensure the absence of harmful chemicals and promote a healthier garden ecosystem. Many garden centers and online suppliers offer a wide range of thyme seed varieties to choose from.
Now that we understand the basics, let’s dive into the process of preparing the soil for thyme seed sowing!
Key Takeaways:
- Thyme seeds need well-draining soil, 6-8 hours of sunlight, and gentle watering to grow into healthy plants. Remember to thin out overcrowded seedlings and provide optimal growing conditions for successful thyme cultivation.
- After transplanting thyme seedlings into the garden, maintain regular care, including watering, weeding, and pest control. Harvest thyme leaves just before blooming and store them for future culinary use.
Read more: How To Grow Begonia From Seed
Choosing and preparing the right soil
The success of growing thyme from seed largely depends on the quality of the soil. Thyme thrives in well-draining soil that is rich in organic matter. Here are some guidelines to help you choose and prepare the right soil for your thyme seeds:
1. Soil Type: Thyme prefers slightly alkaline soil with a pH level between 6.0 and 8.0. Sandy loam or loamy soil works best, as it provides good drainage while retaining enough moisture for the plants. Avoid heavy clay soils, as they can lead to waterlogging and root rot.
2. Drainage: Proper drainage is crucial for thyme plants to prevent waterlogged roots. If your soil tends to retain water, you can improve drainage by adding organic matter such as compost, well-rotted manure, or perlite. These amendments loosen the soil and promote better water movement.
3. Sunlight: Thyme plants thrive in full sun, so choose a location in your garden that receives at least 6-8 hours of direct sunlight each day. Insufficient sunlight can result in weak, spindly plants with reduced flavor and aroma.
4. Soil Preparation: Before sowing thyme seeds, it’s essential to prepare the soil properly. Start by removing any weeds or debris from the area where you plan to grow thyme. Loosen the soil to a depth of 6-8 inches using a garden fork or tiller to improve aeration and root penetration.
5. Organic Matter: Enhance the fertility of the soil by incorporating organic matter into it. Adding compost or well-rotted manure improves soil structure, adds nutrients, and enhances moisture retention. Work the organic matter into the top few inches of soil using a garden fork.
6. Soil pH Adjustment: If your soil’s pH is outside the optimal range for thyme, you can adjust it accordingly. Lime can be added to raise the pH, while sulfur or peat moss can be used to lower it. A soil test kit can help you determine the current pH level and guide you in making the necessary adjustments.
7. Soil Moisture: Thyme prefers soil that is moderately moist but not waterlogged. Before sowing the seeds, ensure that the soil is slightly damp but not overly wet. This will promote germination and the development of healthy seedlings.
By selecting and preparing the right soil, you provide thyme seeds with the optimal conditions for germination and growth. With the soil ready, it’s time to move on to the exciting process of sowing thyme seeds!
Sowing thyme seeds
Now that you have prepared the perfect soil for your thyme plants, it’s time to start sowing the seeds. Follow these steps to ensure successful germination and healthy thyme seedlings:
1. Timing: Thyme seeds can be sown both indoors and outdoors. If you live in a colder climate, it’s best to start the seeds indoors around 6-8 weeks before the last frost date. For warmer regions, you can sow the seeds directly outdoors in early spring.
2. Container Selection: If starting thyme seeds indoors, select small seedling trays or pots with drainage holes. These containers help retain moisture while allowing excess water to escape, preventing waterlogging.
3. Seed Preparation: Thyme seeds have a hard outer coat that can hinder germination. To promote better seedling emergence, you can gently scarify the seeds by rubbing them between two sandpaper sheets or soaking them in warm water overnight. This will help break the seed coat and encourage faster germination.
4. Sowing Depth: Thyme seeds are tiny, so they should be sown shallowly. Spread the seeds evenly over the soil surface and lightly press them down with your fingertips. Aim for a sowing depth of about 1/8 to 1/4 inch.
5. Moisture and Watering: After sowing the seeds, gently water the soil using a fine mist or a watering can with a rose attachment. Be careful not to wash away the seeds. Keep the soil consistently moist but not waterlogged during the germination process.
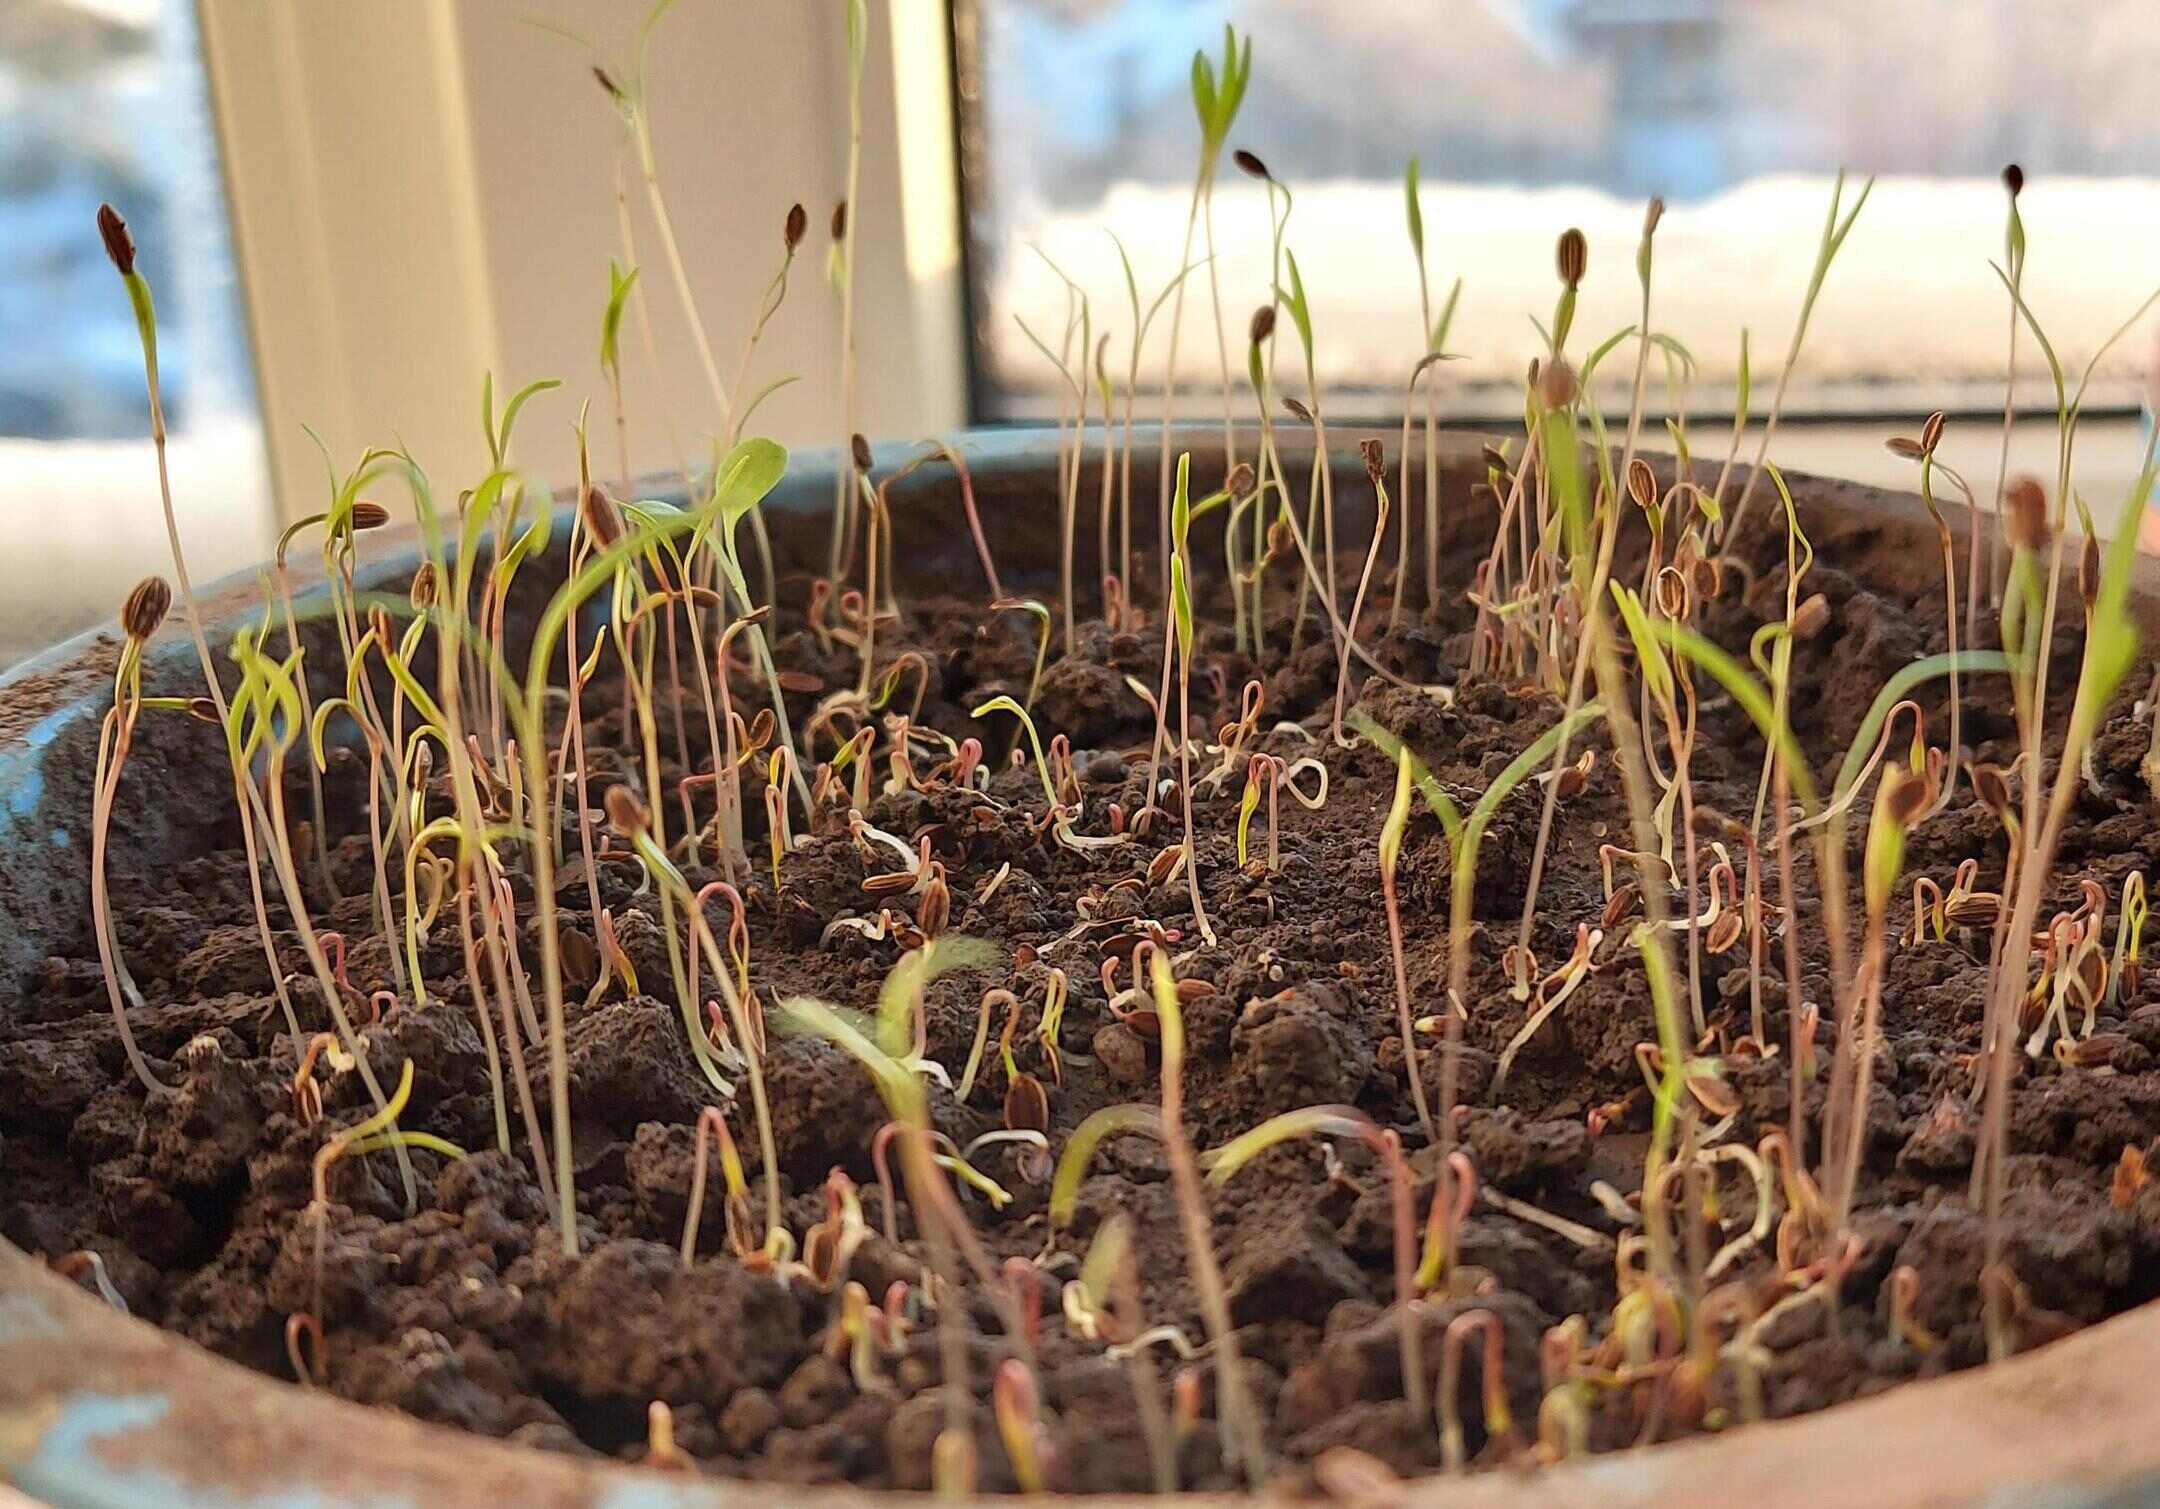
6. Germination and Temperature: Thyme seeds usually germinate within 7-14 days if provided with the right temperature conditions. Maintain a temperature range of 65-75°F (18-24°C) to encourage germination. You can use a seedling heat mat or place the trays in a warm location to ensure consistent warmth.
7. Thinning Seedlings: Once the thyme seedlings have emerged and developed their first true leaves, thin them out if they are overcrowded. Maintain a spacing of about 6-8 inches between the seedlings to allow for proper airflow and growth.
Remember to label your trays or pots to keep track of the thyme varieties you’ve sown. As the seedlings grow, they will require the right growing conditions to thrive. In the next section, we will discuss the optimal conditions for nurturing thyme seedlings.
Providing the optimal growing conditions
Thyme seedlings require specific conditions to grow into healthy and robust plants. Here’s how you can provide the optimal growing conditions for your thyme:
1. Temperature: Thyme thrives in moderate temperatures. Maintain a temperature range of 60-70°F (15-21°C) during the day and slightly cooler temperatures at night. Avoid exposing the seedlings to extreme heat or cold, as it can stunt their growth.
2. Light: Adequate sunlight is crucial for the proper development of thyme plants. Place the seedlings in a location that receives 6-8 hours of direct sunlight per day. If you’re growing thyme indoors, use grow lights to supplement natural sunlight and provide at least 12-14 hours of light daily.
3. Air Circulation: Good air circulation is essential to prevent fungal diseases and strengthen the thyme plants. Ensure that the seedlings are not overcrowded and have ample space between them. Consider using a small fan on low speed to mimic a gentle breeze and promote airflow.
4. Watering: Thyme plants prefer slightly dry conditions rather than being constantly wet. Water the seedlings when the top inch of soil feels dry to the touch. Water at the base of the plants in the morning to allow foliage to dry before nightfall, preventing moisture-related diseases.
5. Fertilization: Thyme doesn’t require heavy feeding but can benefit from a balanced organic fertilizer. Apply a diluted liquid fertilizer once every two to three weeks during the growing season. Avoid over-fertilizing, as it can lead to excessive foliage growth with reduced essential oil production.
6. Mulching: Applying a layer of organic mulch around thyme plants helps retain soil moisture and suppresses weed growth. Use materials like straw, wood chips, or dried leaves, ensuring not to cover the plant’s base. Mulching also adds organic matter to the soil as it breaks down.
7. Pruning: Regular pruning helps maintain thyme’s compact growth habit and encourages bushier plants. As the plants mature, trim back the stems by one-third to promote branching and fuller growth. Harvesting leaves for culinary use also promotes new growth.
By providing the optimal growing conditions for your thyme seedlings, you’ll ensure healthy and vigorous plants ready for transplanting. In the next section, we will discuss the steps to successfully transplant thyme seedlings into the garden.
After sowing thyme seeds, keep the soil consistently moist but not waterlogged. Once the seedlings have grown a few inches tall, thin them out to give each plant enough space to grow.
Caring for thyme seedlings
Thyme seedlings require consistent care to ensure their healthy growth and development. Follow these essential steps to properly care for your thyme seedlings:
1. Watering: Thyme seedlings need regular watering to establish a strong root system. Keep the soil consistently moist but not waterlogged. Water the seedlings at the base to avoid wetting the foliage, as damp leaves can lead to fungal diseases.
2. Weeding: Remove any weeds that compete for nutrients and space with the thyme seedlings. Regular weeding keeps the soil clean and allows the young thyme plants to grow unhindered.
3. Mulching: Apply a layer of organic mulch around the base of the thyme seedlings. Mulching helps retain soil moisture, suppresses weed growth, and maintains even soil temperature. Keep the mulch a few inches away from the plant stems to prevent moisture buildup and potential rotting.
4. Thinning: If your thyme seedlings are overcrowded, thin them out to provide adequate space for each plant to grow. Avoid damaging the remaining seedlings’ roots when removing the excess plants.
5. Pest and Disease Management: Monitor your thyme seedlings for any signs of pests or diseases. Common pests that can affect thyme include aphids, spider mites, and thrips. If required, use organic pest control methods such as insecticidal soap or neem oil to combat the infestation. Watch for signs of fungal diseases such as powdery mildew or root rot, and take appropriate measures like improving airflow and avoiding over-watering.
6. Fertilization: Thyme seedlings usually do not require heavy fertilization. However, if you notice slow growth or nutrient deficiencies, you can apply a balanced organic fertilizer sparingly. Follow the manufacturer’s instructions and avoid over-fertilization, as excessive nitrogen can lead to weak growth.
7. Hardening Off: Before transplanting your thyme seedlings into the garden, it’s important to gradually expose them to outdoor conditions. This process, known as “hardening off,” helps the seedlings acclimate to the increased sunlight, wind, and fluctuating temperatures. Start by placing the seedlings outdoors for a few hours each day, gradually increasing the time over the course of a week. Ensure to protect the seedlings from harsh weather conditions during this transitional phase.
With proper care and attention, your thyme seedlings will develop into strong and healthy plants ready for transplanting. In the next section, we will discuss the process of transplanting thyme seedlings into the garden.
Read more: How To Grow Zinnias From Seed
Transplanting thyme seedlings
Once your thyme seedlings have grown to a suitable size and the weather conditions are favorable, it’s time to transplant them into the garden. Follow these steps to ensure a successful transplantation:
1. Timing: Transplant thyme seedlings into the garden once the risk of frost has passed and the soil has warmed up. In most regions, this is typically in late spring or early summer. Check your local frost dates to determine the appropriate time.
2. Soil Preparation: Prior to transplanting, prepare the planting area in your garden. Ensure the soil is well-draining and has been enriched with organic matter. Remove any weeds and loosen the soil to a depth of 6-8 inches to promote root penetration.
3. Transplanting Method: Gently loosen the soil around the thyme seedlings, taking care not to damage the roots. Dig a hole in the prepared planting area that is slightly larger than the root ball of the seedling. Place the seedling in the hole and backfill with soil, pressing gently around the base to secure it in place.
4. Spacing: Provide adequate spacing between thyme plants to allow for proper airflow and growth. Space the seedlings around 8-12 inches apart, depending on the variety. This spacing will help prevent overcrowding and allow the plants to develop fully.
5. Watering: After transplanting the seedlings, water them thoroughly to settle the soil and help with root establishment. Irrigate the plants at the base to avoid wetting the foliage. Continue to water regularly, keeping the soil slightly moist but not waterlogged.
6. Mulching: Apply a layer of organic mulch around the base of the transplanted thyme seedlings. Mulching helps retain moisture, suppresses weed growth, and regulates soil temperature. Maintain a mulch-free zone around the plant stems to prevent moisture-related issues.
7. Protection: Protect the newly transplanted seedlings from extreme weather conditions, such as strong winds or intense heat. Use temporary shade covers or cloches if needed until the plants become established.
8. Regular Care: Maintain regular care for your transplanted thyme seedlings, including watering, weeding, and pest control. Regularly monitor the plants for any signs of pests or diseases and take appropriate measures to address any issues that may arise.
Transplanting thyme seedlings into the garden allows them to flourish and spread out their roots. With proper care and attention, your thyme plants will soon be ready for regular maintenance and the exciting process of harvesting. In the following section, we will explore the necessary steps for maintaining and harvesting thyme plants.
Maintaining and Harvesting Thyme Plants
Once your thyme plants are established in the garden, they require ongoing care and attention to thrive and provide you with a bountiful harvest. Here are the essential steps for maintaining and harvesting your thyme plants:
1. Watering: Thyme plants have moderate water needs. Water them regularly, especially during dry periods or when the top inch of soil feels dry. Avoid over-watering to prevent root rot and other moisture-related problems. Water at the base of the plants to keep the foliage dry and reduce the risk of diseases.
2. Mulching: Maintain a layer of organic mulch around the base of your thyme plants to conserve soil moisture, suppress weeds, and regulate soil temperature. Renew the mulch as needed to maintain an adequate thickness, ensuring it does not touch the plant stems.
3. Pruning and Maintenance: Regular pruning helps maintain compact and bushy thyme plants. Trim back any leggy or straggly growth, as well as any dead or damaged stems. Pruning also encourages new growth and helps shape the plant. Harvesting thyme leaves regularly also promotes fresh growth.
4. Fertilization: Thyme plants generally do not require heavy feeding. However, applying a balanced organic fertilizer in early spring can help boost growth and productivity. Follow the manufacturer’s instructions for the recommended dosage and frequency of application.
5. Pest and Disease Control: Monitor your thyme plants for any signs of pests or diseases. Common pests that can affect thyme include aphids, spider mites, and thrips. Use organic pest control methods, such as neem oil or insecticidal soap, to manage infestations. Watch for symptoms of fungal diseases, such as powdery mildew, and address them promptly with appropriate measures.
6. Harvesting: Thyme leaves can be harvested throughout the growing season once the plants have established enough foliage. Harvest the leaves as needed by snipping them close to the stem. Avoid harvesting more than one-third of the plant at a time to ensure its continued growth and health. Thyme leaves are most flavorful when harvested just before the plant blooms.
7. Storage and Preservation: Thyme leaves can be used fresh or dried for future use. To dry thyme, hang the harvested sprigs upside down in a well-ventilated, cool, and dark place. Once dried, remove the leaves from the stems and store them in airtight containers away from light and heat.
By following these maintenance practices, you can enjoy thriving and productive thyme plants in your garden. Freshly harvested thyme leaves will provide a delightful flavor to your culinary creations. Remember to save some seeds or propagate new plants to continue enjoying thyme in your garden for years to come.
Frequently Asked Questions about How To Grow Thyme From Seed
Was this page helpful?
At Storables.com, we guarantee accurate and reliable information. Our content, validated by Expert Board Contributors, is crafted following stringent Editorial Policies. We're committed to providing you with well-researched, expert-backed insights for all your informational needs.


0 thoughts on “How To Grow Thyme From Seed”