Home>Garden Essentials>When To Plant Calendula Seeds
Garden Essentials
When To Plant Calendula Seeds
Modified: September 1, 2024
Discover the perfect time to plant calendula seeds in your garden. Ensure a successful growing season with our expert gardening tips and advice.
(Many of the links in this article redirect to a specific reviewed product. Your purchase of these products through affiliate links helps to generate commission for Storables.com, at no extra cost. Learn more)
Introduction
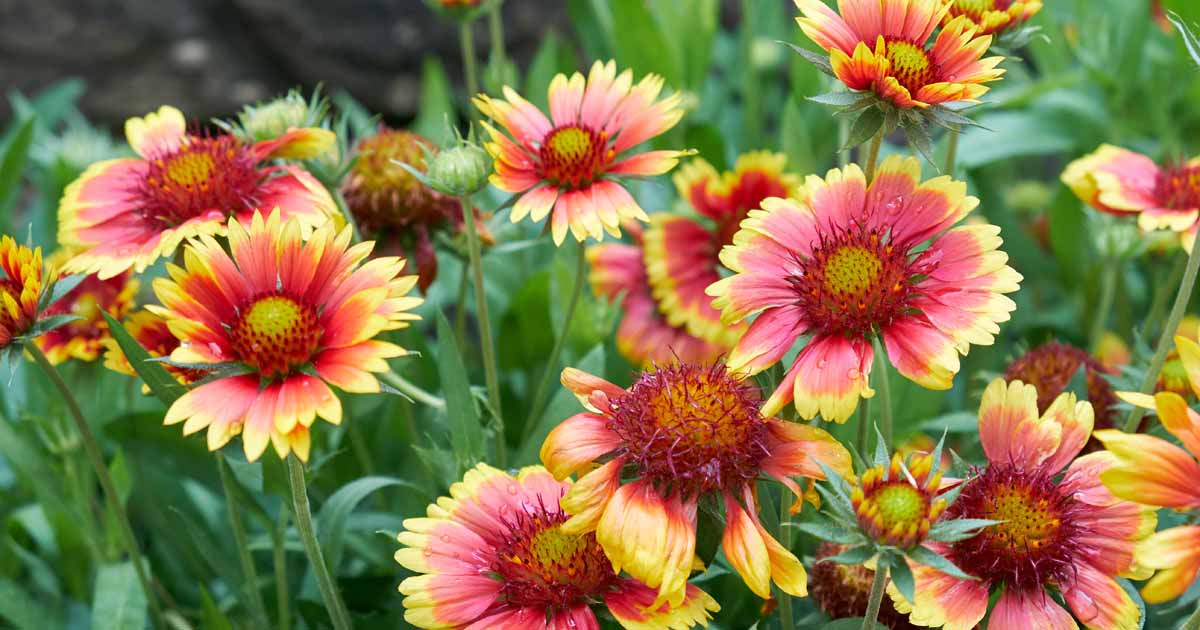
Calendula is a beautiful and versatile flower that blooms in vibrant shades of orange and yellow. Known both for its aesthetic appeal and medicinal properties, this plant has become a popular choice among gardeners. If you’re considering planting calendula in your garden, it’s important to understand when to plant the seeds to maximize the chances of a successful harvest.
Calendula, also known as pot marigold, is an annual flower that thrives in temperate climates. It has a relatively short growing season, so timing is crucial when it comes to planting the seeds. In this article, we will discuss the ideal planting time for calendula seeds, as well as the necessary steps to prepare your garden bed and care for the seedlings.
Whether you’re an experienced gardener or a beginner, with the right knowledge and techniques, you can enjoy the sight of these vibrant flowers blooming in your garden. Let’s delve into the world of calendula seeds and discover the best time to sow them.
Key Takeaways:
- Plant calendula seeds in early spring in cooler climates, or in late summer/early fall in hot regions for best results. Ensure soil temperature is 55-65°F for optimal germination.
- Prepare garden bed with well-draining soil, ample sunlight, and proper spacing. Care for seedlings by watering, thinning, and protecting from pests for healthy growth.
Read more: How To Harvest Calendula Seeds
Understanding Calendula Seeds
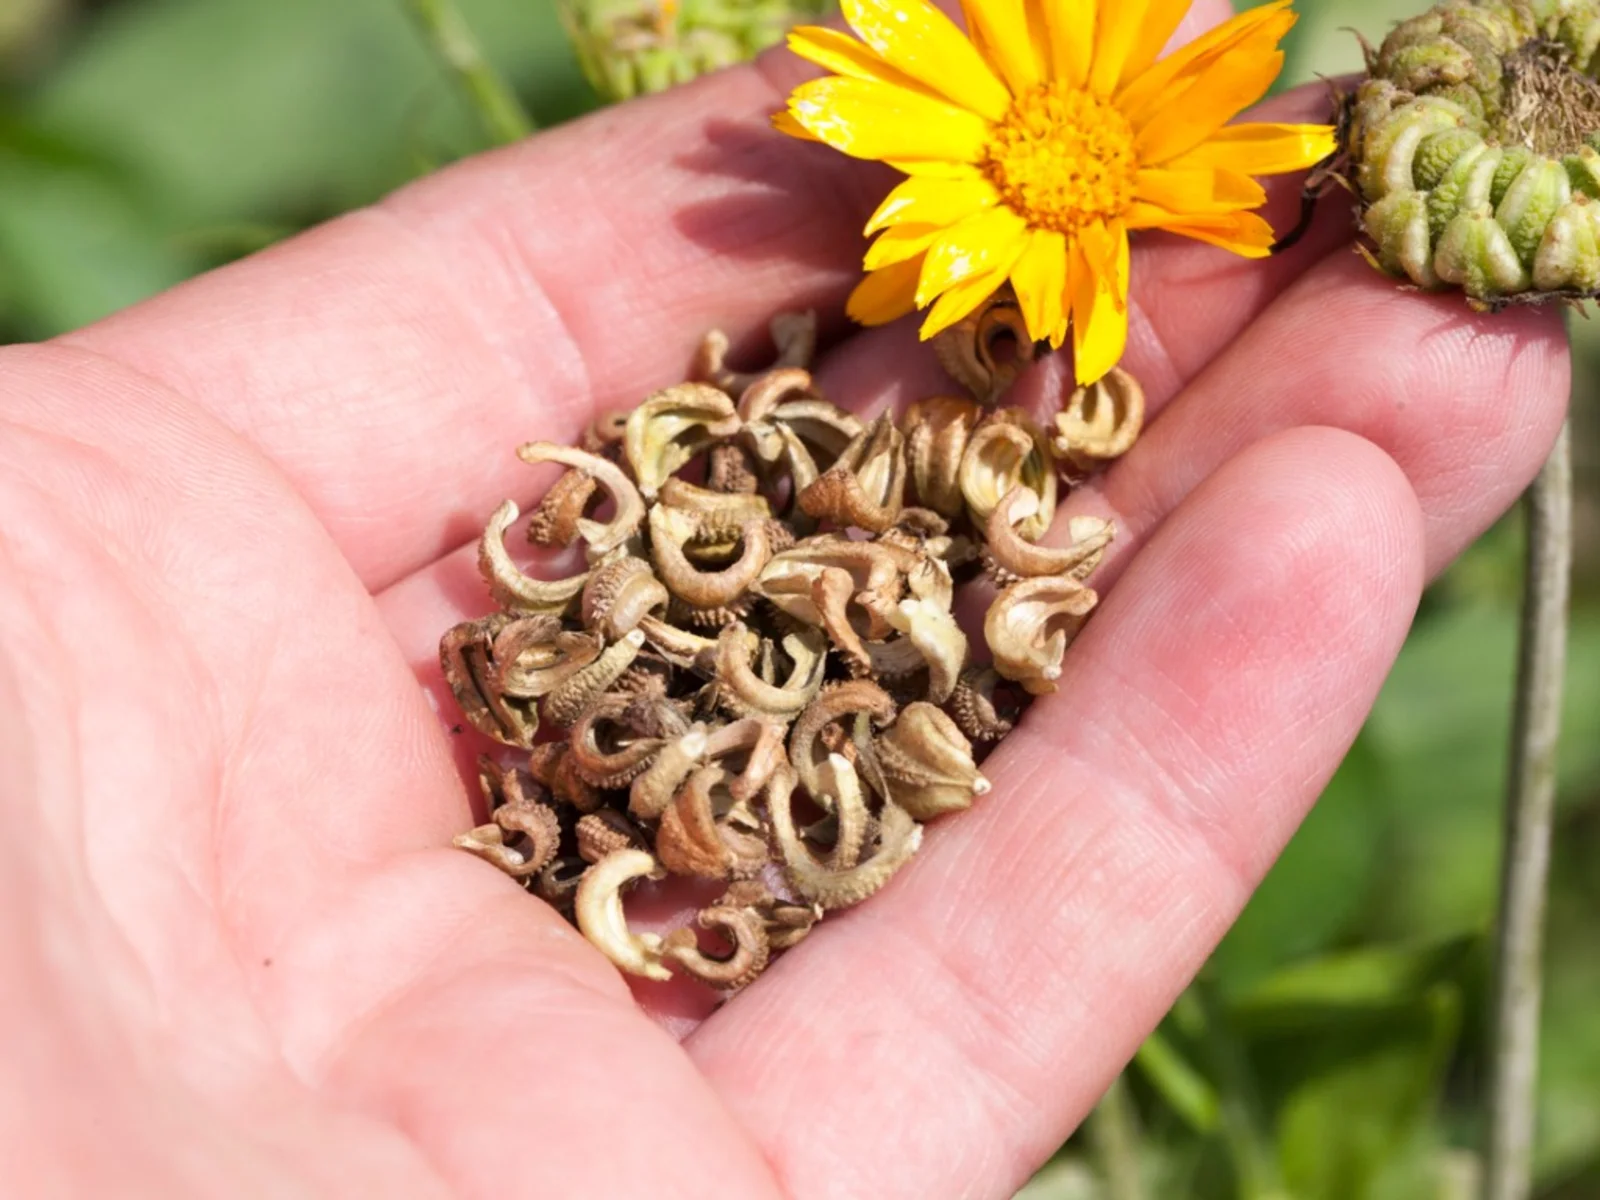
Before diving into the ideal planting time for calendula seeds, it’s important to have a basic understanding of the seeds themselves. Calendula seeds are small and oblong-shaped, often resembling wrinkled raisins. They come in varying shades of brown and can be purchased from garden centers or online seed suppliers.
Calendula seeds are relatively easy to germinate, making them a popular choice for both beginner and experienced gardeners. They have a moderate germination time, typically taking around 7-14 days to sprout under optimal conditions. It’s important to note that calendula is an annual plant, meaning it completes its life cycle within a year.
When selecting calendula seeds, consider opting for organic and non-GMO varieties. This ensures that you are using seeds free from chemical pesticides and genetically modified alterations, promoting a more natural and eco-friendly gardening experience.
Additionally, calendula seeds can be saved from your own plants for future plantings. After the flowers have bloomed and started to wither, they will form seed heads. Allow these seed heads to fully dry on the plant before collecting them. Once dry, gently crush the seed heads to release the seeds and store them in a cool, dry place until it’s time to plant them.
Now that you have a better understanding of calendula seeds, let’s explore the optimal time to sow them for a successful growing season.
Determining the Ideal Planting Time
The ideal planting time for calendula seeds depends on your specific climate and the average temperature in your region. Calendula thrives in cooler temperatures, making it a suitable flower to grow in spring and fall in most areas.
If you reside in a region with mild winters and cool springs, you can sow calendula seeds directly in the garden in early spring, as soon as the soil can be worked. This allows the seeds to take advantage of the cool weather and longer days to establish themselves and grow into healthy plants.
In areas with hot summers, it’s best to avoid planting calendula seeds during the peak heat. Instead, wait for the temperatures to cool down in late summer or early fall to sow the seeds. This will provide the plants with ideal growing conditions, avoiding stress from excessive heat.
Keep in mind that calendula seeds germinate best when the soil temperature is around 55-65°F (13-18°C). If the soil is too cold, the seeds may have difficulty sprouting, resulting in poor germination rates. To ensure the right soil temperature, you can use a soil thermometer to monitor the conditions.
Furthermore, if you prefer to start your calendula seeds indoors, you can begin the process 6-8 weeks before the last expected frost date. Start the seeds in small pots or seed trays filled with a well-draining potting mix. Place them in a sunny location or under grow lights and keep the soil consistently moist. Transplant the seedlings into the garden once all danger of frost has passed and the soil has warmed up.
In summary, the ideal planting time for calendula seeds varies depending on your climate. Sow the seeds in early spring in regions with mild winters and cool springs, or wait for late summer or early fall in areas with hot summers. By choosing the optimal planting time, you can ensure the best conditions for your calendula plants to thrive.
Preparing the Garden Bed
Preparing the garden bed properly is essential for the successful growth of calendula plants. By creating a fertile and well-draining environment, you provide the seeds with the best chance to germinate and develop into healthy seedlings.
Here are the steps to follow when preparing your garden bed for planting calendula seeds:
1. Choose the right location: Select a spot in your garden that receives at least 6-8 hours of direct sunlight daily. Calendula thrives in full sun but can tolerate partial shade. Ensure the area has good air circulation to reduce the risk of fungal diseases.
2. Clear the area: Remove any existing weeds, rocks, or debris from the garden bed. Clearing the area allows the calendula seeds to have unrestricted access to nutrients and sunlight.
3. Loosen the soil: Use a garden fork or tiller to loosen the soil to a depth of 6-8 inches. This helps improve drainage and allows the roots to penetrate easily. Break up any clumps of soil and remove large stones or rocks.
4. Amend the soil: Calendula prefers well-draining soil that is rich in organic matter. Add compost, well-rotted manure, or organic fertilizer to enrich the soil with nutrients. Incorporate the amendments into the soil thoroughly.
5. Level the bed: Smooth out the surface of the garden bed using a rake, ensuring it is even and free from any large bumps. A level bed helps with even watering and prevents water pooling around the plants.
6. Water the bed: Before sowing the calendula seeds, water the garden bed thoroughly. This ensures that the soil is evenly moist, providing an ideal environment for seed germination.
Remember, calendula is a forgiving plant that can tolerate a range of soil conditions. However, by following these steps and preparing the garden bed properly, you set the stage for healthy growth and abundant blossoms.
In the next section, we will explore the process of sowing calendula seeds and caring for the seedlings as they emerge.
Sowing Calendula Seeds
Once the garden bed is prepared, it’s time to sow the calendula seeds. Sowing the seeds correctly is crucial for successful germination and the establishment of healthy seedlings.
Follow these steps to sow your calendula seeds:
1. Prepare the soil: Use a garden rake or hand fork to create a fine, crumbly texture on the soil surface. Calendula seeds require good seed-to-soil contact for optimal germination, so ensure the soil is loose and free from clumps.
2. Space the seeds: Depending on the variety of calendula you are planting, space the seeds about 6 inches apart. You can sow them in rows or scatter them across the soil surface. Keep in mind that calendula plants will spread as they grow, so provide adequate space for their development.
3. Planting depth: Calendula seeds are relatively small, so they should be planted shallowly. Gently press the seeds into the soil or cover them with a thin layer (about 1/4 inch) of soil. Avoid burying the seeds too deeply, as they may struggle to emerge.
4. Water gently: After sowing the seeds, water the garden bed gently to ensure the soil is moist. Be careful not to wash away the seeds or create puddles. Moisture is essential for seed germination, so continue to monitor and provide water as needed.
5. Mulch the bed: Consider applying a thin layer of organic mulch, such as straw or wood chips, to the garden bed. Mulching helps retain moisture, suppresses weed growth, and maintains a consistent soil temperature—beneficial for the emerging seedlings.
6. Monitor and protect: Keep a close eye on the garden bed for any signs of weed emergence. Remove weeds promptly to prevent competition with the seedlings. If there is a threat of frost, consider covering the bed with a garden fabric or cloche to protect the young plants.
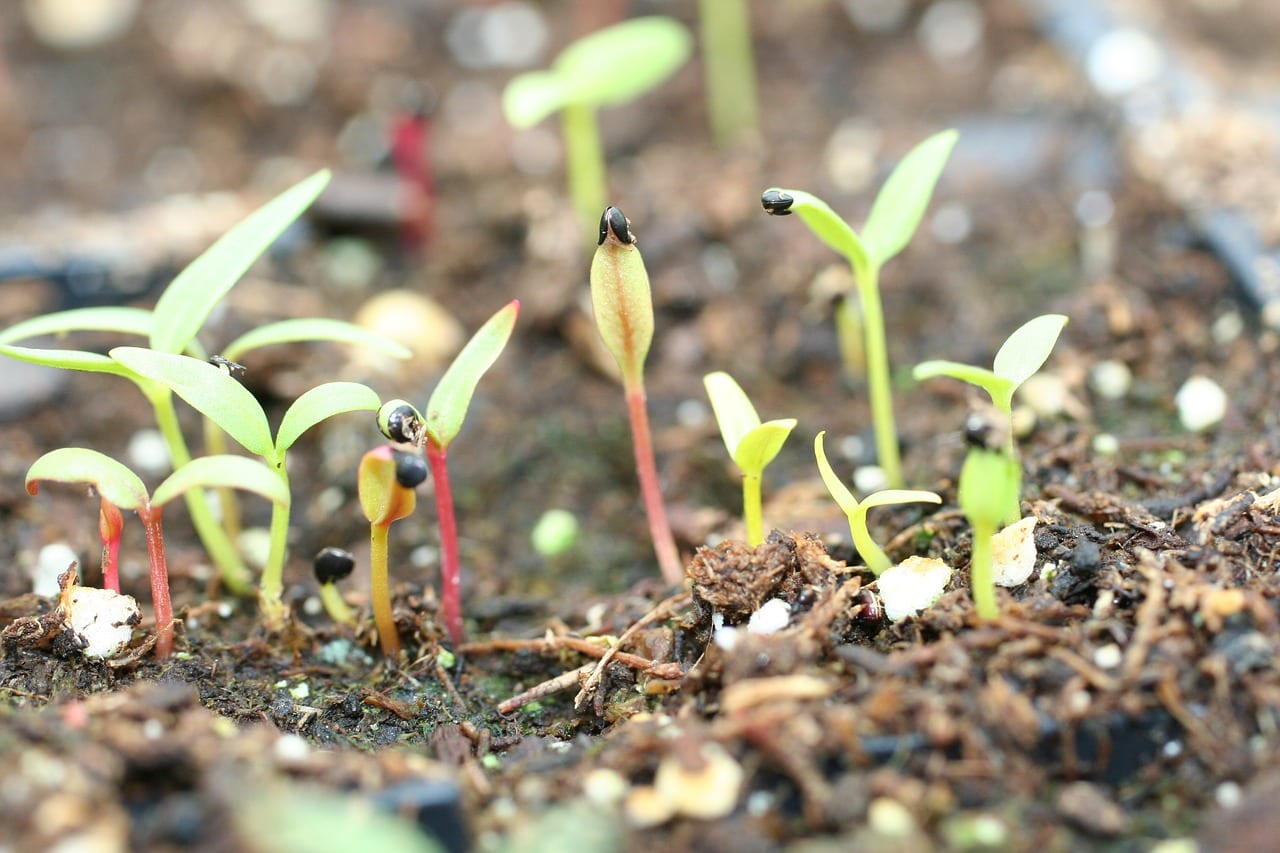
7. Be patient: Calendula seeds typically germinate within 7-14 days, but it can take longer depending on the conditions. Be patient and continue to provide the seedlings with proper care.
By following these steps, you can ensure the successful sowing of your calendula seeds. With time and proper care, you will soon have a bed filled with beautiful calendula seedlings ready to grow and flourish. In the next section, we will explore how to care for the seedlings as they continue to grow into mature plants.
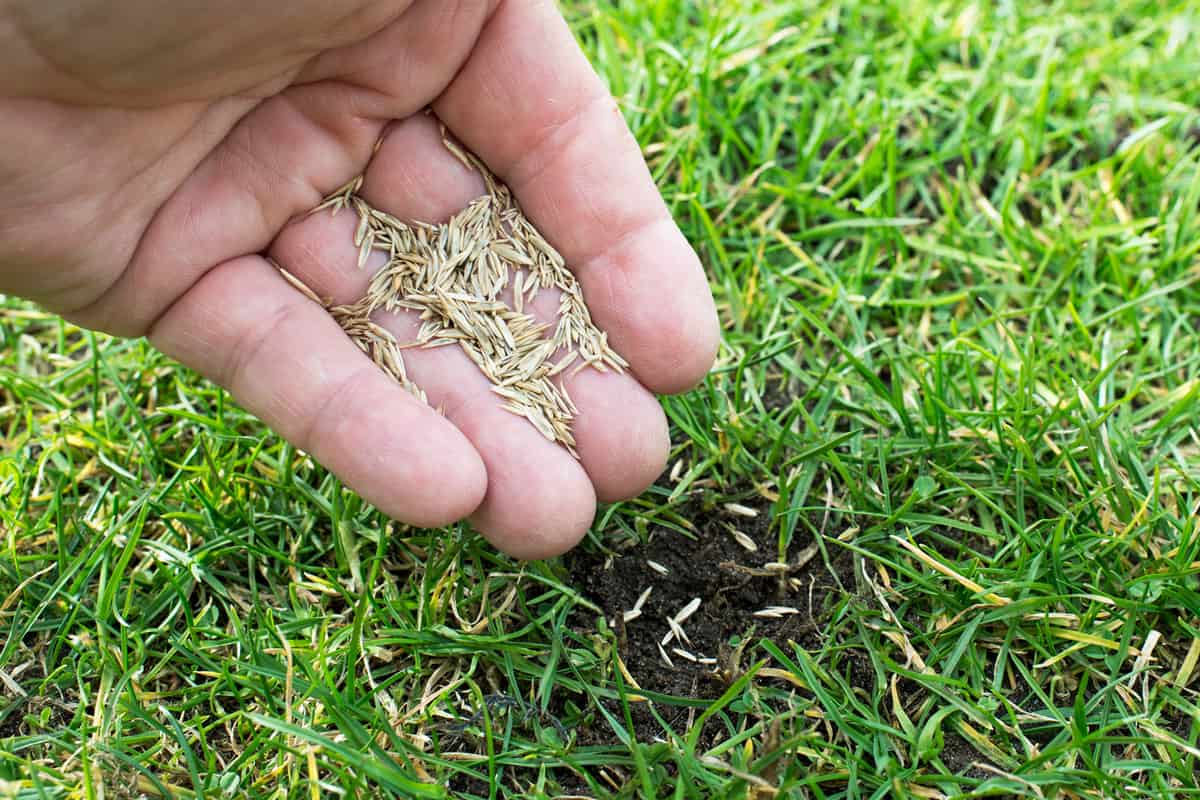
Plant calendula seeds in early spring, after the last frost date. They prefer cool weather and can tolerate light frost. Sow seeds directly in well-drained soil and keep them moist for germination.
Read more: When To Plant Borage Seeds
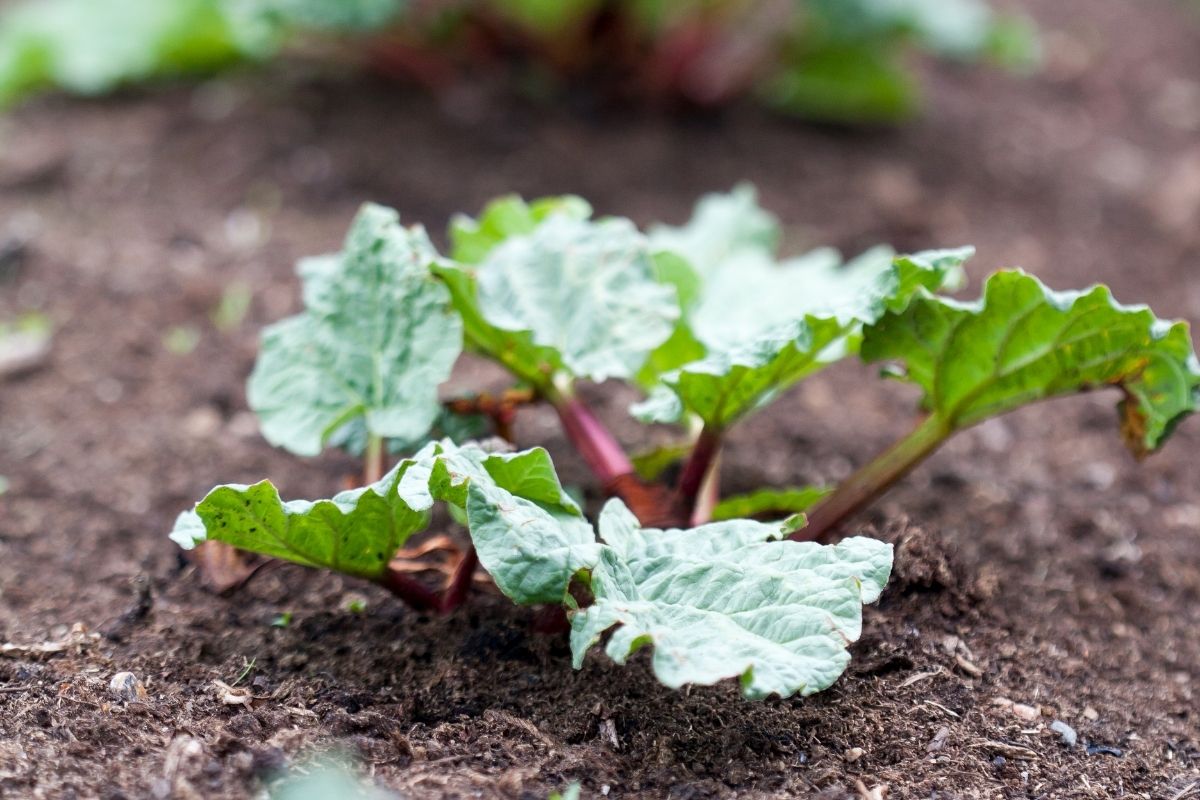
Caring for Calendula Seedlings
As your calendula seedlings begin to emerge, proper care is essential to promote healthy growth and ensure their successful transition into mature plants. Here are some important steps to follow when caring for your calendula seedlings:
1. Watering: Seedlings have delicate root systems and require consistent moisture. Water the seedlings gently and regularly, keeping the soil evenly moist but not waterlogged. Avoid overhead watering, as this can lead to disease issues. Instead, water at the base of the plants to minimize wet foliage.
2. Thinning the seedlings: If your calendula seeds were sown in clusters or too closely together, it’s important to thin them out to provide adequate space for each plant to grow. Once the seedlings have developed their first true leaves, carefully remove the weaker or excess seedlings, leaving the strongest one in each spacing.
3. Fertilization: Calendula plants generally don’t have high fertilizer requirements. However, if your soil lacks nutrients, you can apply a slow-release organic fertilizer or a balanced water-soluble fertilizer according to the package instructions. Avoid over-fertilization, as it can result in excessive foliage growth rather than flower production.
4. Mulching: Applying a layer of organic mulch around the base of the calendula seedlings helps conserve moisture, suppress weeds, and regulate soil temperature. Keep the mulch a few inches away from the stem to prevent stem rot and fungal diseases.
5. Pinching back: To encourage bushier growth and more abundant flowering, you can pinch back the top growth of the seedlings when they reach a height of about 6 inches. Use your thumb and forefinger to pinch off the top half-inch of each stem. This will stimulate lateral branching and result in fuller, more compact plants.
6. Pests and diseases: Calendula plants are generally resistant to pests and diseases. However, occasional issues with aphids, slugs, or powdery mildew may arise. Monitor the plants regularly and take appropriate measures, such as handpicking pests or using organic pest control methods, if necessary.
7. Support if needed: As the calendula plants grow taller, they may require support to prevent them from sprawling or bending under their weight. You can provide support using stakes or small cages, especially for taller varieties or if you’re growing calendula in exposed or windy areas.
By providing proper care and attention, your calendula seedlings will quickly mature into beautiful, flowering plants. Stay vigilant, address any issues promptly, and enjoy the rewarding experience of watching your calendula garden flourish. In the next section, we will discuss how to protect your calendula plants and promote an abundant flower harvest.
Protecting Calendula Plants
While calendula plants are generally hardy and resilient, there are some measures you can take to protect them from potential threats and ensure their optimal growth. By implementing these protective strategies, you can safeguard your calendula plants and maximize their flower production. Here are some key ways to protect your calendula plants:
1. Mulching: Applying a layer of organic mulch around the base of the plants not only helps retain moisture but also acts as a natural barrier against weeds. Mulch also insulates the soil, protecting the plant’s roots from extreme temperature fluctuations.
2. Watering wisely: Calendula plants need regular watering, especially during dry periods. However, it’s important to water at the base of the plants and avoid wetting the leaves. Wet foliage can make the plants more susceptible to fungal diseases. Additionally, watering in the morning allows the foliage to dry during the day, reducing the risk of diseases.
3. Regular weeding: Keep the garden bed free from weeds that compete for nutrients and water. Regularly inspect the area around the calendula plants and remove any emerging weeds by hand to prevent them from overtaking the garden bed.
4. Pest management: While calendula is relatively resistant to pests, aphids and slugs can still pose a threat. If you notice an infestation, you can use organic pest control methods such as spraying a diluted solution of neem oil or using organic insecticidal soap. Avoid using chemical pesticides, as they can harm beneficial insects and pollinators.
5. Companion planting: Calendula is known for its pest-repellent properties, making it a great companion plant. Consider interplanting calendula with vegetables or herbs that are susceptible to pests. The calendula’s strong scent can help deter pests and attract beneficial insects, creating a more balanced ecosystem in your garden.
6. Protecting from extreme weather: Extreme weather conditions, such as strong winds, heavy rain, or hail, can damage calendula plants. If you live in an area prone to such weather, consider providing some protection. You can use stakes or garden fabric to shield the plants from strong winds or set up temporary covers during heavy rain to prevent the flowers from getting damaged.
7. Regular inspection: Take the time to regularly inspect your calendula plants for any signs of disease, pests, or nutrient deficiencies. Early detection allows for timely intervention and prevents issues from escalating.
By implementing these protection strategies, you can promote the overall health and longevity of your calendula plants. With proper care and attention, your calendula garden will thrive, providing a dazzling display of vibrant flowers. In the next section, we will explore the process of harvesting calendula flowers for various uses.
Harvesting Calendula Flowers
Harvesting calendula flowers at the right time is crucial to ensure maximum potency and quality. The beautiful, vibrant flowers of calendula not only add aesthetics to your garden but also have a variety of uses, including culinary, medicinal, and skincare purposes. Here are some guidelines to follow when harvesting calendula flowers:
1. Timing: Calendula flowers are typically ready for harvest when they are fully opened, displaying their bright and vibrant petals. The best time to harvest is in the morning, after the dew has dried but before the heat of the day. At this time, the flowers are at their freshest and contain the highest concentration of beneficial compounds.
2. Choosing flowers: Select flowers that are in their prime condition, with fully open petals and vibrant color. Avoid harvesting flowers that are wilted or showing signs of damage, as they may not be as suitable for use in culinary or medicinal preparations.
3. Harvesting technique: Gently grasp the base of the flower head between your fingers and give it a slight twist or snip the stem just above the leaf node. This method ensures minimal damage to the plant and allows for continued blooming throughout the season.
4. Quantity: Harvesting a few flowers at a time instead of removing all the blossoms allows the plant to continue producing new flowers. It also ensures a consistent supply for your desired use without depleting the plant’s energy.
5. Drying: After harvesting, it’s important to dry the calendula flowers properly to preserve their potency. Lay the harvested blossoms in a single layer on a clean, dry surface like a mesh or a paper towel. Place them in a well-ventilated area out of direct sunlight. Allow the flowers to dry completely, which usually takes about 1-2 weeks. The dried blossoms should feel crisp and brittle to the touch.
6. Storage: Once the flowers are completely dry, store them in an airtight container such as a glass jar or a ziplock bag. Keep them in a cool, dark place away from moisture and sunlight. Properly stored, dried calendula flowers can retain their quality for up to a year.
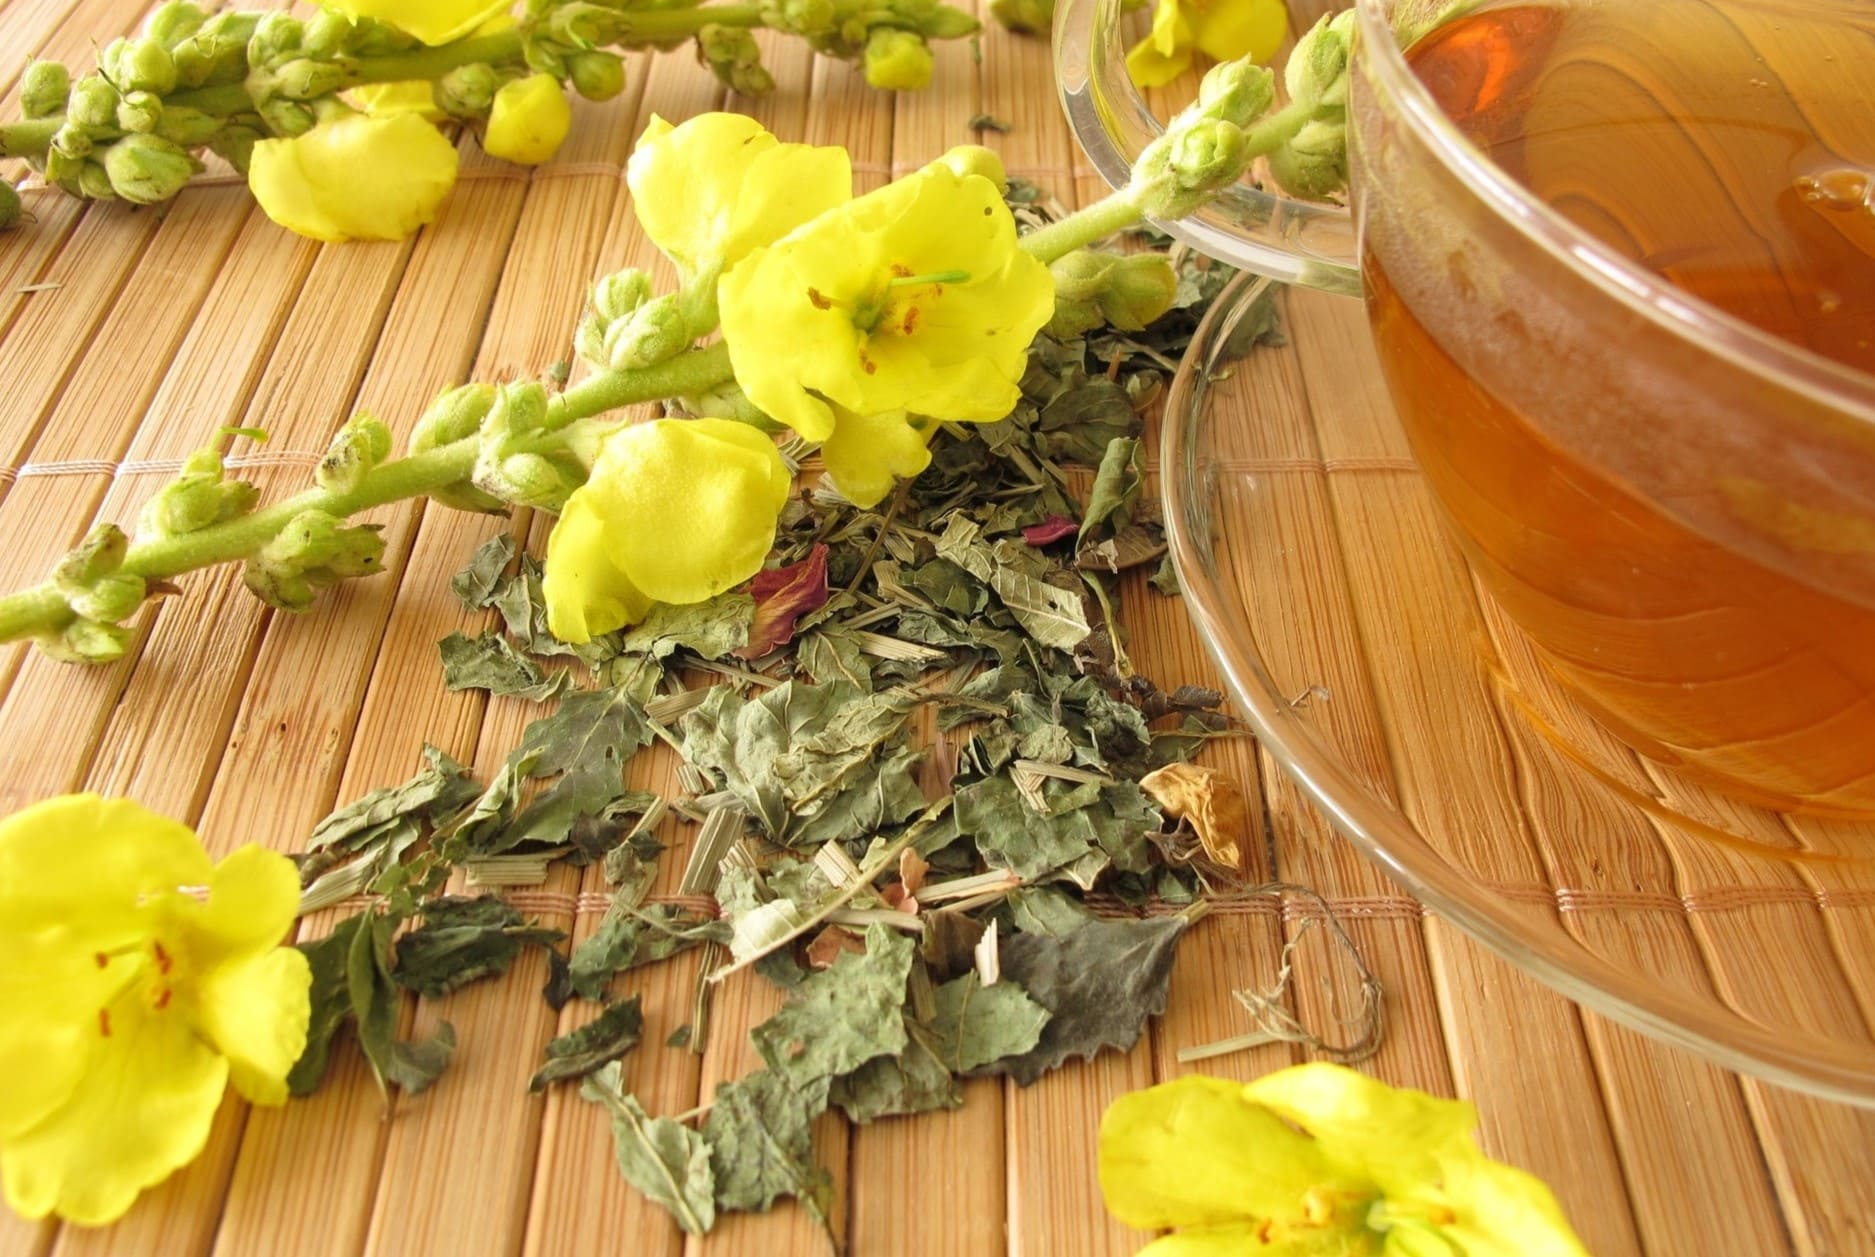
7. Enjoying the harvest: The harvested calendula flowers can be used in a variety of ways. They can be infused into oils, made into herbal teas, added to culinary dishes, or used as a decorative element in crafts, potpourris, or skincare products.
Remember, when using calendula flowers for medicinal purposes or culinary applications, it’s important to do further research and consult reliable sources to properly utilize their potential benefits and follow appropriate dosage guidelines.
By following these guidelines, you can harvest calendula flowers at their peak and enjoy their beauty and versatility throughout the year.
Conclusion
Growing calendula in your garden can be a rewarding experience, both for its vibrant blossoms and its numerous uses. By understanding the ideal planting time for calendula seeds, preparing the garden bed properly, and providing care throughout the growing season, you can be well on your way to a successful harvest.
Calendula seeds, with their unique oblong shape, are relatively easy to germinate. By sowing them at the right depth and providing consistent moisture, you can encourage healthy seedlings to emerge. Thinning the seedlings and providing proper spacing allow each plant ample room to grow and develop.
As the calendula plants mature, caring for them becomes essential. Regular watering, fertilization as needed, and protecting the plants from pests and diseases contribute to their overall health and vitality. Pinching back the plants to promote bushier growth and offering support when necessary helps them reach their full potential.
Protecting the calendula plants from extreme weather conditions and maintaining a weed-free garden bed are additional measures to ensure their well-being. Regular inspection and timely intervention allow for early detection and prevention of any potential issues.
Finally, harvesting the calendula flowers at the right time and properly drying and storing them ensures their potency and usability. The vibrant flowers can be used in a variety of ways, from culinary creations to medicinal preparations and homemade skincare products.
By following these guidelines and infusing your gardening journey with passion and creativity, you can create a thriving calendula garden that brings beauty and functionality to your outdoor space. Enjoy the process, explore the versatile uses of calendula, and reap the rewards of your efforts throughout the seasons.
So, roll up your sleeves, get your hands in the soil, and let the enchanting world of calendula unfold in your garden!
Frequently Asked Questions about When To Plant Calendula Seeds
Was this page helpful?
At Storables.com, we guarantee accurate and reliable information. Our content, validated by Expert Board Contributors, is crafted following stringent Editorial Policies. We're committed to providing you with well-researched, expert-backed insights for all your informational needs.


0 thoughts on “When To Plant Calendula Seeds”