Articles
How To Install Vinyl Siding Vertically
Modified: February 29, 2024
Learn how to install vinyl siding vertically with our informative articles. Get step-by-step guidance and expert tips for a flawless installation.
(Many of the links in this article redirect to a specific reviewed product. Your purchase of these products through affiliate links helps to generate commission for Storables.com, at no extra cost. Learn more)
Introduction
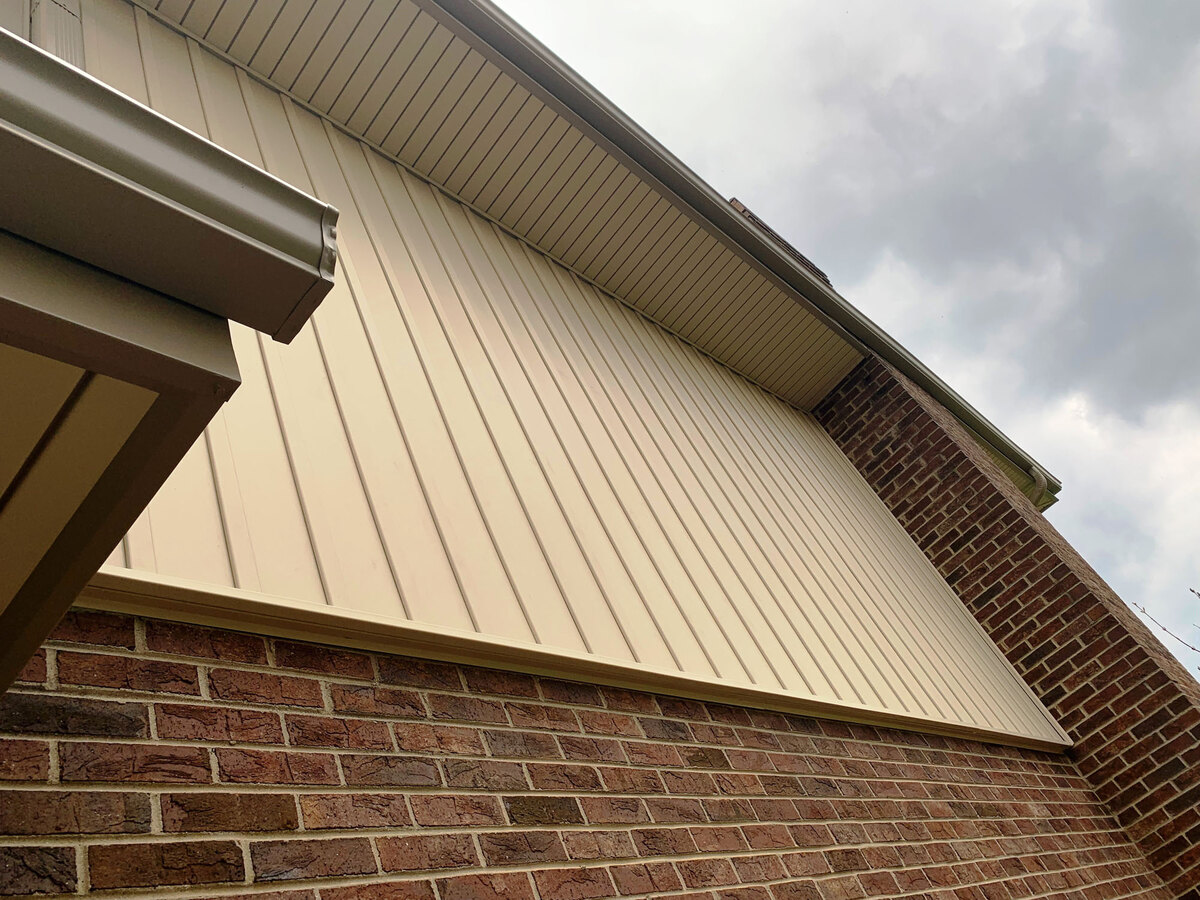
When it comes to enhancing the exterior of your home, vinyl siding is a popular and durable choice. It not only provides protection against the elements but also adds a touch of aesthetic appeal. While vinyl siding is typically installed horizontally, vertical installation can create a unique and visually appealing look. In this guide, we will walk you through the step-by-step process of installing vinyl siding vertically, helping you achieve a stunning and modern appearance for your home.
Gathering the necessary tools and materials, preparing the wall surface, and cutting the vinyl siding are just a few of the steps you’ll need to complete. Additionally, installing the starter strip, placing the first vertical piece, and adding j-channels and trim pieces are crucial for a successful installation. Finally, installing the top row of vinyl siding ensures a clean and finished look.
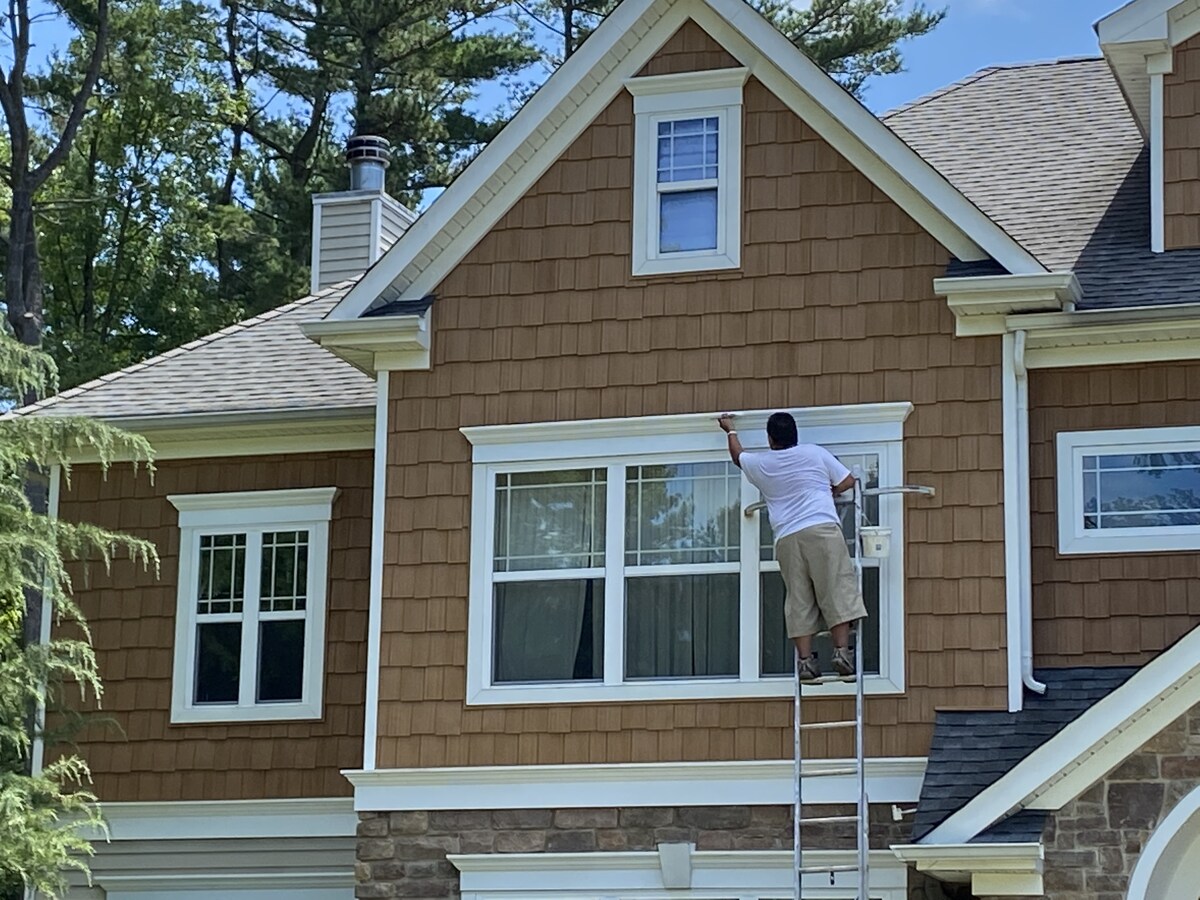
Before you begin the installation process, it’s important to note that while some homeowners may choose to tackle this project themselves, it may be best to hire a professional if you’re not experienced with siding installation. A professional can ensure the job is done correctly, minimizing the risk of damage to your home. However, if you’re comfortable with basic home improvement tasks and have some DIY experience, this guide can provide the necessary instructions to complete the project.
Now, let’s dive into the step-by-step process of installing vinyl siding vertically and transform the look of your home!
Key Takeaways:
- Transform your home’s exterior with a stunning and modern look by installing vertical vinyl siding. Follow the step-by-step process for a professional and polished result, enhancing curb appeal and energy efficiency.
- Prioritize accuracy and attention to detail for a successful vertical vinyl siding installation. Whether DIY or with a professional, achieve a durable and visually appealing exterior with the right tools and techniques.
Read more: How To Install An Awning On Vinyl Siding
Step 1: Gather the Necessary Tools and Materials
Before you begin the installation process, it’s essential to gather all the necessary tools and materials. Having everything prepared and at hand will help streamline the installation process and prevent unnecessary delays.
Here’s a list of the tools and materials you’ll need:
- Vinyl siding: Measure the height and width of the walls you plan to cover to determine the amount of siding needed
- Starter strip: This is a crucial component that provides a base for the first row of siding
- J-channels: These are used to frame windows, doors, and other openings
- Trim pieces: Trim pieces add a finishing touch to the edges and corners of the siding
- Utility knife: A sharp utility knife will be essential for cutting and trimming the siding
- Tin snips: Tin snips are useful for cutting the siding, especially in tight spaces
- Level: A level will ensure that the siding is straight and properly aligned
- Tape measure: Accurate measurements are crucial for a precise installation
- Hammer or nail gun: Depending on your preference, choose a hammer or nail gun for securing the siding
- Nails or screws: Choose nails or screws that are appropriate for your siding and exterior wall type
- Safety equipment: Safety goggles, gloves, and ear protection are important to protect yourself during the installation process
Once you have gathered all the necessary tools and materials, you’ll be well-equipped to begin the vertical vinyl siding installation process.
Step 2: Preparing the Wall Surface
Before you start installing the vinyl siding vertically, it’s crucial to properly prepare the wall surface. A well-prepared surface will ensure a smooth and secure installation, resulting in a polished and professional look.
Here are the steps to prepare the wall surface:
- Clean the wall: Remove any dirt, debris, or loose materials from the wall surface. Use a brush or power washer to thoroughly clean the area. This step is essential to ensure proper adhesion of the siding.
- Inspect the wall: Check for any signs of damage or rot on the wall. Repair any cracks or holes and replace any damaged sections before proceeding.
- Install a vapor barrier: If your climate requires it, consider installing a vapor barrier to protect against moisture. This will help prevent the growth of mold and mildew behind the siding.
- Apply insulation: While not always necessary, adding insulation can improve energy efficiency and provide additional protection against noise. Follow the manufacturer’s instructions to properly install insulation if desired.
- Install furring strips (if needed): If your wall surface is uneven or not suitable for directly attaching the siding, consider installing furring strips. These strips will create a flat surface and allow for better installation.
It’s important to note that preparing the wall surface may require some time and effort. However, investing the time and ensuring it’s done correctly will result in a high-quality and long-lasting installation.
Once you have thoroughly prepared the wall surface, you’re ready to move on to the next step of the vertical vinyl siding installation process.
Step 3: Cutting the Vinyl Siding
Once you have prepared the wall surface, it’s time to cut the vinyl siding to the appropriate size and shape. Accurate cuts are crucial for a seamless and professional-looking installation.
Follow these steps to cut the vinyl siding:
- Measure and mark: Use a tape measure to measure the length needed for each piece of siding. Mark the measurements with a pencil or marker on the backside of the siding.
- Cut straight lines: To cut straight lines, use a utility knife with a sharp blade. Place the siding on a sturdy surface and firmly score the marked line with the knife. Repeat the scoring motion until you reach the desired depth.
- Break the siding: Once the line is scored, carefully bend the siding along the scored line to snap it off. This will leave you with a clean and precise cut.
- Cut curved lines: For curved cuts, such as around windows or corners, use tin snips. Start by making small cuts along the marked line and gradually work your way around the curve. Take your time to ensure smooth and accurate cuts.
- Trim excess material: After cutting the siding to the appropriate length, check for any excess material or rough edges. Trim off any excess using the utility knife or tin snips to achieve a clean and precise fit.
It’s important to be cautious when using sharp tools like utility knives and tin snips. Make sure to wear gloves and exercise care to avoid any injuries.
By accurately cutting the vinyl siding, you’ll be able to achieve a precise and professional-looking installation. With the pieces cut to size, you’re now ready to move on to the next step of installing the vertical vinyl siding.
Step 4: Installing the Starter Strip
The starter strip is a crucial component that provides a solid base for the first row of vinyl siding. It ensures proper installation and helps protect against moisture and pests. Installing the starter strip correctly is essential for a successful vertical vinyl siding installation.
Follow these steps to install the starter strip:
- Measure and mark: Start by measuring the length of the wall where you will be installing the starter strip. Mark the measurements on the strip accordingly.
- Cut the starter strip: Use a utility knife or tin snips to cut the starter strip to the desired length.
- Position the starter strip: Place the starter strip at the bottom of the wall, ensuring it is level. Secure it to the wall using nails or screws, making sure to leave a small gap between the strip and the wall to allow for expansion and contraction of the siding.
- Overlap the strips: If your wall is longer than the length of the starter strip, overlap the strips by about an inch. This will create a seamless transition and ensure stability.
- Verify alignment: Use a level to double-check that the starter strip is properly aligned and straight. Adjust if necessary.
It’s important to ensure that the starter strip is securely attached to the wall and level. This will provide a solid foundation for the rest of the vertical vinyl siding installation.
With the starter strip securely in place, you can now move on to the next step of installing the vinyl siding vertically.
When installing vinyl siding vertically, make sure to start with a level base and use a J-channel at the top and bottom to secure the panels in place. This will help ensure a professional and durable installation.
Read more: How To Install Awning On Vinyl Siding
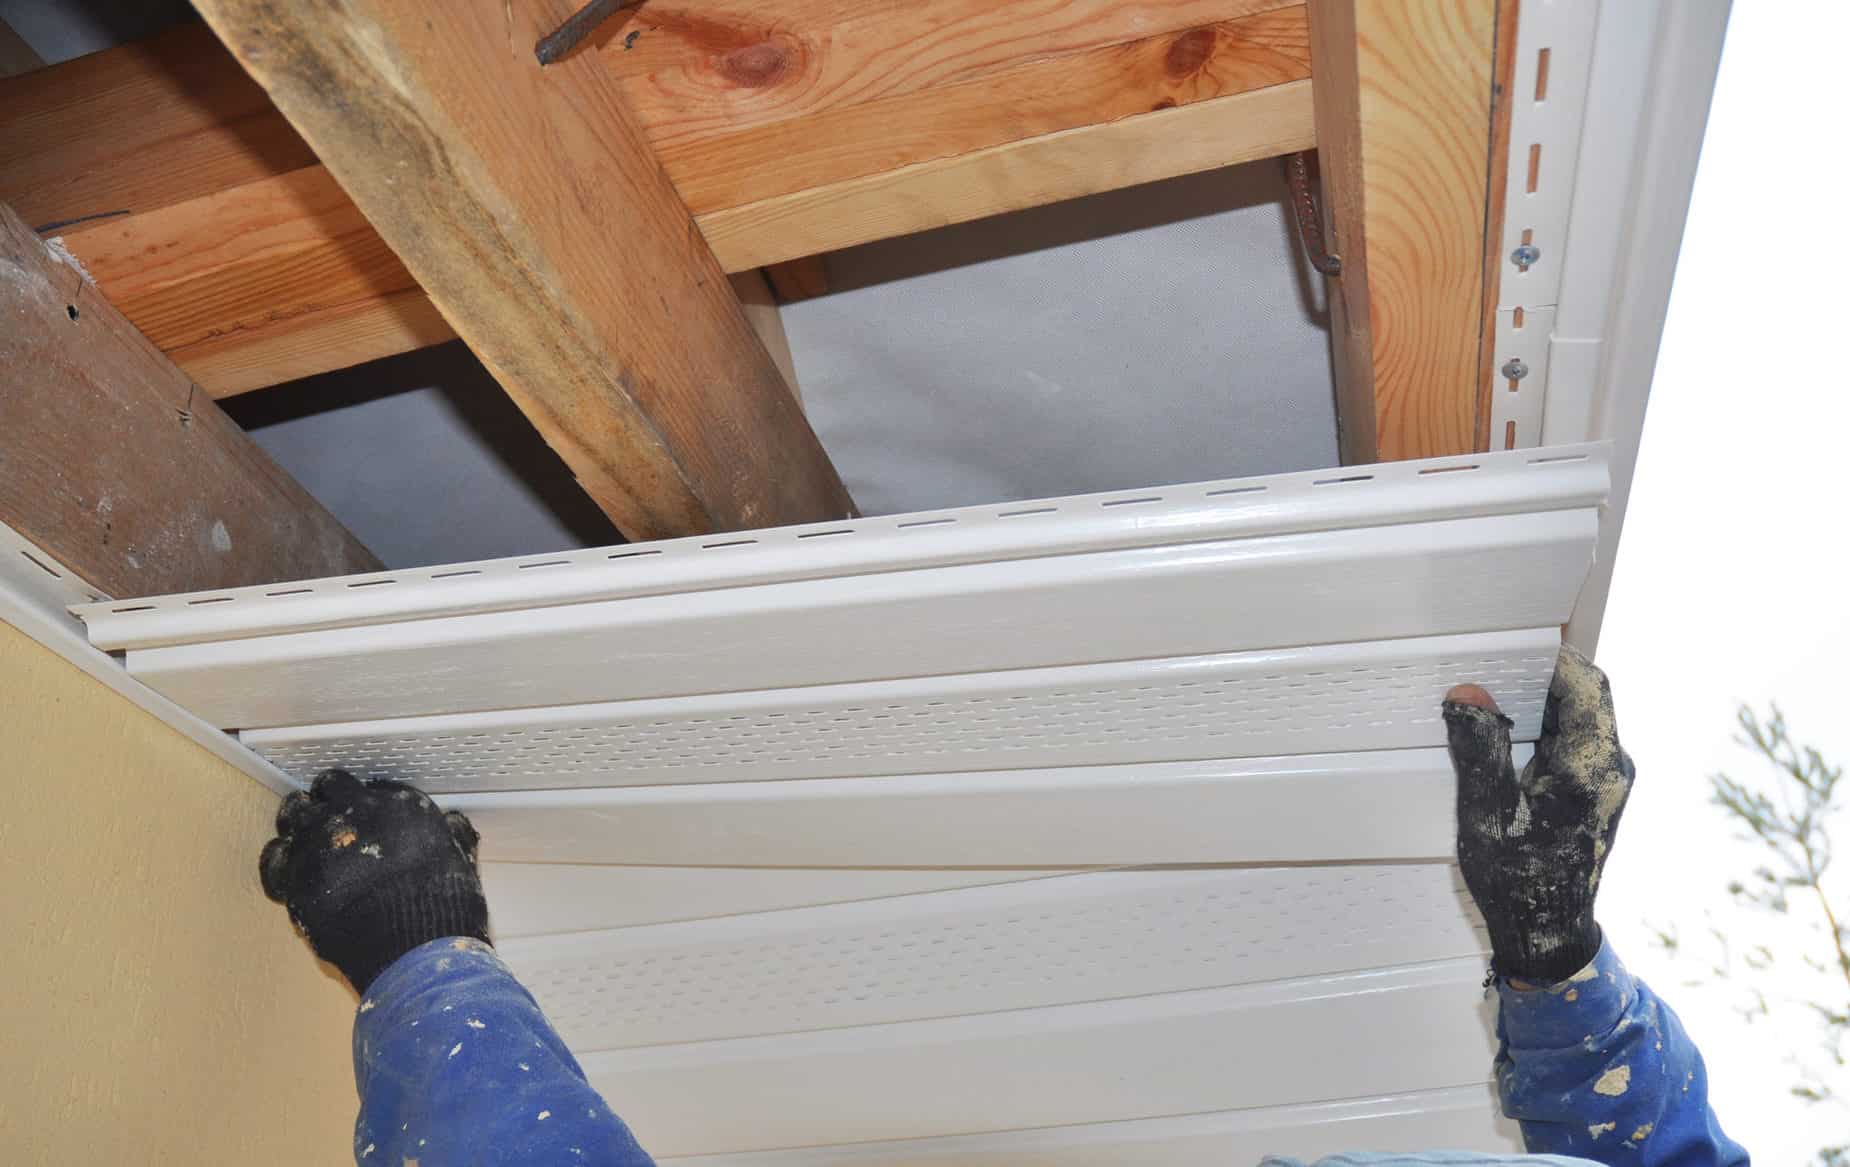
Step 5: Installing the First Vertical Piece
With the starter strip in place, it’s now time to install the first vertical piece of vinyl siding. This piece will set the foundation for the rest of the siding installation and should be carefully aligned and securely attached to the wall.
Follow these steps to install the first vertical piece:
- Measure and cut the siding: Take measurements of the wall height from the bottom of the starter strip to the desired height of the first piece. Use a utility knife or tin snips to cut the siding to the correct length.
- Slide the siding into the starter strip: Hold the cut siding piece vertically and slide it into the starter strip, ensuring it fits securely and snugly. It should overlap the edges of the starter strip slightly.
- Level and align: Use a level to check that the first piece of siding is vertically level and plumb. Make any necessary adjustments to ensure it is properly aligned.
- Secure the siding: Once the first piece is properly aligned, use nails or screws to secure it to the wall. Place the fasteners at the top of the siding, near the nailing flange, and leave a 1/32-inch gap between the fastener head and the siding to allow for expansion and contraction.
- Double-check alignment: After securing the first piece, double-check its alignment and make any final adjustments if necessary.
Installing the first vertical piece correctly is crucial as it sets the stage for the rest of the siding installation. Take your time to ensure it is level, aligned, and properly attached to the wall.
With the first piece securely in place, you’re ready to continue the vertical vinyl siding installation by adding the remaining vertical pieces.
Step 6: Installing the Remaining Vertical Pieces
Now that you have installed the first vertical piece of vinyl siding, it’s time to continue installing the remaining pieces. This step will involve aligning the pieces, ensuring a proper fit, and securely attaching them to the wall.
Follow these steps to install the remaining vertical pieces:
- Measure and cut the siding: Measure the height of the wall from the top edge of the previous piece to the bottom edge of the starter strip. Use these measurements to cut each vertical siding piece accordingly.
- Slide the siding into place: Slide each cut piece of siding into place, starting from the bottom and working your way up. Make sure each piece overlaps the previous one and fits securely.
- Check for level and alignment: Use a level to ensure each piece is vertically level and plumb. Make any necessary adjustments to achieve proper alignment.
- Secure the siding: Once a piece is properly aligned, use nails or screws to secure it to the wall. Remember to leave a small gap between the fastener head and the siding to allow for expansion and contraction.
- Continue the process: Repeat the process of measuring, cutting, aligning, and securing each remaining vertical piece until you reach the desired height.
As you install each piece, check for any gaps or inconsistencies between the siding. Make any necessary adjustments to ensure a seamless and uniform appearance.
Take your time with this step to ensure that each vertical piece is securely attached and properly aligned. This will help create a visually pleasing and durable vinyl siding installation.
With all the vertical pieces in place, you’re now ready to move on to the next step, which involves adding j-channels and trim pieces to enhance the overall look of the siding.
Step 7: Adding J-Channels and Trim Pieces
Adding j-channels and trim pieces is an important step in the vertical vinyl siding installation process. J-channels are used to frame windows, doors, and other openings, while trim pieces add a finishing touch to the edges and corners of the siding.
Follow these steps to add j-channels and trim pieces:
- Measure and cut the j-channels: Measure the length needed for each j-channel and cut them accordingly with a utility knife or tin snips.
- Install the j-channels: Starting with the bottom piece, align the j-channel with the edges of the window or door frame. Secure the j-channel to the wall using nails or screws, making sure to leave a small gap between the fastener head and the j-channel.
- Continue installation: Install j-channels around all windows, doors, and other openings following the same process. Ensure that each j-channel is properly aligned and securely attached.
- Measure and cut the trim pieces: Measure and cut trim pieces to fit the corners, edges, and top of the siding using a utility knife or tin snips.
- Attach the trim pieces: Align the trim pieces with the corresponding corners, edges, or top of the siding and secure them in place using nails or screws, ensuring they are properly aligned and leveled.
- Double-check the alignment and fit: Once you have installed the j-channels and trim pieces, double-check the alignment and fit of each piece. Make any necessary adjustments to achieve a clean and polished look.
Adding j-channels and trim pieces not only enhances the visual appeal of the vertical vinyl siding but also provides a finishing touch and helps protect the vulnerable areas of the siding.
Take your time with this step to ensure that each j-channel and trim piece is installed correctly and complements the overall appearance of the siding.
With the j-channels and trim pieces in place, you’re now ready to move on to the final step of installing the vertical vinyl siding, which involves adding the top row of siding.
Step 8: Installing the Top Row of Vinyl Siding
As you approach the end of the vertical vinyl siding installation process, it’s time to focus on installing the top row of siding. This step will complete the overall look of the siding and ensure a polished and professional appearance.
Follow these steps to install the top row of vinyl siding:
- Measure and cut the siding: Measure the length needed for each piece of siding to fit the top row. Cut the siding to the appropriate length using a utility knife or tin snips.
- Slide the siding into place: Slide each cut piece of siding into place, making sure it fits securely and overlaps the previous row of siding.
- Check for alignment: Use a level to ensure the top row of siding is horizontally level and aligned with the rest of the siding on the wall. Make any necessary adjustments to achieve proper alignment.
- Secure the siding: Once the top row of siding is properly aligned, use nails or screws to secure it to the wall. Place the fasteners near the nailing flange and leave a small gap between the fastener head and the siding to allow for expansion and contraction.
- Verify the overall appearance: Step back and inspect the entire installation to ensure the top row of siding blends seamlessly with the rest. Check for any gaps or inconsistencies and make any final adjustments if needed.
Installing the top row of siding is the final step in the vertical vinyl siding installation process. It’s essential to pay attention to the alignment and overall appearance to achieve a cohesive and professional result.
Once you have completed this step, take the time to admire your newly installed vertical vinyl siding. It’s a testament to your hard work and will provide lasting beauty and protection for your home.
With the top row securely in place, the vertical vinyl siding installation process is complete. Congratulations!
Read more: How To Install Vertical Hardie Board Siding
Conclusion
Vertical vinyl siding installation is a fantastic way to transform the exterior of your home and create a unique and modern look. With the right tools, materials, and proper techniques, you can achieve a professional and polished result. Whether you’re a seasoned DIY enthusiast or working with a professional, following the step-by-step process outlined in this guide will help ensure a successful installation.
Throughout this guide, we’ve covered the necessary preparations, including gathering the tools and materials, preparing the wall surface, cutting the vinyl siding, and installing the starter strip. We’ve also discussed the important steps of installing the first vertical piece, adding j-channels and trim pieces, and completing the installation with the top row of siding.
It’s essential to prioritize accuracy and attention to detail during each step of the process. Proper alignment, secure attachments, and a seamless fit are key to achieving a stunning and long-lasting vertical vinyl siding installation.
Remember, if you find the installation process overwhelming or outside your comfort zone, it’s always a good idea to consult with a professional. They have the expertise and experience to ensure a flawless installation.
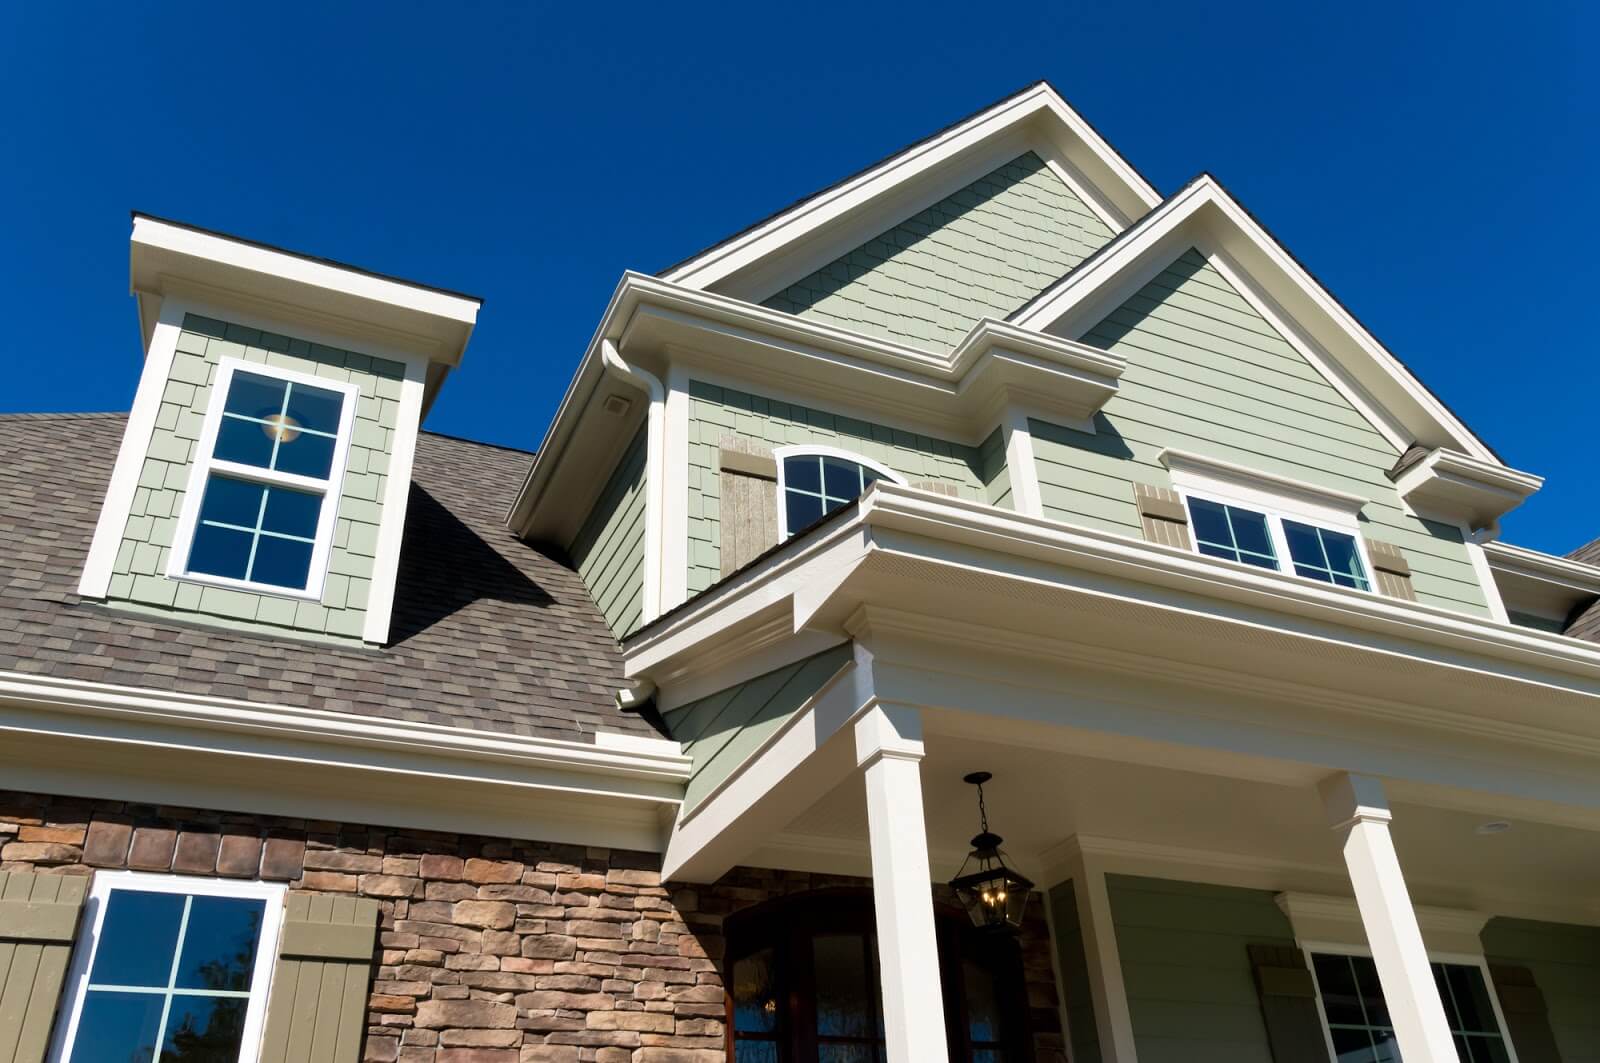
By installing vertical vinyl siding, you not only enhance the appearance of your home but also provide protection against the elements. Vinyl siding is durable, low-maintenance, and resistant to rot, pests, and fading. With its countless color and texture options, you can truly customize the look of your home’s exterior.
Take pride in your vertical vinyl siding installation and enjoy the benefits it brings – increased curb appeal, improved energy efficiency, and a fresh new look. So go ahead, embark on this exciting project and transform your home into a stunning masterpiece.
Frequently Asked Questions about How To Install Vinyl Siding Vertically
Was this page helpful?
At Storables.com, we guarantee accurate and reliable information. Our content, validated by Expert Board Contributors, is crafted following stringent Editorial Policies. We're committed to providing you with well-researched, expert-backed insights for all your informational needs.


0 thoughts on “How To Install Vinyl Siding Vertically”