Home>Garden Essentials>How To Wash Rocks For Landscaping
Garden Essentials
How To Wash Rocks For Landscaping
Modified: October 28, 2024
Learn how to wash rocks for your garden landscaping and achieve a pristine and polished look. Step-by-step guide for cleaning rocks to enhance the aesthetics of your outdoor space.
(Many of the links in this article redirect to a specific reviewed product. Your purchase of these products through affiliate links helps to generate commission for Storables.com, at no extra cost. Learn more)
Introduction
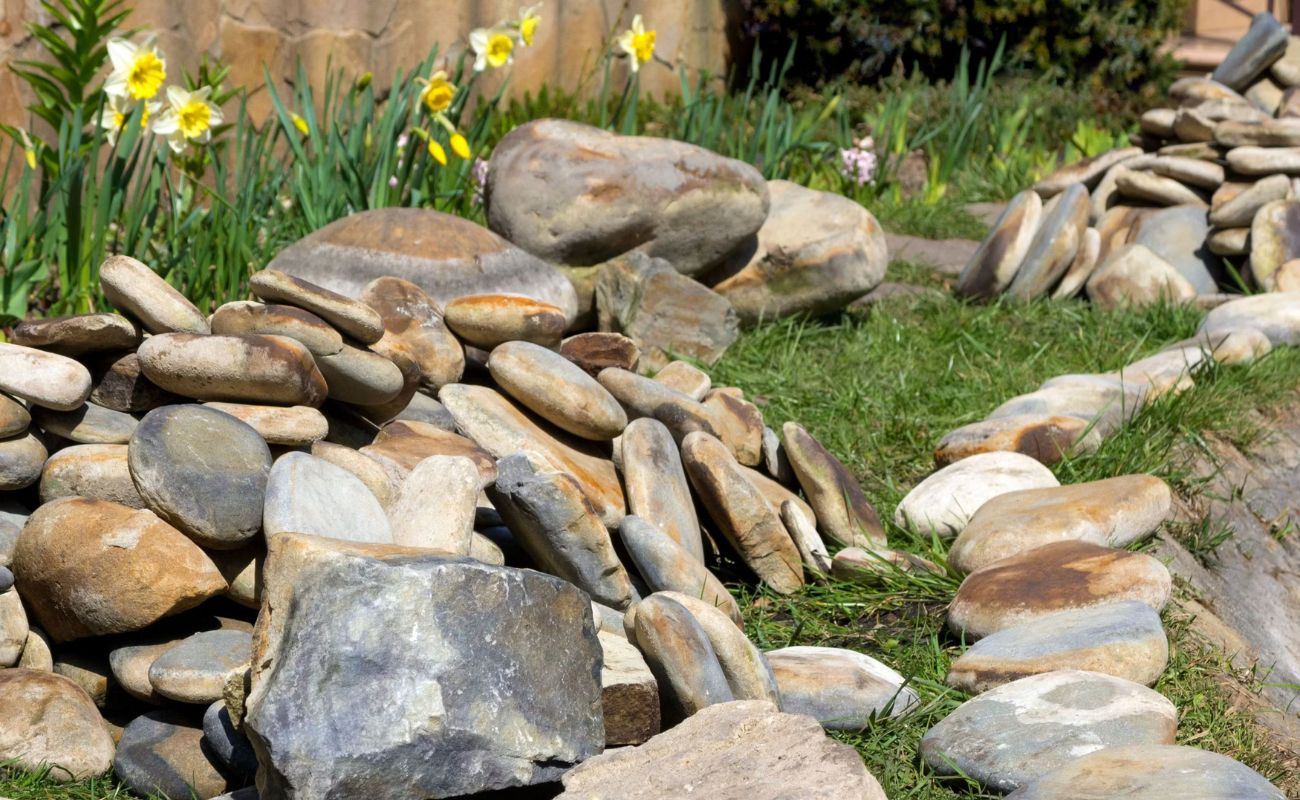
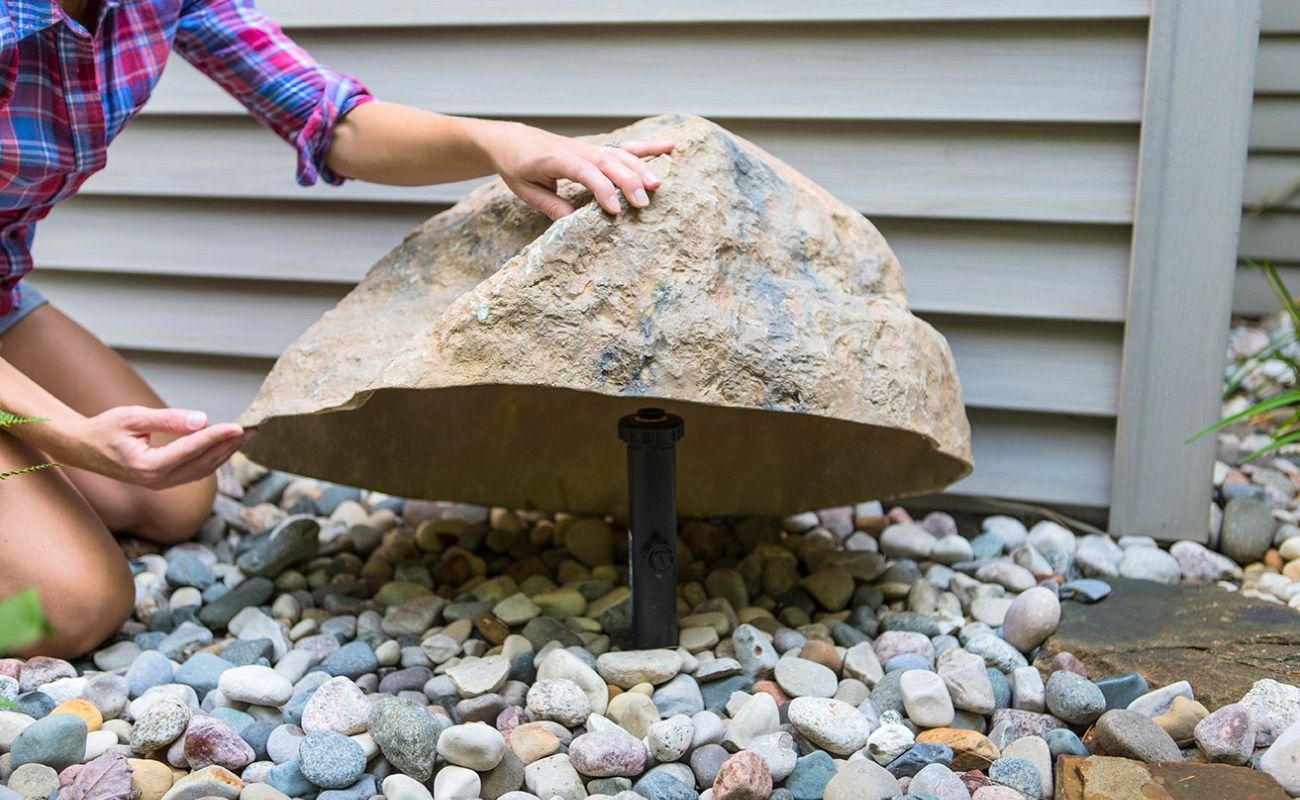
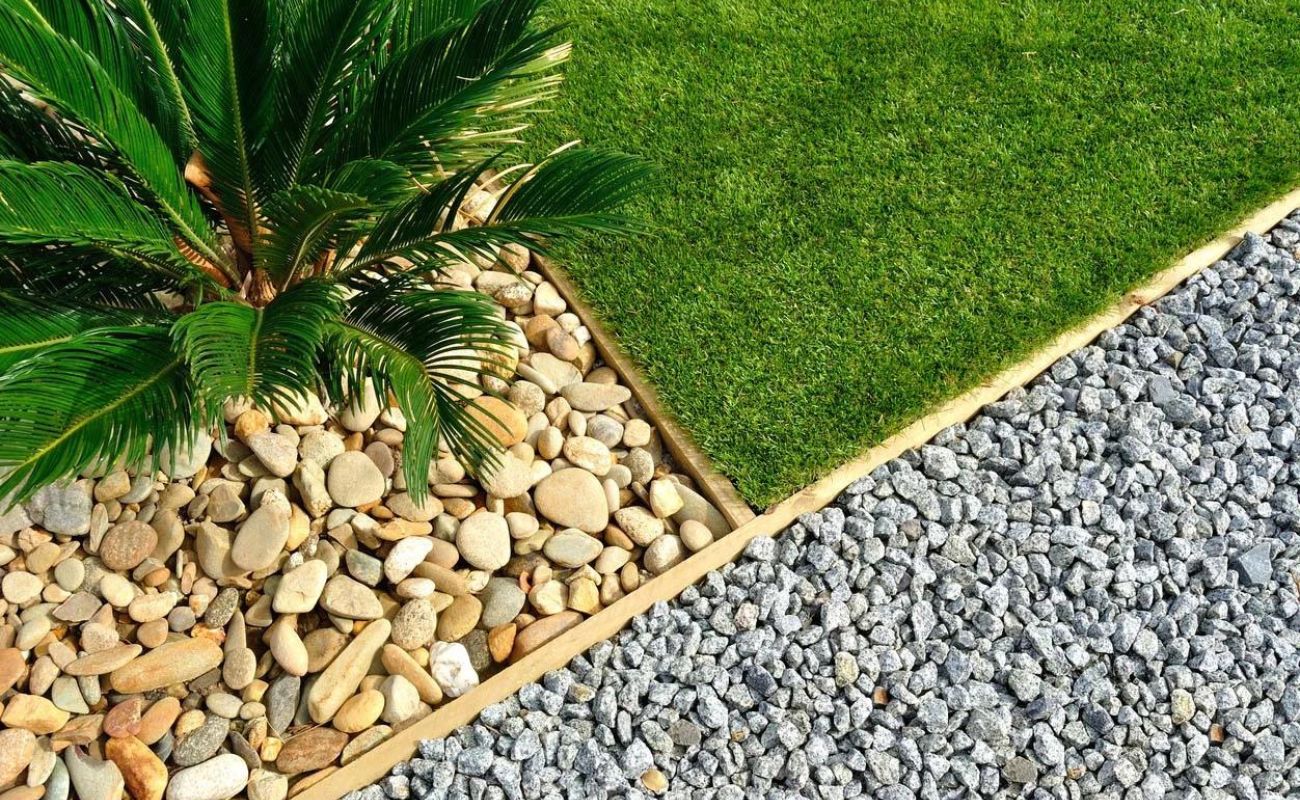
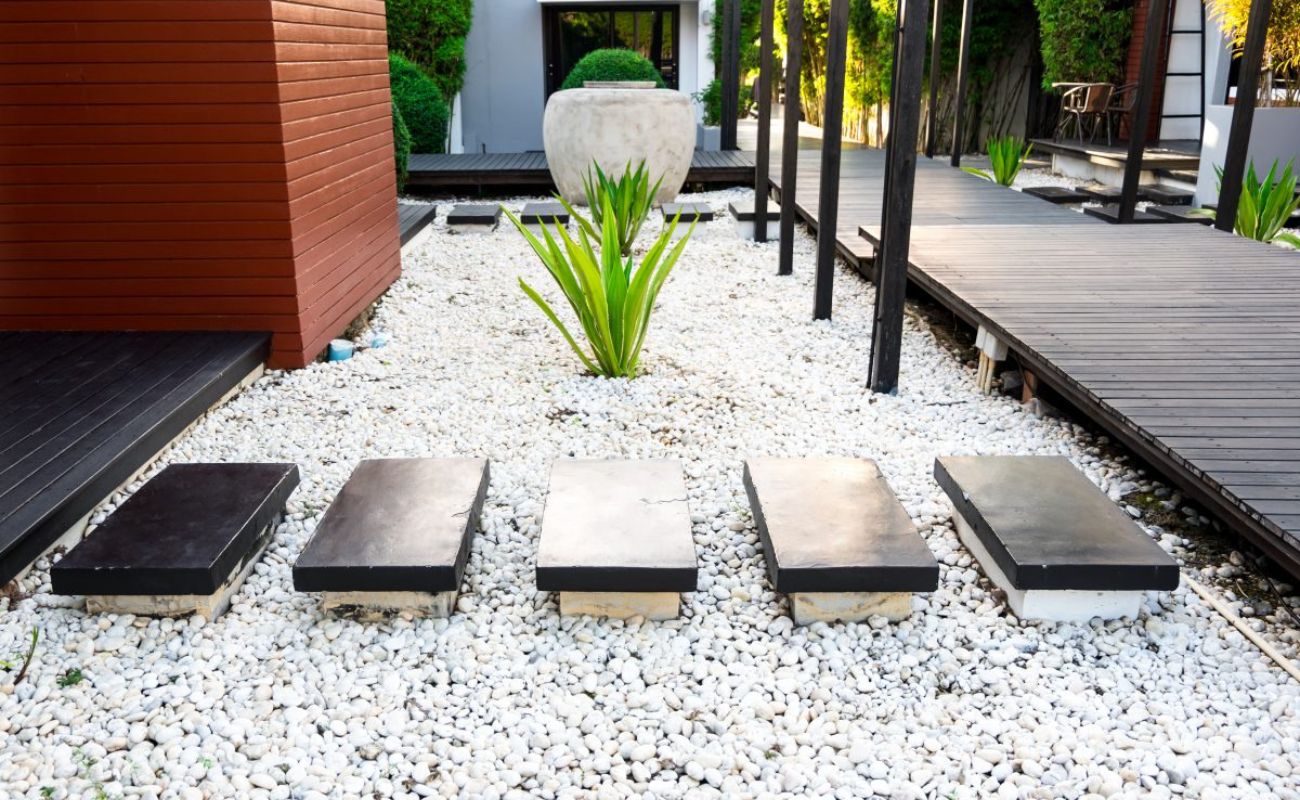
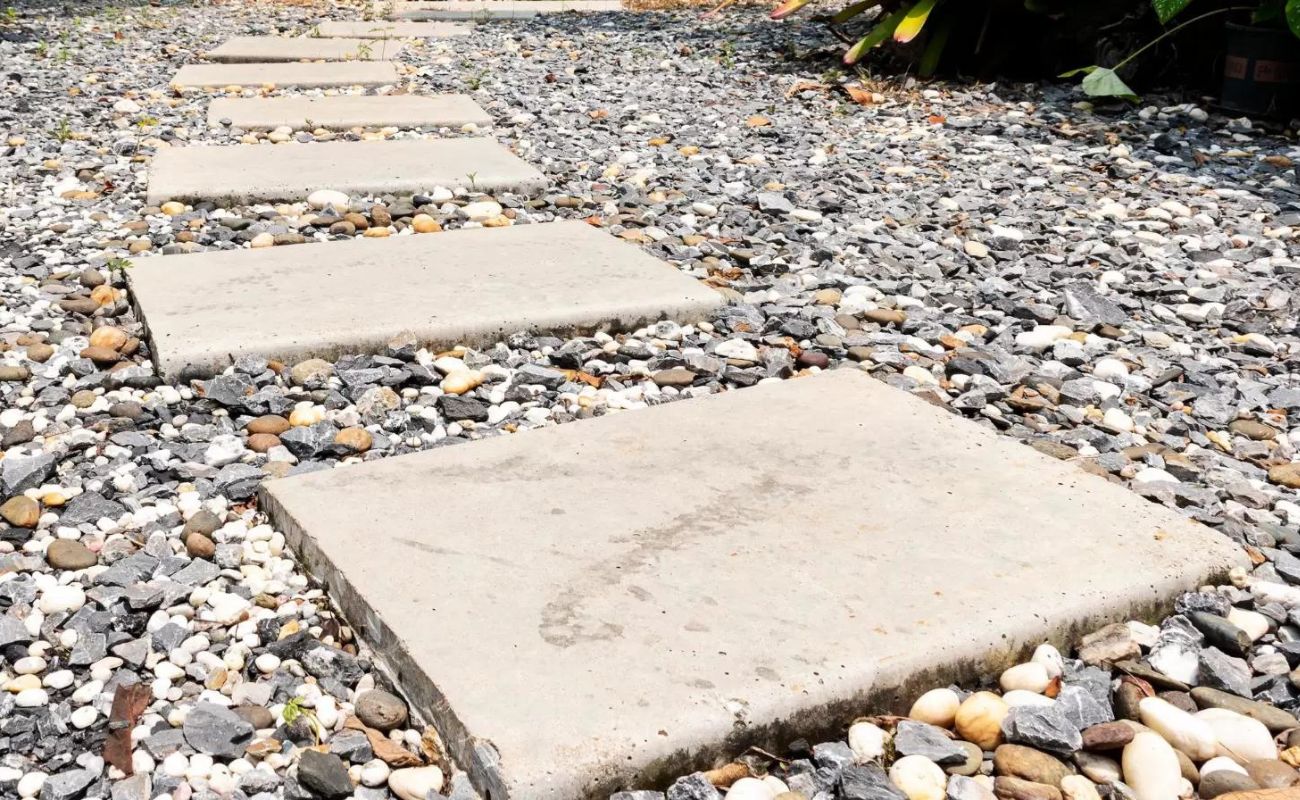
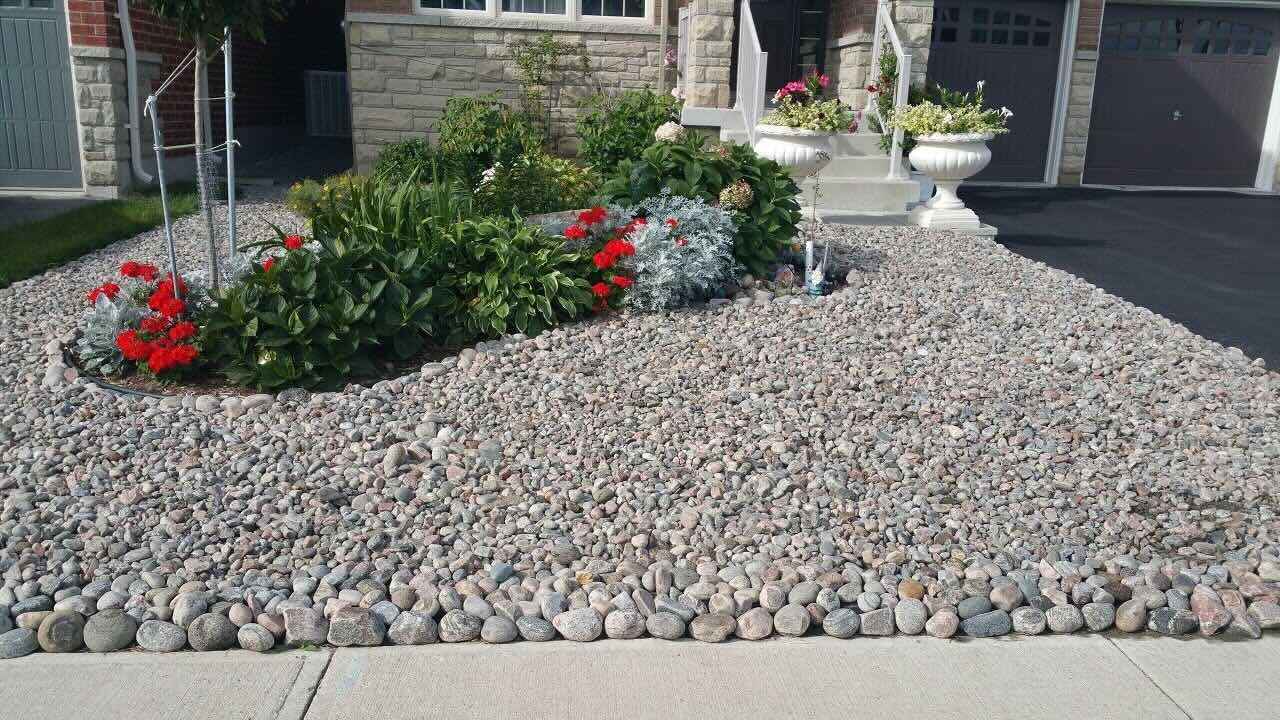
Landscaping with rocks has become a popular trend in modern garden design. Rocks not only add a natural and aesthetic element to your outdoor space, but they also serve practical purposes such as preventing erosion, creating pathways, and defining boundaries. However, before you can incorporate rocks into your landscaping project, it is essential to properly wash them.
Washing rocks for landscaping involves removing dirt, debris, and other impurities that may be present on the surface. This ensures that the rocks are clean and ready to be placed in your garden, creating a beautiful and polished look. In this article, we will guide you through the steps to effectively wash rocks for landscaping, providing you with the knowledge and confidence to tackle this important pre-installation task.
Whether you are starting a new landscaping project or refreshing an existing one, washing rocks is a crucial step to guarantee the best results. Not only does it enhance the visual appeal of the rocks, but it also ensures the longevity and durability of the finished project. By washing your rocks, you can remove dirt, moss, algae, and any other substances that may affect the overall appearance and functionality of your landscaping.
In addition to improving the aesthetics, washing rocks also plays a role in the health and cleanliness of your garden. By removing any potential contaminants, you prevent the introduction of unwanted pests or diseases into your landscaping. This step is particularly important if you plan to incorporate the rocks into areas near plants or water features, as it minimizes the risk of introducing harmful substances into the ecosystem.
Before you begin washing rocks for landscaping, it is important to take some safety precautions. Depending on the size and weight of the rocks, it is advisable to wear gloves and protective eyewear to avoid any potential injuries. Additionally, make sure to wash the rocks in a well-ventilated area to minimize the inhalation of dust or particles.
Now that we understand the importance of washing rocks for landscaping and the necessary safety precautions, let’s dive into the equipment and materials needed for this process.
Key Takeaways:
- Cleaning rocks for landscaping is crucial for a beautiful garden. It removes dirt, pests, and enhances their appearance, ensuring a clean and healthy outdoor space.
- By sorting, cleaning, and drying rocks, you can create a polished and durable landscape. Prioritize safety and enjoy the process of transforming your garden with clean rocks.
Read more: How To Move Landscaping Rocks
Why Wash Rocks for Landscaping?
Washing rocks for landscaping may seem like an extra step, but it offers numerous benefits and is an essential part of the process. Here are a few reasons why washing rocks is necessary:
- Removing debris and dirt: Rocks that have been sitting outdoors or in storage may accumulate dirt, dust, and other debris. Washing them ensures that they are clean and free from any unsightly substances.
- Minimizing pests and diseases: Rocks can harbor insects, mold, fungi, and other organisms that might be harmful to your garden. By washing the rocks, you eliminate potential pests and reduce the risk of introducing diseases into your landscaping.
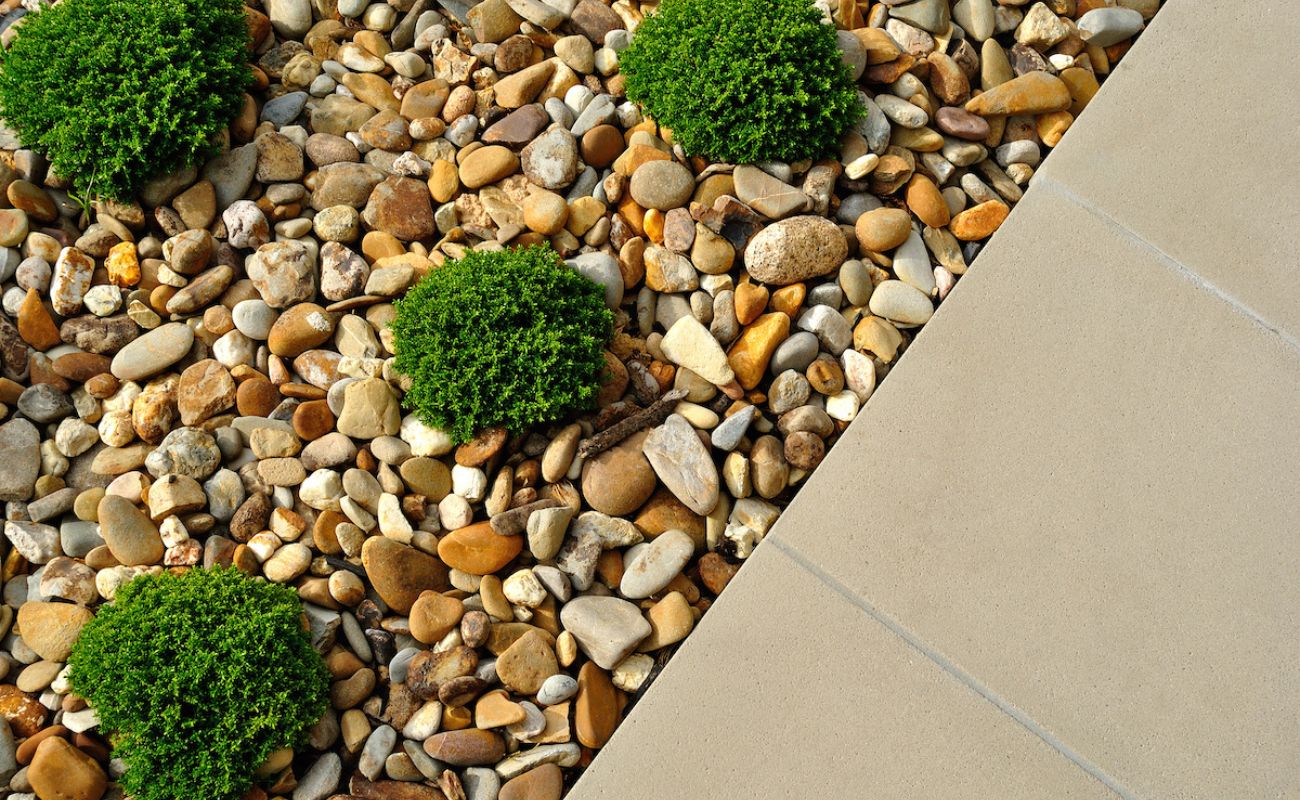
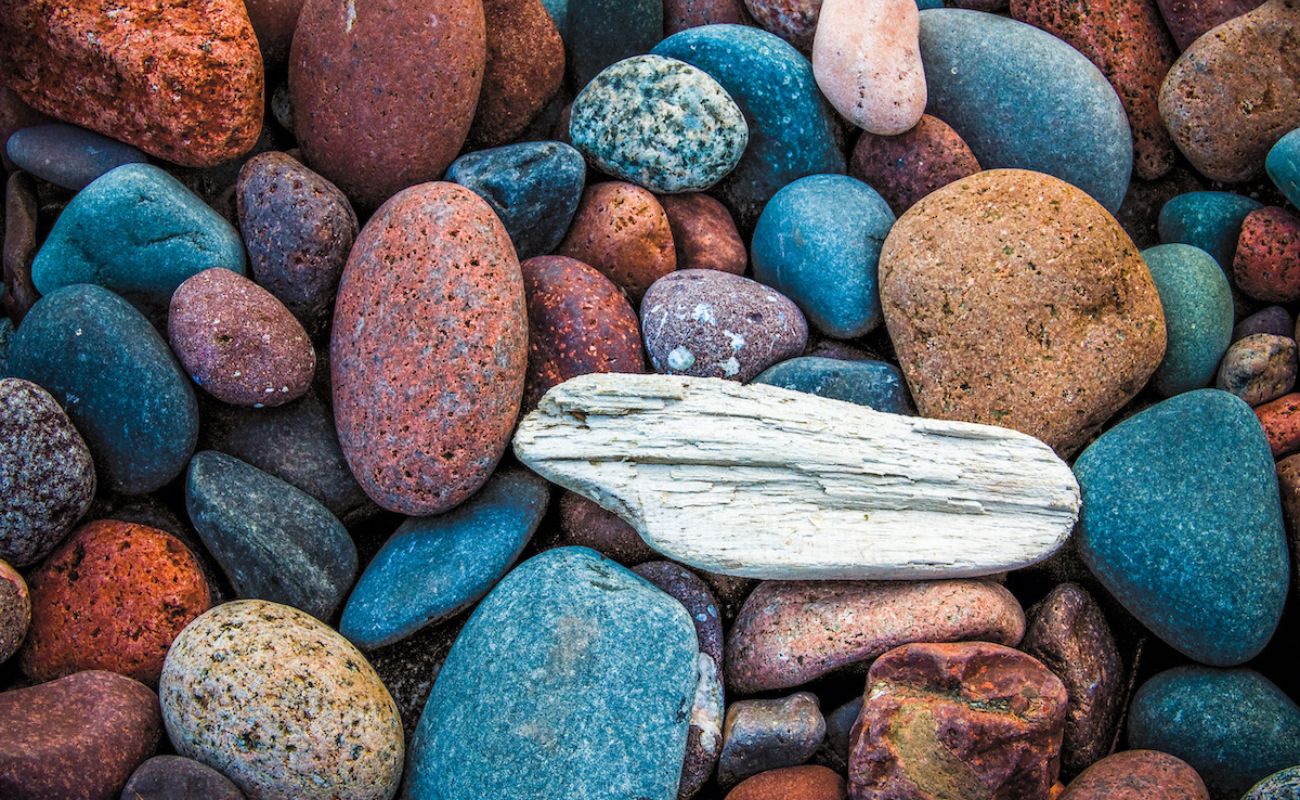
- Enhancing aesthetics: Washing rocks can bring out their natural colors and textures, making them more visually appealing in your garden. Clean and polished rocks can transform the overall appearance of your landscaping project, creating a stunning and polished look.
- Improving durability: Unwashed rocks may contain substances that can deteriorate over time. By cleaning the rocks, you remove any potentially corrosive elements that could compromise their durability and lifespan.
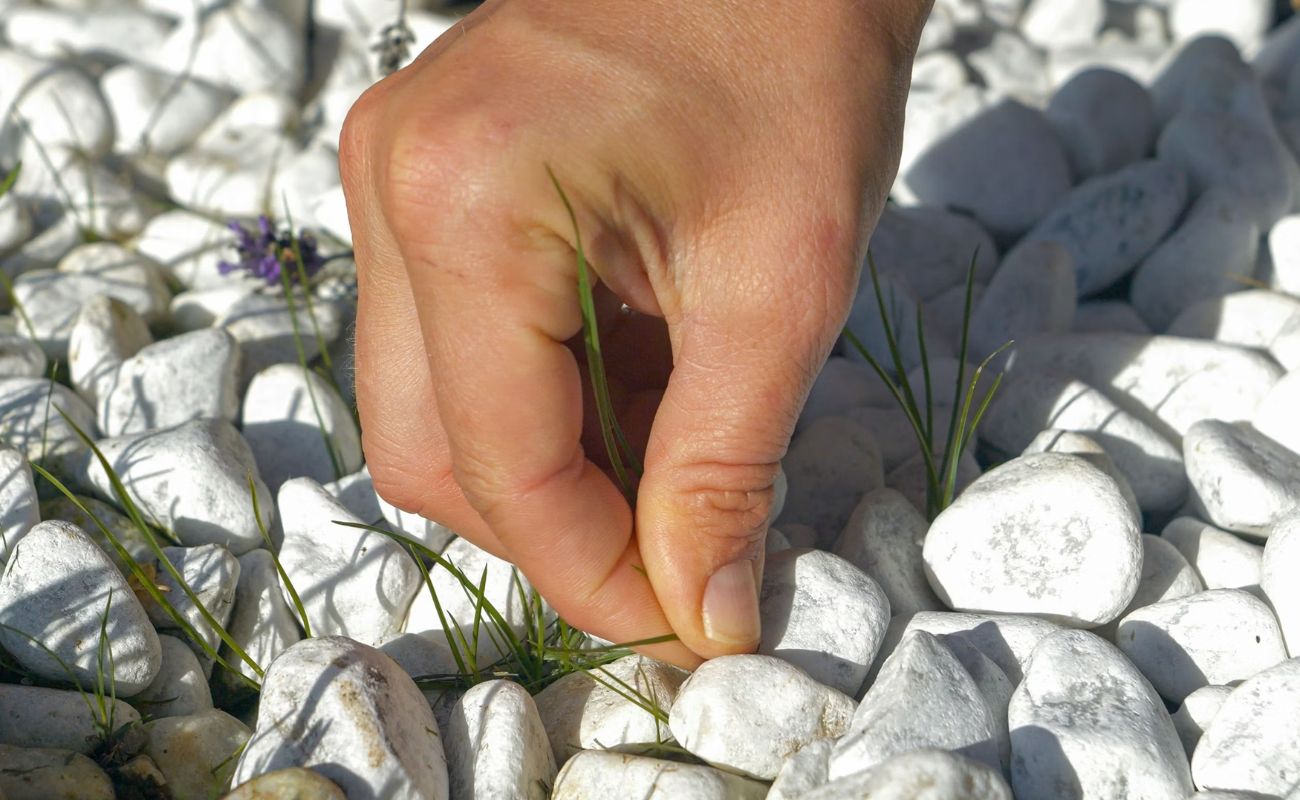
- Preventing weed growth: Rocks that are not cleaned before being used in landscaping may carry with them weed seeds or spores. Washing the rocks helps to remove these unwanted plant materials, reducing the chances of weed growth in your garden.
- Ensuring compatibility with other elements: If you plan to incorporate the washed rocks with other landscaping elements like plants, water features, or pavers, it is essential to ensure that they are free from any substances that could negatively interact with or contaminate the surrounding components.
- Creating a clean and healthy environment: Clean rocks contribute to a healthy and balanced garden ecosystem. By removing impurities, you maintain a cleaner and safer environment for your plants, pets, and family members.
By taking the time to wash rocks for landscaping, you enhance both the visual appeal and functionality of your outdoor space. Not only will clean rocks make your garden look more polished, but they will also contribute to the overall health and longevity of your landscaping project. The next section will discuss the safety precautions to keep in mind before starting the rock washing process.
Safety Precautions
Before you begin the process of washing rocks for landscaping, it is important to prioritize safety. While it may seem like a simple task, handling rocks can pose certain risks. Here are some safety precautions to keep in mind:
- Wear protective gear: Depending on the size and weight of the rocks, it is advisable to wear heavy-duty gloves to protect your hands from sharp edges or rough surfaces. Additionally, wear safety goggles or protective eyewear to safeguard your eyes from any flying debris or splashes.
- Choose a well-ventilated area: When washing rocks, it is common for dust or particles to be released. Working in a well-ventilated area, such as outdoors, will help minimize your exposure to airborne irritants. If you are unable to work outside, ensure that the room you are in is properly ventilated with open windows or fans.
- Use proper lifting techniques: Depending on the size and weight of the rocks, it is important to use proper lifting techniques to avoid strain or injury. Bend your knees, lift with your legs, and avoid twisting your body while carrying heavy rocks.
- Beware of slippery surfaces: When washing rocks, the area may become wet and slippery. Take precautions by ensuring you have a stable surface to stand on and use non-slip footwear to reduce the risk of falls or accidents.
- Be cautious of sharp edges: Some rocks may have sharp edges or rough surfaces that can cause cuts or abrasions. Handle rocks with care and avoid touching any sharp areas. If necessary, use a brush or cloth to clean rough surfaces instead of using your bare hands.
- Protect your back: When lifting heavy rocks, remember to use your leg muscles and avoid straining your back. If a rock is too heavy to lift or move, enlist the help of a friend or use mechanical aids, such as dollies or wheelbarrows, to safely transport the rocks.
- Dispose of waste properly: After washing rocks, there may be debris or dirty water that needs to be disposed of. Make sure to properly dispose of any waste materials according to your local regulations, ensuring they are not left where they can create a hazard or pollute the environment.
- Stay hydrated: Washing rocks can be physically demanding, especially if you are working outside under the sun. Remember to drink plenty of water and take breaks to avoid dehydration.
By following these safety precautions, you can minimize the risk of accidents and injuries while washing rocks for landscaping. Now that we’ve covered the safety measures, let’s move on to the equipment and materials you’ll need for the rock washing process.
Equipment and Materials Needed
To effectively wash rocks for landscaping, you will need a few essential pieces of equipment and materials. Having the right tools will make the process easier and more efficient. Here’s what you’ll need:
- Large containers or tubs: Choose containers that are large enough to hold the rocks you plan to wash. Plastic or metal tubs work well for this purpose. Make sure they are sturdy and deep enough to accommodate the rocks comfortably.
- Pressure washer or hose: A pressure washer is the most efficient tool for cleaning rocks, as it uses high-pressure water to remove debris. If you don’t have a pressure washer, a hose with a high-pressure nozzle attachment can also be effective.
- Brushes and scrubbers: Depending on the rocks’ size and the level of cleaning required, you may need various brushes and scrubbers. Stiff bristle brushes are great for removing stubborn dirt and stains, while soft brushes work well for more delicate rocks.
- Detergent or cleaning solution: In some cases, you may need a mild detergent or cleaning solution to tackle tough stains or grime on your rocks. Choose a gentle, eco-friendly cleanser that won’t harm plants or the environment.
- Garden hose or water source: You will need access to a garden hose or a water source to rinse the rocks after cleaning them. Make sure your hose has enough length to reach your washing area comfortably.
- Gloves and protective eyewear: As mentioned earlier in the safety precautions section, it is important to protect yourself while handling rocks. Wear thick gloves to shield your hands and protective eyewear to guard your eyes against any debris.
- Wheelbarrow or tarp: Having a wheelbarrow or a tarp nearby can be helpful for transporting and moving the rocks during the washing process. This will allow you to minimize the strain on your back and avoid scratches or damage to your surroundings.
- Buckets or smaller containers: Smaller buckets or containers can be useful for pre-soaking or sorting rocks. They can also come in handy for carrying smaller quantities of rocks to and from the washing area.
- Optional: Scraper or putty knife: If there are stubborn or hardened substances on the rocks, a scraper or putty knife can be helpful for loosening and removing them. Use these tools with caution to avoid scratching or damaging the rocks.
- Optional: Tumble or rock polisher: If you desire a polished and smooth finish on your rocks, you may consider investing in a rock tumbler or polisher. These machines are designed specifically for rock polishing and can give your rocks a professional look.
Gather these equipment and materials before starting the rock washing process to ensure a smooth and efficient experience. In the next sections, we will guide you through the step-by-step process of washing rocks for landscaping, from site preparation to the final inspection.
Step 1: Site Preparation
Before you begin the process of washing rocks for landscaping, it is important to prepare the site where you will be working. Site preparation ensures that you have a clean and organized area to wash the rocks effectively. Follow these steps to prepare the site:
- Select a suitable location: Choose an outdoor area or a well-ventilated space for washing the rocks. Ensure that the area has enough room to accommodate your containers, equipment, and any necessary water sources.
- Clean the site: Clear the working area of any debris, loose dirt, or plants. Remove any obstacles that may hinder your movement or make the process more challenging.
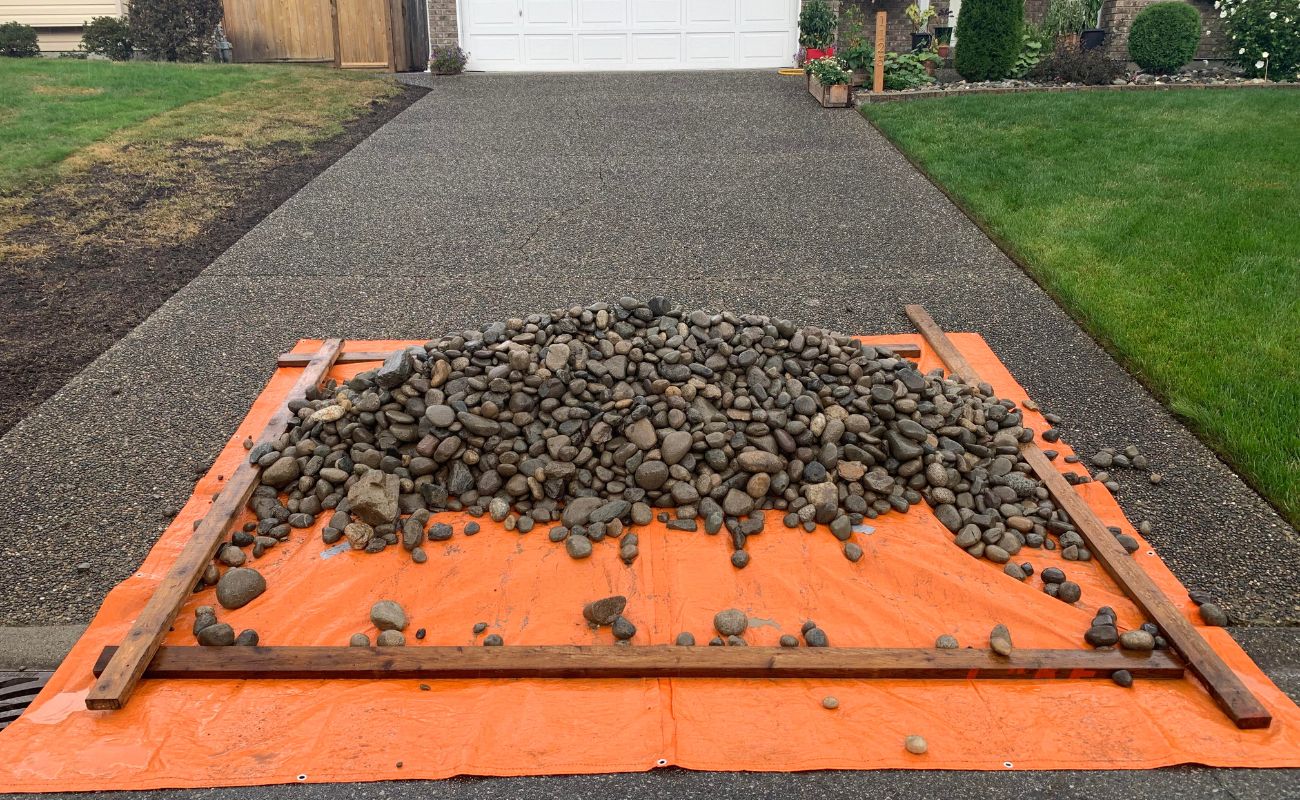
- Lay down a protective covering: To minimize the mess and make cleanup easier, consider laying down a tarp or plastic sheet on the ground. This will catch any dirt or water runoff and can be easily removed once the washing process is complete.
- Set up your containers: Place your large containers or tubs in the designated area. Ensure that they are stable and positioned in a way that allows easy access for washing and rinsing the rocks.
- Arrange additional equipment: Organize your brushes, scrubbers, hoses, and other required equipment within reach. This will save you time and effort, ensuring that everything you need is readily available during the rock washing process.
- Ensure proper drainage: If you are using a pressure washer or hose, make sure that the area has proper drainage to prevent water from pooling. This will prevent any potential slipping hazards and help maintain a safe working environment.
- Ensure access to water: Check that your hose or water source is easily accessible from the washing site. Ensure that it is long enough to reach your containers and provides sufficient water pressure for rinsing.
By following these steps to prepare the washing site, you will set yourself up for a smooth and efficient rock washing process. Once the site is prepared, you can move on to the next step: sorting the rocks.
Before washing rocks for landscaping, remove any debris and dirt. Then, use a hose with high pressure to rinse the rocks thoroughly. This will help remove any remaining dirt and make the rocks ready for landscaping.
Read more: How To Dispose Of Landscaping Rocks
Step 2: Sorting Rocks
Sorting rocks is a crucial step in the rock washing process. It allows you to separate rocks based on their size, shape, and cleanliness level, making it easier to clean them effectively. Follow these steps to sort your rocks:
- Gather all the rocks: Collect all the rocks you plan to wash and bring them to your designated sorting area. This can be a separate table, tarp, or a clean section of the ground.
- Remove large debris: Start by inspecting each rock and removing any large pieces of debris, such as leaves, twigs, or soil. This initial debris removal will make the subsequent cleaning process more efficient.
- Sort rocks by size: Group the rocks into different size categories. You can have separate piles or containers for small, medium, and large rocks. This will help you determine the cleaning method suitable for each size group.
- Check for damaged or unsuitable rocks: Examine each rock for any signs of damage, cracks, or unsuitability for landscaping purposes. Remove any rocks that are broken, too fragile, or have sharp edges that may pose a safety risk or detract from your desired aesthetic.
- Sort rocks by cleanliness: Assess the cleanliness level of each rock and separate them accordingly. You can have separate categories for rocks that only require a quick rinse, rocks that need more intensive cleaning, and rocks that may need specialized treatments.
- Take note of any special considerations: If you have unique rocks with specific characteristics or high value, set them aside for extra care or separate cleaning methods. These special rocks may require a more delicate approach to preserve their unique features.
Sorting rocks allows you to streamline the cleaning process and allocate the appropriate cleaning method for each group. By removing large debris and categorizing the rocks, you will save time and effort during the subsequent steps of washing and drying. With the rocks sorted, you are ready to move on to Step 3: Cleaning the rocks.
Step 3: Cleaning Rocks
Cleaning the rocks is the heart of the rock washing process. This step involves removing dirt, grime, and other impurities that may be present on the surface of the rocks. Follow these steps to effectively clean your rocks:
- Pre-soak the rocks (if necessary): Depending on the level of dirt and staining on the rocks, you may choose to pre-soak them. Fill a container with water and submerge the rocks for a few minutes to help loosen any stubborn debris.
- Scrub the rocks: Using your brushes or scrubbers, apply gentle pressure and scrub the surface of each rock. Work in small sections at a time, focusing on areas that are visibly dirty or stained. Use circular motions or back-and-forth strokes to remove dirt, algae, moss, or other substances.
- Utilize a detergent or cleaning solution (if necessary): For rocks that require extra cleaning power, you may choose to use a mild detergent or cleaning solution. Dilute the detergent or solution according to the manufacturer’s instructions and apply it to the rocks. Allow it to rest for a few minutes before scrubbing the rocks again.
- Pay attention to crevices and cracks: Rocks often have crevices, cracks, or textured surfaces where dirt and grime can accumulate. Use a smaller brush or toothbrush to reach into these areas and thoroughly clean them.
- Rinse the rocks: Once you have scrubbed all the rocks, use a hose or a pressure washer to rinse them thoroughly. Start from the top of each rock and move downward, ensuring that all cleaning agents and debris are washed away. Pay special attention to remove any soap residue.
- Inspect the cleanliness: After rinsing, examine each rock to ensure it is clean and free from dirt or stains. If any spots remain, repeat the scrubbing and rinsing process until the rocks are visibly clean.
It is important to note that the cleaning method may vary depending on the type of rocks you are working with. Some rocks may require more gentle cleaning to avoid damaging their natural features, while others may tolerate more intense scrubbing. Always assess the condition and characteristics of the rocks to determine the appropriate cleaning approach.
With Step 3 complete, your rocks should now be clean and ready to be dried. Proceed to Step 4: Drying the rocks to ensure they are fully prepared for use in your landscaping project.
Step 4: Drying Rocks
Properly drying the rocks is essential to ensure their durability and prevent the growth of mold or mildew. Follow these steps to effectively dry your washed rocks:
- Shake off excess water: After rinsing the rocks, gently shake them to remove any excess water. This will help speed up the drying process and prevent water from pooling in crevices or cracks.
- Spread out the rocks: Lay out the rocks in a single layer on a clean, dry surface. This can be a tarp, a large tray, or even a flat section of the ground. Make sure there is ample space between the rocks for air circulation.
- Avoid direct sunlight: Place the rocks in a shaded or semi-shaded area. Direct sunlight can cause the rocks to heat up and potentially crack. It is best to dry the rocks in a cool and well-ventilated space.
- Allow sufficient drying time: The drying process can take several days, depending on the size and type of rocks. Be patient and avoid rushing the process to ensure that the rocks are thoroughly dried and ready for use.
- Rotate the rocks: Occasionally turn the rocks over to ensure that all sides receive adequate air circulation. This will prevent moisture from being trapped and facilitate more uniform drying.
- Check for moisture: After a few days, check the rocks for any signs of moisture. If they still feel damp or show any signs of moisture, continue drying them until they are completely dry to the touch.
It is important to note that some rocks may take longer to dry than others, especially those with porous surfaces or intricate textures. Exercise caution and give the rocks ample time to dry, ensuring they are completely free of moisture before using them in your landscaping project.
With your rocks now cleaned and dried, it’s time to move on to the final step: Step 5, the final inspection.
Step 5: Final Inspection
The final inspection is a crucial step to ensure that your washed and dried rocks are clean, free of debris, and ready to be incorporated into your landscaping project. Follow these steps to conduct a thorough final inspection:
- Examine each rock individually: Take the time to inspect each rock, paying attention to all sides and angles. Look for any remaining dirt, stains, or spots that may have been missed during the cleaning process.
- Clean any remaining dirt or spots: If you come across any areas that still have dirt or spots, use a brush or cloth to gently clean them. If necessary, repeat the cleaning process for those specific rocks.
- Check for any damage or cracks: Inspect the rocks for any signs of damage, cracks, or chips. If you notice any compromised rocks, set them aside or discard them, as they may not be suitable for your landscaping project.
- Verify cleanliness and texture: Ensure that the rocks are clean and free from any residue or cleaning agents. Also, make sure the texture of the rocks is as desired, whether it’s smooth, rough, or somewhere in between, based on your landscaping design.
- Ensure compatibility with other components: If you plan to integrate the rocks with other landscaping elements like plants, pathways, or water features, check for compatibility. Make sure the size, color, and shape of the rocks complement the overall design.
- Make adjustments as necessary: If you discover any rocks that don’t meet your intended aesthetic or functional requirements, make adjustments. You can either clean them further, set them aside for future use, or replace them with rocks that better fit your vision.
- Enjoy your clean and ready-to-use rocks: Once you’re satisfied with the cleanliness, condition, and compatibility of the rocks, they are ready to be incorporated into your landscaping project. Take pride in your efforts and enjoy the transformed visual appeal that clean rocks bring to your outdoor space.
By conducting a thorough final inspection, you ensure that your washed rocks meet your desired standards and are ready to enhance your landscaping project. Any adjustments or cleaning done at this stage will ensure that your final outcome is aesthetically pleasing and in line with your vision.
Congratulations! You have successfully completed all the steps for washing rocks for landscaping. Now it’s time to put your clean rocks to use and enjoy the beautiful results they bring to your garden.
As a friendly reminder, always prioritize safety while handling rocks and be mindful of your surroundings. Now get out there and create the garden of your dreams!
Read more: How To Use Rocks For Landscaping
Conclusion
Washing rocks for landscaping is a vital step that should not be overlooked. Not only does it enhance the visual appeal of your outdoor space, but it also ensures the cleanliness, durability, and compatibility of the rocks with other landscaping components. By following the steps outlined in this guide and taking the necessary safety precautions, you can achieve beautifully clean rocks that will elevate the overall look of your garden.
Through the process of sorting, cleaning, and drying, you have learned how to prepare the rocks for use in your landscaping project. Sorting the rocks allows you to categorize them based on size, cleanliness, and suitability, making it easier to apply the appropriate cleaning methods. The cleaning step, involving scrubbing and rinsing, removes dirt, debris, and stains, leaving you with polished and pristine rocks ready for use. Lastly, the drying process ensures that moisture is completely eliminated, preventing potential issues such as mold or mildew growth.
Remember to conduct a final inspection to verify the cleanliness, condition, and compatibility of the rocks. This gives you the chance to make any necessary adjustments and ensure that your rocks meet your desired aesthetic and functional requirements.
By investing the time and effort into washing rocks for landscaping, you create a clean and inviting outdoor space that showcases the natural beauty of the rocks. The clean rocks not only contribute to the overall visual appeal but also create a healthier and more harmonious garden ecosystem.
Now that you have mastered the process of washing rocks for landscaping, it’s time to unleash your creativity and incorporate them into your garden design. Whether you use them as focal points, edging, pathways, or for decorative purposes, clean rocks will add a touch of natural elegance to your outdoor oasis.
So go ahead, get started on washing your rocks, and witness the transformation they bring to your landscaping. Enjoy the process, and remember to have fun exploring the endless possibilities that clean rocks offer in creating a stunning and captivating garden.
Frequently Asked Questions about How To Wash Rocks For Landscaping
Was this page helpful?
At Storables.com, we guarantee accurate and reliable information. Our content, validated by Expert Board Contributors, is crafted following stringent Editorial Policies. We're committed to providing you with well-researched, expert-backed insights for all your informational needs.


0 thoughts on “How To Wash Rocks For Landscaping”