Home>Garden Essentials>What Size Rock Is Best For Landscaping?
Garden Essentials
What Size Rock Is Best For Landscaping?
Modified: March 7, 2024
Discover the perfect size rock for your garden landscaping needs. Find out which rocks work best for creating a beautiful and low-maintenance outdoor space.
(Many of the links in this article redirect to a specific reviewed product. Your purchase of these products through affiliate links helps to generate commission for Storables.com, at no extra cost. Learn more)
Introduction
Welcome to the wonderful world of landscaping! When it comes to designing and creating a captivating outdoor space, one key element to consider is the use of rocks. Not only do rocks add visual interest and texture to your garden, but they also serve practical purposes, such as erosion control and weed suppression. However, with so many options available, it can be overwhelming to determine the best size of rocks for your landscaping project.
In this article, we will explore the factors to consider when choosing rock size, the different sizes of rocks commonly used in landscaping, their specific uses, and tips on how to calculate the amount of rock needed for your project. By the end of this article, you’ll be equipped with the knowledge to make informed decisions and create a stunning landscape that reflects your personal style and taste.
Key Takeaways:
- Choose rocks based on your garden’s style, budget, and purpose. Small rocks for pathways and ground cover, medium rocks for retaining walls and water features, and large rocks for bold statements and natural surrounds.
- Calculate the amount of rock needed by measuring the area, determining depth, and converting to cubic yards or tons. Properly install rocks by preparing the area, creating a stable base, varying placement, considering drainage, securing the rocks, maintaining consistency, and prioritizing safety.
Read more: What Is The Best Rock For Landscaping
Factors to Consider When Choosing Rock Size
Before diving into the different sizes of rocks for landscaping, it’s important to consider several factors that will influence your decision. These factors include:
- Aesthetic Appeal: The size of the rocks you choose should complement the overall design and style of your landscape. Consider the existing elements such as plants, trees, and hardscape features, and select rocks that harmonize with the overall aesthetic.
- Functionality: Determine the purpose of the rocks in your landscape. Are they primarily decorative, or do they serve a specific function like erosion control or creating pathways? The size of the rocks will depend on their intended use.
- Budget: Consider your budget constraints when selecting rock sizes. Larger rocks are generally more expensive due to their weight and transportation costs. However, they may require fewer quantities compared to smaller rocks.
- Maintenance: Think about the level of maintenance you are willing to commit to. Larger rocks may require less maintenance as they are less likely to shift or be displaced. Smaller rocks, on the other hand, may need occasional raking or replacement.
- Accessibility: Consider how easy it will be to transport and install the rocks. Larger rocks may require heavy machinery or the assistance of professionals, whereas smaller rocks can often be handled by homeowners.
By taking these factors into account, you can make a more informed decision on the appropriate size of rocks for your landscaping project. Let’s now explore the different sizes of rocks commonly used in landscaping and their specific uses.
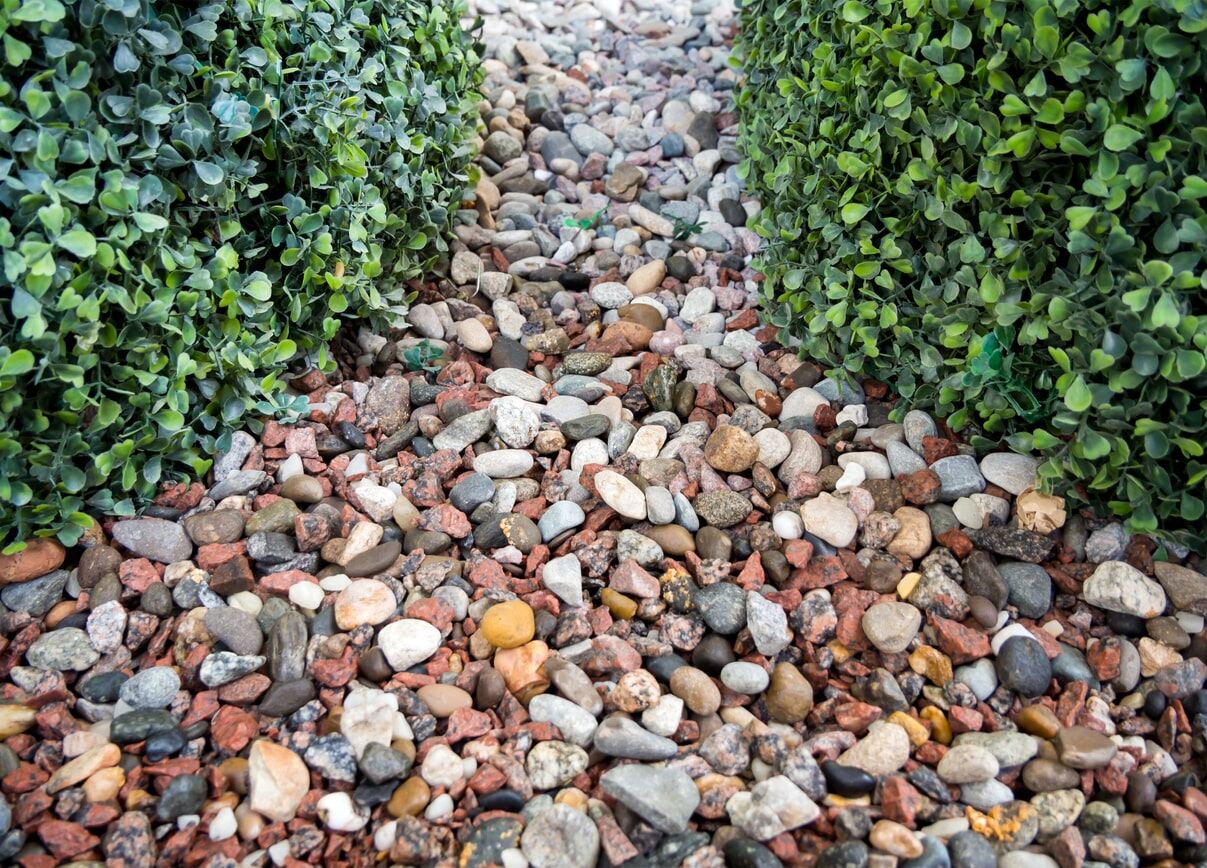
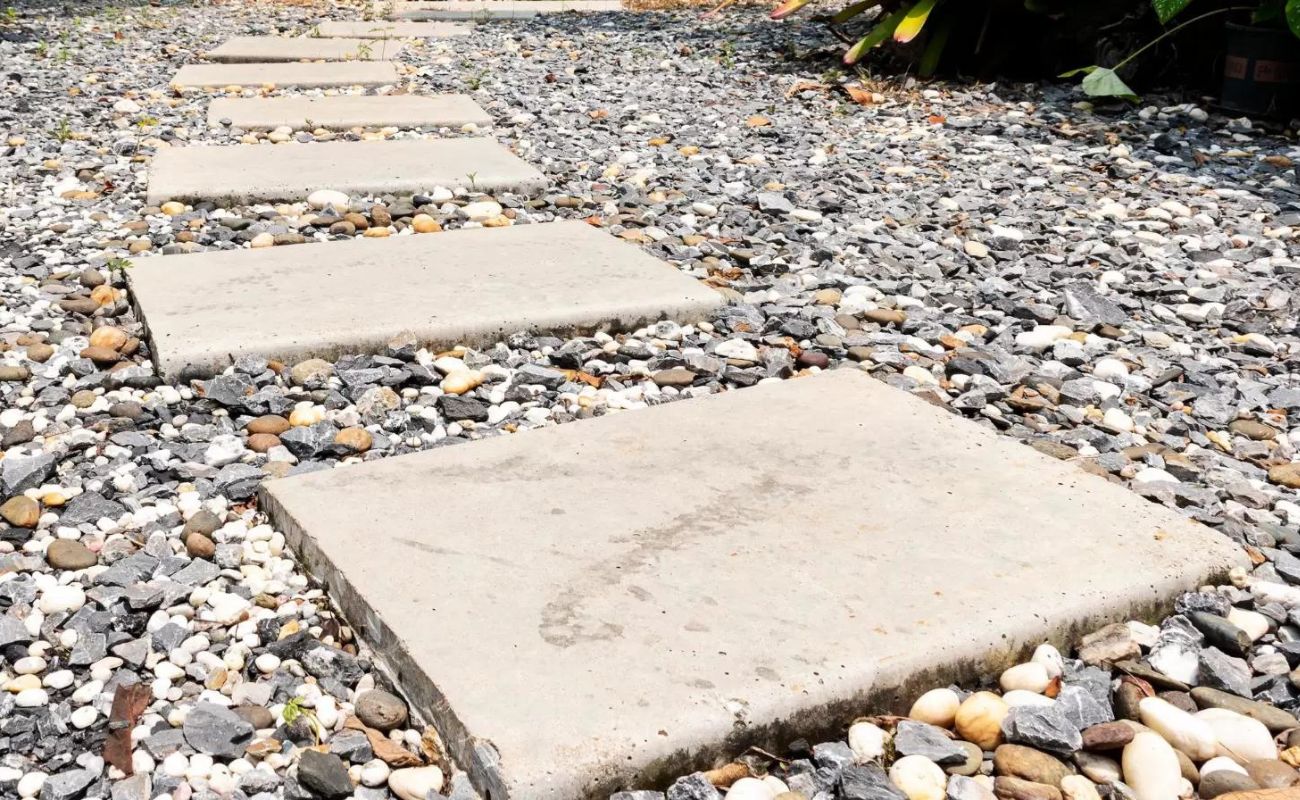
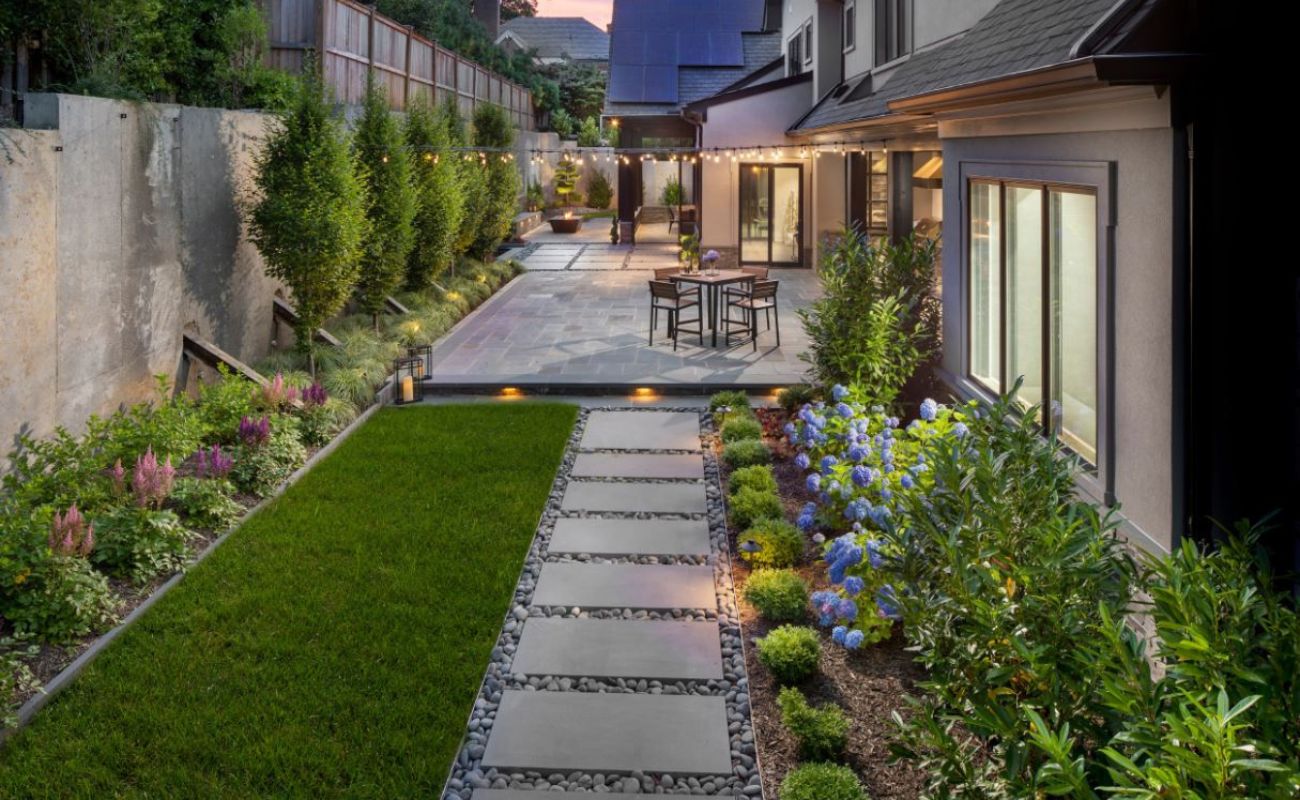
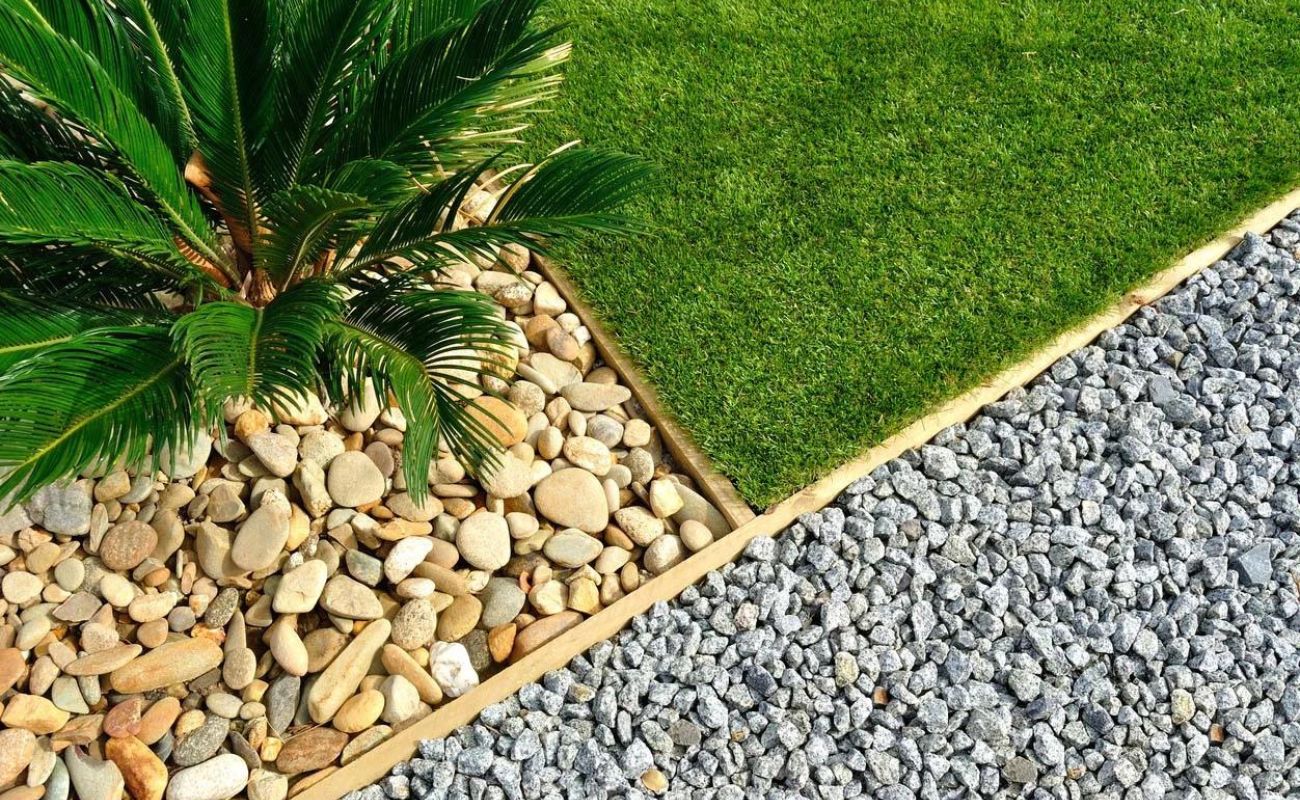
Small Rocks for Landscaping
Small rocks, also known as gravel or pebbles, typically range in size from 1/4 inch to 3/8 inch in diameter. These rocks are versatile and can be used in various ways to enhance your landscape. Here are some common uses for small rocks:
- Pathways: Small rocks are perfect for creating pathways in your garden. They can be spread evenly to create a stable and visually appealing walking surface. Additionally, the texture of the rocks provides traction and prevents slipping.
- Ground Cover: Using small rocks as a ground cover in garden beds or around trees and shrubs helps to suppress weeds. They also retain moisture in the soil, reducing the need for frequent watering.
- Accent Borders: Use small rocks to create attractive borders around flower beds, driveways, or walkways. They add definition and a polished look to your landscape.
- Dry Creek Beds: If you want to add a unique and natural element to your garden, consider creating a dry creek bed using small rocks. This decorative feature mimics the appearance of a winding stream and can help with water drainage.
- Rock Gardens: Small rocks are a key component in rock gardens. They can be arranged to create interesting patterns and textures and serve as a backdrop for plants and other decorative features.
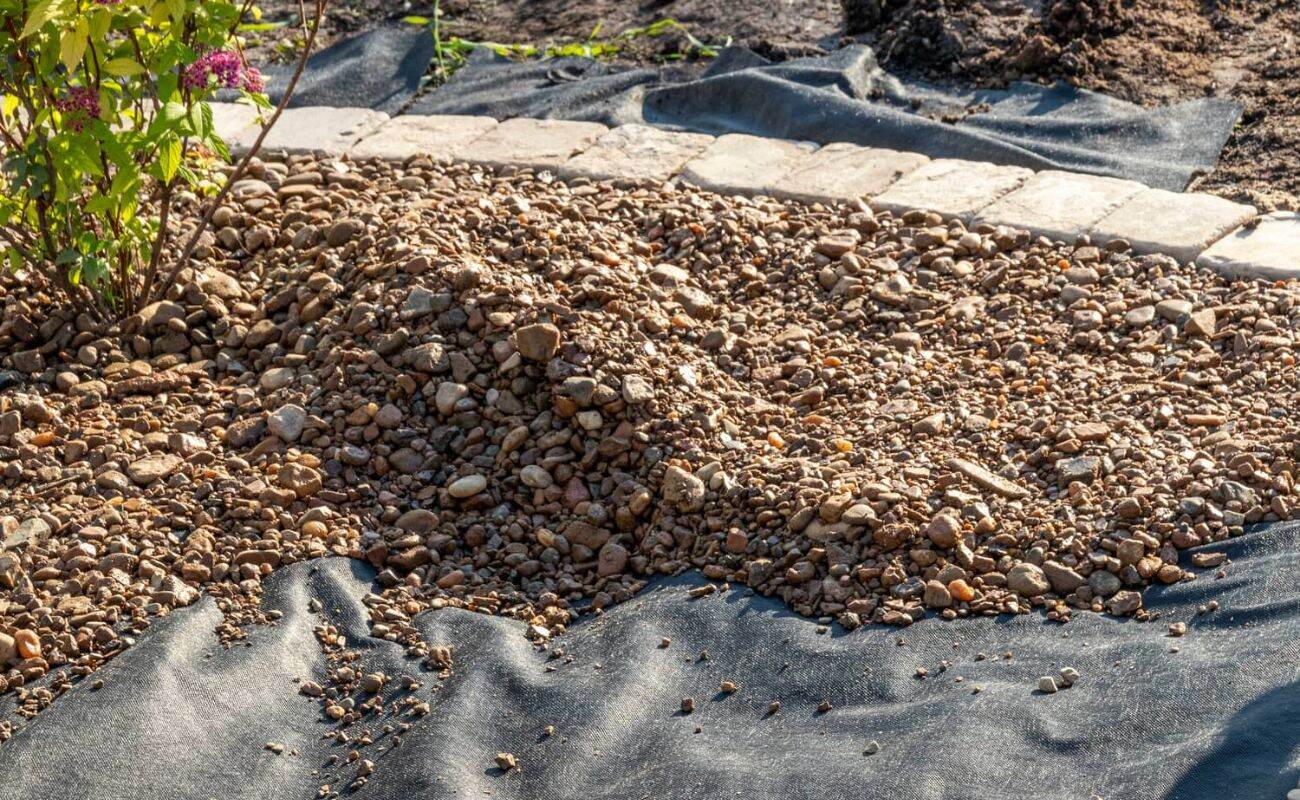
When using small rocks for landscaping, it’s important to note that they may require occasional maintenance to remove debris or to redistribute them in high-traffic areas. It’s also recommended to use a weed barrier or landscaping fabric underneath to prevent weed growth.
Now that we have explored the uses for small rocks, let’s move on to the next section and discover the benefits of using medium-sized rocks in your landscape.
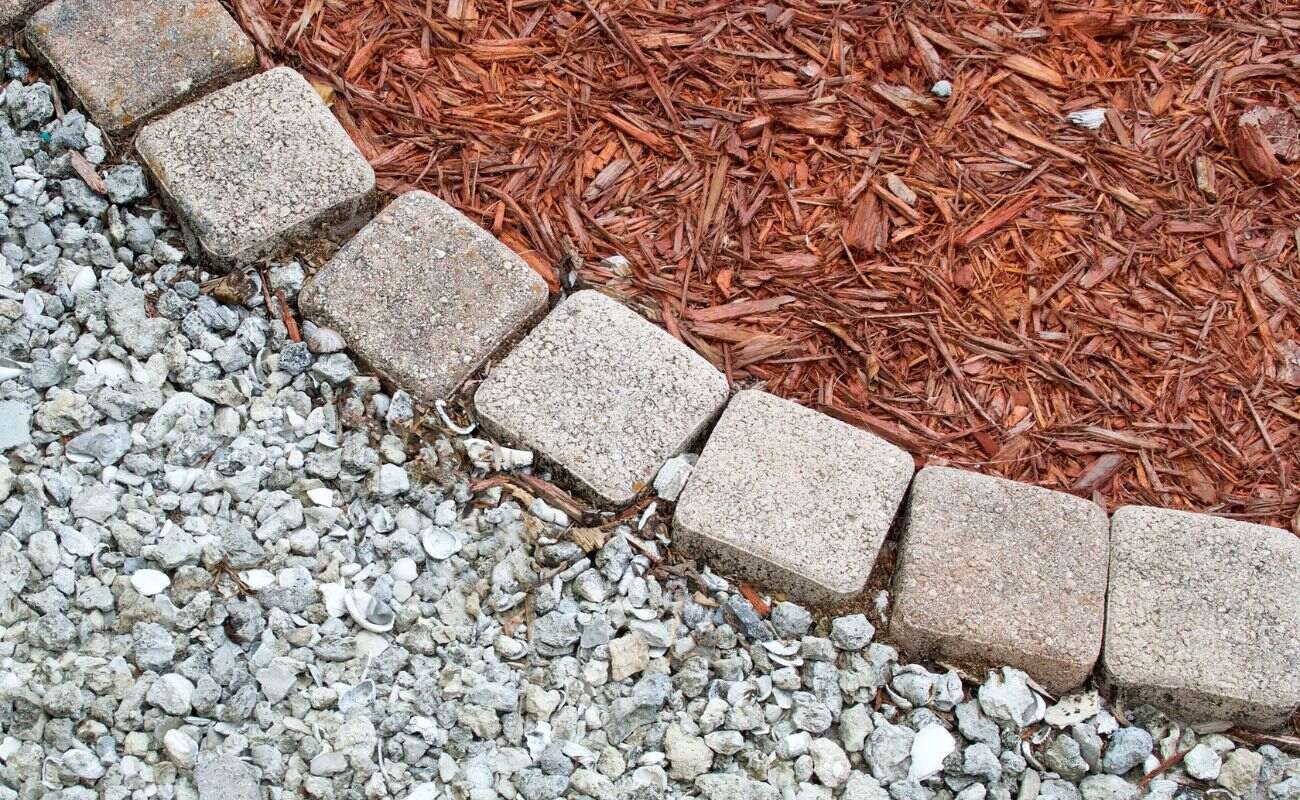
Medium Rocks for Landscaping
Medium-sized rocks, typically ranging from 3/8 inch to 3 inches in diameter, offer a different range of possibilities when it comes to landscaping. These rocks provide more visual impact and can be used for both functional and decorative purposes. Here are some common uses for medium-sized rocks:
- Retaining Walls: Medium rocks are often used in constructing retaining walls due to their larger size and stability. These walls help prevent soil erosion and can add dimension and structure to your landscape.
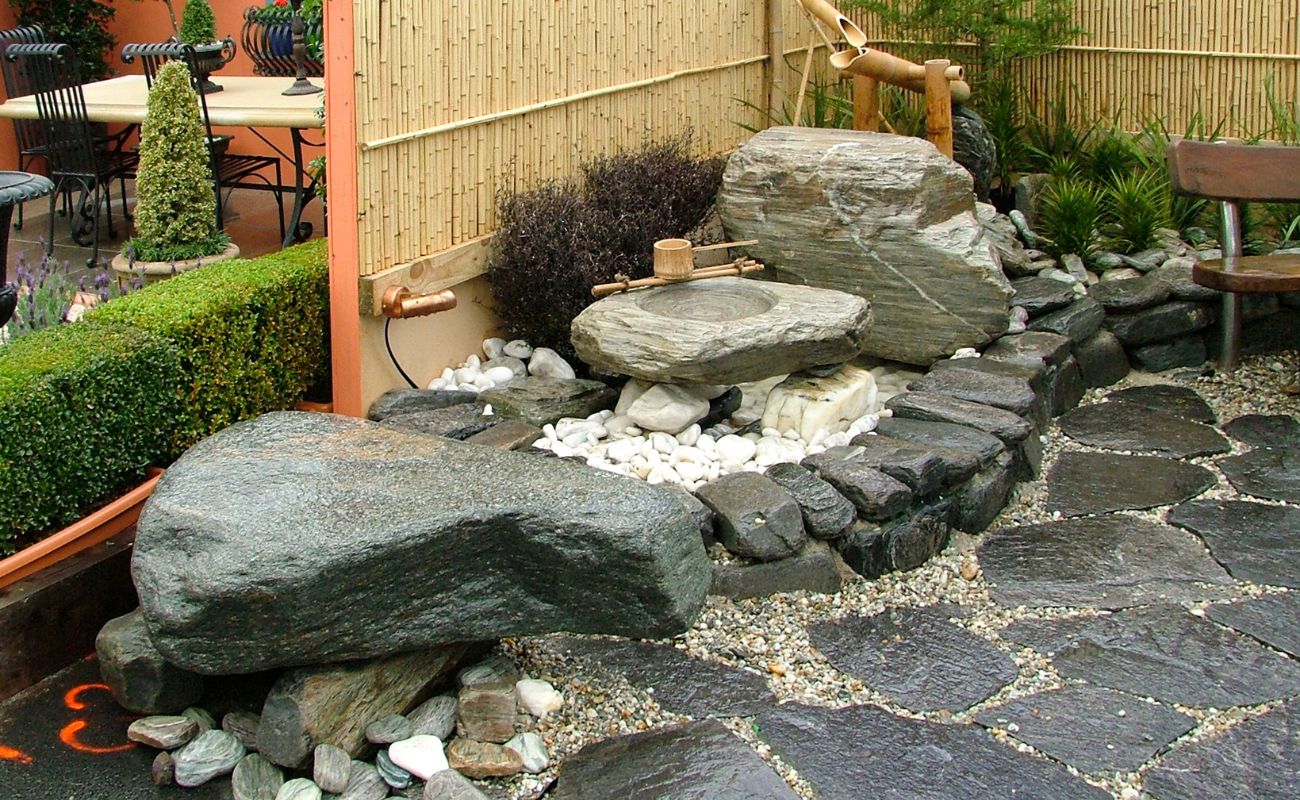
- Water Features: Medium-sized rocks are ideal for creating waterfalls, streams, or ponds in your garden. Their size and weight allow for natural-looking water features that add a relaxing and soothing ambiance to your outdoor space.
- Edging: Use medium rocks as edging for flower beds or to define boundaries between different areas of your landscape. They can be stacked or arranged in a decorative pattern to add visual interest and distinguish different sections of your garden.
- Rock Mulch: Medium rocks can be used as a mulch alternative to cover the soil around plants and trees. They provide excellent drainage, reduce weed growth, and help retain moisture in the soil.
- Focal Points: Large or uniquely shaped medium rocks can be strategically placed as focal points in your landscape design. They draw attention and serve as eye-catching elements that add character and interest.
When using medium rocks in your landscaping, ensure that they are properly installed and secured, especially for retaining walls and water features. It’s recommended to consult with a professional landscaper or engineer to ensure the structural integrity of these elements.
Now that we have explored the uses for medium-sized rocks, let’s move on to large rocks and discover their role in creating a visually striking landscape.
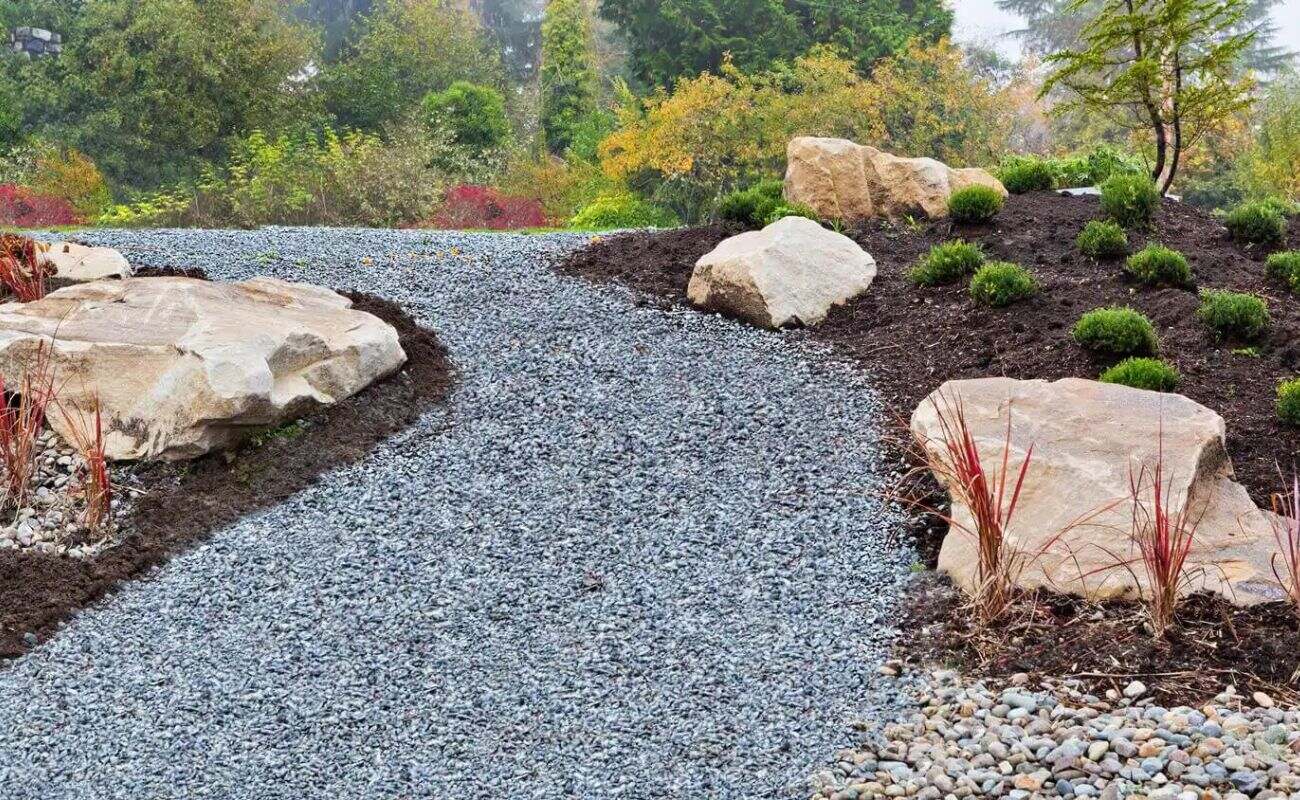
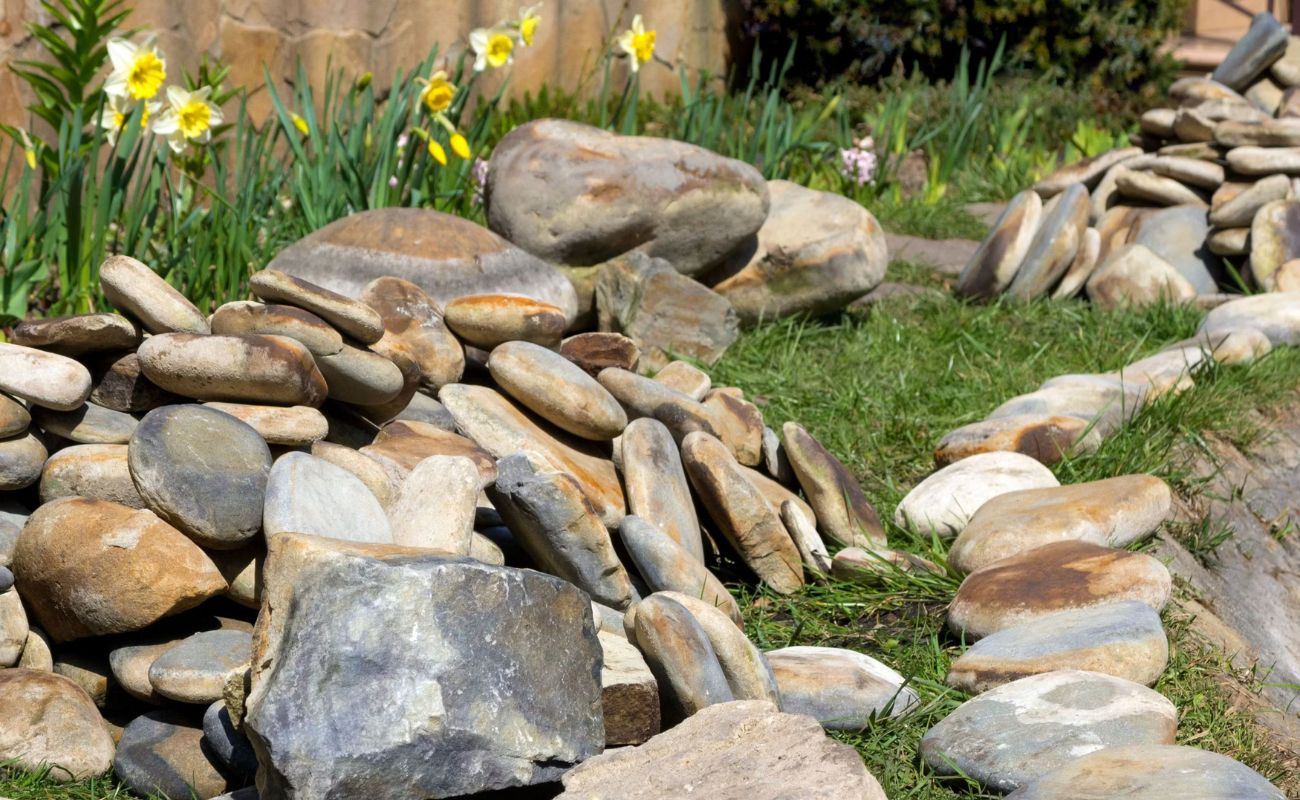
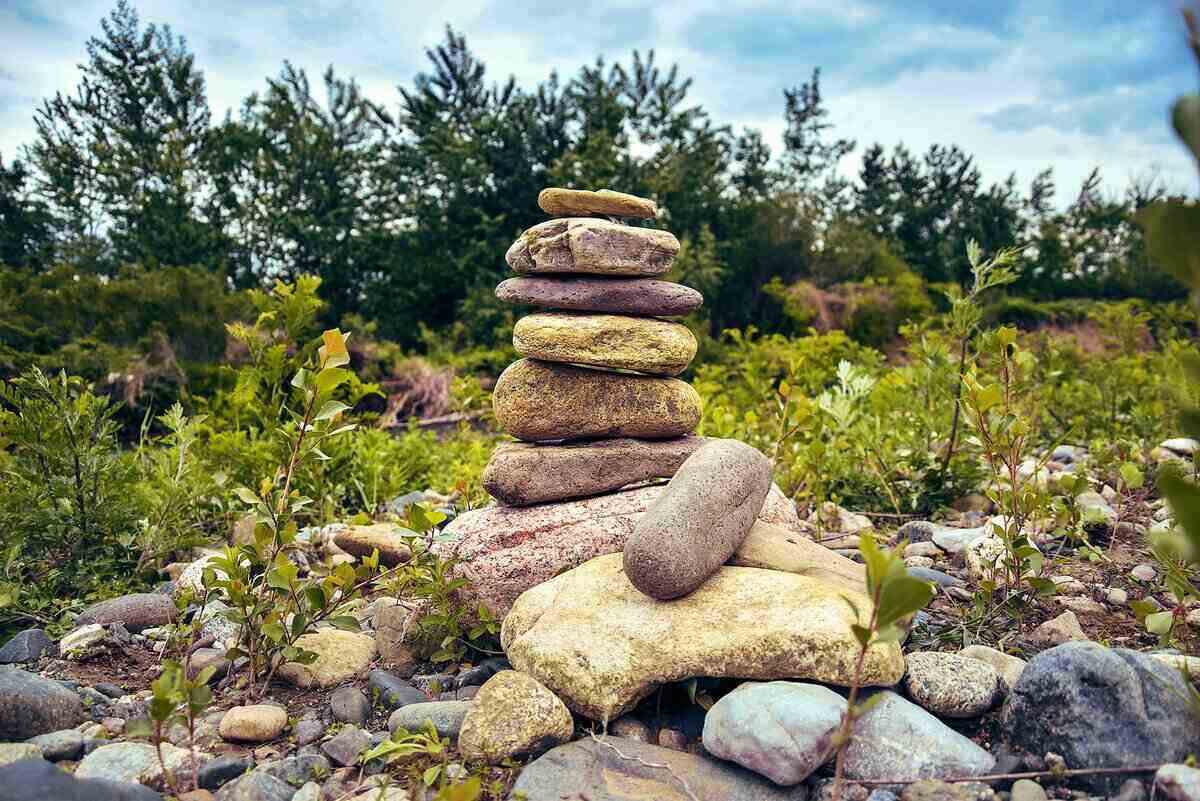
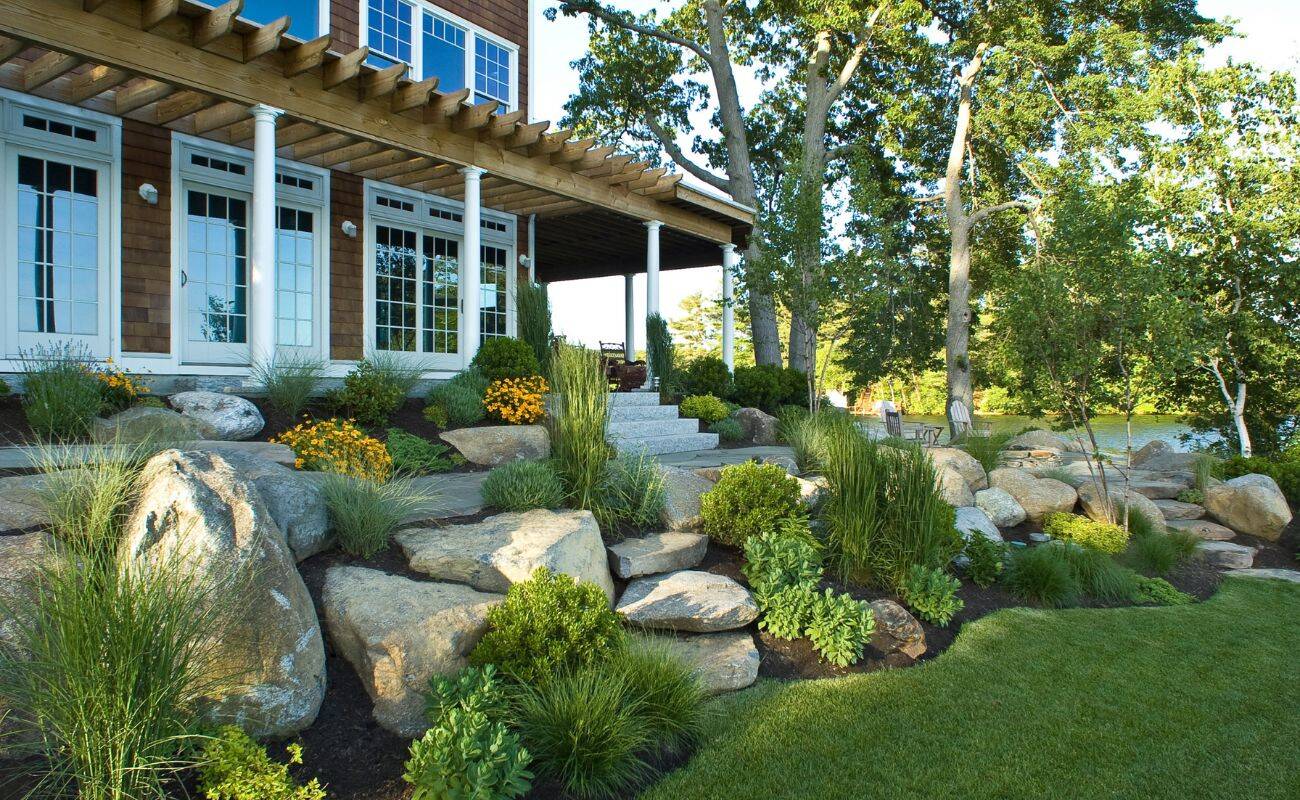
Large Rocks for Landscaping
Large rocks, typically measuring 3 inches or more in diameter, have a commanding presence in any landscape. These rocks are often used for dramatic effect and can serve as focal points or highlight specific areas of your garden. Here are some common uses for large rocks:
- Rock Walls: Large rocks can be stacked to create stunning rock walls or rockeries. These structures add depth and texture to your landscape and can be used to divide different sections of your garden.
- Rock Steps: If you have elevation changes in your yard, large rocks can be utilized to create natural-looking steps. They provide stability and make it easier to navigate slopes while adding a touch of rustic charm.
- Statement Pieces: Use large rocks strategically as statement pieces to draw attention and create visual interest. Whether it’s a massive boulder or a unique rock formation, these elements can become the focal point of your landscape design.
- Rock Sculptures: Large rocks can be creatively arranged to form sculptures or art installations. This adds a touch of artistic flair to your garden and showcases your creativity and imagination.
- Pond or Waterfall Surrounds: Incorporating large rocks around ponds or waterfalls can enhance the natural beauty of these features. They can be used to create a more organic and realistic look, blending seamlessly with the surrounding landscape.
When implementing large rocks in your landscaping, ensure they are properly anchored to prevent any accidental rolling or shifting. Consider engaging professional help for the installation of large rocks, as their weight and positioning can be challenging for DIY enthusiasts.
Now that we have explored the uses for different sizes of rocks in landscaping, it’s essential to know how to calculate the amount of rock needed for your project. Let’s move on to the next section and learn more about this important step in the landscaping process.
When choosing rocks for landscaping, consider the size of the area and the desired aesthetic. Larger rocks work well in open spaces, while smaller rocks are better for borders and pathways.
Read more: What Color Rocks For Landscaping
Common Uses for Different Sizes of Rocks in Landscaping
When it comes to landscaping, rocks of different sizes offer a range of possibilities for enhancing the beauty and functionality of outdoor spaces. Here are the common uses for different sizes of rocks in landscaping:
- Small Rocks: Small rocks, such as gravel or pebbles, serve as excellent ground cover, providing a decorative layer that helps suppress weeds and conserve moisture in the soil. They are also perfect for creating pathways, accent borders, rock gardens, and dry creek beds.
- Medium Rocks: Medium-sized rocks bring visual impact to your landscape. They can be used for constructing retaining walls, creating water features like ponds or streams, adding edging to flower beds, acting as rock mulch, and serving as focal points in your garden design.
- Large Rocks: Large rocks make a bold statement in landscaping designs. They can be used to build rock walls or rockeries, create rock steps, serve as standalone statement pieces, sculptural elements, or natural surrounds for ponds and waterfalls.
Each size of rock has its unique role in transforming your landscape into a visually appealing and functional outdoor space. Keep in mind that you can also combine different sizes of rocks to create interesting textures and contrasts in your garden design.
Now that we have explored the common uses for different sizes of rocks, let’s move on to the next section and learn how to calculate the amount of rock needed for your landscaping project.
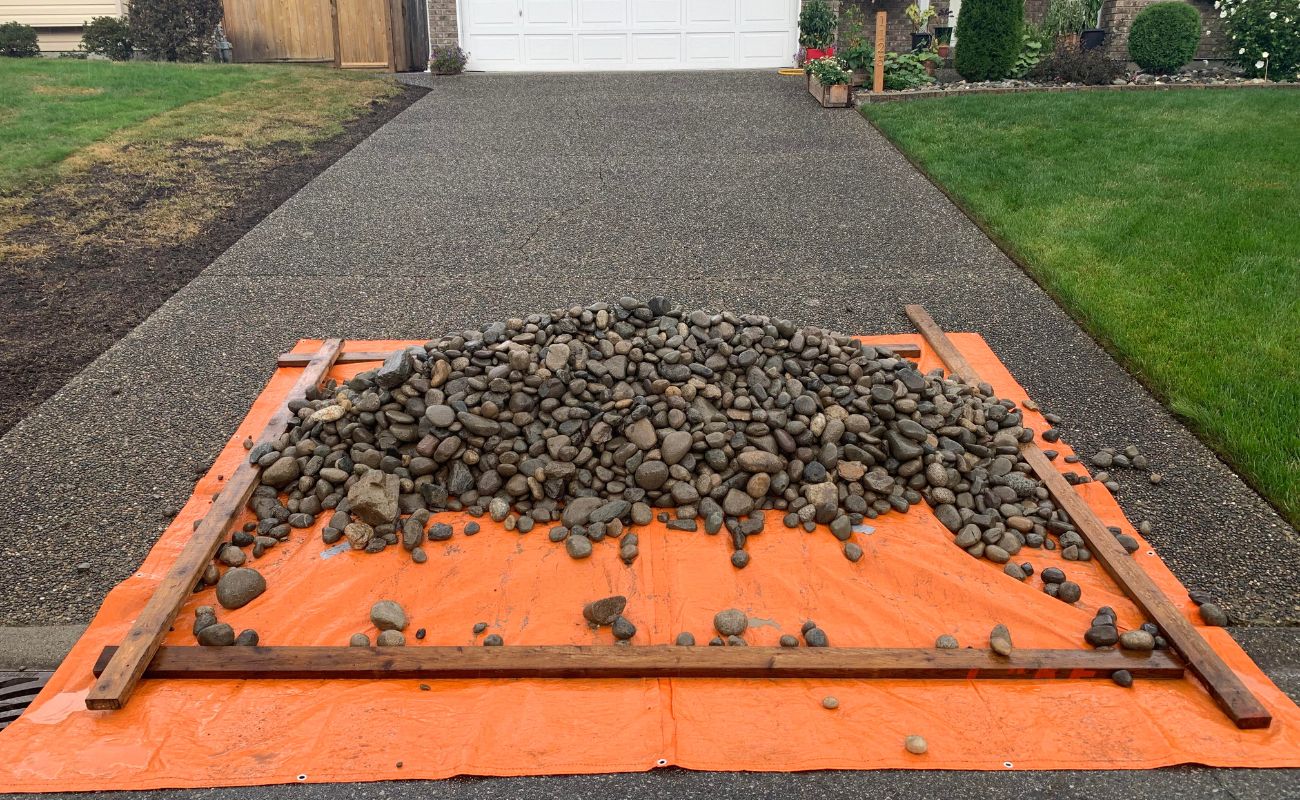
How to Calculate the Amount of Rock Needed for Your Landscaping Project
Calculating the amount of rock needed for your landscaping project is an important step to ensure you have enough materials without overbuying or running out. Here’s a simple method to help you estimate the quantity of rock required:
- Measure the Area: Start by measuring the area where you plan to use the rocks. For irregularly shaped areas, break it down into smaller sections and measure them individually. Note down the length and width of each section.
- Determine the Depth: Decide on the desired depth of the rock layer. This will depend on the purpose of the rocks and the effect you want to achieve. Common depths range from 1 inch to 4 inches.
- Calculate the Volume: To determine the volume of rock needed, multiply the length, width, and depth of each section. Then, sum up the volume calculations for all sections to get the total volume.
- Convert to Cubic Yards or Tons: Rock is usually sold by the cubic yard or ton. Use an online conversion tool or consult with your local supplier to convert the total volume into the appropriate unit.
- Factor in Loss and Recommended Depth: It’s recommended to account for some extra material to cover any potential loss or variations in depth. Adding a buffer of 10-20% is a good practice to ensure you have enough rocks to complete the project.
- Consult with a Professional: If you have a complex project or are unsure about your calculations, it’s always wise to consult with a professional landscaper or supplier. They can provide accurate measurements and help you estimate the right amount of rock needed.
Remember, it’s better to have a little extra rock than to run out in the middle of your project. Excess rocks can be used for future landscaping or gardening endeavors.
Now that you know how to calculate the quantity of rock required, let’s move on to the next section and explore some helpful tips for properly installing rocks in your landscape.
Tips for Properly Installing Rocks in your Landscape
Installing rocks in your landscape requires careful planning and attention to detail to ensure they are properly positioned and securely placed. Here are some helpful tips to guide you through the installation process:
- Prepare the Area: Clear the area of any debris, vegetation, or existing rocks before installing the new rocks. Level the ground and remove any obstacles that may hinder the placement of the rocks.
- Create a Stable Base: For larger rocks or those used in retaining walls, create a solid and level base using compacted soil or gravel. This will provide stability and prevent the rocks from shifting or settling over time.
- Vary the Placement: To achieve a natural and visually pleasing look, vary the size, shape, and orientation of the rocks. Mix different sizes and arrange them in a way that mimics the randomness found in nature.
- Consider Drainage: When using rocks in areas prone to water accumulation, ensure proper drainage by creating channels or using gravel beds beneath the rocks. This will prevent water from pooling and causing damage.
- Secure the Rocks: Use mortar or landscape adhesive to secure the rocks in place, especially for vertical structures or water features. This will ensure they remain stable and prevent them from shifting or falling over.
- Maintain Consistency: As you install the rocks, maintain a consistent spacing and alignment. This will create a cohesive and polished look throughout your landscape.
- Step Back and Assess: Periodically step back and assess the placement of the rocks as you progress through the installation. Make any necessary adjustments to ensure they are visually appealing and in harmony with the surrounding elements.
- Consider Safety: When working with large or heavy rocks, prioritize safety. Use appropriate lifting techniques or seek assistance if needed. Ensure that rocks are securely placed to avoid accidents or injuries.
Proper installation of rocks not only ensures their longevity and stability but also enhances the overall aesthetic and functionality of your landscape. Take your time during the installation process and enjoy the transformation of your outdoor space.
Now that we’ve covered tips for installing rocks, let’s conclude our article.
Conclusion
Choosing the right size of rocks for your landscaping project can significantly impact the overall appearance and functionality of your outdoor space. By considering factors such as aesthetic appeal, functionality, budget, maintenance, and accessibility, you can make informed decisions when selecting the size of rocks that best suit your needs.
Small rocks, such as gravel or pebbles, are versatile and commonly used for pathways, ground covers, accent borders, and rock gardens. Medium-sized rocks offer visual impact and find their place in retaining walls, water features, edging, and as focal points. Large rocks make a bold statement and are often used for rock walls, steps, statement pieces, and natural surrounds for water elements.
Calculating the amount of rock needed for your project is essential to avoid either running out or overbuying. By measuring the area, determining the desired depth, and converting to the appropriate unit (cubic yards or tons), you can estimate the quantity of rock required with accuracy.
When installing rocks in your landscape, it’s crucial to properly prepare the area, create a stable base, vary the placement, consider drainage, secure the rocks, maintain consistency, and prioritize safety. These tips will ensure that the rocks are securely positioned and aesthetically pleasing, enhancing the overall beauty of your landscape.
Now armed with knowledge about different rock sizes, their uses, calculating quantities, and installation tips, you can confidently embark on your landscaping project. Let your creativity and personal style shine through as you transform your outdoor space into a captivating and harmonious haven.
Frequently Asked Questions about What Size Rock Is Best For Landscaping?
Was this page helpful?
At Storables.com, we guarantee accurate and reliable information. Our content, validated by Expert Board Contributors, is crafted following stringent Editorial Policies. We're committed to providing you with well-researched, expert-backed insights for all your informational needs.


0 thoughts on “What Size Rock Is Best For Landscaping?”