Home>Garden Essentials>How To Install Synthetic Grass For Roof Deck Patio
Garden Essentials
How To Install Synthetic Grass For Roof Deck Patio
Modified: October 19, 2024
Learn how to install synthetic grass for your roof deck patio and create a beautiful garden space. Transform your outdoor area with this easy and affordable solution.
(Many of the links in this article redirect to a specific reviewed product. Your purchase of these products through affiliate links helps to generate commission for Storables.com, at no extra cost. Learn more)
Introduction
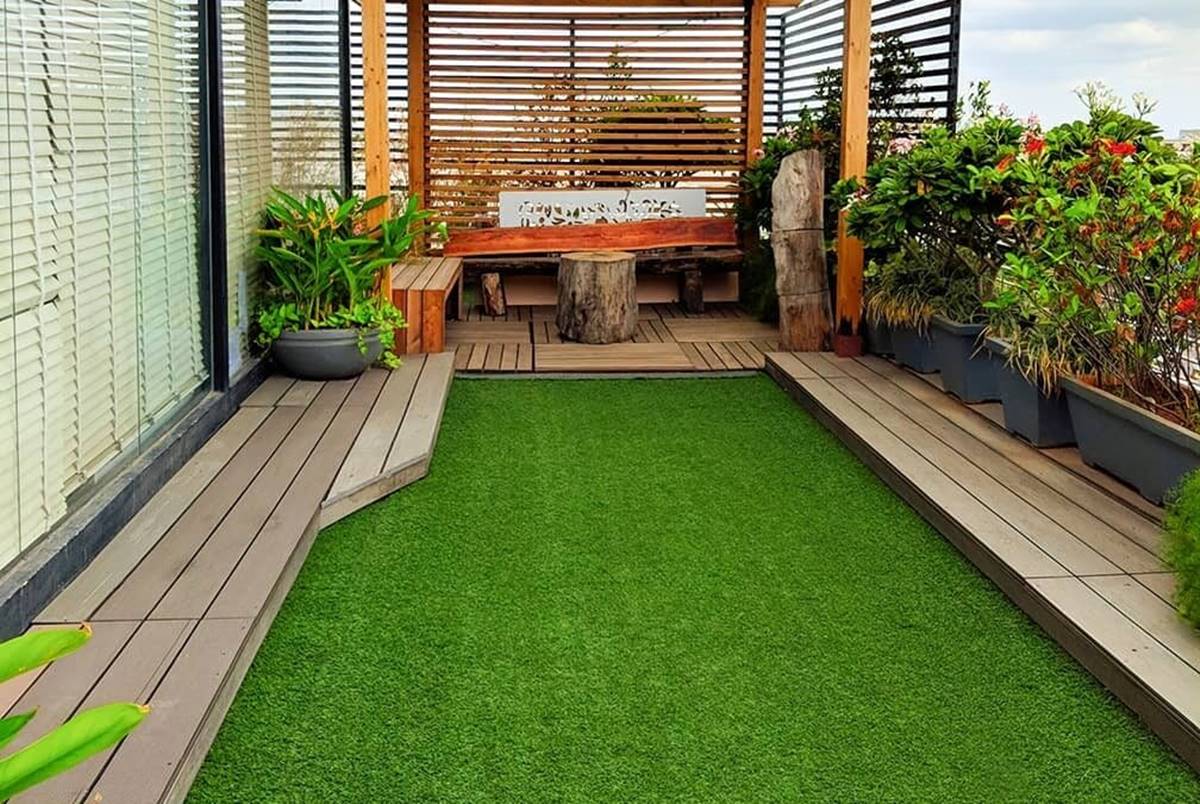
Welcome to the world of synthetic grass! If you’re looking to transform your roof deck patio into a lush and inviting space, installing synthetic grass is a fantastic option. Synthetic grass, also known as artificial turf, offers a low-maintenance and durable alternative to natural grass, making it an ideal choice for rooftop gardens or patio areas. In this article, we will guide you through the step-by-step process of installing synthetic grass on your roof deck patio.
Imagine stepping out onto your roof deck patio and being greeted by the vibrant greenery of a perfectly manicured lawn, without the hassle of mowing, watering, or fertilizing. Synthetic grass offers the beauty of natural grass without the upkeep, making it the perfect solution for urban dwellers, those with limited gardening experience, or anyone looking to create a sustainable and visually stunning outdoor space.
Installing synthetic grass for a roof deck patio requires careful planning, preparation, and execution. By following a few simple steps, you can transform your outdoor area into a functional and aesthetically pleasing space. Whether you’re a seasoned DIY enthusiast or a beginner looking to take on a new project, this guide will provide you with the information and guidance you need to successfully install synthetic grass on your roof deck patio.
Before we dive into the details, it’s important to note that every project is unique, and the specific requirements may vary depending on the size, shape, and condition of your roof deck patio. Be sure to consult with a professional if you have any concerns or questions about your specific project.
Now, let’s get started on this exciting journey to create a beautiful and low-maintenance outdoor oasis with synthetic grass!
Key Takeaways:
- Transform your roof deck into a lush oasis with synthetic grass, eliminating the need for mowing, watering, and fertilizing while providing a vibrant and low-maintenance outdoor space.
- Proper preparation, careful installation, and regular maintenance ensure a long-lasting and visually appealing synthetic grass installation on your roof deck patio, creating a stunning and hassle-free outdoor oasis.
Read more: How To Lay Roof Decking
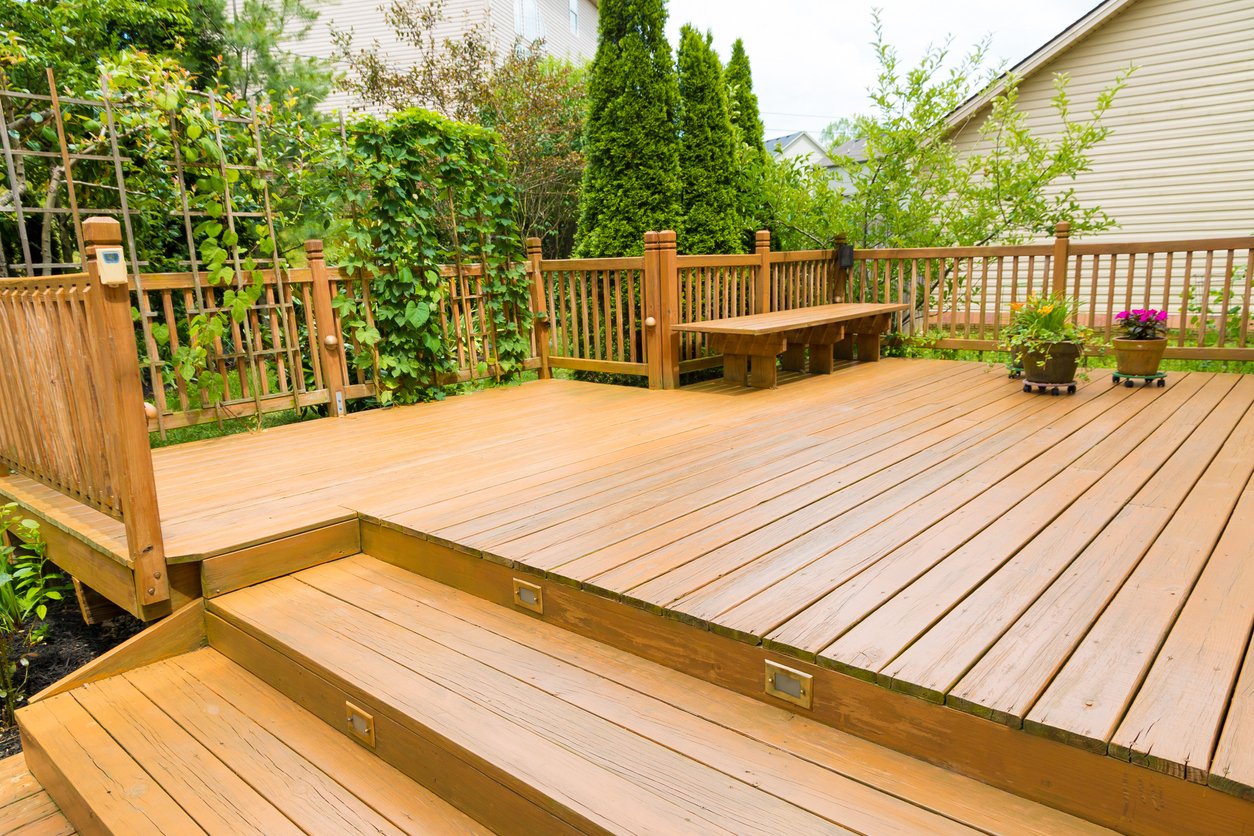
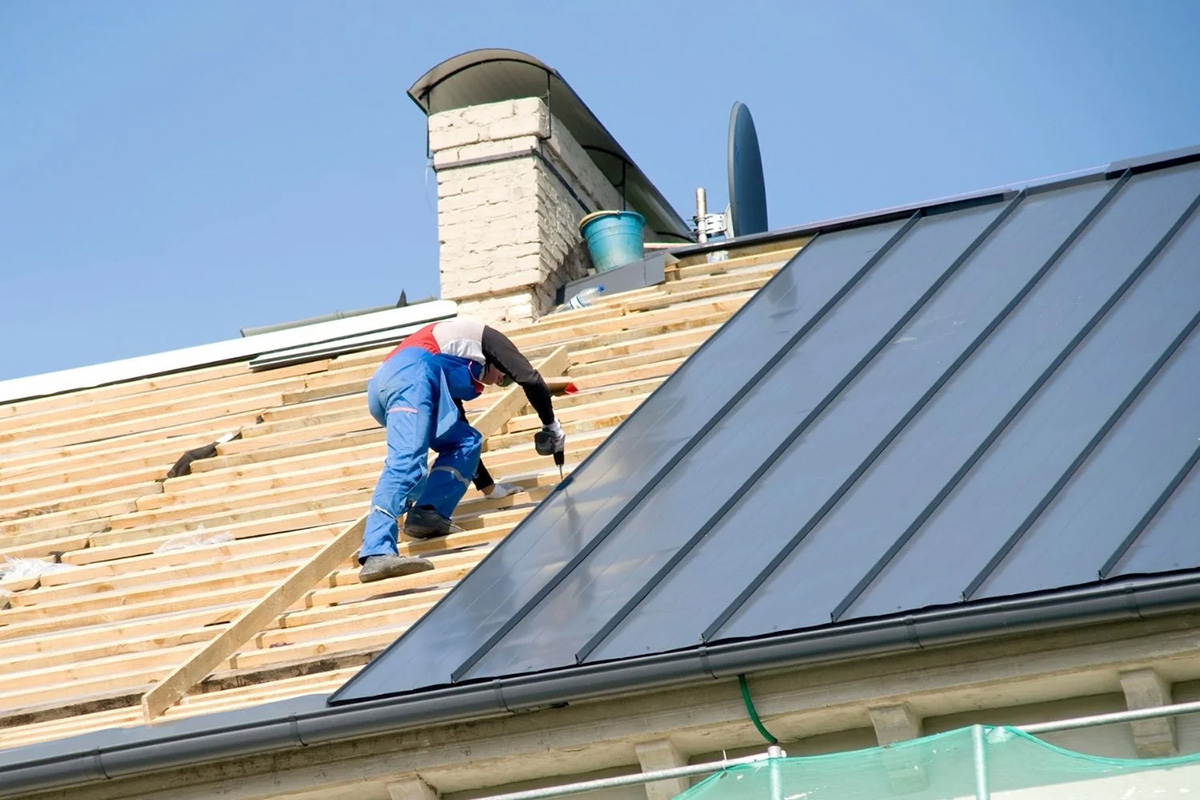
Step 1: Preparing the Roof Deck Patio
Before you start installing synthetic grass on your roof deck patio, it’s crucial to properly prepare the area to ensure a smooth and long-lasting installation. Here are the steps to take for preparing your roof deck patio:
- Clean the area: Begin by removing any debris, dirt, or existing vegetation from the roof deck patio. This can be done by sweeping or using a leaf blower to clear the surface. Make sure to remove any loose materials that could interfere with the installation process.
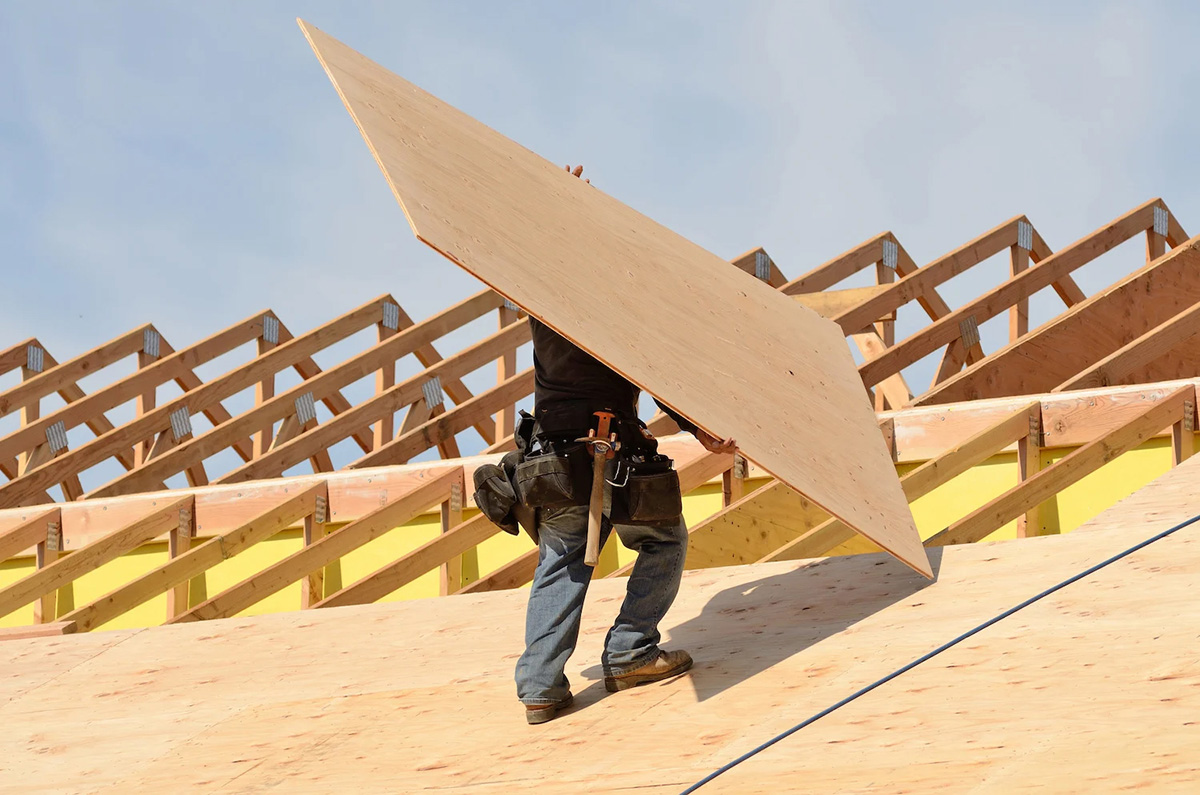
- Check for structural integrity: Inspect the roof deck patio for any signs of damage or structural issues. Look for cracks, leaks, or weak spots and address them before moving forward with the installation. It’s important to ensure that the surface is stable and can support the weight of the synthetic grass.
- Repair and reinforce: If you come across any damaged or weakened areas during the inspection, make the necessary repairs and reinforce the roof deck patio as needed. This may involve fixing cracks, replacing damaged boards, or reinforcing the underlying structure to provide a solid foundation for the synthetic grass.
- Level the surface: Check the levelness of the roof deck patio and make any adjustments if necessary. Uneven surfaces can lead to poor drainage or an uneven installation of the synthetic grass. Use a level to ensure that the surface is even and make any necessary adjustments by adding or removing materials.
- Apply a weed barrier: To prevent weeds from growing through the synthetic grass, it’s important to lay down a weed barrier. This can be a geotextile fabric or a plastic sheet that inhibits weed growth while allowing for proper drainage. Secure the weed barrier to the roof deck patio surface using staples or adhesive.
By properly preparing your roof deck patio, you will create a solid and clean foundation for the synthetic grass installation. This will help ensure the longevity and performance of the synthetic grass, providing you with a beautiful and hassle-free outdoor space to enjoy.
Step 2: Measuring and Planning for the Synthetic Grass
Once you have prepared your roof deck patio, the next step is to accurately measure and plan for the installation of the synthetic grass. This step is crucial to ensure that you order the right amount of synthetic grass and that the installation process goes smoothly. Here’s how to measure and plan for the synthetic grass:
- Measure the area: Use a measuring tape or a laser measuring device to determine the dimensions of your roof deck patio. Measure both the length and width of the area and record the measurements. It’s important to account for any irregularities or unique shapes in your patio as this will affect the amount of synthetic grass needed.
- Cut templates: If your roof deck patio has any curves, corners, or objects that need to be worked around, it’s helpful to create templates out of cardboard or paper to accurately represent those shapes. Place the templates on the patio surface and adjust them until you are satisfied with the layout.
- Consider the direction of the grain: Synthetic grass typically has a grain, similar to natural grass, which affects its appearance. Decide on the direction you want the grain to go and take note of it for the installation process.
- Account for seams: If your roof deck patio is larger than the width of the synthetic grass rolls, you will need to plan for seams. Measure the lengths at which the synthetic grass rolls will meet and plan for a clean and seamless transition by using joining tape or adhesive.
- Choose the appropriate synthetic grass: Consider the intended use of your roof deck patio when selecting the synthetic grass. Factors such as foot traffic, desired aesthetics, and climate should be taken into account. Consult with a professional or a knowledgeable supplier to ensure you choose the right type of synthetic grass for your specific needs.
By accurately measuring and planning for the synthetic grass, you will minimize waste, save time, and achieve a well-designed and professionally finished look. Taking the time to carefully plan will result in a seamless and visually appealing installation that enhances the overall appeal of your roof deck patio.
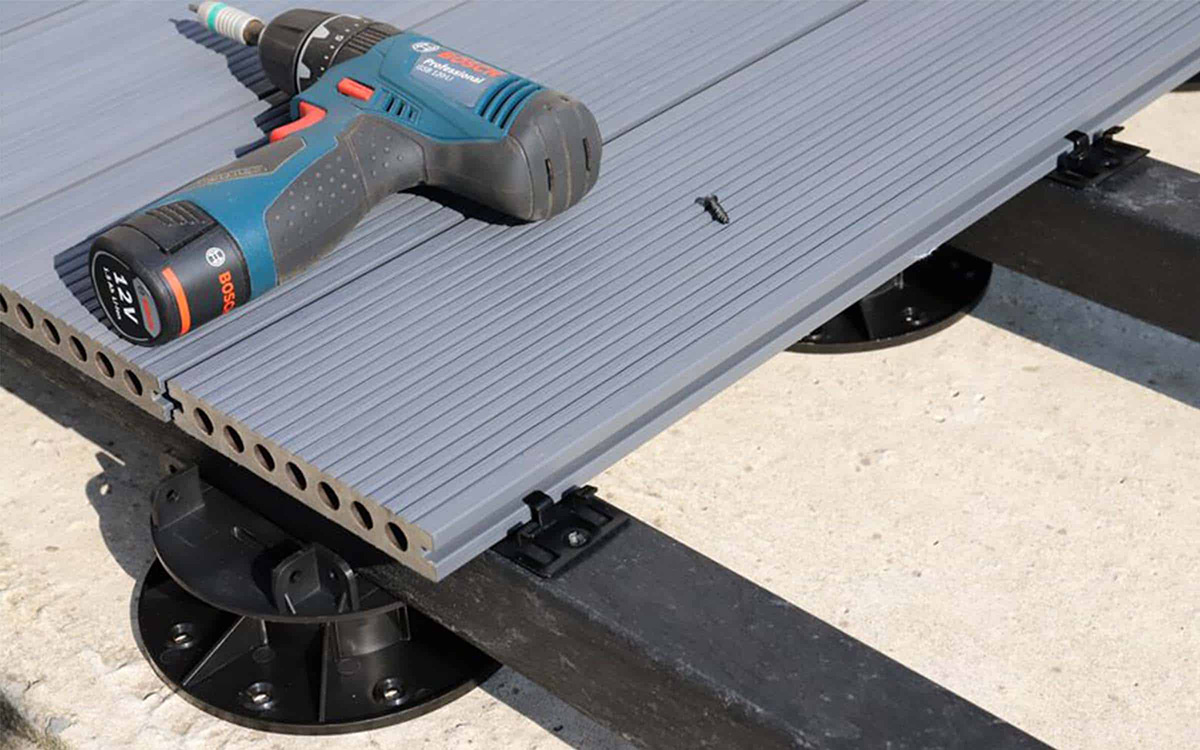
Step 3: Cleaning and Repairing the Roof Deck Surface
Before you proceed with installing synthetic grass on your roof deck patio, it’s crucial to thoroughly clean and repair the surface to ensure optimal results. Cleaning and repairing the roof deck surface will help create a smooth and stable base for the synthetic grass installation. Here’s how to do it:
- Sweep or vacuum the surface: Start by removing any loose dirt, debris, or particles from the roof deck surface. Use a broom or a vacuum cleaner to thoroughly clean the area. Make sure to pay attention to corners, edges, and hard-to-reach spots.
- Remove stains and spills: If you notice any stains or spills on the roof deck surface, address them before installing the synthetic grass. Use a mild detergent or a specialized cleaner that is suitable for the surface material to gently scrub away the stains. Rinse the area thoroughly and allow it to dry completely.
- Repair any damage: Inspect the roof deck surface for any signs of damage, such as cracks, holes, or loose boards. Repair any damages by filling the cracks with appropriate filler or replacing damaged boards. Ensure that the surface is stable and free of any tripping hazards.
- Check for proper drainage: Adequate drainage is essential to prevent water accumulation and potential damage to the synthetic grass. Ensure that the roof deck surface has proper drainage mechanisms in place. Clear any clogged drains or gutters and make sure that the water flows away from the installation area.
- Smooth out uneven areas: If there are any uneven areas on the roof deck surface, use a leveling compound or sand to smoothen them out. This will help create a flat and even base for the synthetic grass installation.
By cleaning and repairing the roof deck surface, you are setting the stage for a successful synthetic grass installation. A clean and well-prepared surface will not only improve the aesthetic appeal of your roof deck patio but also ensure the longevity and performance of the synthetic grass.
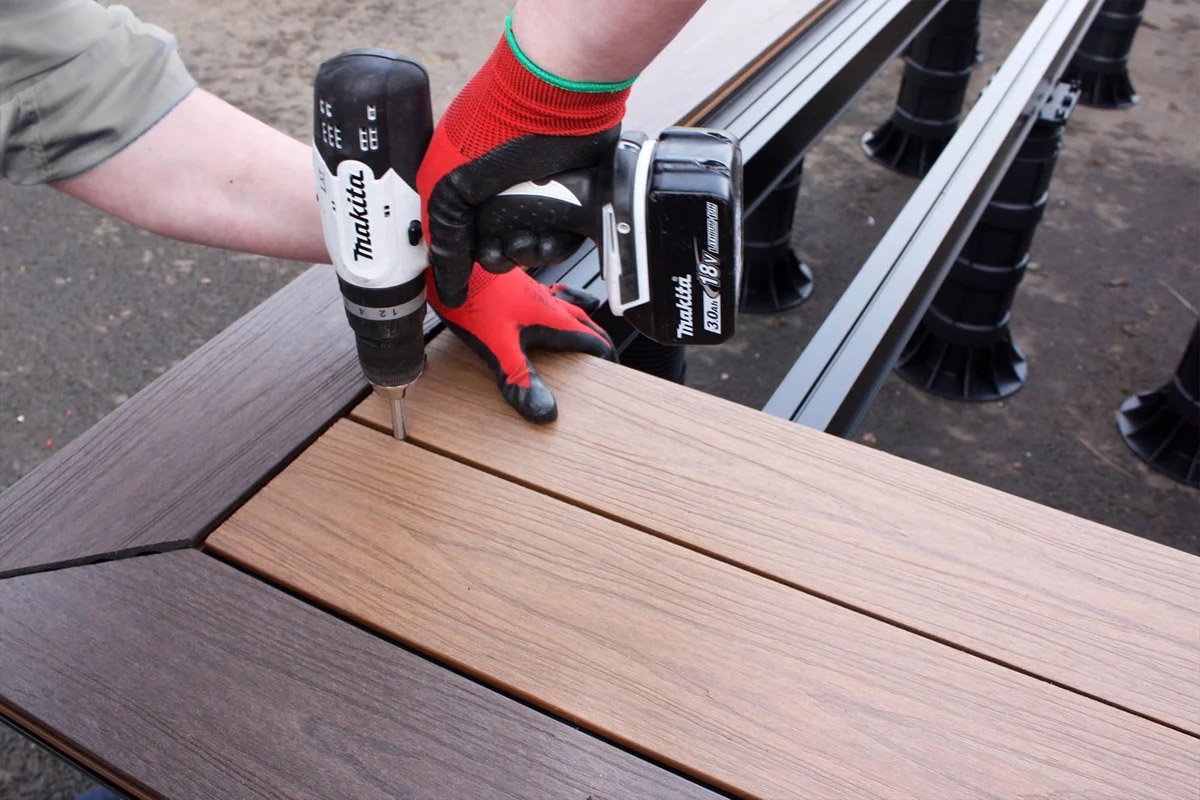
Step 4: Installing a Drainage System (if necessary)
Proper drainage is essential for maintaining the integrity and longevity of your synthetic grass installation. If your roof deck patio doesn’t already have a reliable drainage system in place, it’s important to install one to prevent water accumulation and potential damage to the synthetic grass. Here’s how you can install a drainage system if necessary:
- Evaluate the existing drainage: Assess the current drainage situation of your roof deck patio. Look for any signs of water pooling or areas where water tends to accumulate. Identify areas where water may potentially flow towards the synthetic grass installation and plan accordingly.
- Determine the drainage requirements: Depending on the size and slope of your roof deck patio, you may need to implement different drainage techniques. Consider using channels, catch basins, or drains to redirect water away from the synthetic grass area. Consult with a professional if you’re unsure about the best drainage solution for your specific situation.
- Plan the drainage system: Once you have determined the drainage requirements, create a plan and layout for the installation of the drainage system. Identify the ideal locations for the drains or catch basins and ensure they are strategically placed to effectively remove excess water.
- Excavate the areas: Use a shovel or an excavator to dig the necessary trenches for the drainage system. Ensure the trenches are at the appropriate depth and slope to facilitate proper water flow. Remove any rocks or debris from the trenches to prevent obstructions.
- Install the drainage components: Install the drains, catch basins, or channels according to your pre-determined plan. Follow the manufacturer’s instructions for proper installation. Connect the drainage components and ensure a secure and watertight fit.
- Test the drainage system: After installing the drainage system, perform a test by pouring water into the drains or channels and observe the water flow. Make any adjustments as needed to ensure proper drainage away from the synthetic grass installation.
- Backfill and level the trenches: Once the drainage system has been tested, backfill the trenches with gravel or rock to provide stability and support. Compact the backfill material to ensure a level surface.
By installing a proper drainage system, you can prevent water accumulation and potential damage to your synthetic grass. A well-designed and functioning drainage system will help maintain the aesthetics and performance of your roof deck patio, allowing you to enjoy your outdoor space to the fullest.
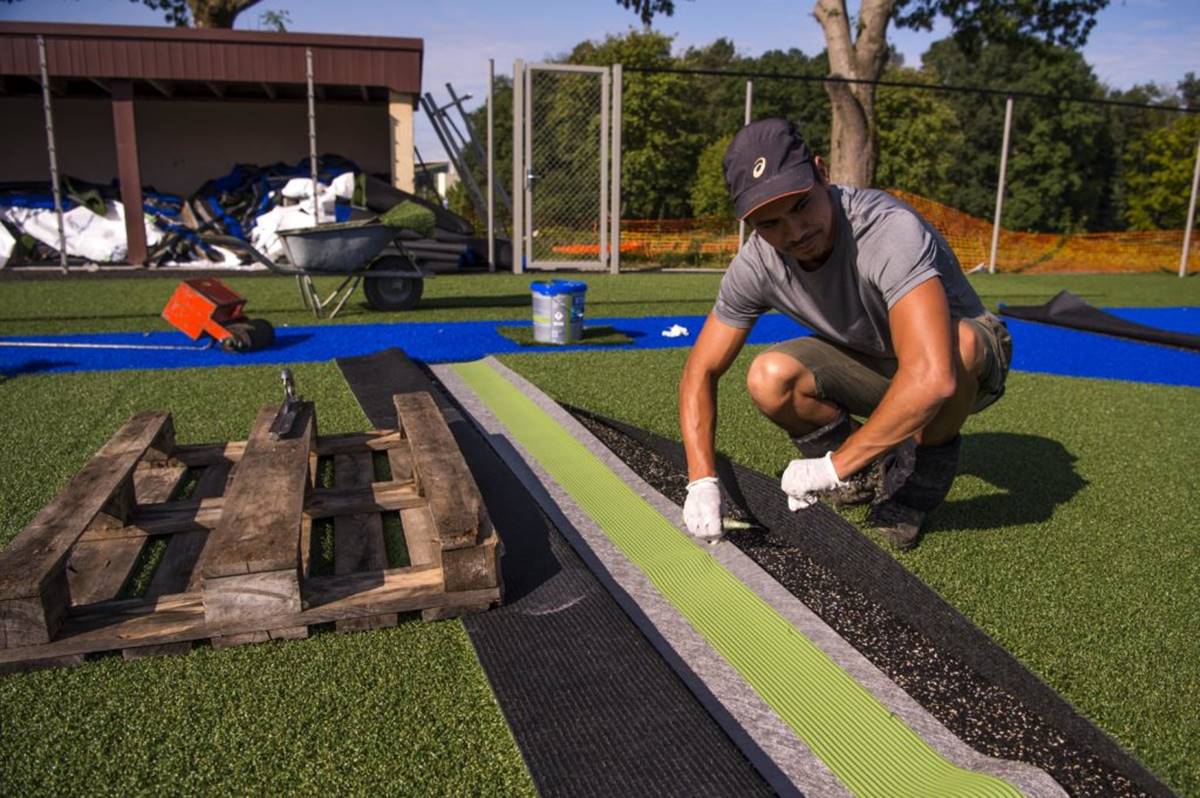
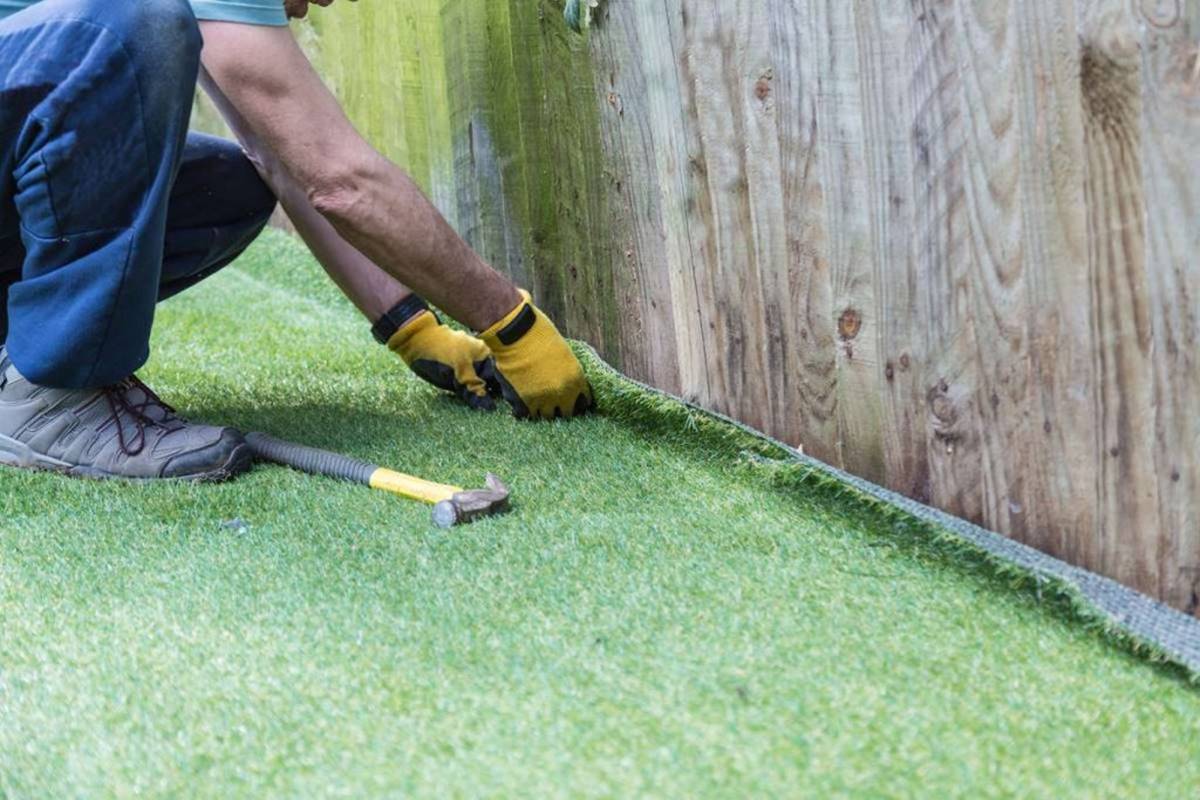
When installing synthetic grass on a roof deck patio, make sure to properly clean and prepare the surface before laying down the turf. This will ensure a smooth and long-lasting installation.
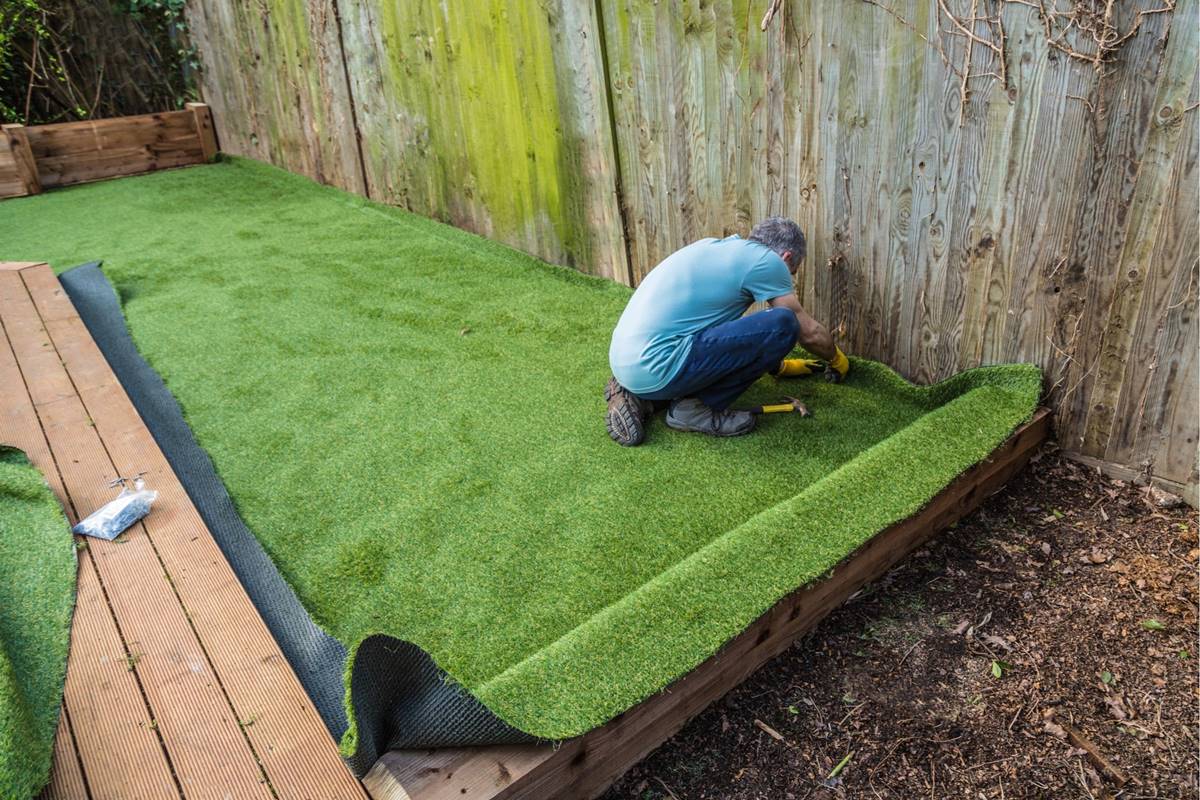
Step 5: Laying the Synthetic Grass
Now that you have prepared the surface and addressed any necessary drainage considerations, it’s time to lay the synthetic grass on your roof deck patio. This step requires careful attention to detail and proper technique to ensure a smooth installation. Here’s how to properly lay the synthetic grass:
- Roll out the synthetic grass: Start by rolling out the synthetic grass rolls across your roof deck patio. Make sure to unroll the grass in the direction of the grain as determined during the planning phase. Allow the grass to relax and acclimate to the surroundings for a few hours.
- Trim and adjust: After the synthetic grass has relaxed, begin trimming any excess material using a utility knife. Trim along the edges, corners, and around any obstacles to ensure a precise fit. Take your time and cut slowly to achieve clean and straight lines.
- Secure the synthetic grass: Use landscape staples or adhesive to secure the synthetic grass to the roof deck surface. Place the staples or apply the adhesive along the edges and seams of the grass every few inches to ensure a secure and flat installation. Avoid placing staples directly into the grass blades.
- Avoid stretching the grass: Be cautious not to stretch the synthetic grass during the installation process. Stretching can cause the grass to appear uneven or result in wrinkles and ripples. Allow the natural weight of the grass and proper securing techniques to ensure a smooth and natural-looking surface.
- Match up the seams: If your roof deck patio requires multiple pieces of synthetic grass, carefully match up the seams to create a seamless appearance. Use joining tape and adhesive to connect the edges of the grass rolls, following the manufacturer’s instructions for proper application.
- Make necessary adjustments: After securing the synthetic grass and joining the seams, step back and inspect the overall installation. Look for any areas that may require adjustments or fine-tuning. Smooth out any areas, remove any visible debris, and ensure that the grass appears visually even.
By following these steps, you will achieve a professional and visually appealing installation of synthetic grass on your roof deck patio. Taking the time to lay the synthetic grass properly will ensure a durable and long-lasting outdoor surface that brings the beauty of a well-manicured lawn to your rooftop oasis.
Step 6: Securing the Edges of the Synthetic Grass
Securing the edges of the synthetic grass is a crucial step to ensure a tidy and long-lasting installation. Properly securing the edges will prevent the grass from shifting or lifting over time, providing a clean and professional finish. Here’s how to secure the edges of the synthetic grass:
- Cut the excess grass: Use a utility knife to trim any excess synthetic grass along the edges of your roof deck patio. Make sure to cut as close to the edge as possible for a neat appearance.
- Install edge restraints: Place edge restraints along the perimeter of the synthetic grass installation area. These can be concrete curbs, plastic or metal edging, or even wooden stakes. Secure the edge restraints into the ground, ensuring they sit slightly above the level of the synthetic grass.
- Attach the grass to the edge restraints: Use landscape spikes or nails to fasten the edges of the synthetic grass to the edge restraints. Insert the spikes or nails through the grass and into the ground, making sure to space them evenly along the edge. Be careful not to damage the grass blades while securing the edges.
- Use adhesive (if necessary): If you prefer a more permanent solution, you can apply adhesive to the edge of the synthetic grass before attaching it to the edge restraints. Follow the manufacturer’s instructions for the adhesive application and be cautious not to get any adhesive on the grass blades.
- Ensure a secure installation: After securing the edges of the synthetic grass, walk along the perimeter and check that it is securely held in place. Adjust any loose areas and make sure there are no visible gaps or wrinkles.
By properly securing the edges of the synthetic grass, you will maintain the overall integrity and aesthetics of your roof deck patio. A secure installation will prevent the grass from shifting or lifting during use, ensuring that your synthetic lawn remains beautiful and functional for years to come.
Step 7: Adding Infill (optional)
Adding infill to your synthetic grass installation is an optional step, but it can provide several benefits such as improving the overall durability, stability, and natural appearance of the grass. Infill refers to the materials that are spread across the synthetic grass to add weight, support the blades, and help the grass fibers stand upright. Here’s how to add infill to your synthetic grass:
- Choose the right type of infill: There are various types of infill materials available, such as silica sand, rubber granules, or organic materials like cork or coconut fibers. Consider factors like foot traffic, climate, and personal preference when selecting the infill material. Consult with a professional or supplier to determine the best option for your roof deck patio.
- Distribute the infill: Using a spreader or a shovel, evenly distribute the infill material across the synthetic grass surface. Start at one end and work your way to the other, ensuring consistent coverage. Be mindful not to overfill the grass, as this can weigh it down and affect its appearance.
- Rake or brush the infill: Once the infill material is spread on the synthetic grass, use a rake or a brush to work it into the grass fibers. This will help the infill settle evenly and ensure that it reaches the base of the synthetic grass. Brushing the grass in different directions will also help the blades stand upright.
- Check for evenness: After adding and brushing the infill, check the synthetic grass for evenness and adjust as necessary. Pay attention to any uneven areas or clumps of infill and spread or remove them to maintain a smooth and consistent appearance.
- Repeat the process if needed: Depending on the type of infill used and the desired level of coverage, you may need to repeat the infilling process to achieve the desired result. Follow the manufacturer’s guidelines for the recommended infill depth and adjust accordingly.
While adding infill is optional, it can significantly enhance the performance and appearance of your synthetic grass installation. Infill helps provide support, stability, and a more natural feel to the grass, ensuring that your roof deck patio maintains its pristine appearance for a long time.
Step 8: Brushing and Maintaining the Synthetic Grass
Once your synthetic grass is installed and infilled, it’s important to establish a regular brushing and maintenance routine to keep it in optimal condition. Brushing the grass helps to keep the blades upright and evenly distribute the infill, while proper maintenance ensures its longevity. Here’s how to properly brush and maintain your synthetic grass:
- Brush the grass regularly: Use a stiff brush or a broom with synthetic bristles to brush the grass fibers in different directions. This helps to prevent matting, keep the blades upright, and distribute the infill evenly. Brush the grass at least once a month, or more frequently in high-traffic areas.
- Remove debris and leaves: Regularly remove any debris, leaves, or organic matter that may accumulate on the surface of the synthetic grass. Use a leaf blower, rake, or gentle sweeping to clear the area, especially during the fall season.
- Address pet waste promptly: If you have pets using the synthetic grass, promptly remove any solid waste and rinse the area with water. For liquid waste, rinse the area to dilute and minimize odor. Regularly applying a pet grass deodorizer can help maintain freshness.
- Inspect for damage or wear: Periodically inspect the synthetic grass for any signs of damage, wear, or loose seams. Address these issues promptly to prevent further damage and ensure the longevity of your installation.
- Clear snow, ice, and frost: If you live in a region with cold winters, be cautious when clearing snow or ice from your synthetic grass. Use a plastic shovel or a broom with soft bristles to avoid damaging the grass fibers. Avoid using metal shovels or sharp objects that could tear the synthetic grass.
- Manage weeds: Although synthetic grass greatly reduces the growth of weeds, some may still manage to find their way through. Promptly remove any weeds that appear and consider using a pet-friendly herbicide to prevent weed growth.
- Address stains and spills: Quickly clean and remove any stains or spills on the synthetic grass to prevent stubborn marks. Use a mild detergent or specialized grass cleaner, following the manufacturer’s instructions. Rinse the area thoroughly and allow it to dry completely.
- Keep heavy objects off the grass: Avoid placing heavy objects or furniture directly on the synthetic grass for extended periods. This can cause indentations or damage to the fibers. Use furniture pads or move objects periodically to prevent flattening or discoloration.
By implementing a regular brushing and maintenance routine, you’ll ensure that your synthetic grass remains in pristine condition for years to come. Proper care and attention will maintain the beauty and functionality of your roof deck patio, providing you with a stunning outdoor space to enjoy.
Read more: What Is Used For Roof Decking
Conclusion
Congratulations on successfully installing synthetic grass on your roof deck patio! By following the step-by-step guide outlined in this article, you have transformed your outdoor space into a beautiful and low-maintenance oasis. Synthetic grass offers numerous benefits, including the elimination of mowing, watering, and fertilizing, while still providing the lush and vibrant appearance of natural grass.
From preparing the roof deck surface to laying the synthetic grass and securing the edges, each step in the installation process plays a vital role in creating a long-lasting and visually appealing result. Taking the time to properly measure, plan, and prepare the site ensures a seamless installation that enhances the overall aesthetic of your roof deck patio.
Remember to brush and maintain your synthetic grass regularly, as this will keep the blades upright, evenly distribute the infill, and prevent debris from accumulating. By establishing a routine and addressing any issues promptly, you can extend the lifespan of your synthetic grass and continue to enjoy the beauty and functionality it brings to your outdoor space.
Whether you’re looking to create an intimate rooftop relaxation area or an inviting space for entertaining guests, synthetic grass provides a sustainable and durable solution. With its low maintenance requirements and ability to withstand various weather conditions, synthetic grass allows you to enjoy the beauty of a well-manicured lawn without the hassle.
So go ahead, sit back, and relax on your roof deck patio with the assurance that your synthetic grass will provide a lush and inviting atmosphere for years to come. Enjoy the benefits of a stunning outdoor space without the time-consuming maintenance of natural grass!
Frequently Asked Questions about How To Install Synthetic Grass For Roof Deck Patio
Was this page helpful?
At Storables.com, we guarantee accurate and reliable information. Our content, validated by Expert Board Contributors, is crafted following stringent Editorial Policies. We're committed to providing you with well-researched, expert-backed insights for all your informational needs.


0 thoughts on “How To Install Synthetic Grass For Roof Deck Patio”