Home>Garden Essentials>How To Prepare Poppy Seeds For Baking
Garden Essentials
How To Prepare Poppy Seeds For Baking
Modified: March 16, 2024
Learn how to prepare poppy seeds from your garden for baking delicious treats. Discover our easy step-by-step guide for perfect results every time.
(Many of the links in this article redirect to a specific reviewed product. Your purchase of these products through affiliate links helps to generate commission for Storables.com, at no extra cost. Learn more)
Introduction
Gardening is a delightful hobby that brings joy, beauty, and fresh produce to our lives. Whether you have a sprawling backyard or a small balcony, creating your own garden can be a rewarding experience. From growing vibrant flowers to cultivating delicious vegetables, there are endless possibilities to explore in the world of gardening.
One of the most fascinating aspects of gardening is the variety of plants you can cultivate. From aromatic herbs to exotic fruits, each plant has its own unique characteristics and requirements. In this article, we will focus on one particular plant that has been cherished for centuries – the poppy plant.
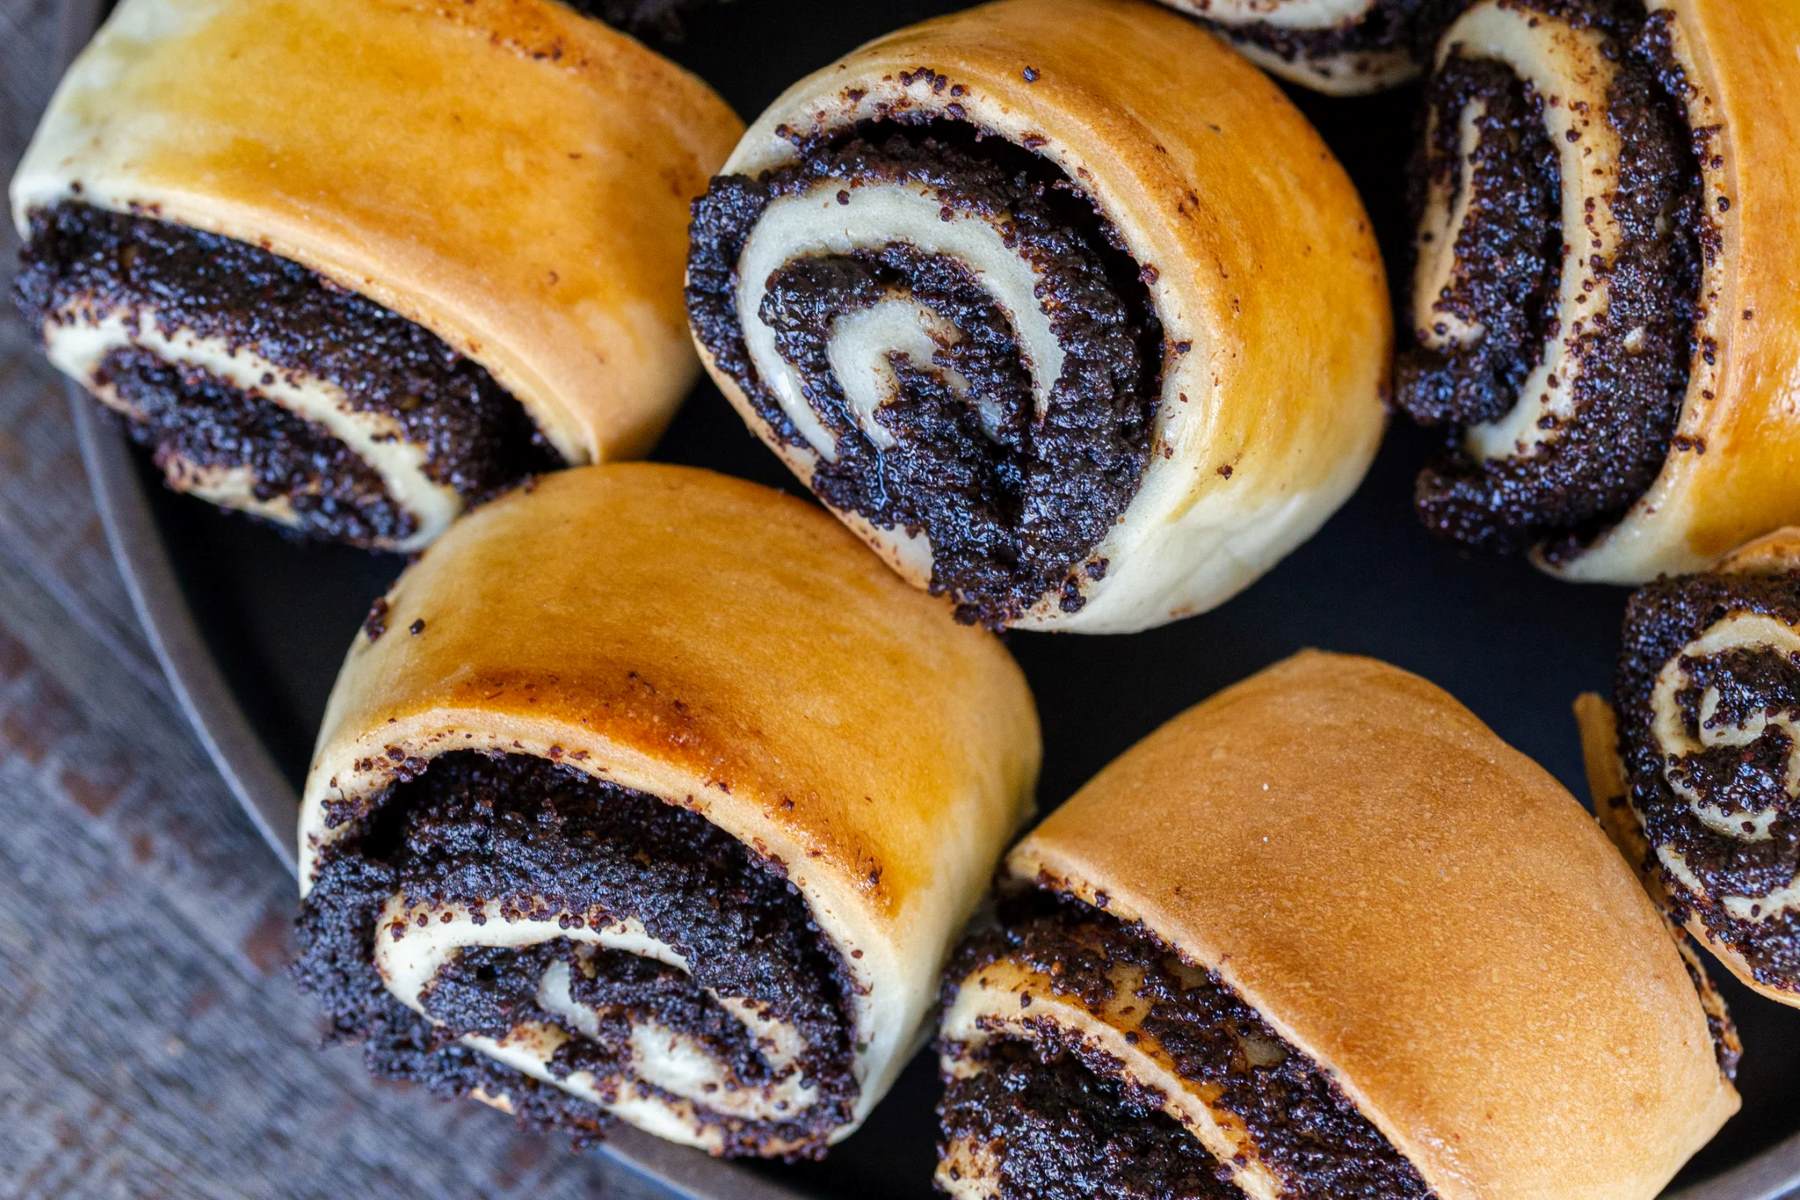
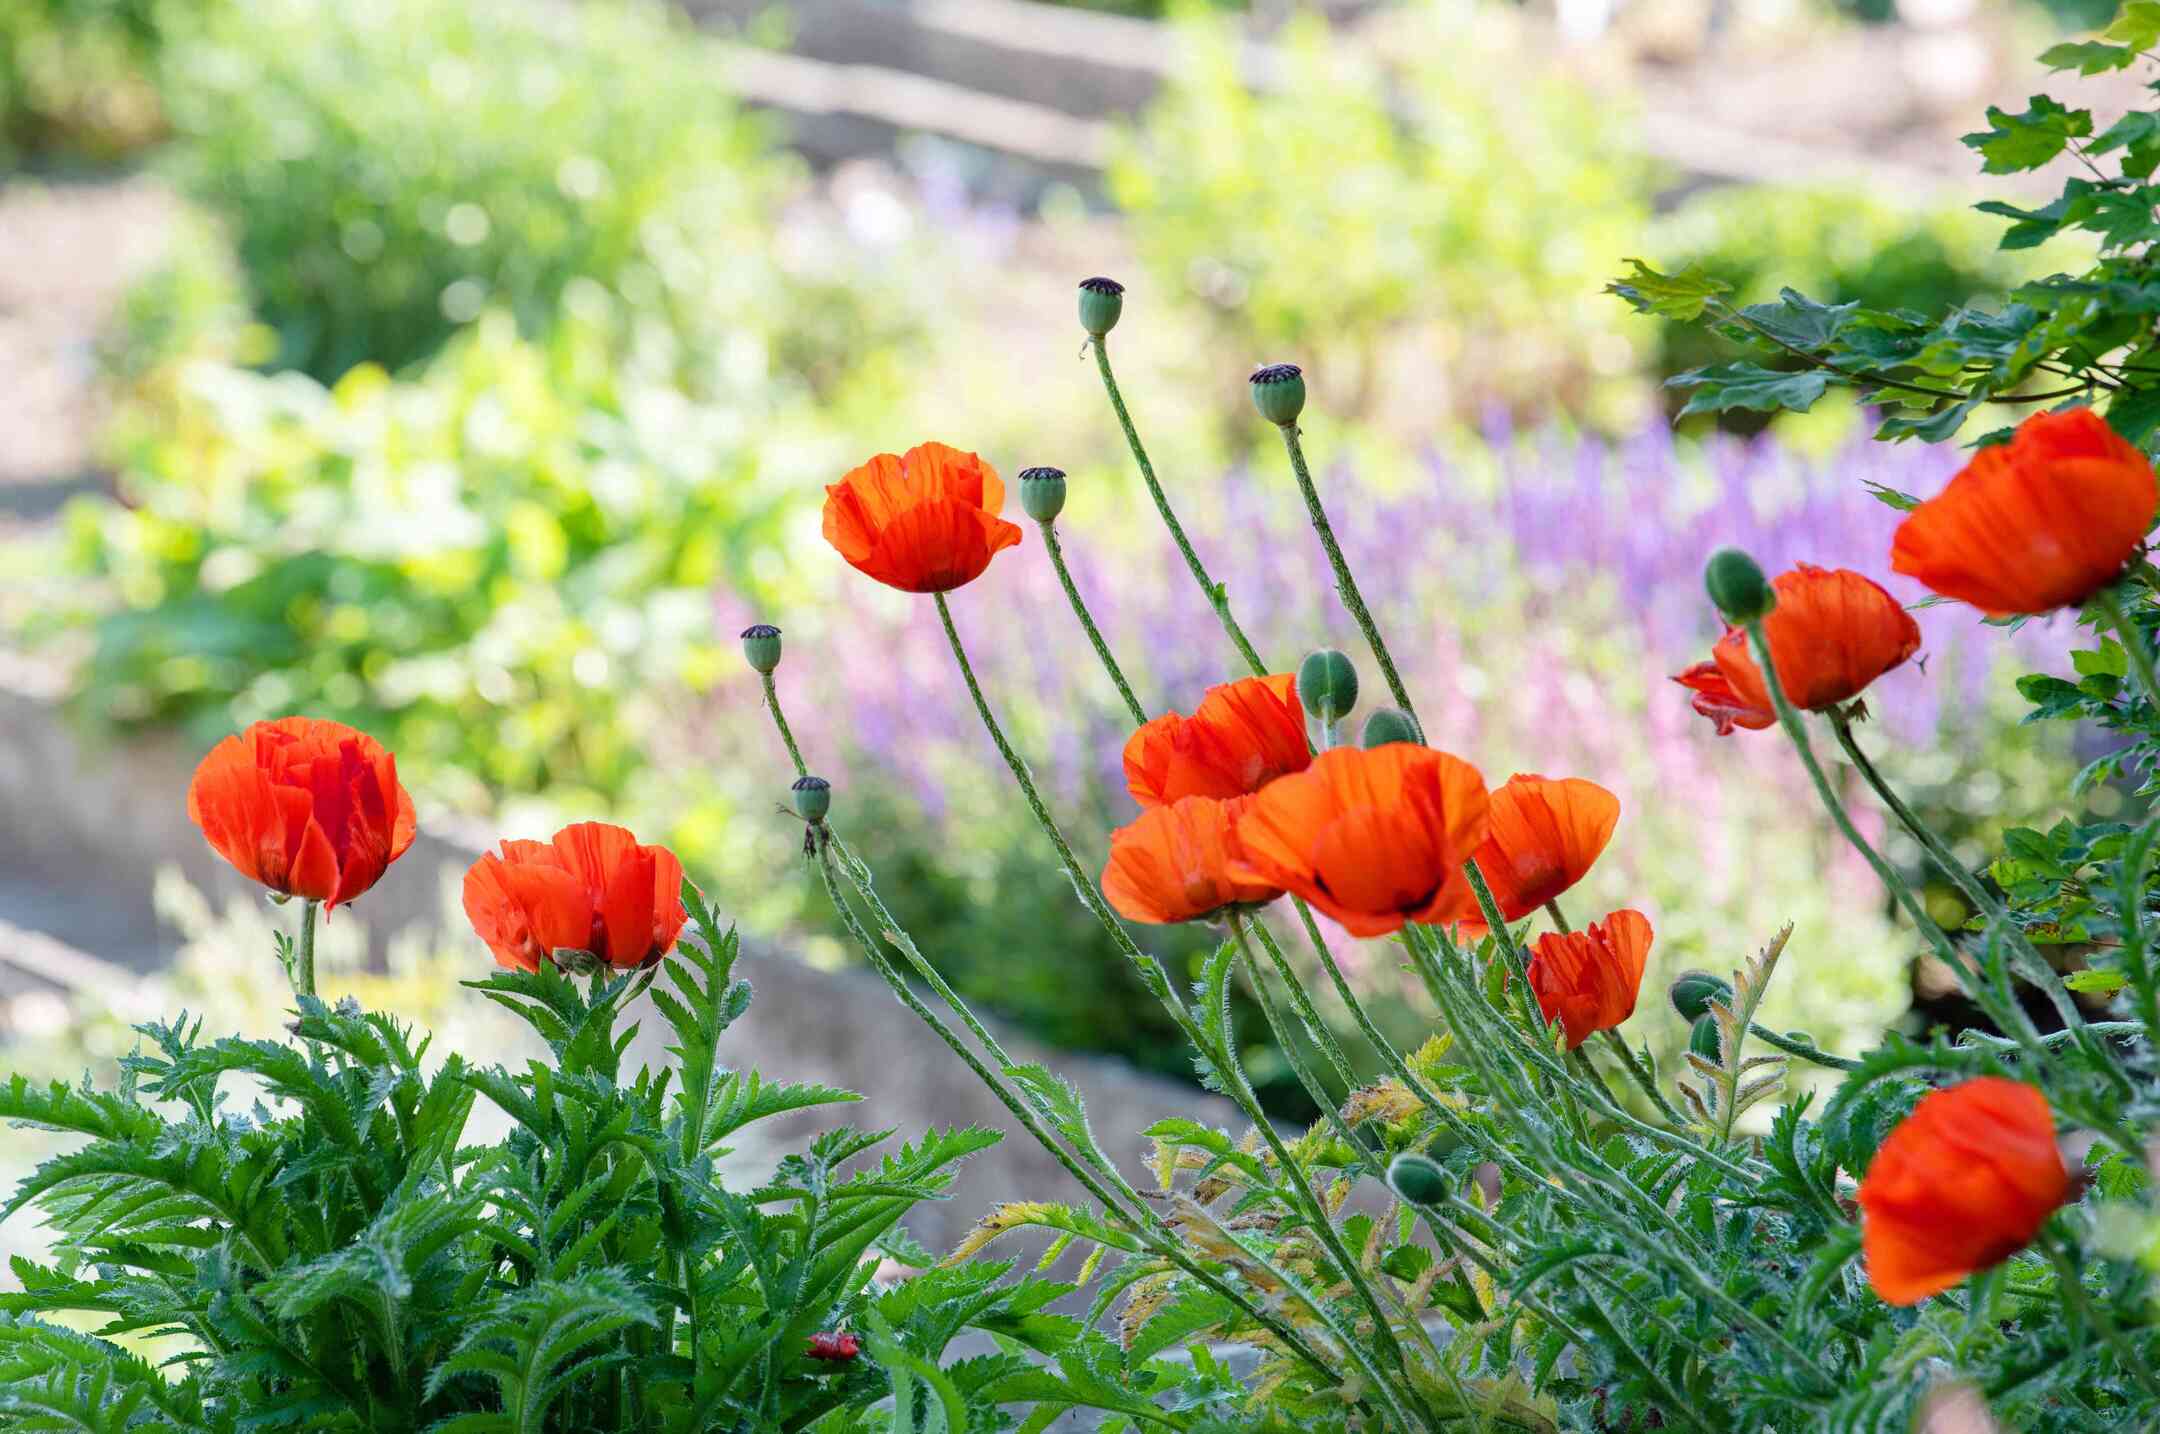
Poppy plants are not only known for their stunning blooms, but also for their culinary uses. Poppy seeds, in particular, have gained popularity in baking and cooking. These tiny, kidney-shaped seeds have a distinct nutty flavor and add a delightful crunch to a wide range of dishes.
If you have never prepared poppy seeds before, don’t worry! In this article, we will guide you through the process of preparing poppy seeds for baking. Whether you want to make a delectable poppy seed cake or add a sprinkle of these seeds to your homemade bread, we’ve got you covered.
So, grab your apron and let’s dive into the world of poppy seeds!
Key Takeaways:
- Choosing high-quality poppy seeds and cleaning them thoroughly before baking ensures the best flavor and texture in your recipes. Look for plump, uniform seeds and soak them to enhance their nutty taste.
- Grinding and toasting poppy seeds unlocks their full flavor potential. Store them in a cool, dry place to maintain their freshness and use them within 3-6 months for optimal results in your baking adventures.
Read more: How To Save Poppy Seeds
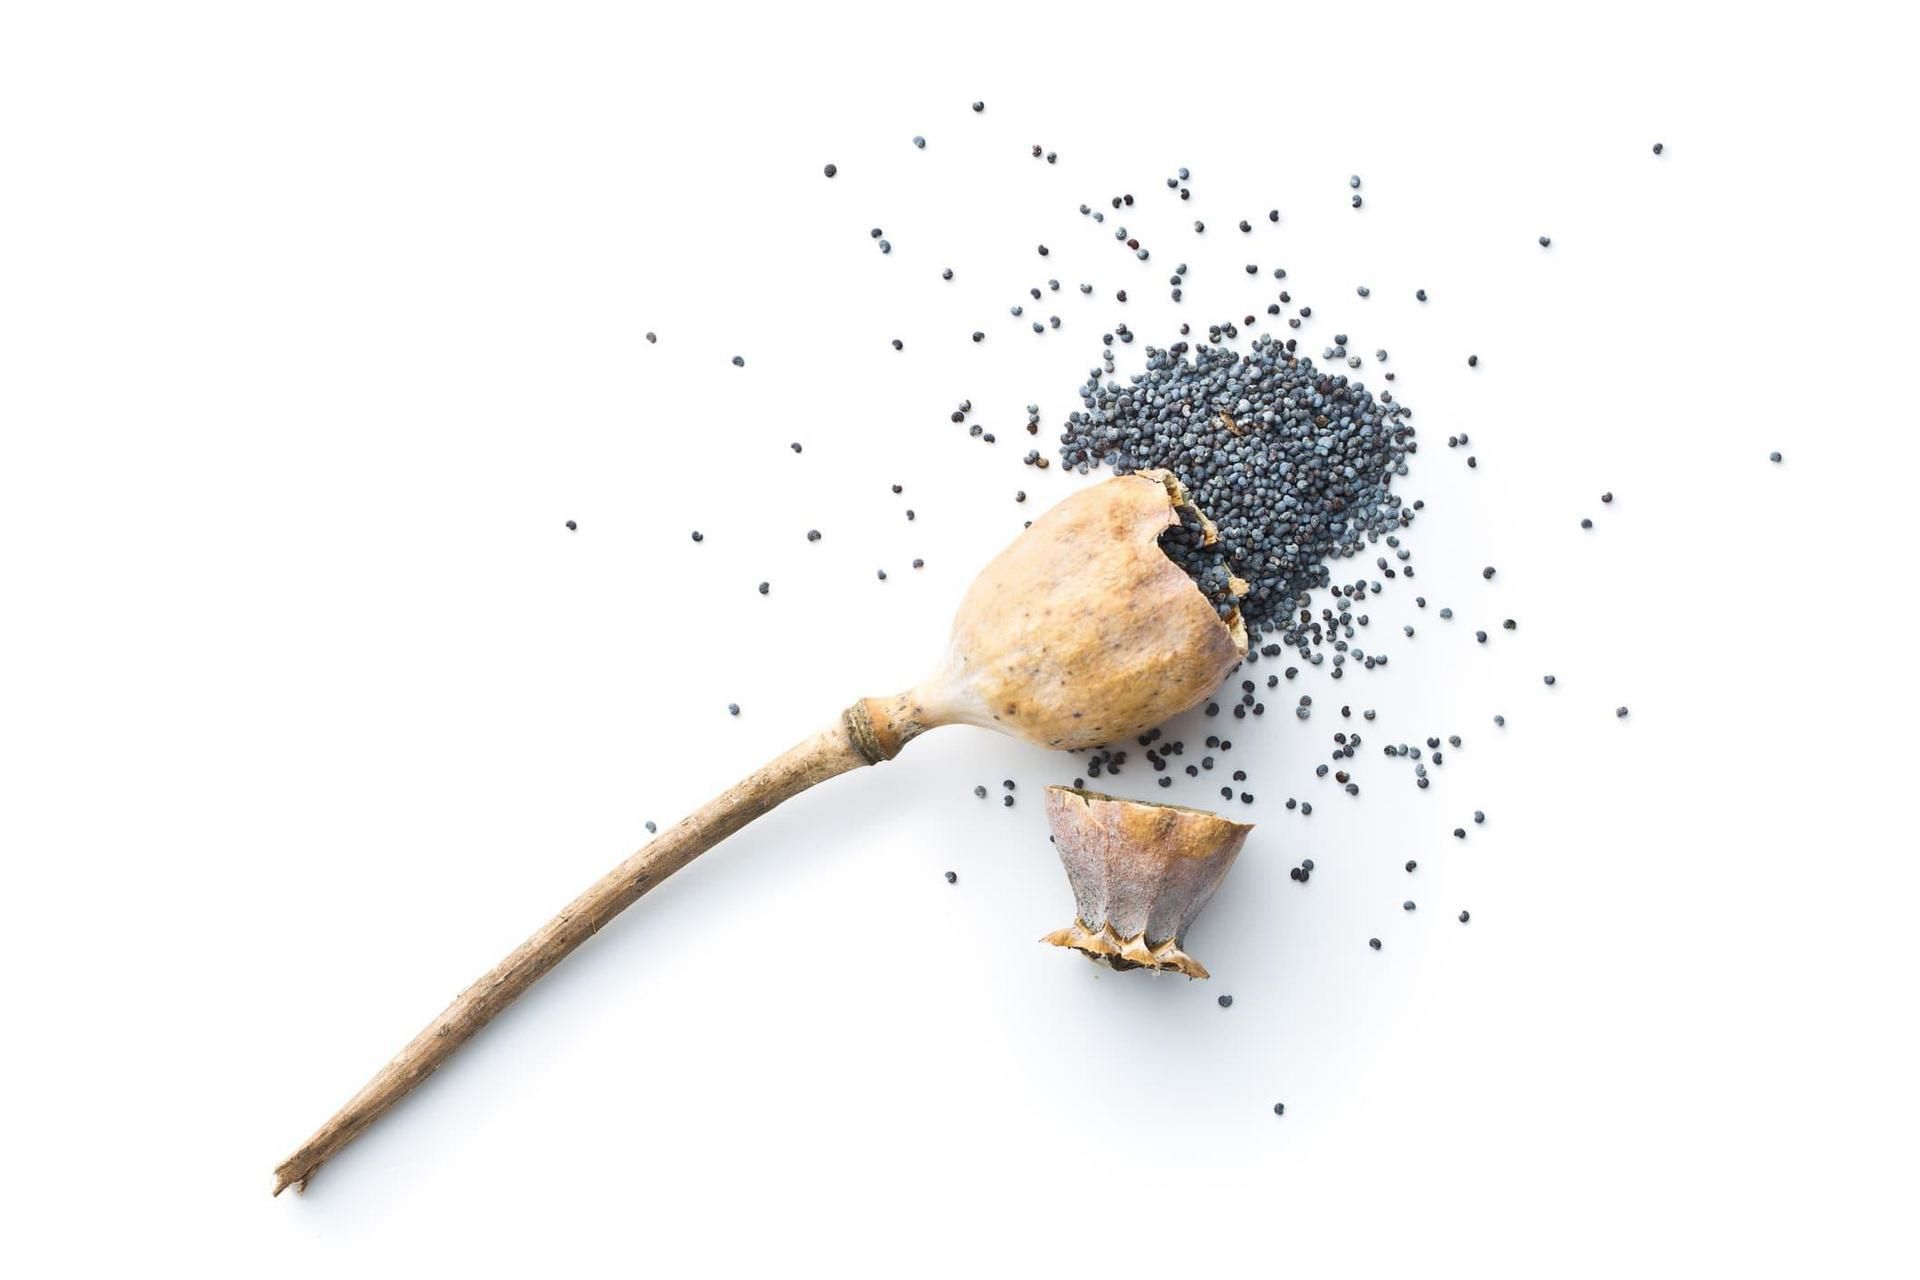
Choosing the Right Poppy Seeds
When it comes to preparing poppy seeds for baking, the first step is to choose the right seeds. While poppy seeds may all look similar, there are a few factors to consider when making your selection.
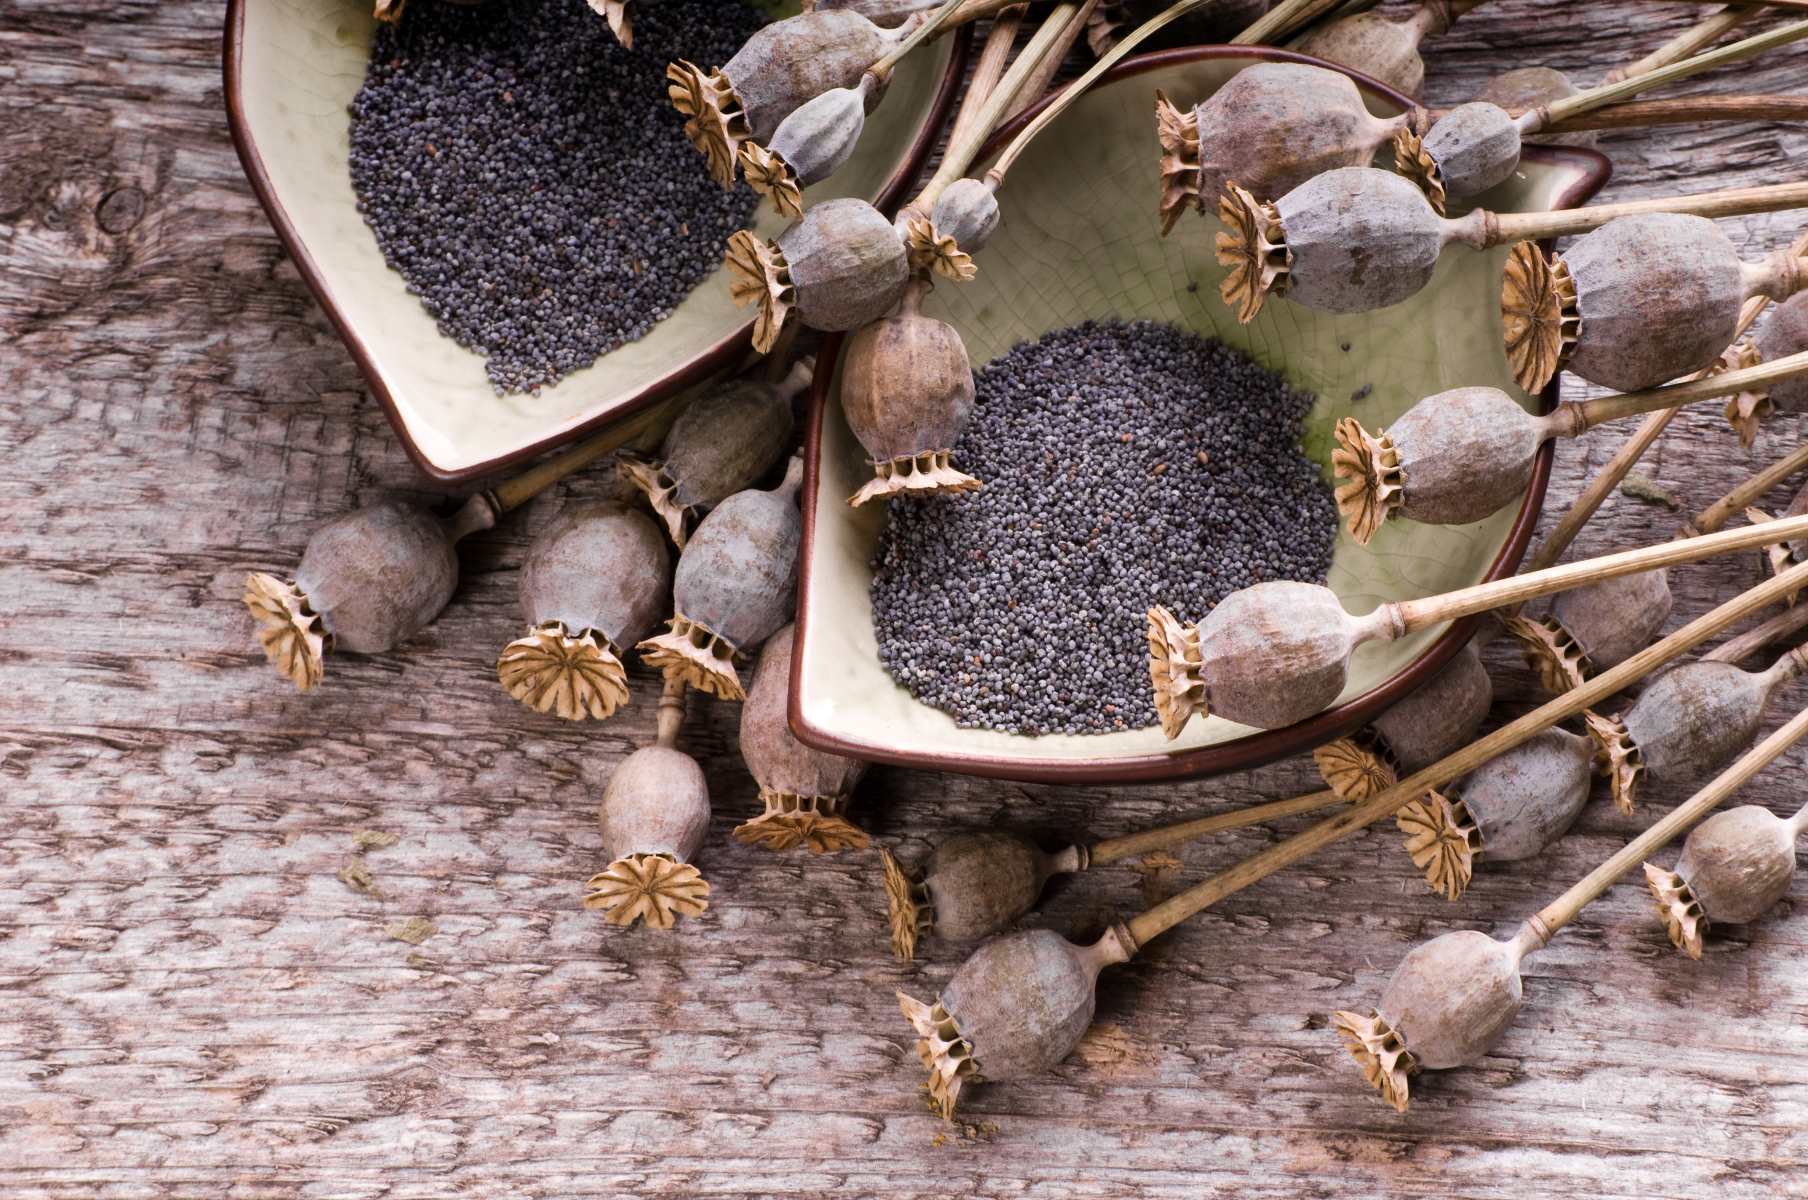
1. Quality: Opt for high-quality poppy seeds to ensure the best flavor and freshness. Look for seeds that are plump, uniform in color, and free from debris or mold.
2. Source: Consider the source of the poppy seeds. Organic or locally sourced seeds are often a safe bet, as they are more likely to be free from pesticides and contaminants.
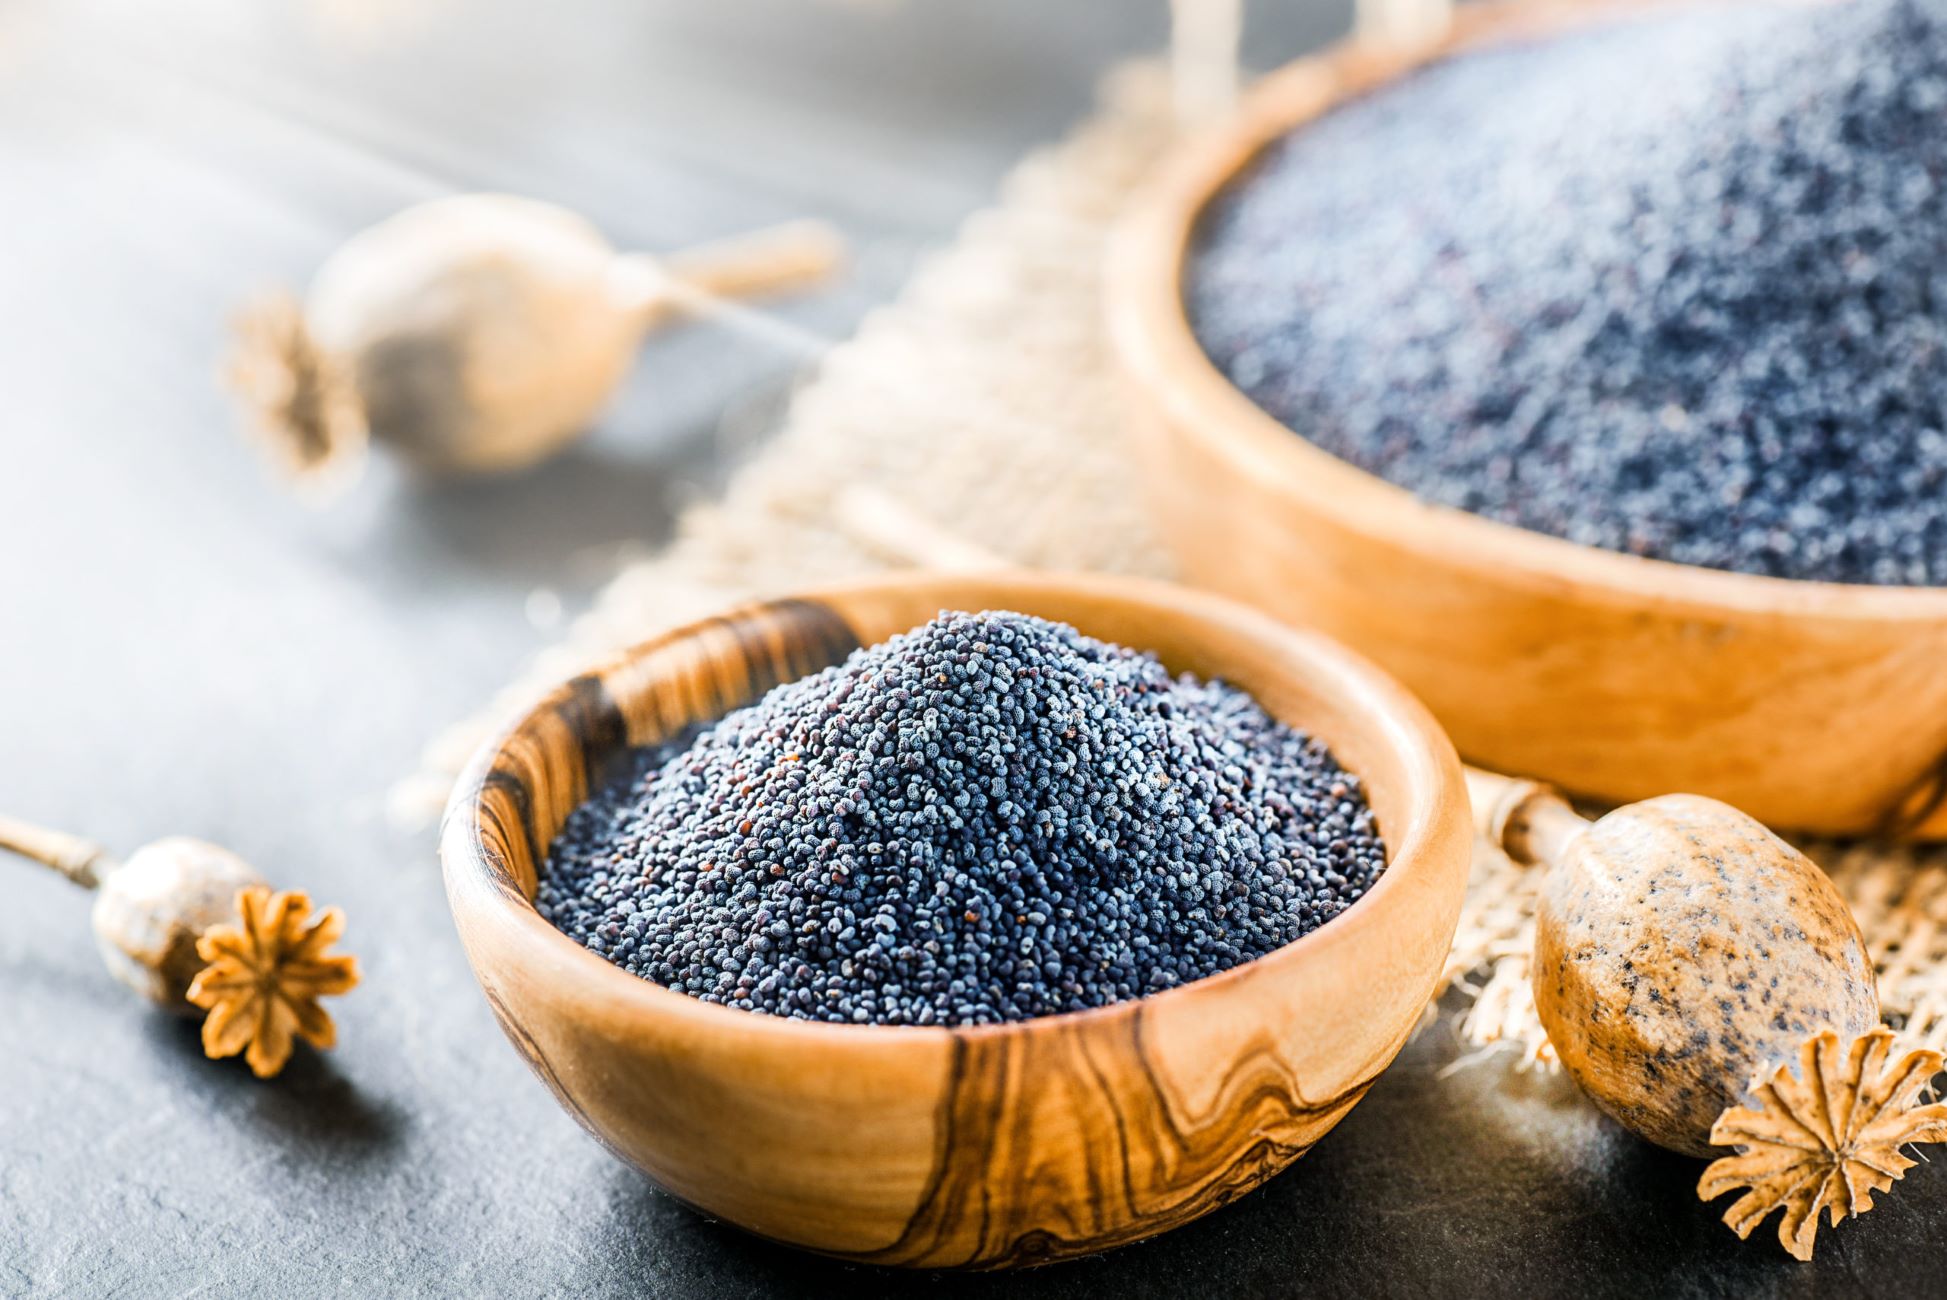
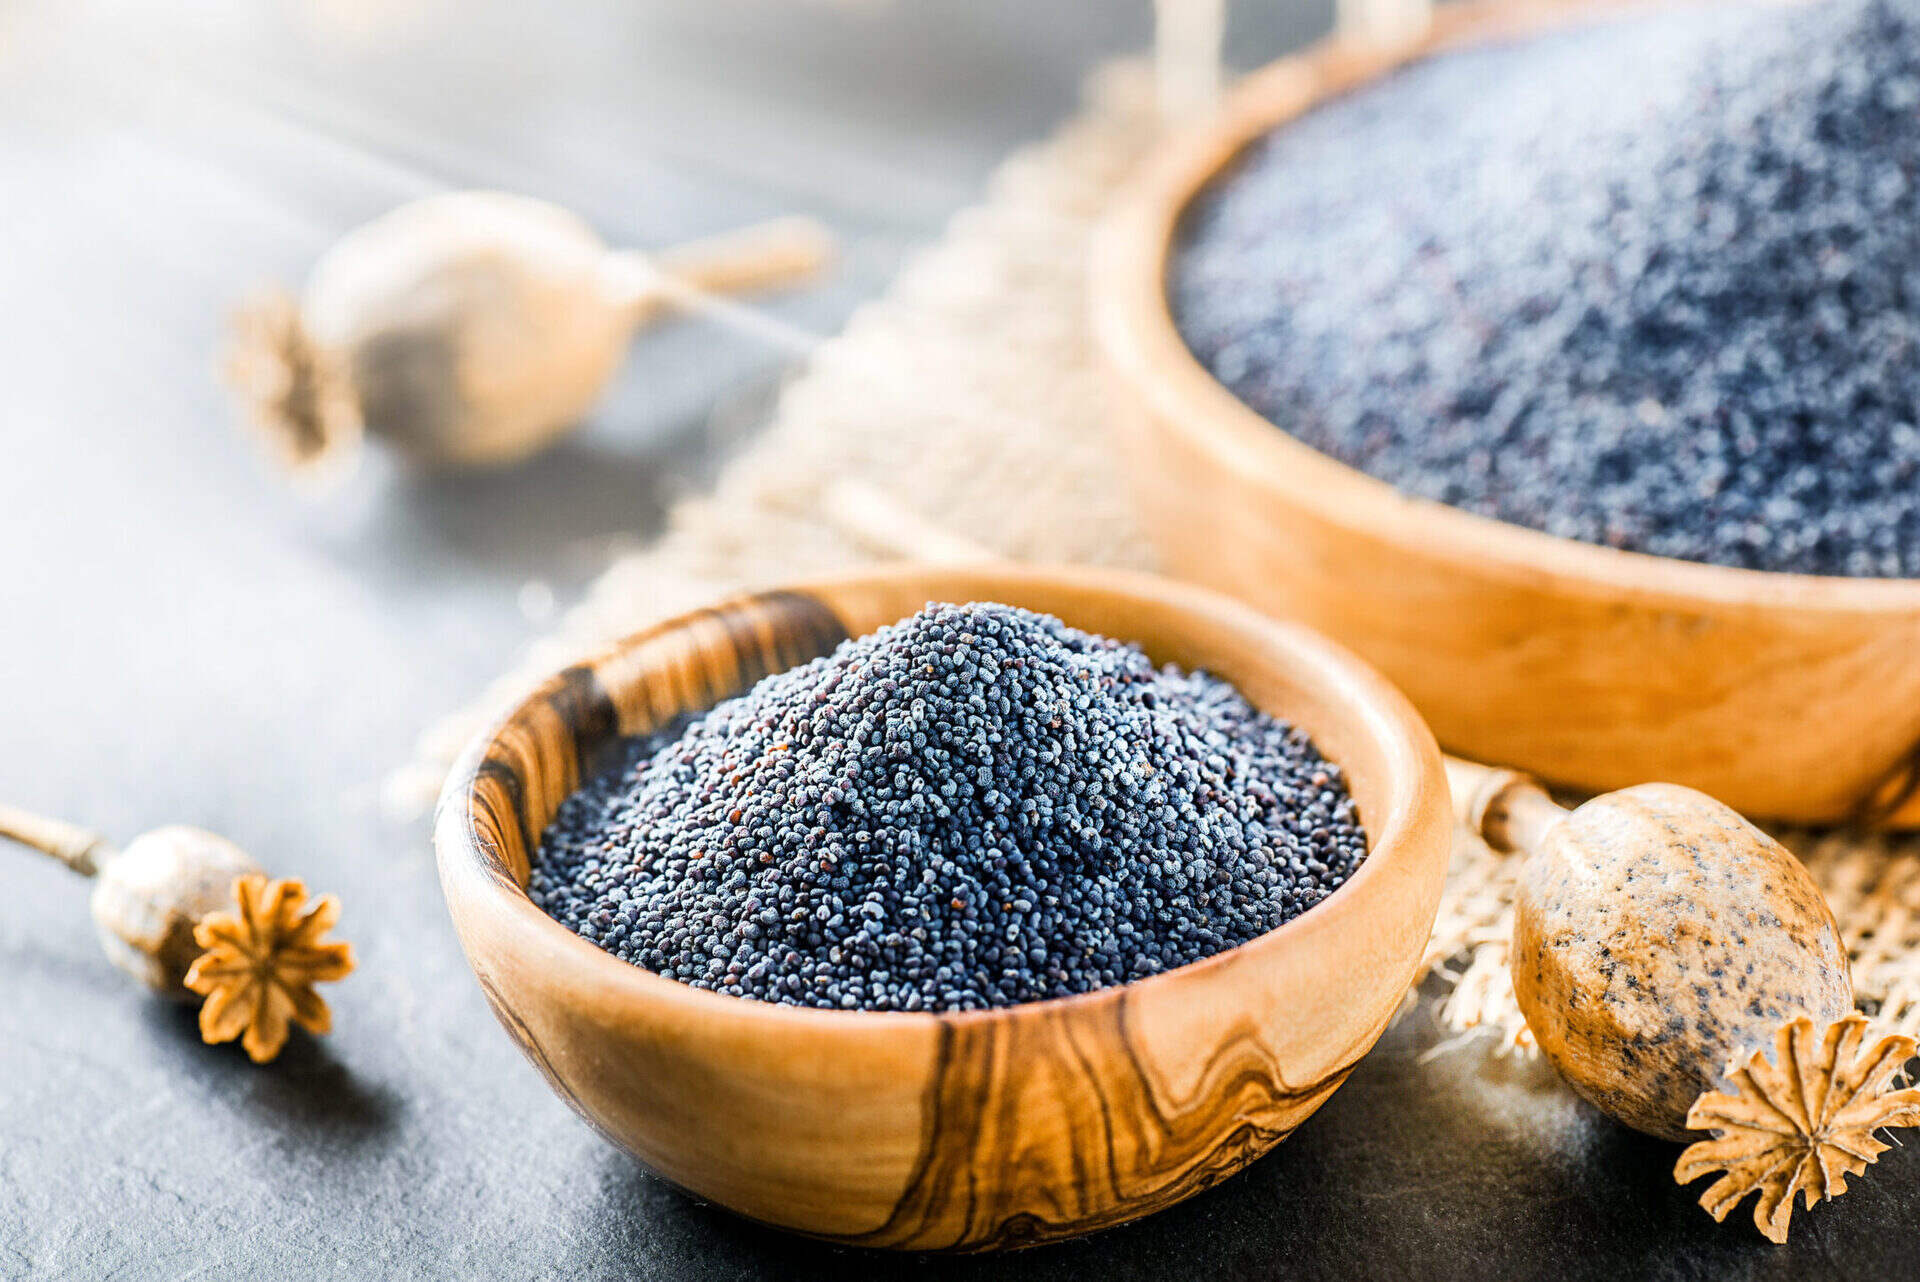
3. Variety: There are different varieties of poppy seeds available, including white, blue, and black. White seeds have a milder flavor, while blue and black seeds are more robust and flavorful. Choose the variety that best suits your taste preferences and the recipe you are planning to make.
4. Packaging: Pay attention to the packaging of the poppy seeds. Look for seeds that are stored in airtight containers or packaging that ensures freshness. Avoid seeds that are exposed to light or stored in flimsy packaging, as they may have deteriorated in quality.
5. Date of Production: Check the expiration or production date on the poppy seed package. Fresher seeds will have a stronger flavor and better texture.
By considering these factors, you can ensure that you have the best poppy seeds for your baking endeavors. Once you have selected your poppy seeds, it’s time to move on to the next step – cleaning and soaking them.
Cleaning and Soaking Poppy Seeds
Before using poppy seeds in your baking, it’s crucial to clean and soak them properly. This step helps remove any impurities, enhances their flavor, and improves their texture. Follow these steps to clean and soak your poppy seeds:
1. Inspect the Seeds: Place the poppy seeds on a clean, flat surface and carefully inspect them. Remove any debris, such as dirt, stones, or twigs. This is an essential step to ensure that you won’t encounter any unpleasant surprises while consuming or baking with the seeds.
2. Rinse the Seeds: Place the poppy seeds in a fine-mesh sieve or strainer and rinse them under cold running water. Gently rub the seeds with your fingers to remove any remaining impurities. Continue rinsing until the water runs clear, indicating that the seeds are clean.
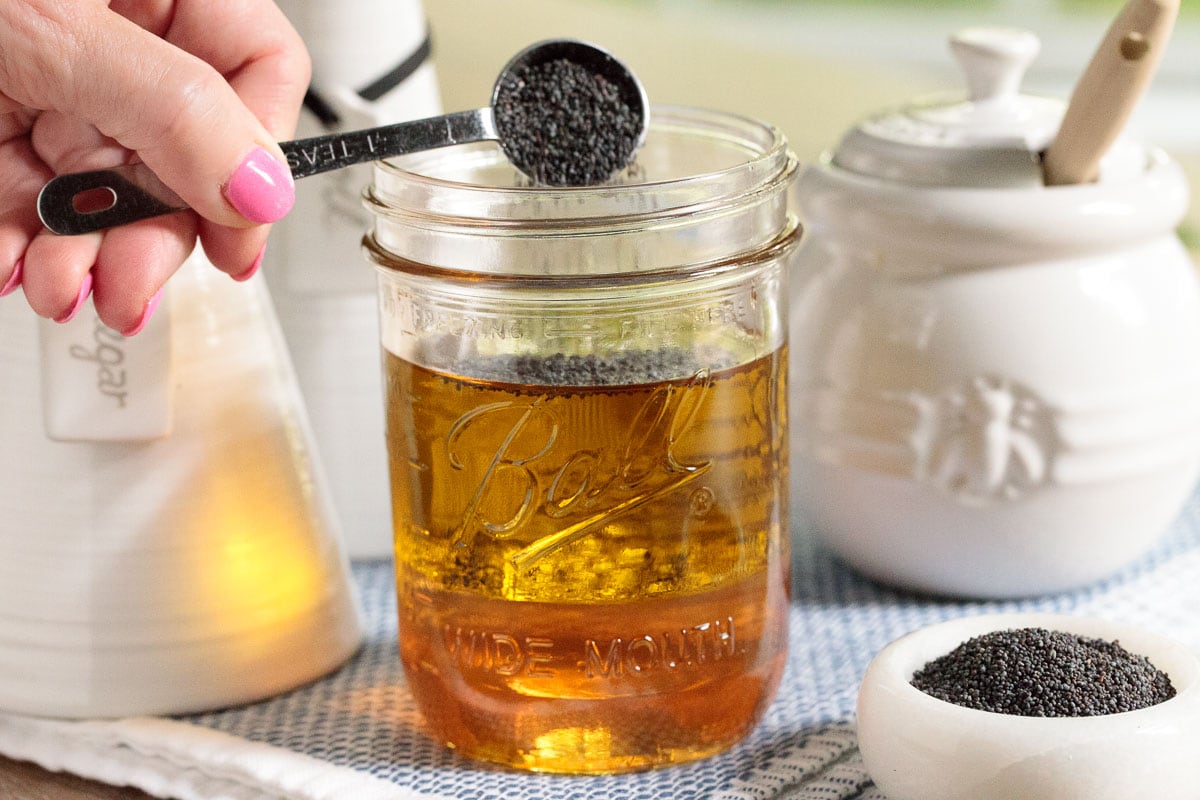
3. Soak the Seeds: Transfer the rinsed poppy seeds to a bowl and cover them with warm water. Allow the seeds to soak for at least 2 hours or overnight. Soaking the seeds softens their outer shell, making them easier to grind and enhancing their flavor.
4. Drain and Dry: After soaking, drain the water from the poppy seeds using a sieve or strainer. Spread the wet seeds on a clean kitchen towel or paper towel and pat them dry gently. Ensure that the seeds are completely dry before proceeding to the next step.
By cleaning and soaking your poppy seeds, you ensure that they are free from impurities and have the best texture and flavor. Now that the seeds are clean and ready, it’s time to grind them!
Grinding the Poppy Seeds
Now that your poppy seeds are clean and dry, it’s time to grind them. Grinding the seeds is essential to release their flavors and incorporate them into your baked goods. Follow these steps to grind your poppy seeds:
1. Use a Spice Grinder: A dedicated spice grinder or a coffee grinder works best for grinding poppy seeds. Make sure the grinder is clean and dry before you begin.
2. Add Small Batches: To ensure even and efficient grinding, add the poppy seeds in small batches. Overloading the grinder can result in uneven grinding and may affect the final texture of your baked goods.
3. Pulse and Grind: Start by pulsing the grinder a few times to break down the poppy seeds. This helps prevent the seeds from getting stuck or clumped together. Then, continue grinding until the seeds are finely ground and have a powdery consistency.
4. Check for Consistency: Occasionally stop and check the consistency of the ground poppy seeds. They should be finely ground, similar to a coarse flour. Avoid grinding for too long, as this may cause the seeds to release excess oil and turn into a paste.
5. Transfer and Repeat: Once the first batch of poppy seeds is ground to the desired consistency, transfer it to a separate container. Continue grinding the remaining batches of poppy seeds in the same manner until you have ground all of them.
6. Clean the Grinder: After grinding the poppy seeds, be sure to clean the grinder thoroughly to remove any residue. This prevents cross-contamination of flavors in future uses.
By grinding your poppy seeds, you unlock their full potential and incorporate their unique flavor into your baked goods. Now that you have finely ground poppy seeds, you can explore another technique – toasting.
Soak poppy seeds in hot water for 10 minutes, then drain and grind them in a food processor to release their flavor before using them in baking.
Toasting Poppy Seeds
Toasting poppy seeds is an optional step that adds an extra layer of flavor and aroma to your baked goods. It brings out the natural oils in the seeds and enhances their nutty taste. Follow these steps to toast your poppy seeds:
1. Preheat a Pan: Place a dry skillet or frying pan over medium heat. Allow it to heat up for a couple of minutes until it is hot.
2. Add the Poppy Seeds: Once the pan is hot, add the poppy seeds in a single layer. It’s important not to overcrowd the pan to ensure even toasting.
3. Stir Constantly: Use a wooden spoon or spatula to stir the poppy seeds constantly as they toast. This prevents them from burning and ensures that they are evenly toasted on all sides.
4. Watch for Color Change: Keep a close eye on the poppy seeds as they toast. They will start to turn a light golden brown color and release a delightful aroma. This process usually takes around 2-3 minutes.
5. Remove from Heat: Once the poppy seeds are toasted to your desired color, immediately remove the pan from the heat. Transfer the seeds to a cool plate or bowl to prevent them from continuing to cook in the hot pan.
6. Let Cool: Allow the toasted poppy seeds to cool completely before using or storing them. This ensures that they retain their crispy texture and full flavor.
Toast poppy seeds just before using them in your recipes to enjoy the freshest and most vibrant flavor. Whether you decide to toast your poppy seeds or use them as is, they will add a delightful crunch and distinctive taste to your baked treats!
Read more: How To Stratify Poppy Seeds
Storing the Prepared Poppy Seeds
Once you have prepared and toasted your poppy seeds, it’s important to store them properly to maintain their freshness and quality. Follow these tips to store your prepared poppy seeds:
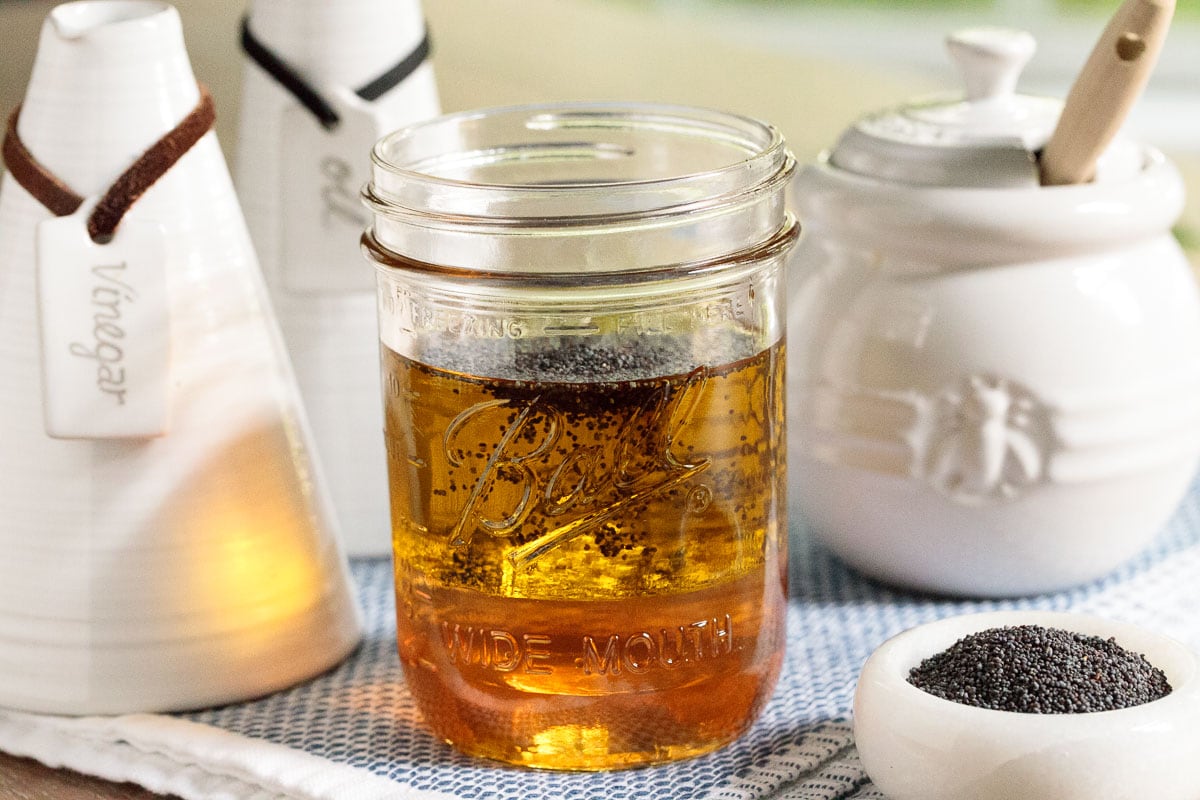
1. Cool and Dry Container: Transfer the prepared poppy seeds to an airtight container that is clean, dry, and cool. Glass jars with tight-fitting lids or resealable plastic bags work well for this purpose. Avoid using containers made of materials that can absorb odors or moisture, as this can affect the flavor and texture of the seeds.
2. Label and Date: To avoid confusion, label the container with the contents and date of preparation. This allows you to keep track of the freshness of the poppy seeds and avoid using them past their prime.
3. Store in a Cool Location: Poppy seeds are best stored in a cool location away from direct sunlight and heat sources. Excessive heat can cause the seeds to lose their flavor and become rancid. A pantry or kitchen cabinet is an ideal spot for storing prepared poppy seeds.
4. Use within a Reasonable Timeframe: While properly stored poppy seeds can retain their quality for several months, it’s best to use them within a reasonable timeframe for the best flavor. Aim to use the prepared poppy seeds within 3-6 months of preparation for optimal results.
5. Avoid Grinding in Bulk: If you anticipate not using all the prepared poppy seeds within a few months, it’s best to store the whole poppy seeds and grind them as needed. This helps preserve their flavor and quality for a longer period.
By storing your prepared poppy seeds correctly, you can ensure that they stay fresh, flavorful, and ready to elevate your baking creations. Now that you have a grasp on preparing, grinding, toasting, and storing poppy seeds, it’s time to explore the possibilities of incorporating them into your favorite recipes!
Conclusion
Preparing poppy seeds for baking is a delightful process that allows you to unlock their unique flavors and add a delightful crunch to your favorite recipes. From choosing the right poppy seeds to cleaning, soaking, grinding, toasting, and storing them, each step plays a crucial role in enhancing the taste and texture of these tiny seeds.
When selecting poppy seeds, opt for high-quality seeds that are free from impurities and sourced from reputable suppliers. Take into consideration the variety of the seeds, as well as the packaging and expiration date to ensure the freshest and most flavorful results.
Cleaning and soaking poppy seeds help remove any debris and soften their outer shells, making them easier to grind and enhancing their flavor. Grinding the seeds to a fine powder allows you to incorporate them seamlessly into your baked goods, while toasting adds an extra layer of flavor and aroma.
Proper storage is essential to preserve the freshness of prepared poppy seeds. Store them in a cool and dry container, away from heat and sunlight, and use them within a reasonable timeframe for the best taste and quality.
Now that you have learned the art of preparing poppy seeds, you can explore an array of delicious recipes that feature these versatile seeds. From savory breads to sweet pastries, the possibilities are endless. So, break out your baking tools, get creative, and enjoy the delightful flavors of poppy seeds in your homemade treats.
Remember, gardening is not just about growing plants; it’s about nurturing our connection with nature and enjoying the fruits of our labor. Incorporating freshly prepared poppy seeds into your baking is a wonderful way to bring the garden into your kitchen and create delectable treats that will delight your taste buds and bring a smile to your face.
So, embrace your inner baker, experiment with different recipes, and let the magic of poppy seeds elevate your culinary creations. Happy baking!
Frequently Asked Questions about How To Prepare Poppy Seeds For Baking
Was this page helpful?
At Storables.com, we guarantee accurate and reliable information. Our content, validated by Expert Board Contributors, is crafted following stringent Editorial Policies. We're committed to providing you with well-researched, expert-backed insights for all your informational needs.


0 thoughts on “How To Prepare Poppy Seeds For Baking”