Home>Garden Essentials>How To Plant Poppies From Seed
Garden Essentials
How To Plant Poppies From Seed
Modified: October 20, 2024
Learn how to plant poppies from seed in your garden and enjoy beautiful blooms all season long. Our step-by-step guide makes it easy to grow these stunning flowers.
(Many of the links in this article redirect to a specific reviewed product. Your purchase of these products through affiliate links helps to generate commission for Storables.com, at no extra cost. Learn more)
Introduction
Welcome to the wonderful world of poppies! These beautiful and delicate flowers have captivated gardeners and nature enthusiasts alike for centuries. With their ethereal petals and vibrant colors, poppies can instantly elevate the aesthetic appeal of any garden or landscape.
Planting poppies from seeds is not only a rewarding experience, but it is also a cost-effective way to add a splash of color to your outdoor space. Whether you’re a seasoned gardener or a beginner, this guide will walk you through the steps of successfully growing poppies from seed.
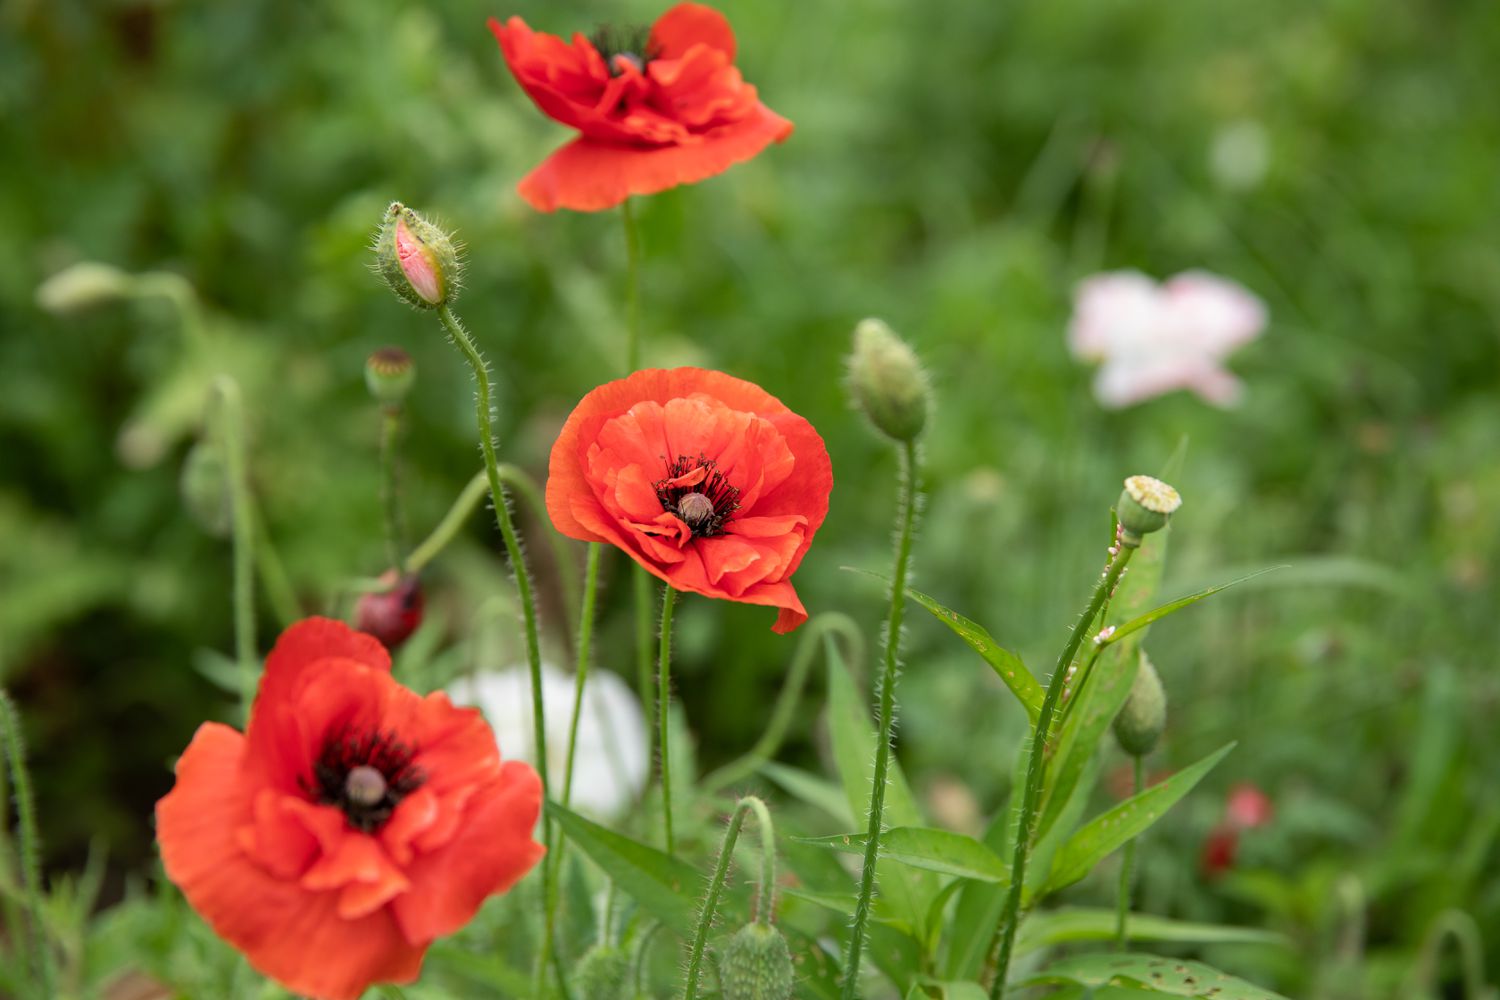
Before diving into the specifics, let’s take a moment to appreciate the diversity of poppies. There are several different types to choose from, each with its unique characteristics. From the iconic red Field poppy (Papaver rhoeas) to the elegant Oriental poppy (Papaver orientale), there is a poppy variety to suit every garden style and personal preference. So, let’s explore the world of poppies and get ready to sow some seeds!
Key Takeaways:
- Choose the right poppy variety based on your climate, garden size, color preference, and bloom time for a successful and visually pleasing display in your garden.
- Properly prepare the soil, sow the seeds, and provide consistent watering and care to watch your poppies transform into stunning flowers that bring joy and beauty to your garden.
Read more: When To Plant California Poppy Seeds
Choosing the Right Poppies
When it comes to choosing the right poppy variety for your garden, there are a few factors to consider. First and foremost, select a variety that is suitable for your climate. Poppies are adaptable plants, but certain varieties thrive in specific temperature ranges.
If you live in a cooler climate, you may want to opt for Icelandic poppies (Papaver nudicaule). These hardy flowers are known for their ability to withstand chilly temperatures and bloom in a range of colors, including white, yellow, and orange. On the other hand, if you reside in a warmer region, California poppies (Eschscholzia californica) are an excellent choice. These vibrant orange beauties are drought-tolerant and can add a splash of color to even the driest of landscapes.
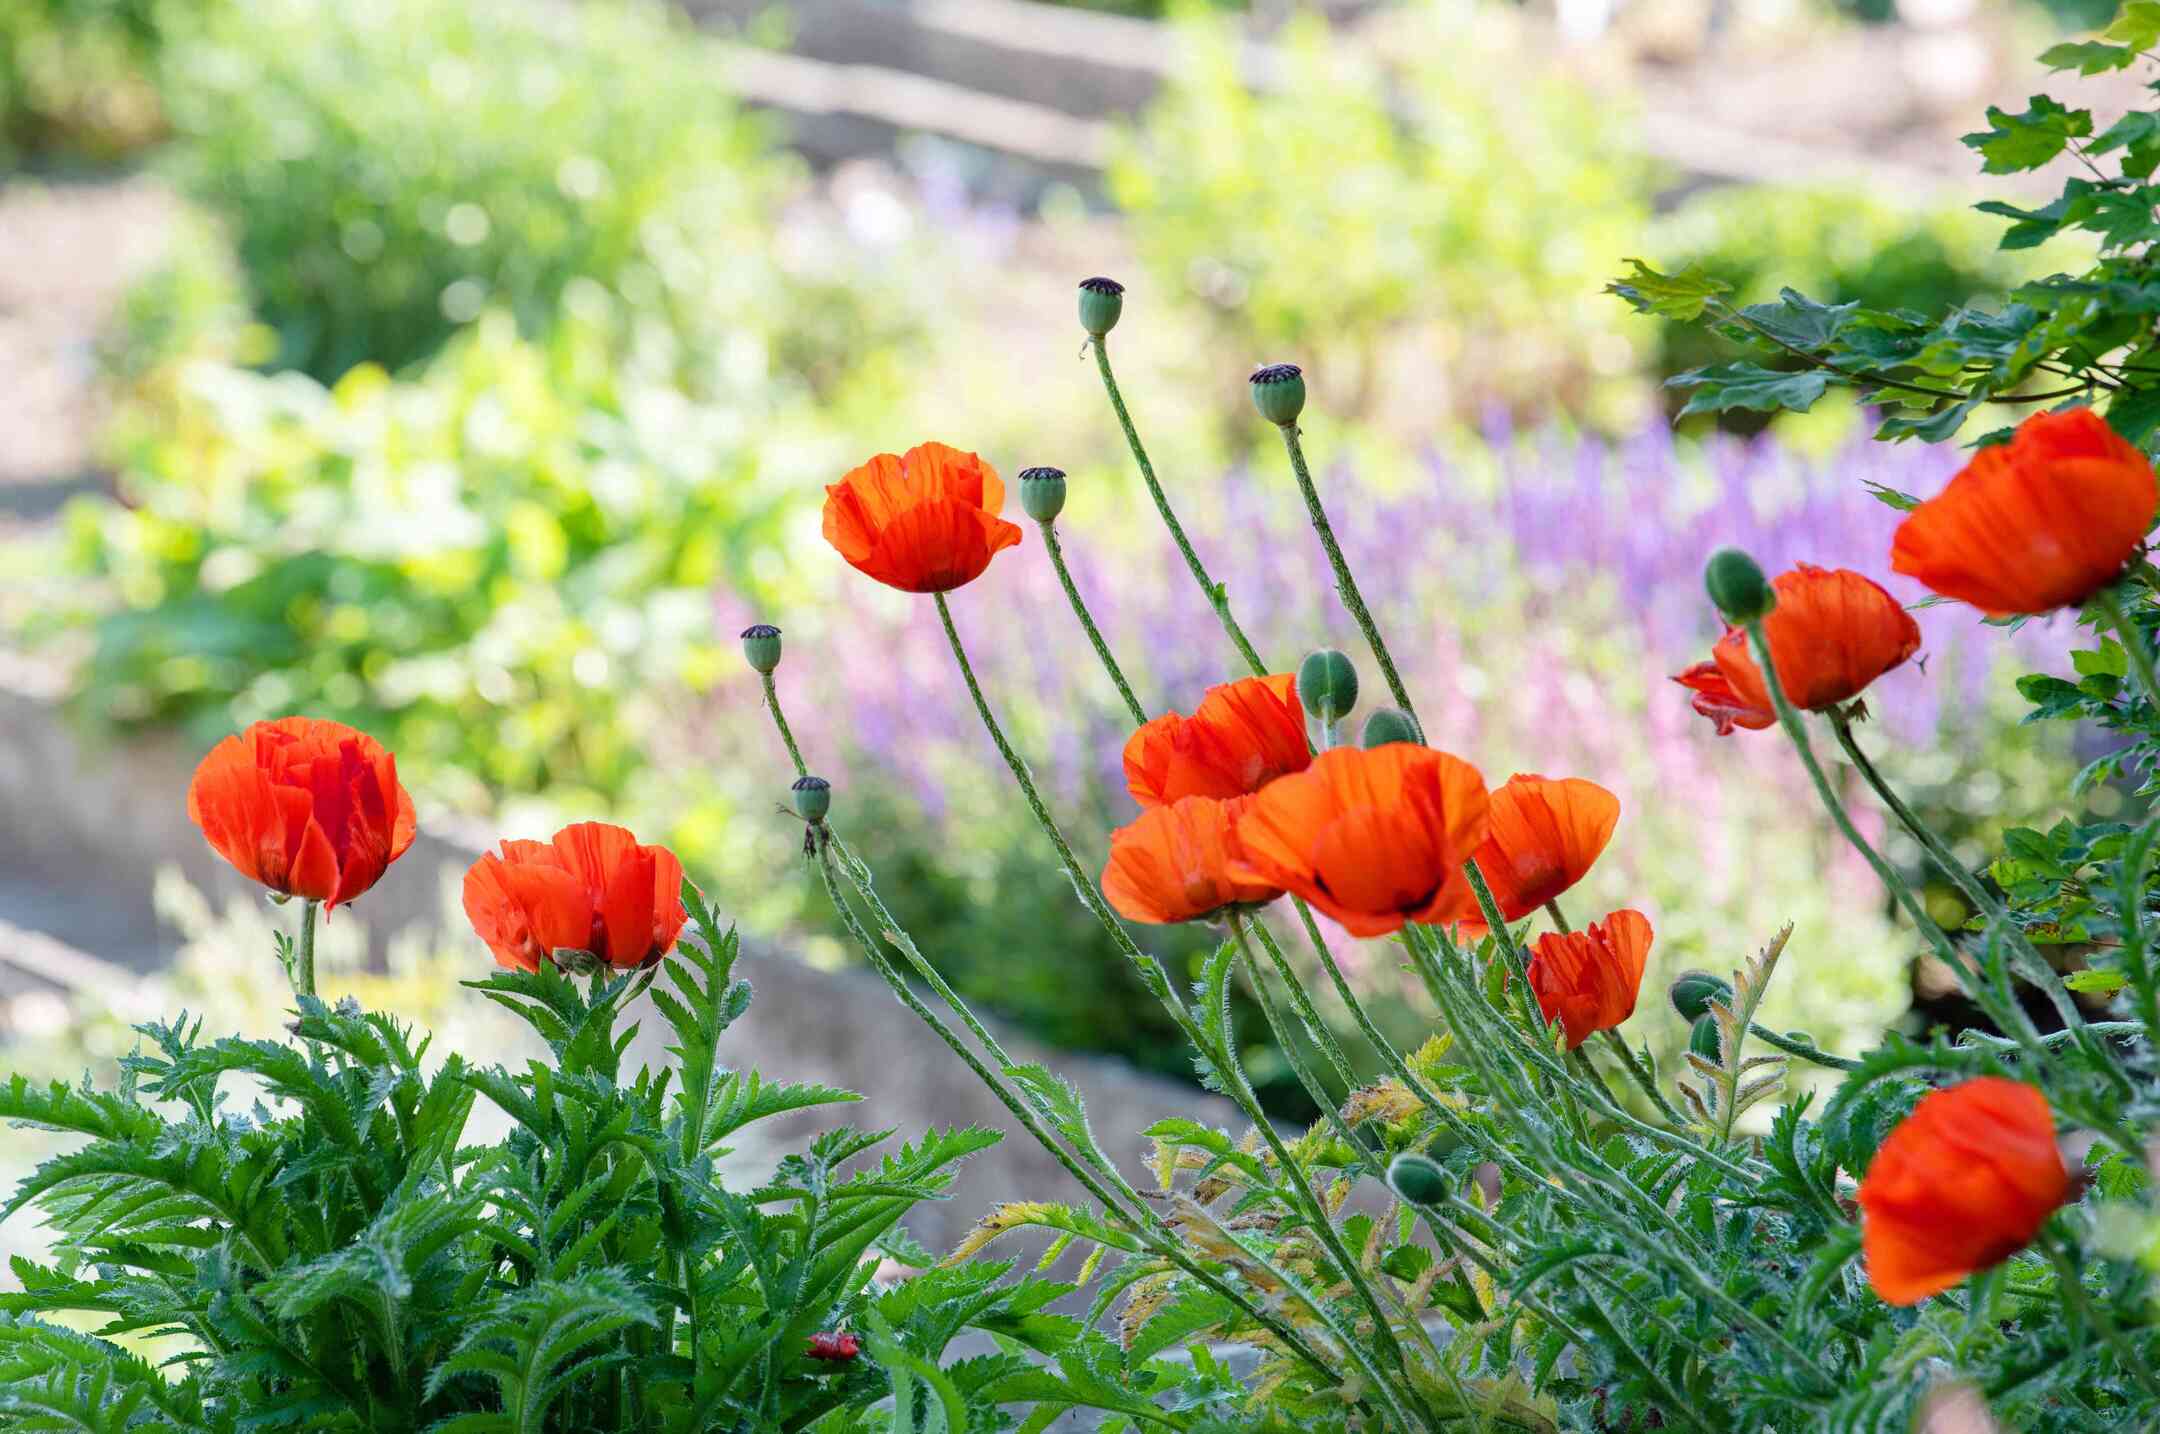
Aside from climate considerations, think about the size and growth habit of the poppy variety you desire. Some poppy species, like Oriental poppies, can grow quite tall and may need staking to support their large flowers. Others, such as Shirley poppies (Papaver rhoeas ‘Shirley’), are more compact and suitable for small gardens or containers.
The color palette of poppies is another aspect to ponder. Poppies come in a wide range of hues, including red, pink, orange, white, and purple. Think about the overall color scheme of your garden and choose poppies that complement or contrast with the existing plants.
Lastly, consider the bloom time of the poppy species you are interested in. Some varieties have a short bloom season, while others flower for several months. If you want a constant display of poppies throughout the summer, look for varieties that have an extended blooming period.
Ultimately, the right poppy variety for your garden depends on personal preferences, climate, size, color, and bloom time. By selecting a variety that suits your unique requirements, you can ensure a successful and visually pleasing poppy display in your garden.
Preparing the Soil
Before sowing poppy seeds, it’s crucial to prepare the soil properly to provide the best growing conditions for these delicate flowers. Here are some steps to ensure your soil is ready:
- Clear the area: Start by removing any weeds, rocks, or debris from the planting area. Poppies thrive in well-drained soil, so ensure there is no excess moisture that could cause root rot.
- Loosen the soil: Use a garden fork or a tiller to loosen the soil to a depth of about 8 inches. This will help improve drainage and allow the poppy roots to penetrate easily.
- Amend the soil: If your soil is heavy and compacted, consider adding organic matter such as compost or well-rotted manure. This will help improve soil structure, fertility, and drainage.
- Test the soil: It’s a good idea to test your soil’s pH level. Poppies prefer slightly acidic to neutral soil, with a pH range between 6.0 and 7.0. If the soil is too acidic or alkaline, you can adjust it by adding lime or sulfur accordingly.
- Provide adequate nutrients: Poppies are not heavy feeders, but they will benefit from a balanced fertilizer high in phosphorus (the middle number in NPK ratios). Mix the fertilizer into the soil according to the manufacturer’s instructions.
Once you have prepared the soil, make sure to give it a final raking to create a smooth and leveled surface. This will make it easier to sow the poppy seeds and ensure even germination.
Remember, preparing the soil is a crucial step in growing healthy and vibrant poppies. By taking the time to properly amend and condition the soil, you are setting the stage for successful growth and abundant blooms.
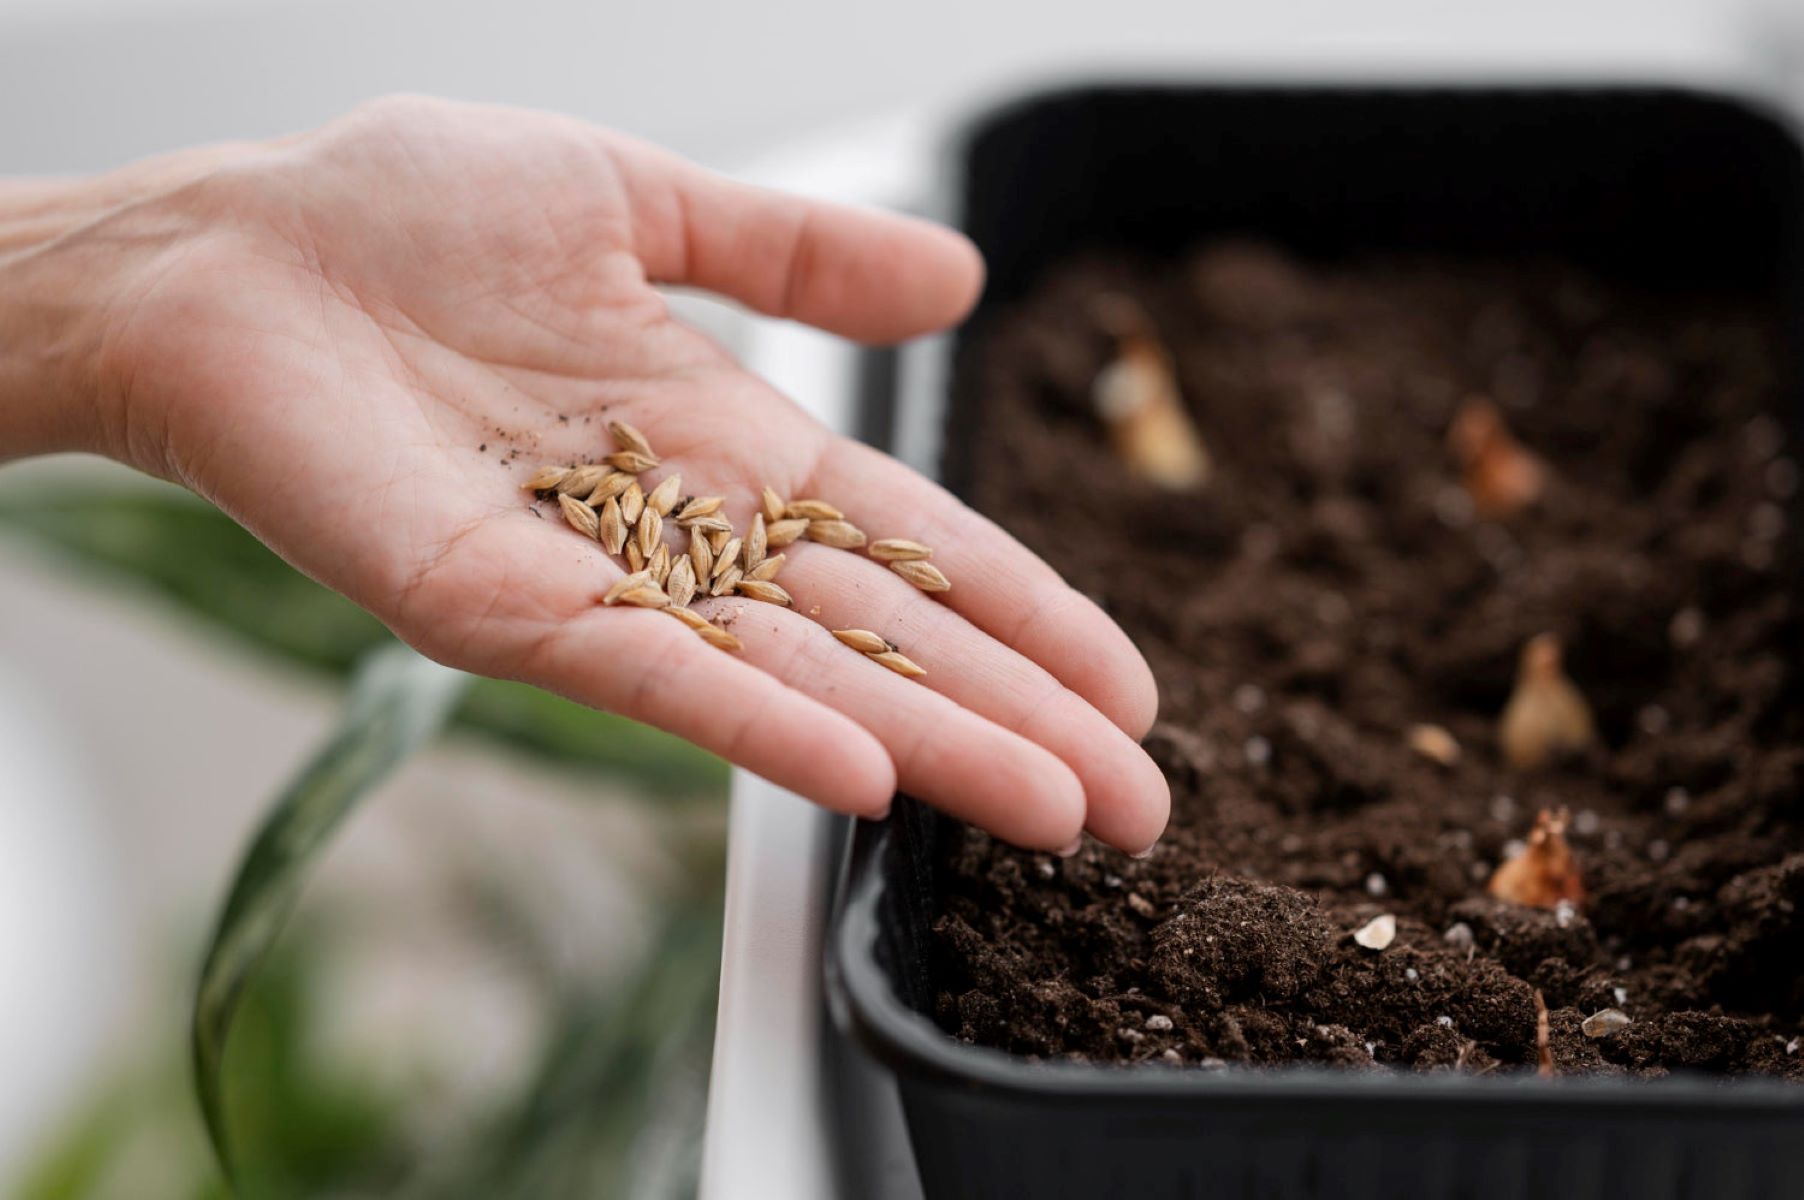
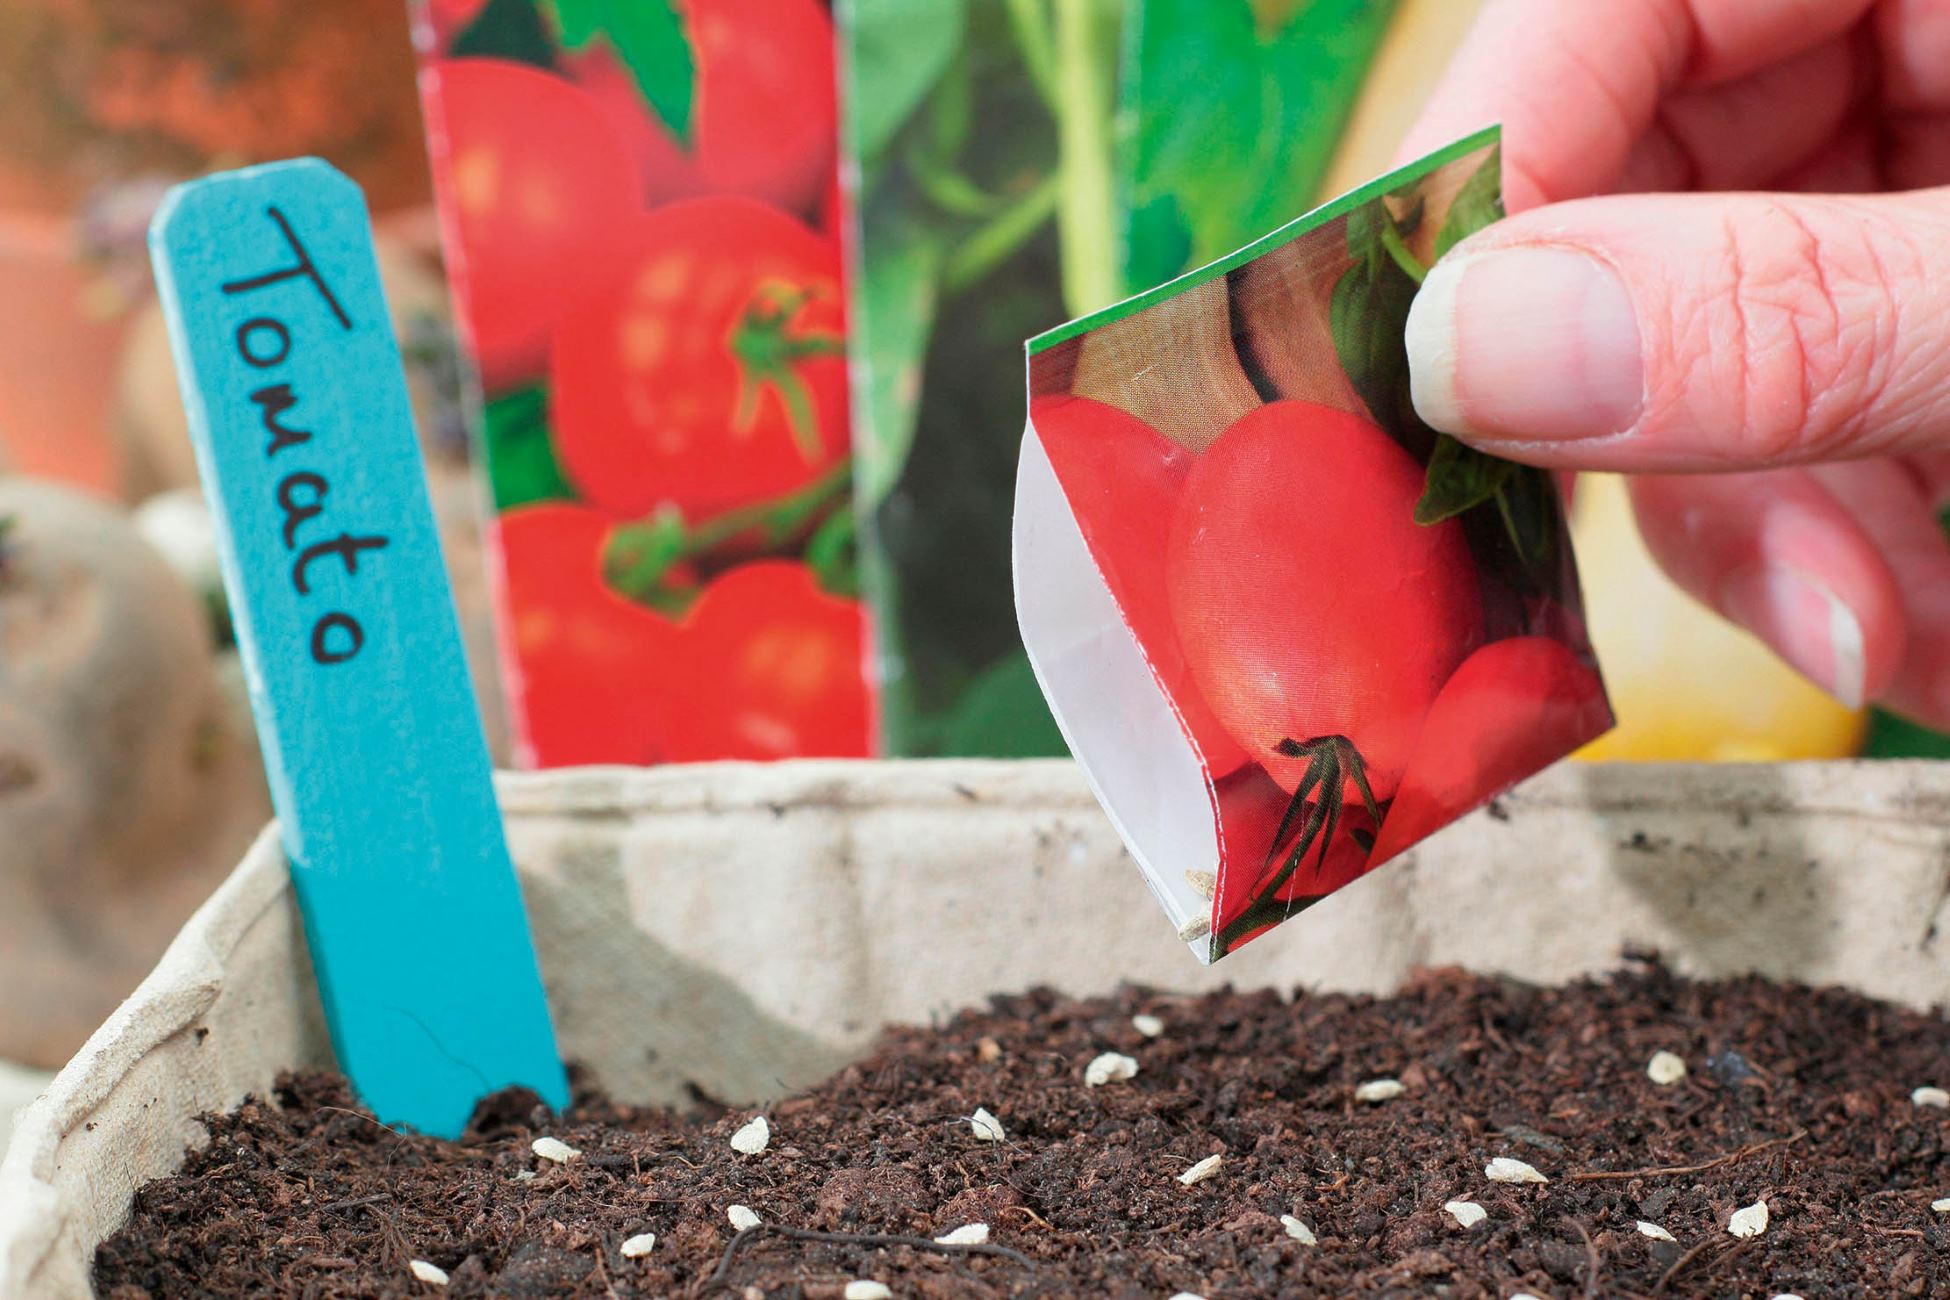
Sowing Poppies Seeds
Now that you have prepared the soil, it’s time to sow your poppy seeds. Follow these steps to ensure successful germination and establishment:
- Choose the right time: The best time to sow poppy seeds is in early spring or late summer. This will give the seeds enough time to germinate and establish before the extreme temperatures of summer or winter.
- Prepare the seeds: Some gardeners prefer to pre-soak the poppy seeds overnight in warm water to help soften the hard outer shell and speed up germination. However, this step is not necessary for all poppy varieties.
- Scatter the seeds: Sprinkle the poppy seeds evenly over the prepared soil. Aim for a density of about 20 to 25 seeds per square foot. To achieve an even distribution, you can mix the seeds with fine sand or vermiculite before scattering them.
- Press the seeds into the soil: To ensure good seed-to-soil contact, gently press the seeds into the soil using the back of a garden rake or by walking lightly over the area. Avoid burying the seeds too deeply, as they require light to germinate.
- Water gently: Water the sown area with a fine mist or a gentle spray. Keep the soil consistently moist but not waterlogged. Avoid heavy watering, as it may wash away the seeds or create puddles that can drown the delicate seedlings.
- Provide shade: If you are sowing poppy seeds in hot climates or during a heatwave, consider providing some temporary shade to protect the seeds from extreme heat and sun. You can use a shade cloth, overturned pots, or a lightweight fabric to create a temporary shelter.
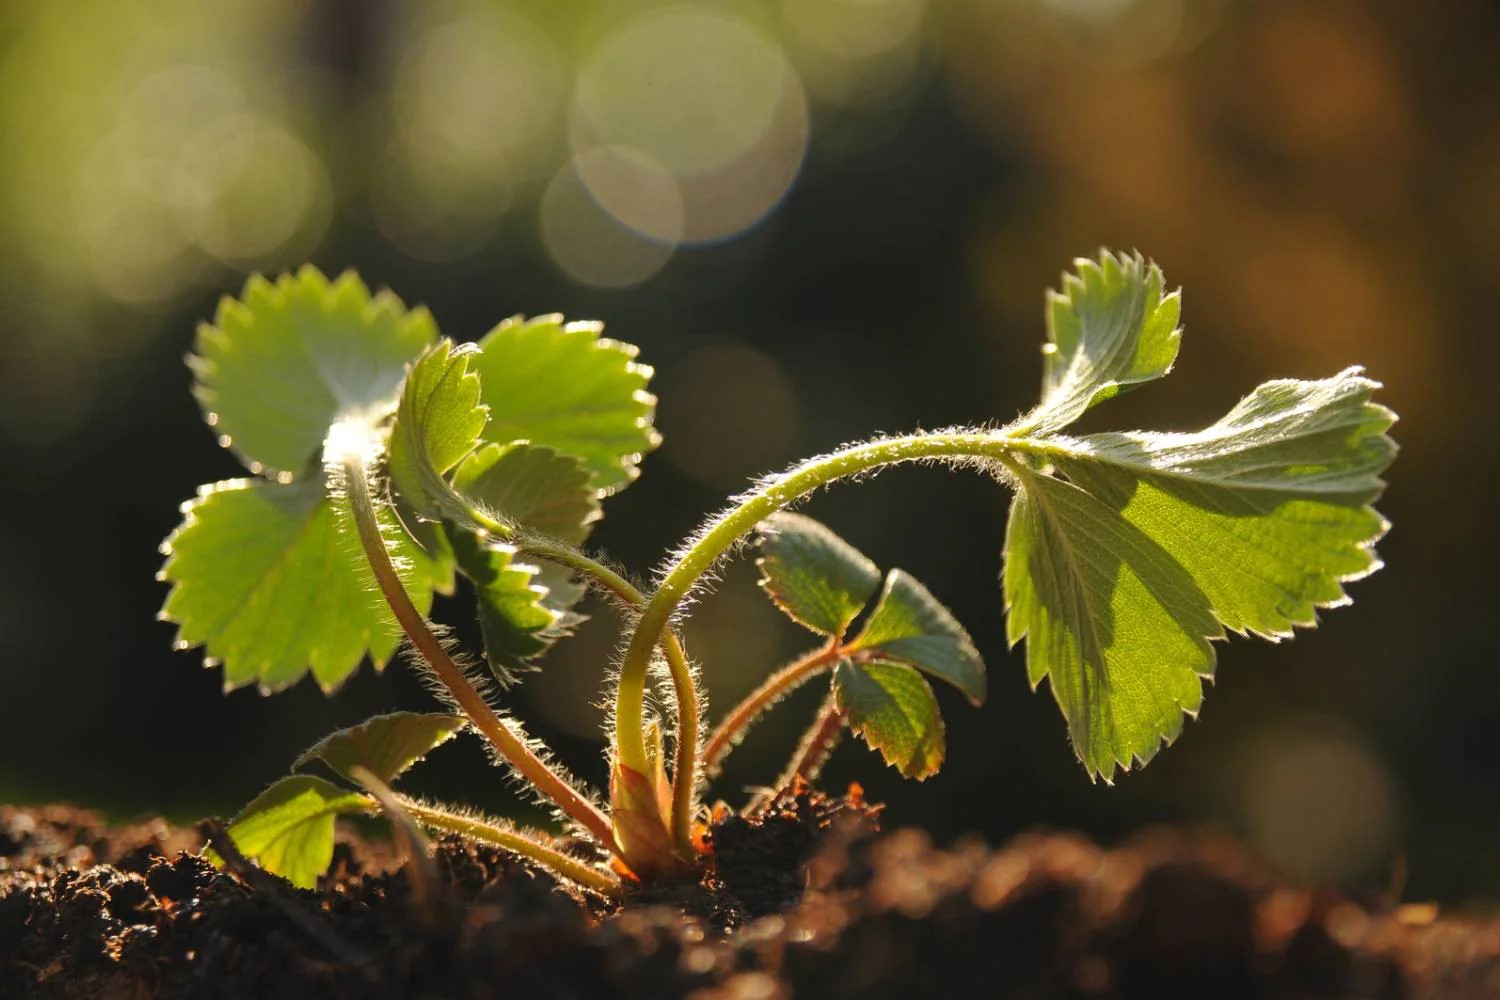
Once you have completed these steps, all you need to do is wait for the poppy seeds to germinate. This can take anywhere from 7 to 14 days, depending on the variety and environmental conditions. Be patient, and soon you will see the tiny seedlings emerge and grow into beautiful poppy plants.
Remember to water the seedlings regularly and gently until they are established. As they grow, thin them out if necessary, leaving the strongest plants to ensure adequate spacing for healthy growth and better air circulation.
Now sit back, relax, and enjoy the excitement of watching your poppy seeds transform into stunning flowers that will bring joy and beauty to your garden.
Plant poppy seeds in well-draining soil in a sunny spot. Scatter the seeds on the soil surface and lightly press them in. Water gently and keep the soil moist until the seeds germinate.
Providing Adequate Watering
Watering is a critical aspect of growing healthy and vibrant poppies. Proper hydration ensures that the plants can thrive and produce an abundance of beautiful blooms. Here are some guidelines to help you provide adequate watering for your poppy plants:
- Monitor soil moisture: Check the moisture level of the soil regularly by inserting your finger about an inch deep into the soil. If it feels dry, it’s time to water. Poppies prefer consistently moist soil, but be cautious not to overwater, as this can lead to root rot or fungal diseases.
- Water deeply: When you water, make sure to provide a thorough soak to reach the root zone. Shallow watering may encourage the poppy roots to stay near the surface, making the plants more susceptible to heat stress or drought.
- Water in the morning: It’s best to water poppies in the early morning hours. This allows the foliage to dry off before nighttime, reducing the risk of fungal diseases. Avoid watering in the evening, as prolonged moisture on the leaves can promote disease development.
- Avoid overhead watering: When possible, water at the base of the plants rather than using sprinklers or overhead watering systems. Poppies have delicate petals, and excessive moisture on the flowers can lead to petal damage or premature wilting.
- Consider mulching: Applying a layer of organic mulch around poppy plants can help retain soil moisture, regulate temperature, and suppress weed growth. Use a thin layer of mulch, taking care to keep it away from the stems of the plants to prevent rotting.
- Adjust watering during different stages: Pay attention to the watering needs of your poppies as they go through different growth stages. Young seedlings require more frequent watering, while established plants can tolerate slightly drier conditions. Increase watering during hot and dry periods.
- Observe plant response: Your poppy plants will show signs if they’re getting too much or too little water. Overwatered plants may have yellowing leaves or develop root rot, while under-watered plants may wilt, have stunted growth, or exhibit crispy leaves. Adjust your watering routine accordingly.
Remember, the goal is to provide consistent moisture without creating waterlogged conditions. By following these watering guidelines, you can support healthy root development and ensure that your poppies stay hydrated and flourish throughout the growing season.
Read more: How To Grow Poppy Flowers From Seed
Taking Care of Poppies
Now that your poppies are growing and thriving, it’s important to provide ongoing care to ensure their health and longevity. Here are some essential tips for taking care of your poppy plants:
- Provide support: Some poppy varieties, such as Oriental poppies, can grow tall and may require support to prevent them from toppling over. Use stakes or plant supports to help keep the plants upright and stable.
- Deadhead spent blooms: Regularly remove faded or spent blossoms to encourage continuous blooming. This process, known as deadheading, redirects the plant’s energy toward producing new flowers instead of setting seeds.
- Control weeds: Keep the area around your poppies free from weeds, as they can compete for nutrients and water. Use mulch or manual weeding techniques to prevent weed growth and maintain a tidy garden bed.
- Avoid excessive fertilization: Poppies are generally not heavy feeders, so avoid over-fertilization. Excessive nitrogen can lead to lush foliage growth at the expense of flower production. Use a balanced fertilizer sparingly, following the package instructions.
- Protect from pests and diseases: Monitor your poppies for common pests like aphids and slugs. If necessary, use organic pest control methods such as hand picking or introducing beneficial insects. Additionally, provide good air circulation and avoid excessive moisture to reduce the risk of fungal diseases.
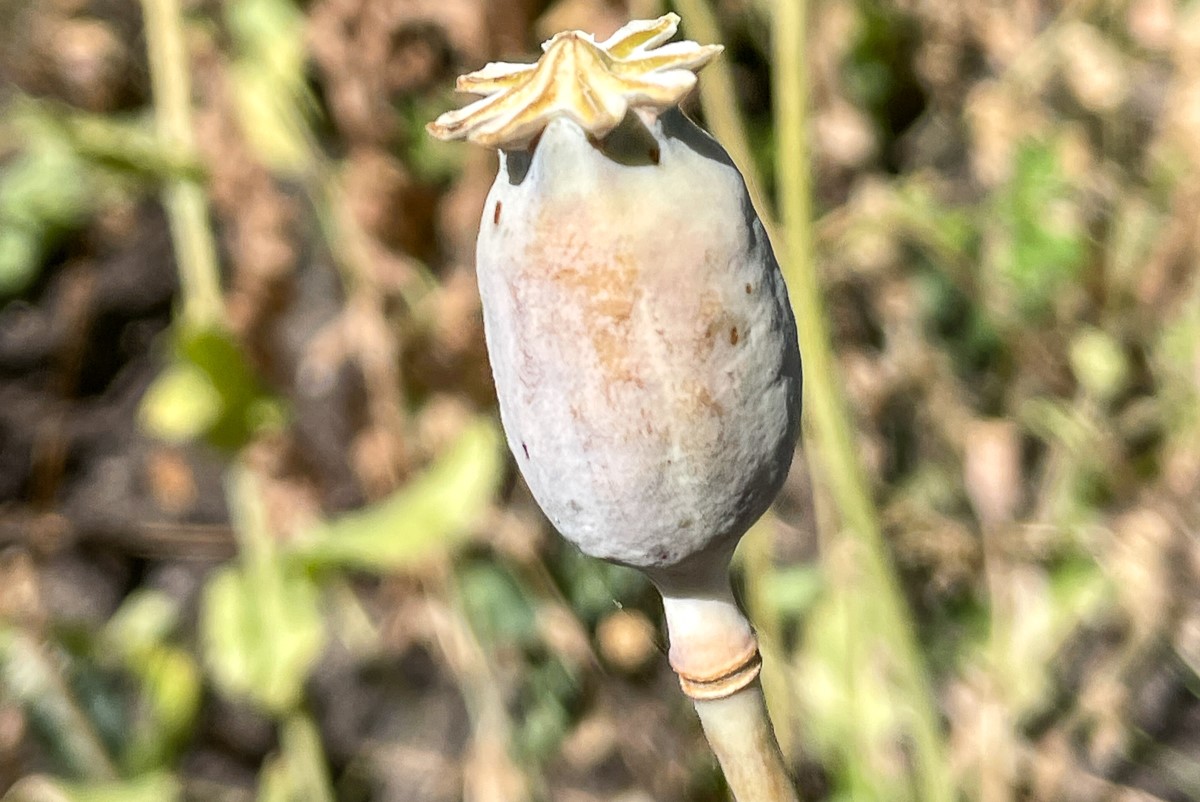
- Be mindful of seed saving: If you want to save poppy seeds for future plantings, allow a few flowers to fully mature and develop seed pods. Once the pods turn brown and dry, collect the seeds and store them in a cool, dry place for future sowing.
- Clean up at the end of the season: After the blooming period, cut back any remaining foliage to the ground. This helps prevent the spread of diseases and pests and prepares the plants for their dormant period.
By providing proper support, regular deadheading, weed control, and monitoring for pests and diseases, you can ensure that your poppies remain healthy and vibrant throughout their lifespan. Remember that each poppy variety may have its specific care requirements, so it’s always a good idea to research and understand the needs of the particular type you are growing.
With a little care and attention, your poppies will reward you with stunning blooms year after year, adding a touch of magic and charm to your garden.
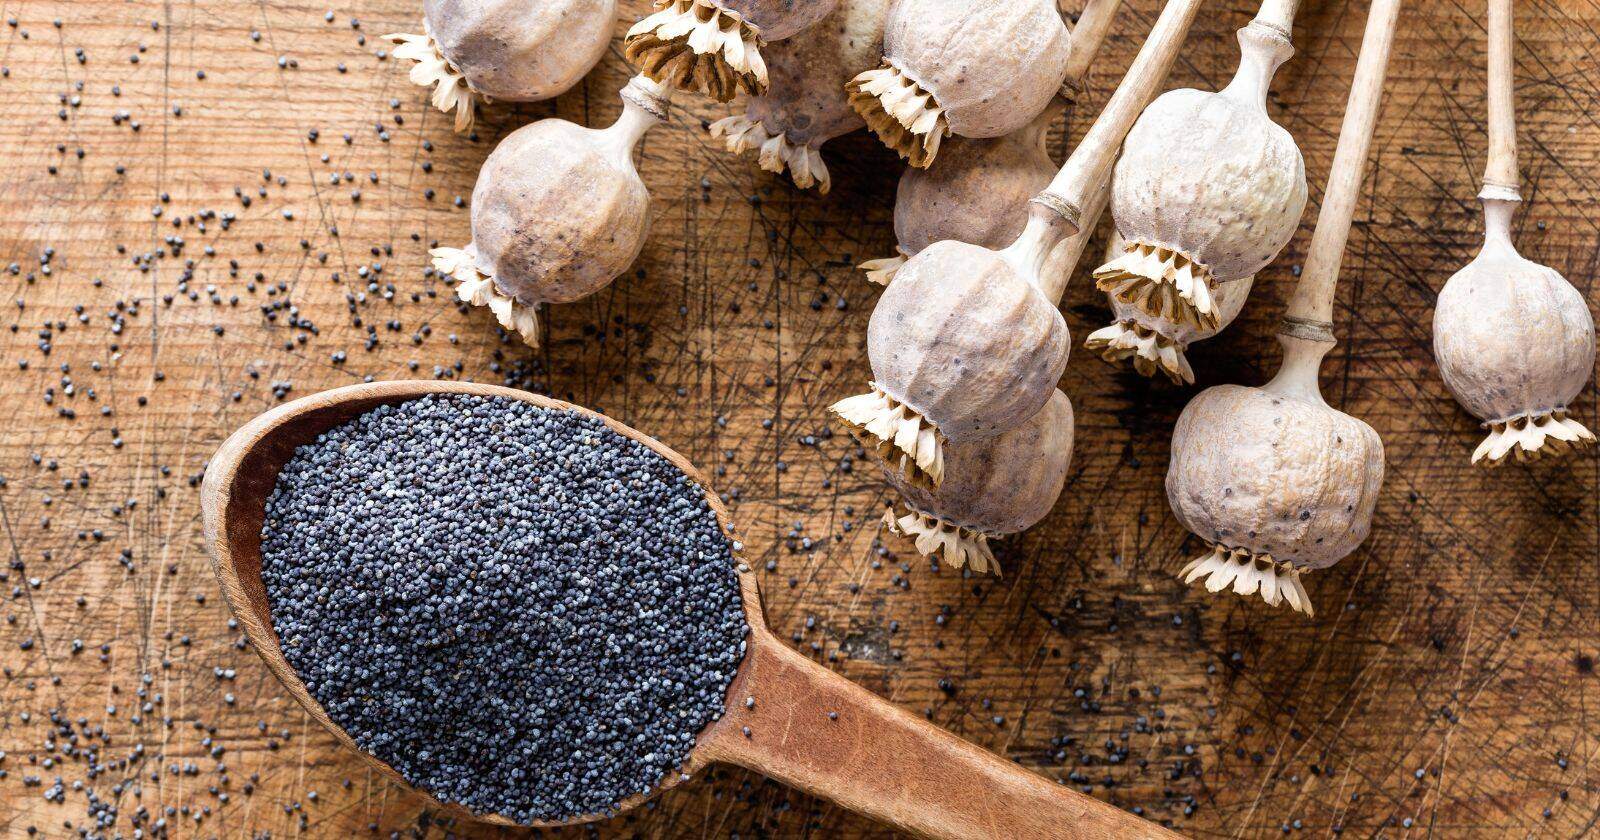
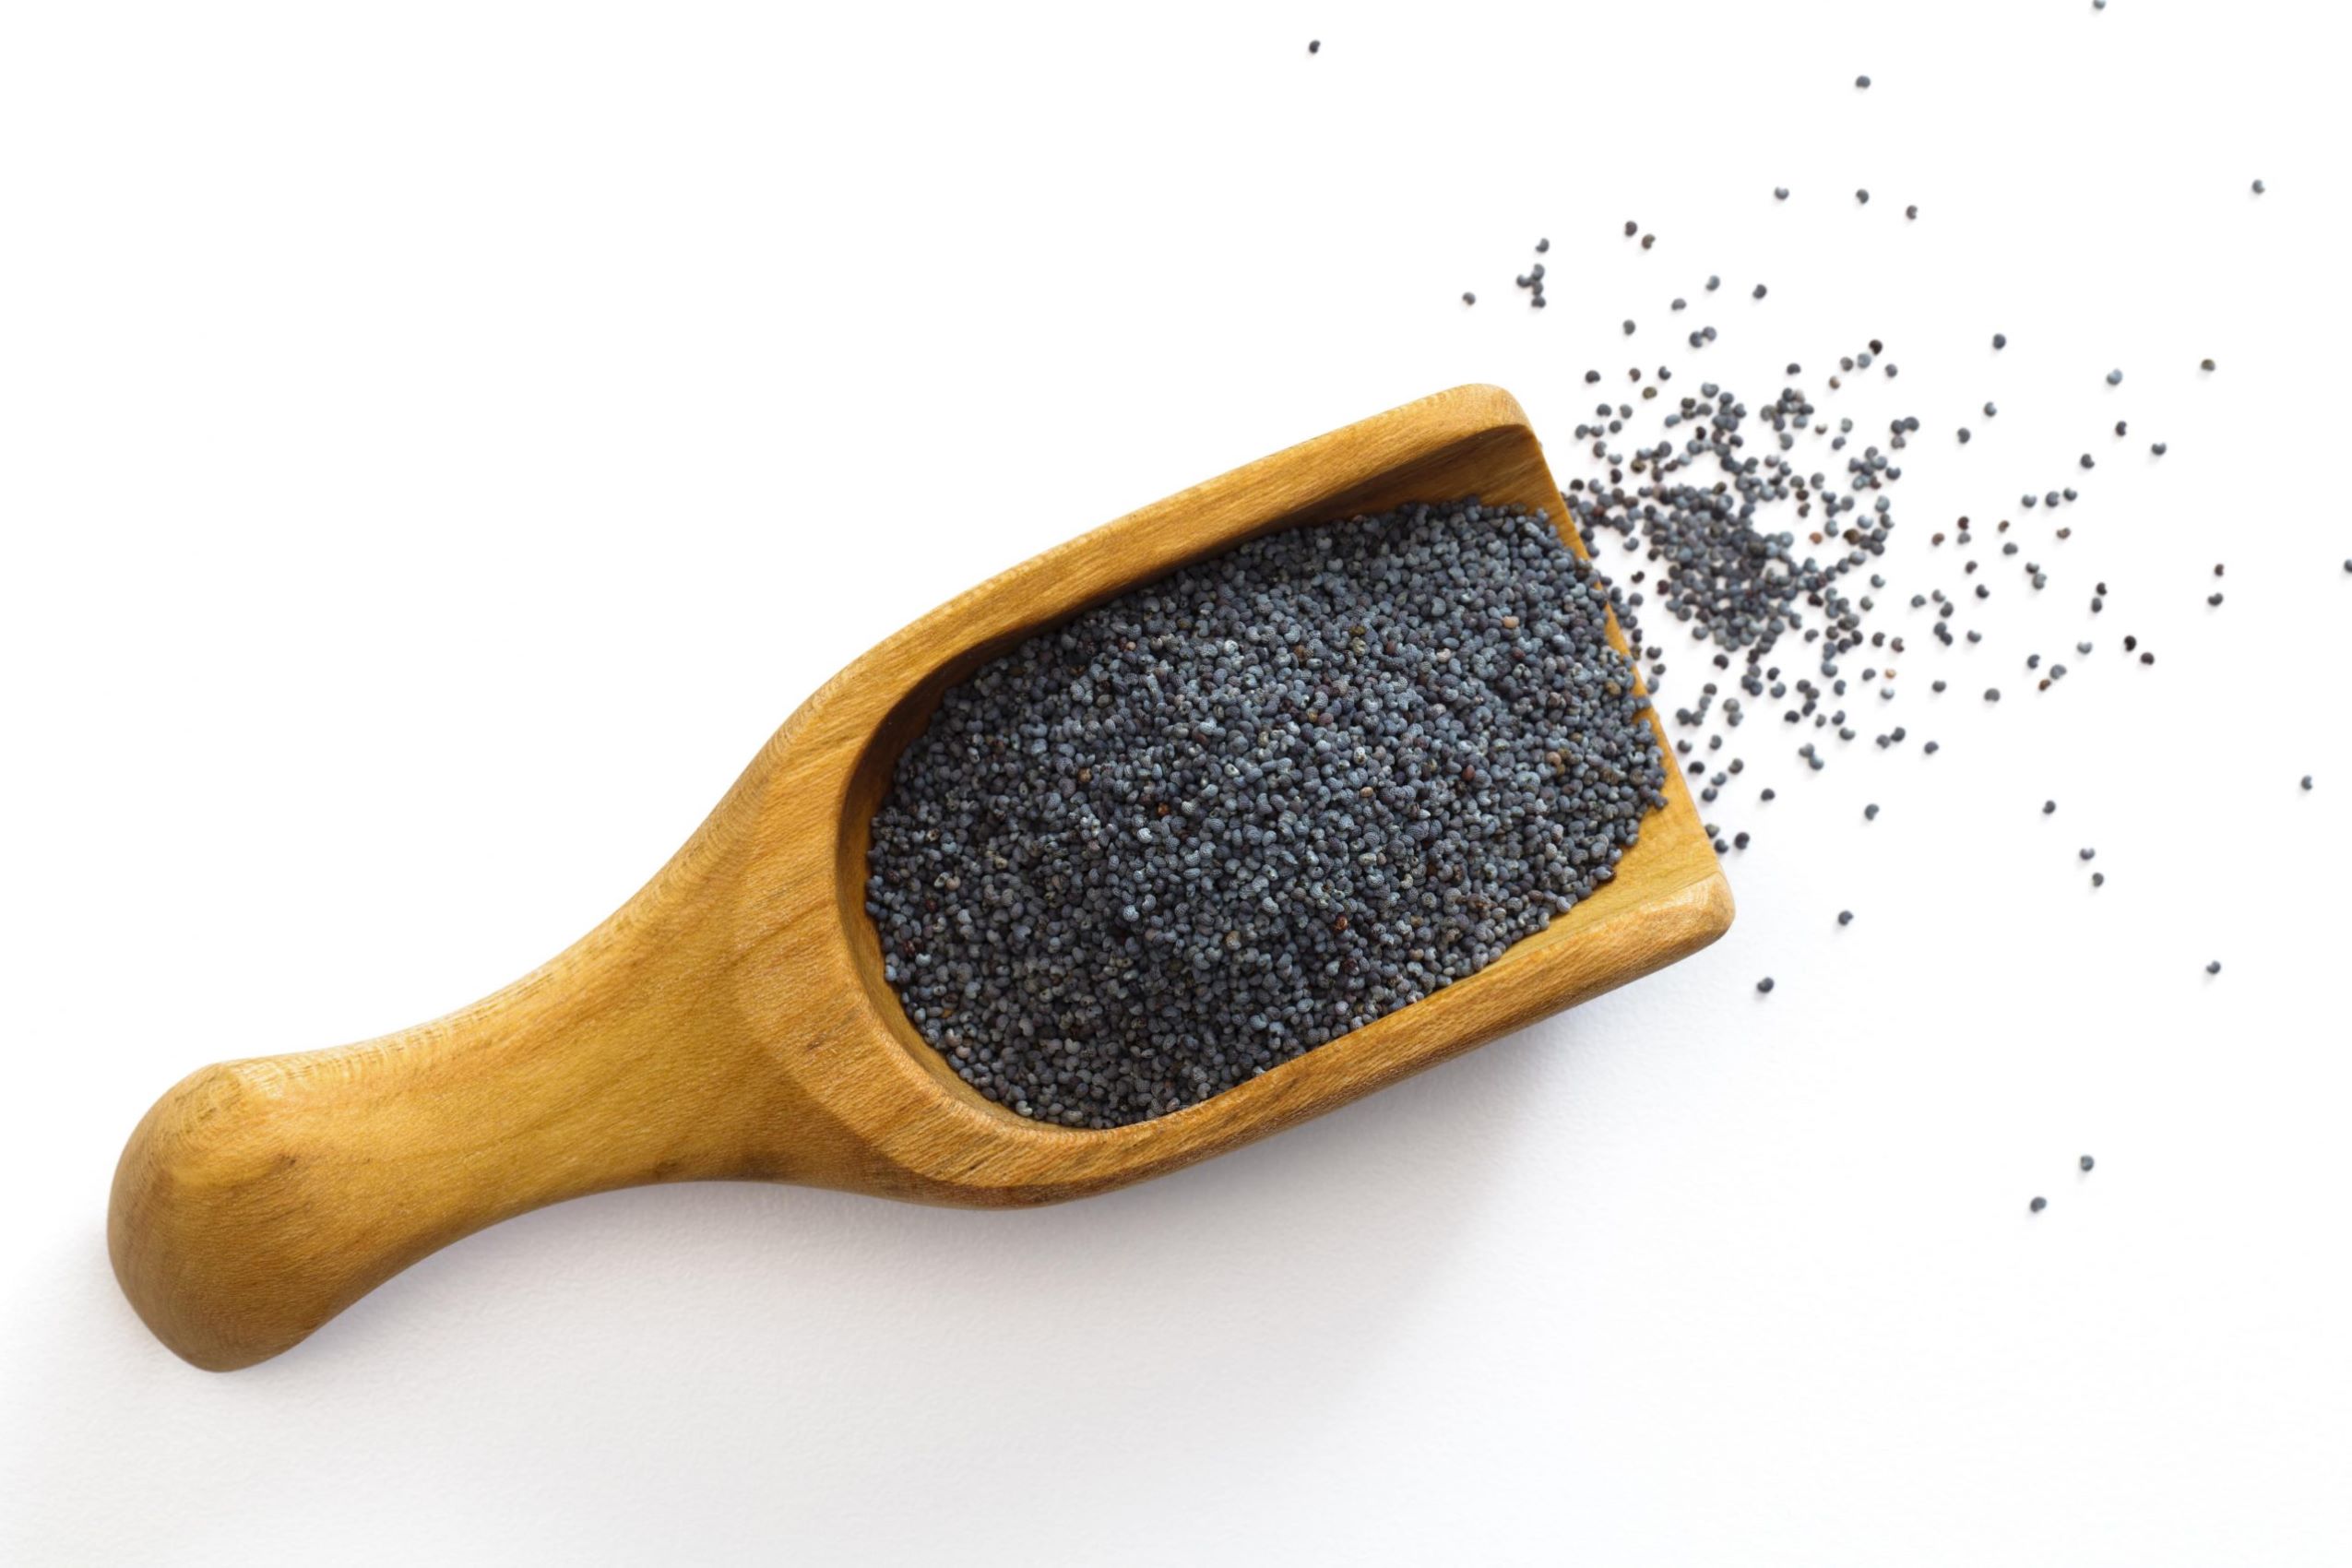
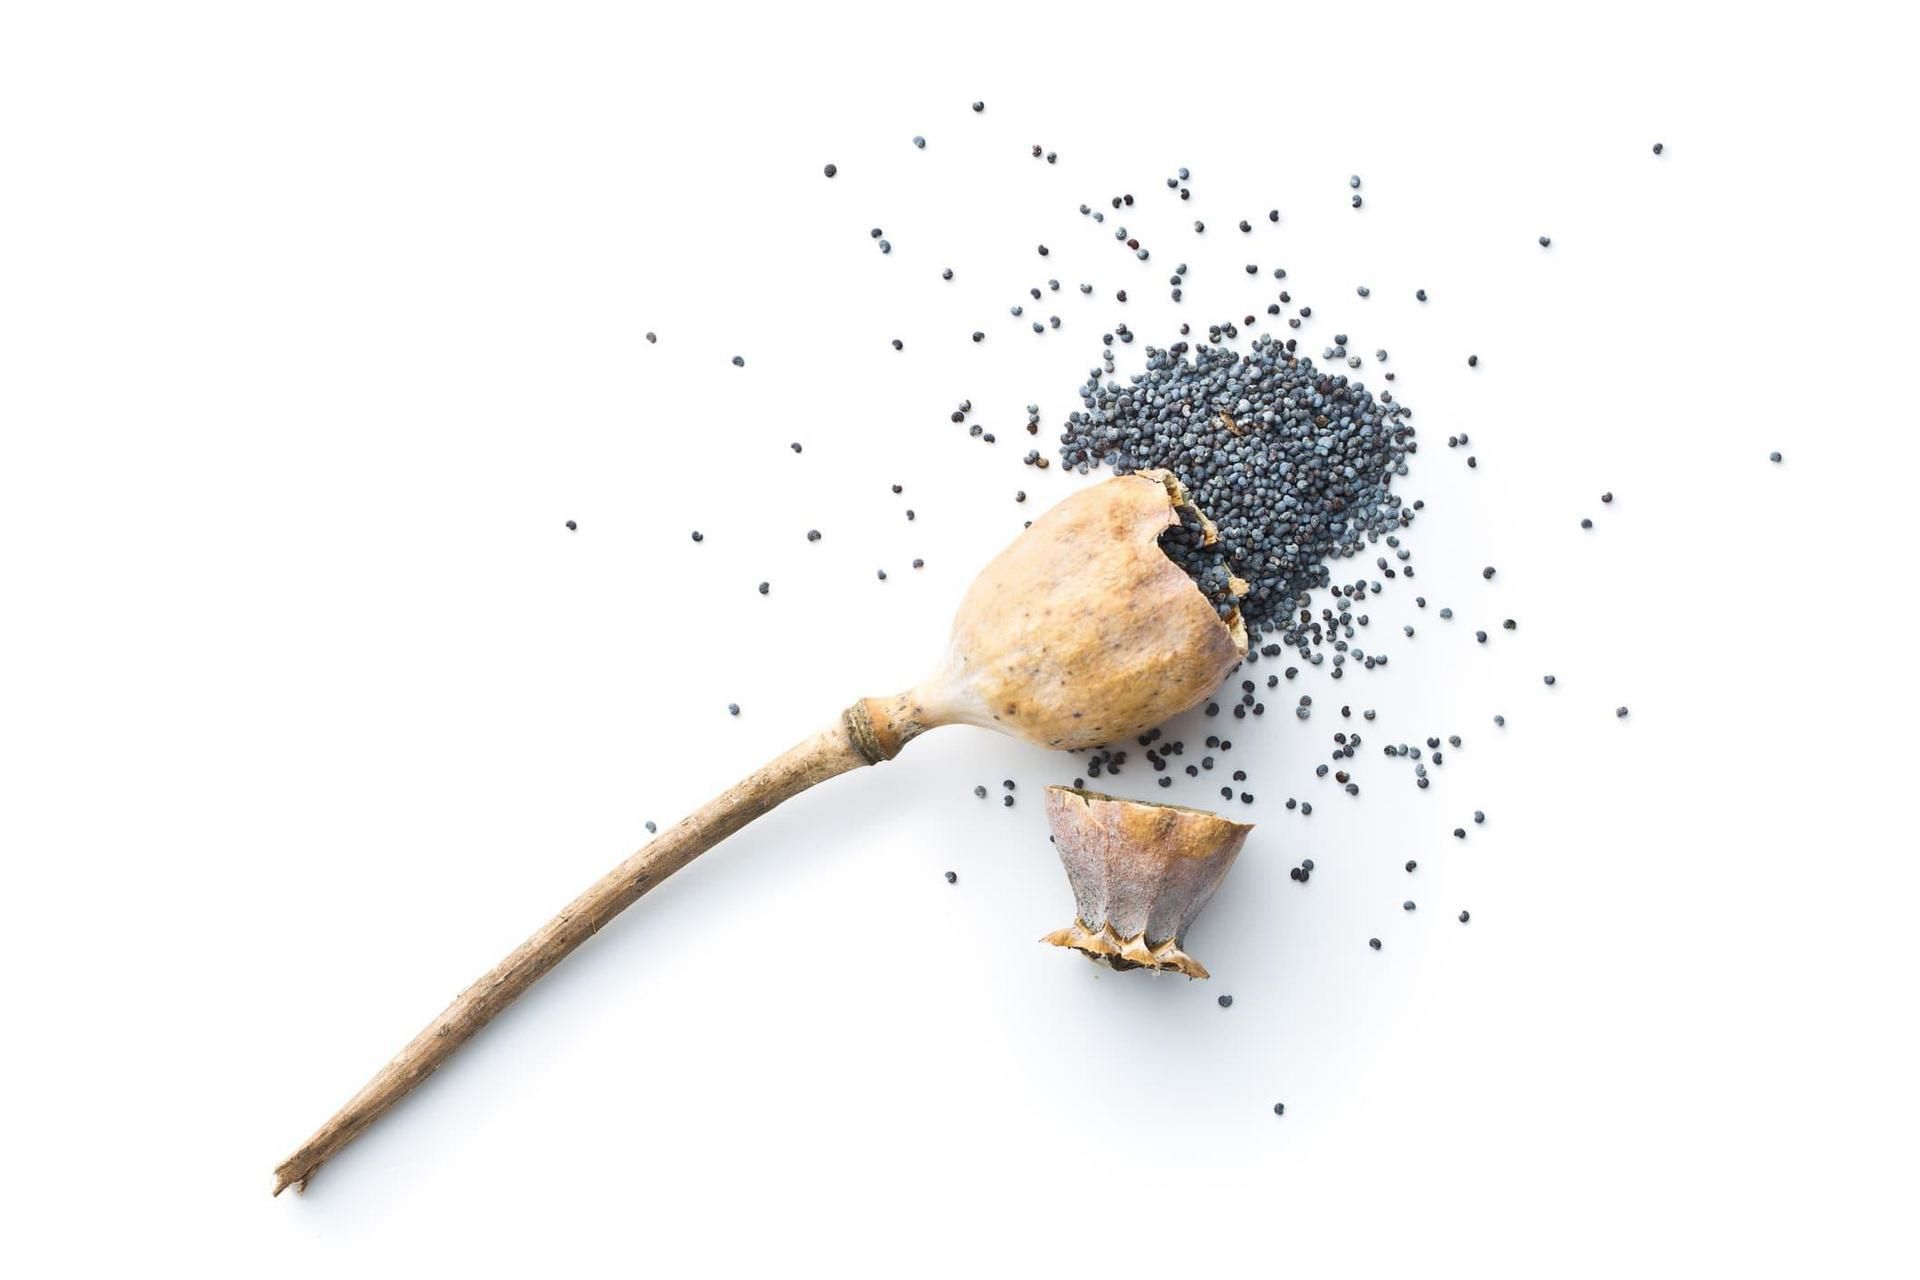
Harvesting and Saving Seeds
One of the joys of growing poppies is the ability to harvest and save seeds for future plantings. Harvesting seeds not only allows you to propagate your favorite varieties but also ensures the continuation of these beautiful flowers in your garden. Here’s a step-by-step guide on harvesting and saving poppy seeds:
- Wait for seed pod maturity: Allow the poppy flowers to fade and petals to fall off naturally. As the petals drop, seed pods will form at the base of the flower. Wait until the seed pods turn brown or gray and feel dry to the touch before harvesting.
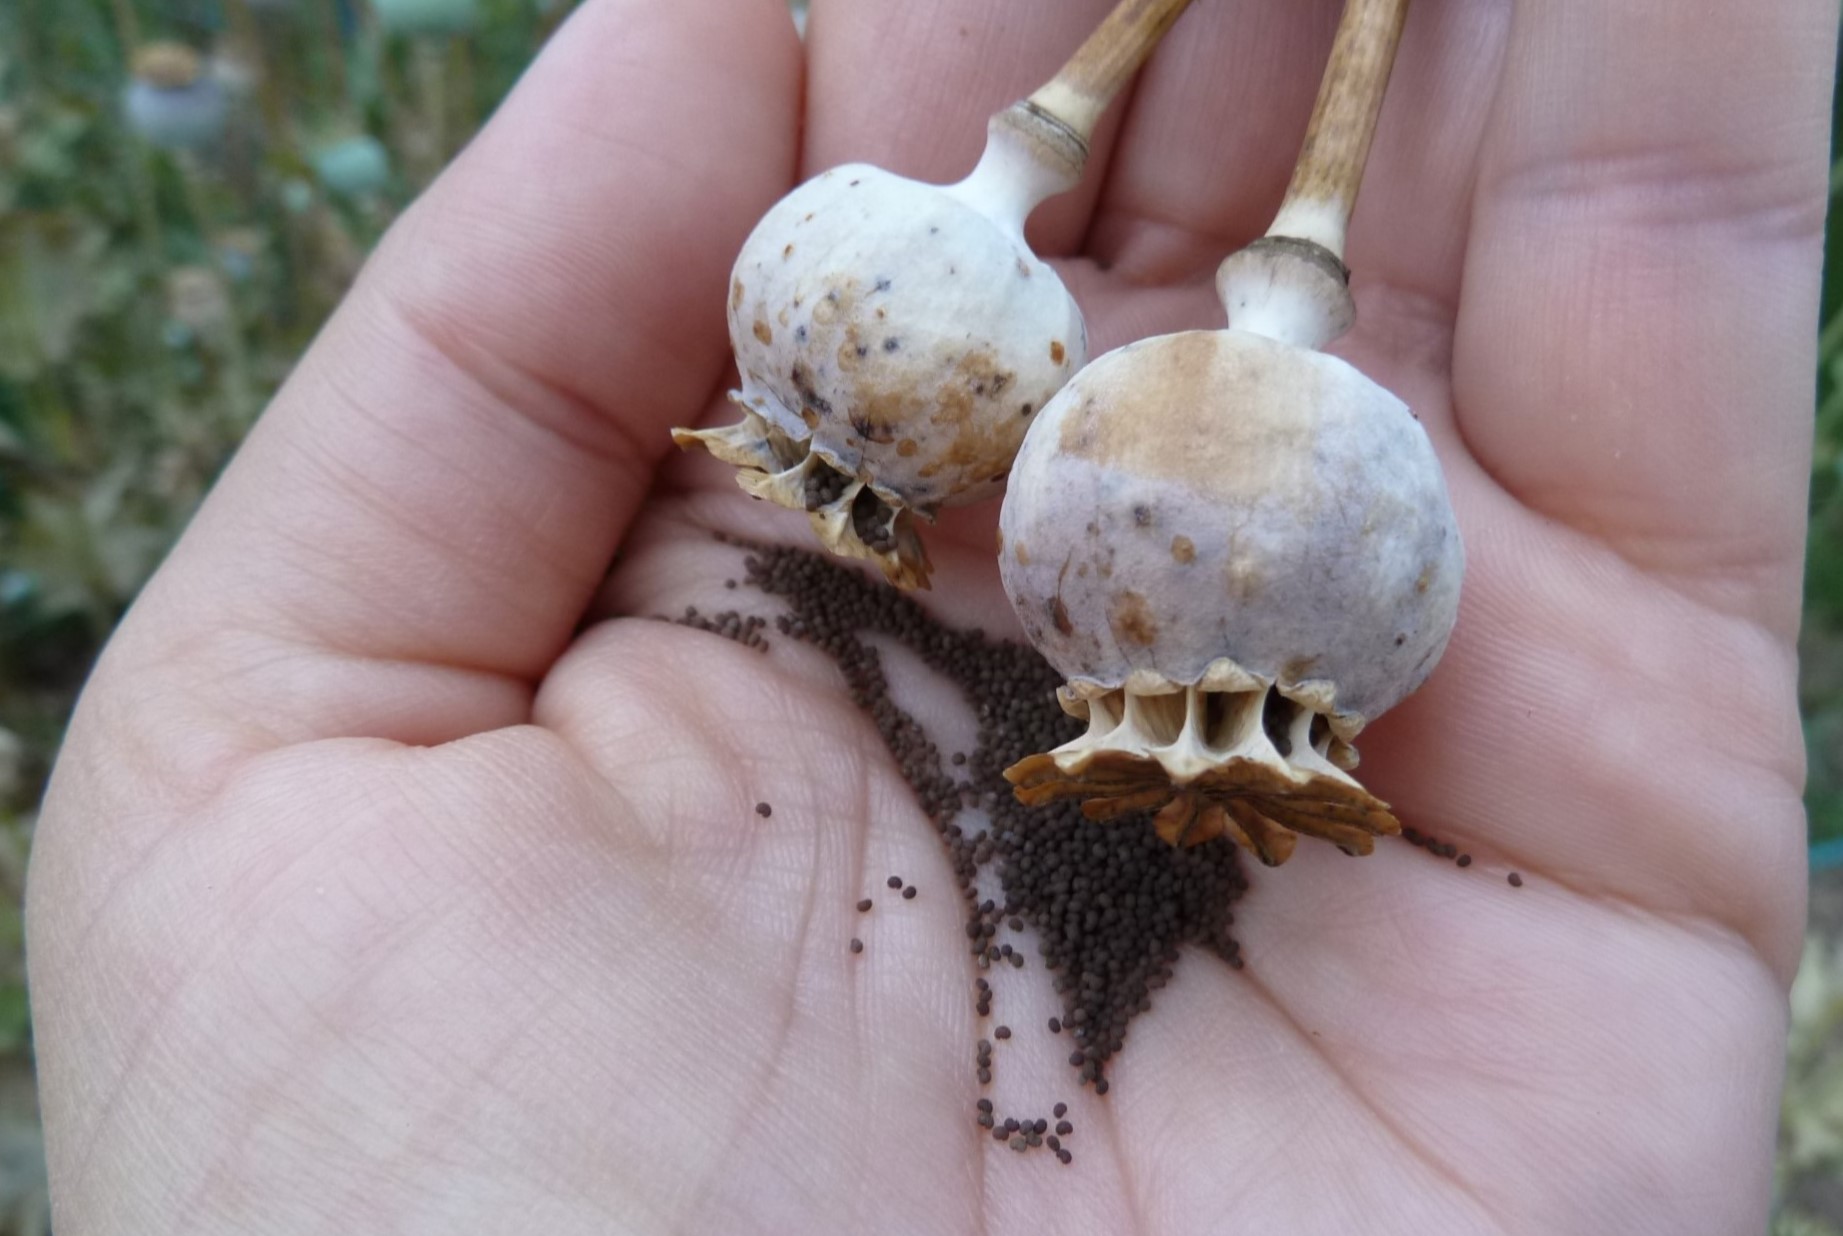
- Collect seed pods: Carefully cut the seed pods from the plant using clean and sharp garden scissors or pruners. Place the seed pods in a clean container or paper bag to avoid seed loss.
- Dry the seed pods: Place the collected seed pods in a well-ventilated area, away from direct sunlight. Allow them to dry completely for a few weeks or until the pods are brittle and easily break open.
- Extract the seeds: Once the seed pods are dry, gently crush them to release the tiny poppy seeds. You may want to wear gloves or use a cloth to prevent the seeds from sticking to your hands. Alternatively, you can roll the seed pods between your palms to separate the seeds.
- Clean the seeds: Transfer the harvested seeds to a fine-mesh sieve or strainer. Rinse the seeds under cool running water to remove any remaining plant material or debris. Allow the seeds to dry completely before storage.
- Store the seeds: Place the dried seeds in a small envelope or airtight container. Store them in a cool, dark, and dry place, such as a refrigerator or a pantry. Ensure the container is labeled with the variety and date of harvest for easy reference.
It’s important to note that poppy seeds have a relatively short viability period, typically lasting around 1 to 2 years. To maximize their freshness and germination rates, it’s best to use the saved seeds within this timeframe.
By harvesting and saving poppy seeds, you can continue to enjoy these enchanting flowers year after year and even share the seeds with fellow gardeners. Just imagine the joy of watching your poppy seeds grow into beautiful blooms that will grace your garden with their elegance and charm.
Conclusion
Congratulations! You have now gained the knowledge and insights to successfully plant and grow poppies from seeds. By following the steps outlined in this guide, you can create a stunning display of these delicate and vibrant flowers in your own garden.
From choosing the right poppy variety for your climate and personal preferences to preparing the soil and sowing the seeds, every step of the process is essential for the successful growth of poppies. Providing adequate watering, taking care of the plants, and harvesting and saving seeds for future plantings are all part of the rewarding journey of cultivating these stunning flowers.
Remember to be patient and observe the needs of your poppies throughout their growth cycle. Be mindful of the specific care requirements of the poppy variety you are growing, as different types may have unique needs.
As you watch your poppies bloom and grace your garden with their beauty, take the time to appreciate the wonders of nature and the joy that gardening brings. Whether it’s the vibrant red of the Field poppy or the elegant petals of the Oriental poppy, each variety has its unique charm and can truly elevate the aesthetics of your outdoor space.
So, go ahead and embark on your poppy-growing adventure. Let these enchanting flowers be a symbol of your love for nature, your creativity in the garden, and your dedication to creating a beautiful and harmonious environment.
Happy gardening, and may your poppies bring you endless joy and inspiration!
Frequently Asked Questions about How To Plant Poppies From Seed
Was this page helpful?
At Storables.com, we guarantee accurate and reliable information. Our content, validated by Expert Board Contributors, is crafted following stringent Editorial Policies. We're committed to providing you with well-researched, expert-backed insights for all your informational needs.


0 thoughts on “How To Plant Poppies From Seed”