Home>Garden Essentials>When To Plant California Poppy Seeds
Garden Essentials
When To Plant California Poppy Seeds
Modified: August 25, 2024
Looking to start a garden? Find out when is the best time to plant California Poppy seeds to ensure a successful and vibrant garden.
(Many of the links in this article redirect to a specific reviewed product. Your purchase of these products through affiliate links helps to generate commission for Storables.com, at no extra cost. Learn more)
Introduction
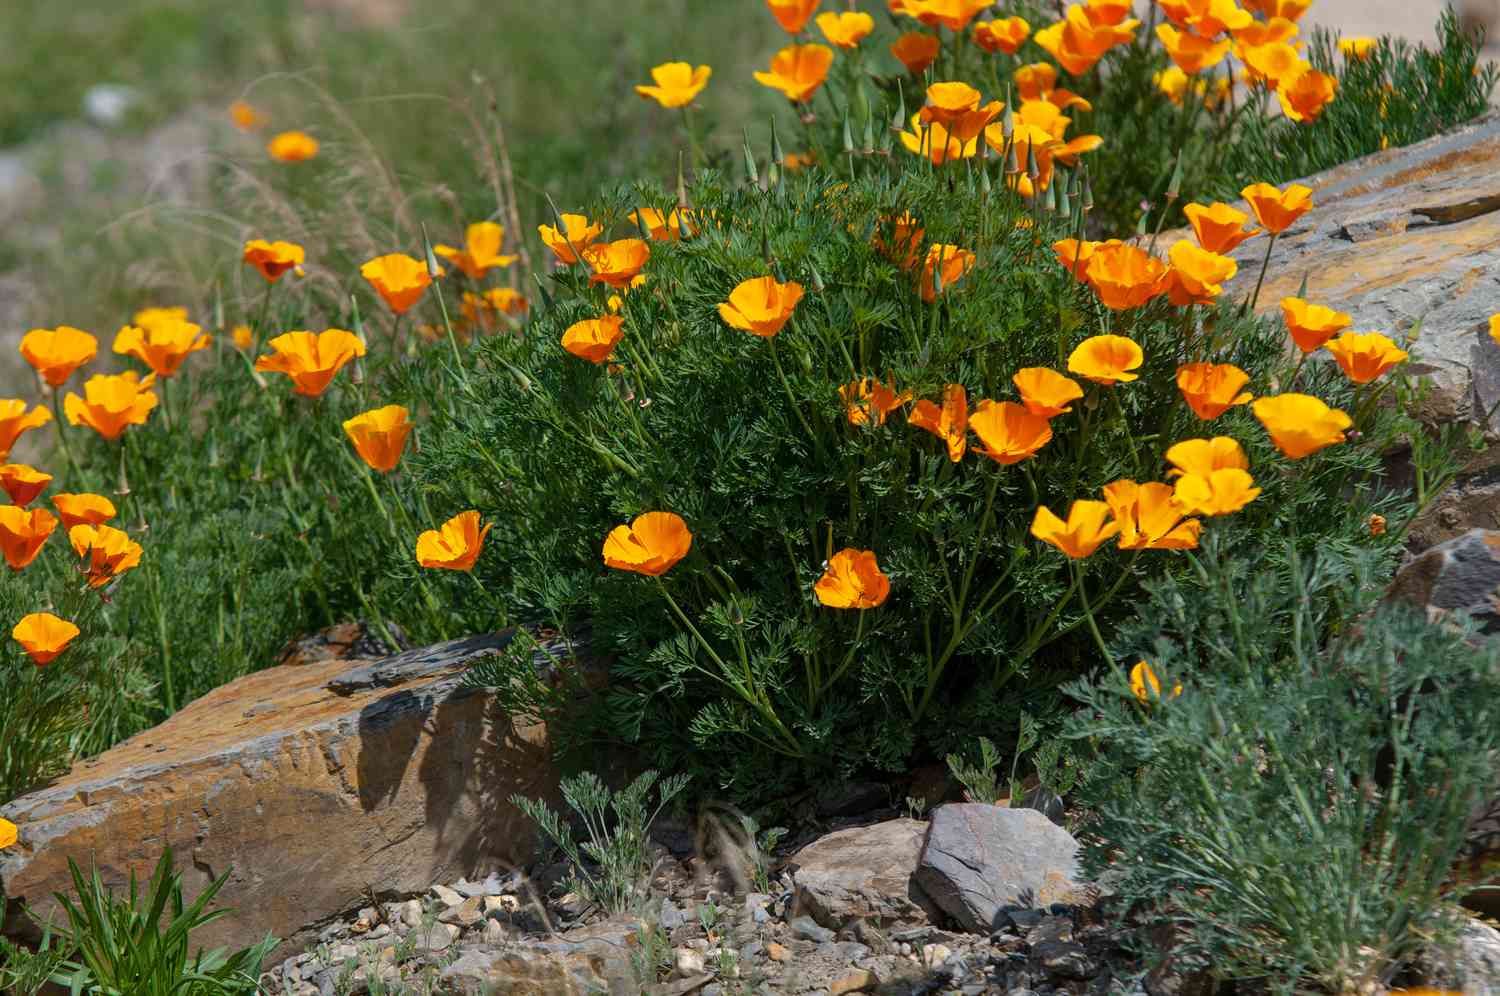
Welcome to the wonderful world of California poppies! These vibrant, golden flowers are a quintessential part of any garden, adding a splash of color and natural beauty. If you’re considering planting California poppy seeds in your garden, you’re in for a treat.
California poppies, scientifically known as Eschscholzia californica, are native to the western parts of North America. They are well-loved for their delicate yet resilient nature, as well as their ability to thrive in a wide range of climates. Whether you’re a seasoned gardener or a beginner, growing California poppies from seeds is a rewarding and enjoyable experience.
But when is the best time to plant California poppy seeds? What factors should you consider before starting your planting journey? In this article, we will explore all the essential information you need to know to successfully grow these beautiful wildflowers in your garden.
Key Takeaways:
- Plant California poppy seeds in early spring or fall for best results. Consider climate, soil, and timing to create an ideal environment for these vibrant wildflowers to thrive in your garden.
- Avoid overwatering, plant in suitable conditions, and harvest seeds for continuous blooms. Enjoy the beauty of California poppies with proper care and avoid common gardening mistakes.
Read more: How Long For California Poppies To Germinate
Factors to Consider
Before you start planting California poppy seeds, it’s important to consider a few key factors to ensure optimal growth and success. These factors include:
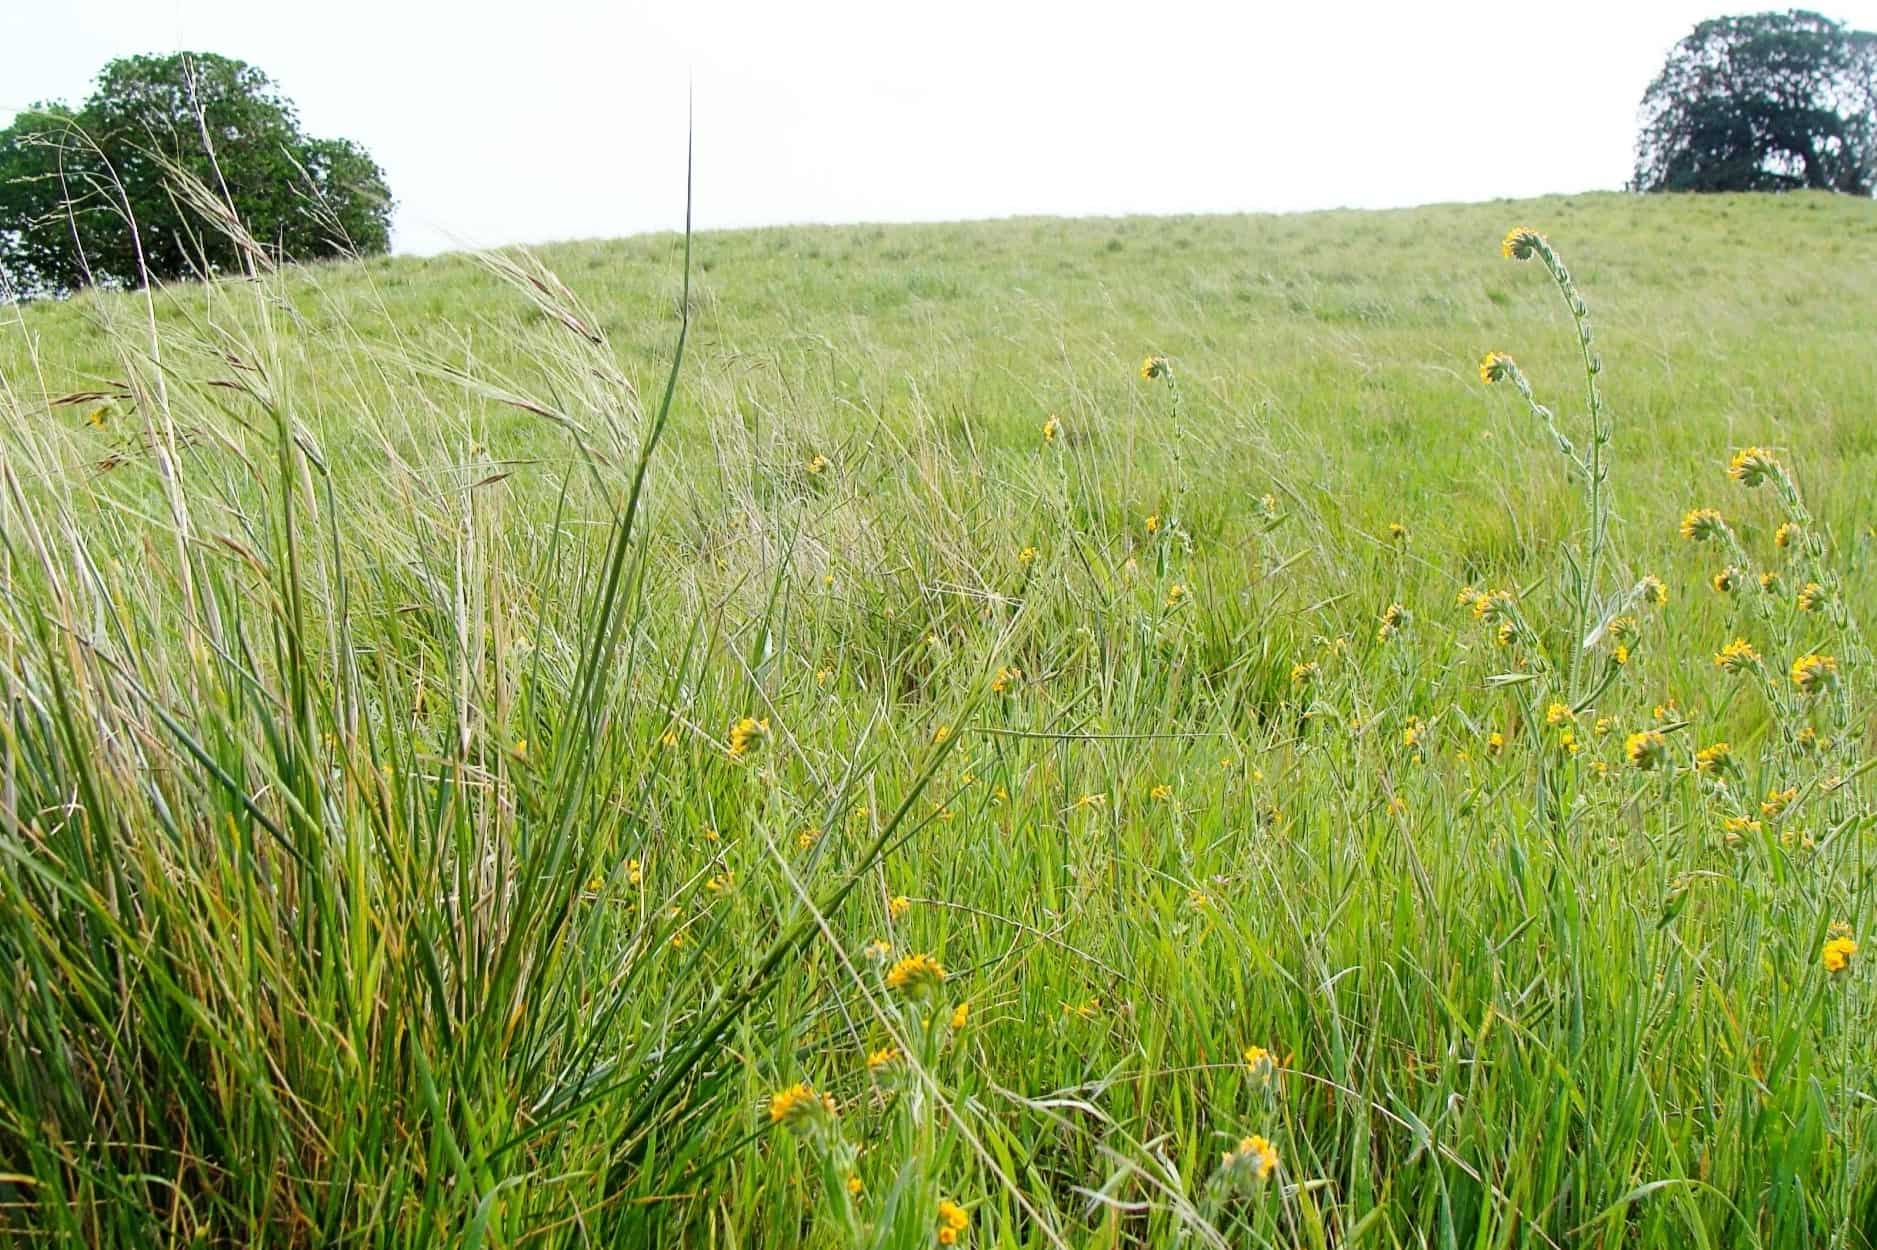
- Climate Requirements: California poppies are known for their adaptability to different climates, but they thrive best in regions with mild winters and moderate temperatures. They are well-suited to USDA hardiness zones 6 to 10, which covers a wide range of areas in the United States.
- Soil Preparation: California poppies prefer well-draining soil that is loose and sandy. Before planting the seeds, make sure to prepare the soil by removing any weeds or debris and incorporating organic matter, such as compost, to improve fertility.
- Timing and Season: The ideal time to plant California poppy seeds is in early spring or fall, when the temperatures are mild and the soil is workable. Avoid planting during extreme hot or cold periods, as this can affect germination and growth.
- Light Requirements: California poppies are sun-loving plants that require at least six hours of direct sunlight each day. Choose a location in your garden that receives ample sunlight to ensure healthy growth and abundant blooms.
- Watering Needs: While California poppies are drought-tolerant once established, they still require regular watering during the germination phase. Keep the soil moist but not waterlogged until the seedlings emerge, and then gradually reduce the frequency of watering as they become more established.
- Companion Planting: Consider planting California poppies alongside other compatible flowers and plants. They make great companions for other wildflowers, such as lupines and baby’s breath, as well as attracting pollinators like bees and butterflies.
By taking these factors into account, you can create an ideal environment for your California poppies to thrive and flourish. Now, let’s dive into the nitty-gritty details of planting these beautiful flowers from seeds!
Climate Requirements
California poppies are known for their adaptability to a variety of climates, making them a popular choice for gardeners across different regions. However, they thrive best in areas with mild winters and moderate temperatures.
These wildflowers are well-suited to USDA hardiness zones 6 to 10, which cover a wide range of locations in the United States. In these zones, the temperature ranges from -10°F (-23°C) to 30°F (-1°C) in the winter and can climb up to 100°F (38°C) or higher in the summer.
While California poppies can withstand occasional frost and heat, they tend to perform best in temperate climates. They prefer areas with a Mediterranean climate, characterized by mild, wet winters and dry summers. However, they can also adapt to other climates, including coastal, desert, and mountainous regions.
It’s important to note that if you’re in a region with extremely cold or hot temperatures, you may need to take additional precautions to protect your California poppies. In colder climates, consider providing a layer of mulch around the plants to insulate them during the winter months. In hotter climates, providing some shade or using drip irrigation can help prevent the plants from becoming stressed in high temperatures.
Overall, California poppies are resilient plants that can tolerate a range of conditions, but they perform best in areas with mild winters and moderate temperatures. Understanding your specific climate and its suitability for these wildflowers is crucial for their successful growth and blooming.
Soil Preparation
Preparing the soil is an essential step in growing California poppies from seeds. These wildflowers prefer well-draining soil that is loose and sandy, providing them with the right conditions for healthy root development and growth.
Here are some steps to prepare the soil for planting California poppy seeds:
- Clear the Area: Start by clearing the area where you plan to plant the seeds. Remove any weeds, rocks, or debris that may hinder the growth of the poppies.
- Loosen the Soil: Use a garden fork or spade to loosen the soil to a depth of about 6 inches (15 cm). This helps to improve aeration and drainage, ensuring that water doesn’t pool around the roots of the poppies.
- Amend the Soil: California poppies prefer slightly acidic to neutral soil with a pH range of 6.0 to 7.0. Test the soil pH using a soil testing kit and amend it accordingly. If the soil is too acidic, add lime to raise the pH. If it’s too alkaline, add sulfur or peat moss to lower the pH.
- Incorporate Organic Matter: California poppies thrive in soil that is rich in organic matter. Add compost, well-rotted manure, or other organic materials to the soil to improve its fertility and provide essential nutrients for the plants.
- Level and Rake the Soil: After incorporating organic matter, level the soil using a rake. Smooth out any bumps or unevenness to create a flat surface for planting the seeds.
By following these soil preparation steps, you create an ideal growing environment for your California poppies. The loose, well-draining soil with added organic matter will promote healthy root development, allow for proper water penetration, and provide the necessary nutrients for vibrant growth and abundant blooms.
Timing and Season
Choosing the right timing and season for planting California poppy seeds is crucial for their successful germination and growth. The ideal time to plant these wildflowers is in early spring or fall, when the temperatures are mild and the soil is workable.
Here are some key considerations regarding timing and season for planting California poppy seeds:
- Spring Planting: In regions with mild winters, spring is an excellent time to sow California poppy seeds. Aim to plant them after the last frost has passed, when the soil has warmed up and is no longer frozen. This allows the seeds to germinate and establish themselves before the heat of summer arrives.
- Fall Planting: In areas with hot summers, fall planting is a suitable option. Plant the seeds about 6 to 8 weeks before the first expected frost. This gives the seeds time to establish strong roots before the winter dormancy period. The seeds will remain dormant during the winter and germinate in early spring when the conditions are favorable.
- Avoiding Extreme Temperatures: California poppies prefer moderate temperatures for germination and growth. Avoid planting the seeds during periods of extreme heat or cold, as this can negatively impact their success. Extremely hot temperatures can burn the seeds, while freezing temperatures can hinder germination.
- Soil Temperature: It’s essential to ensure that the soil temperature is suitable for seed germination. California poppies prefer a soil temperature of around 60°F (15°C) for optimal germination. You can use a soil thermometer to check the temperature and make sure it is within the desired range.
By planting California poppy seeds at the right time and season, you provide them with the ideal conditions to sprout and grow into healthy, vibrant plants. Whether you choose spring or fall, make sure to consider the local climate and weather patterns to maximize the success of your California poppy garden.
Plant California poppy seeds in the early spring or late fall for best results. Choose a sunny location with well-drained soil, and scatter the seeds on the surface without covering them. Keep the soil moist until the seeds germinate.
Read more: When Can I Plant Poppy Seeds
Planting Methods
Planting California poppy seeds is a straightforward process that can be done using different methods, depending on your preference and garden space. Here are a few common planting methods for California poppies:
- Direct Seeding: Direct seeding is the most common method for planting California poppy seeds. Start by preparing the soil as mentioned earlier, making sure it is loose and well-draining. Scatter the seeds evenly over the prepared area, aiming for a spacing of about 6 to 8 inches (15 to 20 cm) between each seed. Lightly press the seeds into the soil using the back of a rake or your hands, ensuring good soil contact.
- Container Planting: If you have limited garden space or prefer more control over the growing conditions, you can opt to plant California poppies in containers. Choose containers that have drainage holes to prevent waterlogging. Fill the containers with a well-draining potting mix and scatter the seeds on the surface. Lightly press the seeds into the soil and water gently. Place the containers in an area that receives full sun.
- Transplanting Seedlings: If you prefer a head start and faster blooms, you can start California poppy seeds indoors 6 to 8 weeks before the expected planting time. Use seed trays or small pots filled with seed-starting mix. Sow the seeds thinly and cover them lightly with a layer of soil. Keep the soil consistently moist and maintain a temperature between 60°F (15°C) and 70°F (21°C) for germination. Once the seedlings have developed a few sets of true leaves, they can be transplanted into the garden or larger pots.
Whichever planting method you choose, make sure to keep the soil consistently moist until the seeds germinate. Avoid overwatering, as it can lead to rotting. Once the seedlings emerge, gradually reduce the frequency of watering, allowing the soil to dry slightly between waterings. This helps promote stronger root growth and drought tolerance in mature plants.
Remember to label your planting areas or containers to keep track of the California poppies’ locations. This will prevent accidental disturbance or confusion with other plants.
With proper planting methods and care, you’ll soon be rewarded with a breathtaking display of colorful California poppies in your garden.
Caring for California Poppy Seeds
Once you have planted your California poppy seeds, it’s important to provide proper care to ensure their healthy growth and abundant blooming. Here are some essential tips for caring for California poppy seeds:
- Watering: During the germination phase, it’s crucial to keep the soil consistently moist. Water gently and avoid overwatering, as it can lead to rotting. As the seedlings emerge and become established, gradually reduce the frequency of watering. California poppies are drought-tolerant once fully grown and require little supplemental watering.
- Light and Sun Exposure: California poppies thrive in full sun, requiring at least six hours of direct sunlight each day. Choose a location in your garden that receives ample sunlight to ensure optimal growth and blooming. Insufficient sunlight can result in leggy growth and fewer flowers.
- Mulching: Apply a layer of organic mulch around the base of the plants to conserve moisture, suppress weeds, and regulate soil temperature. Use materials like straw, wood chips, or dried leaves. Be careful not to smother the young seedlings with excessive mulch.
- Deadheading: Regular deadheading encourages continuous blooming and prevents the plants from going to seed prematurely. Remove faded flowers by pinching or gently cutting them off near the base. This promotes the growth of new blooms and extends the flowering period.
- Pest and Disease Control: California poppies are generally pest-resistant, but they can occasionally attract aphids, slugs, or snails. Monitor your plants regularly and take immediate action if you notice any pest infestations. Use organic insecticidal soap or other environmentally-friendly pest control methods. Proper spacing and good airflow can also help prevent disease issues.
- Weed Control: Keep the area around your California poppies free from weeds, as they can compete for nutrients, water, and sunlight. Regularly hand-pull weeds or use mulch to suppress weed growth. Be mindful not to disturb the shallow root system of the poppies while weeding.
By following these care tips, you can ensure that your California poppy seeds grow into healthy, vigorous plants that bloom profusely throughout the season. Enjoy the captivating beauty of their vibrant flowers and the enchanting charm they bring to your garden.
Common Mistakes to Avoid
While growing California poppies can be a relatively easy and enjoyable experience, there are a few common mistakes that gardeners should avoid to ensure the best results. By being aware of these pitfalls, you can maximize the success of your California poppy garden. Here are some common mistakes to avoid:
- Overwatering: It’s important to strike a balance when it comes to watering California poppies. Overwatering can lead to root rot and other fungal diseases. Avoid saturating the soil and instead aim for moist, but not waterlogged, conditions. Once the plants are established, they can tolerate periods of drought.
- Poor Soil Drainage: California poppies prefer well-draining soil. Planting them in heavy or compacted soil can hinder root development and lead to waterlogging. It’s recommended to amend the soil with organic matter to improve drainage and create the ideal growing conditions for the poppies.
- Planting in Unsuitable Conditions: California poppies thrive in full sun and mild climates. Planting them in shady areas or regions with extreme heat or cold can result in suboptimal growth and limited blooming. Ensure that you choose a suitable location for your poppies, providing them with the right amount of sunlight and a climate that matches their preferences.
- Not Deadheading: Failure to deadhead spent flowers can result in the premature production of seeds and a shorter blooming period. Regularly remove faded flowers by pinching or cutting them off near the base to encourage continuous blooming and the production of new flowers.
- Ignoring Pest and Disease Control: While California poppies are generally resistant to pests and diseases, they can occasionally be susceptible to issues like aphids, slugs, or powdery mildew. Monitor your plants regularly and take prompt action at the first sign of any pest or disease problems. Utilize organic pest control methods and maintain good airflow around the plants to prevent these issues.
- Planting Too Close: California poppies, like many other plants, require adequate space to grow and thrive. Planting them too close together can lead to overcrowding, insufficient airflow, and competition for nutrients. Follow the recommended spacing guidelines to allow each poppy plant enough room to spread and develop properly.
By avoiding these common mistakes and implementing proper care and maintenance techniques, you can ensure the healthy growth and vibrant blooming of your California poppies. Give them the optimal conditions they need, and you’ll be rewarded with a stunning display of golden flowers in your garden.
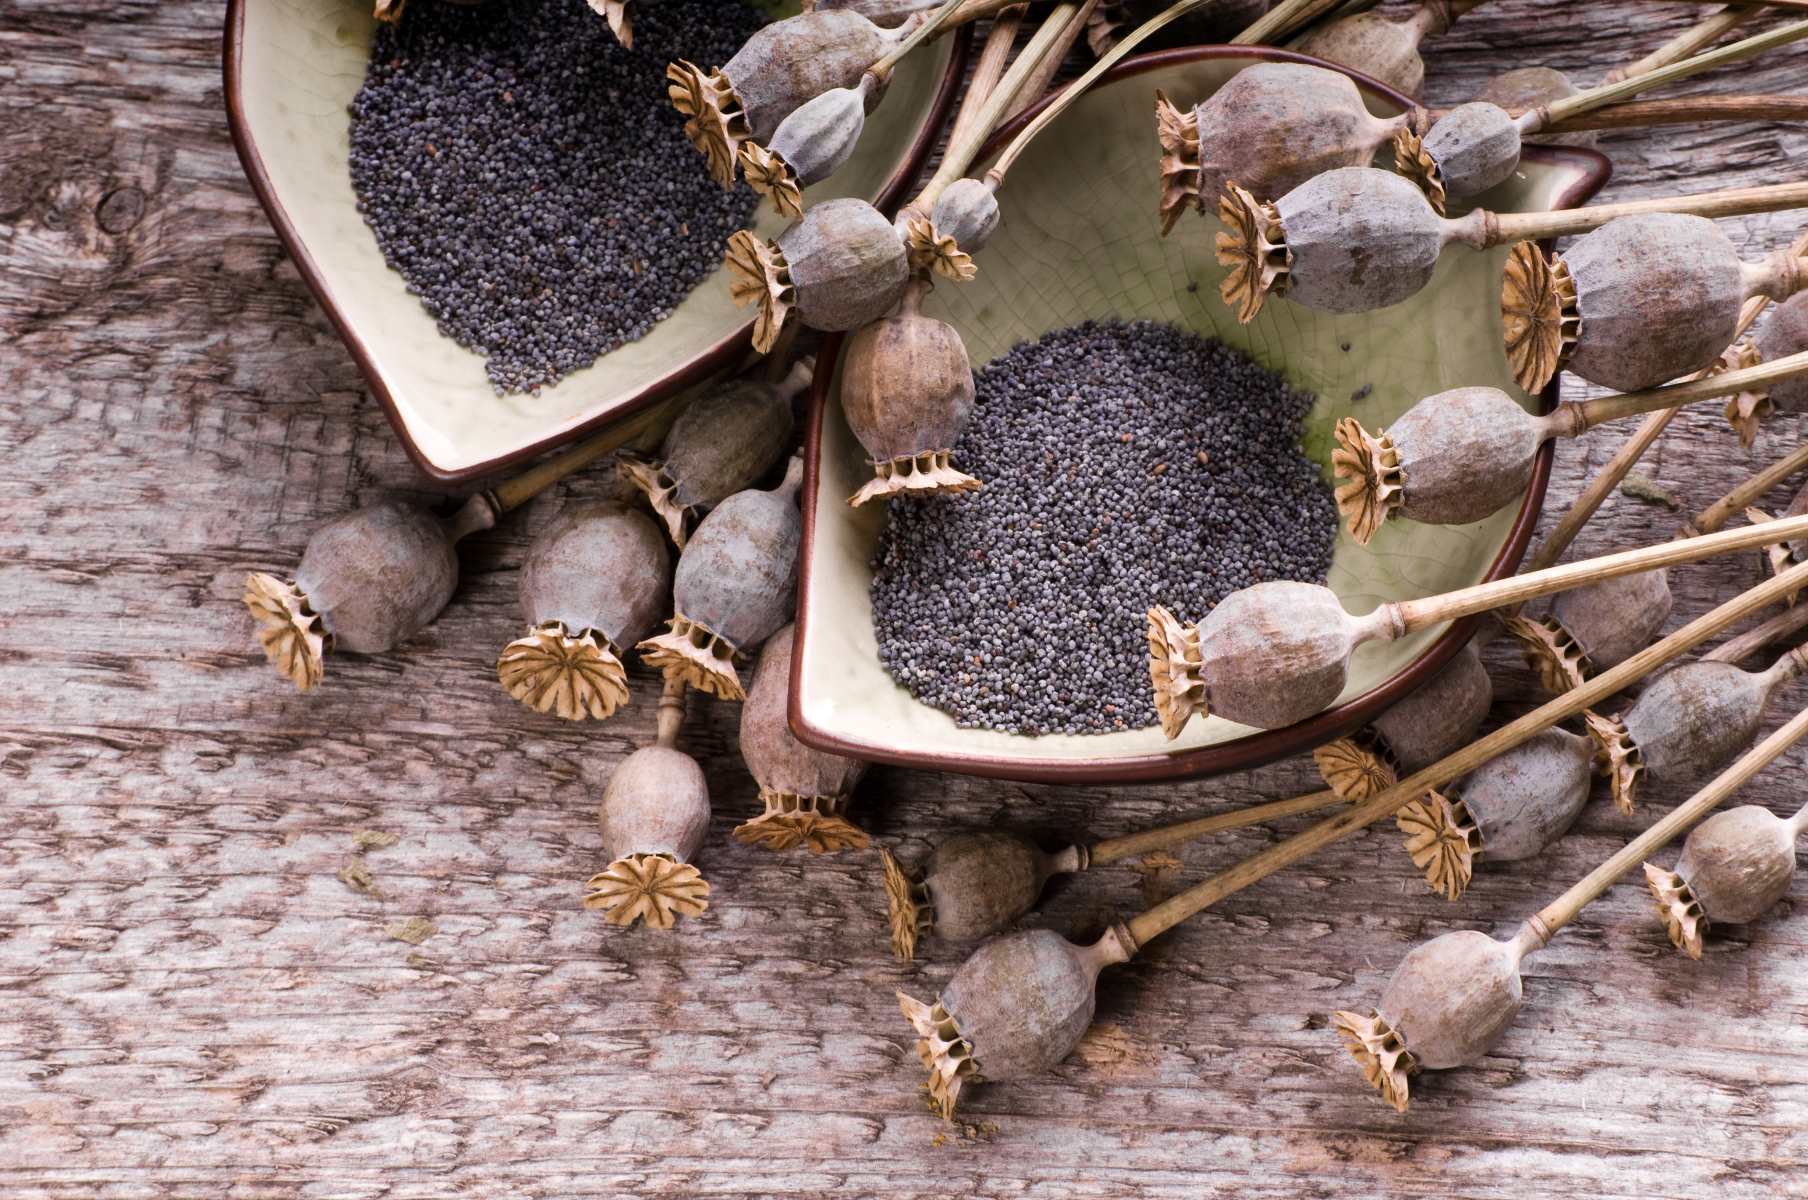
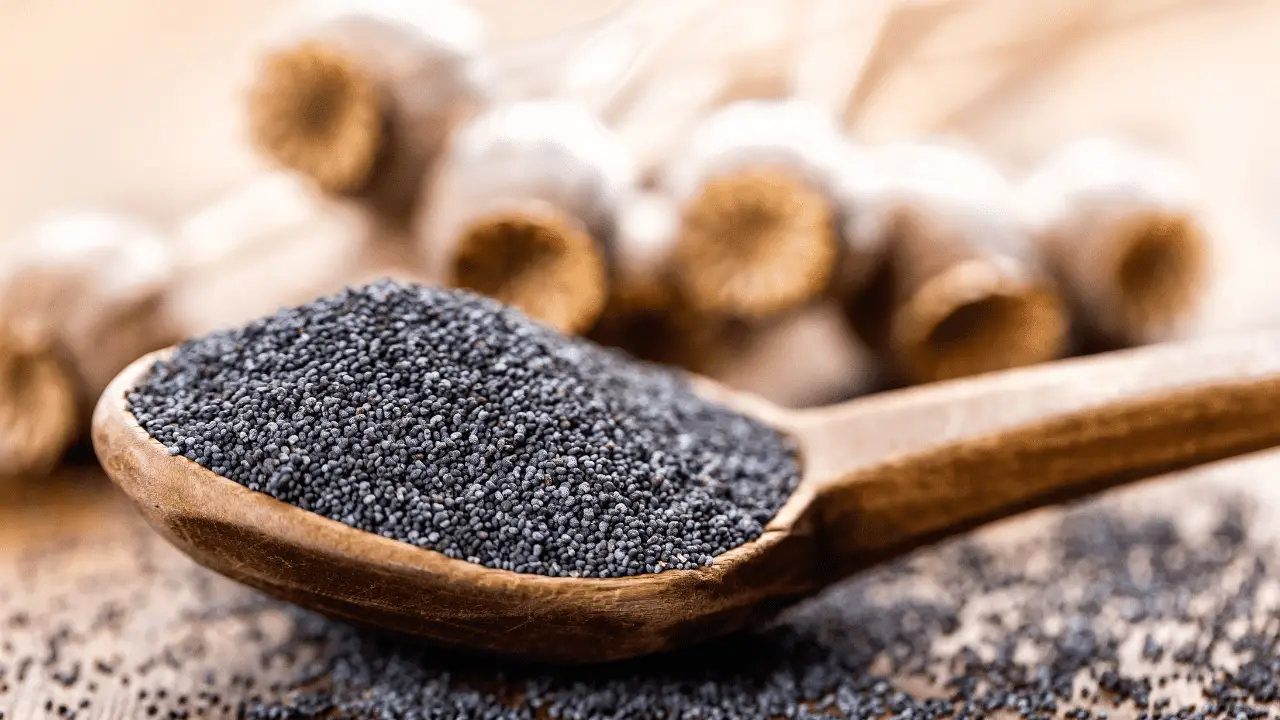
Harvesting and Seed Saving
Harvesting and saving seeds from your California poppies is a great way to preserve their beauty and share them with others. Here’s a step-by-step guide on how to harvest and save California poppy seeds:
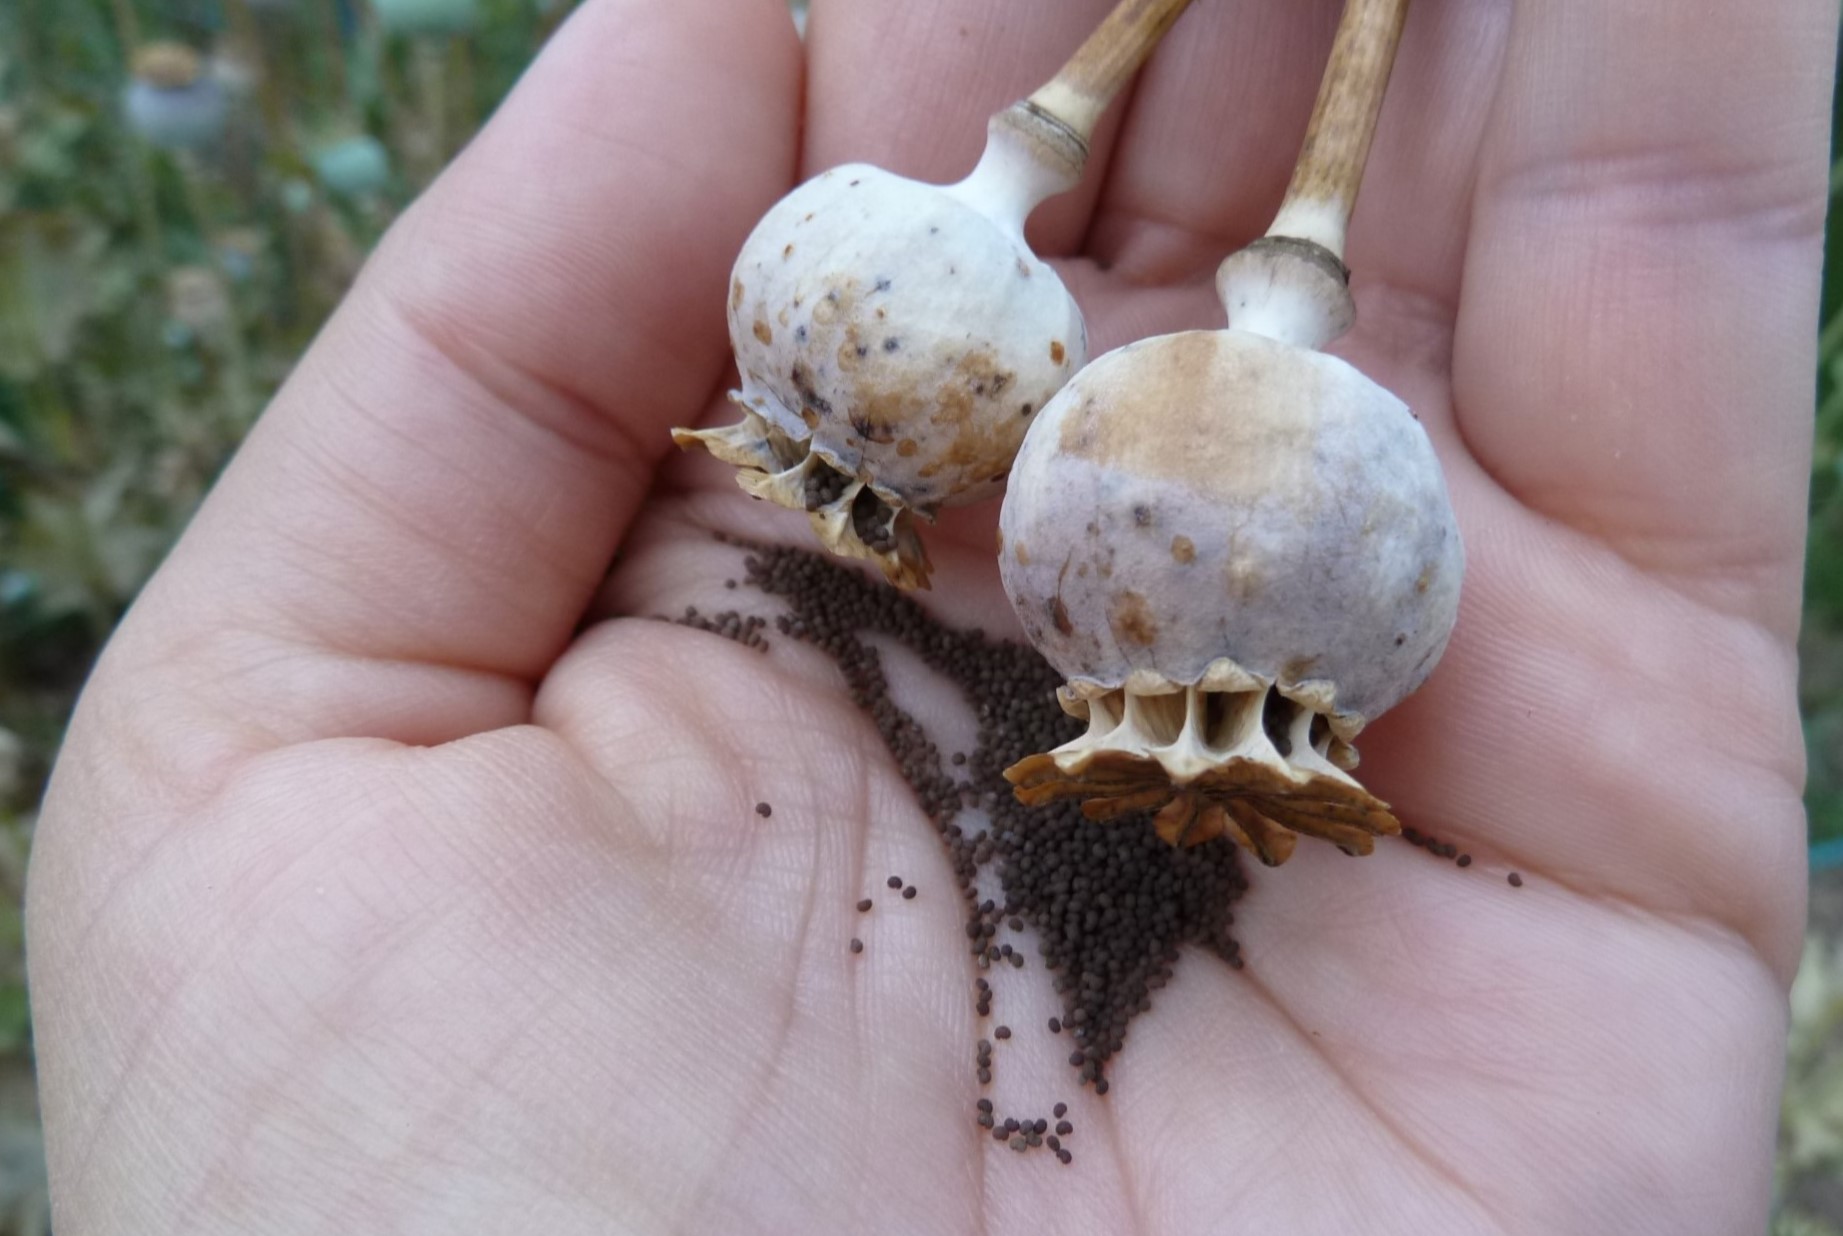
- Wait for the Right Time: Allow the California poppy flowers to fully mature on the plant before harvesting the seeds. The petals will start to fade and the seed pods will turn brown and become dry.
- Collect the Seeds: Gently pluck the seed pods from the plant, making sure they are dry and crisp. Place the seed pods in a paper bag or envelope to prevent moisture buildup, which can lead to mold or rot.
- Dry the Seeds: Keep the seed pods in a cool, dry, and well-ventilated area for a few weeks to ensure complete drying. This will help prevent any moisture from causing the seeds to spoil during storage. Shake the pods occasionally to release the seeds from their capsules.
- Separate the Seeds: Once the seed pods are completely dry, gently break them open to release the seeds. Be careful not to damage the seeds in the process. Remove any debris or plant matter from the seeds.
- Store the Seeds: Place the seeds in an airtight container, such as a glass jar or seed envelope. Make sure the container is labeled with the name and date of the seeds. Store them in a cool, dry, and dark location, such as a refrigerator or a cool basement. Proper storage conditions can help maintain the viability of the seeds for several years.
It’s important to note that California poppies readily self-sow in the garden, meaning that they drop their own seeds and create new plants the following season. If you want to prevent self-sowing, you can remove the seed pods before they fully mature and spread the seeds.
By harvesting and saving the seeds from your California poppies, you can continue to enjoy their beauty year after year, as well as share them with fellow gardeners. Remember to follow the local regulations and obtain proper permits if you plan to distribute or sell the seeds.
Read more: When To Plant California Native Plants
Conclusion
Growing California poppies from seeds is a delightful and rewarding experience for gardeners of all levels. These vibrant wildflowers add a splash of color and natural beauty to any garden, attracting pollinators and brightening up the landscape.
By considering the factors such as climate requirements, soil preparation, timing, and planting methods, you can create an ideal environment for your California poppy seeds to thrive. Providing proper care, including watering, sunlight, and pest control, ensures healthy growth and abundant blooming.
Avoiding common mistakes such as overwatering, planting in unsuitable conditions, and neglecting pest control will help you achieve optimal results. Additionally, harvesting and saving the seeds allows you to preserve the beauty of your California poppies and share them with others.
So whether you’re a seasoned gardener or just starting out, don’t hesitate to plant California poppy seeds in your garden. Their resilience, adaptability, and captivating beauty make them a wonderful addition to any landscape.
So get your hands dirty, plant those seeds, and watch as your garden transforms into a vibrant display of golden blooms. Your efforts will be rewarded with a garden filled with the charm and stunning beauty of California poppies.
Happy gardening!
Frequently Asked Questions about When To Plant California Poppy Seeds
Was this page helpful?
At Storables.com, we guarantee accurate and reliable information. Our content, validated by Expert Board Contributors, is crafted following stringent Editorial Policies. We're committed to providing you with well-researched, expert-backed insights for all your informational needs.


0 thoughts on “When To Plant California Poppy Seeds”