Home>Garden Essentials>How To Stratify Poppy Seeds
Garden Essentials
How To Stratify Poppy Seeds
Modified: March 16, 2024
Learn how to stratify poppy seeds in your garden and ensure successful germination. Step-by-step guide for beginners. Start growing your own vibrant poppies today!
(Many of the links in this article redirect to a specific reviewed product. Your purchase of these products through affiliate links helps to generate commission for Storables.com, at no extra cost. Learn more)
Introduction
Welcome to our comprehensive guide on how to stratify poppy seeds. Stratifying seeds is an essential method for initiating the germination process of dormant seeds, ensuring optimal conditions for successful growth. This technique is particularly important for poppy seeds, which have a hard outer seed coat that can inhibit germination. By following these steps, you will learn how to properly stratify poppy seeds and increase your chances of a bountiful and thriving garden.
Stratification is the process of subjecting seeds to specific conditions that mimic natural winter conditions. This treatment breaks down the seed coat and triggers the seed embryo to germinate when exposed to warm and moist conditions afterward. Poppy seeds, in particular, require stratification to overcome their dormancy and promote healthy growth.
Before we delve into the step-by-step process of stratifying poppy seeds, let’s take a moment to gather the necessary tools and materials.
Key Takeaways:
- Give your poppy seeds some love by soaking, rinsing, and drying them before storing in a cool, dark place. This process breaks dormancy and sets the stage for a vibrant poppy garden!
- Stratifying poppy seeds is like giving them a cozy winter nap. With the right care and preparation, you’ll soon be greeted by the enchanting beauty of blooming poppies in your garden.
Read more: How To Save Poppy Seeds
Step 1: Gather the necessary tools
Before starting the poppy seed stratification process, it’s important to gather all the necessary tools and materials. Having everything prepared in advance will make the process smoother and more efficient. Here are the tools you will need:
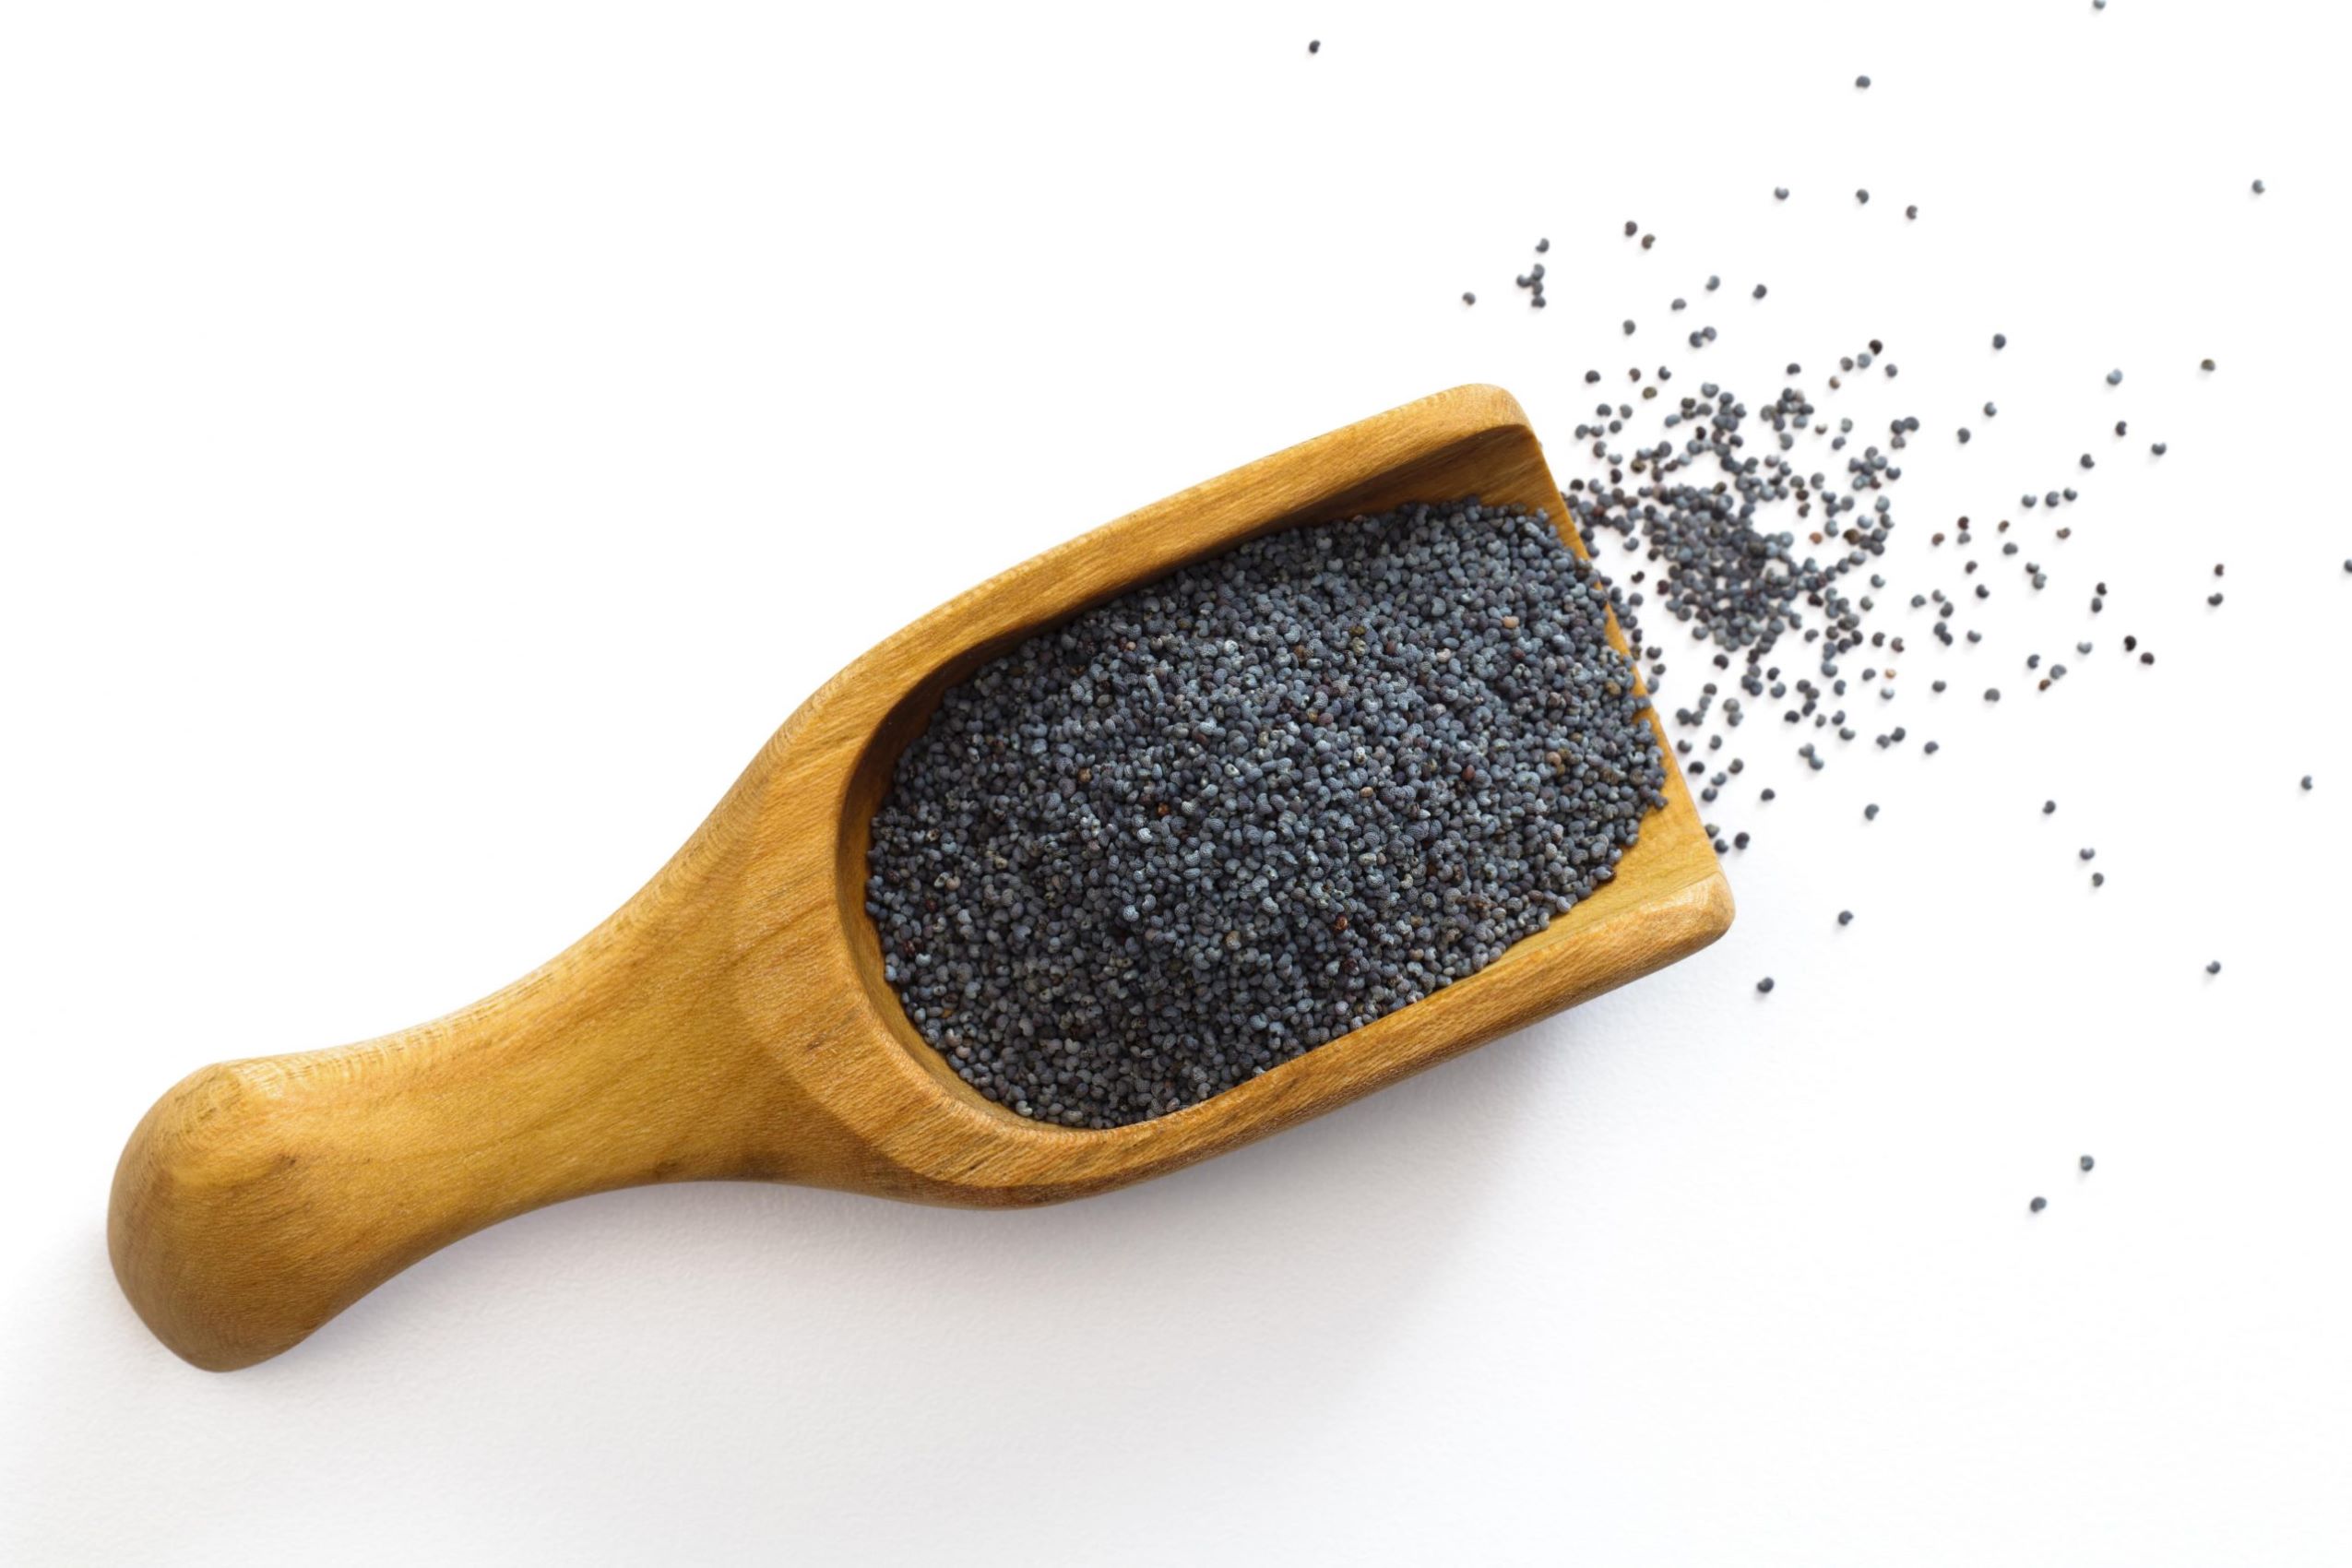
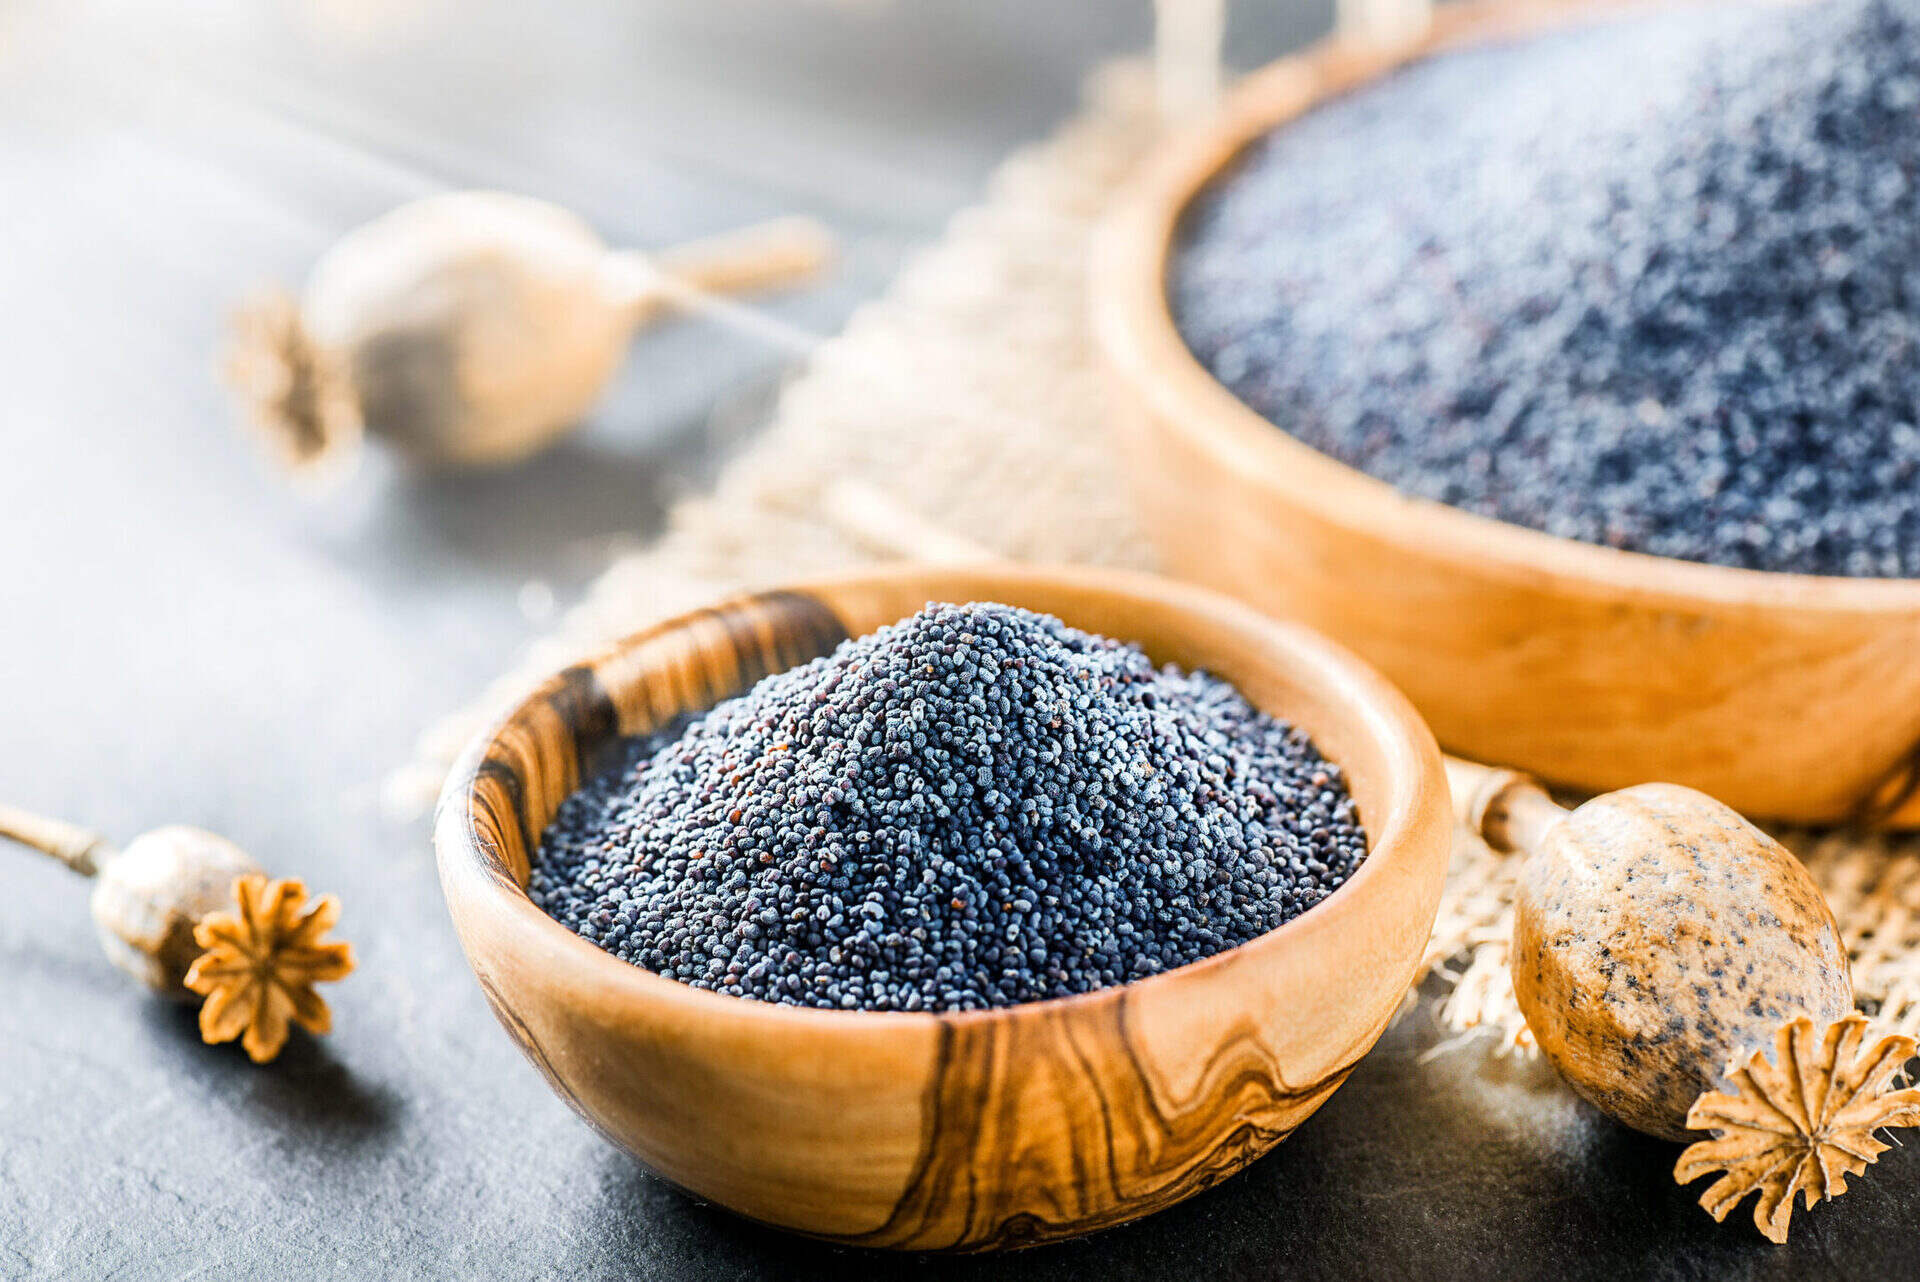
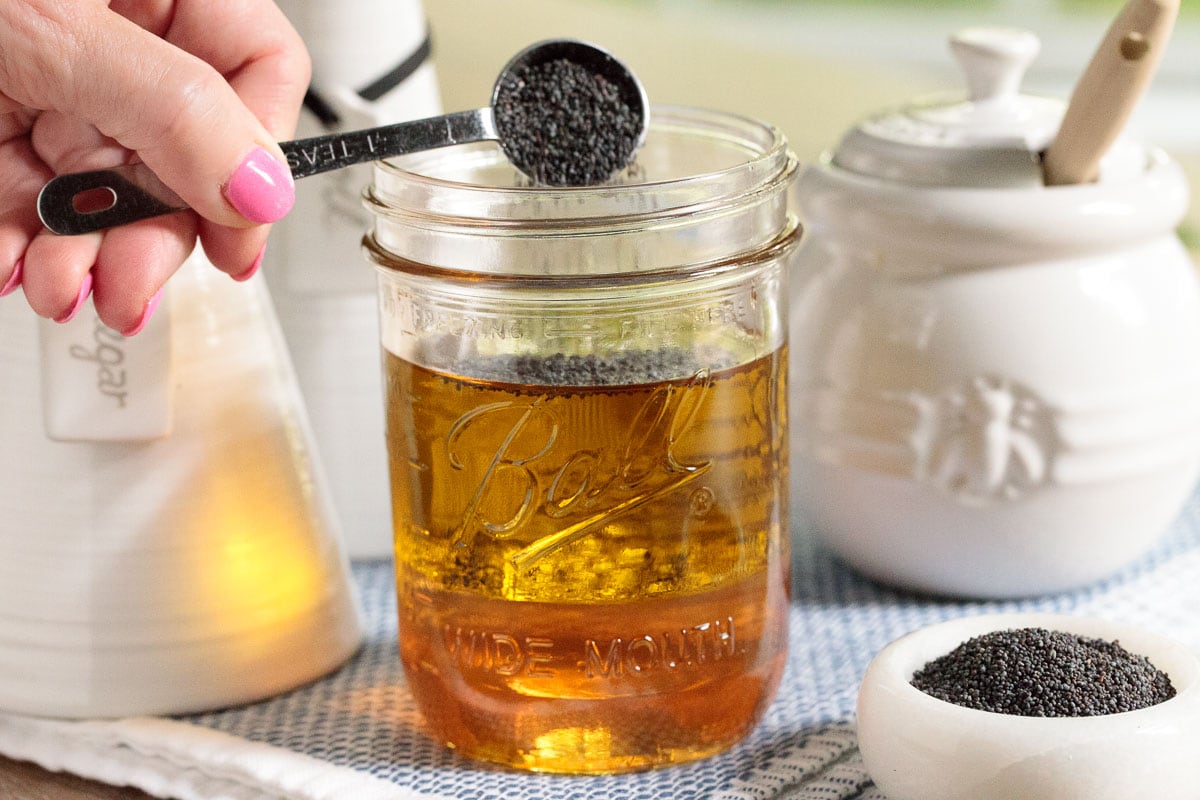
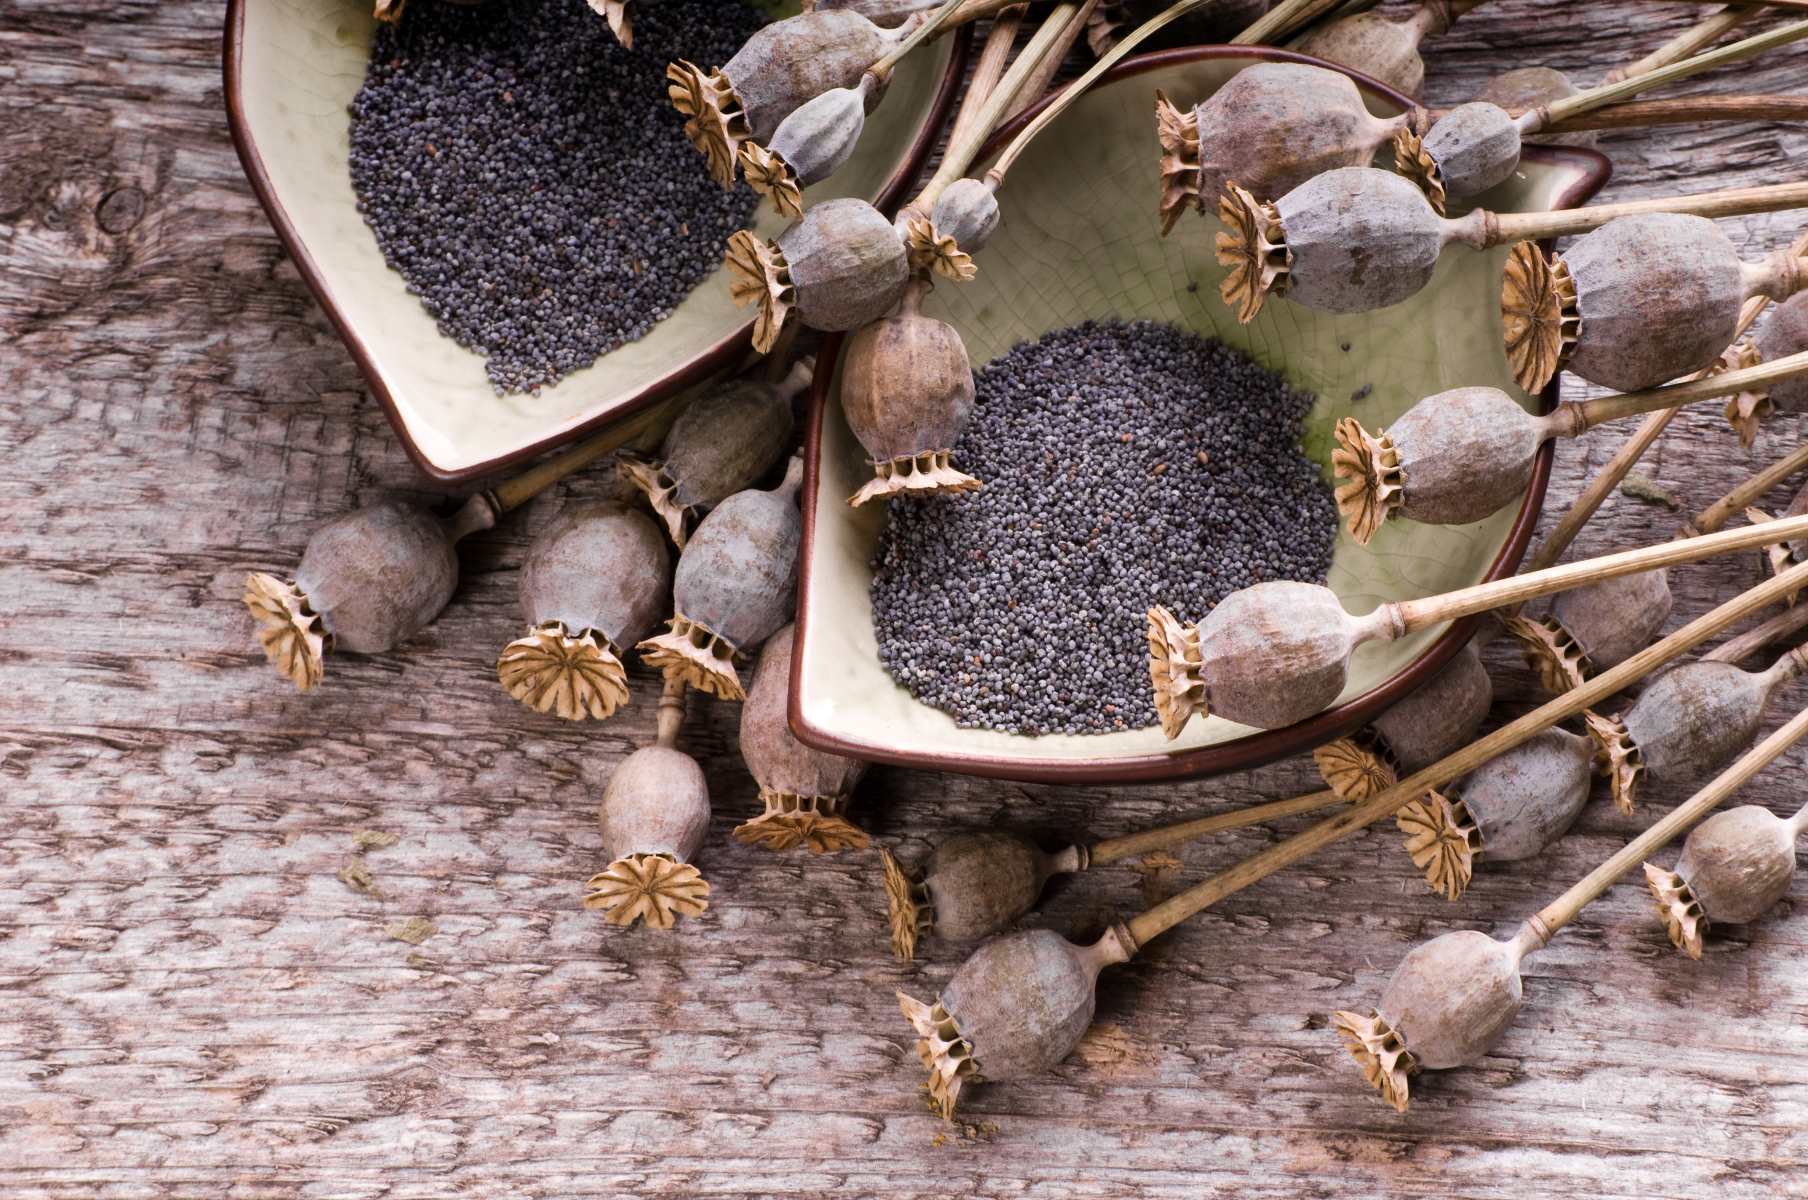
- Poppy seeds: Choose high-quality poppy seeds from a reliable source. It’s best to opt for untreated seeds as they haven’t been treated with heat or chemicals that can affect germination.
- Plastic bag or container: Select a plastic bag or container that can accommodate the quantity of seeds you are stratifying. Make sure it has a tight-fitting lid or can be sealed tightly to maintain moisture levels.
- Damp paper towel: You will need a damp paper towel or cloth to provide moisture during the stratification process.
- Permanent marker: Use a permanent marker to label the bag or container with the variety and date of stratification. This will help you keep track of your seeds.
- Refrigerator: A refrigerator with a consistent temperature of around 40°F (4°C) is essential for successful stratification. Make sure there is enough space to accommodate the bag or container.
Once you have gathered all the necessary tools and materials, you are ready to move on to the next step: preparing the poppy seeds.
Step 2: Prepare the poppy seeds
Before stratifying the poppy seeds, it’s important to properly prepare them. This involves scarification, a process that helps weaken the hard seed coat and improve germination rates. Here’s how to prepare poppy seeds for stratification:
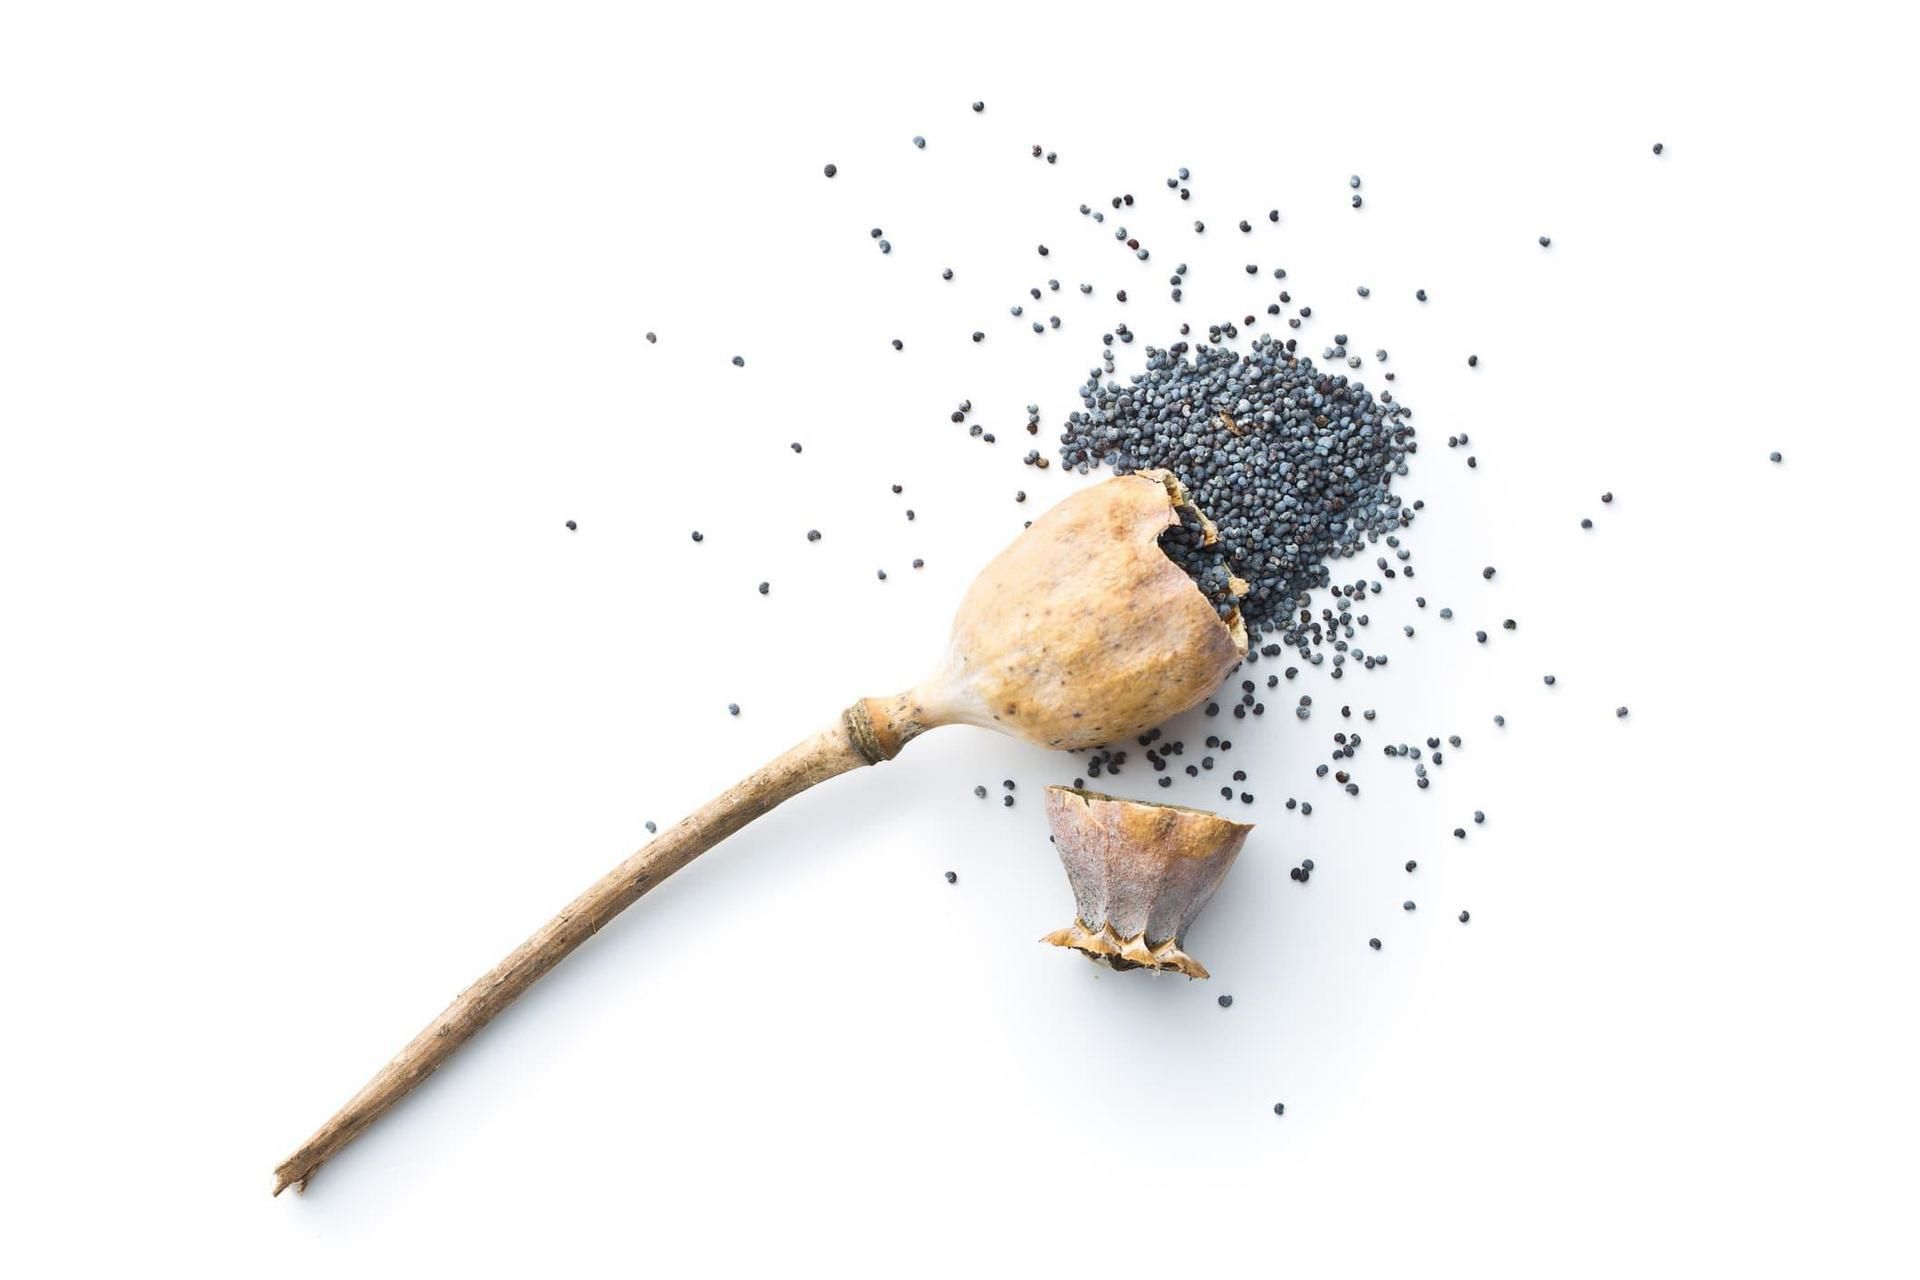
- Inspect the seeds: Check the poppy seeds for any damaged or discolored ones. Remove any seeds that appear unhealthy, as they may not germinate properly.
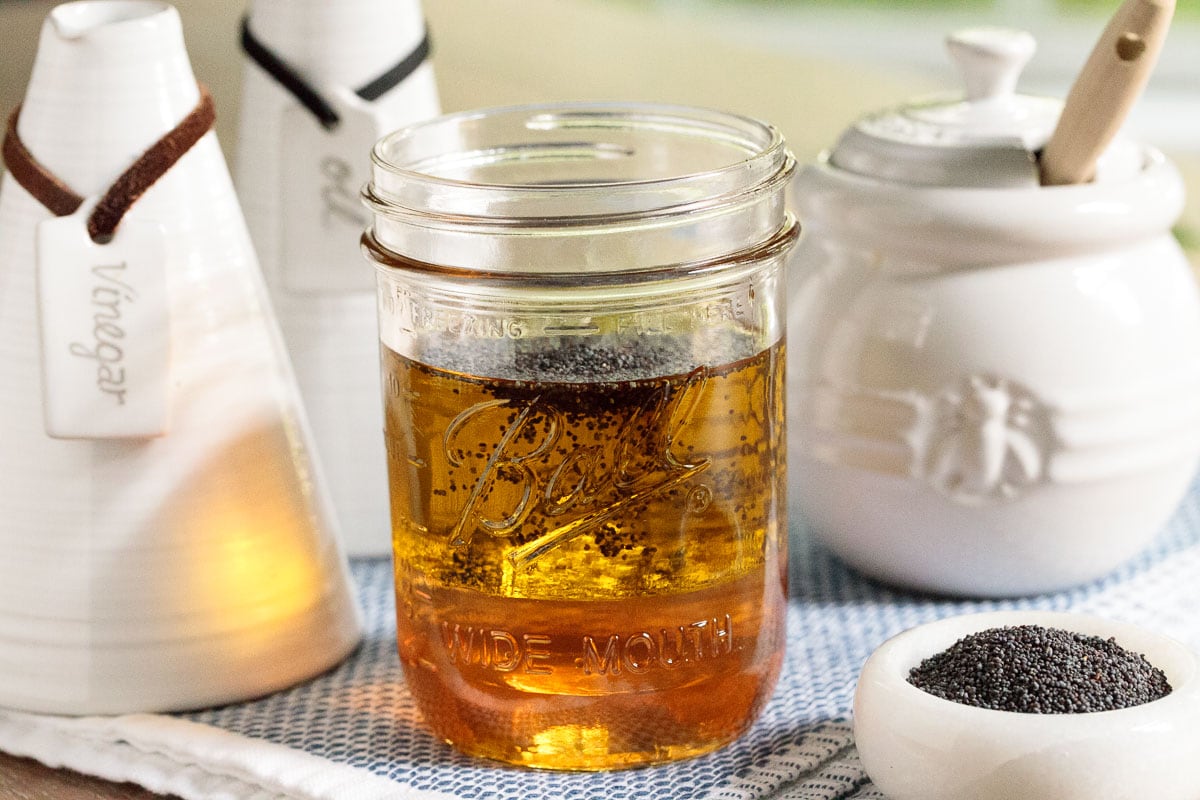
- Soak the seeds: Place the poppy seeds in a container filled with warm water. Let them soak for 24 hours. This will help soften the seed coat and promote germination.
- Drain the seeds: After the soaking period, drain the water from the container and rinse the seeds thoroughly with clean water.
- Dry the seeds: Spread the seeds on a clean paper towel and let them dry for a few hours. Ensure they are completely dry before proceeding to the next step.
Once you have prepared the poppy seeds, it’s time to move on to the next step: soaking the poppy seeds.
Step 3: Soak the poppy seeds
After preparing the poppy seeds, it’s time to soak them. Soaking is an essential step in stratifying poppy seeds as it helps to further soften the seed coat and prepare the seeds for germination. Here’s how to properly soak poppy seeds:
- Prepare a container: Take a shallow container and line the bottom with a damp paper towel or cheesecloth. This will provide moisture to the seeds during the soaking process.
- Place the seeds: Spread the prepared poppy seeds evenly on top of the damp paper towel or cheesecloth in the container.
- Add water: Pour enough room temperature water into the container to submerge the seeds completely. Ensure that the water level is not too high or too low.
- Cover and soak: Cover the container with a lid or plastic wrap to retain moisture. Let the poppy seeds soak for 24 to 48 hours. This soaking period allows the seeds to fully absorb water and initiate the germination process.
It’s important to keep an eye on the seeds during the soaking process to ensure they don’t dry out. If needed, you can gently mist the seeds with water to maintain adequate moisture levels.
Once the soaking period is complete, it’s time to move on to the next step: rinsing the poppy seeds.
Step 4: Rinse the poppy seeds
After the soaking process, it’s important to rinse the poppy seeds to remove any residue or impurities. Rinsing the seeds helps ensure they are clean and ready for the stratification process. Here’s how to properly rinse poppy seeds:
- Prepare a sieve or colander: Get a sieve or colander with fine mesh and place it under running water to wet it.
- Pour the seeds: Carefully transfer the soaked poppy seeds onto the wet sieve or colander.
- Rinse thoroughly: Gently rinse the poppy seeds with running water, ensuring that all excess water and residue gets washed away. Continue rinsing until the water runs clear and there are no more impurities.
- Allow drainage: Let the rinsed poppy seeds sit in the sieve or colander for a few minutes to allow excess water to drain away.
It’s important to handle the poppy seeds with care during the rinsing process to avoid damaging or losing them. Gentle rinsing is sufficient to clean the seeds without causing any harm.
Once the poppy seeds have been thoroughly rinsed and excess water has drained away, it’s time to proceed to the next step: straining the poppy seeds.
To stratify poppy seeds, place them in a damp paper towel in a plastic bag and refrigerate for 2-4 weeks. This mimics winter conditions and improves germination.
Read more: How Long To Cold Stratify Lavender Seeds
Step 5: Strain the poppy seeds
After rinsing the poppy seeds, it’s time to strain them to remove excess moisture and prepare them for the stratification process. Straining helps ensure that the seeds are in the optimal condition for germination. Here’s how to properly strain poppy seeds:
- Prepare a clean, dry surface: Find a clean, dry surface, such as a plate or tray, where you can spread out the poppy seeds.
- Transfer the seeds: Gently transfer the rinsed poppy seeds from the sieve or colander onto the clean, dry surface.
- Spread them out: Use your fingers or a spoon to spread out the poppy seeds in a thin, even layer. Avoid clumping or piling them up.
- Air dry: Allow the poppy seeds to air dry completely. This may take anywhere from a few hours to a day, depending on the temperature and humidity level of the room.
- Check for dryness: To ensure the seeds are fully dry, gently press down on a few seeds. If they feel dry and no moisture is released, they are ready for the next step.
It’s crucial to ensure that the poppy seeds are completely dry before proceeding to the next step. Wet or damp seeds may lead to mold or decay during the stratification process.
Once the poppy seeds are properly strained and thoroughly dried, it’s time to move on to the next step: drying the poppy seeds.
Step 6: Dry the poppy seeds
After straining the poppy seeds, the next step is to dry them further to remove any remaining moisture. Proper drying will help prevent mold or fungal growth during the stratification process. Here’s how to effectively dry poppy seeds:
- Prepare a dry and well-ventilated area: Find a dry and well-ventilated area in your home or garden where you can spread out the poppy seeds.
- Spread out the seeds: Transfer the strained poppy seeds onto a clean and dry surface, such as a plate or tray.
- Ensure even distribution: Use your fingers or a spoon to evenly spread out the poppy seeds, creating a thin layer.
- Air dry: Allow the poppy seeds to air dry in the chosen location. It’s important to avoid direct sunlight as it can heat up the seeds and affect their viability.
- Occasional stirring or turning: During the drying process, gently stir or turn the poppy seeds every few hours to ensure even drying and prevent clumping.
- Check for dryness: After about 24-48 hours, check the seeds for dryness. They should feel hard and brittle to the touch, with no signs of moisture.
Keep in mind that the drying time may vary depending on factors such as humidity levels and seed moisture content. It’s crucial to ensure that the poppy seeds are completely dry before proceeding to the next step of stratification.
Once the poppy seeds are thoroughly dried, it’s time to move on to the final step: storing the stratified poppy seeds.
Step 7: Store the stratified poppy seeds
After successfully drying the poppy seeds, the final step is to store them properly to maintain their viability for future planting. Proper storage conditions can ensure that the stratified poppy seeds remain in optimal condition until you’re ready to sow them. Here’s how to store stratified poppy seeds:
- Label the storage container: Use a permanent marker to label a small, airtight container or a sealable plastic bag with the variety and date of stratification. This will help you keep track of the seeds and their stratification period.
- Transfer the seeds: Carefully transfer the dried poppy seeds into the labeled container or bag. Ensure that the container or bag is clean and dry to prevent any moisture from entering.
- Add moisture-absorbing material (optional): For added protection against moisture, you can include a desiccant packet or a small amount of silica gel in the storage container. This will help absorb any excess moisture that may be present.
- Store in a cool and dark place: Find a cool and dark location to store the stratified poppy seeds. A cool basement or a refrigerator set to around 40°F (4°C) is ideal. Avoid exposing the seeds to direct sunlight or high temperatures, as this can reduce their viability.
- Monitor periodically: Check on the seeds periodically to ensure they remain dry and free from any signs of mold or pests. If any issues arise, remove the affected seeds immediately.
By following these storage guidelines, your stratified poppy seeds can remain viable for several months, allowing you to sow them when the optimal planting conditions arise.
With the completion of this final step, you have successfully stratified and stored your poppy seeds. Now, when the planting season arrives, you can look forward to the rewarding experience of watching your poppies grow and bloom in your garden.
Remember, each poppy variety may have specific stratification requirements. It’s always a good idea to research and follow the recommended stratification techniques for the specific poppy variety you’re working with.
Happy gardening!
Conclusion
Congratulations! You have now learned how to properly stratify poppy seeds to break their dormancy and promote successful germination. By following the steps outlined in this guide, you can maximize the chances of achieving a vibrant and flourishing poppy garden.
Stratifying poppy seeds is a crucial process, especially for varieties with hard seed coats that can hinder germination. Through scarification, soaking, rinsing, straining, and drying, you have created the optimal conditions for the seeds to break dormancy and awaken to new growth.
Remember to gather all necessary tools before starting, such as high-quality poppy seeds, durable containers, and a marker for labeling. Preparing the seeds by soaking, rinsing, and straining them removes impurities and ensures they are ready for the stratification process.
Proper drying is vital to prevent mold or fungal growth. By air-drying the seeds in a well-ventilated area, you eliminate excess moisture and prepare them for storage.
Finally, storing the stratified poppy seeds in cool, dark, and dry conditions prolongs their viability. Keep an eye on the seeds periodically to ensure they remain free from mold or pests, allowing you to plant them when the perfect time comes.
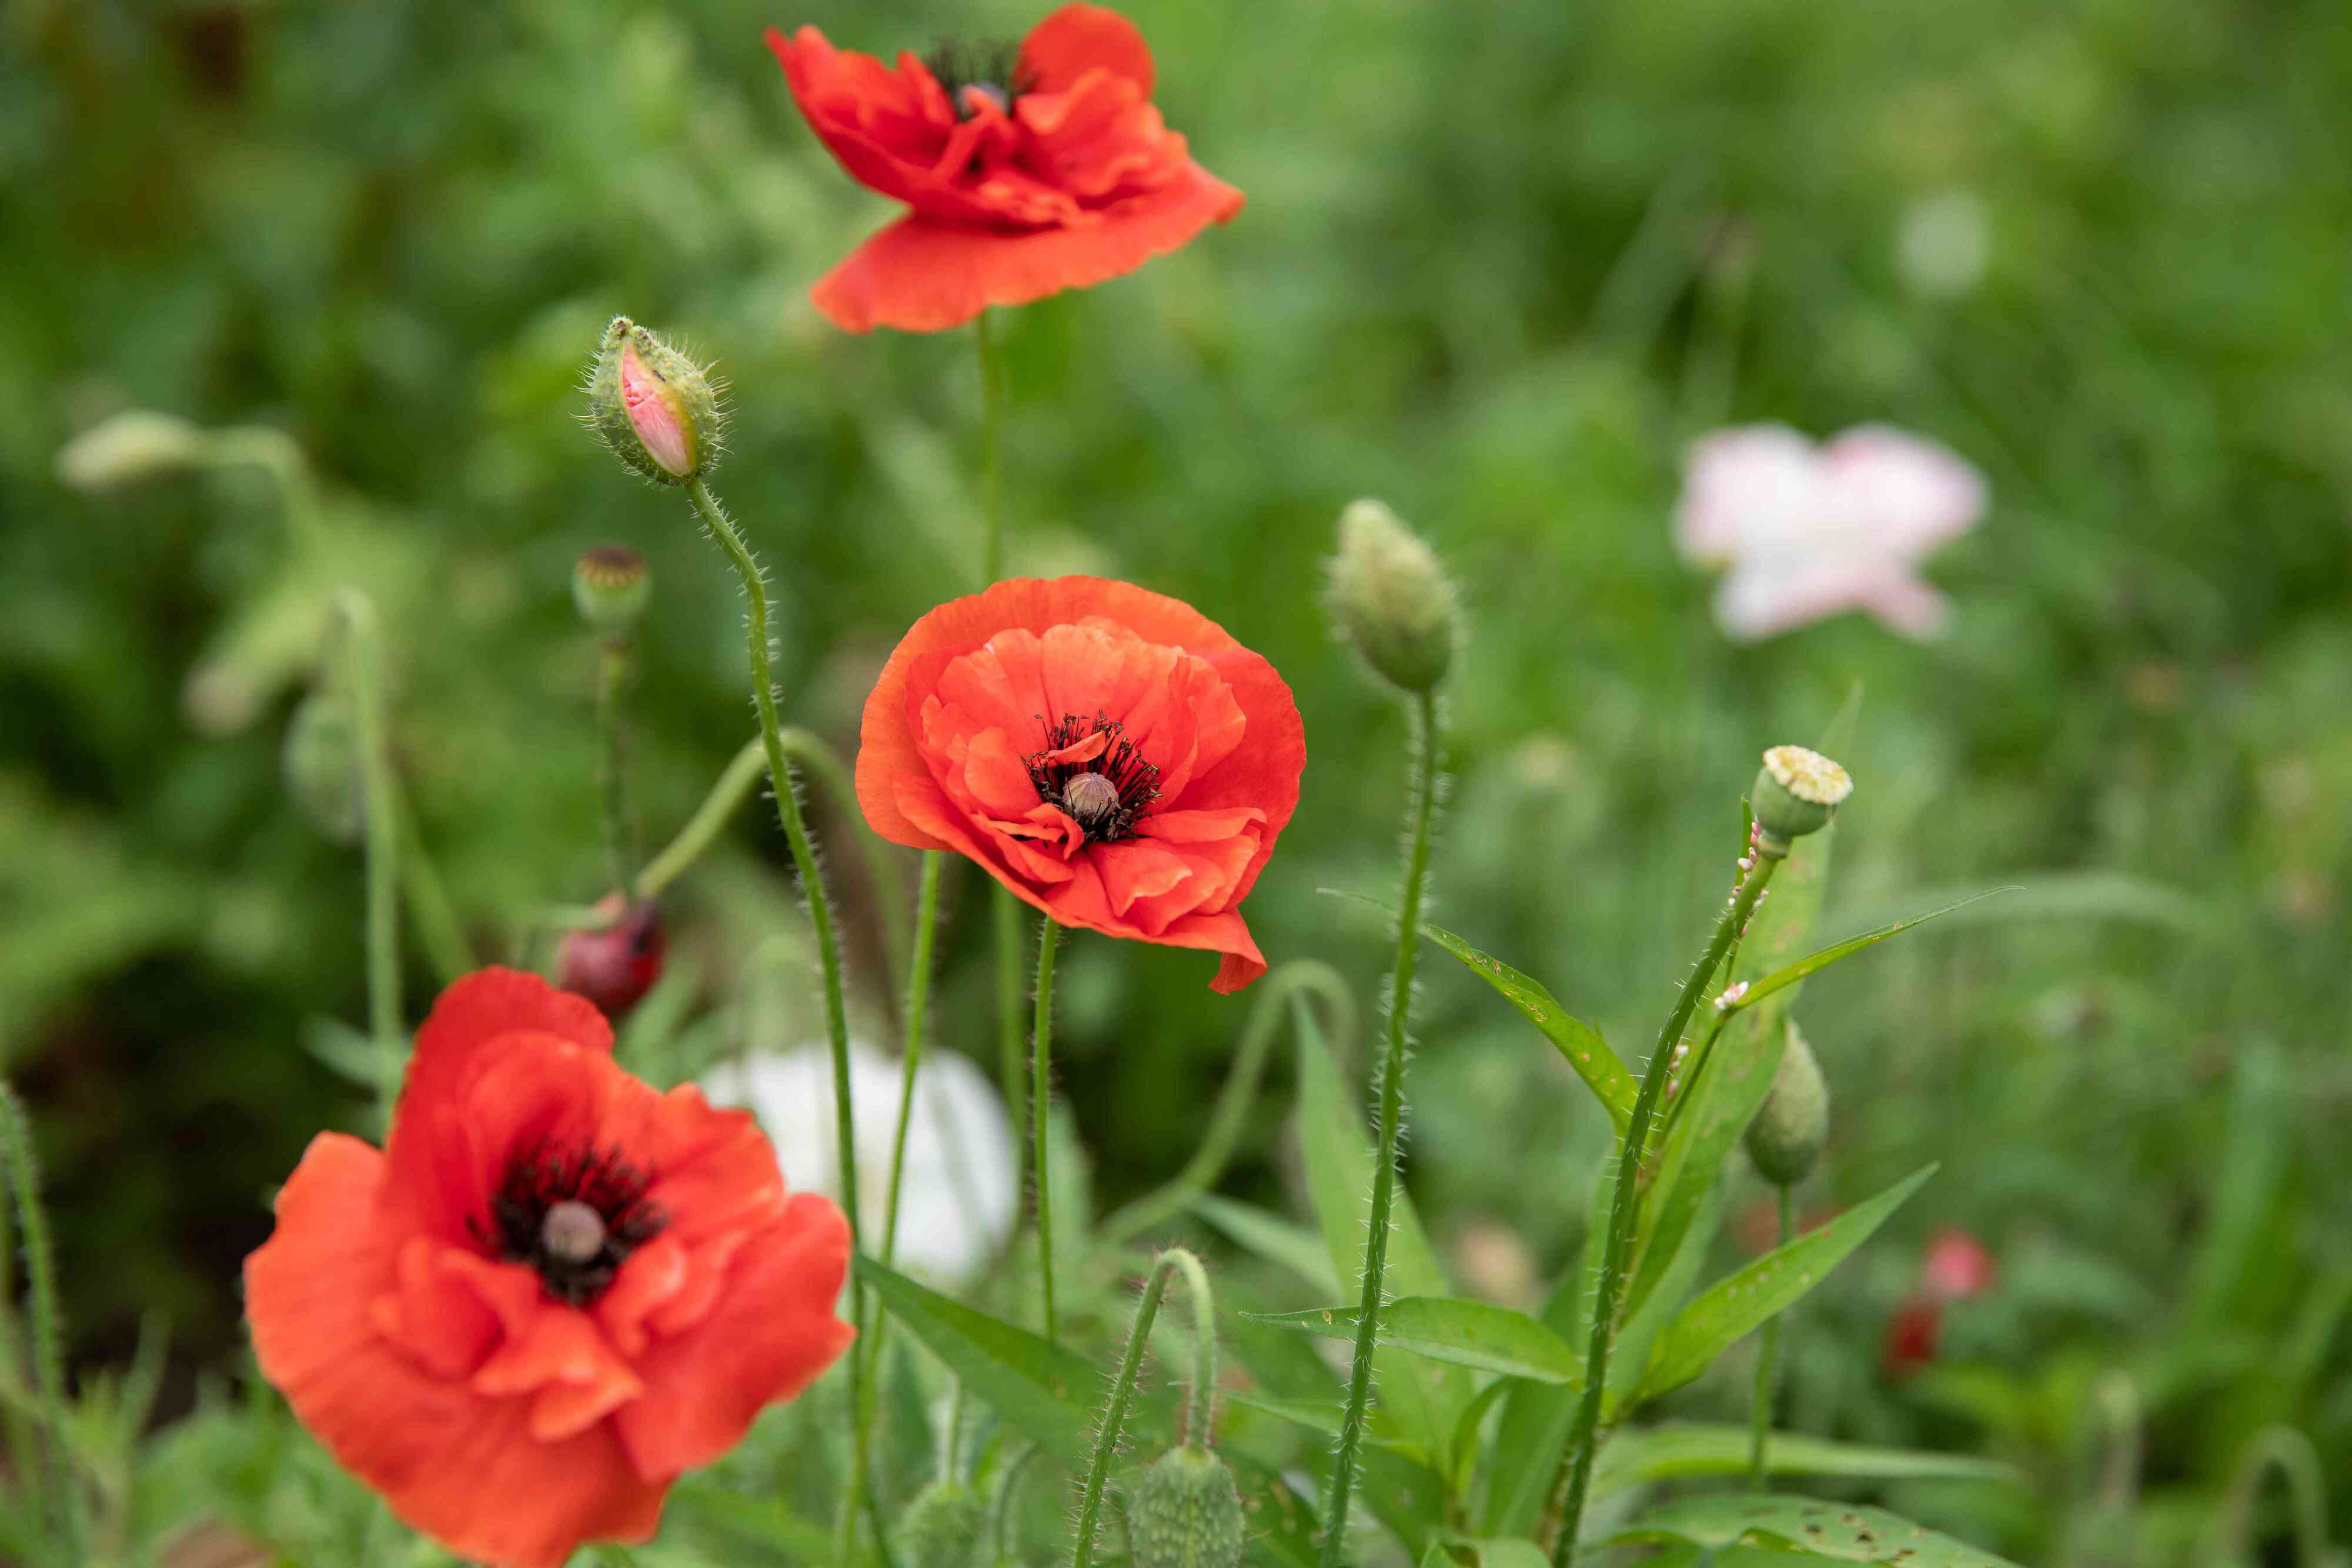
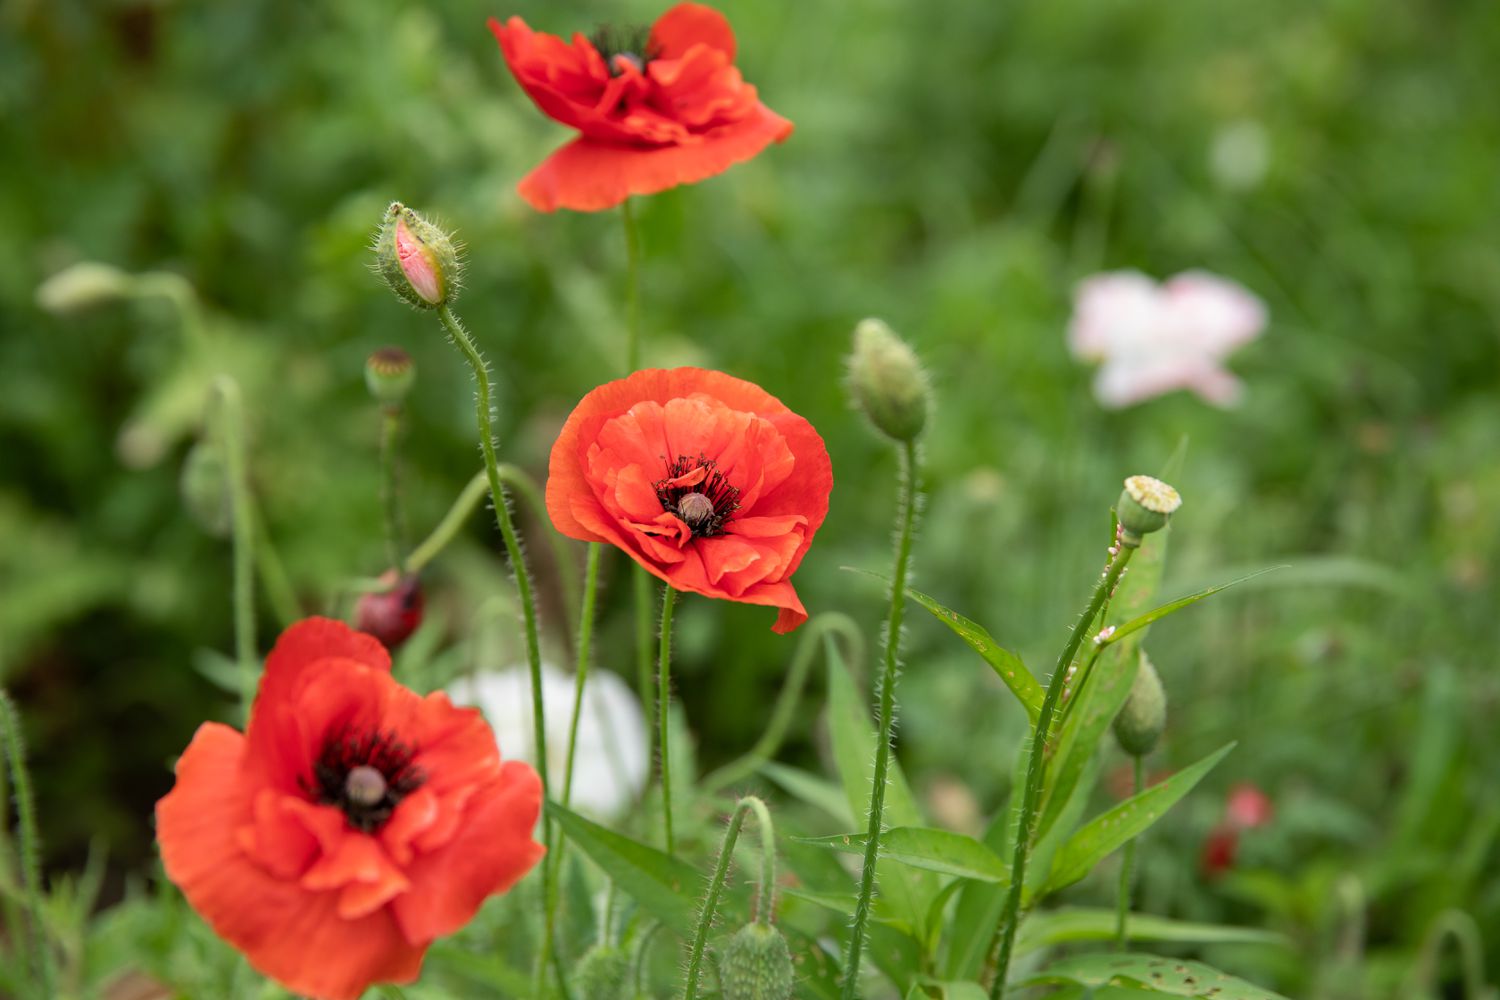
Now armed with the knowledge of how to stratify poppy seeds, you can embark on the exciting journey of growing your own stunning poppy garden. Whether you prefer vibrant red, delicate pink, or elegant white poppy varieties, the stratification process will help unlock their true potential.
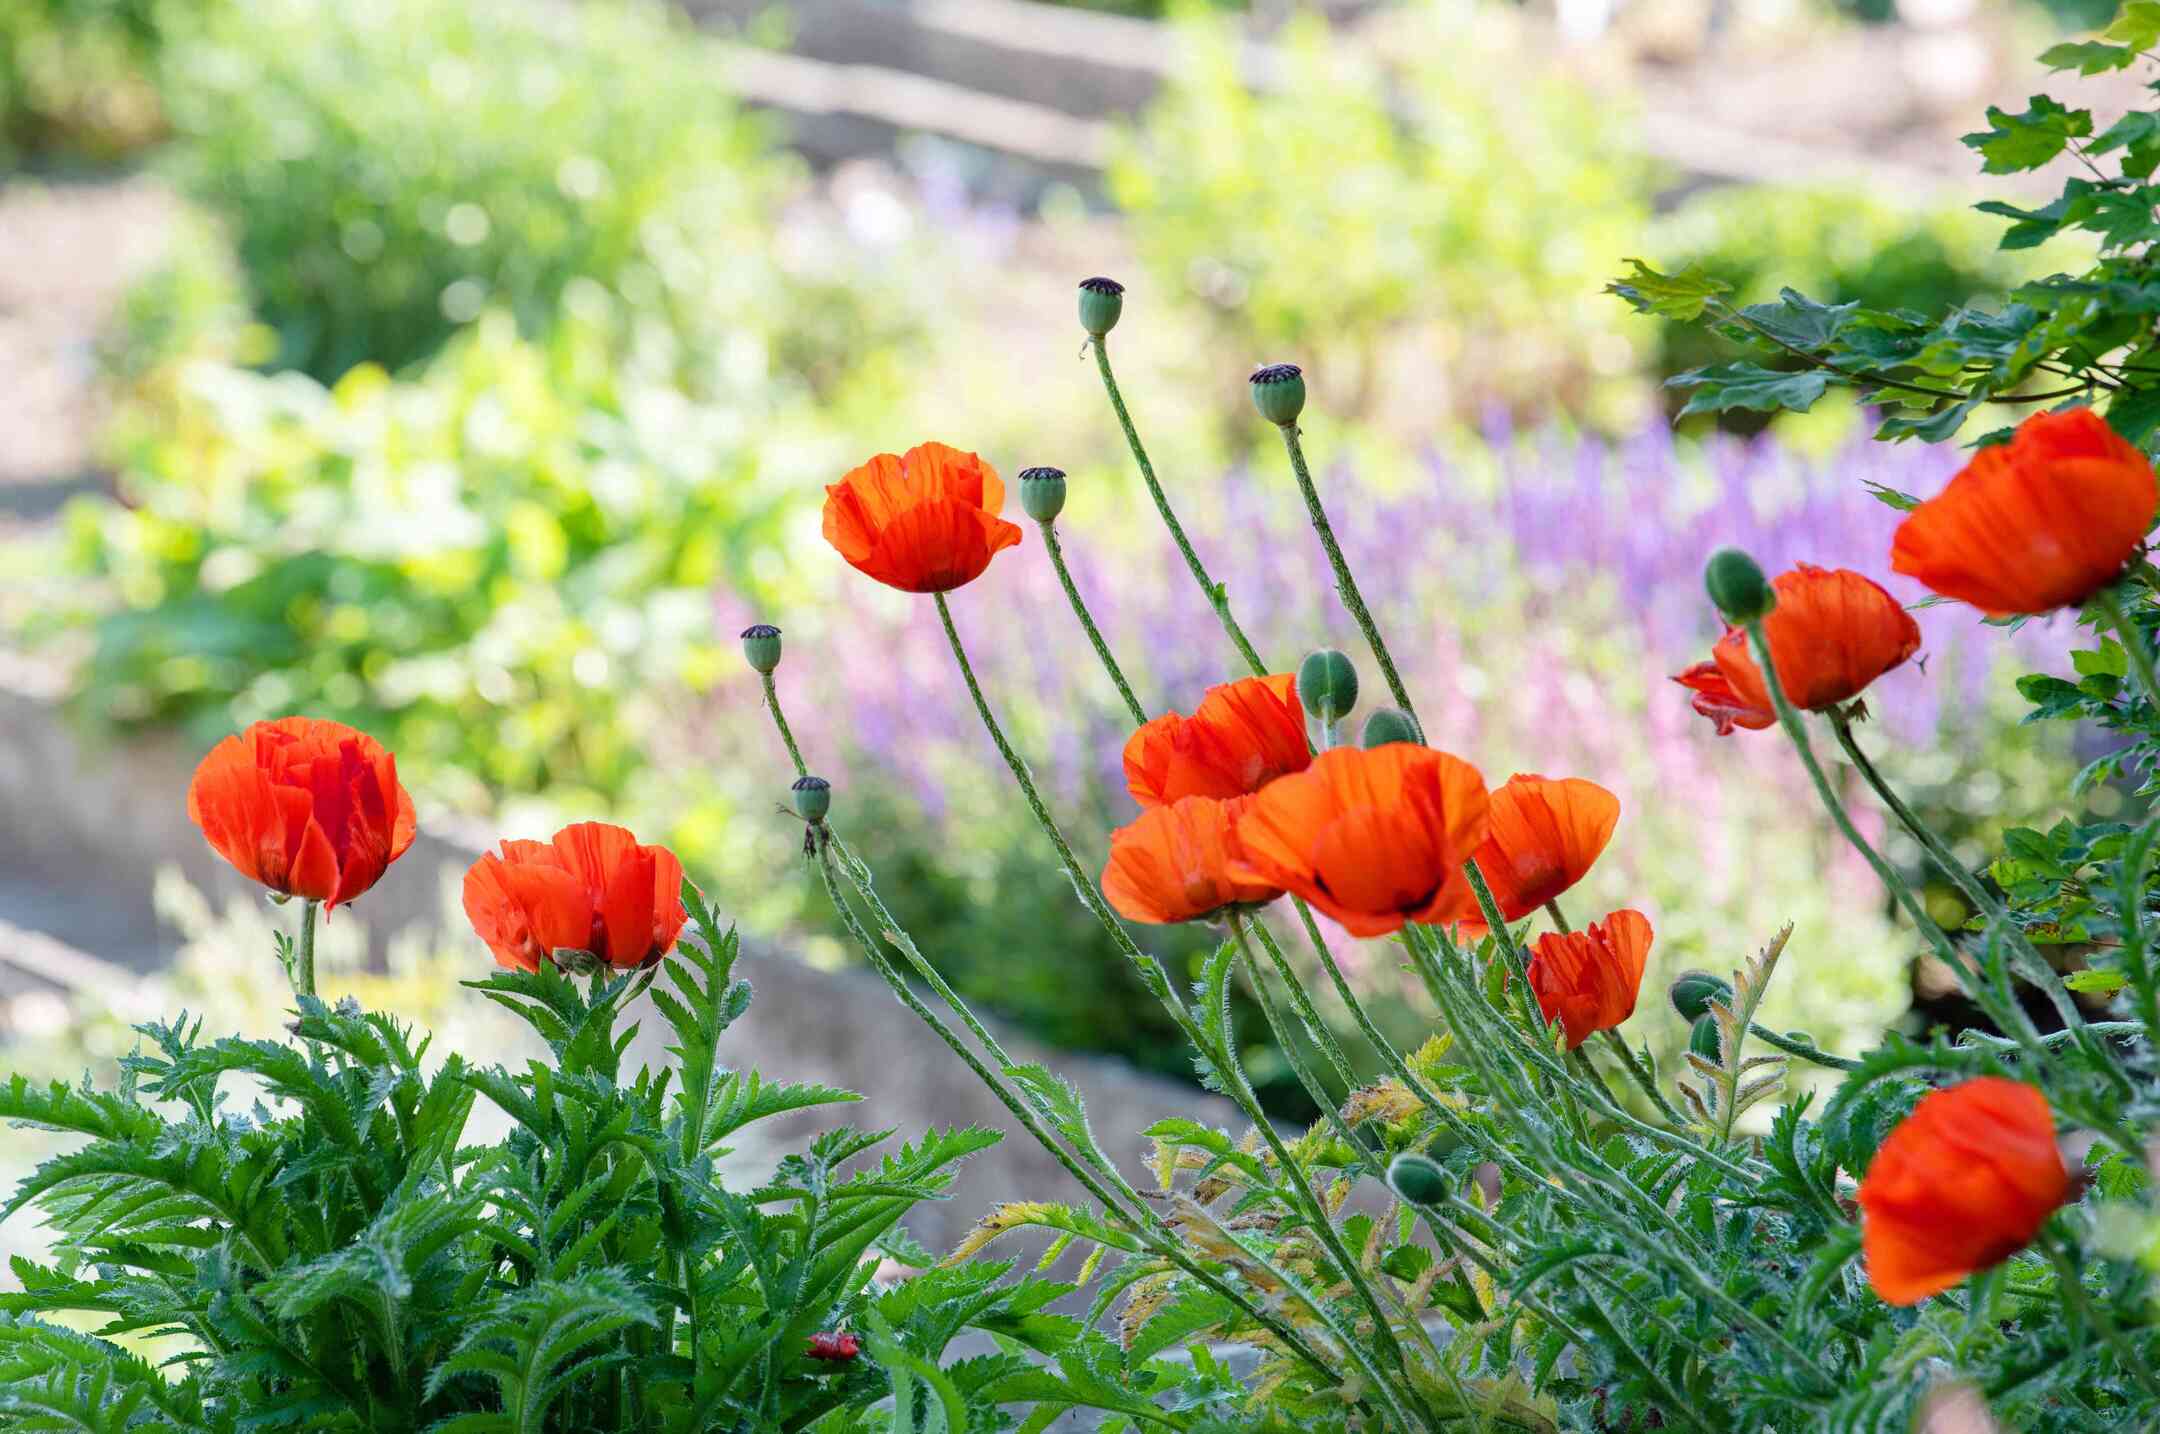
Get ready to witness the captivating beauty of poppies swaying in the breeze and enjoy the delightful fragrance that fills the air. Your garden will become a haven for pollinators and a source of joy and inspiration for you and those who behold it.
So, are you ready to roll up your sleeves and dive into the wonderful world of stratifying poppy seeds? Gather your tools, follow the steps outlined in this guide, and watch as your poppy seeds flourish into magnificent blooming plants!
Happy gardening!
Frequently Asked Questions about How To Stratify Poppy Seeds
Was this page helpful?
At Storables.com, we guarantee accurate and reliable information. Our content, validated by Expert Board Contributors, is crafted following stringent Editorial Policies. We're committed to providing you with well-researched, expert-backed insights for all your informational needs.


0 thoughts on “How To Stratify Poppy Seeds”