Home>Garden Essentials>How To Save Poppy Seeds
Garden Essentials
How To Save Poppy Seeds
Modified: August 23, 2024
Learn how to save poppy seeds in your garden and enjoy a bountiful harvest. Get expert tips and techniques for seed-saving success.
(Many of the links in this article redirect to a specific reviewed product. Your purchase of these products through affiliate links helps to generate commission for Storables.com, at no extra cost. Learn more)
Introduction
Welcome to this comprehensive guide on how to save poppy seeds. Growing your own poppies can be a rewarding experience, and harvesting and saving the seeds allows you to continue the cycle of growth and beauty. Whether you want to save poppy seeds for planting in the future or to use them in culinary creations or herbal remedies, following the proper steps is crucial to ensure the success of your endeavor.
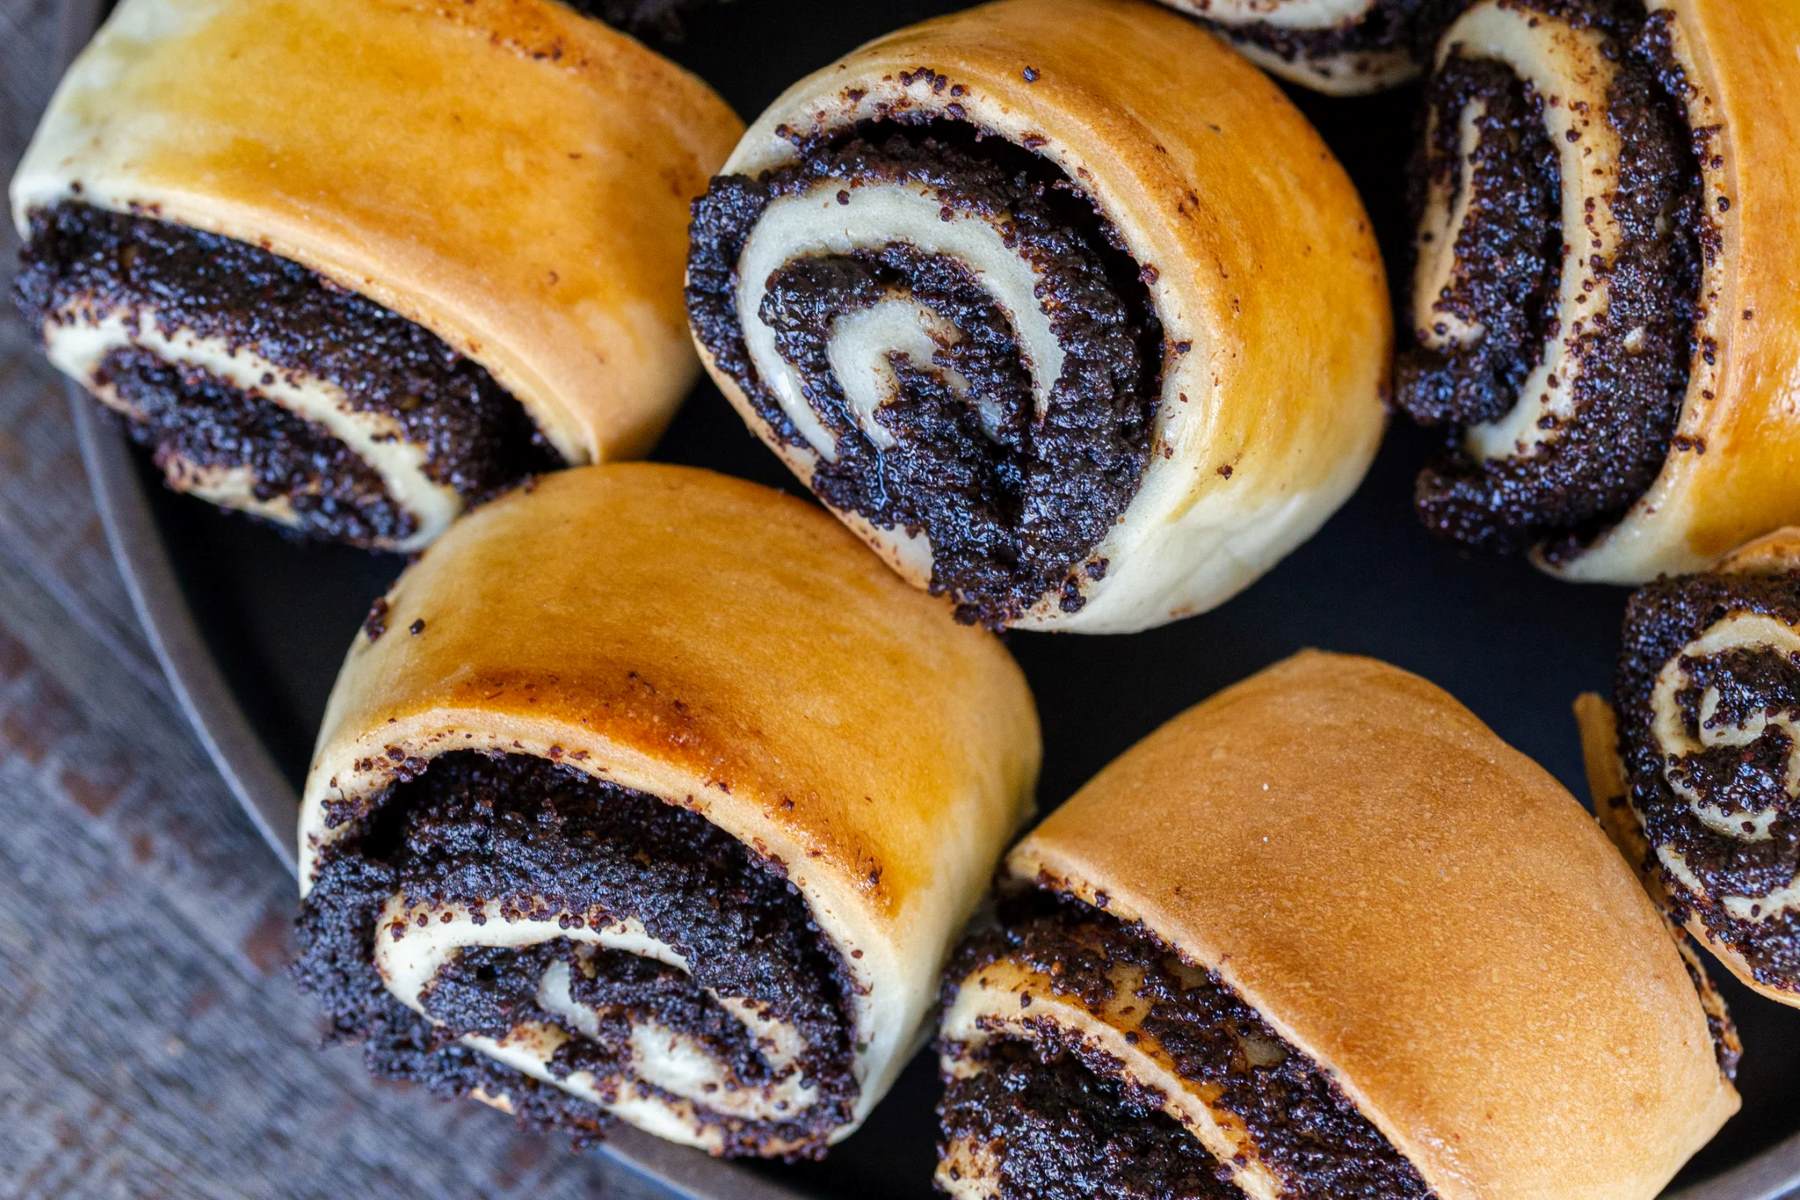
Poppy seeds have been valued for centuries for their culinary and medicinal properties. They are not only delicious but also packed with nutrients, such as healthy fats, protein, and fiber. Additionally, they contain various minerals like calcium, iron, and magnesium, making them a great addition to a balanced diet.
To save poppy seeds, it’s important to start with ripe poppy pods. These pods are typically harvested when they turn brown and begin to dry out. By following the step-by-step instructions outlined in this guide, you’ll be able to efficiently harvest, dry, extract, and store your poppy seeds without a hitch.
So, let’s dive in and learn how to save poppy seeds!
Key Takeaways:
- 1. Harvest poppy pods when brown and dry to save their nutrient-rich seeds. Handle with care to prevent scattering and ensure a bountiful harvest for future planting or culinary use.
- 2. After drying and extracting poppy seeds, store them in airtight containers in a cool, dark place. Test their viability before planting to ensure successful growth and beautiful blooms.
Read more: How To Stratify Poppy Seeds
Step 1: Harvesting Poppy Pods
Harvesting poppy pods is the first step in saving poppy seeds. Timing is crucial when it comes to harvesting, as you want to ensure that the pods are fully ripe. Here’s how to do it:
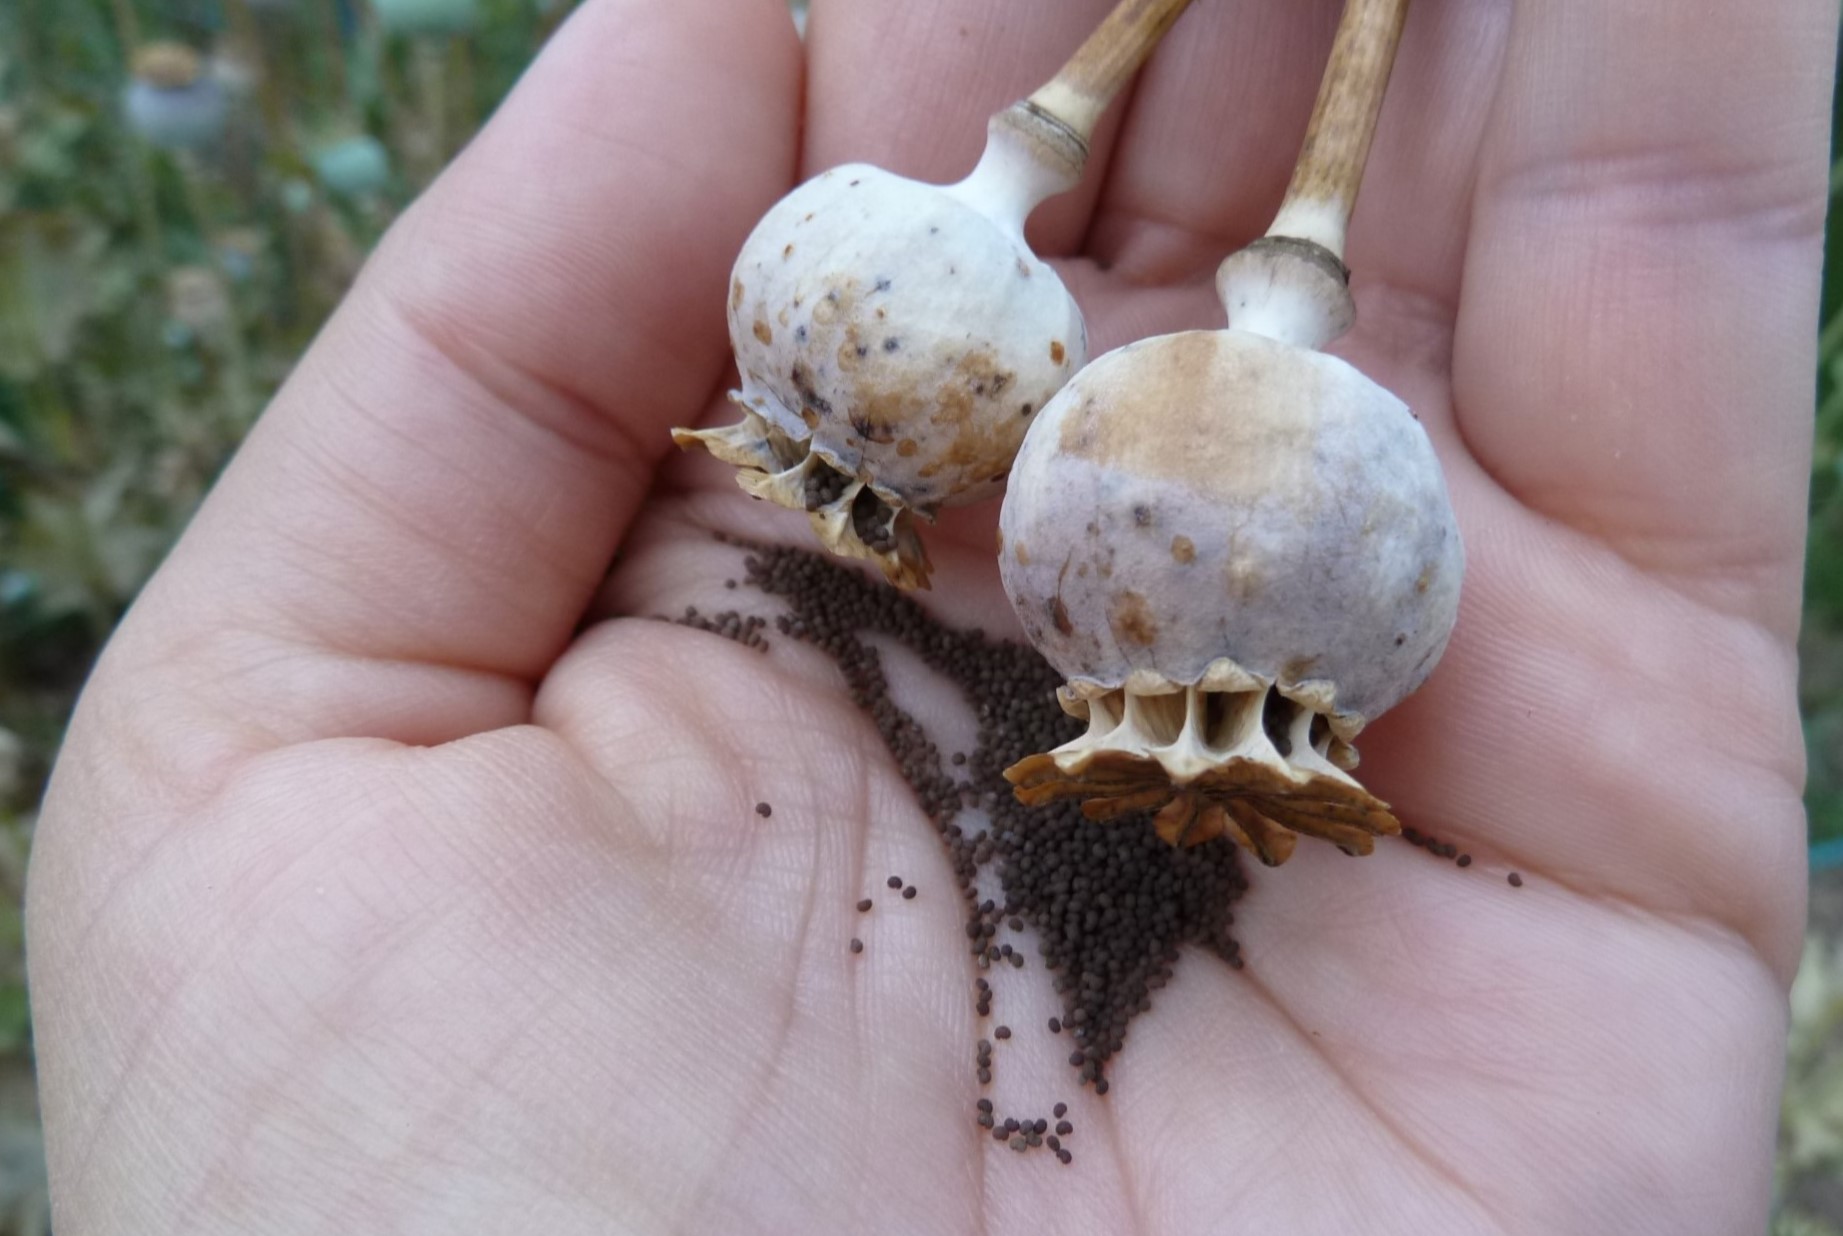
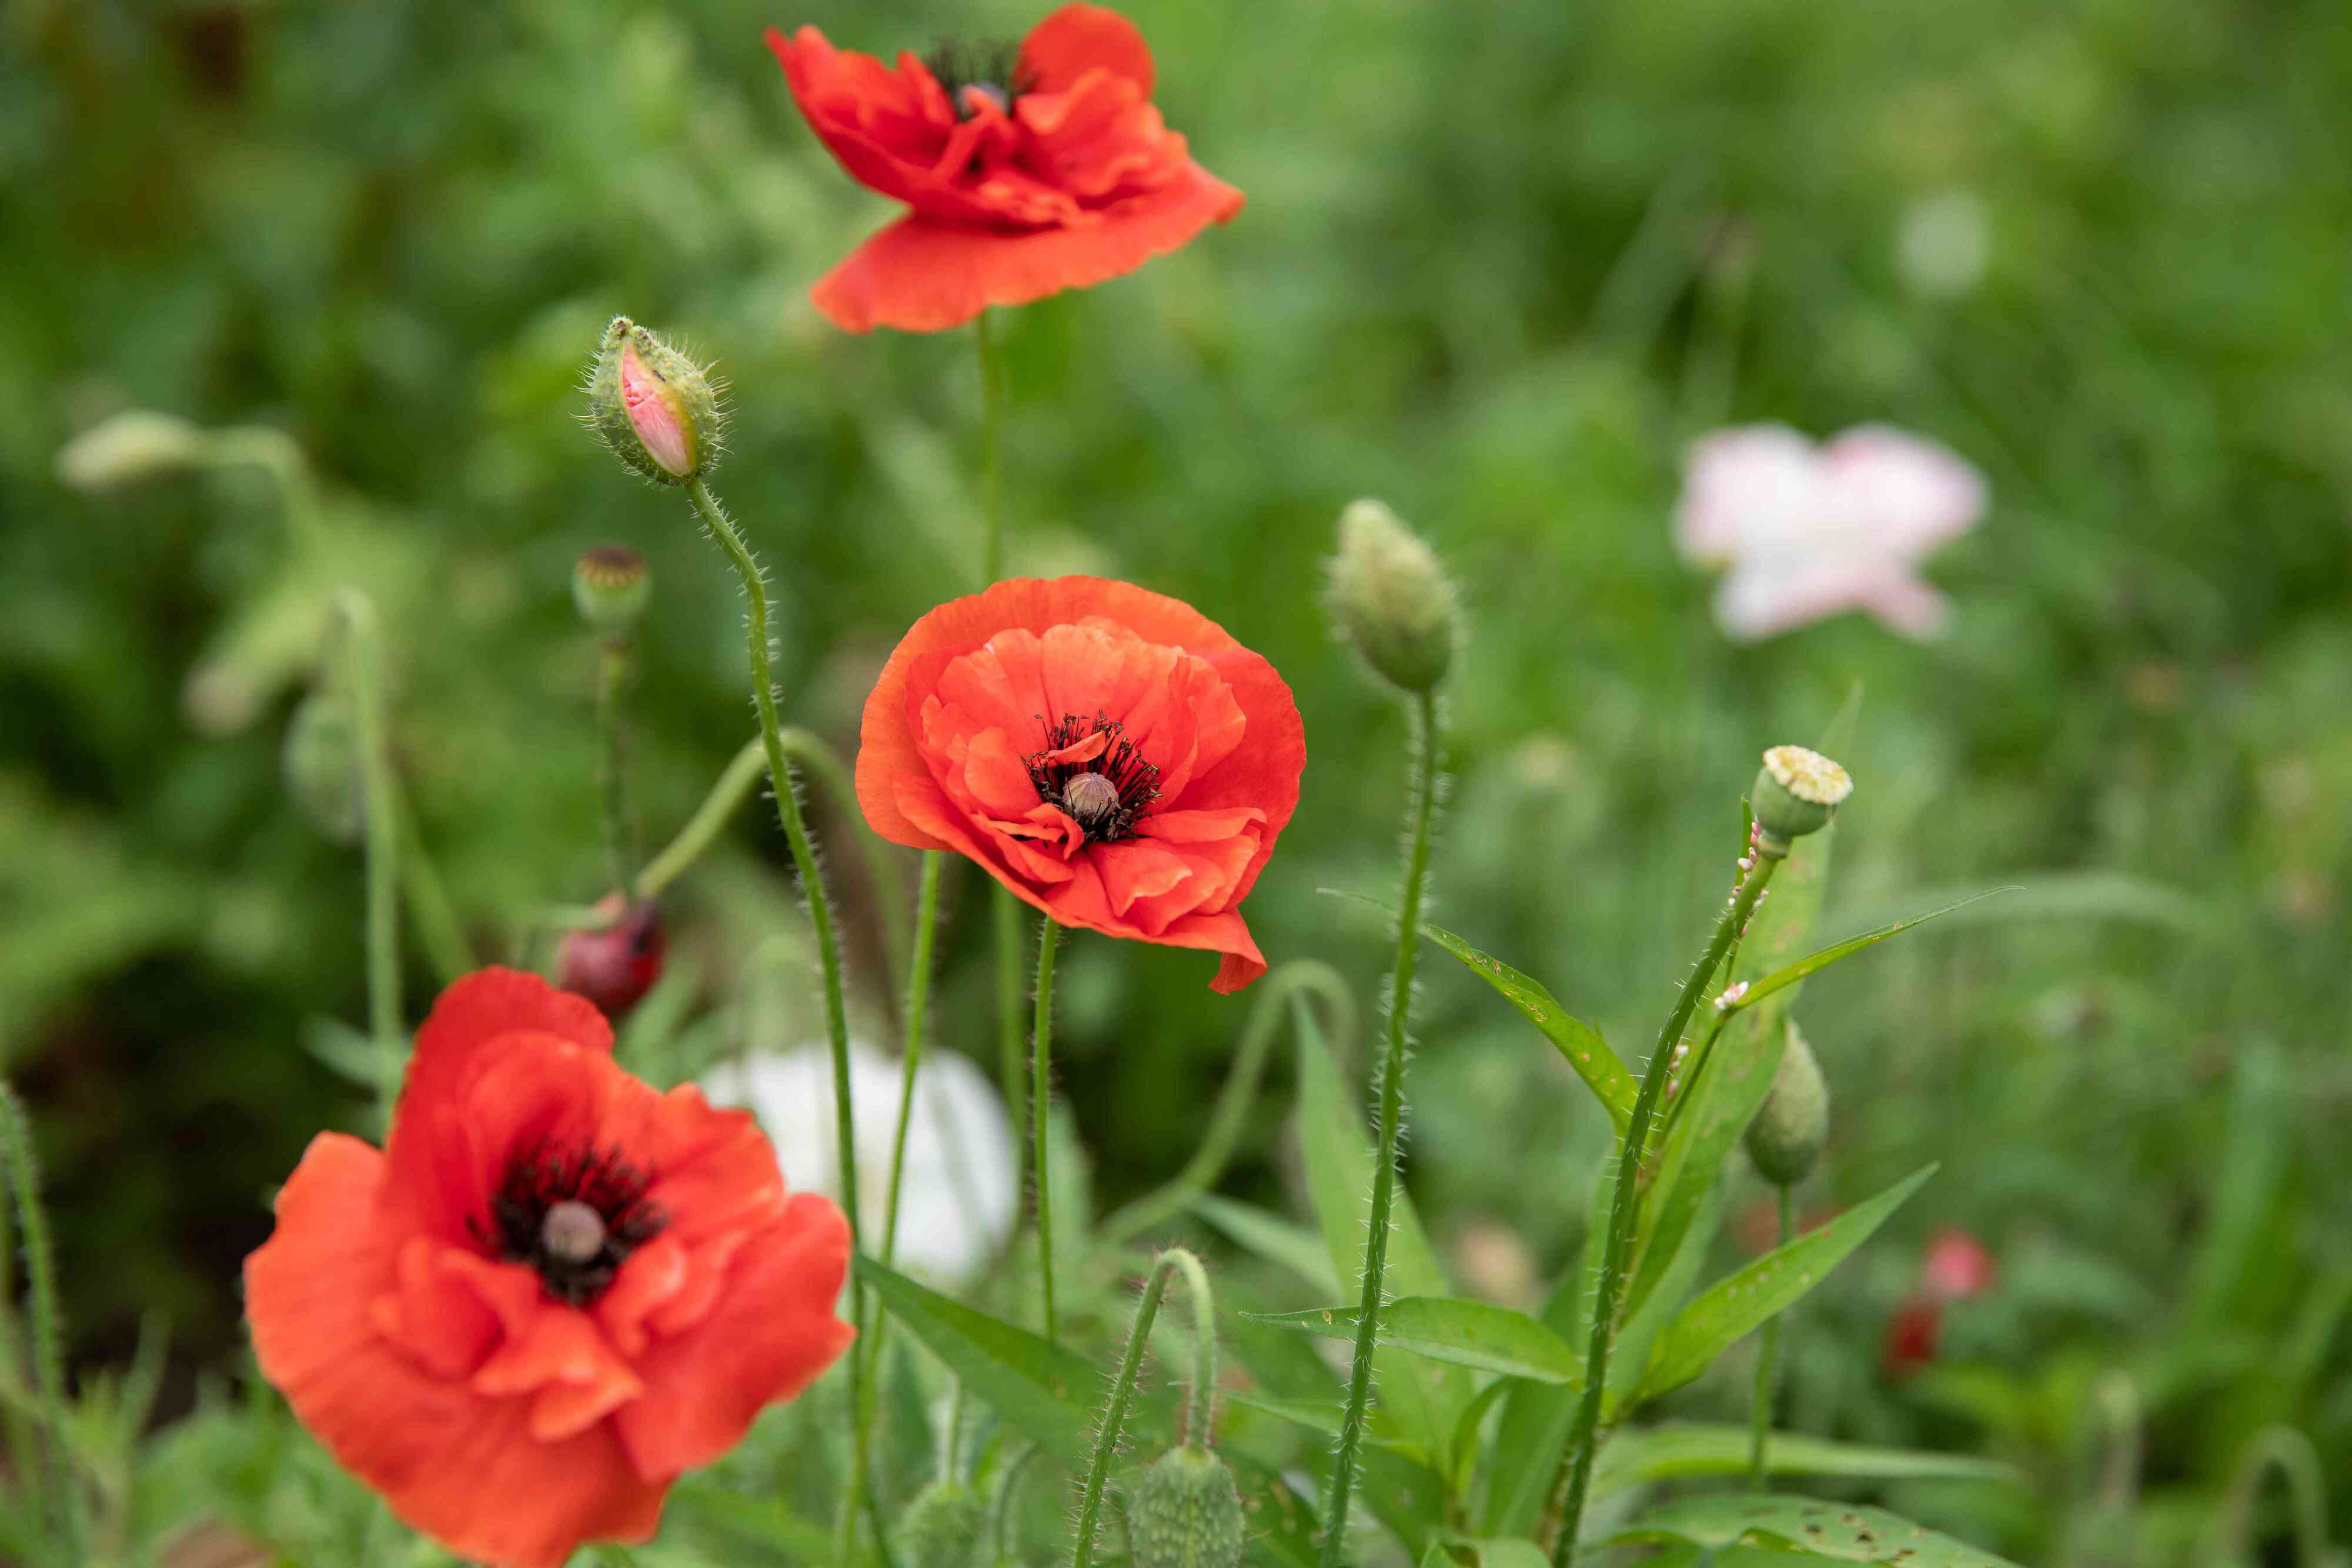
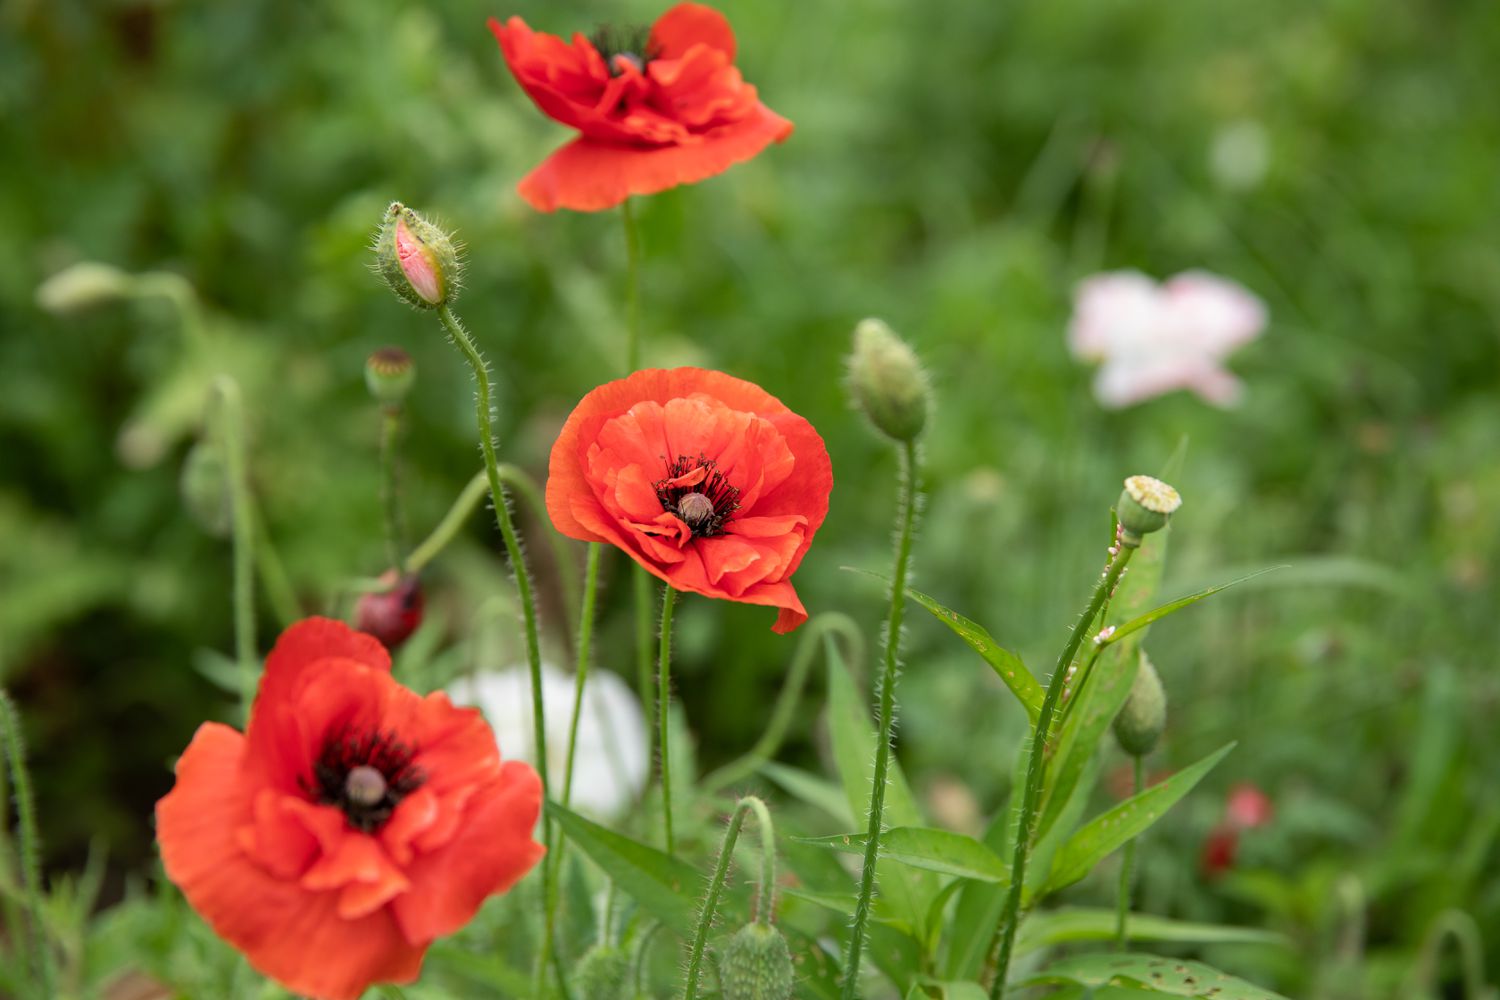
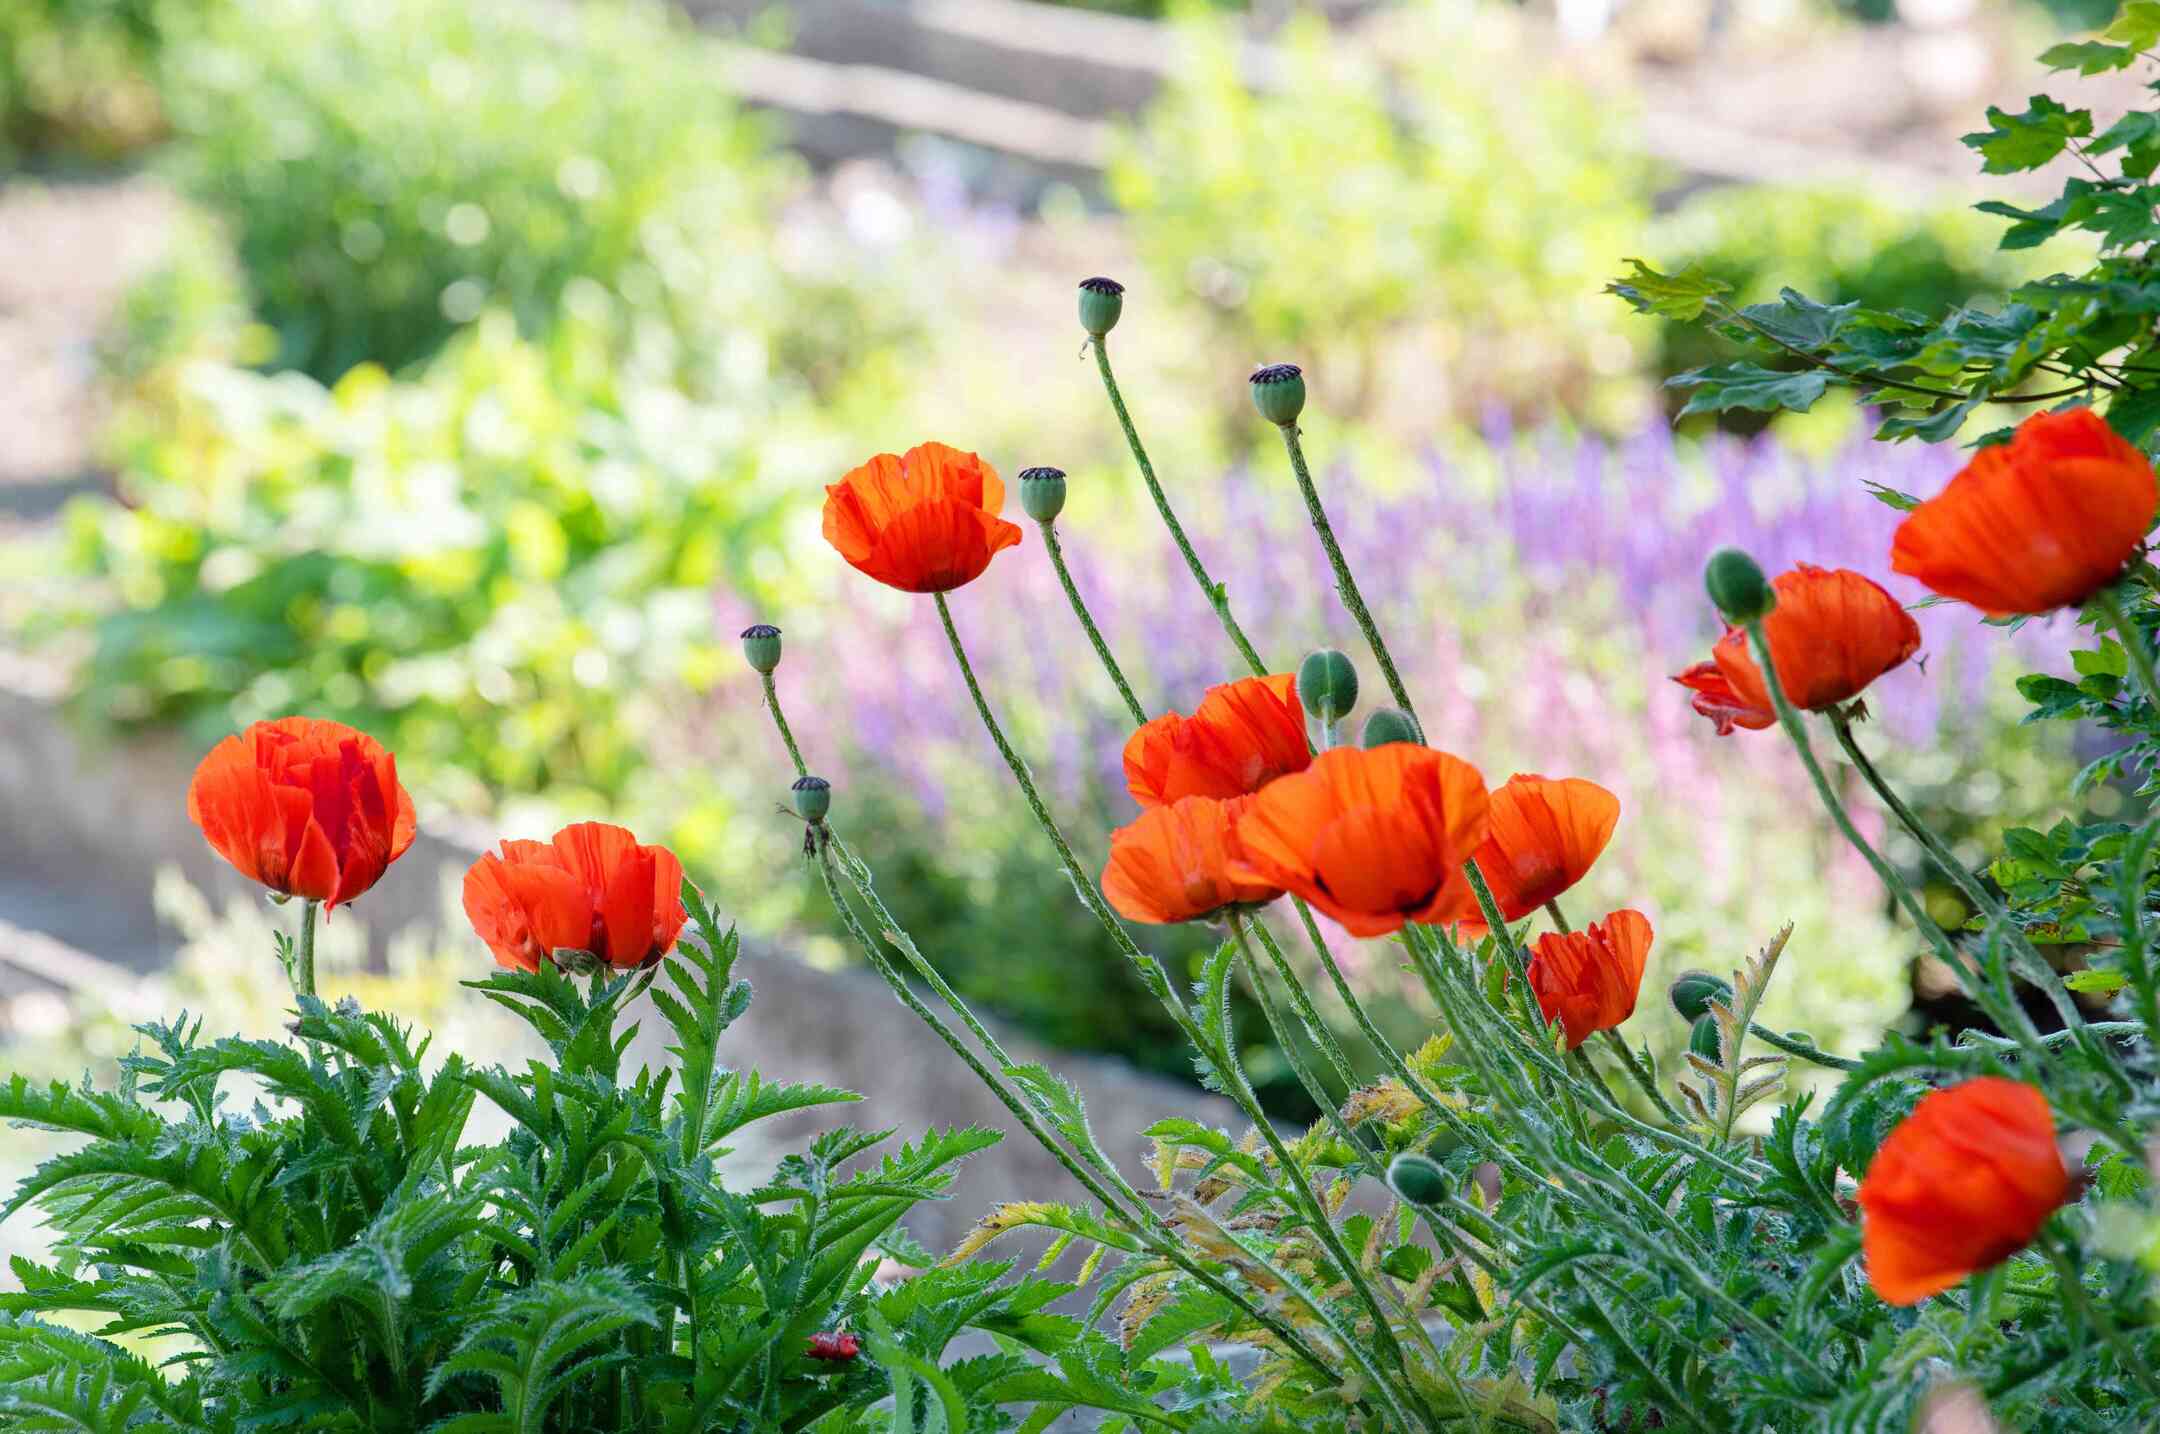
Choosing the right time for harvesting: Poppy pods should be harvested when they have turned brown in color and the petals have fallen off. This indicates that the seeds inside the pods are mature and ready for collection. Waiting too long can result in the pods splitting open and the seeds scattering.
Cutting the poppy pods: To harvest poppy pods, you’ll need a pair of sharp scissors or garden shears. Carefully cut the stems of the poppy plants just below the pods. Be sure to leave a bit of stem attached to the pod for easy handling.
Collecting the poppy heads: Once you have cut the poppy pods, place them gently in a basket or a tray lined with paper towels. It’s important to handle them with care to avoid damaging the pods and seed capsules. Make sure to collect all the poppy heads from your garden or any other growing areas to ensure a bountiful harvest.
By harvesting the poppy pods at the right time and using proper techniques, you are setting the stage for a successful seed-saving process. Now that you have harvested the poppy pods, it’s time to move on to the next step: drying the pods.
Step 2: Drying the Poppy Pods
After harvesting the poppy pods, the next step is to dry them properly. Drying the pods ensures that the seeds inside are preserved and can be easily extracted. Here’s how to go about it:
Preparing a well-ventilated area: Find a well-ventilated area, such as a garage, attic, or a covered porch, where you can lay out the poppy pods to dry. Good air circulation is crucial to prevent mold or mildew from forming on the pods.
Removing excess debris: Before drying the poppy pods, gently brush off any dirt, leaves, or other debris that may be attached to them. This will help prevent the accumulation of moisture and ensure that the drying process is more effective.
Spreading out the poppy pods: Lay the poppy pods in a single layer on a clean and dry surface, such as a wire rack or a screen. Avoid stacking them on top of each other, as this can hinder the airflow and lead to uneven drying. Make sure to leave enough space between the pods to allow for proper air circulation.
It’s important to note that the drying process may take several weeks, depending on the climate and humidity levels. During this time, periodically check the pods for any signs of mold or spoilage. If you notice any pods that appear to be damaged or rotting, remove them immediately to prevent the spread of mold to the healthy pods.
Once the poppy pods are completely dry and brittle to the touch, you can move on to the next step: extracting the poppy seeds.
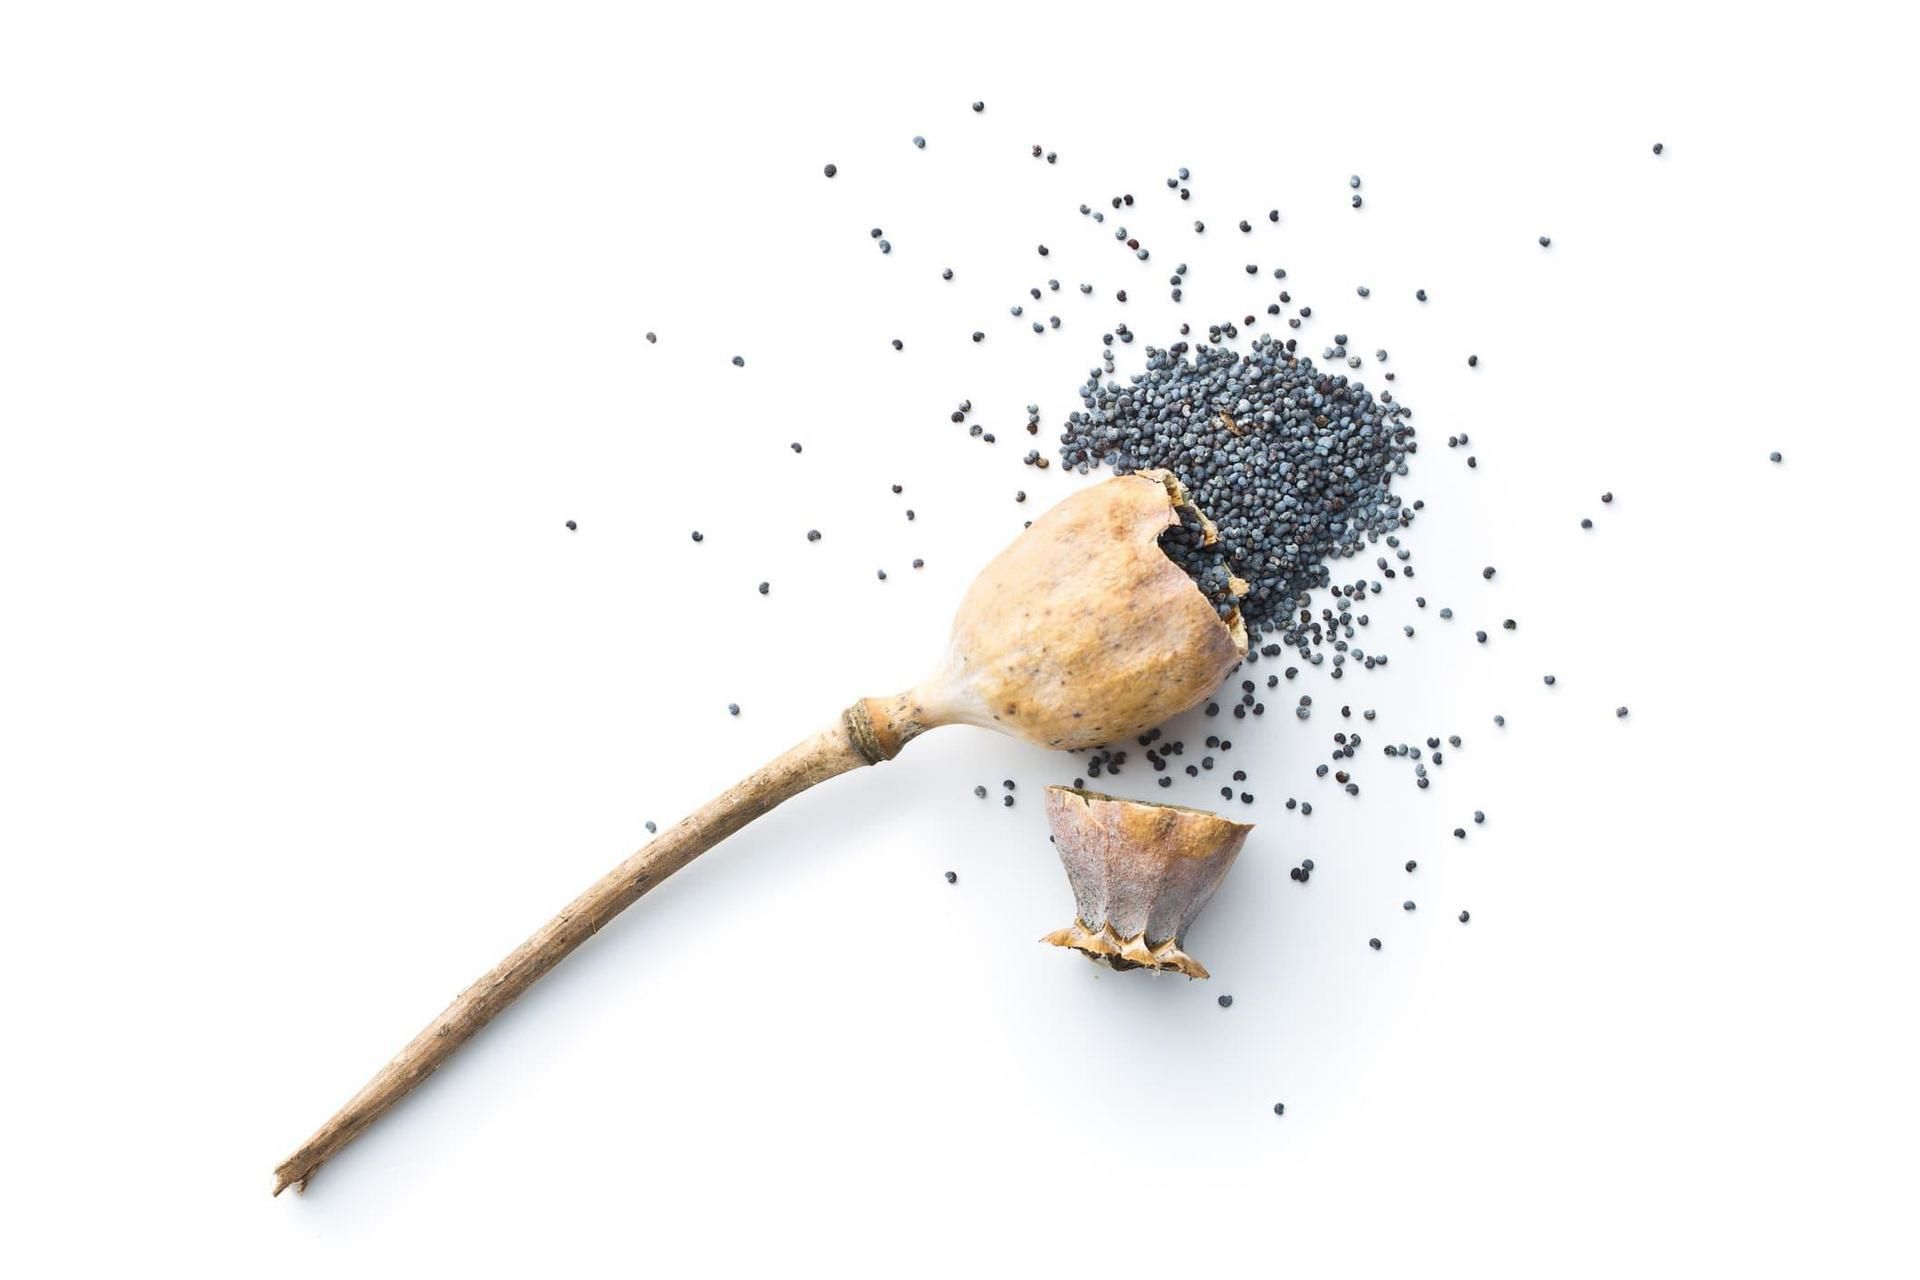
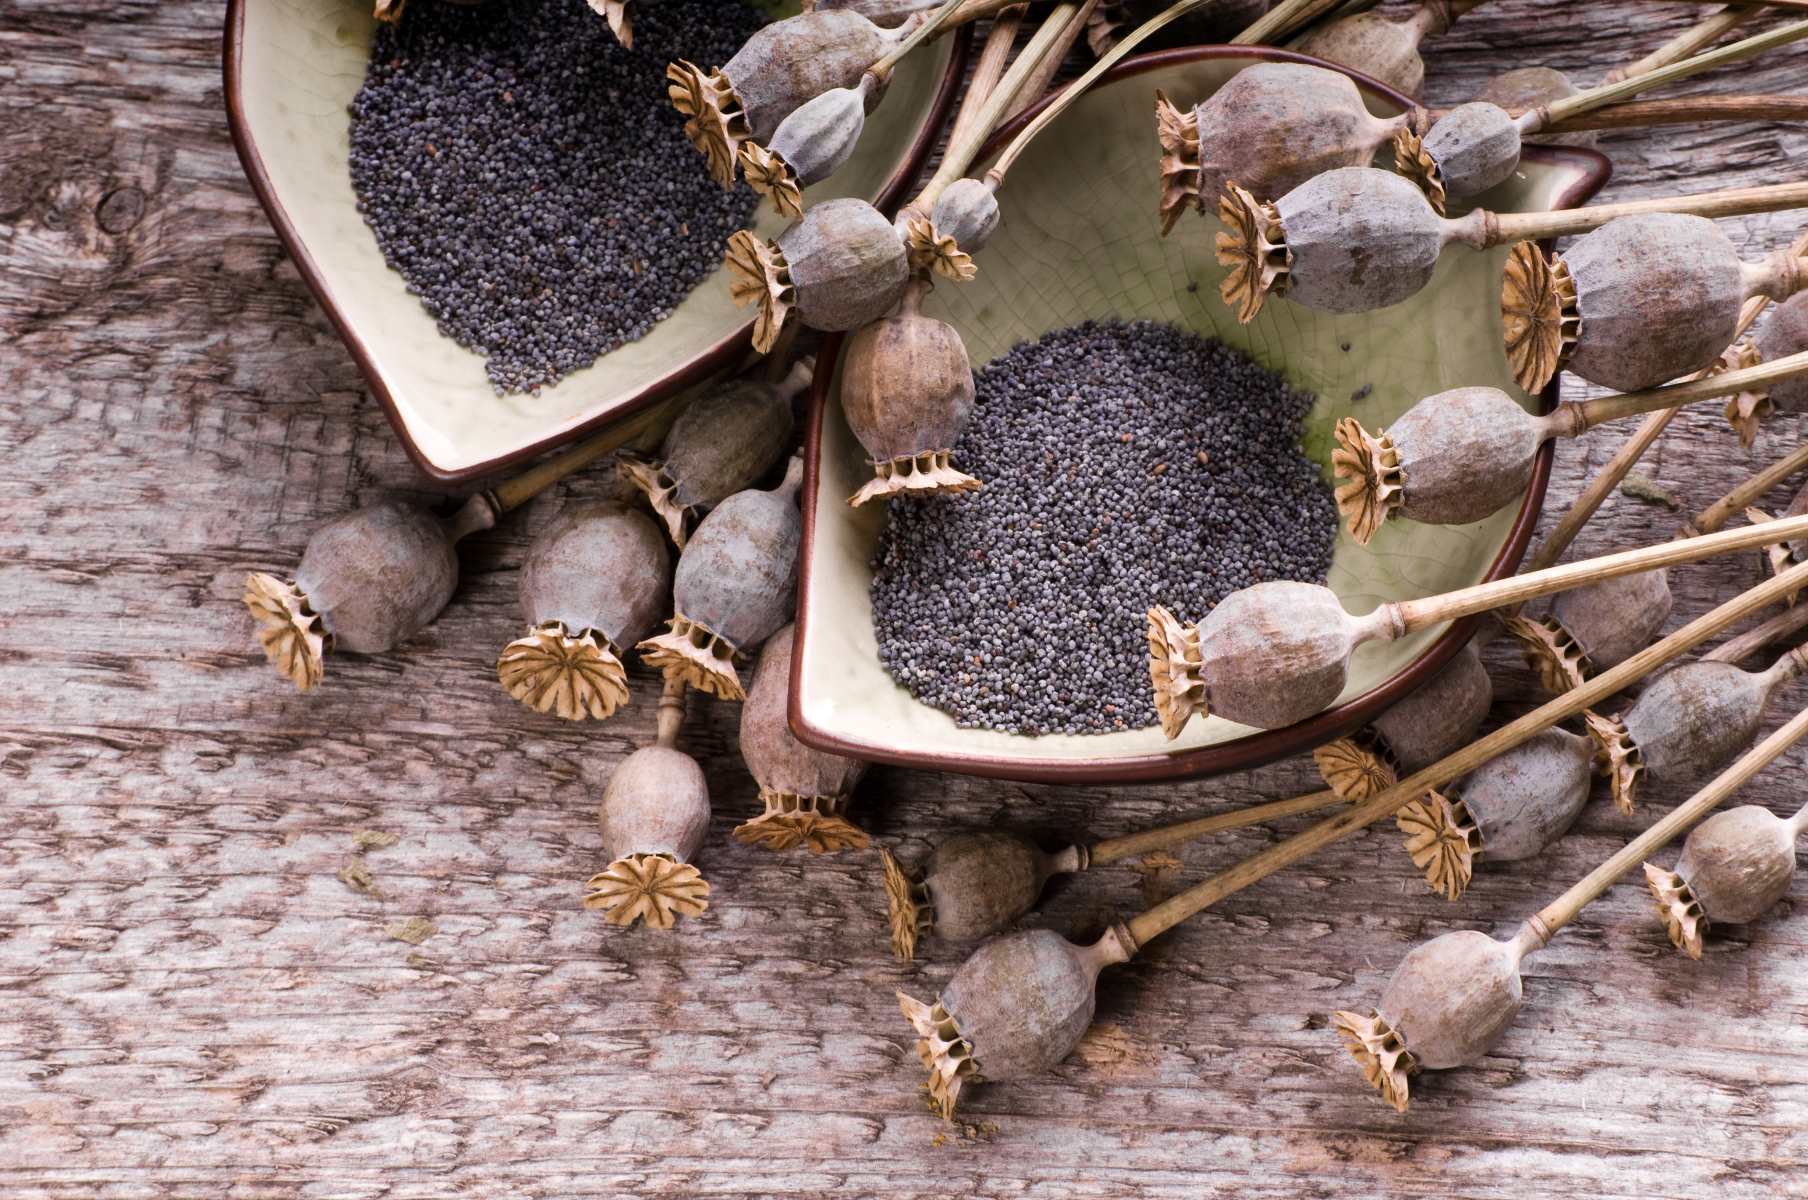
Step 3: Extracting Poppy Seeds
Now that your poppy pods are fully dried, it’s time to extract the precious poppy seeds. The extraction process involves breaking open the pods and separating the seeds from the pod fragments. Here’s how you can do it:
Breaking open the dried pods: Take each dried poppy pod and gently squeeze it between your fingers. Apply slight pressure until you hear a small popping sound, indicating that the pod has cracked open. Be careful not to squeeze too hard, as you don’t want to crush the seeds inside.
Collecting the loose poppy seeds: Once the pods have cracked open, hold them over a clean surface or a bowl, and gently tap them with your fingers to dislodge the loose poppy seeds. Allow the seeds to fall into the bowl, and continue this process for the rest of the cracked pods.
Separating seeds from the pod fragments: After collecting the loose poppy seeds, you may find that there are still some pod fragments mixed in. To separate the seeds from the fragments, use a fine-mesh sieve or a seed sifter. Pour the collected seeds and pod fragments onto the sieve and gently shake it back and forth. The fine mesh will allow the smaller seeds to pass through while keeping the larger pod fragments on top.
Continue sifting until you have separated all the poppy seeds from the pod fragments. It’s normal to have a small amount of debris mixed in with the seeds, but you can remove any visible plant material by hand.
Now that you have successfully extracted the poppy seeds, it’s time to move on to the final step: storing them properly.
After the poppy flower has bloomed and the petals have fallen off, wait for the seed pods to dry out. Once they are dry, carefully shake the pods to release the seeds. Store the seeds in a cool, dry place for future use.
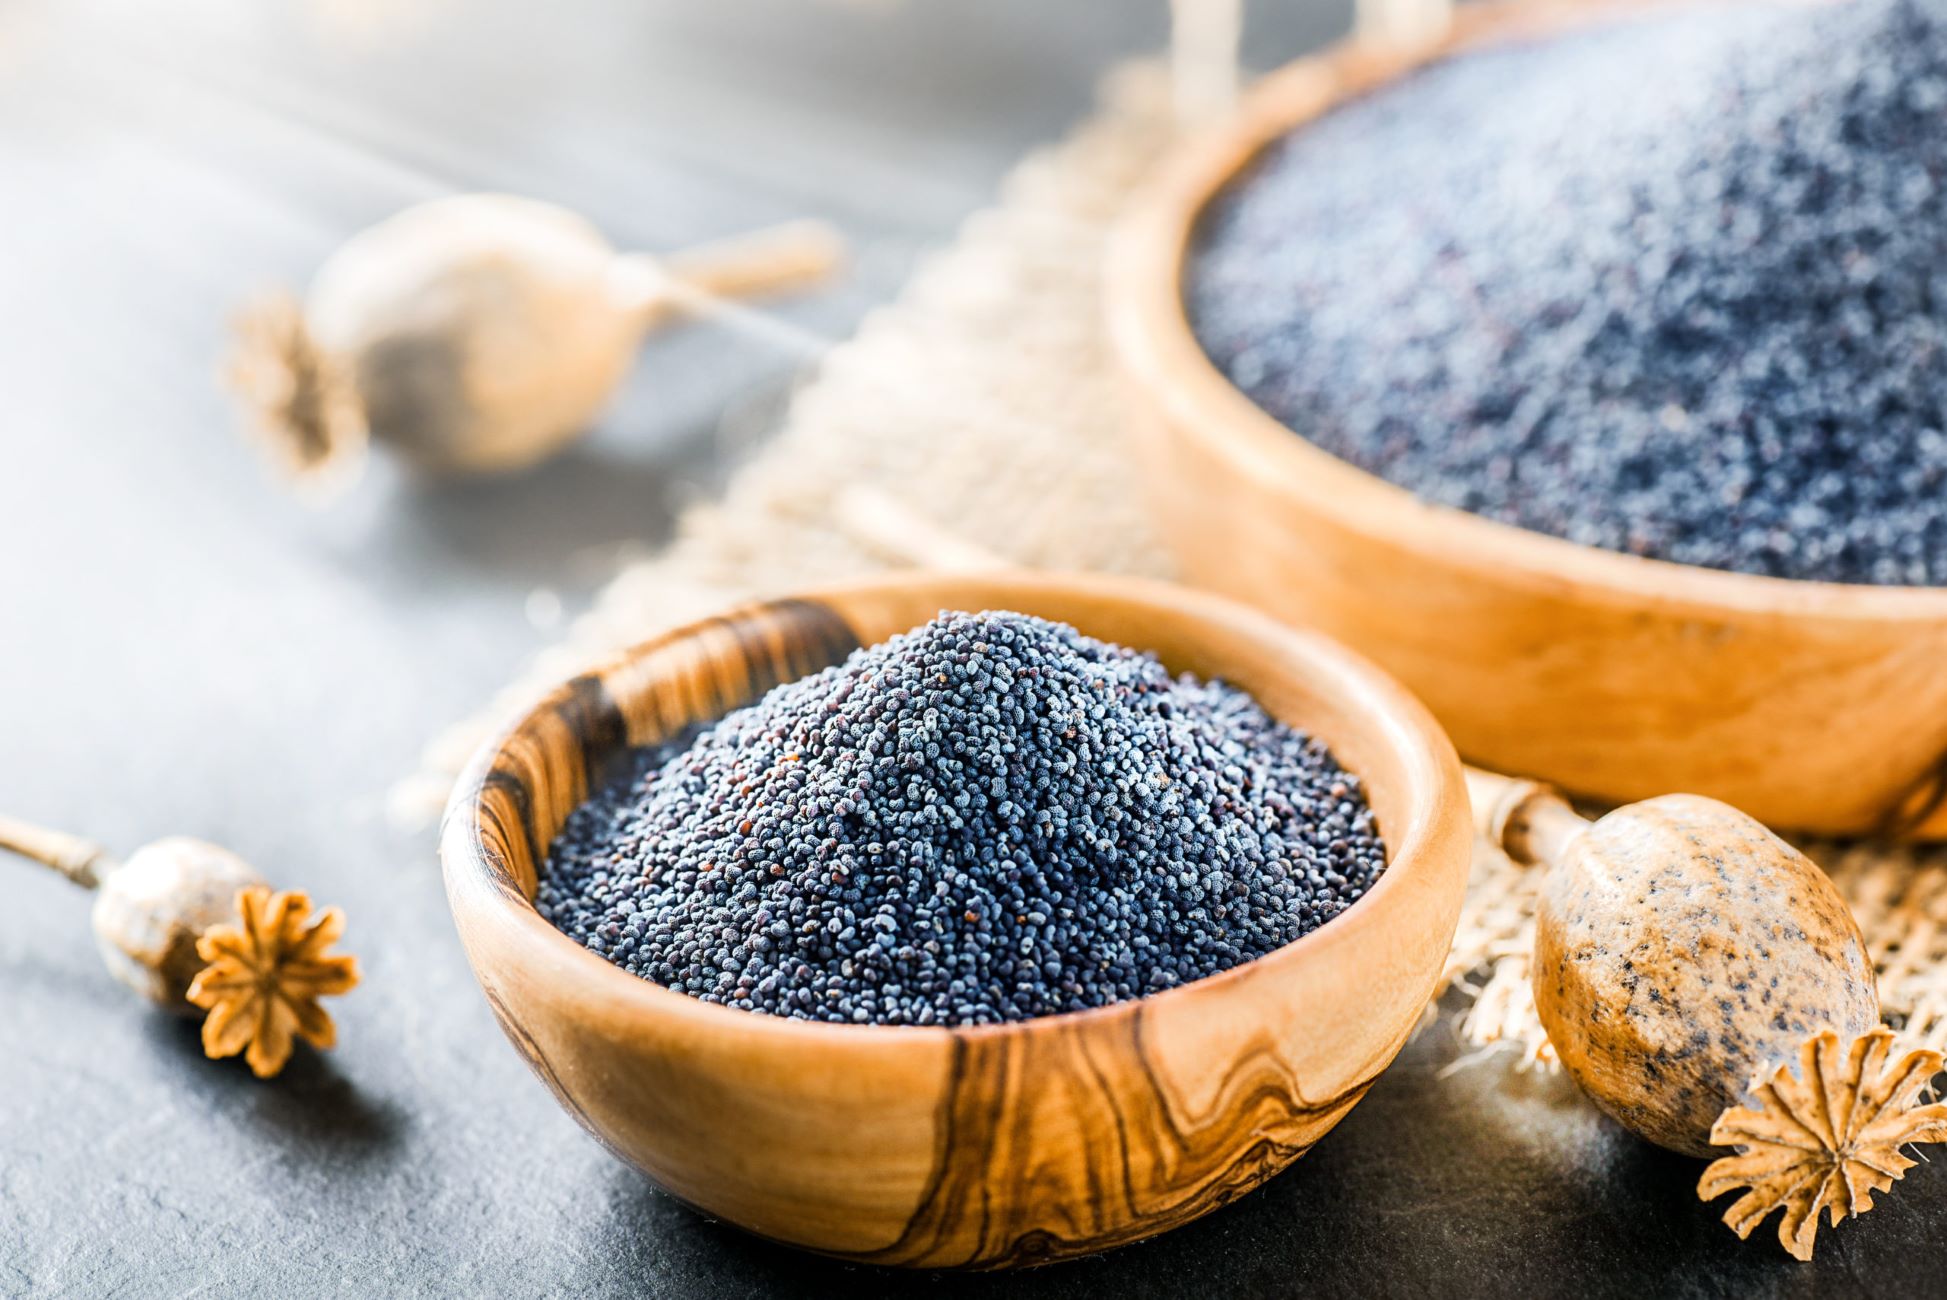
Step 4: Storing Poppy Seeds
Proper storage is crucial to maintain the quality and viability of your harvested poppy seeds. Follow these steps to ensure that your seeds stay fresh and protected:
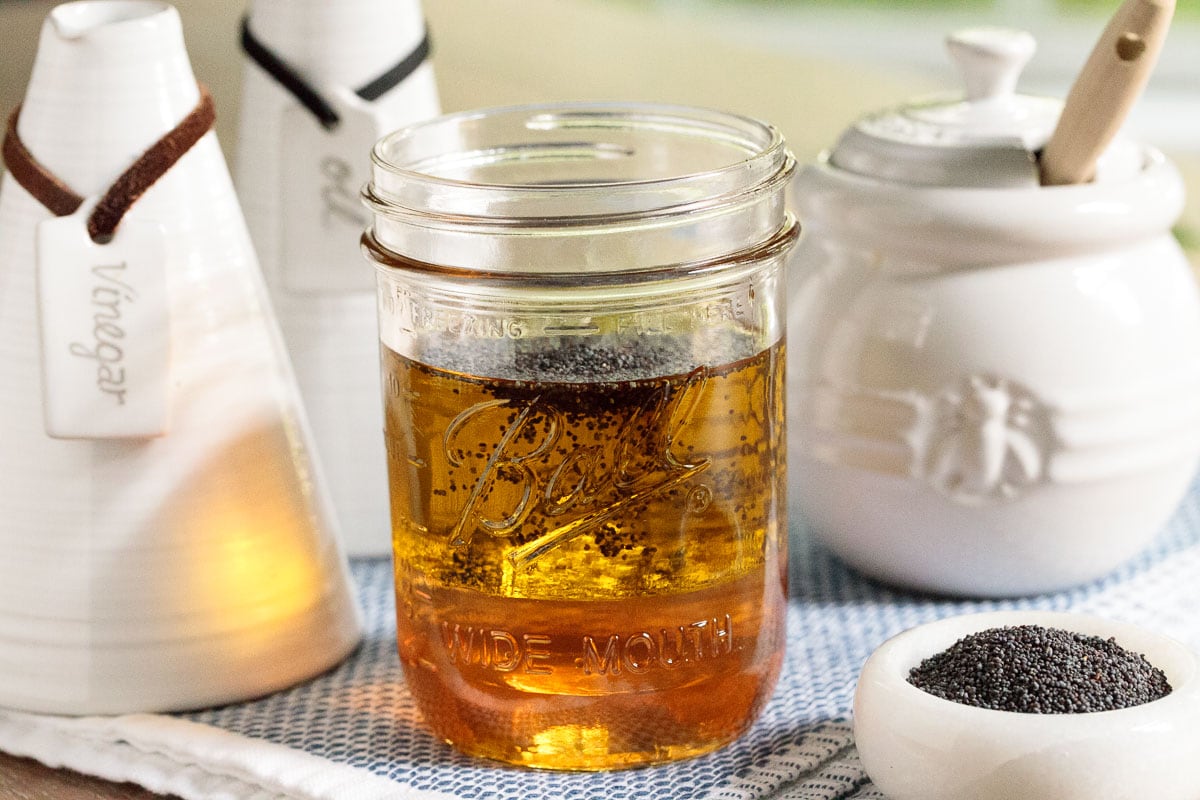
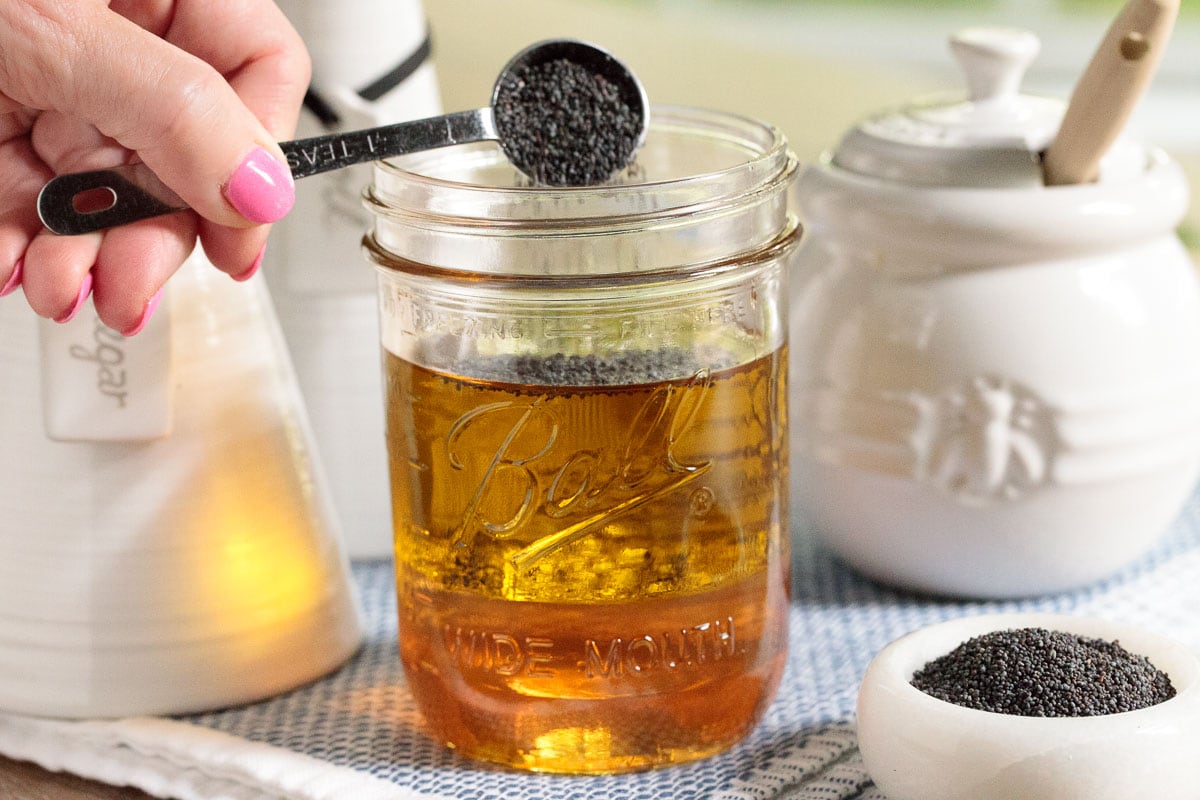
Using airtight containers: Transfer the harvested poppy seeds into airtight containers, such as glass jars or plastic containers with tight-fitting lids. This will help prevent moisture and air from reaching the seeds, which can lead to spoilage or loss of viability.
Keeping seeds in a cool, dark place: Find a cool and dark storage location for your poppy seeds. Heat and sunlight can degrade the quality of the seeds and reduce their viability. A pantry or a cupboard away from direct sunlight is an ideal spot to store your seeds.
Labeling and organizing the containers: It’s essential to label your containers with the date of harvest and any other relevant information. This will help you keep track of the age and variety of the seeds. Additionally, consider organizing your containers by seed type or variety for easy retrieval in the future.
When stored under optimal conditions, poppy seeds can remain viable for up to two years. However, it’s a good practice to use the seeds within the first year for the best germination results.
Now that you have stored your poppy seeds, it’s important to periodically check on them for any signs of mold or insect infestation. If you notice any issues, promptly discard the affected seeds to prevent further contamination.
Congratulations! You have successfully saved and stored your poppy seeds. But before you start sowing them, it’s recommended to test their viability, which brings us to the final step: testing the poppy seeds.
Read more: How Long For California Poppies To Germinate
Step 5: Testing Poppy Seeds for Viability
Before sowing your saved poppy seeds, it is essential to test their viability to ensure a successful germination rate. Follow these steps to assess the potential of your poppy seeds:
Conducting a germination test: Take a sample of your poppy seeds and moisten a paper towel or a cotton pad. Spread the seeds evenly on the moistened surface and fold it over to cover them. Place the towel or pad in a plastic bag and keep it in a warm area, around 70-75°F (21-24°C). Check the seeds periodically over the next week or two to observe how many seeds germinate. Calculate the percentage of germinated seeds to determine the viability of your seed batch.
Ensuring seed freshness and viability: It’s important to note that the germination rate of poppy seeds can decline over time. Freshly harvested seeds typically have a higher germination rate compared to older seeds. If the germination rate of your poppy seeds is low, it may be a sign that they are not as fresh or viable.
Taking necessary precautions to avoid accidental germination: Poppy seeds have the potential to self-sow and can become invasive if not properly managed. To avoid accidental germination, take precautions when disposing of any unused or unwanted poppy seeds. You can microwave them for a few seconds or place them in a sealed bag and freeze them before discarding them.
By conducting a germination test and ensuring seed freshness, you can have the confidence to plant your poppy seeds with the expectation of successful growth and beautiful blooms.
Now that you have tested your poppy seeds, you are ready to embark on your gardening journey. Enjoy the process of growing and caring for your poppy plants, and may your garden be filled with the beauty of these vibrant flowers!
Happy gardening!
Conclusion
Congratulations! You have reached the end of this comprehensive guide on how to save poppy seeds. By following the steps outlined in this article, you have learned how to harvest, dry, extract, store, and test the viability of your poppy seeds. With this knowledge, you can continue the cycle of growth and beauty in your garden.
Saving poppy seeds allows you to preserve the essence of these beloved flowers and enjoy their culinary and medicinal benefits. From the delicate petals to the tiny, nutrient-rich seeds, every part of the poppy plant has its own unique charm and value.
Remember to choose the right time for harvesting the poppy pods, ensuring they are fully ripe before cutting them. Take care in drying the pods, providing them with a well-ventilated and debris-free environment. Extraction involves cracking open the dried pods and separating the seeds from the fragments. Storing the poppy seeds in airtight containers, in a cool and dark place, helps maintain their viability and quality. Finally, conducting a germination test gives you a clear understanding of the potential of your saved seeds.
It’s important to note that poppy seeds are not just a product of beauty and taste but also a symbol of growth and rebirth. As you plant and cultivate them, remember to respect their environment and take necessary precautions to prevent accidental germination and invasive spread.
Whether you use poppy seeds in cooking, create herbal remedies, or simply enjoy the beauty of poppy flowers in your garden, this guide has provided you with the knowledge and tools to do so. Embrace the joy of gardening and the magic of poppies as you embark on your own seed-saving adventure.
Thank you for reading, and happy poppy seed saving!
Frequently Asked Questions about How To Save Poppy Seeds
Was this page helpful?
At Storables.com, we guarantee accurate and reliable information. Our content, validated by Expert Board Contributors, is crafted following stringent Editorial Policies. We're committed to providing you with well-researched, expert-backed insights for all your informational needs.


0 thoughts on “How To Save Poppy Seeds”