Home>Garden Essentials>How To Hold Down Fake Grass
Garden Essentials
How To Hold Down Fake Grass
Modified: October 19, 2024
Discover the best techniques for holding down fake grass in your garden. Ensure a secure and long-lasting installation with our step-by-step guide.
(Many of the links in this article redirect to a specific reviewed product. Your purchase of these products through affiliate links helps to generate commission for Storables.com, at no extra cost. Learn more)
Introduction
Having a lush and vibrant garden can greatly enhance the beauty and functionality of your outdoor space. However, maintaining a natural lawn can be time-consuming and labor-intensive, not to mention the water and chemical fertilizers it requires. This is where fake grass, also known as synthetic or artificial turf, comes to the rescue.
Fake grass offers a low-maintenance, aesthetically pleasing alternative to natural grass. It provides a lush green surface year-round, requires minimal upkeep, and is more resistant to wear and tear. Additionally, it conserves water, eliminates the need for harmful pesticides and fertilizers, and is pet-friendly. To ensure your fake grass stays in place and looks its best, it’s essential to know how to properly hold it down.
In this article, we will guide you through the process of holding down your fake grass effectively. From preparing the area to maintaining and cleaning the grass, we’ll cover all the necessary steps to ensure your synthetic turf stays securely in place for years to come.
Key Takeaways:
- Say goodbye to the hassle of maintaining natural grass and hello to low-maintenance fake grass. It’s pet-friendly, conserves water, and eliminates the need for harmful chemicals.
- Properly prepare, install, and maintain your fake grass to enjoy a lush, hassle-free lawn. From leveling the ground to securing the edges, follow these steps for a professional-looking installation.
Read more: How To Hold Down Artificial Grass
Preparing the Area
Before you can begin holding down your fake grass, it’s important to properly prepare the area where it will be installed. This will ensure a smooth and durable surface for the synthetic turf. Follow these steps to prepare the area:
- Measure and outline the space: Start by measuring the area where you want to install the fake grass. Outline the space using markers or string to create a clear boundary.
- Clearing the existing surface: Remove any existing vegetation, rocks, or debris from the area. Use a rake or shovel to clear the surface, ensuring it is clean and level.
- Leveling the ground: It’s crucial to have a level surface for your fake grass installation. Use a shovel or a garden roller to level any uneven areas. You may need to add or remove soil to achieve a flat surface.
- Installing a weed barrier: To prevent weeds from growing through your fake grass, install a weed barrier. Lay a geotextile fabric or weed control membrane over the prepared area. This will help suppress weed growth and provide added stability to the synthetic turf.
- Laying a base material: Depending on the existing soil conditions and drainage requirements, you may need to add a base material before installing your fake grass. This could include crushed stone, decomposed granite, or a specific aggregate recommended for use with synthetic turf. Compact the base material using a plate compactor to ensure stability.
By properly preparing the area, you will create a solid foundation for your fake grass installation. This will help to ensure proper drainage, prevent weed growth, and provide a stable surface for years of enjoyment.
Clearing the Existing Surface
Once you have outlined the area and measured it for your fake grass installation, the next step is to clear the existing surface. Clearing the surface will ensure that there are no obstacles or debris that could interfere with the proper installation of the fake grass. Follow these steps to clear the existing surface:
- Remove any vegetation: Start by removing any existing grass, weeds, or other vegetation in the area. You can use a rake, shovel, or sod cutter to cut away the vegetation and lift it out of the way. Make sure to clear the area completely to create a clean slate for your fake grass.
- Get rid of rocks and debris: Carefully inspect the area for rocks, branches, or any other debris that may be present. Use a rake or shovel to remove these objects from the surface. Clearing the area of rocks and debris will prevent them from creating an uneven surface or damaging the fake grass during installation.
- Address any drainage issues: Take a close look at the drainage in the area. If there are any low spots or areas with poor drainage, you may need to make adjustments. Fill in any low spots with soil and make sure the surface slopes away from any structures to ensure proper water runoff.
Clearing the existing surface is an important step in preparing the area for your fake grass installation. By removing vegetation, rocks, and debris, you’ll create a clean and level surface that is ready for the next steps of the installation process. Remember to pay attention to the drainage to ensure optimal performance of your synthetic turf.
Leveling the Ground
After clearing the existing surface, the next step in preparing the area for your fake grass installation is leveling the ground. This process involves ensuring that the surface is flat and even, providing a stable foundation for the synthetic turf. Follow these steps to level the ground:
- Assess the surface: Take a careful look at the ground to identify any areas that are uneven or require leveling. Observe any dips, bumps, or slopes that may need to be addressed.
- Fill in low spots: If you notice any low spots or depressions in the ground, fill them in with topsoil or a soil mix. Use a shovel or rake to distribute the soil evenly and level it with the surrounding area. Repeat this process until all low spots are filled and the ground is relatively even.
- Remove high spots: On the other hand, if there are any high spots or mounds in the ground, you will need to remove or level them. Use a shovel or a tamper to compact the soil and create a more even surface. Be careful not to remove too much soil and create a depression in the process.
- Use a level and a straight board: To ensure accuracy, place a level on a straight board and use it to check the surface for levelness. Move the straight board across the ground in various directions to identify any areas that need further leveling.
- Add or remove soil: Depending on the results of your leveling assessment, you may need to add or remove soil to achieve a level surface. Gradually add or remove small amounts of soil as needed, using a rake or shovel to distribute it evenly.
- Compact the ground: Once the surface is relatively level, use a plate compactor to compact the ground. This will help stabilize the soil and create a firm base for your fake grass installation.
Leveling the ground is an important step to ensure the proper installation and longevity of your fake grass. By creating a level surface, you’ll prevent any unevenness or uneven weight distribution, which can lead to an unstable and unattractive synthetic turf. Take your time with this step to achieve the best results.
Installing a Weed Barrier
One of the key steps in preparing the area for your fake grass installation is installing a weed barrier. A weed barrier helps prevent weeds from growing through the synthetic turf, keeping your lawn looking pristine and maintenance-free. Follow these steps to install a weed barrier:
- Clean the area: Before laying the weed barrier, ensure that the surface is free from any debris, rocks, or vegetation. Use a rake or shovel to clear the area, creating a clean and smooth surface.
- Measure and cut the weed barrier: Roll out the weed barrier fabric and measure it to fit the dimensions of your installation area. Leave an overlap of at least 6 inches along the edges to ensure full coverage. Use a utility knife or scissors to cut the weed barrier to the correct size.
- Secure the weed barrier: Once you have cut the weed barrier to size, lay it down over the prepared area. Smooth out any wrinkles or folds, ensuring that the fabric lies flat. Use landscape staples or anchor pins to secure the weed barrier to the ground. Place the staples or pins at regular intervals along the edges and in the middle of the fabric to keep it in place.
- Overlap and secure seams: If you have multiple pieces of weed barrier fabric, make sure to overlap them by at least 6 inches. Secure the overlapping edges together using landscape fabric adhesive or heavy-duty tape. This will prevent any gaps where weeds could penetrate the barrier.
- Trim excess weed barrier: Once the weed barrier is securely in place, trim any excess fabric that extends beyond the installation area. Use a utility knife or scissors to carefully cut away the extra material, ensuring a neat and tidy appearance.
Installing a weed barrier is an essential step in preventing weed growth and maintaining the integrity of your fake grass. By taking the time to properly install the barrier, you’ll ensure a long-lasting and low-maintenance synthetic turf that stays weed-free.
Read more: How To Lay Fake Grass Down
Laying the Fake Grass
Now that you have prepared the area and installed a weed barrier, it’s time to lay the fake grass. This step is crucial to achieving a realistic and professional-looking result. Follow these steps to properly lay your fake grass:
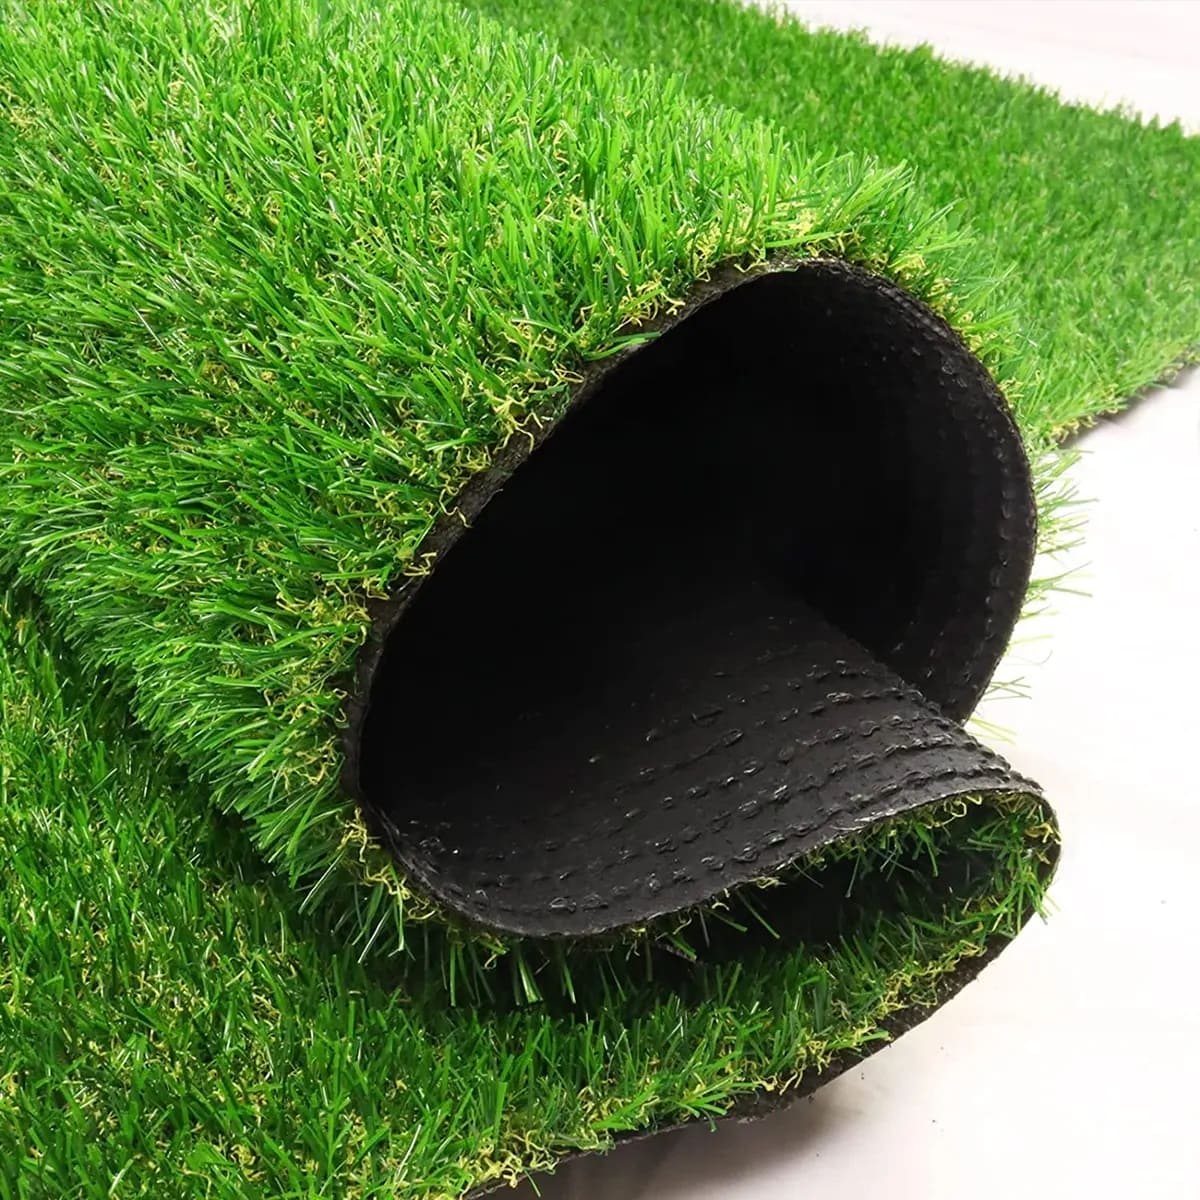
- Roll out the grass: Begin by unrolling the fake grass onto the prepared surface. Ensure that the grass fibers are facing the desired direction, following the natural flow of the space.
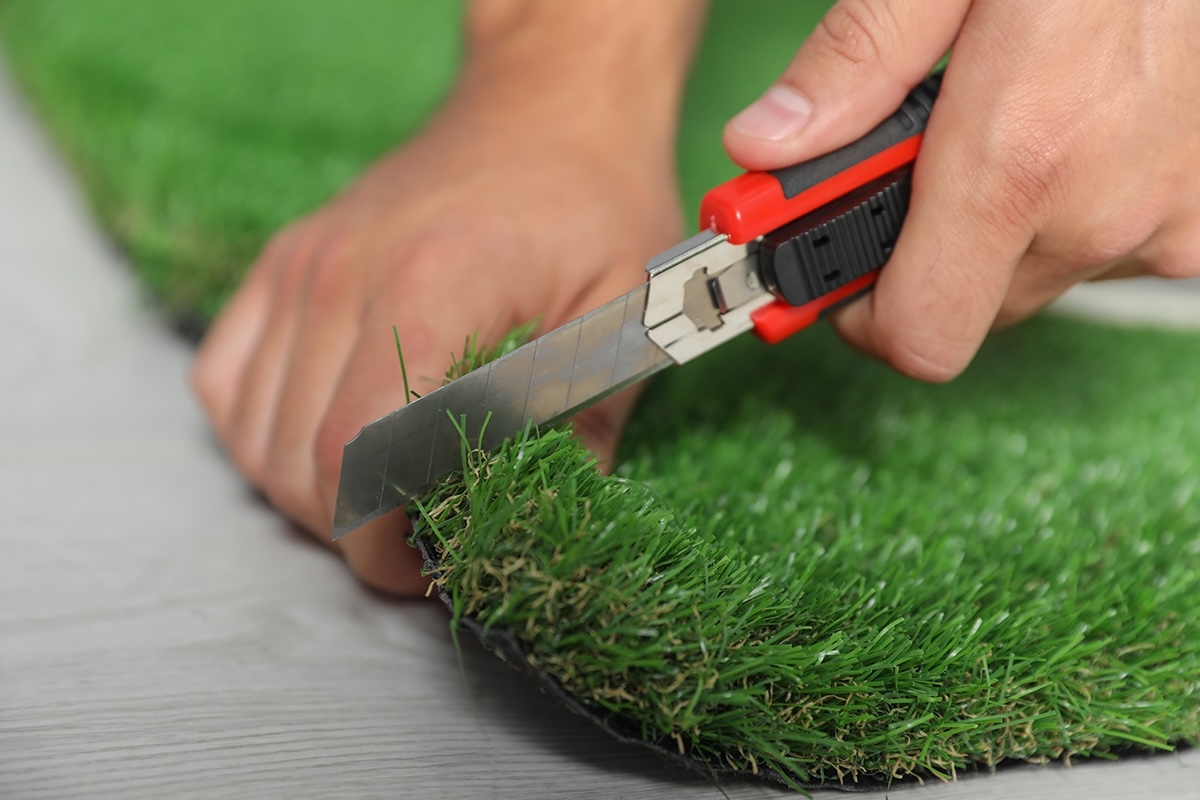
- Trim the edges: Use a utility knife or scissors to trim any excess grass along the edges of the installation area. Take your time and make clean, straight cuts to achieve a seamless and polished look.
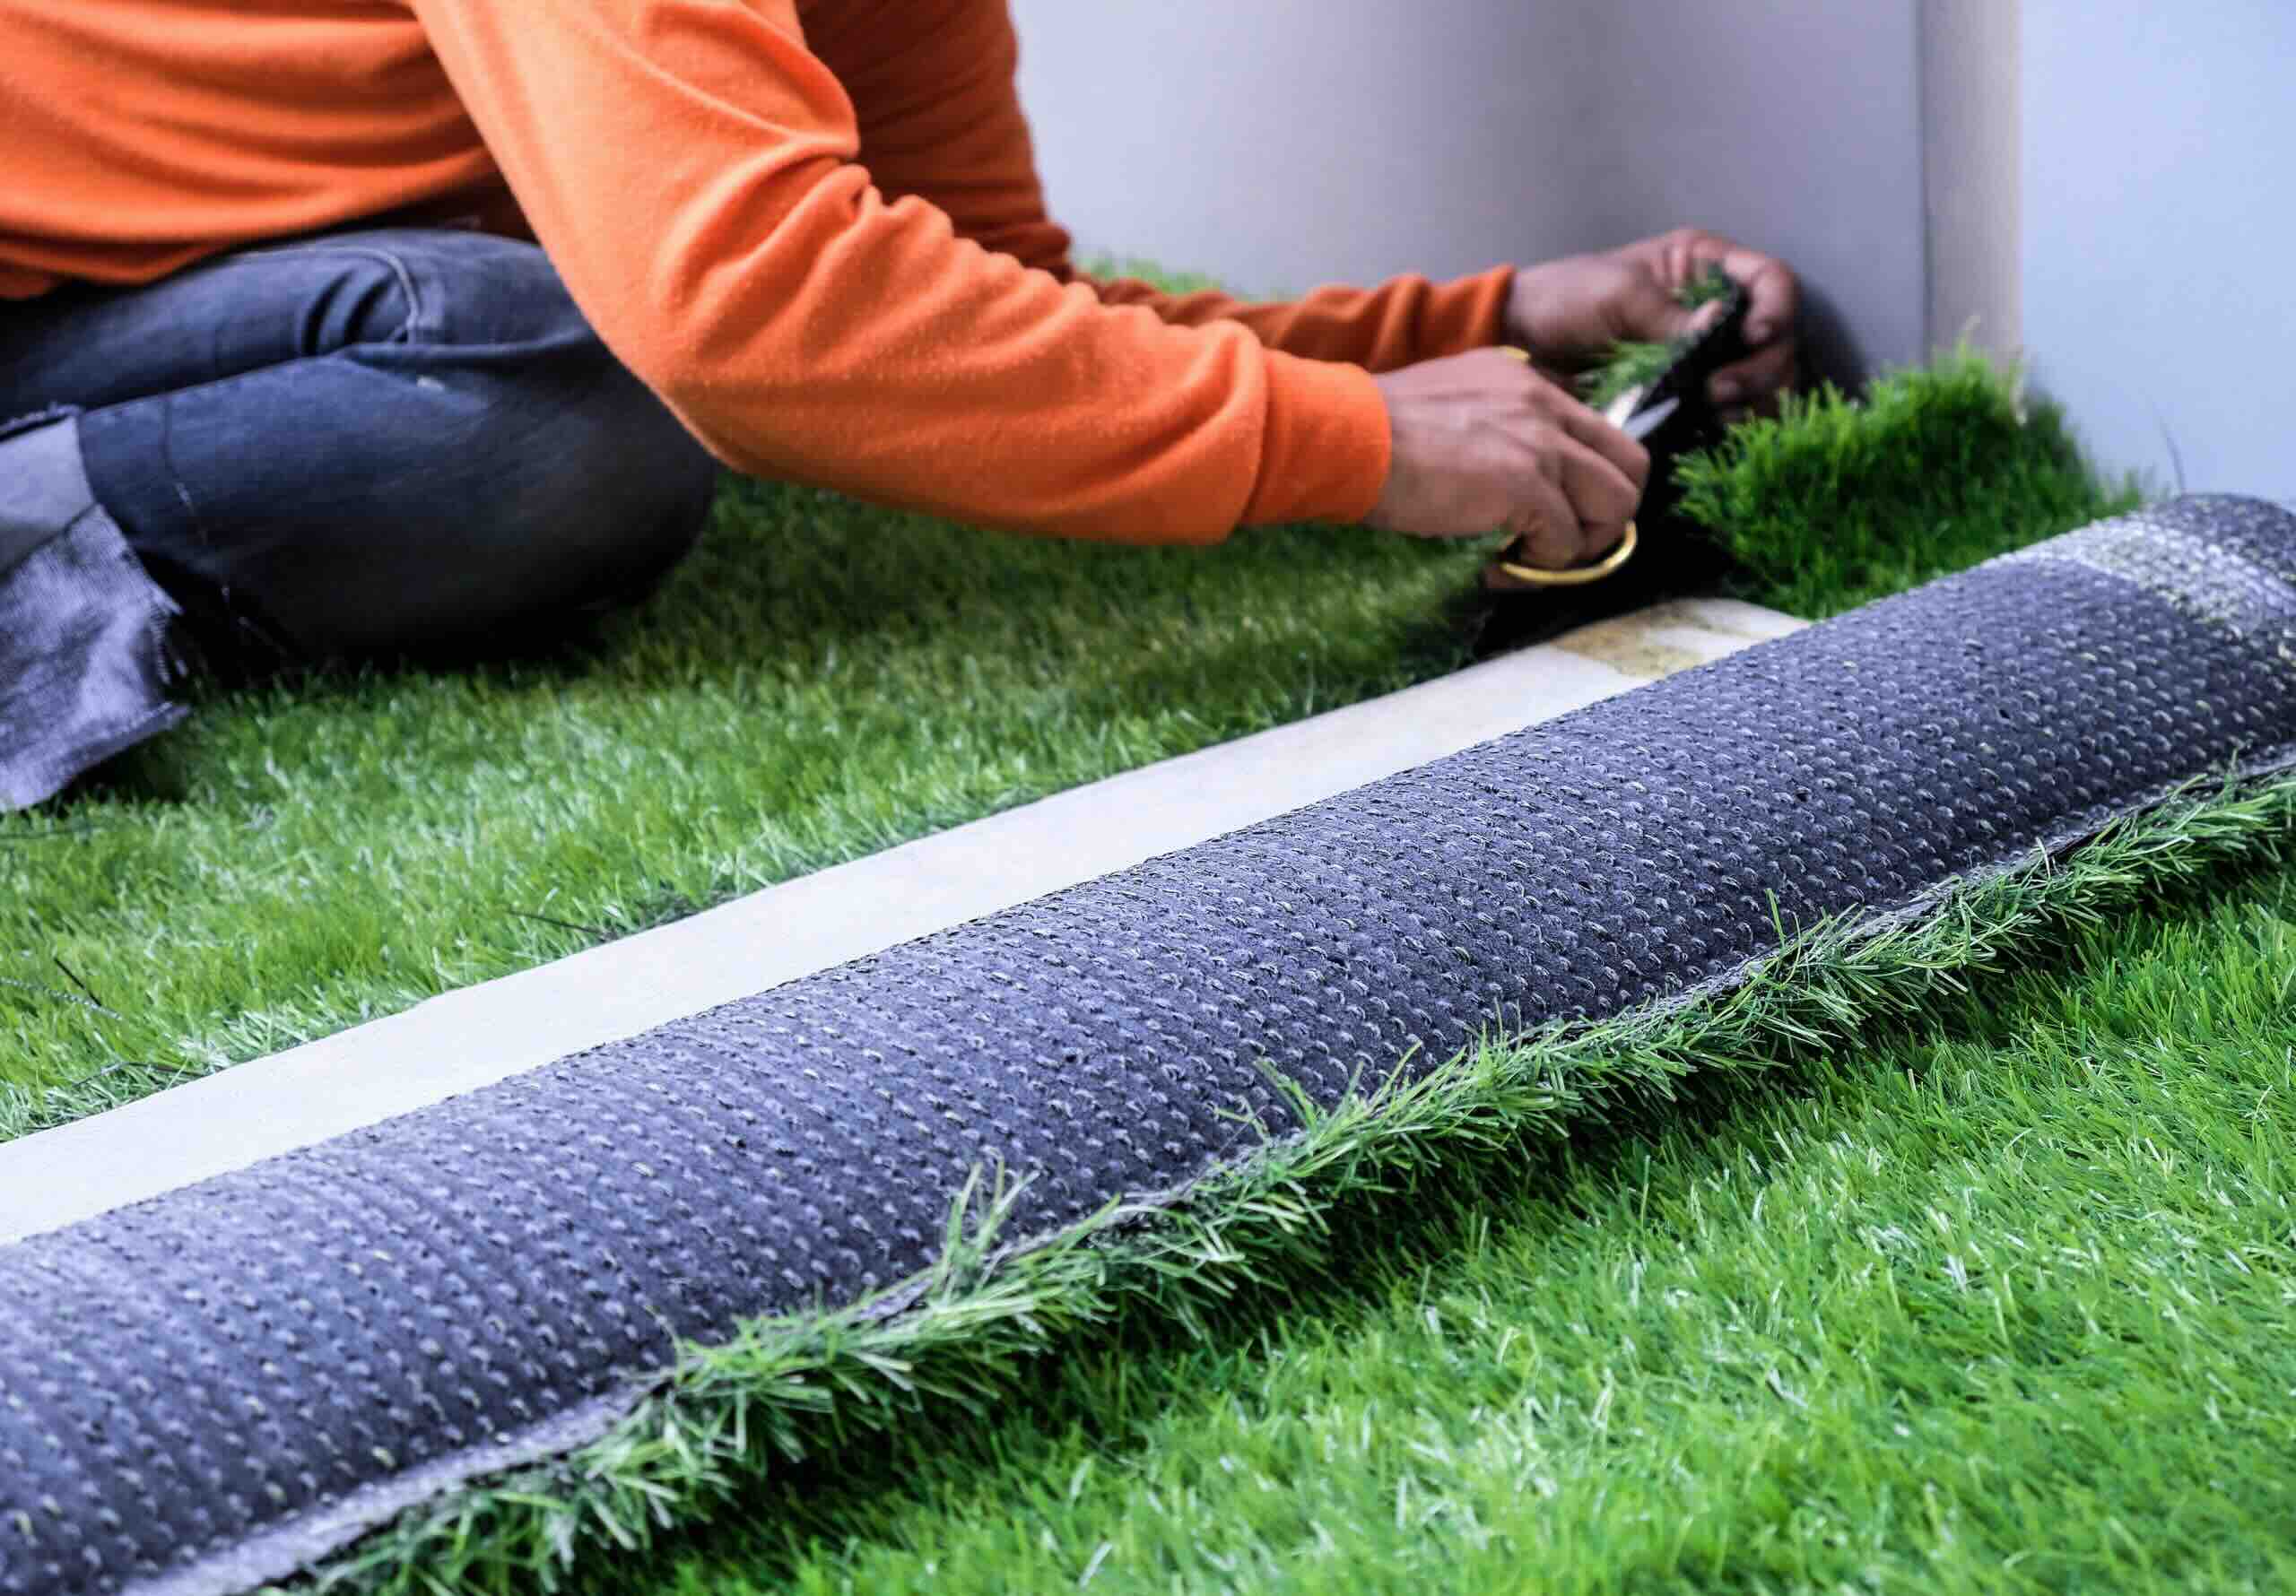
- Join multiple pieces: If you have multiple pieces of fake grass, carefully align the seams and join them together. Use artificial turf adhesive or durable seaming tape to secure the pieces, ensuring a smooth and invisible transition.
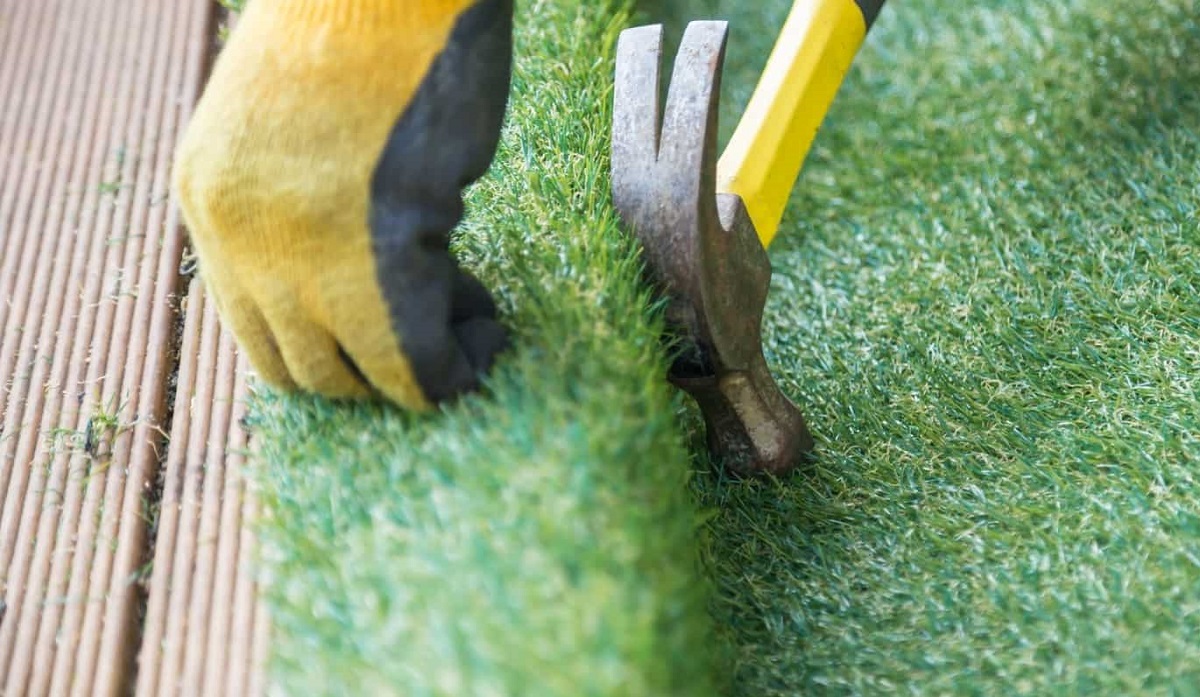
- Secure the grass: Once the grass is positioned and joined, secure it to the ground using landscape staples or anchor pins. Place the staples or pins around the perimeter of the installation area, as well as along the seams, to secure the grass in place.
- Smooth out wrinkles: If you notice any wrinkles or unevenness in the fake grass, gently smooth them out using a broom or a stiff brush. Brushing the grass fibers in different directions can help achieve a more natural and lush appearance.
- Check for proper drainage: After laying the fake grass, ensure that it allows for proper drainage. Test this by pouring water onto the surface and observing how it drains. If pooling occurs, use a broom or brush to create small channels or slopes to encourage water flow.
Laying the fake grass properly is essential to achieving a beautiful and realistic-looking lawn. Take your time during this step, paying attention to detail, and ensuring that the grass is secure, smooth, and properly positioned. By following these guidelines, you’ll be on your way to enjoying a low-maintenance and visually appealing synthetic turf.
Use landscape fabric underneath the fake grass to prevent weeds and help hold it in place. Secure the edges with landscape staples or nails for extra stability.
Securing the Edges
Securing the edges of your fake grass is an important step in the installation process. Properly securing the edges will ensure that the turf stays in place and maintains a tidy appearance. Follow these steps to effectively secure the edges of your synthetic turf:
- Trim excess grass: Before securing the edges, trim any excess grass along the perimeter of the installation area. Use a utility knife or scissors to create a clean and straight edge.
- Add adhesive: Apply a high-quality artificial turf adhesive or strong outdoor carpet tape along the outer edge of the fake grass. Ensure that the adhesive or tape covers the entire edge for a secure bond.
- Press down the edges: Carefully fold back the edges of the fake grass, exposing the adhesive or tape. Gently press down the edges onto the adhesive, smoothing out any wrinkles or air pockets as you go.
- Weigh down the edges: To further secure the edges, place heavy objects such as bricks or pavers along the edge of the fake grass. This will help hold down the edges while the adhesive sets or the tape adheres.
- Allow for drying or curing time: Follow the manufacturer’s instructions regarding drying or curing time for the adhesive or tape. It is essential to allow sufficient time for the edges to fully bond and set in place.
- Remove weights: Once the adhesive or tape has fully cured, carefully remove the weights from the edges. The fake grass should now be securely held in place along the edges.
Securing the edges of your fake grass will provide a clean and professional finish to your synthetic turf installation. It will prevent the edges from lifting or moving, ensuring that your artificial lawn remains in top condition for years to come. Take your time during this step to ensure proper adhesion and a seamless transition between the fake grass and the surrounding area.
Brushing and Fluffing the Grass
After installing your fake grass, it’s important to brush and fluff the grass fibers to give your lawn a natural, vibrant look. This process helps the grass stand upright, enhances its appearance, and distributes any infill materials evenly. Follow these steps to properly brush and fluff your fake grass:
- Choose the right tool: Select a stiff bristle broom or brush specifically designed for artificial turf. Avoid using a brush with metal bristles, as they can damage the grass fibers.
- Brush against the grain: Start by brushing the grass against the grain. This means brushing in the opposite direction of the natural flow of the grass fibers. This helps fluff up the fibers and create a fuller and more natural appearance.
- Vary your brushing direction: After brushing against the grain, switch to brushing in different directions. This helps to distribute the grass fibers evenly and prevents them from matting or clumping together.
- Pay attention to high traffic areas: Give extra attention to areas that receive heavier foot traffic, such as walkways or play areas. Brush these areas more vigorously to restore the grass fibers and maintain an even appearance.
- Fluff up infill materials: If you have infill materials such as silica sand or rubber granules, make sure to brush the grass fibers to fluff up the infill. This will prevent it from compacting and keep the grass looking lush and natural.
- Regularly brush the grass: It’s important to regularly brush your fake grass to prevent the fibers from matting and to keep the lawn looking its best. How often you need to brush will depend on the amount of foot traffic and usage the lawn receives.
Brushing and fluffing the grass is a simple but essential maintenance step for your fake lawn. It helps to maintain its appearance and prevent the fibers from flattening or matting. By following these steps and regularly brushing your synthetic turf, you’ll keep it looking vibrant and well-maintained for years to come.
Adding Infill Material
Adding infill material to your fake grass is an important step that enhances its performance, durability, and overall aesthetic appeal. Infill material helps to support the grass blades, provide cushioning, improve drainage, and protect the synthetic turf from damage. Follow these steps to properly add infill material to your fake grass:
- Choose the right infill material: There are different types of infill materials available, including silica sand, rubber granules, and organic infills. Consider factors such as foot traffic, weather conditions, and personal preferences when selecting the appropriate infill material for your fake grass.
- Ensure a dry surface: Before adding the infill material, make sure that the fake grass is completely dry. If there is any moisture on the surface, allow it to dry completely to ensure proper adhesion and distribution of the infill.
- Spread the infill evenly: Start by spreading a thin layer of infill material over the entire surface of the fake grass. Use a shovel or a spreader tool to distribute the infill evenly. Avoid applying a thick layer all at once, as it can make it difficult to brush or fluff the grass later.
- Brush the grass: After spreading the infill material, use a stiff broom or brush to work the infill into the fake grass. This helps the infill settle evenly and fill the gaps between the grass fibers. Brush against the grain and in different directions to distribute the infill thoroughly.
- Check for adequate infill coverage: Once you have brushed in the infill, inspect the grass to ensure that there is adequate coverage and that the infill is evenly distributed. If necessary, add more infill material and continue brushing until you achieve the desired coverage.
- Compact the infill: To further enhance the stability and performance of the infill, lightly compact it using a lawn roller or a plate compactor. This helps to settle the infill and provide a more solid base for the fake grass.
Adding infill material is a crucial step in the installation process of fake grass. It significantly improves the durability, appearance, and functionality of the synthetic turf. By following these steps, you’ll ensure proper distribution and coverage of the infill, resulting in a beautiful and long-lasting artificial lawn.
Read more: How To Put Down Fake Grass On Dirt
Maintaining and Cleaning the Fake Grass
Maintaining and cleaning your fake grass is essential to keep it looking pristine and prolong its lifespan. Though synthetic turf requires less maintenance than natural grass, proper care will ensure its beauty and functionality for years to come. Follow these tips to effectively maintain and clean your fake grass:
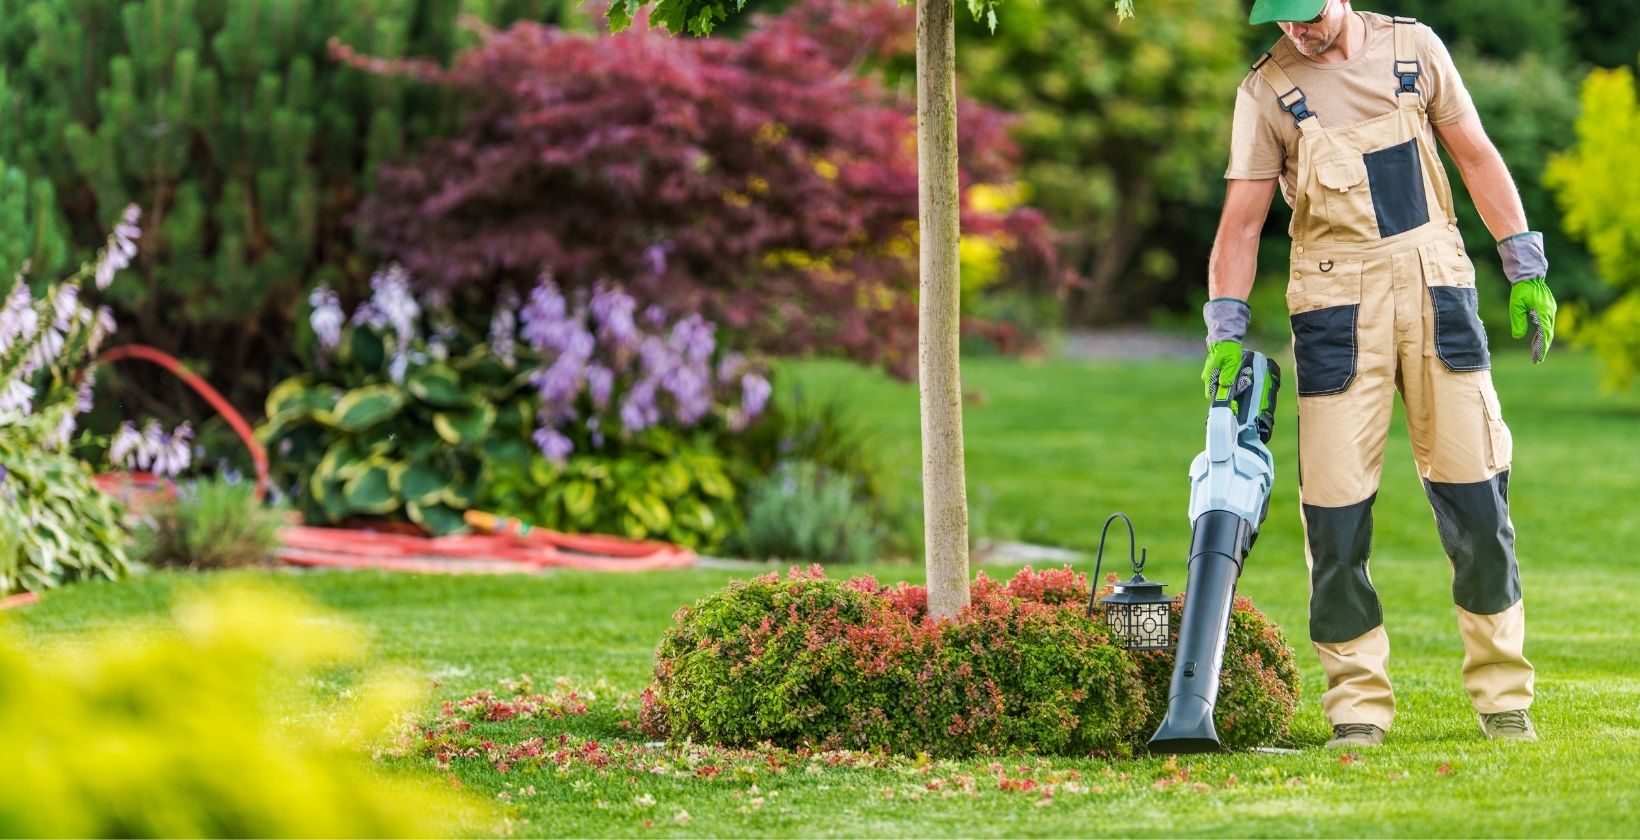
- Regularly remove debris: Consistently remove leaves, twigs, and other debris from the fake grass surface. Use a leaf blower or a rake to gently remove the debris without damaging the grass fibers.
- Brush the grass: Periodically brush the fake grass to keep the fibers upright and prevent matting. Use a stiff bristle broom or brush to gently brush against the grain and in different directions. This will restore the grass’s natural appearance and ensure proper drainage.
- Inspect for damage: Regularly inspect your fake grass for any signs of damage, such as tears, loose seams, or areas with flattened fibers. If you notice any issues, repair them promptly to prevent further damage and maintain the integrity of the turf.
- Address stains or spills: For minor stains or spills, simply use a mixture of mild soap and water to clean the affected area. Gently blot the stain with a clean cloth or sponge, taking care not to rub vigorously as it may damage the fibers. For stubborn stains, consult the manufacturer’s guidelines for specific cleaning instructions.
- Prevent pet waste buildup: If you have pets, promptly remove solid waste from the fake grass to prevent odor and bacteria buildup. Rinse the area with water to dilute any residual waste and use a pet-safe deodorizer if needed.
- Manage odors: Fake grass can sometimes develop unpleasant odors, especially in areas with high pet usage. To manage odors, regularly sprinkle baking soda or a specialized artificial turf deodorizing product on the surface. Follow the instructions on the product for best results.
- Periodic deep cleaning: Consider performing a deep cleaning of your fake grass at least once a year or as needed. This can be done using a mild detergent mixed with water and gently scrubbing the surface with a soft brush. Rinse thoroughly with water to remove any residue.
- Protect from fire and hot objects: Fake grass is susceptible to melting or burning when exposed to extreme heat or hot objects. Avoid placing hot items, such as a barbecue grill or fire pit, directly on the grass. Use heat-resistant mats or paving stones as protective barriers.
By following these maintenance and cleaning tips, you can keep your fake grass looking its best and ensure its longevity. Regular care and prompt attention to any issues will help preserve the beauty and functionality of your synthetic turf, providing you with a lush and hassle-free lawn all year round.
Conclusion
Congratulations, you’ve now learned how to hold down your fake grass effectively and maintain its beauty and functionality. By following the steps outlined in this article, you can ensure that your synthetic turf stays securely in place and continues to provide a lush and low-maintenance outdoor space for years to come.
From preparing the area and clearing the existing surface to properly laying the fake grass and securing the edges, each step plays a vital role in achieving a professional-looking installation. Don’t forget to brush and fluff the grass regularly, add infill material for optimal performance, and maintain and clean the fake grass to keep it in top condition.
Not only does fake grass offer a low-maintenance and visually appealing alternative to natural grass, but it also conserves water, eliminates the need for harmful pesticides and fertilizers, and provides a pet-friendly environment. It’s a sustainable choice that can enhance the beauty and functionality of your outdoor space, whether it’s a garden, lawn, or play area.
Remember, proper care and maintenance are key to preserving the quality and lifespan of your fake grass. Regularly remove debris, brush the grass fibers, inspect for damage, address stains or spills promptly, and perform periodic deep cleaning as needed. Taking these steps will help to ensure that your fake grass stays vibrant, odor-free, and in excellent condition for years to come.
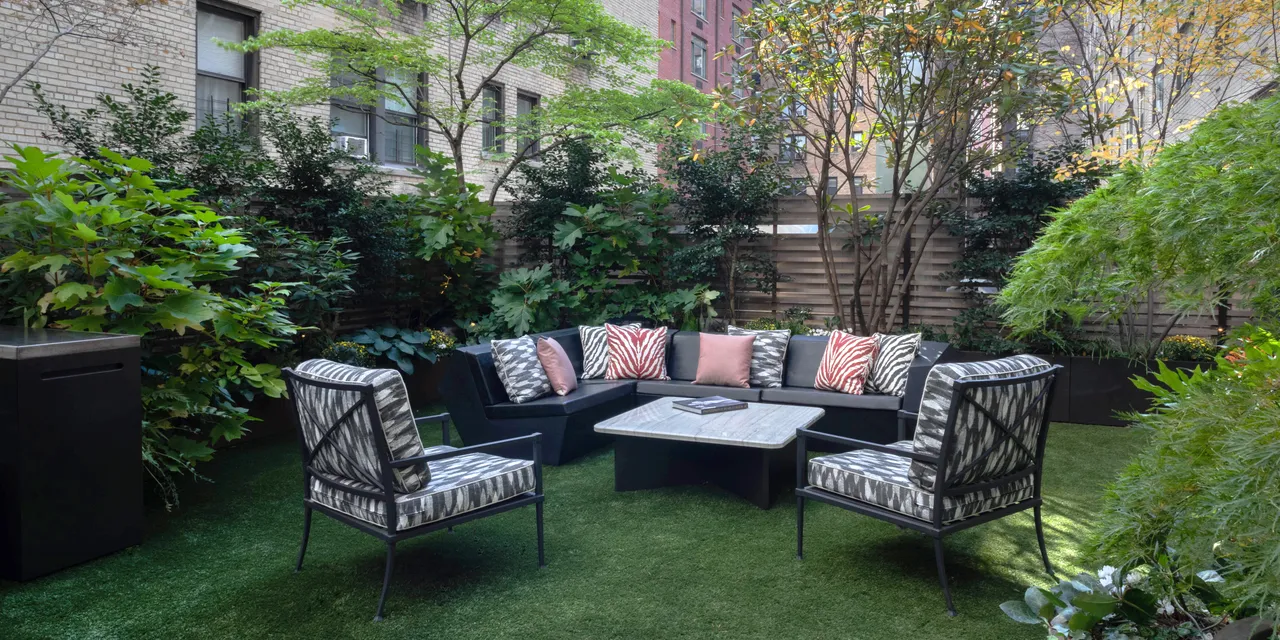
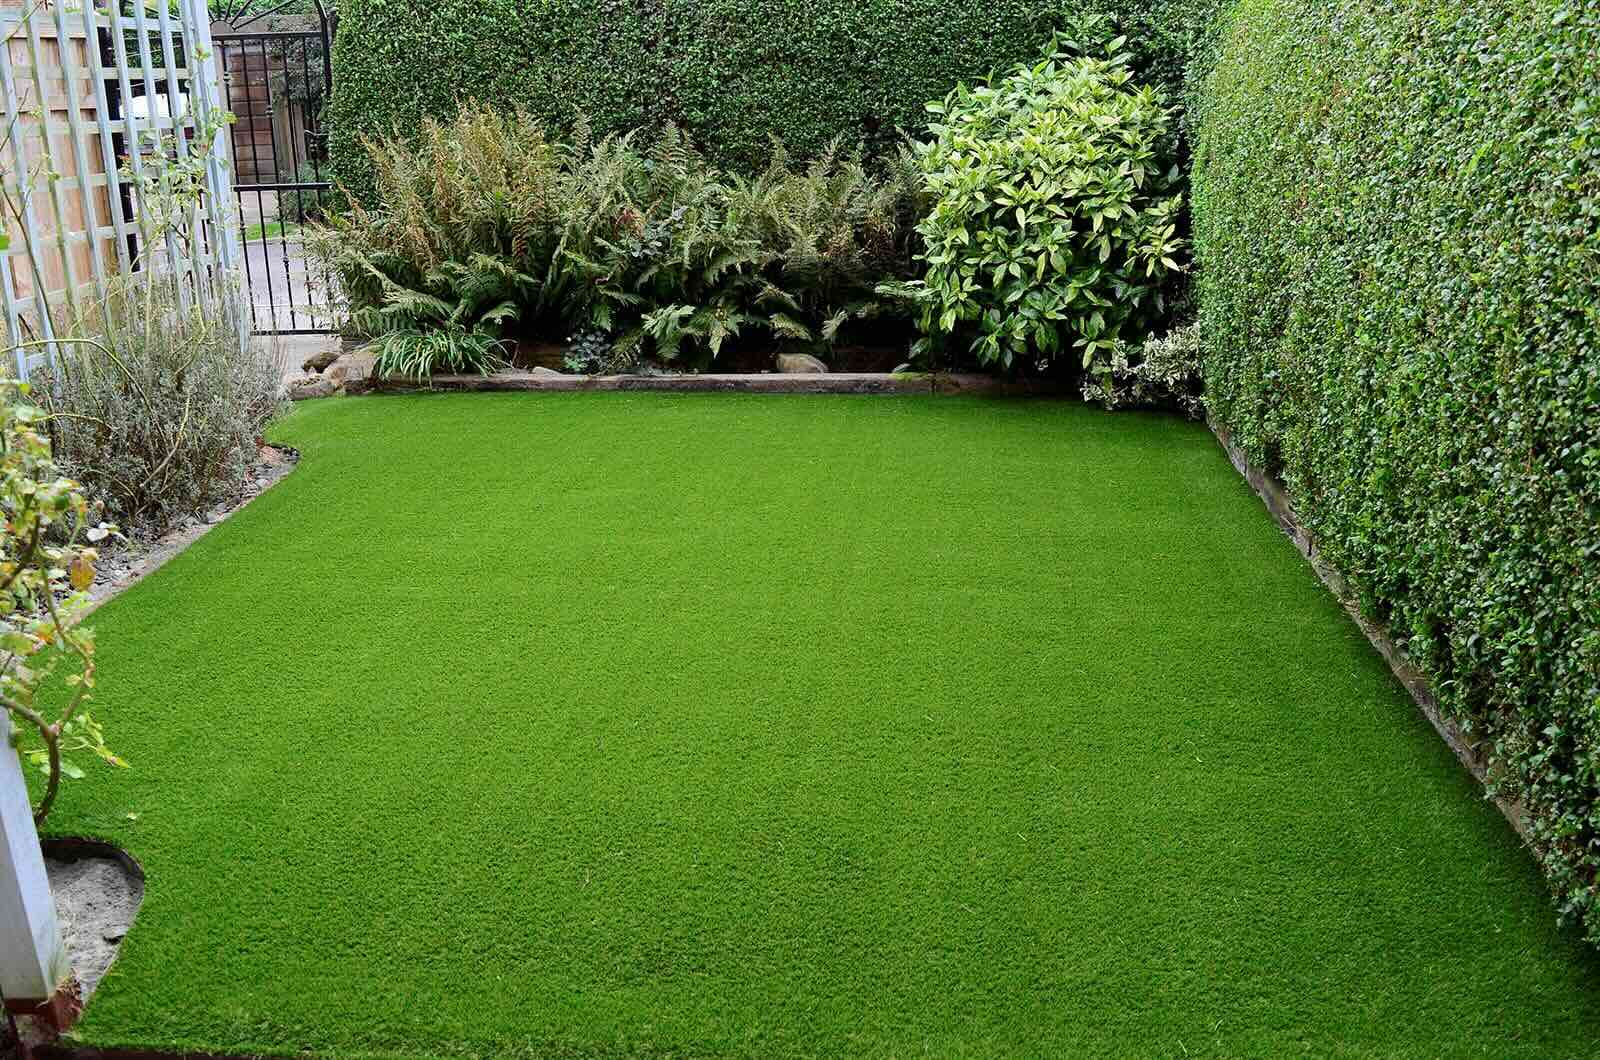
Enjoy the benefits of a beautiful and hassle-free lawn with your newly installed fake grass. Sit back, relax, and appreciate the lush greenery and low-maintenance lifestyle it provides. Whether you’re hosting gatherings, playing with your pets, or simply enjoying the serenity of your outdoor space, your fake grass will continue to impress with its durability and beauty.
So go ahead, hold down your fake grass with confidence and transform your outdoor area into a stunning and sustainable haven.
Frequently Asked Questions about How To Hold Down Fake Grass
Was this page helpful?
At Storables.com, we guarantee accurate and reliable information. Our content, validated by Expert Board Contributors, is crafted following stringent Editorial Policies. We're committed to providing you with well-researched, expert-backed insights for all your informational needs.

0 thoughts on “How To Hold Down Fake Grass”