Home>Garden Essentials>How To Set Purge To Infill In Slic3r PE
Garden Essentials
How To Set Purge To Infill In Slic3r PE
Modified: August 28, 2024
Learn how to optimize your garden with Slic3r PE by setting purge to infill. Improve your printing efficiency and achieve better results.
(Many of the links in this article redirect to a specific reviewed product. Your purchase of these products through affiliate links helps to generate commission for Storables.com, at no extra cost. Learn more)
Introduction
Welcome to our comprehensive guide on how to set purge to infill in Slic3r PE. Slic3r PE is a powerful and versatile slicing software commonly used in 3D printing. It allows you to convert your 3D models into a format compatible with your 3D printer. One important feature it offers is the ability to set a purge to infill, which ensures a cleaner and more precise printing process.
In this article, we will discuss what Slic3r PE is, why setting a purge to infill is important, and provide step-by-step instructions on how to configure this setting in Slic3r PE. So, whether you are a beginner or an experienced 3D printing enthusiast, this guide will help you optimize your printing results.
Key Takeaways:
- Setting purge to infill in Slic3r PE ensures cleaner 3D prints by depositing excess filament within the internal structure, preventing imperfections and nozzle clogs for a smoother finish.
- Slic3r PE offers advanced features for precise 3D printing. By adjusting settings and enabling “Wipe into infill,” users can achieve aesthetically pleasing prints with fewer imperfections.
Read more: How To Change The Infill In Slic3R
What is Slic3r PE?
Slic3r PE, which stands for Slic3r Prusa Edition, is an open-source slicing software specifically designed for Prusa 3D printers. It is a powerful tool that allows you to convert 3D models into instructions that your 3D printer can understand. Furthermore, Slic3r PE offers a wide range of advanced settings and customization options to fine-tune your printing parameters.
With Slic3r PE, you have full control over the slicing process, enabling you to achieve precise and high-quality prints. It supports various file formats such as STL, OBJ, and AMF, making it compatible with most 3D modeling software. The software provides features like infill density control, layer height adjustment, support generation, and integration with multiple 3D printers.
Developed by Josef Prusa, the creator of the highly regarded Prusa 3D printers, Slic3r PE is constantly updated and improved to meet the evolving needs of the 3D printing community. Its user-friendly interface and intuitive design make it accessible to both novices and experienced users.
Whether you are a hobbyist, engineer, or artist, Slic3r PE is an invaluable tool for turning your digital designs into physical objects. Its robust features and flexibility allow you to unleash your creativity and produce stunning 3D prints with ease.
Why is Purge to Infill Important?
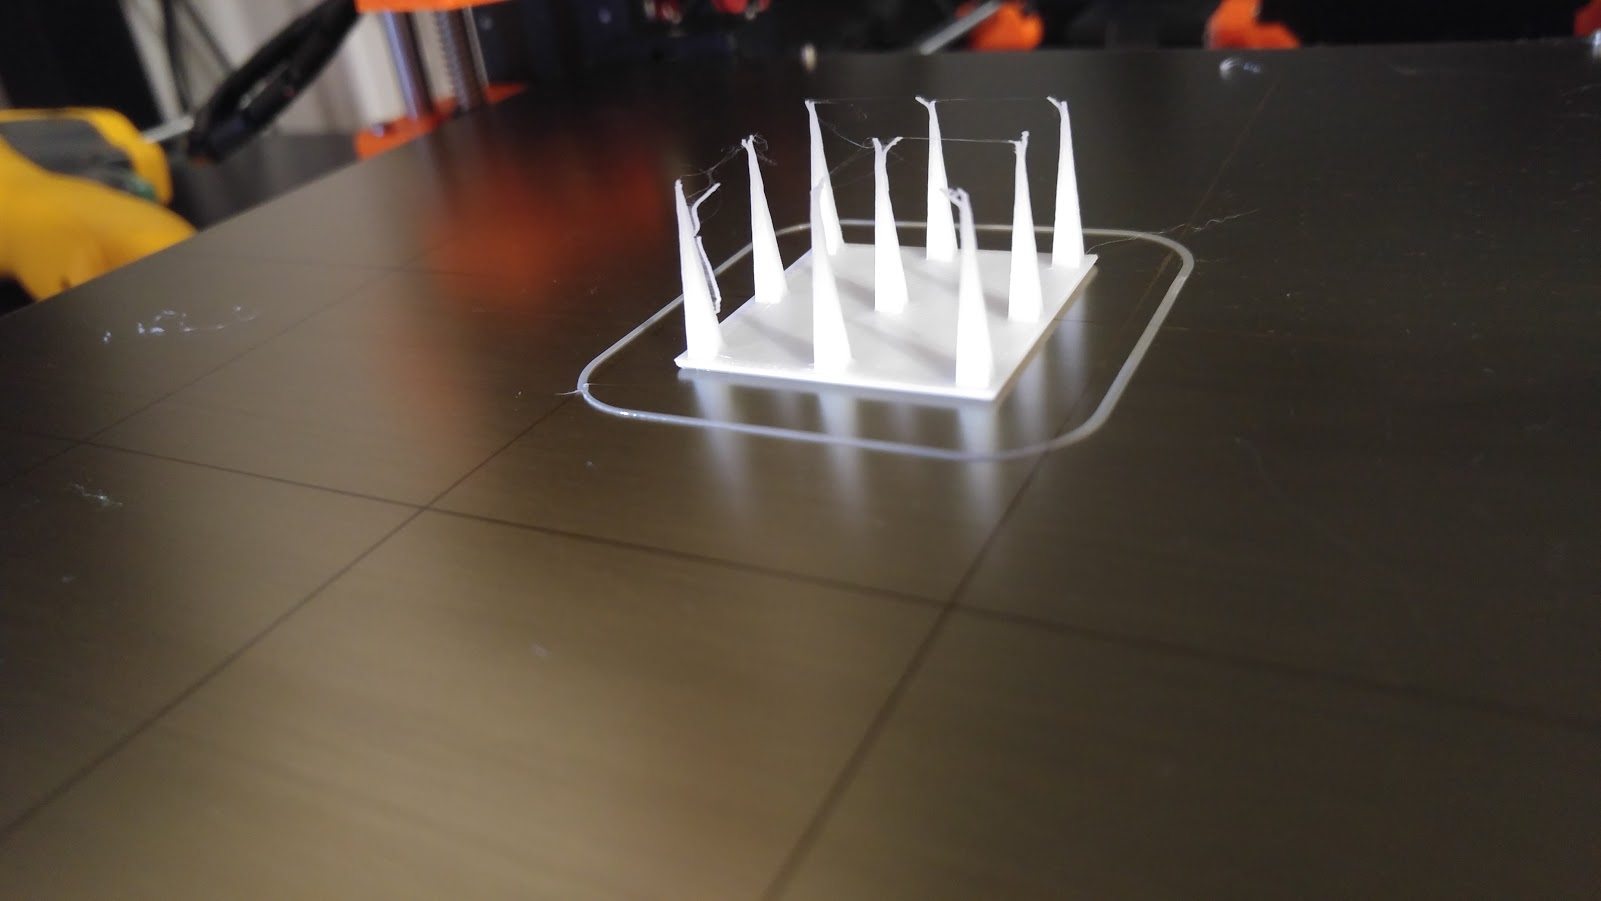
When 3D printing, achieving clean and accurate prints is crucial. One common issue faced by 3D printer users is the presence of excess filament or ooze during filament changes or movements between different parts of the print. This can result in unwanted imperfections such as blobs or stringing on the surface of the print.
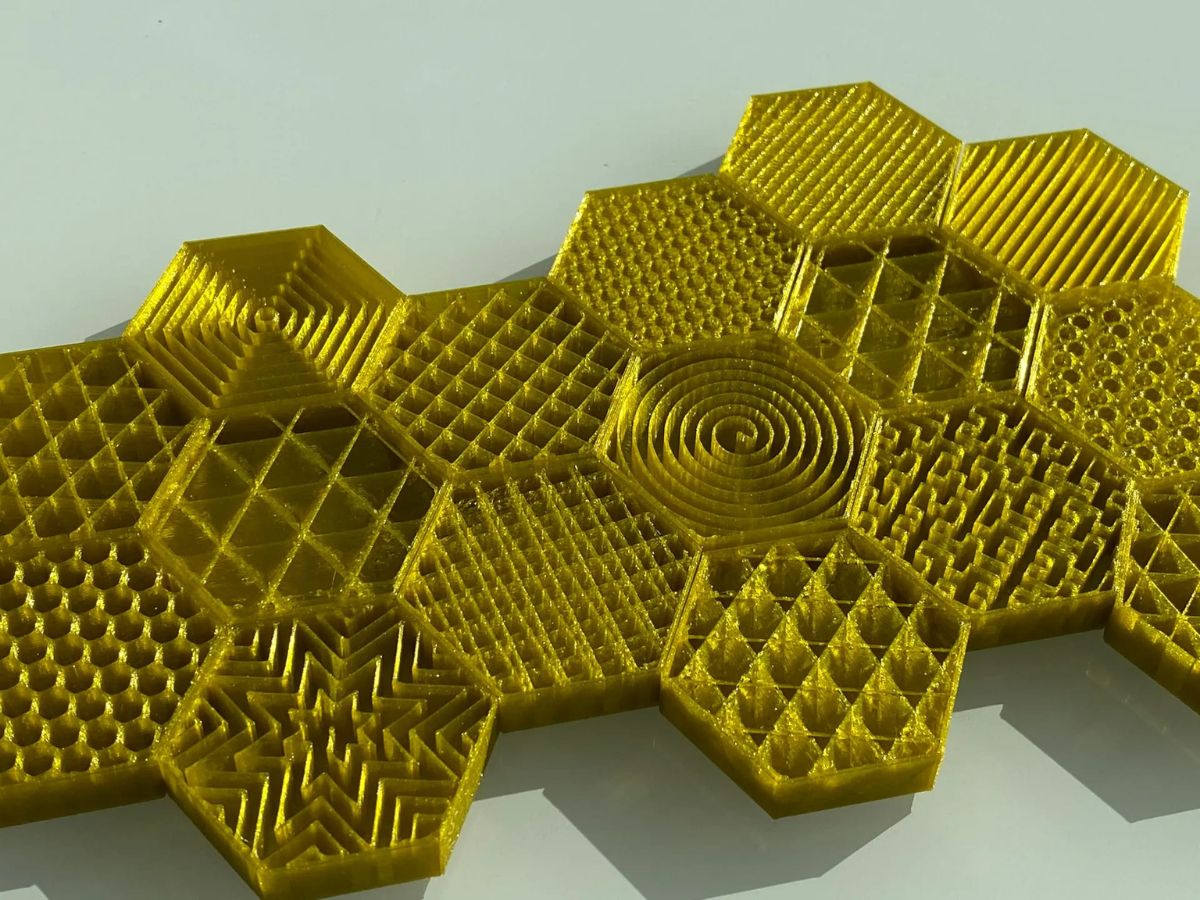
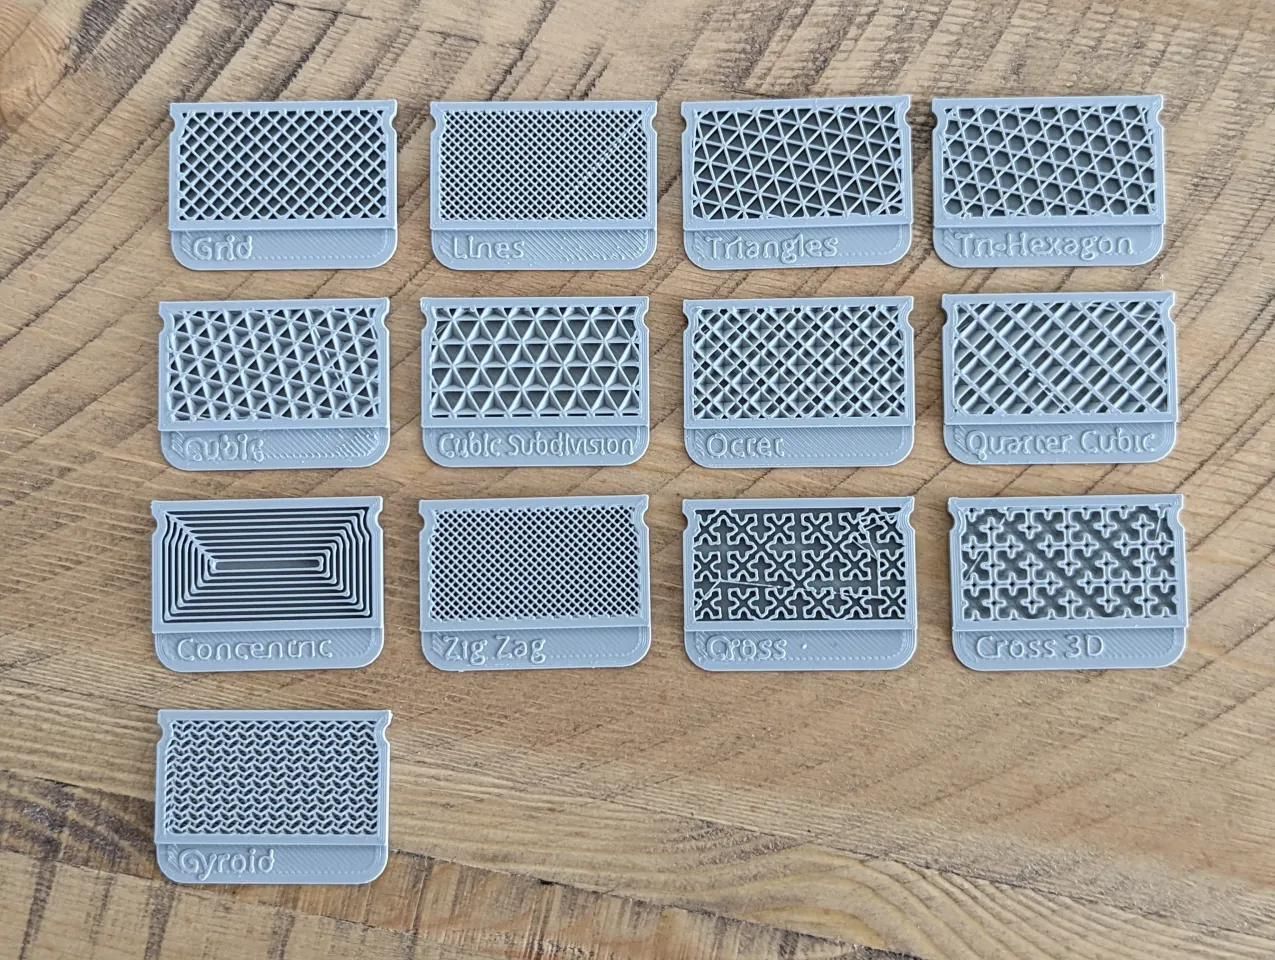
This is where the purge to infill feature in Slic3r PE becomes invaluable. By setting a purge to infill, you can ensure that any excess filament or ooze is deposited within the infill section of the print. Infill refers to the internal structure of a 3D print, typically represented by a lattice or honeycomb pattern, which provides support and strength to the object.
By purging the excess filament within the infill, the visible parts of the print, such as the outer walls or top layers, remain clean and free from any imperfections. This results in a smoother and more aesthetically pleasing print finish.
Additionally, purging to infill helps to prevent the accumulation of filament on the nozzle, which can lead to nozzle clogs or uneven extrusion. By depositing the excess filament within the infill, the nozzle remains unclogged and can continue to extrude filament consistently throughout the print.
In summary, setting purge to infill in Slic3r PE is important because it:
- Ensures cleaner and more precise prints
- Prevents imperfections such as blobs or stringing on the surface
- Maintains the integrity of visible parts of the print
- Prevents nozzle clogging and uneven extrusion
Now that we understand the importance of purge to infill, let’s proceed to the next section and learn how to set this feature in Slic3r PE.
In Slic3r PE, you can set the purge to infill by adjusting the “Purge into infill” setting under the “Infill” tab. This will help reduce stringing and improve print quality.
Steps to Set Purge to Infill in Slic3r PE
Configuring the purge to infill setting in Slic3r PE is a straightforward process. Follow the step-by-step instructions below to customize this feature according to your preferences:
- Launch Slic3r PE: Open the Slic3r PE software on your computer.
- Import or Load the Model: Import your 3D model file into Slic3r PE by clicking on the “Open” or “Import” button. Alternatively, you can also drag and drop the file into the software.
- Adjust Print Settings: Customize the print settings according to your requirements. This includes selecting the appropriate filament type, layer height, infill density, and print speed. These settings may vary depending on the complexity and size of your model.
- Access Printer Settings: Click on the “Printer Settings” tab to access the printer-specific configurations.
- Locate Purge Settings: In the Printer Settings menu, navigate to the “Extruder 1” section (or the respective extruder you are using). Look for the “Retraction” and “Retraction when tool is idle” settings. These settings control the retraction of the filament to avoid oozing or unwanted extrusion during movement.
- Set Purge to Infill: Enable the “Retraction when tool is idle” option and increase the value of the retraction distance. Typically, a value between 2-5mm is sufficient to retract the filament adequately. This will prevent the filament from oozing out during movements. Additionally, select the “Wipe into infill” option to ensure that the retracted filament is deposited within the infill section of the print.
- Save and Export: Once you have made the necessary adjustments, click on the “Slice Now” button to generate the G-code instructions for your printer. Ensure that you save the sliced file to a location of your choice.
- Transfer and Print: Transfer the generated G-code file to your 3D printer using the appropriate method (SD card, USB cable, etc.). Load the filament and start the printing process. Your printer will now utilize the purge to infill settings specified in Slic3r PE to produce a clean and accurate print.
Congratulations! You have successfully set the purge to infill feature in Slic3r PE. Enjoy the improved print quality and cleaner finishes that this setting offers.
Conclusion
Setting purge to infill in Slic3r PE is a crucial step in achieving clean and precise 3D prints. By depositing excess filament within the infill section of the print, you can avoid imperfections on the surface and prevent nozzle clogs during the printing process.
In this guide, we explored what Slic3r PE is, its importance in the 3D printing workflow, and how to configure the purge to infill setting in the software. Slic3r PE is a powerful slicing software that offers a range of advanced features and customization options, making it a popular choice among 3D printer users.
Remember to adjust the print settings according to the requirements of your model, including filament type, layer height, and infill density. Enabling the “Retraction when tool is idle” option and selecting “Wipe into infill” will ensure that excess filament is properly purged within the infill section for a cleaner print.
With the purge to infill setting properly set in Slic3r PE, you can enjoy more aesthetically pleasing prints with fewer imperfections. Experiment with different settings to find the optimal configuration that suits your specific needs and enhances the overall print quality.
Now, armed with this knowledge, you are ready to take your 3D printing skills to the next level and achieve outstanding results using Slic3r PE. Happy printing!
Frequently Asked Questions about How To Set Purge To Infill In Slic3r PE
Was this page helpful?
At Storables.com, we guarantee accurate and reliable information. Our content, validated by Expert Board Contributors, is crafted following stringent Editorial Policies. We're committed to providing you with well-researched, expert-backed insights for all your informational needs.


0 thoughts on “How To Set Purge To Infill In Slic3r PE”