Home>Garden Essentials>How To Set Hexagon Infill In Cura 2.3
Garden Essentials
How To Set Hexagon Infill In Cura 2.3
Modified: March 7, 2024
Learn how to set hexagon infill in Cura 2.3 for your garden projects. Optimize your print quality and save on material usage with this helpful guide.
(Many of the links in this article redirect to a specific reviewed product. Your purchase of these products through affiliate links helps to generate commission for Storables.com, at no extra cost. Learn more)
Introduction
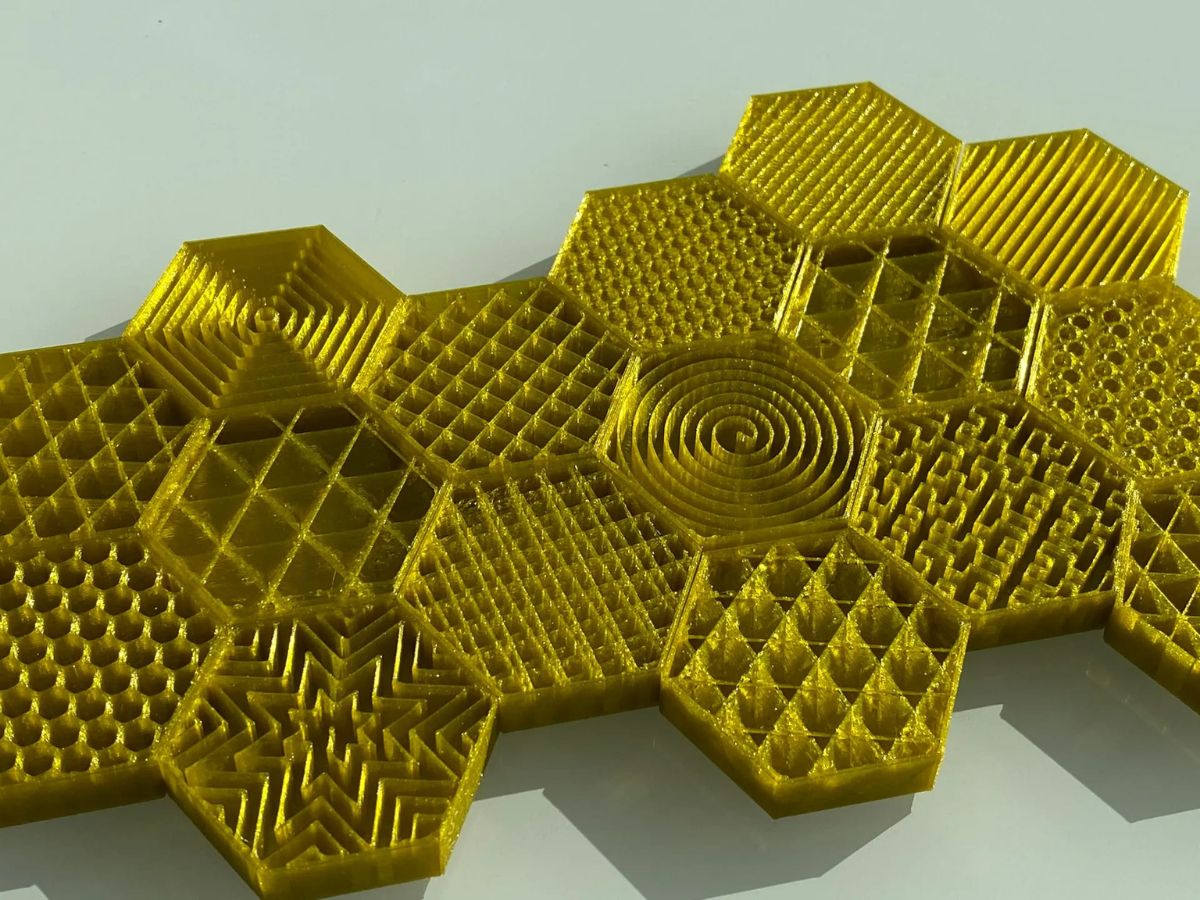
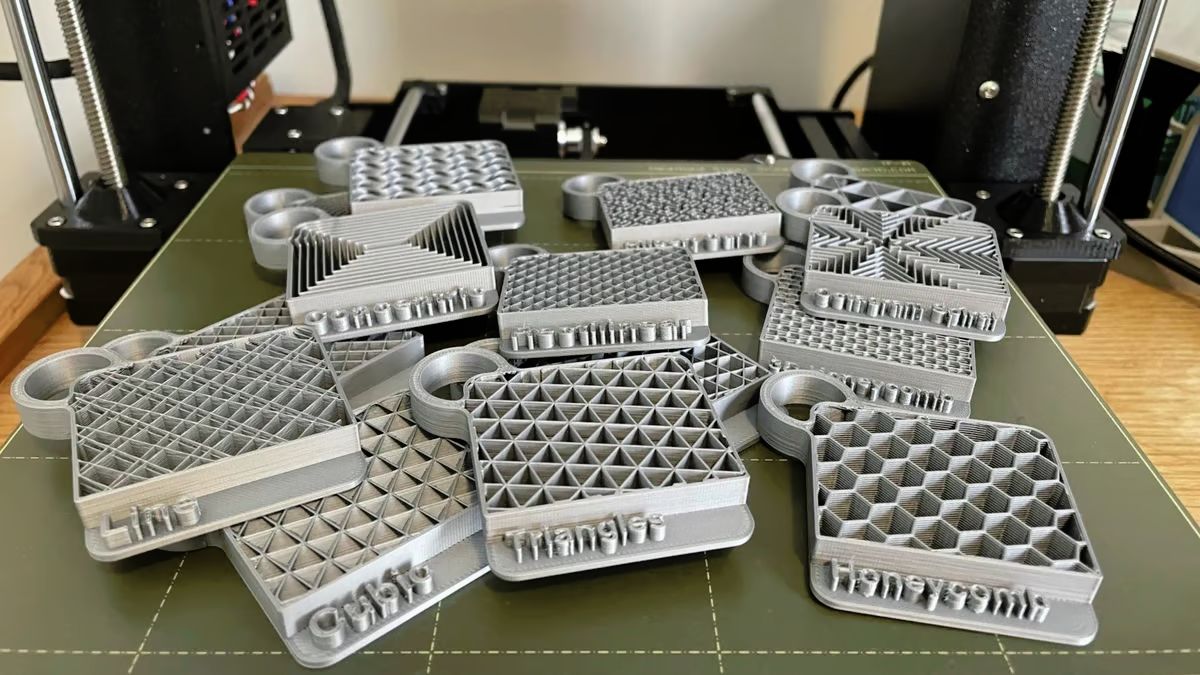
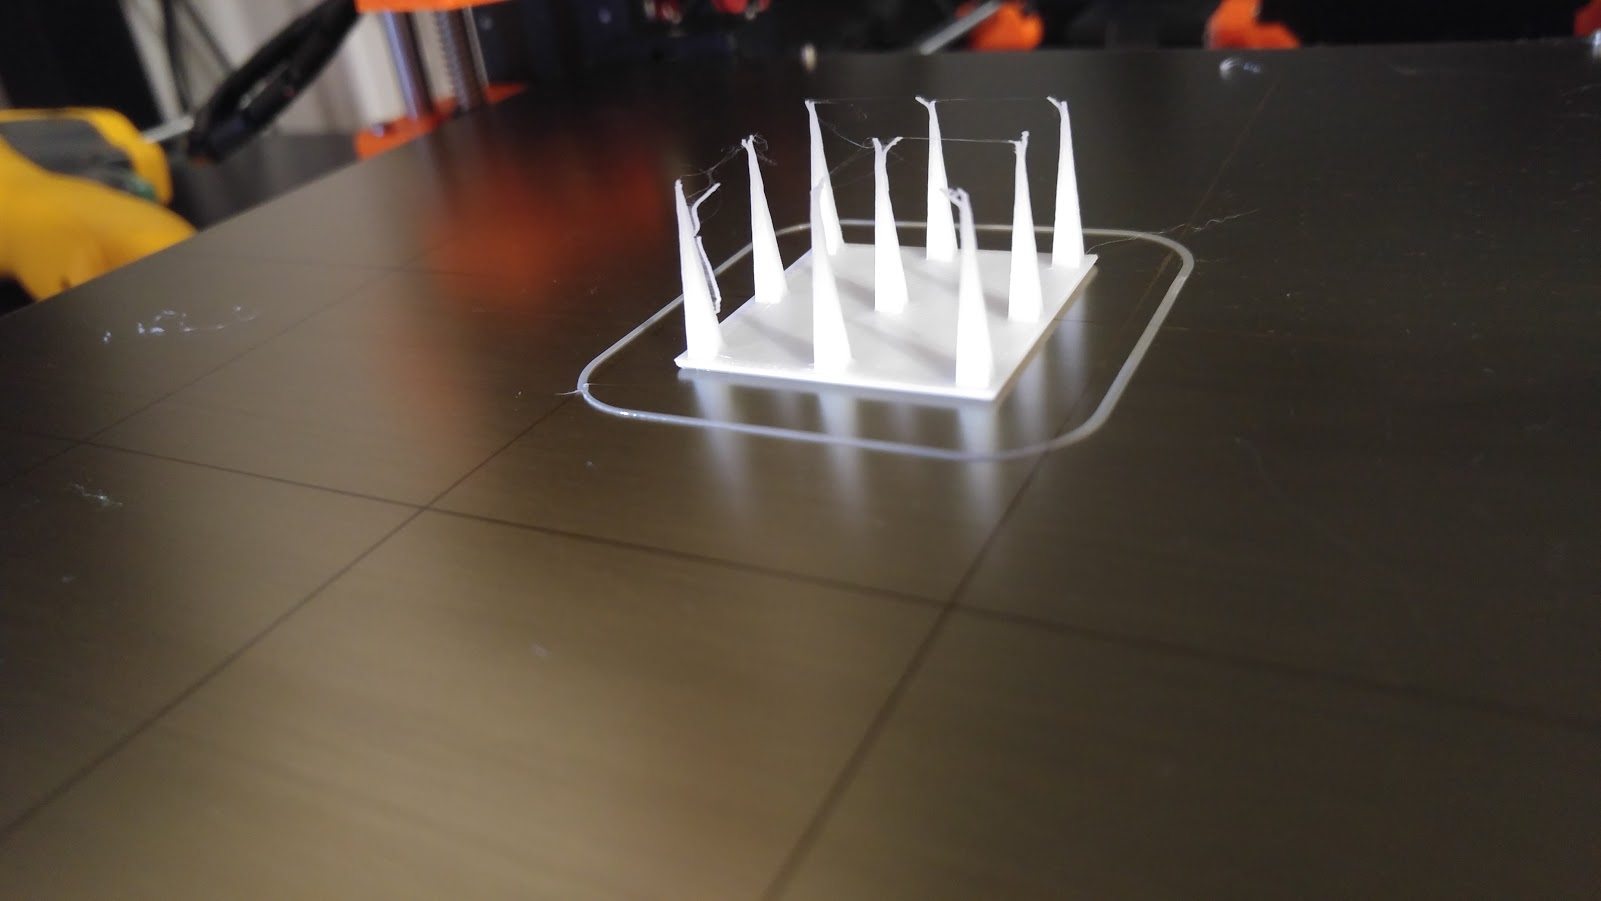
Welcome to the world of 3D printing! Whether you’re a beginner or an experienced enthusiast, one of the key aspects of creating high-quality prints is choosing the right infill pattern. Infill refers to the internal structure of a 3D printed object, providing support and structural integrity. Among the various infill patterns available, the hexagon infill has gained popularity for its strength and efficiency.
In this article, we will guide you through the process of setting up the hexagon infill pattern in Cura 2.3, a widely used 3D slicer software. By following these steps, you’ll be able to optimize your prints to achieve the desired strength and material usage efficiency.
So, let’s dive in and explore how to set the hexagon infill in Cura 2.3!
Key Takeaways:
- Choose the hexagon infill pattern in Cura 2.3 to make your 3D prints strong and efficient. Adjust the infill density and fine-tune settings for customized results.
- Save and export your model with the hexagon infill settings to achieve improved structural integrity and reduced material usage. Experiment and enjoy your 3D printing journey!
Step 1: Opening Cura 2.3
The first step is to open the Cura 2.3 software on your computer. If you haven’t already installed it, you can download it from the official Ultimaker website and follow the instructions for installation.
Once you have Cura 2.3 installed, launch the software by double-clicking on the desktop shortcut or finding it in your applications folder. The Cura 2.3 interface will open, presenting you with a blank workspace ready for you to import your 3D model.
If you already have a model ready for printing, you can simply drag and drop it into the workspace. Alternatively, you can navigate to the “File” menu and select “Open File” to browse for the model on your computer.
After loading your model into the workspace, you will be able to see a 3D preview of it, displayed in the center of the Cura 2.3 interface. Take a moment to orient the model and adjust its position and scale if necessary.
Now that you have opened Cura 2.3 and loaded your model, you’re ready to move on to the next step of setting up the hexagon infill pattern.
Step 2: Navigating the Print Settings
Once your 3D model is loaded into Cura 2.3, it’s time to navigate to the print settings. These settings allow you to modify various parameters, such as print quality, speed, and infill patterns. To access the print settings, look for the “Settings” panel on the right-hand side of the Cura interface.
Within the Settings panel, you’ll find different categories, including Basic, Advanced, and Plugins. For the purpose of setting up the hexagon infill, we will focus mainly on the Basic and Infill categories.
Under the Basic category, you can adjust settings such as layer height, wall thickness, and print speed. These settings directly impact the overall print quality and strength of your model. It’s important to find the right balance depending on your specific requirements.
In the Infill category, you’ll find options related to infill patterns and density. This is where we will make the necessary adjustments to enable the hexagon infill pattern.
Now that you have successfully located the print settings panel, it’s time to proceed to the next step and access the infill options.
Step 3: Accessing the Infill Options
To set the hexagon infill pattern, we need to access the infill options within the print settings panel in Cura 2.3. Here’s how you can do it:
- Within the print settings panel, locate the category labeled “Infill”. Click on it to expand the options.
- Once expanded, you’ll see the “Infill Pattern” dropdown menu with a list of available infill patterns. These patterns determine the internal structure of your printed object.
- Click on the “Infill Pattern” dropdown menu to view the available options. Scroll down until you find the “Hexagon” option.
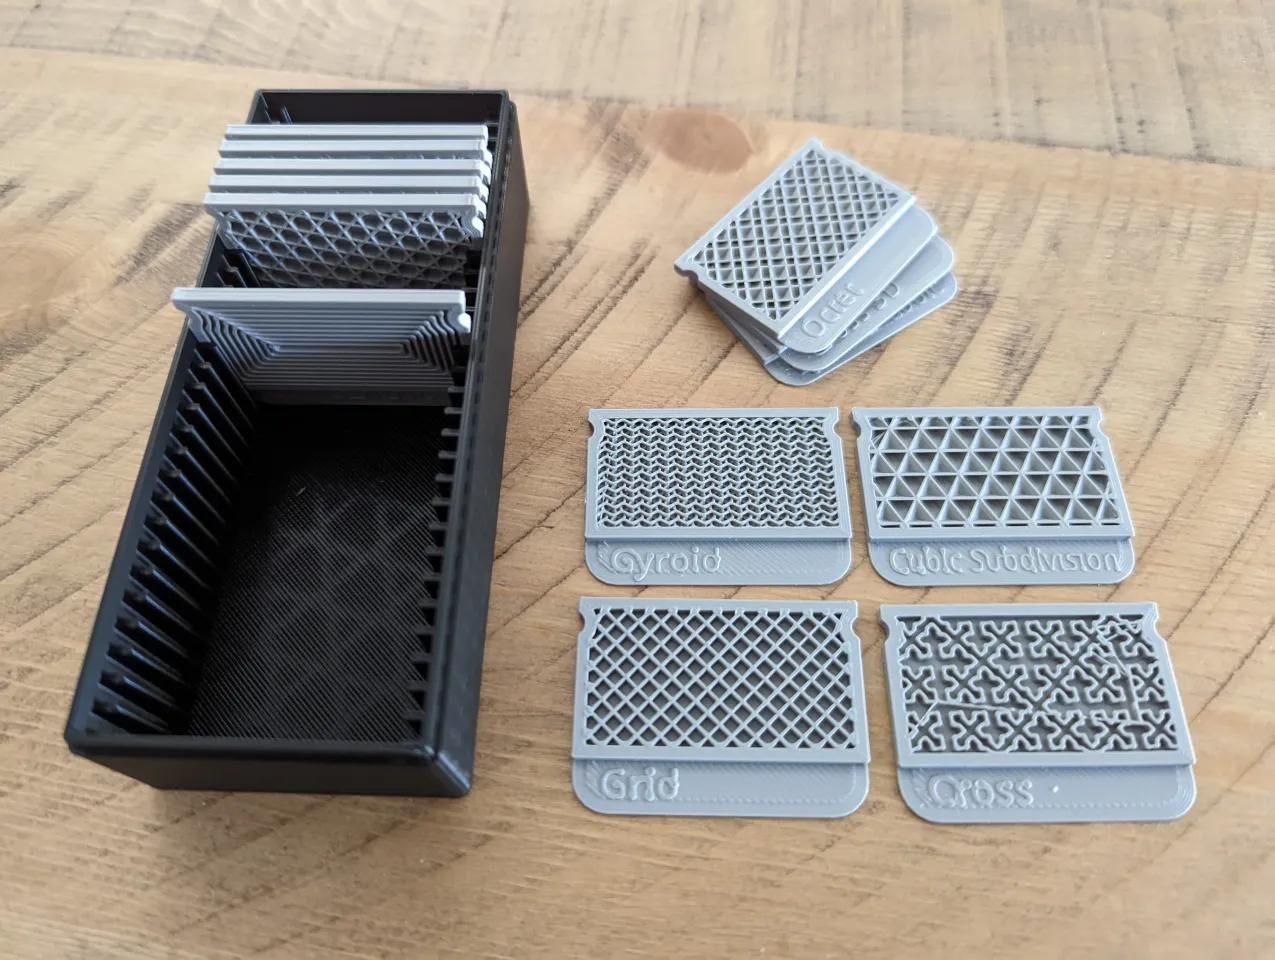
- Selecting the “Hexagon” infill pattern will enable the use of hexagon-shaped infill structures for your print. This pattern provides excellent strength and efficient material usage.
Now that you have accessed the infill options in Cura 2.3 and selected the hexagon infill pattern, it’s time to move on to the next step and adjust the infill density.
Step 4: Selecting the Hexagon Infill Pattern
Now that you have accessed the infill options in Cura 2.3, it’s time to select the hexagon infill pattern. Follow these steps:
- Within the “Infill” category of the print settings panel, locate the “Infill Pattern” dropdown menu.
- Click on the dropdown menu to view the available infill pattern options.
- Scroll down until you find the “Hexagon” option and click on it.
By selecting the hexagon infill pattern, you’re instructing Cura 2.3 to use a hexagonal structure for the infill, rather than other options like grid or lines.
The hexagon infill pattern is popular due to its strength and the efficient use of material. The interlocking hexagonal cells provide excellent structural stability to your printed object while minimizing the amount of filament used.
With the hexagon infill pattern selected, you’re one step closer to optimizing your prints for strength and material efficiency. Let’s move on to the next step and adjust the infill density.
When setting the infill pattern in Cura 2.3, choose “Hexagon” from the infill pattern drop-down menu. This will create a strong and efficient infill pattern for your 3D print.
Read more: How To Do Infill Mask In Cura
Step 5: Adjusting the Infill Density
Now that you have selected the hexagon infill pattern in Cura 2.3, it’s time to adjust the infill density. The infill density represents the percentage of the internal structure that will be filled with infill material. Here’s how you can do it:
- Within the “Infill” category of the print settings panel, locate the “Infill Density” option.
- Adjust the slider or input a specific value to set the desired infill density. A higher percentage means a denser infill, while a lower percentage means a sparser infill.
- As you adjust the infill density, keep in mind the balance between strength and material usage. Higher densities will result in stronger prints but also require more material.
When setting the infill density, consider the purpose and requirements of your print. For structural parts that require maximum strength, a higher infill density, such as 50-100%, may be suitable. For objects that don’t require high strength, a lower infill density, such as 15-25%, can save material and reduce print time.
Take a moment to experiment with different infill densities and visualize the impact on the 3D preview of your model. It’s always a good idea to perform a few test prints to determine the optimal infill density for your specific project.
Now that you have adjusted the infill density, let’s move on to the next step and fine-tune the infill settings.
Step 6: Fine-tuning Infill Settings
Once you have selected the hexagon infill pattern and adjusted the infill density, it’s time to fine-tune the infill settings to further optimize your prints. Here are some key settings you can consider:
- Infill Line Width: This setting allows you to adjust the width of the lines used to create the infill. A smaller line width can result in a denser and stronger infill, while a larger line width can improve the print speed.
- Infill Overlap: This setting controls the amount of overlap between adjacent infill lines. Increasing the overlap can enhance the structural integrity of the infill, but may also increase print time.
- Infill Speed: Adjusting the infill speed determines how quickly the printer moves across the infill section. Higher speeds can reduce print time but may sacrifice print quality, while slower speeds can improve accuracy.
- Infill Pattern Angle: Cura allows you to rotate the hexagon infill pattern to a desired angle. This can optimize the infill orientation for specific design features or achieve a more aesthetically pleasing look.
Take the time to experiment with these settings and find the right balance for your specific needs. Keep in mind that adjustments to the infill settings can influence print quality, strength, and print time.
Once you are satisfied with the fine-tuning of the infill settings, you’re ready to move on to the next step and apply the hexagon infill to your model.
Step 7: Applying the Hexagon Infill to the Model
Now that you have set up the hexagon infill pattern and fine-tuned the infill settings in Cura 2.3, it’s time to apply the infill to your model. Here’s what you need to do:
- Ensure that your model is still loaded in the Cura 2.3 workspace.
- Review the other print settings, such as layer height, print speed, and support structures, to ensure they align with your desired print outcome.
- Click the “Slice” button in the bottom-right corner of the Cura 2.3 interface. This will initiate the slicing process, where the software generates the toolpath for your 3D printer.
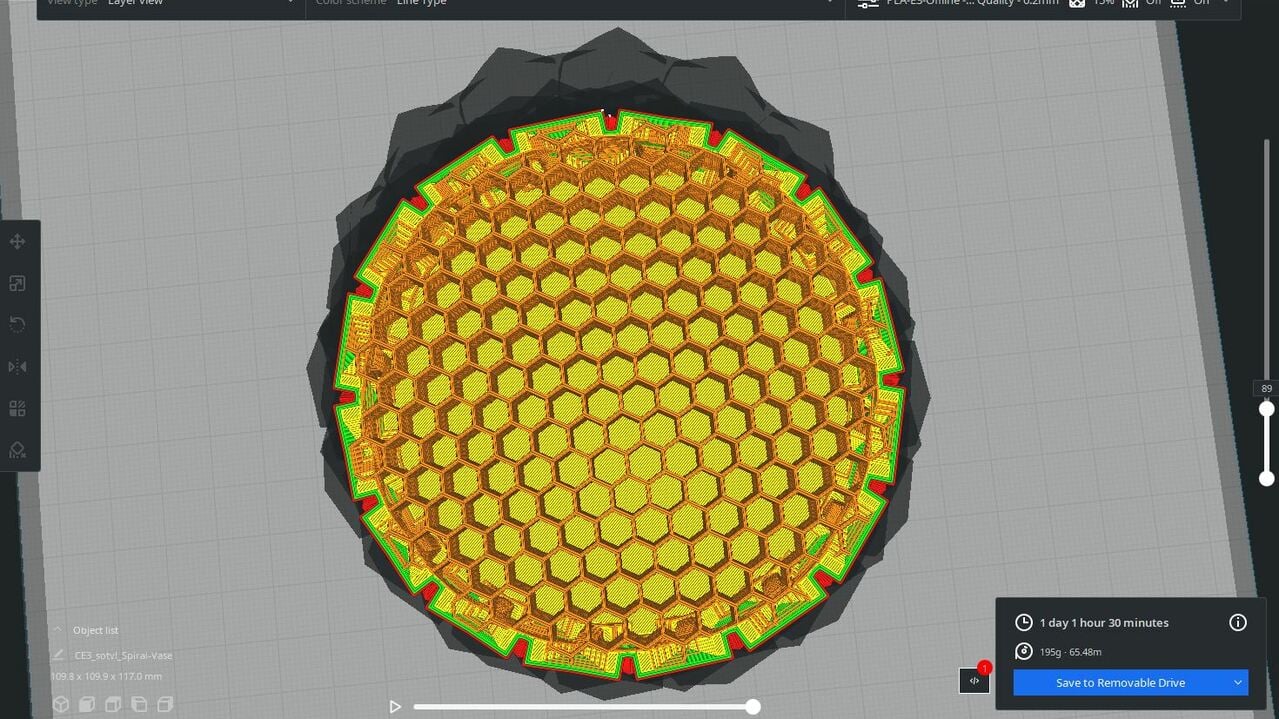
- Once the slicing process is complete, you’ll see a preview of the sliced layers in the Cura 2.3 interface. Pay attention to the infill section, where you should now see the hexagon pattern within your model.
Take the time to review the sliced layers and inspect the infill pattern. Use the layer view function to navigate through the layers and identify any potential issues or areas for improvement.
If you are satisfied with the infill and overall preview of your model, you’re one step away from completing the process. Let’s move on to the final step and save/export your model with the hexagon infill settings.
Step 8: Saving and Exporting the Model with Hexagon Infill
After applying the hexagon infill to your model and reviewing the sliced layers in Cura 2.3, it’s time to save and export your model with the infill settings intact. Here’s what you need to do:
- Click on the “Save to File” button located in the top-left corner of the Cura 2.3 interface.
- Choose a location on your computer where you want to save the sliced file. It’s recommended to create a new folder specifically for your 3D printing projects to keep them organized.
- Give your file a descriptive name that reflects the model and its infill settings. This will make it easier to identify and locate in the future.
- When saving the file, Cura 2.3 will generate a G-code file, which contains the instructions for your 3D printer to execute the print. This G-code file includes all the settings and configurations, including the hexagon infill pattern you have set.
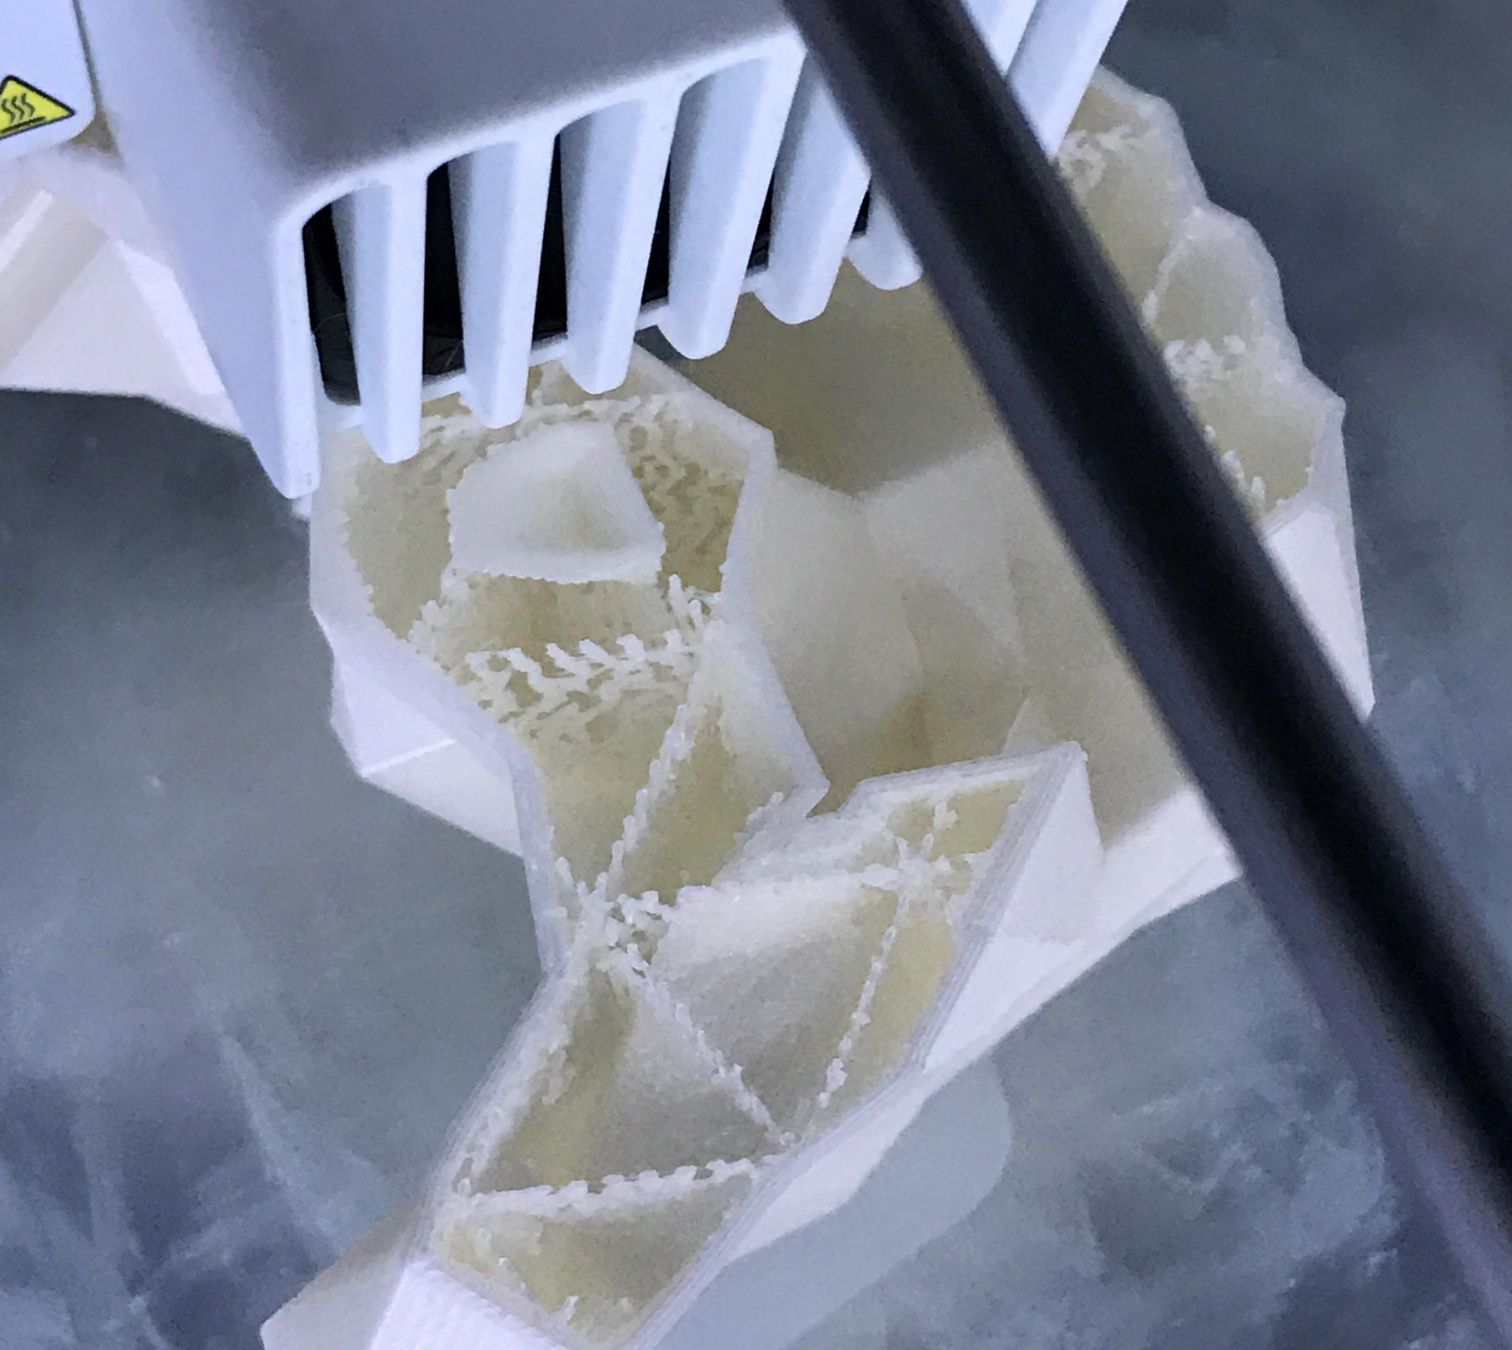
Once the file is saved, you can transfer it to your 3D printer using the method specific to your printer. This can include connecting via USB, using an SD card, or transferring wirelessly if supported by your printer.
Now, you’re ready to start the printing process with the hexagon infill pattern in place. Load the G-code file onto your printer, adjust any necessary printer settings, and initiate the print.
Congratulations! You have successfully set up and applied the hexagon infill pattern to your model using Cura 2.3. By optimizing the infill density and fine-tuning the infill settings, you can achieve strong and efficient 3D prints with the hexagon infill pattern.
Remember, it’s always a good practice to monitor the print progress and evaluate the final result to ensure desired outcomes. Enjoy your 3D printing journey and keep exploring the possibilities of infill patterns!
Read more: How To Change Infill Pattern In Cura
Conclusion
Setting up the hexagon infill pattern in Cura 2.3 can greatly enhance the strength and material efficiency of your 3D prints. With the step-by-step guide provided in this article, you have learned how to navigate Cura 2.3, access the print settings, and select the hexagon infill pattern.
By adjusting the infill density and fine-tuning the infill settings, you can customize the internal structure of your prints to suit your specific needs. Whether you require maximum strength for functional parts or want to optimize material usage for cost-effective prints, the hexagon infill pattern offers an excellent solution.
Remember to experiment with different settings and perform test prints to ensure optimal results. Fine-tuning the infill line width, infill overlap, infill speed, and infill pattern angle can further optimize the strength, print quality, and overall performance of your prints.
Once you are satisfied with the infill settings, you can save and export your model as a G-code file, ready to be printed on your 3D printer. Pay attention to the slicing preview in Cura 2.3 to ensure the hexagon infill pattern is properly applied throughout your model.
With the hexagon infill pattern implemented, you can confidently print functional parts, prototypes, or intricate designs with improved structural integrity and reduced material usage.
As you continue your 3D printing journey, don’t limit yourself to just the hexagon infill pattern. Explore other infill options, experiment with different densities, and continue to learn and optimize your prints to achieve remarkable results.
Remember to always consider the specific requirements of your prints, balancing strength, print time, and material usage to achieve the best outcome for your projects. Happy printing!
Frequently Asked Questions about How To Set Hexagon Infill In Cura 2.3
Was this page helpful?
At Storables.com, we guarantee accurate and reliable information. Our content, validated by Expert Board Contributors, is crafted following stringent Editorial Policies. We're committed to providing you with well-researched, expert-backed insights for all your informational needs.


0 thoughts on “How To Set Hexagon Infill In Cura 2.3”